


-
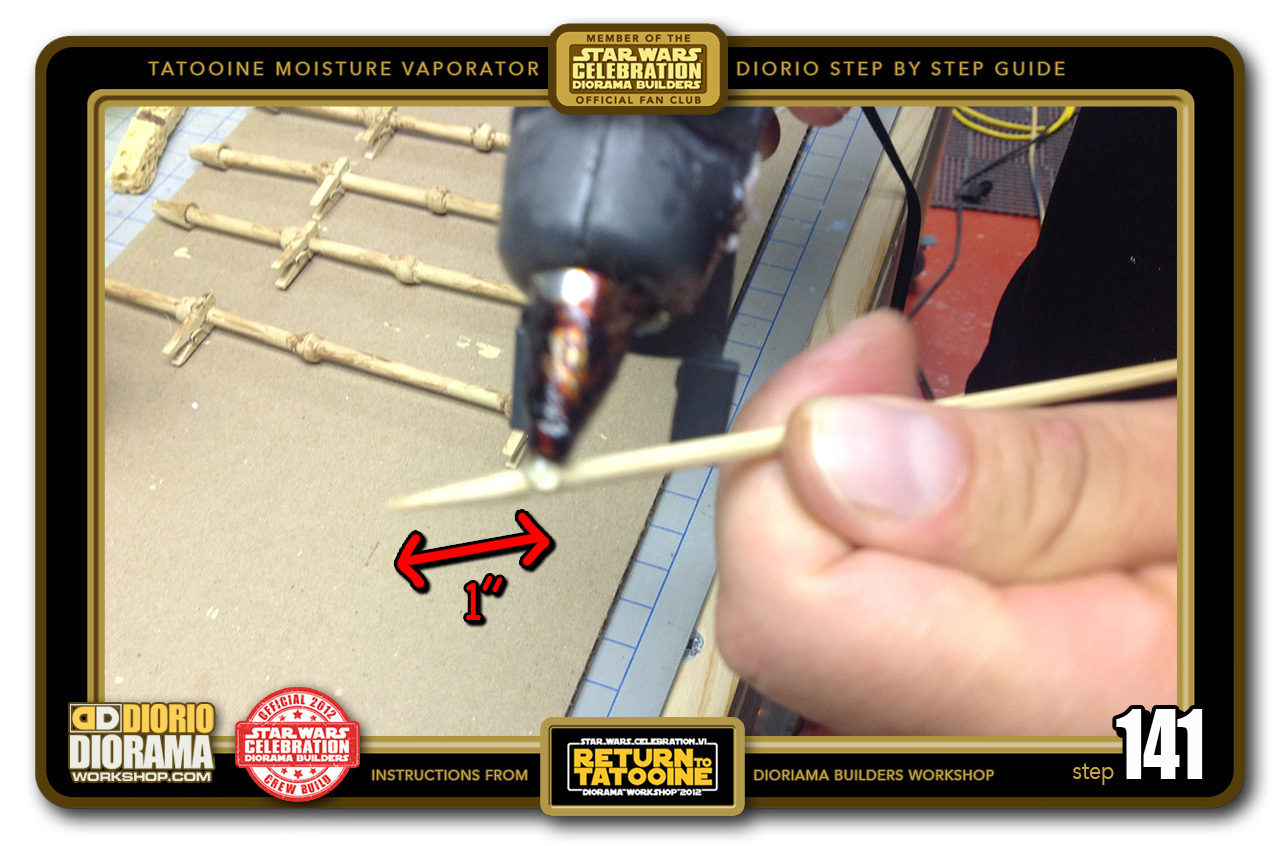
- STEP 141 > Place a dab of hot glue 1 inch from the pointy end of the kebob stick.
-
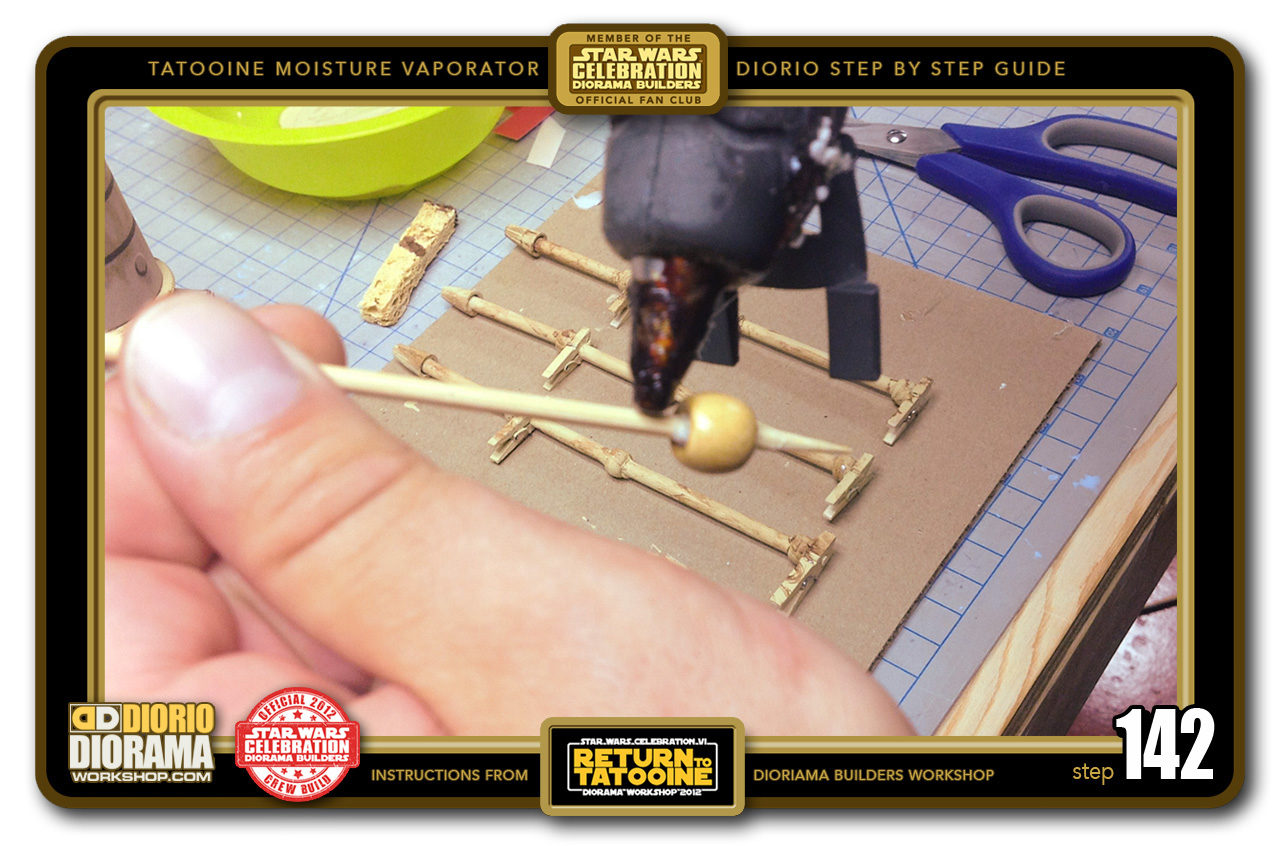
- STEP 142 > Take one of the wood beads, slide it into place and let the hot glue cool down before putting another small dab of hot glue on top of the first bead.
-
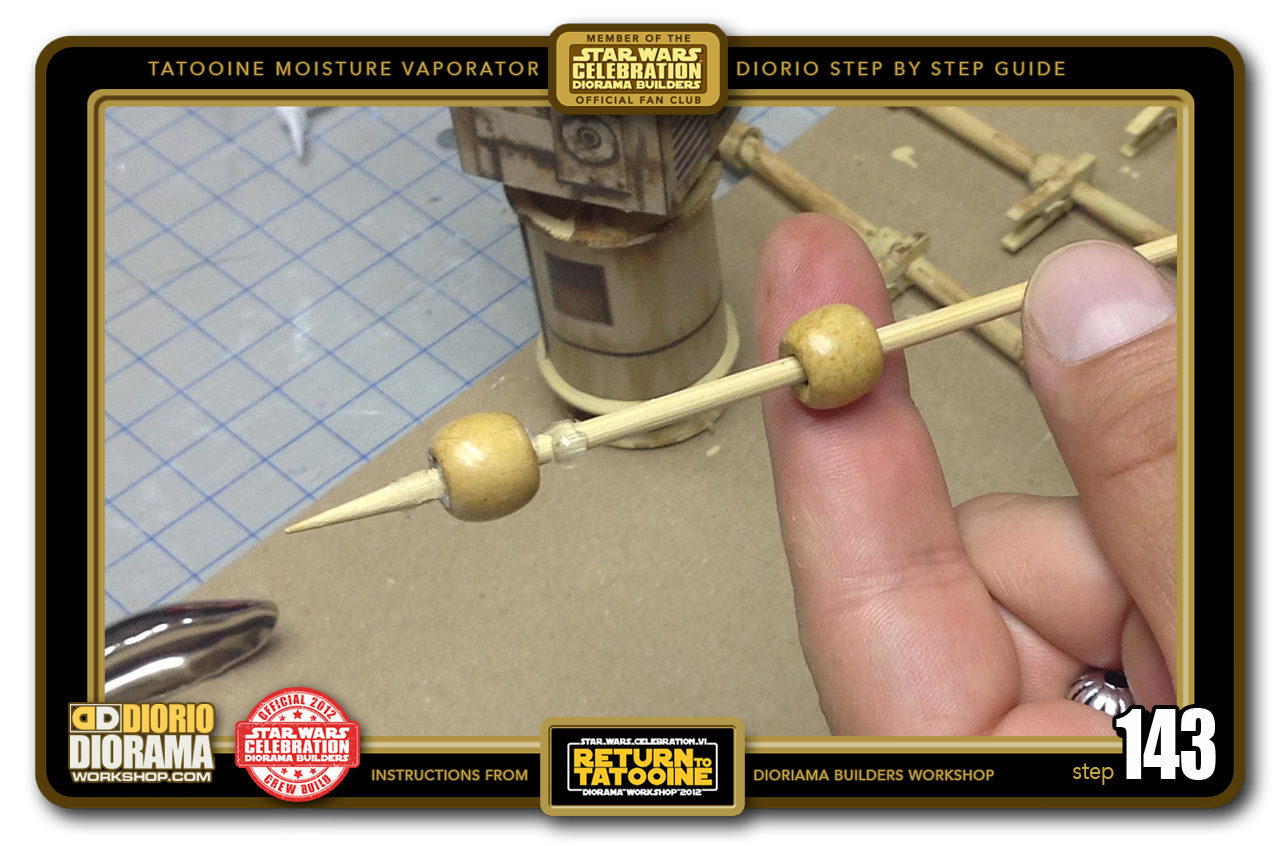
- STEP 143 > Slide the 2nd bead down the kebob stick.
-
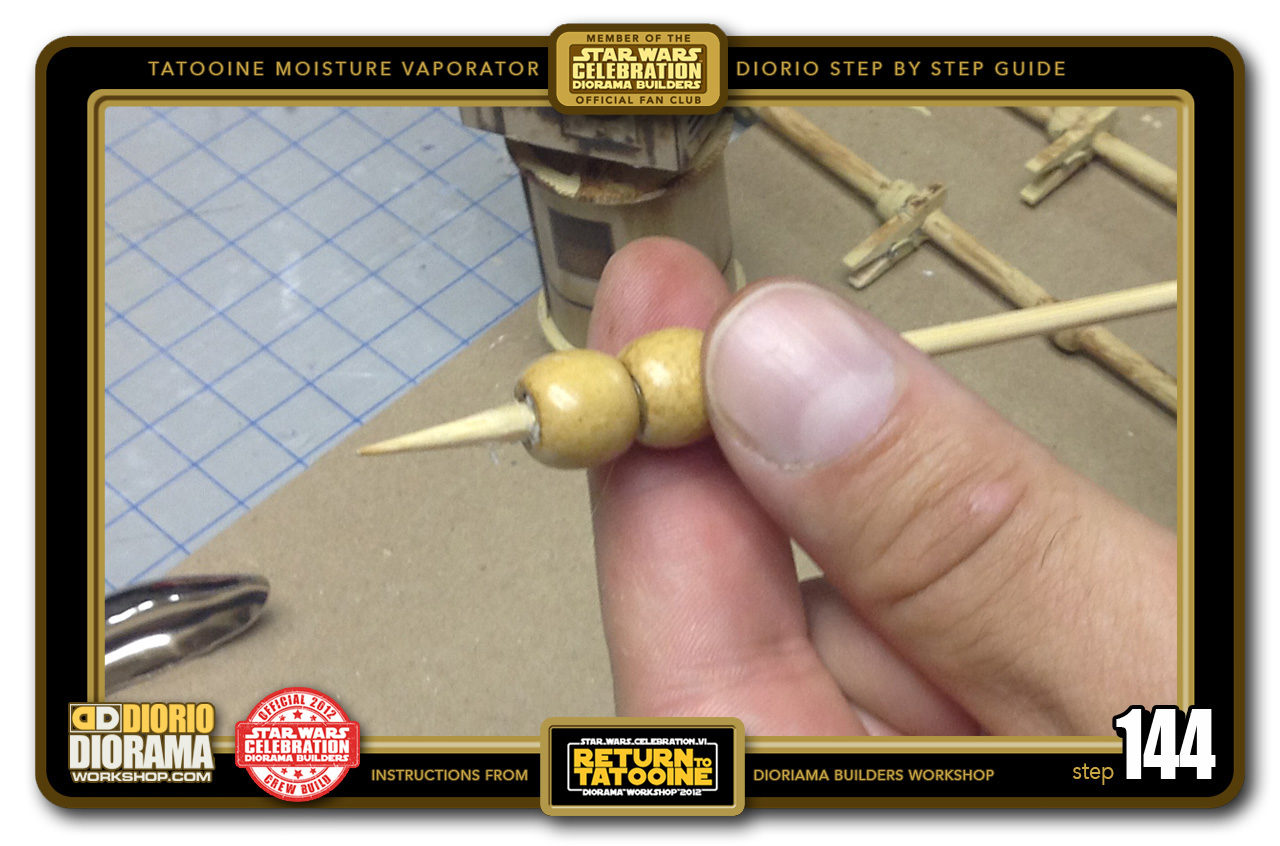
- STEP 144 > Press the 2 beads together and hold into place until the glue cools down.
-

- STEP 145 > Now another little dab of hot glue goes on top of the 2nd bead.
-
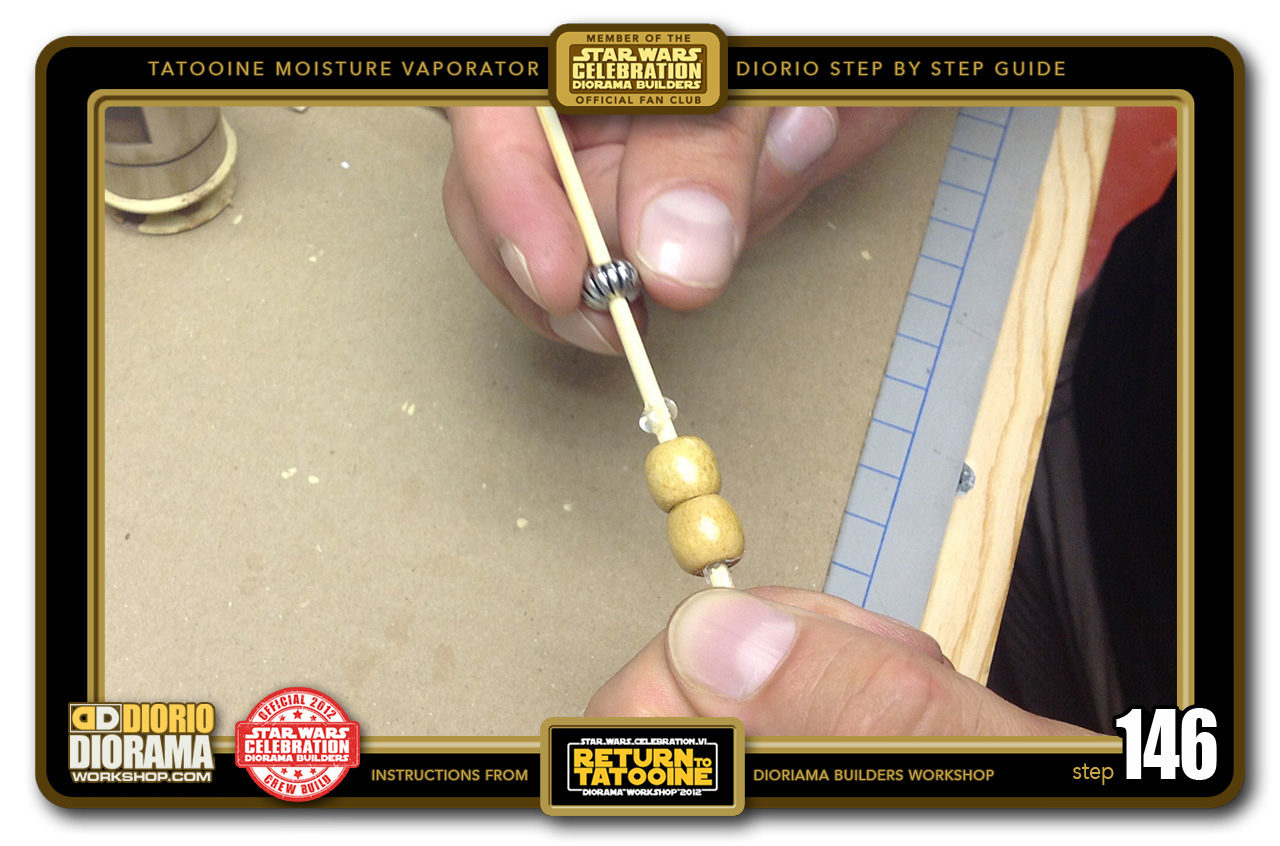
- STEP 146 > Slide the small silver bead down the kebob stick.
-
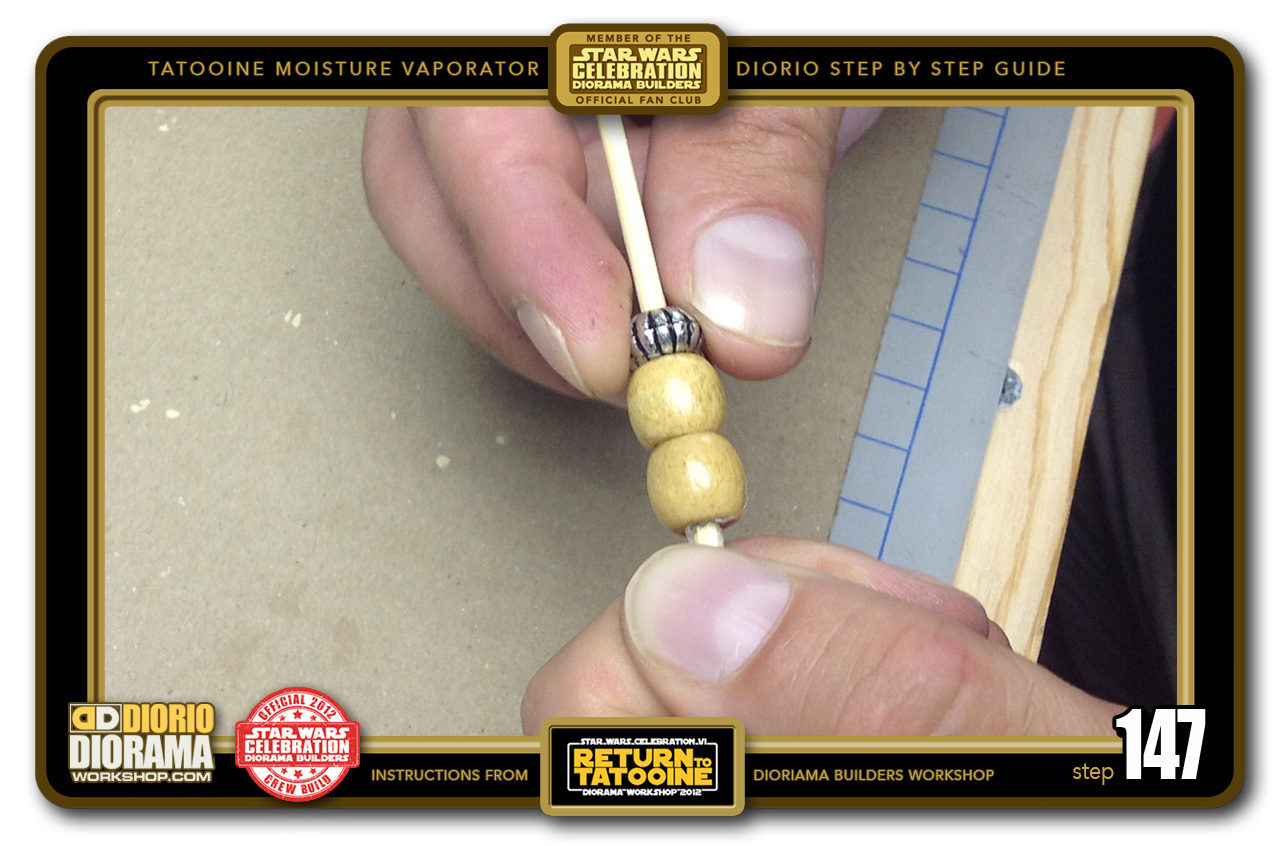
- STEP 147 > Press the silver bead against the top of the wood bead and hold for a few seconds.
-
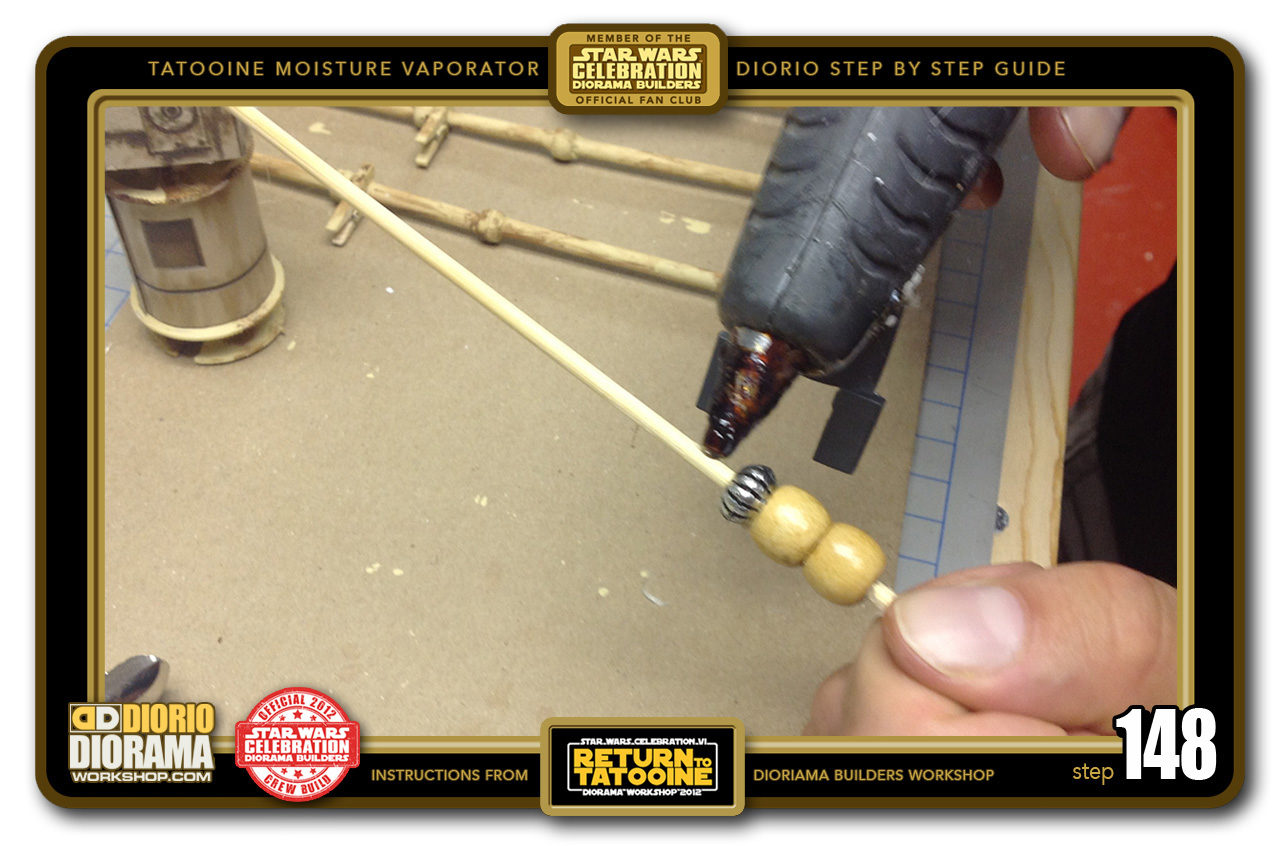
- STEP 148 > Put another small dab of hot glue on top of the silver bead.
-
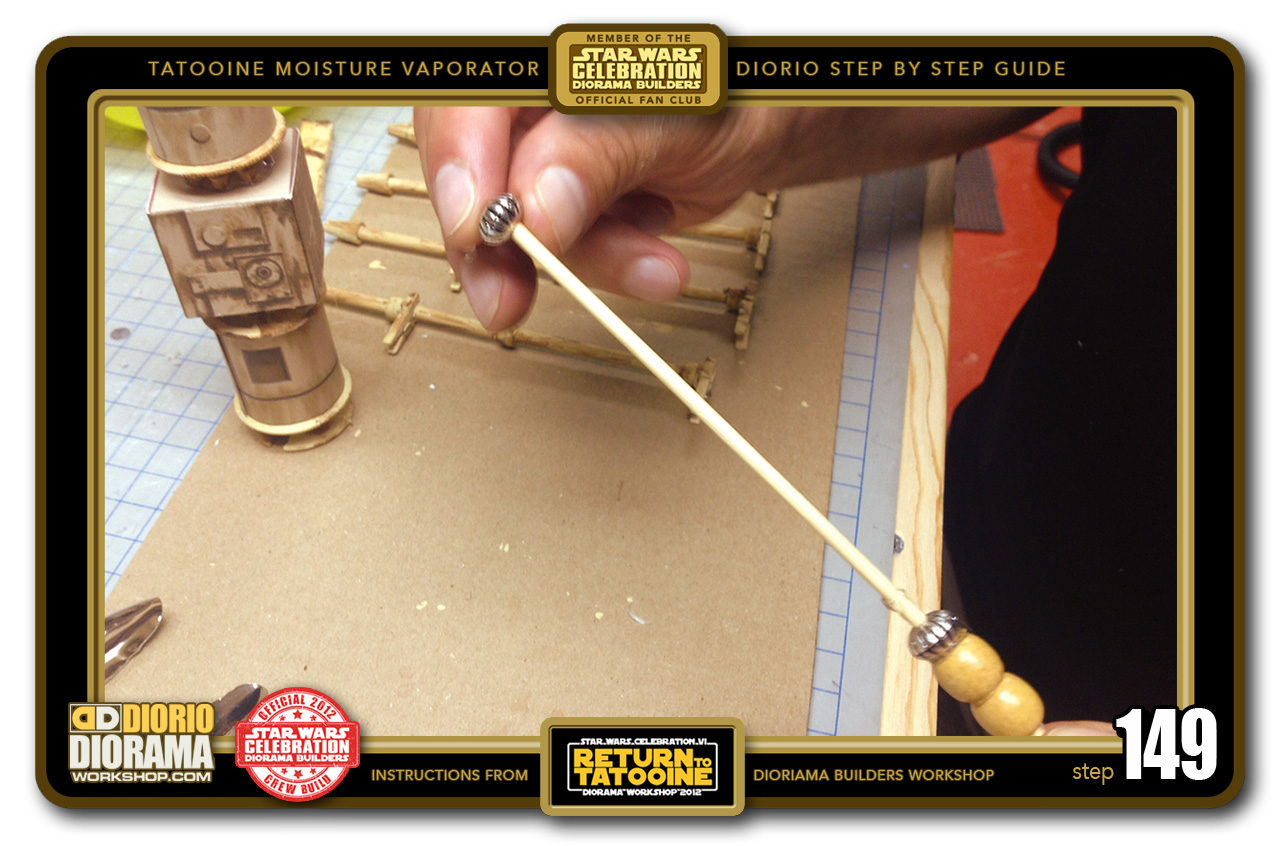
- STEP 149 > Slide the 2nd silver bead down the kebob stick.
-
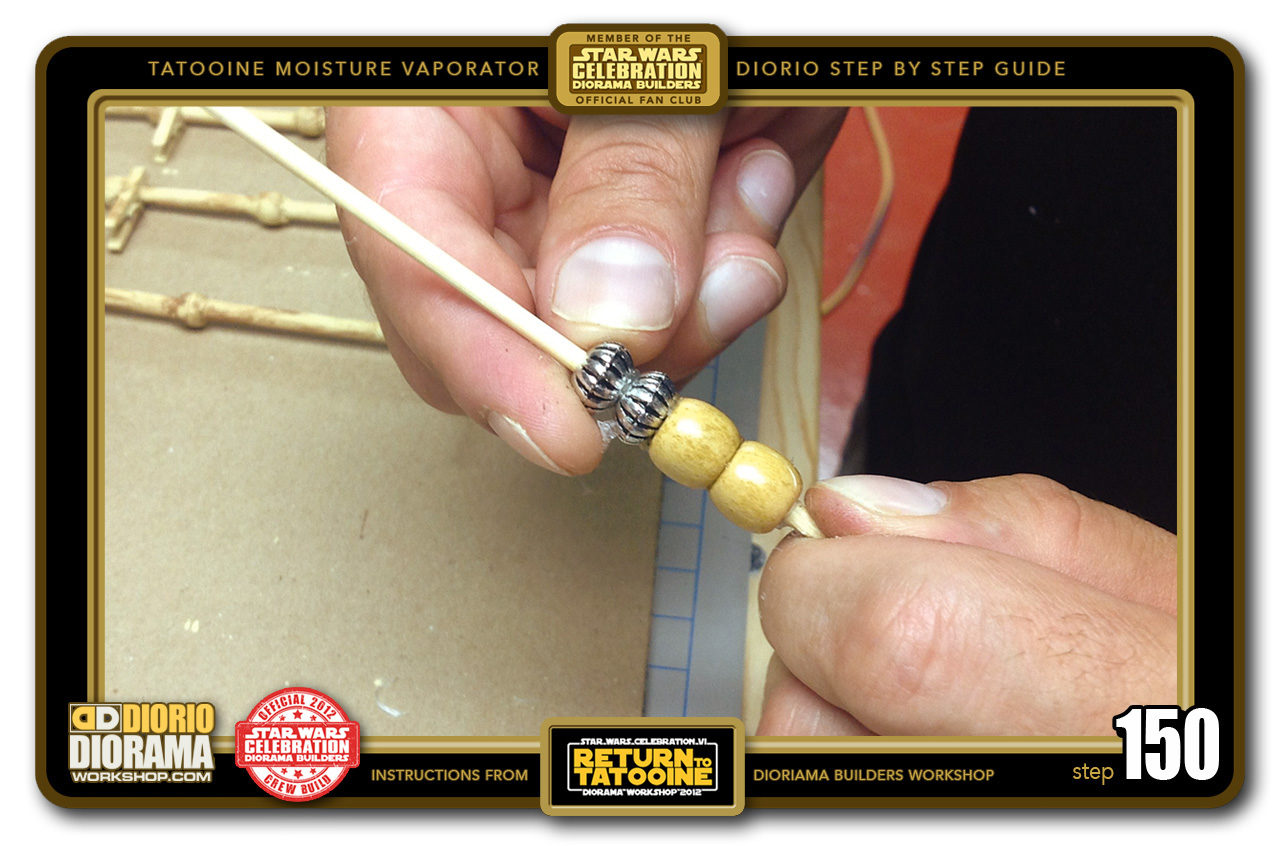
- STEP 150 > Press the 2 silver beads together and hold a few seconds until the hot glue cools down a little.
-
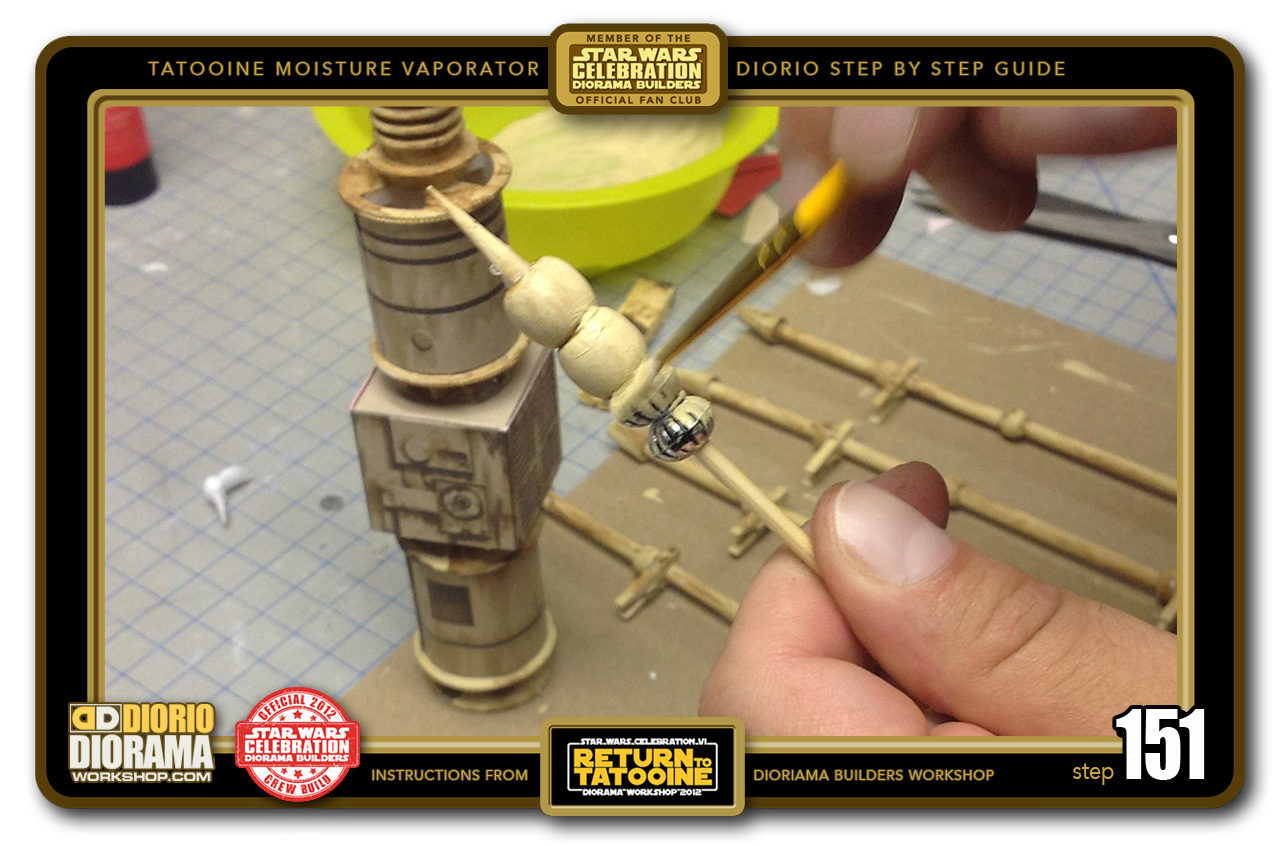
- STEP 151 > Time to paint. As before start with the tan paint to cover the entire surfaces, then use watered down dark brown to make it look dirty.
-
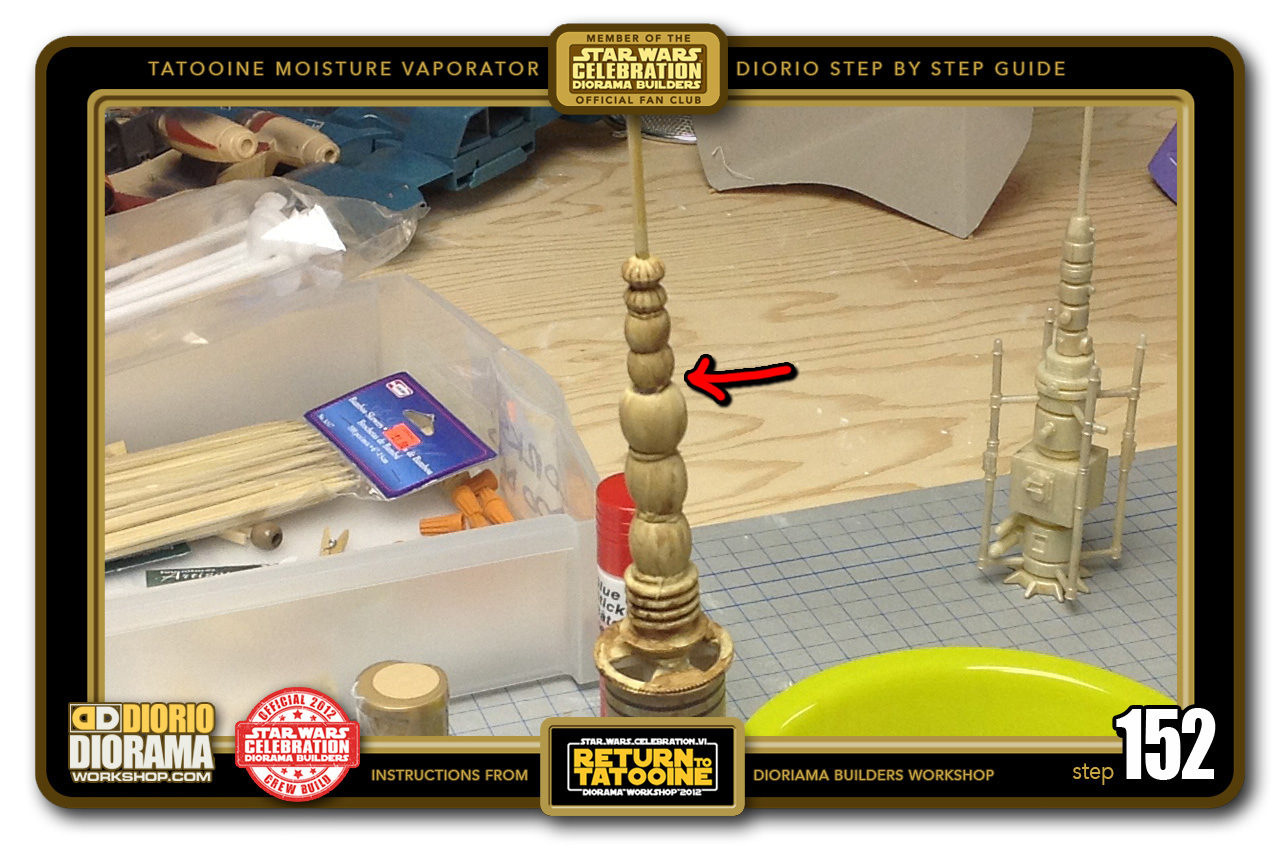
- STEP 152 > Put some hot glue on the tip of the base straw as well as along the 1 inch pointy tip of the kebob stick. Insert the pointy end into the base straw tip and slide down until the antennae beads connect with the top spool stacked beads. The red arrow shows you where the 2 connect.
-
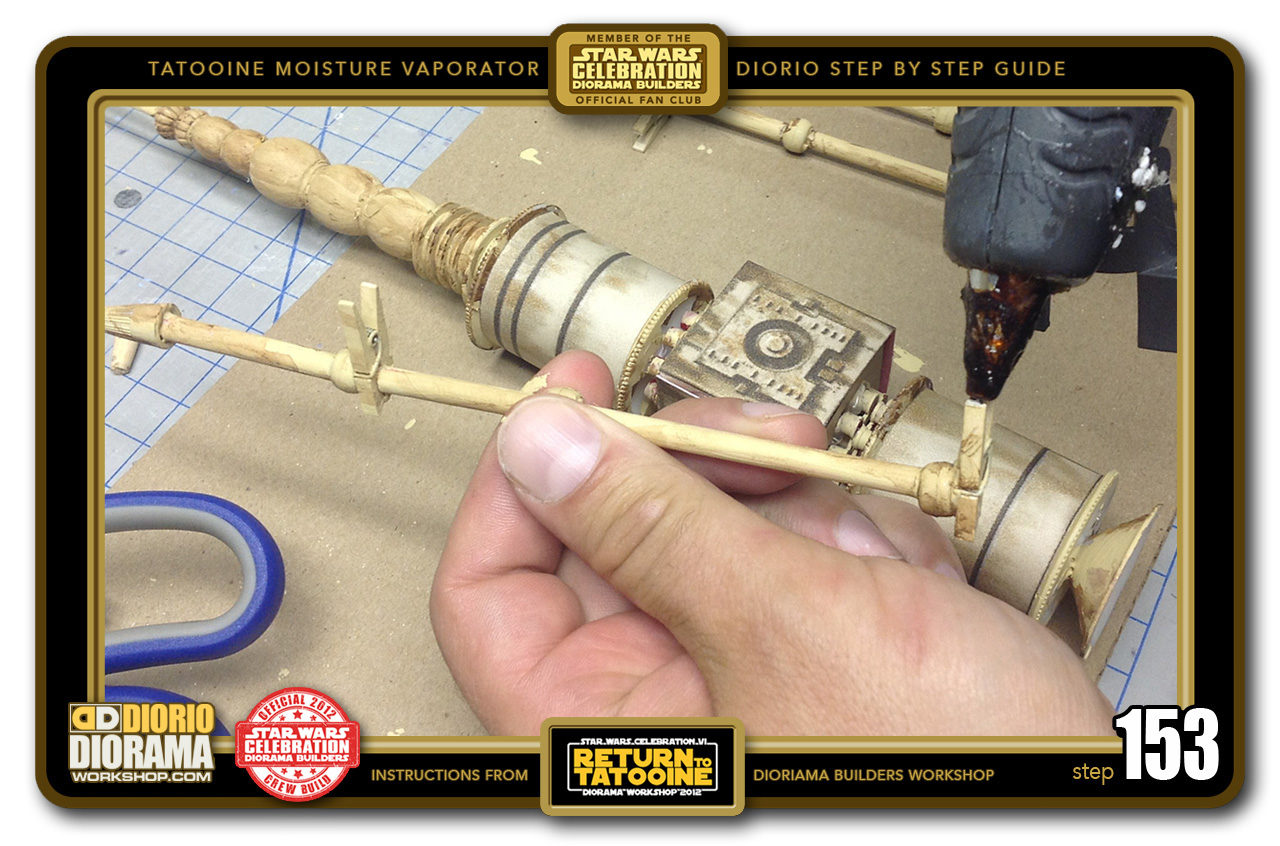
- STEP 153 > Time to attach the 4 corner poles. Grab one and put small dabs of hot glue on the 2 tips of the bottom miniature clothespin.
-
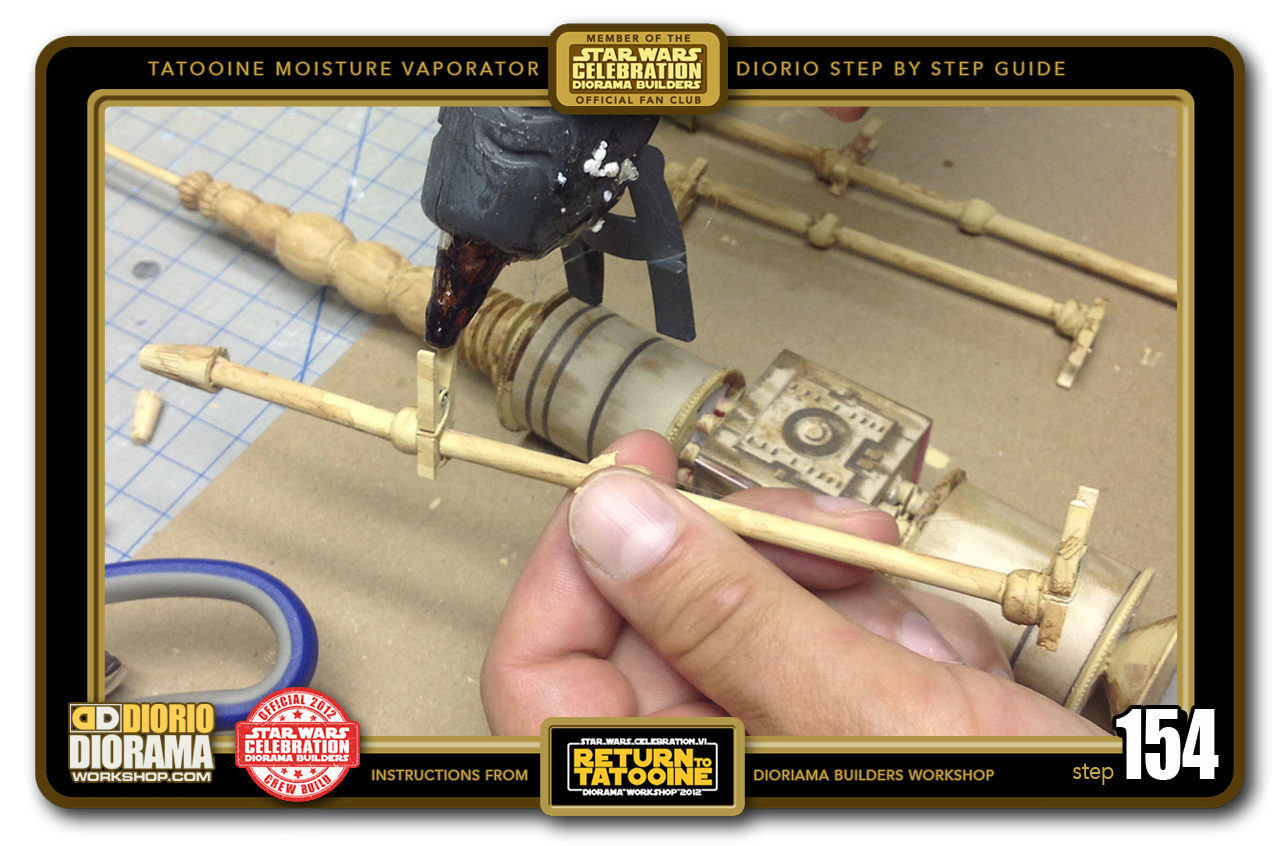
- STEP 154 > And again on the top miniature clothes pin.
-
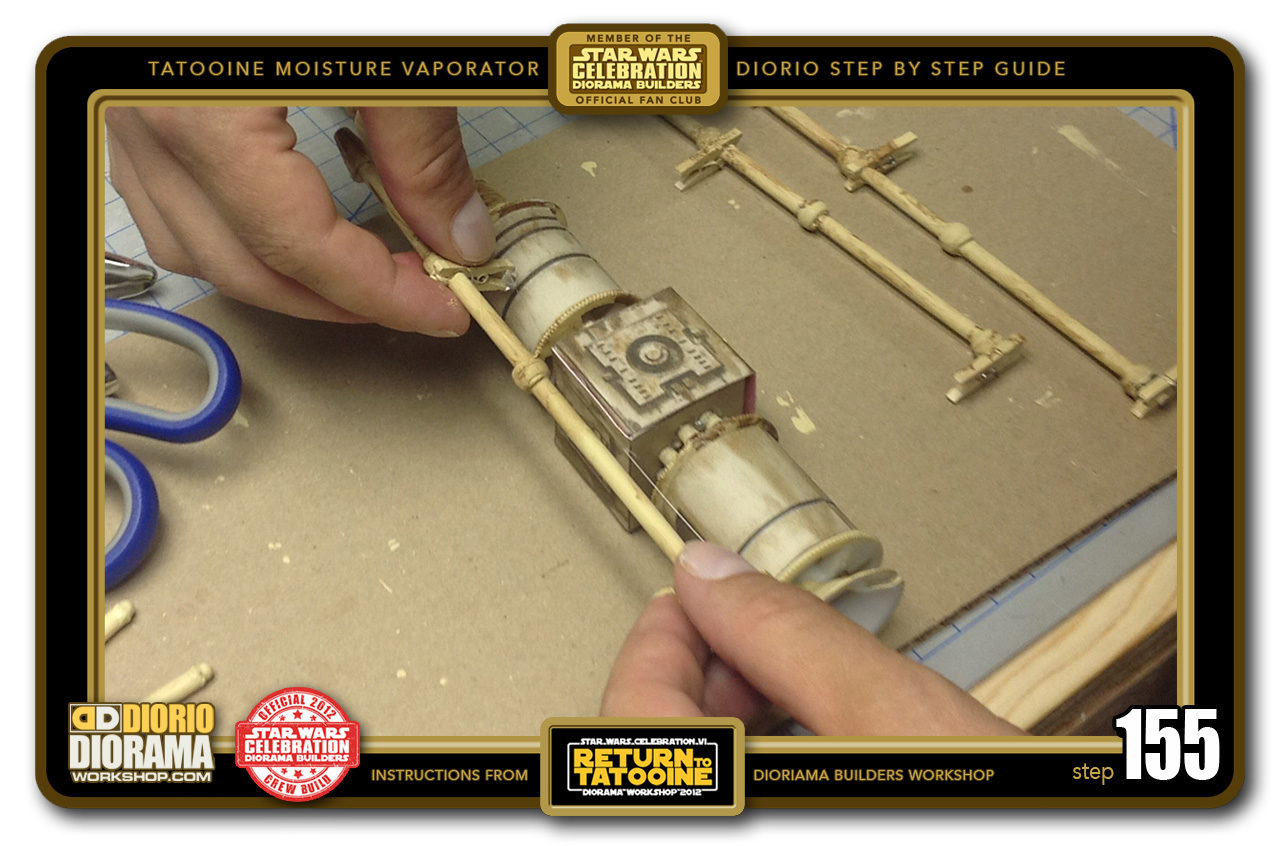
- STEP 155 > Carefully align the miniature clothespins with the 2 spools and press into place.
-
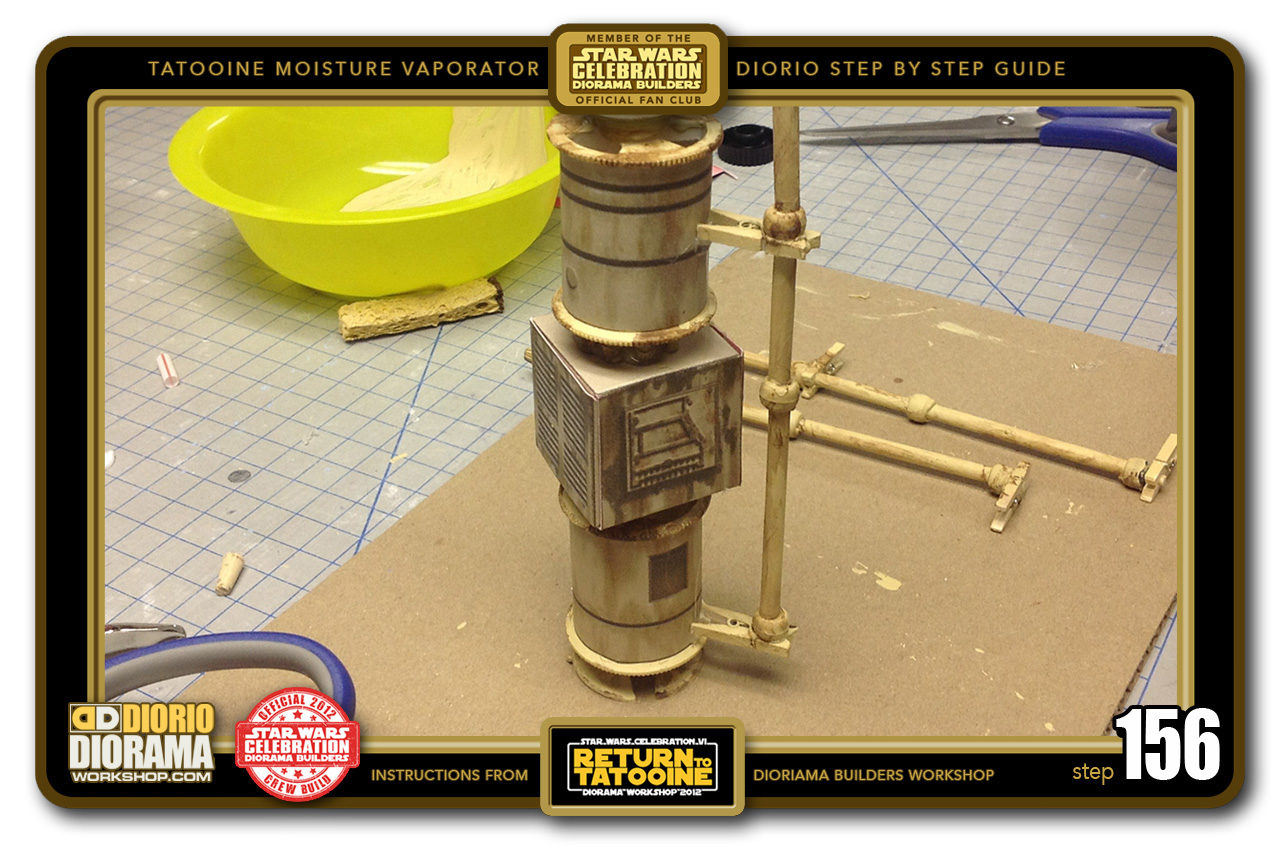
- STEP 156 > You can see here how the miniature clothes pins connect with the spools and align with the corner of your center cube.
-
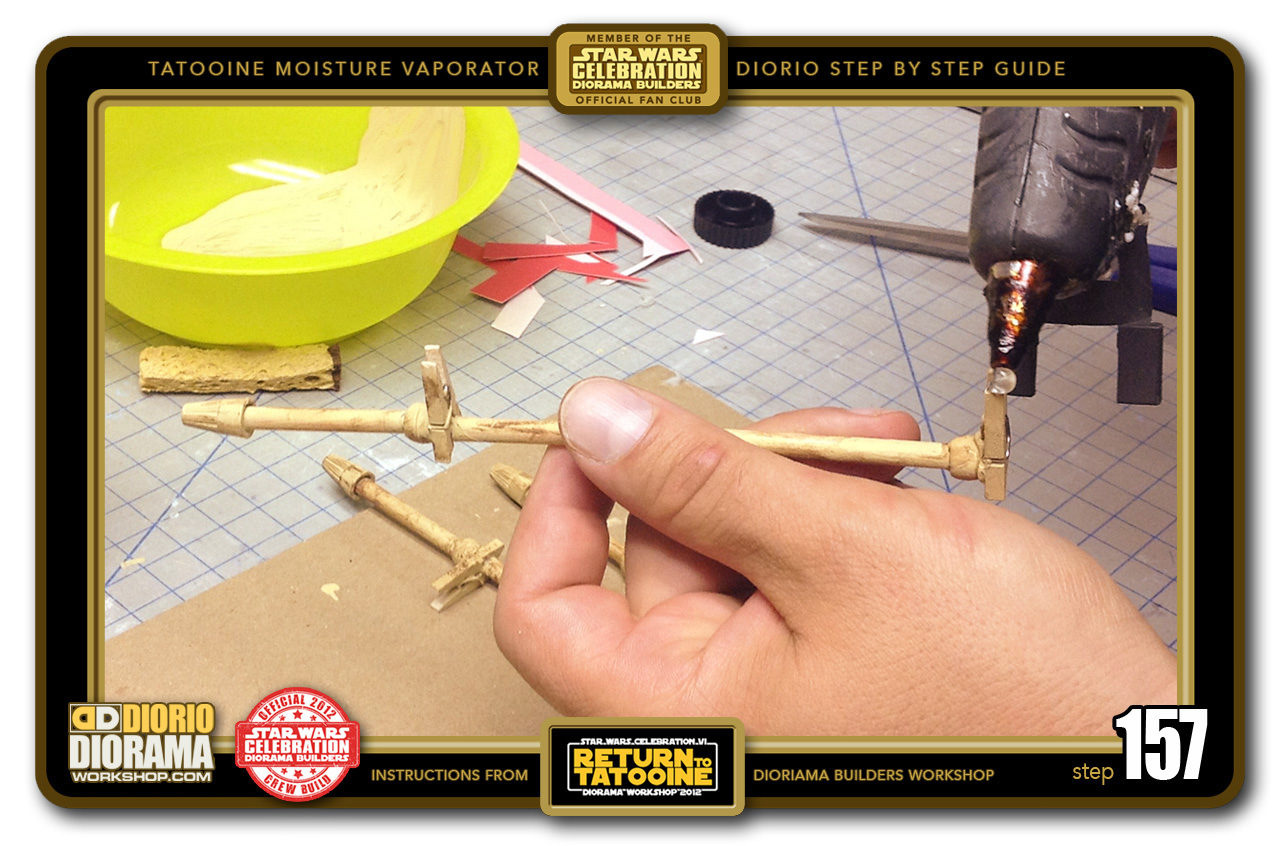
- STEP 157 > Grab another pole and repeat the same steps, hot glue the 2 tips of the bottom miniature clothes pin.
-
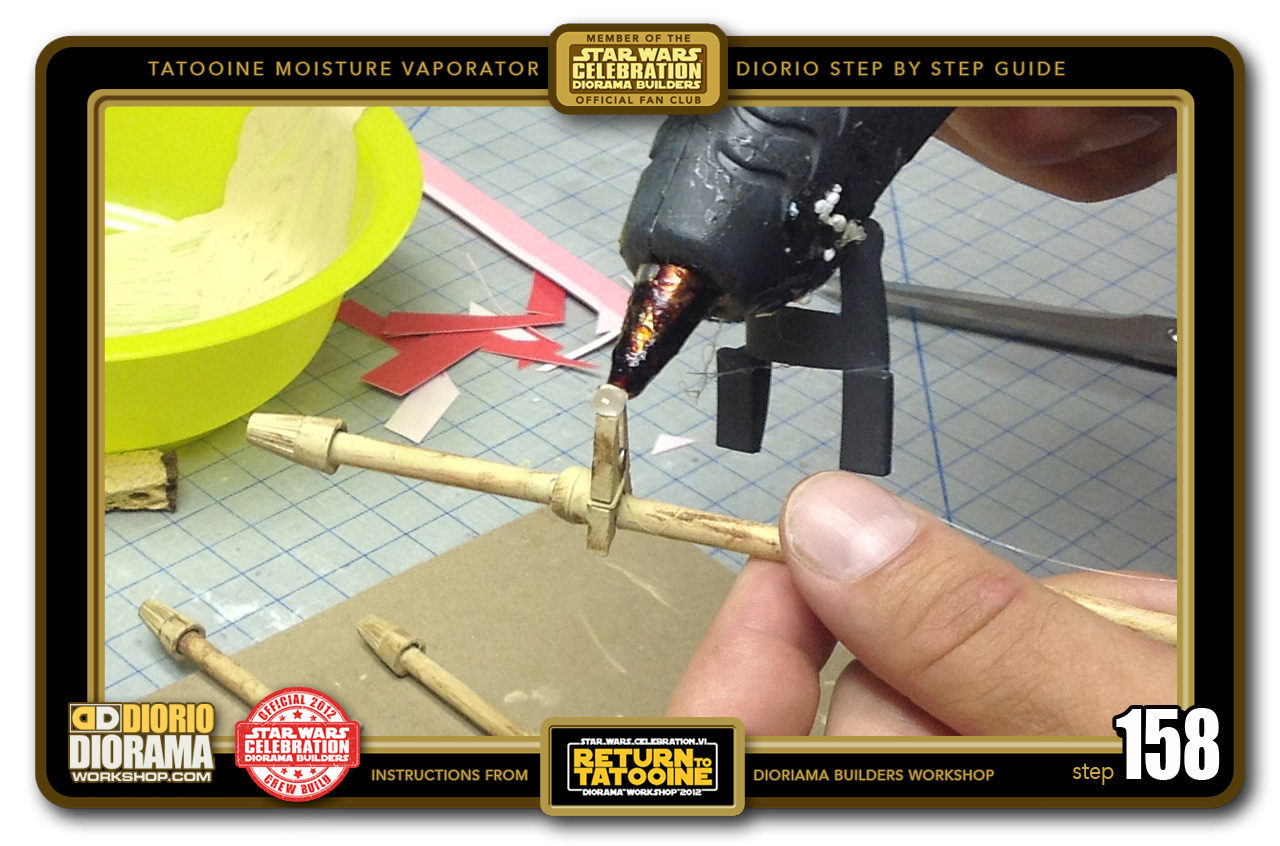
- STEP 158 > An dthe 2 tips of the top miniature clothes pin.
-
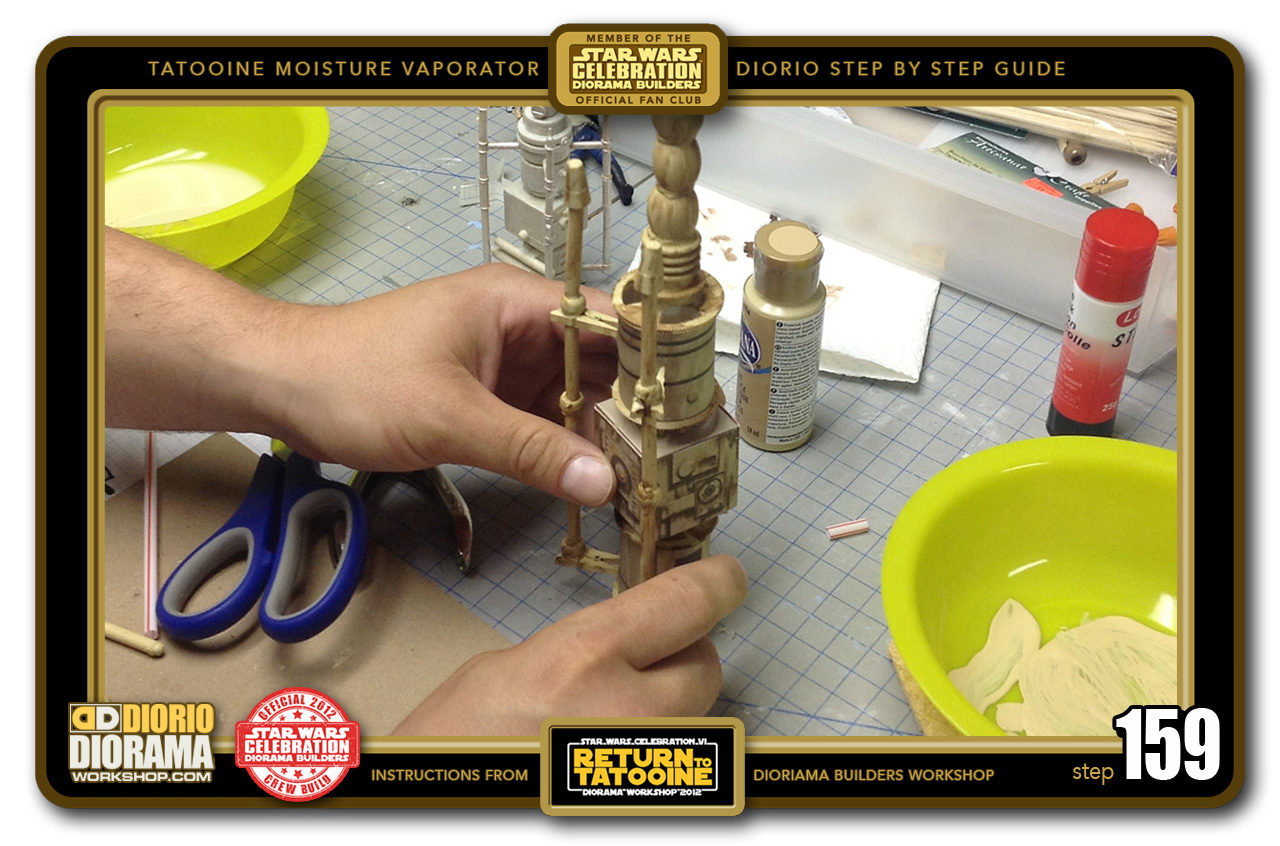
- STEP 159 > Align with the next corner and press into place. Hold for a few seconds until the hot glue cools down.
-

- STEP 160 > half way done. looking great !!!

.
Did you already build this Diorama ? At home or at our Star Wars Celebration Diorama Builders workshop ? Would you like to show it in the site’s GALLERY VISITORS DIORAMAS section, YES ? That is Awesome !!! You can find out all the details on how to email me your photos on the VISITORS SUBMISSIONS INFO page … When I get your photos, I will create your very own page just like this one. You may not realize it but work does inspire others to join in the fun of making Action Figure Dioramas.
.
NOT FOR RESALE ALL Decals, tutorials and artwork are ©FrankDiorio (dioramaworkshop.com) and offered FOR FREE to the fans – that would be you ? so you can build and display my diorama designs in your very own home. I realize I cannot control what one does with my graphics once I place them on the web, I can only ask you as one fan to another, please respect the artist and do not be that jerk who uses my designs and tutorials to build a copy of my work only to sell it on EBAY or trade/sale groups and forums. Thank You. Frank.
![]() Catch up with fellow visitors and exchange stories, read cool interviews with the crew, exchange photos, fun surprises and grab some FAN ONLY merchandise next year at actual future conventions ?
Catch up with fellow visitors and exchange stories, read cool interviews with the crew, exchange photos, fun surprises and grab some FAN ONLY merchandise next year at actual future conventions ?
.
©2018 Frank Diorio DioramaWorkshop.Com
.
IF YOU LIKE WHAT YOU SEE, PLEASE SHARE WITH YOUR FRIENDS
USING THE SOCIAL MEDIA BUTTONS BELOW