


-
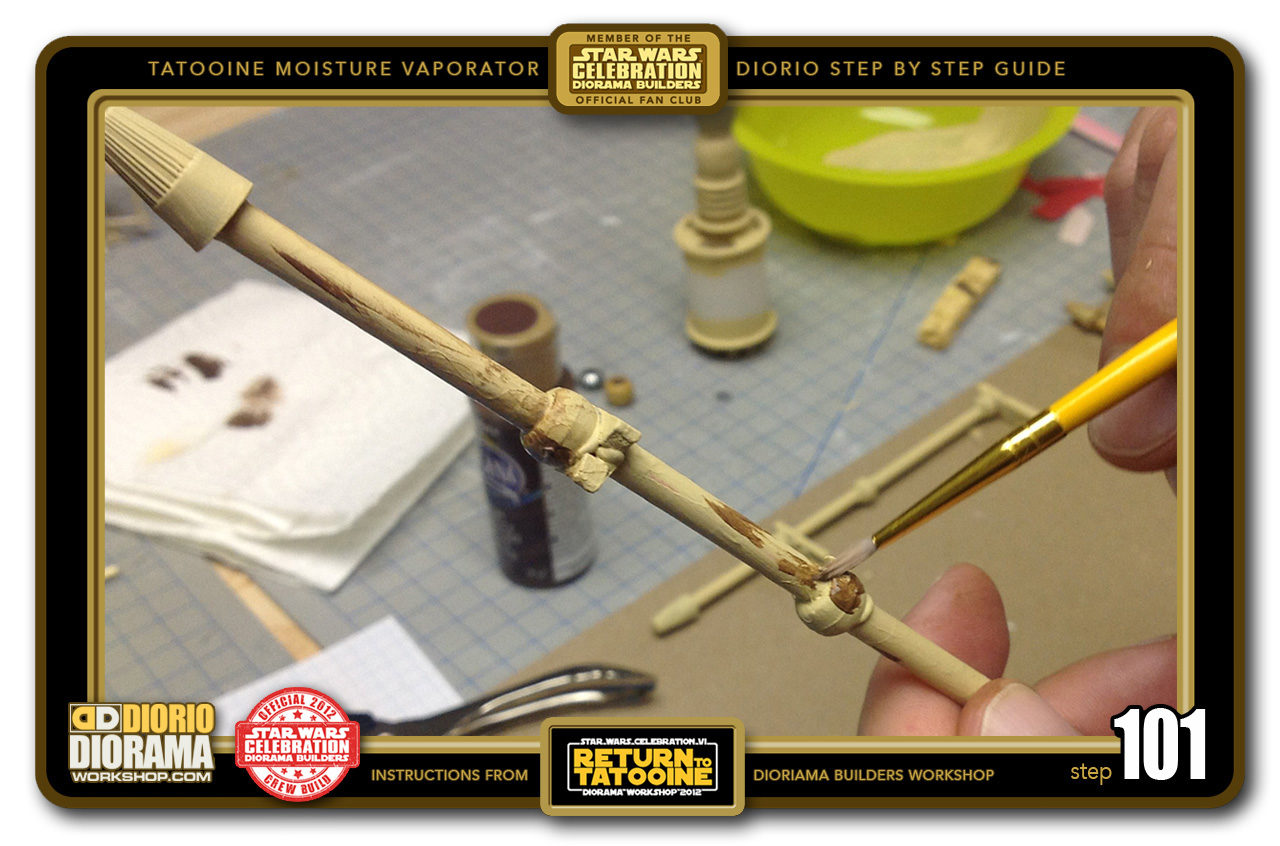
- STEP 101 > use dark brown paint down the straws and beads as well. Anywhere you like, there are no specific rules for you where to place the paint here.
-
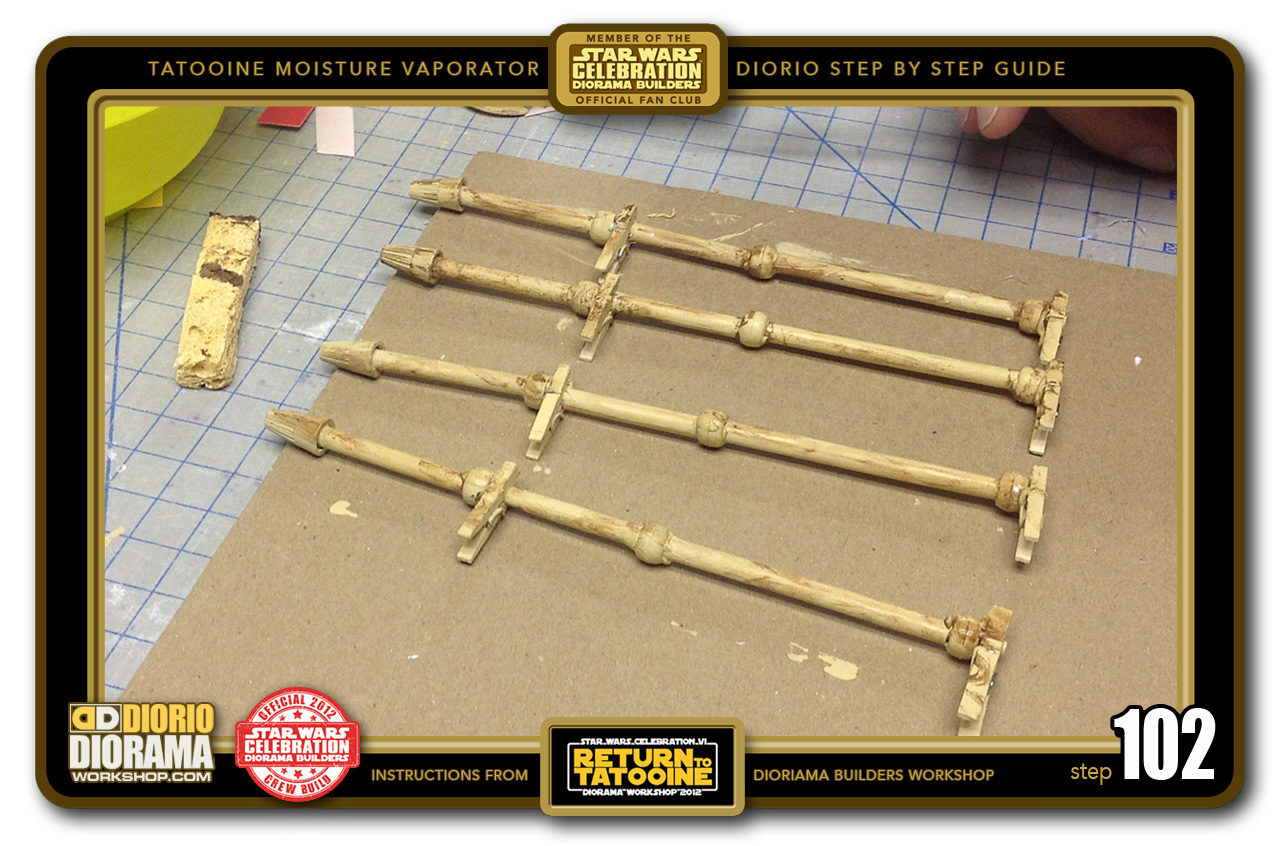
- STEP 102 > When you are happy with the look of your 4 poles, place them on a cardboard to let dry for a couple of minutes.
-
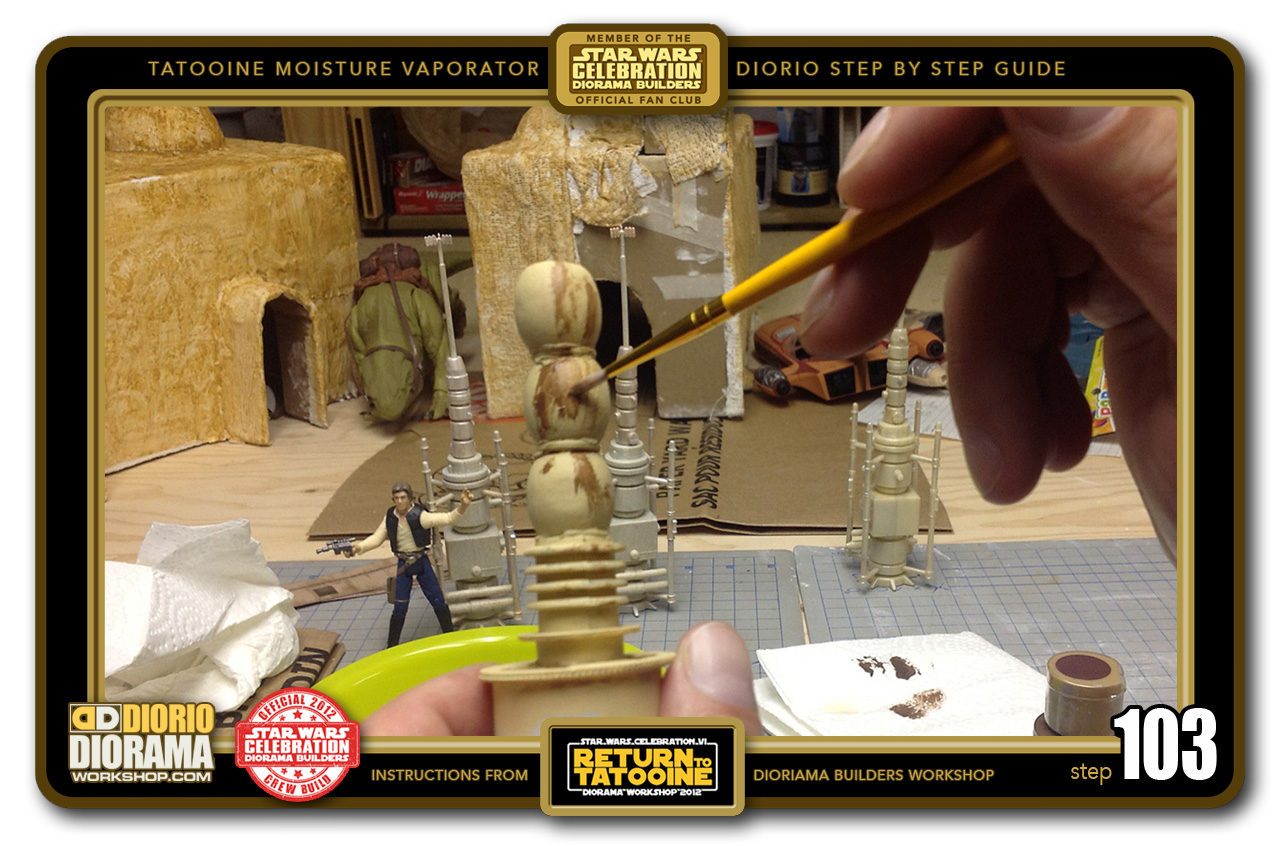
- STEP 103 > Move on to weather detail your top spool and beads stack.
-
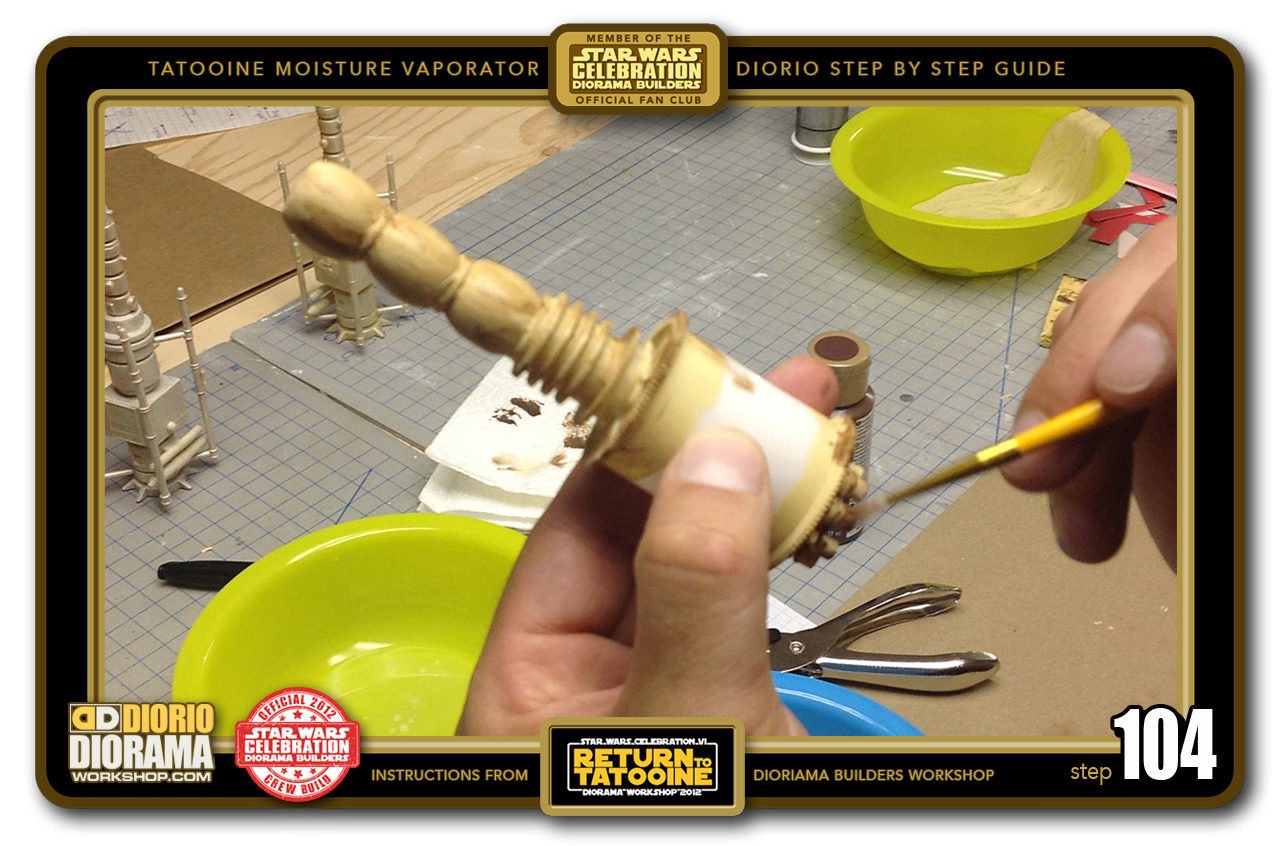
- STEP 104 > Don't forget the caps at the bottom of the spool 🙂 If you think your drips are too dark, you can just dip the brush in water only and pass over your paint to dilute it and make it less evident.
-
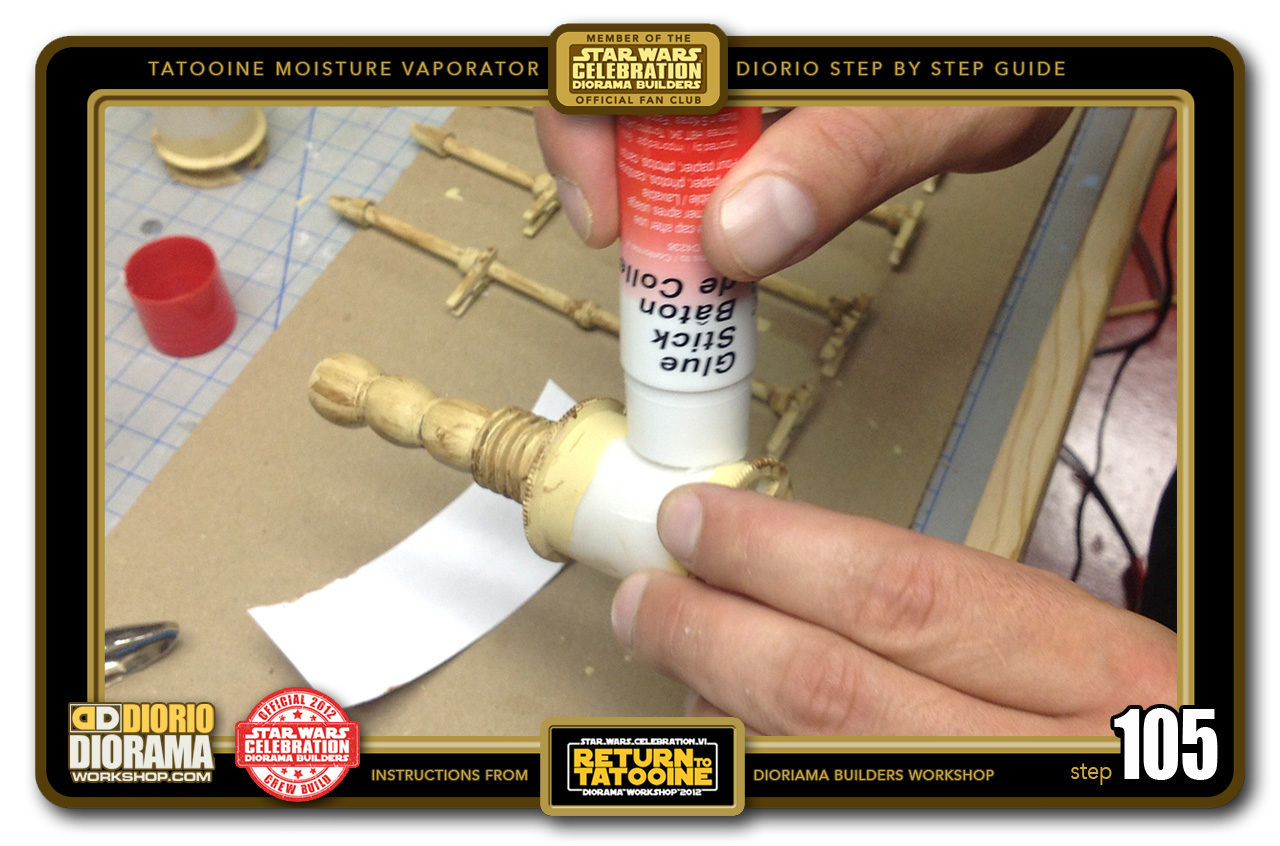
- STEP 105 > Once the paint is dry, we can apply the spool decal skins. Use a gluestick to apply glue all around your top spool.
-
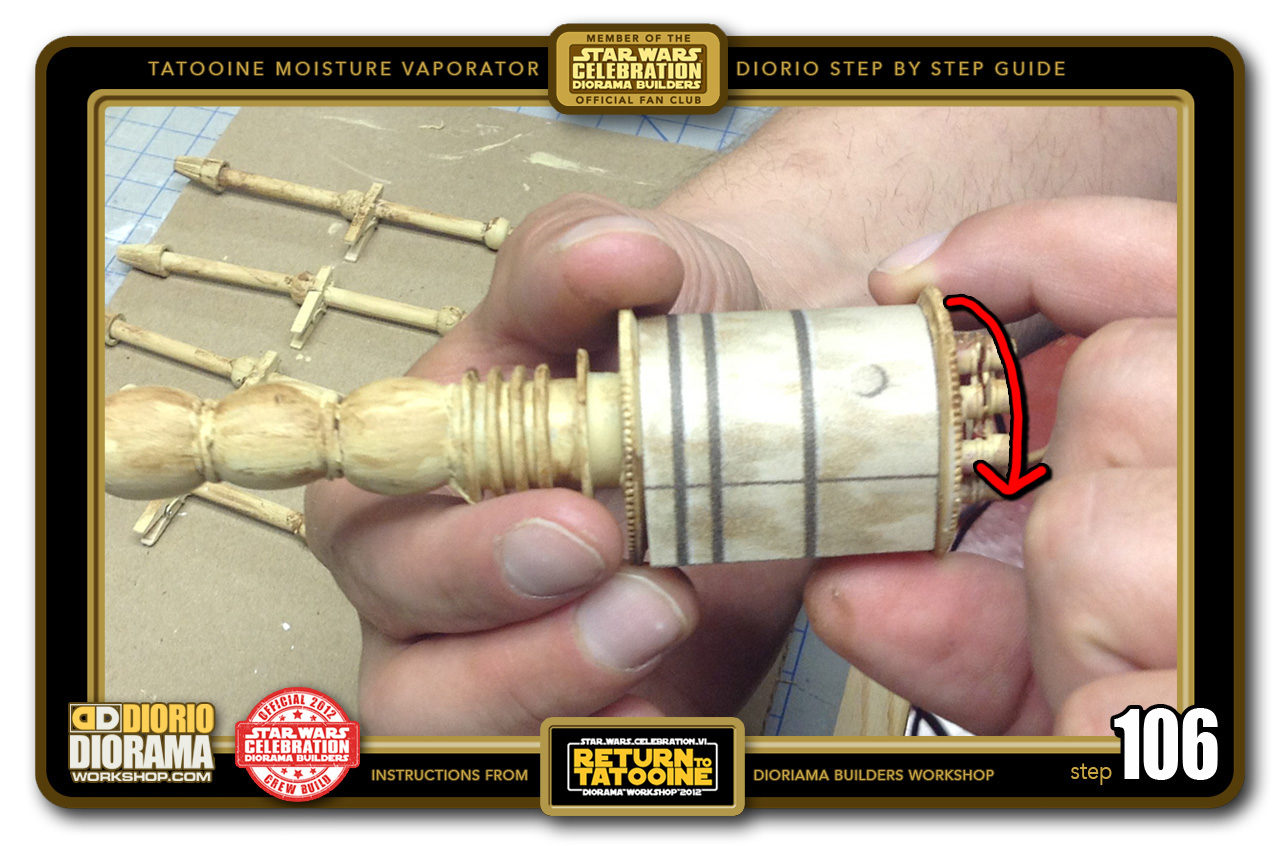
- STEP 106 > IMPORTANT: Use the decal that has 3 lines with the 2 close lines being the top. Carefully place your decal on your top spool, wrap and press the first edge. Because you use gluestick, it takes longer to dry and allows you to wiggle the decal into the perfect position.
-
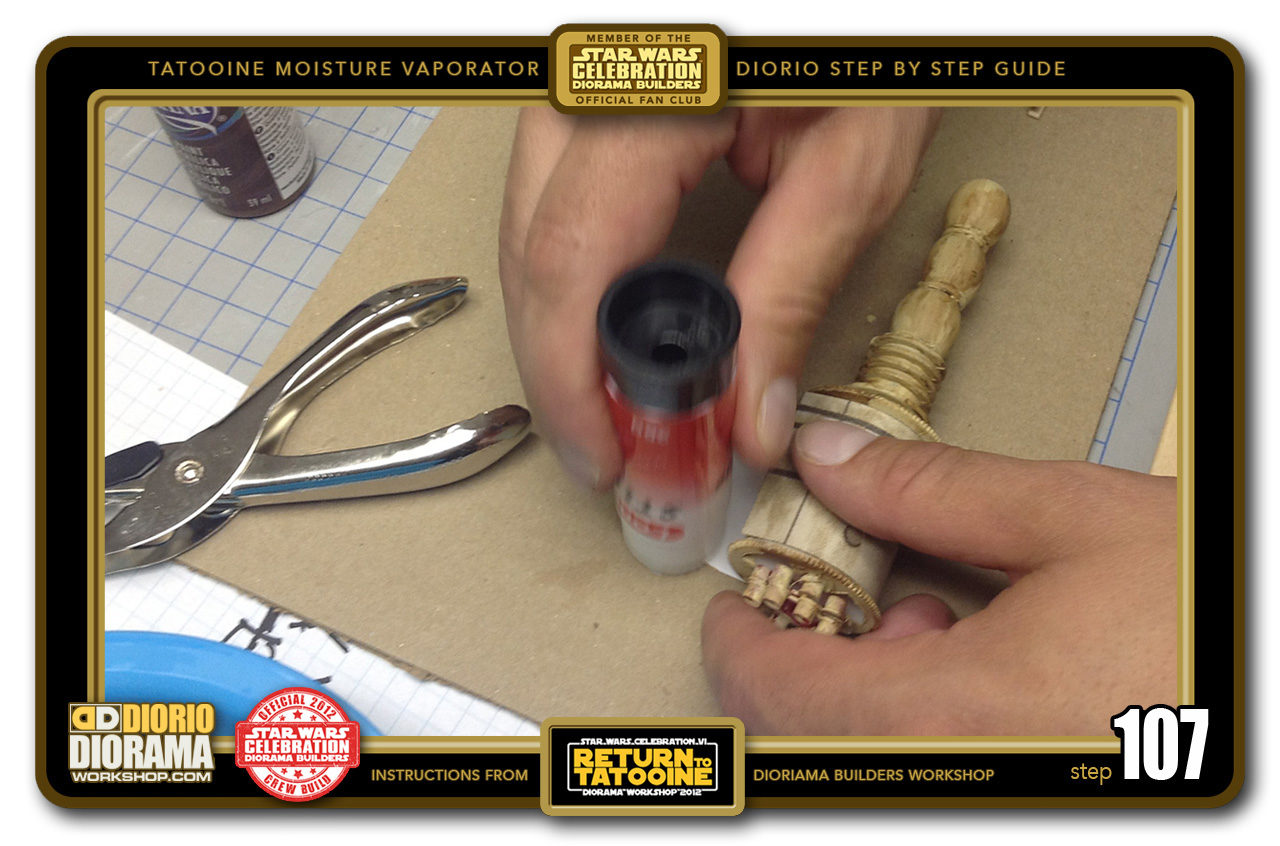
- STEP 107 > Now place the spool on a clean cardboard and apply the gluestick to the back of your decal skin. You get a better view of this in the Step 112 photo.
-
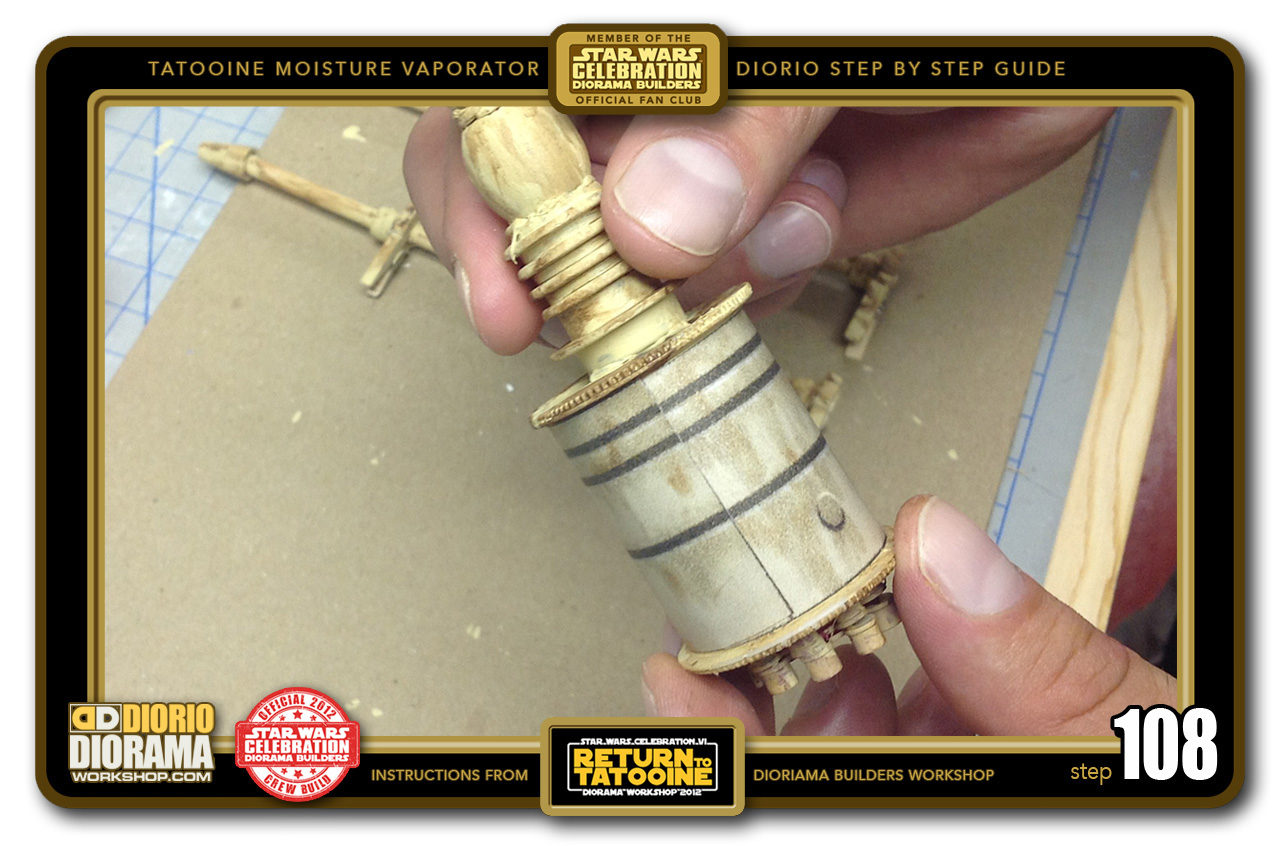
- STEP 108 > Wrap the decal around until it connects to the opposite edge. Try to align the lines asa much as possible to hide the seam.
-
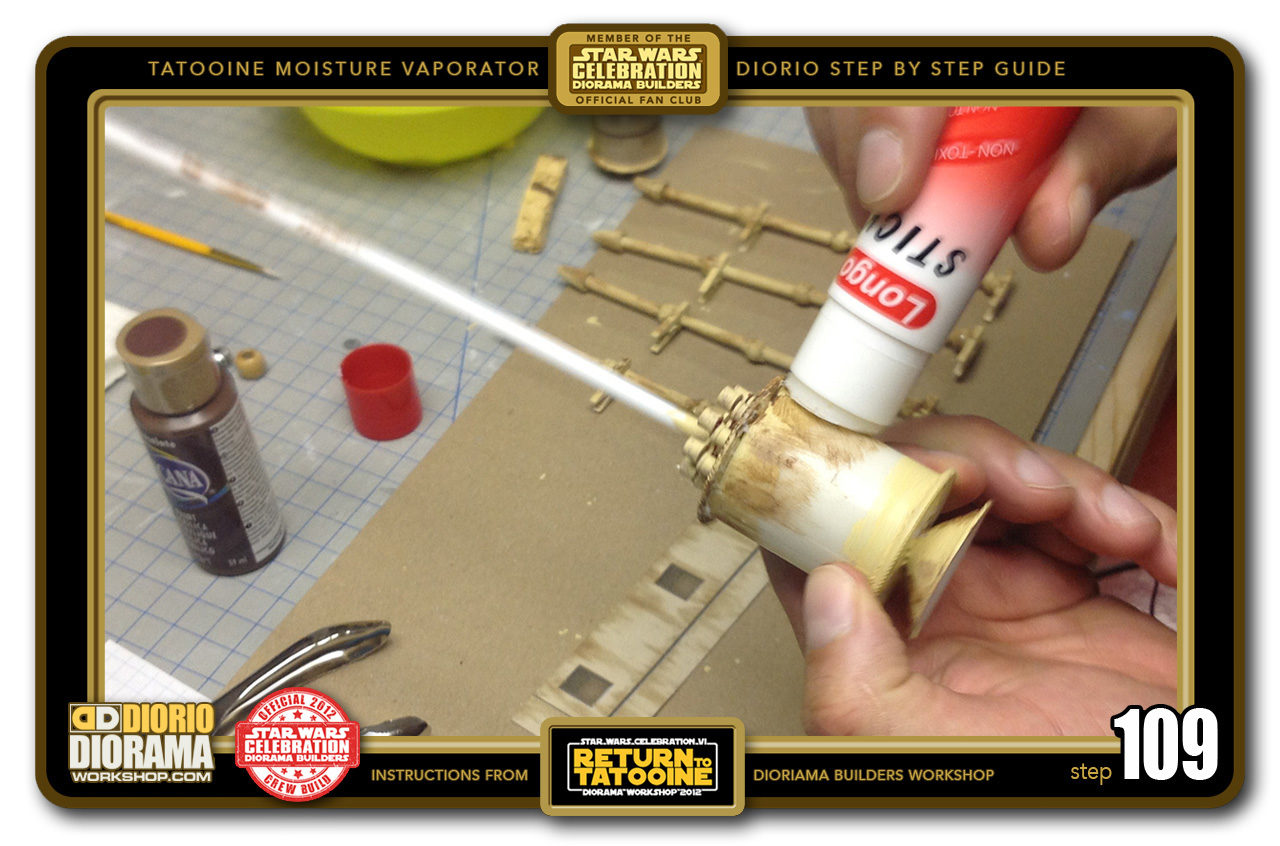
- STEP 109 > Let's do the bottom spool now. Put some gluestick glue all around the spool.
-

- STEP 110 > Take your bottom decal skin and place it onto the spool and press one edge againt the surface.
-

- STEP 111 > Keep your fingers pressed along the edge to make sure there are no folds or bubbles.
-
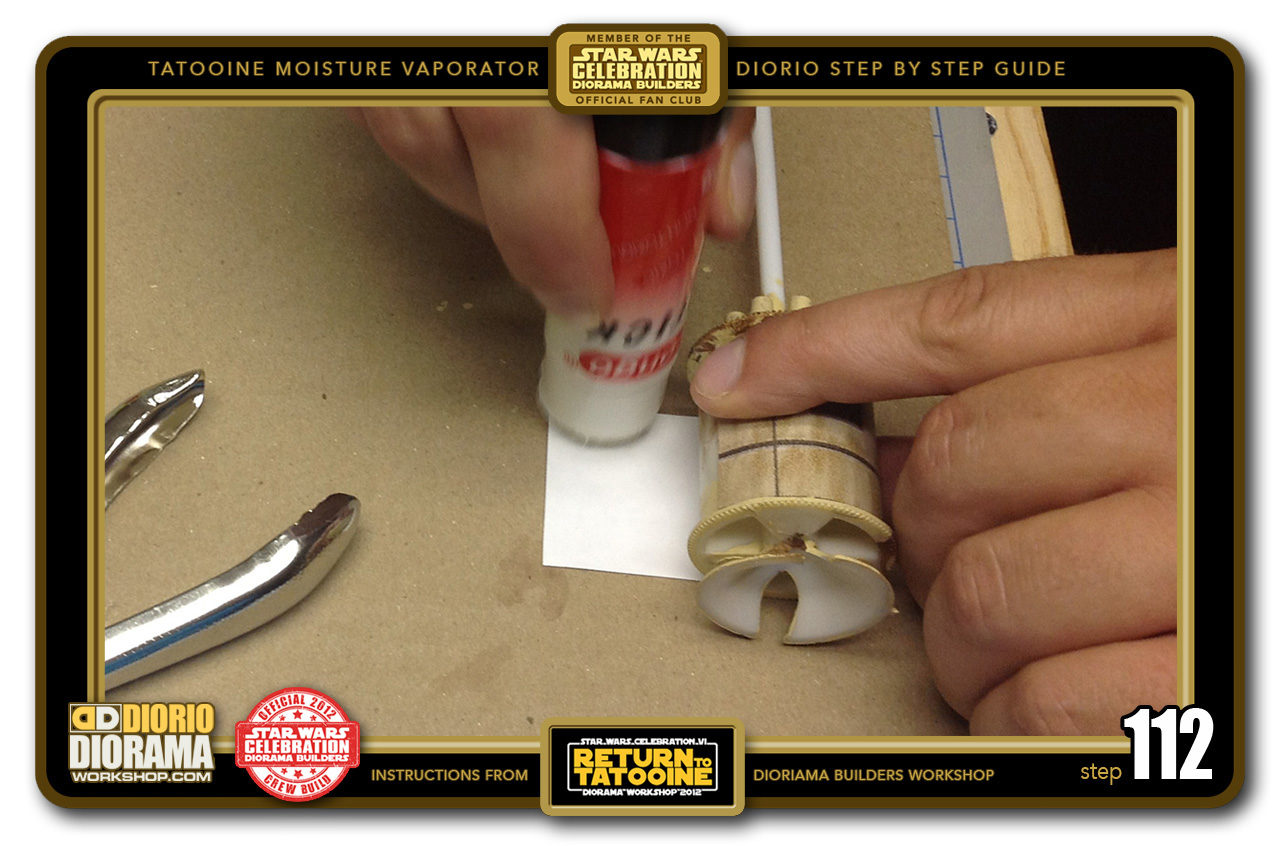
- STEP 112 > Put your spool down onto a clean cardboard and use the gluestick on the decal edges
-
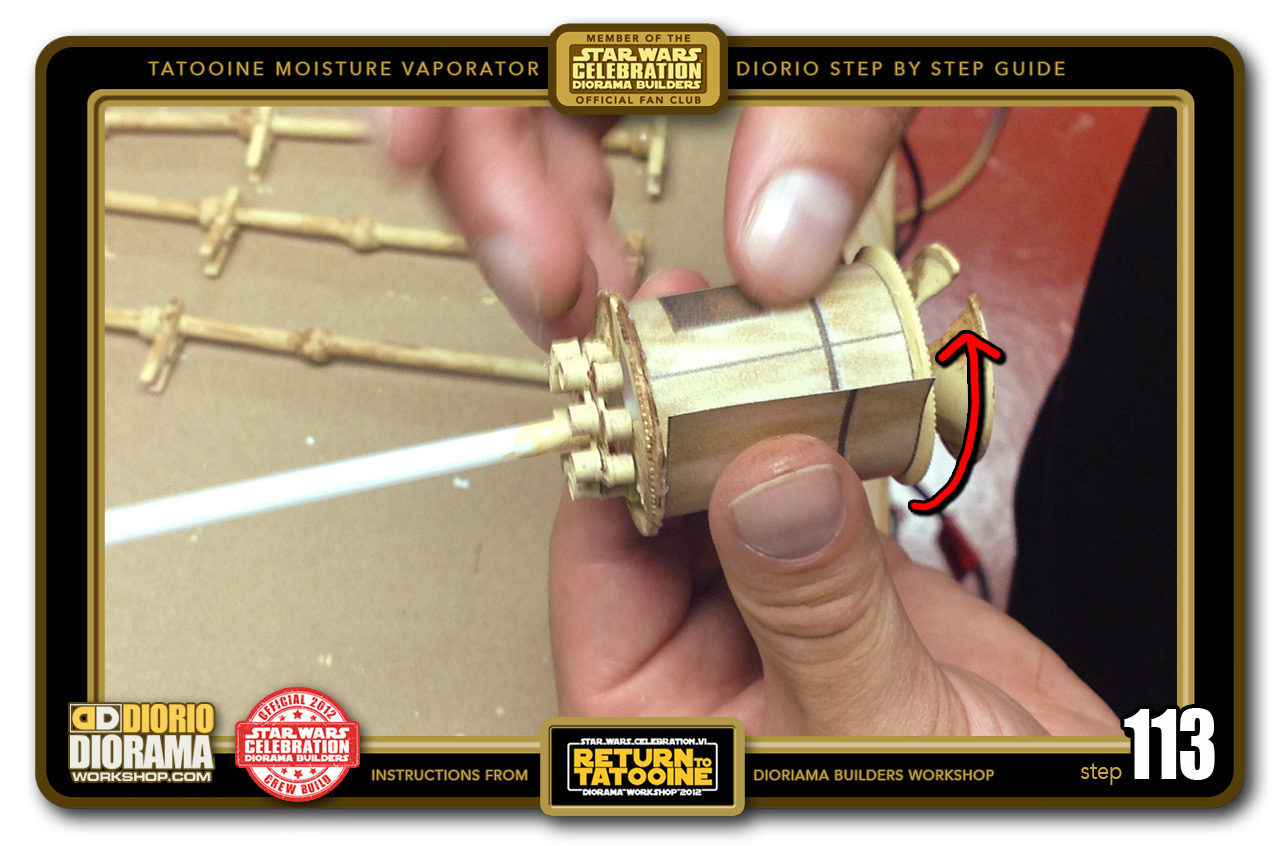
- STEP 113 > Carefully wrap the rest of the decal skin all the way around the spool until you connect with the other side.
-
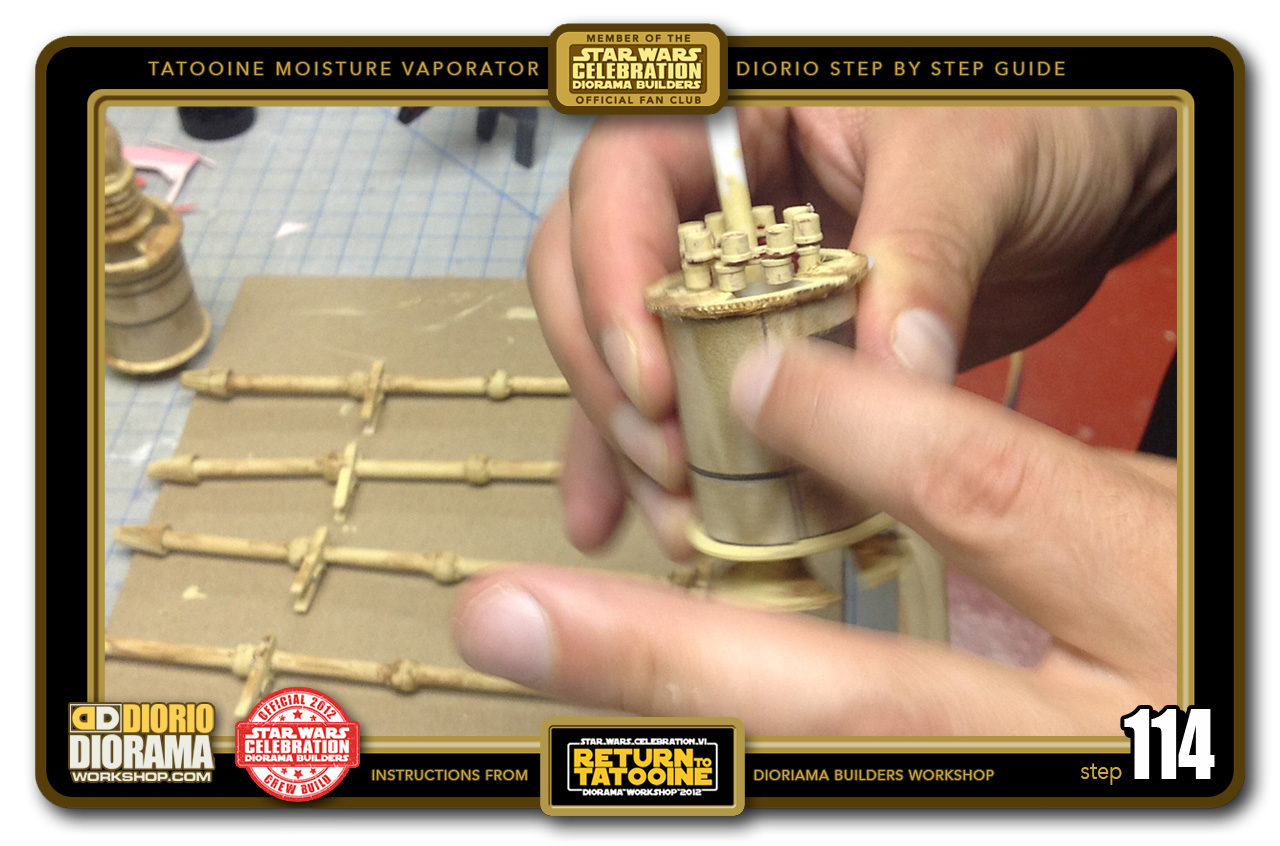
- STEP 114 > Use your fingers to press the edge against the other side of the decal trying to align as close as possible to hide the seam.
-
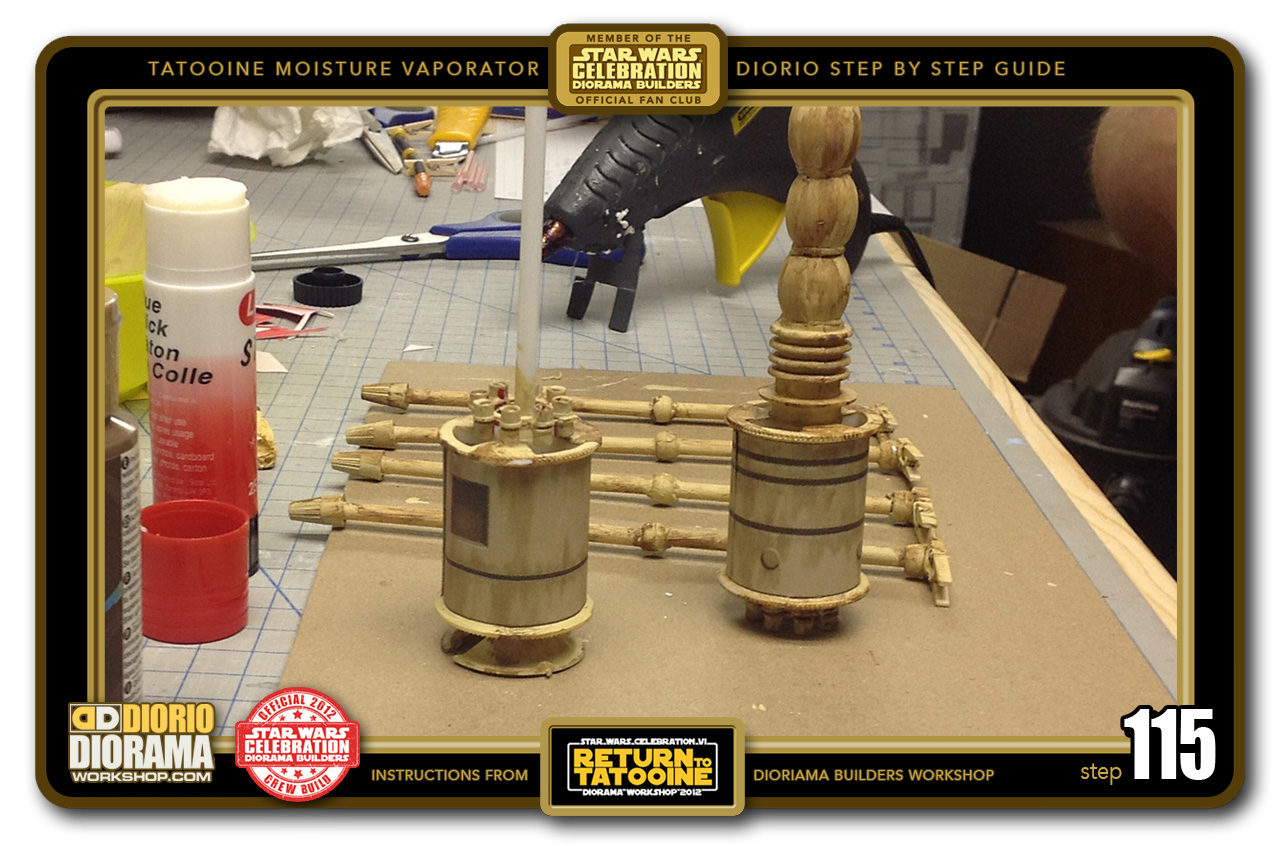
- STEP 115 > You now have texture decal skins and your sppols don't really look like spools no more do they 🙂
-
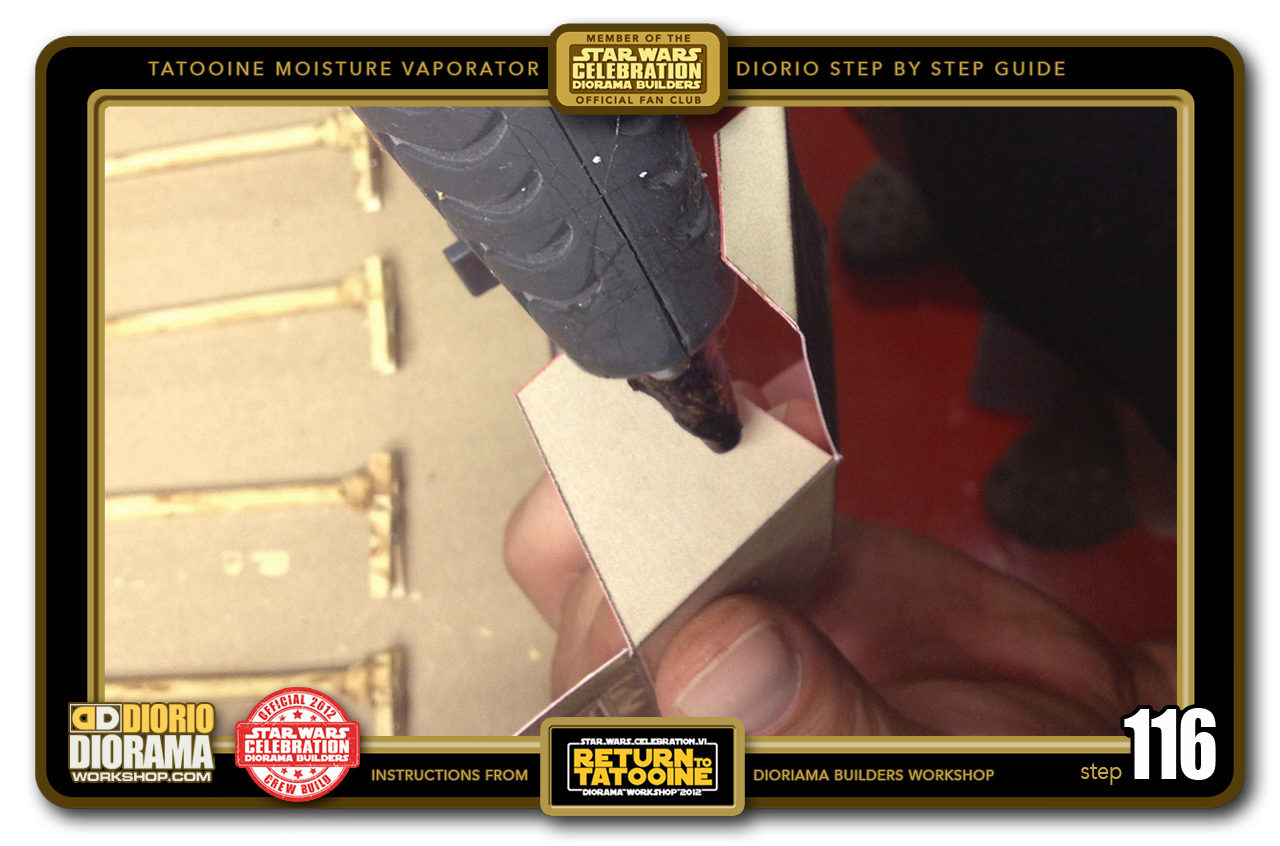
- STEP 116 > Let's now assemble our center cube. We can use hot glue or glue stick for this but hot glue will dry faster. Put some glue on one of the side flaps. Fold over the cube side that overlaps it and press and hold them together on a table like you see in Step 118.
-
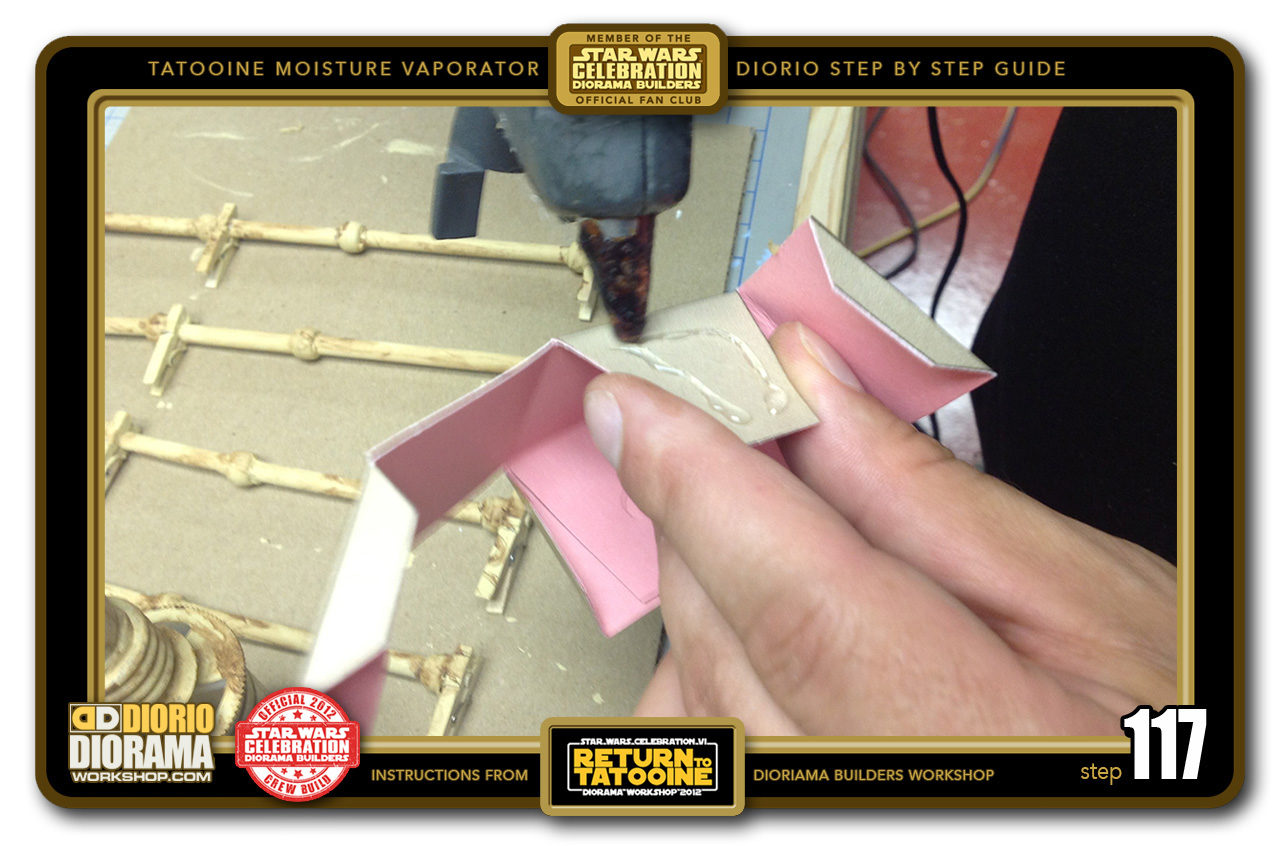
- STEP 117 > Put some glue on the opposite side flap, fold over the side that overlaps.
-
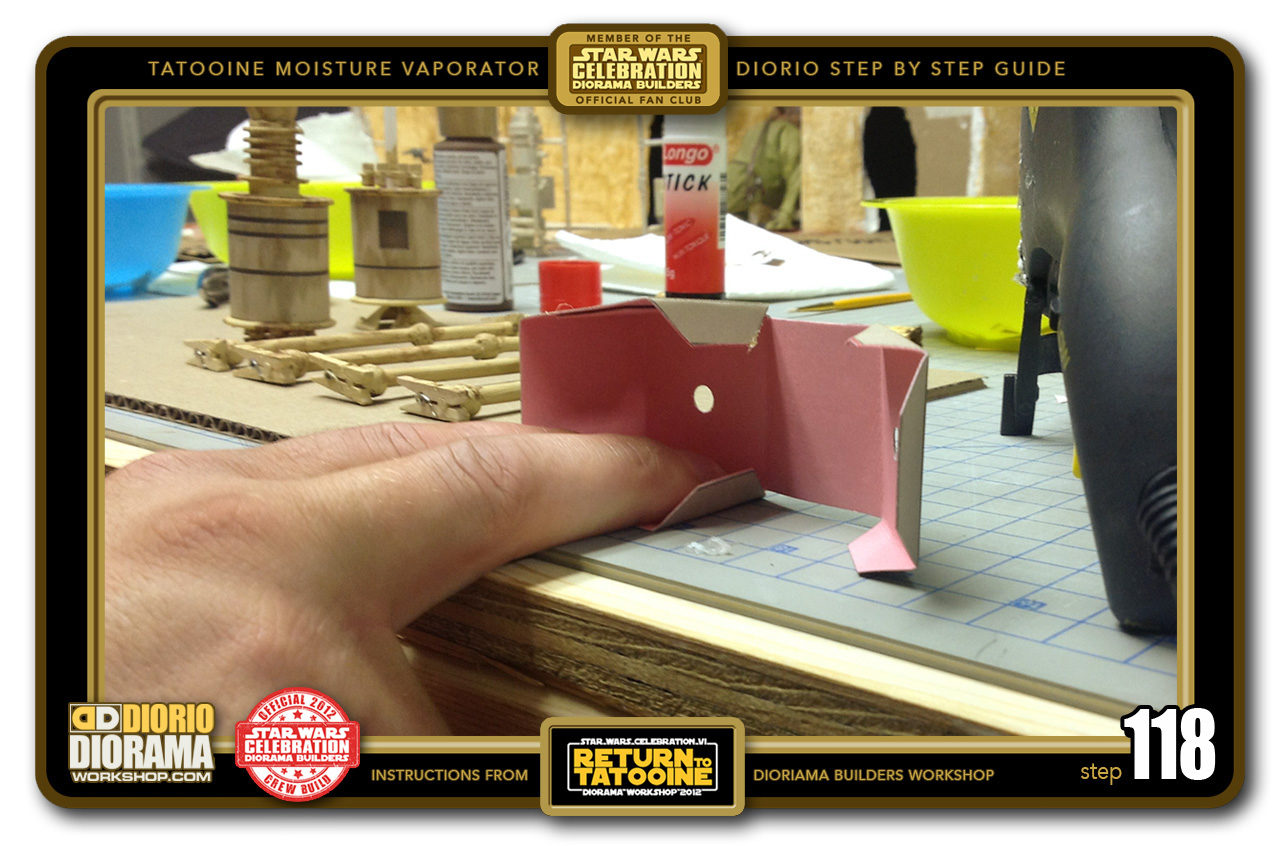
- STEP 118 > Hold both sides down with your fingers until the glue dries.
-
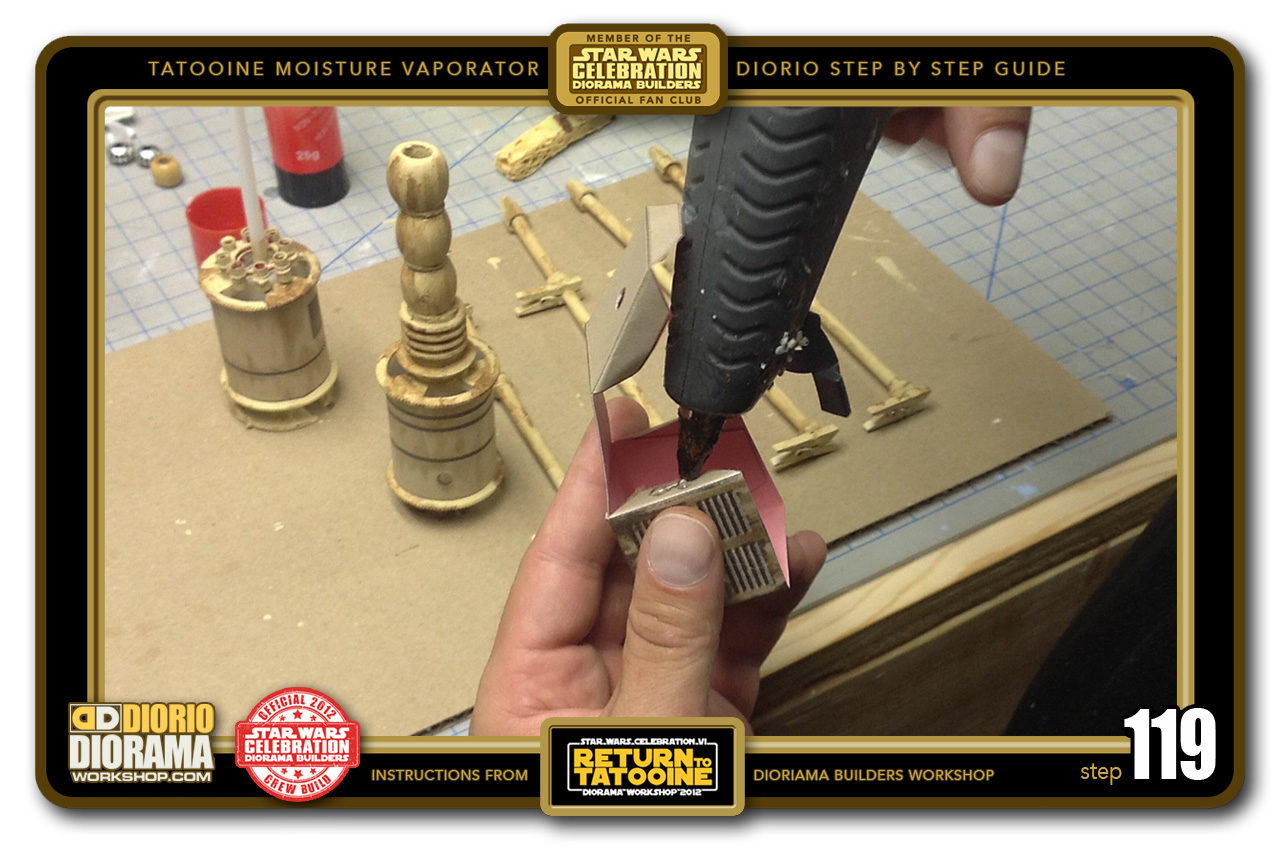
- STEP 119 > Put some hot glue on the short left flap.
-
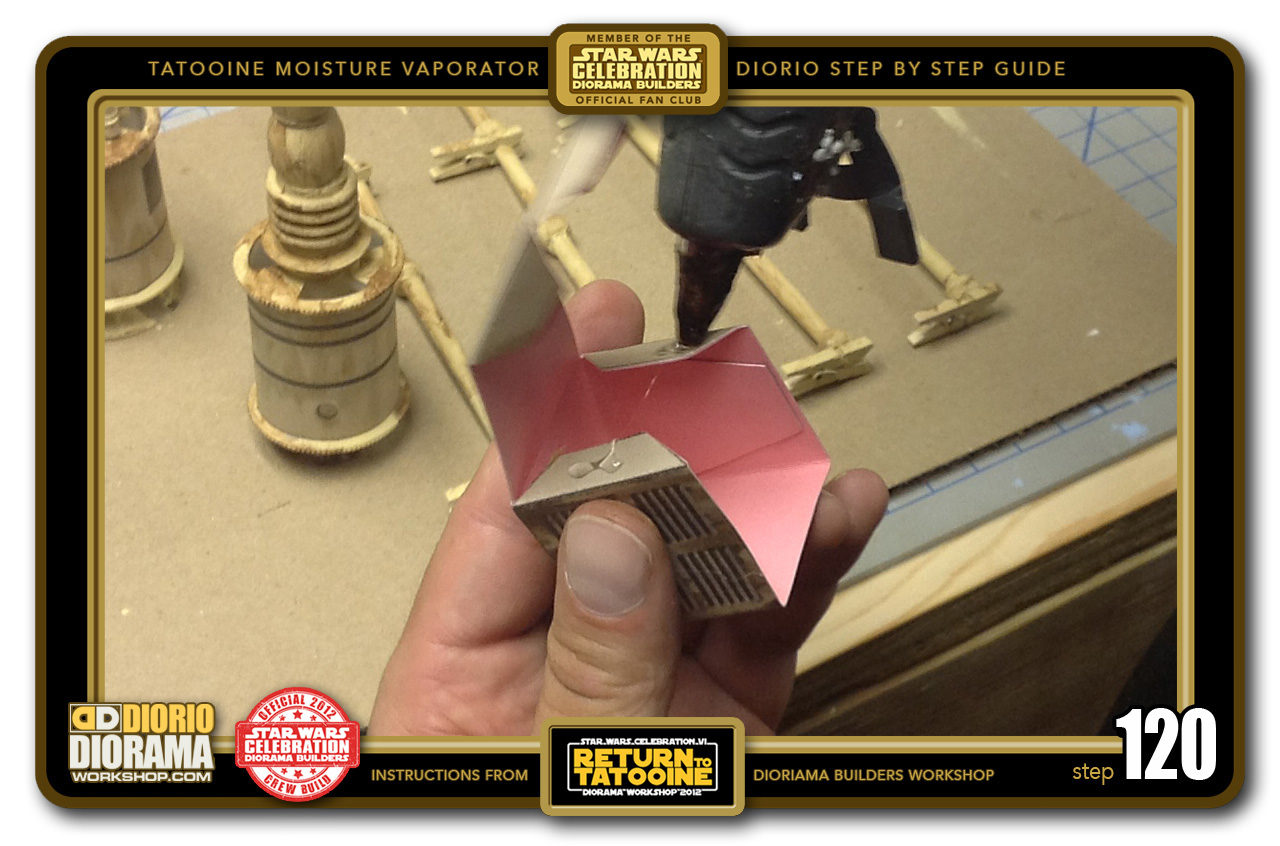
- STEP 120 > Repeat on the right short flap.

.
Did you already build this Diorama ? At home or at our Star Wars Celebration Diorama Builders workshop ? Would you like to show it in the site’s GALLERY VISITORS DIORAMAS section, YES ? That is Awesome !!! You can find out all the details on how to email me your photos on the VISITORS SUBMISSIONS INFO page … When I get your photos, I will create your very own page just like this one. You may not realize it but work does inspire others to join in the fun of making Action Figure Dioramas.
.
NOT FOR RESALE ALL Decals, tutorials and artwork are ©FrankDiorio (dioramaworkshop.com) and offered FOR FREE to the fans – that would be you ? so you can build and display my diorama designs in your very own home. I realize I cannot control what one does with my graphics once I place them on the web, I can only ask you as one fan to another, please respect the artist and do not be that jerk who uses my designs and tutorials to build a copy of my work only to sell it on EBAY or trade/sale groups and forums. Thank You. Frank.
![]() Catch up with fellow visitors and exchange stories, read cool interviews with the crew, exchange photos, fun surprises and grab some FAN ONLY merchandise next year at actual future conventions ?
Catch up with fellow visitors and exchange stories, read cool interviews with the crew, exchange photos, fun surprises and grab some FAN ONLY merchandise next year at actual future conventions ?
.
©2018 Frank Diorio DioramaWorkshop.Com
.
IF YOU LIKE WHAT YOU SEE, PLEASE SHARE WITH YOUR FRIENDS
USING THE SOCIAL MEDIA BUTTONS BELOW