


-
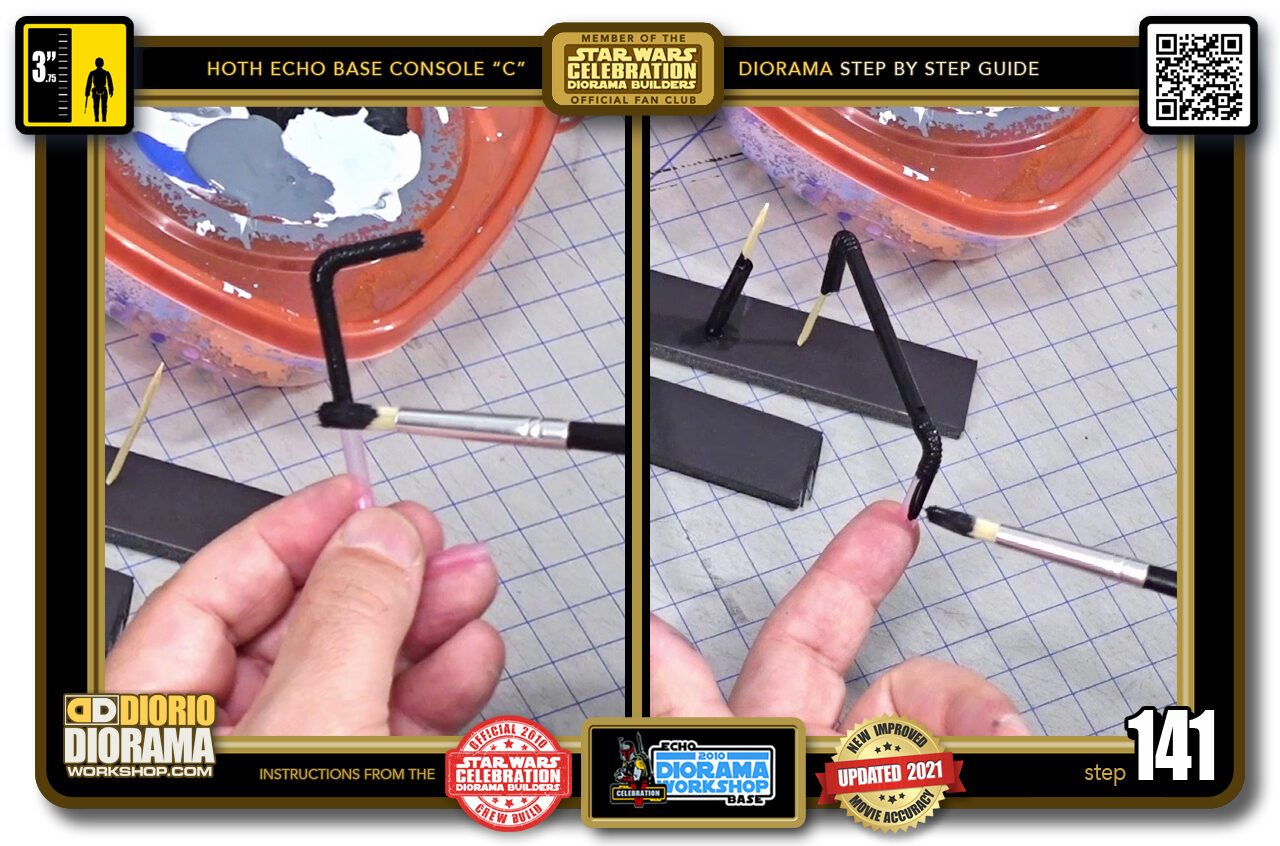
- STEP 141 > Paint your "U" shape straw black (left image). Use a toothpick to hang it on during drying and painting the lower ends (right image) Let these dry as we start to apply the decal skins.
-
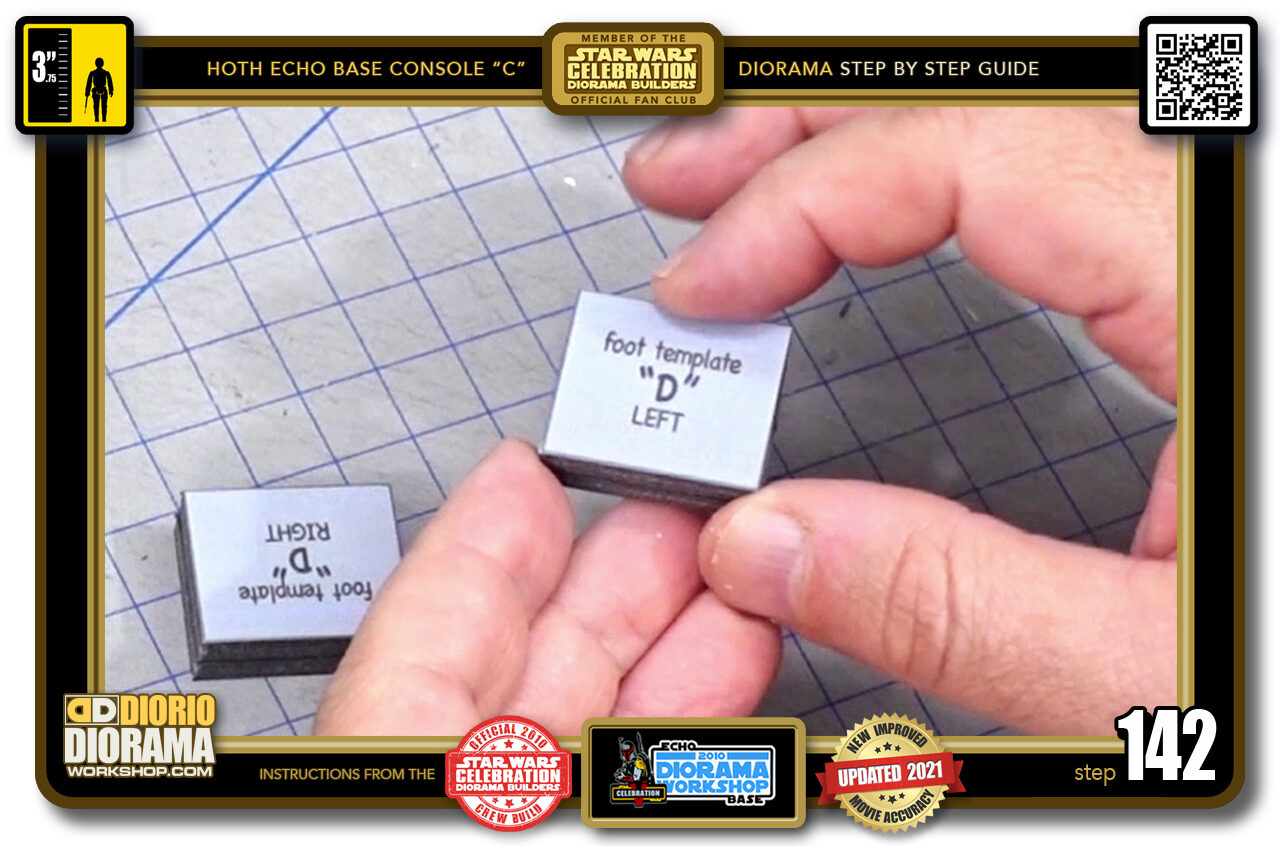
- STEP 142 > Let's start with the easiest. The little "feet" boxes.
-
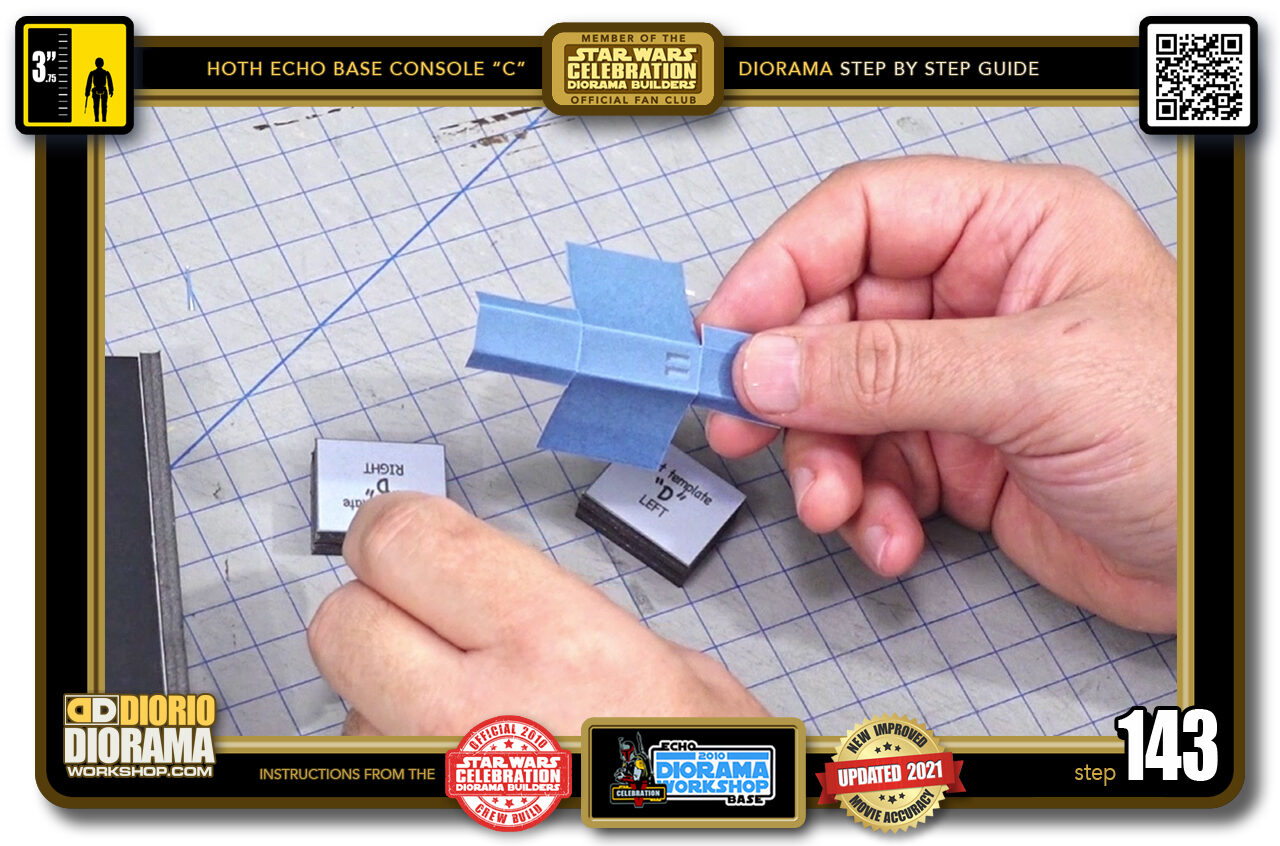
- STEP 143 > These decal skins will wrap around your "feet" boxes
-
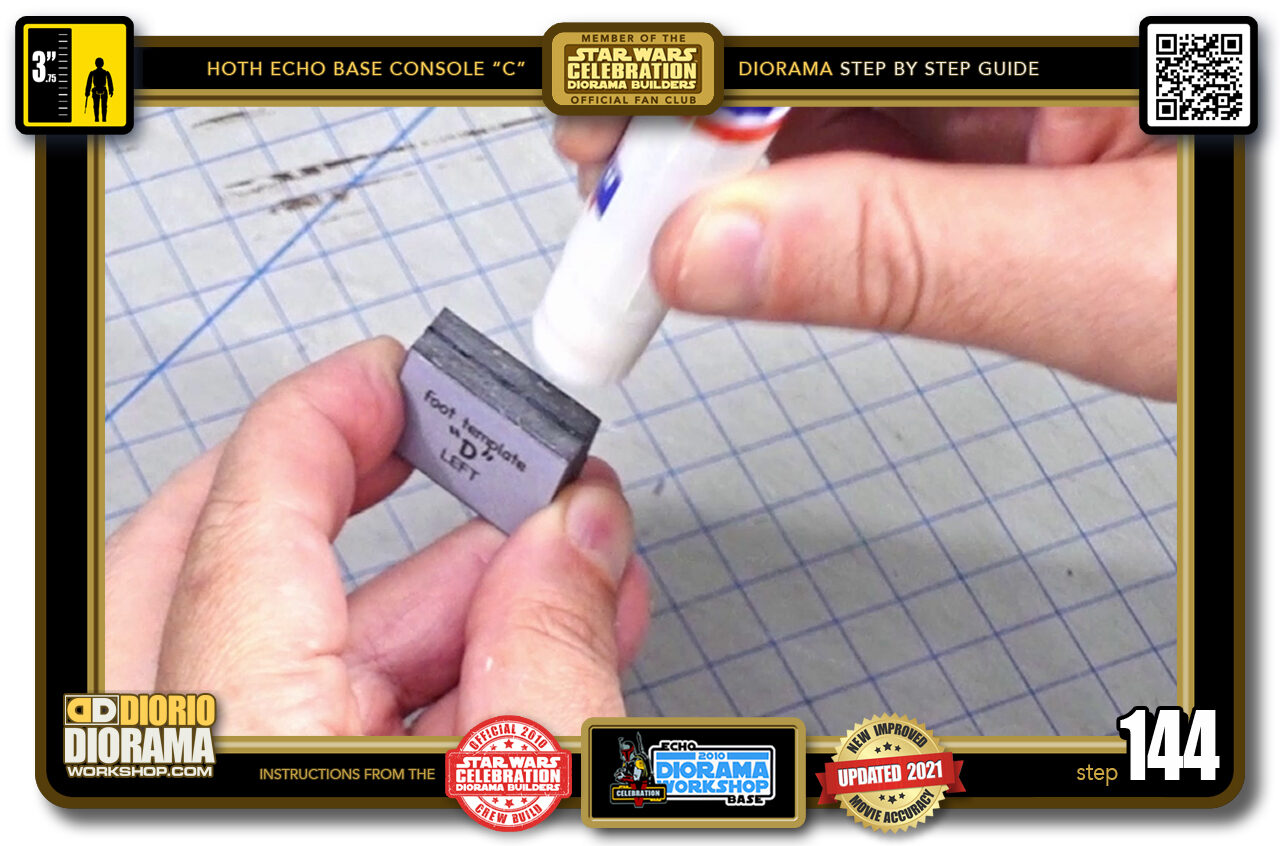
- STEP 144 > Put some gluestick on the TOP side ONLY.
-
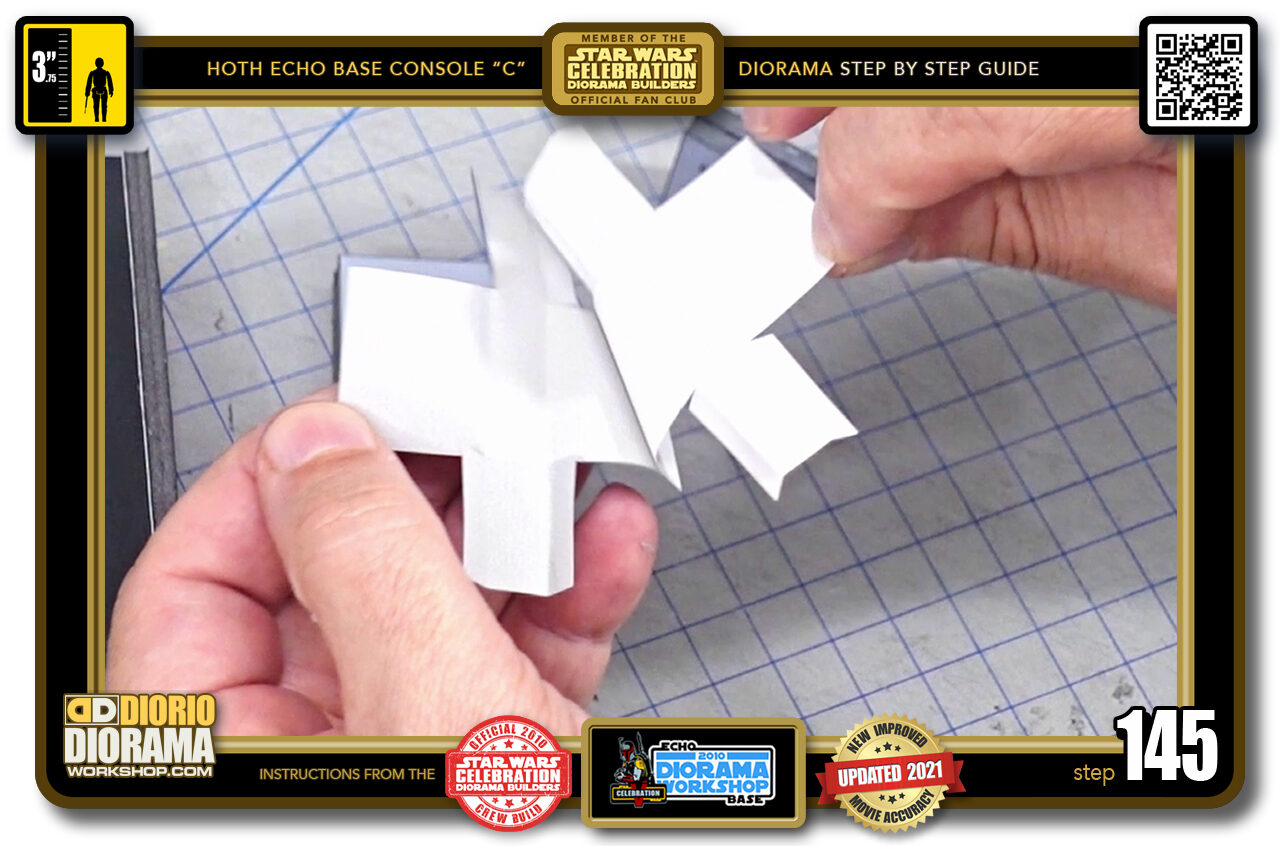
- STEP 145 > Peel back your decal. If you printed on regular paper, just put gluestick on the back of your decal sheet.
-
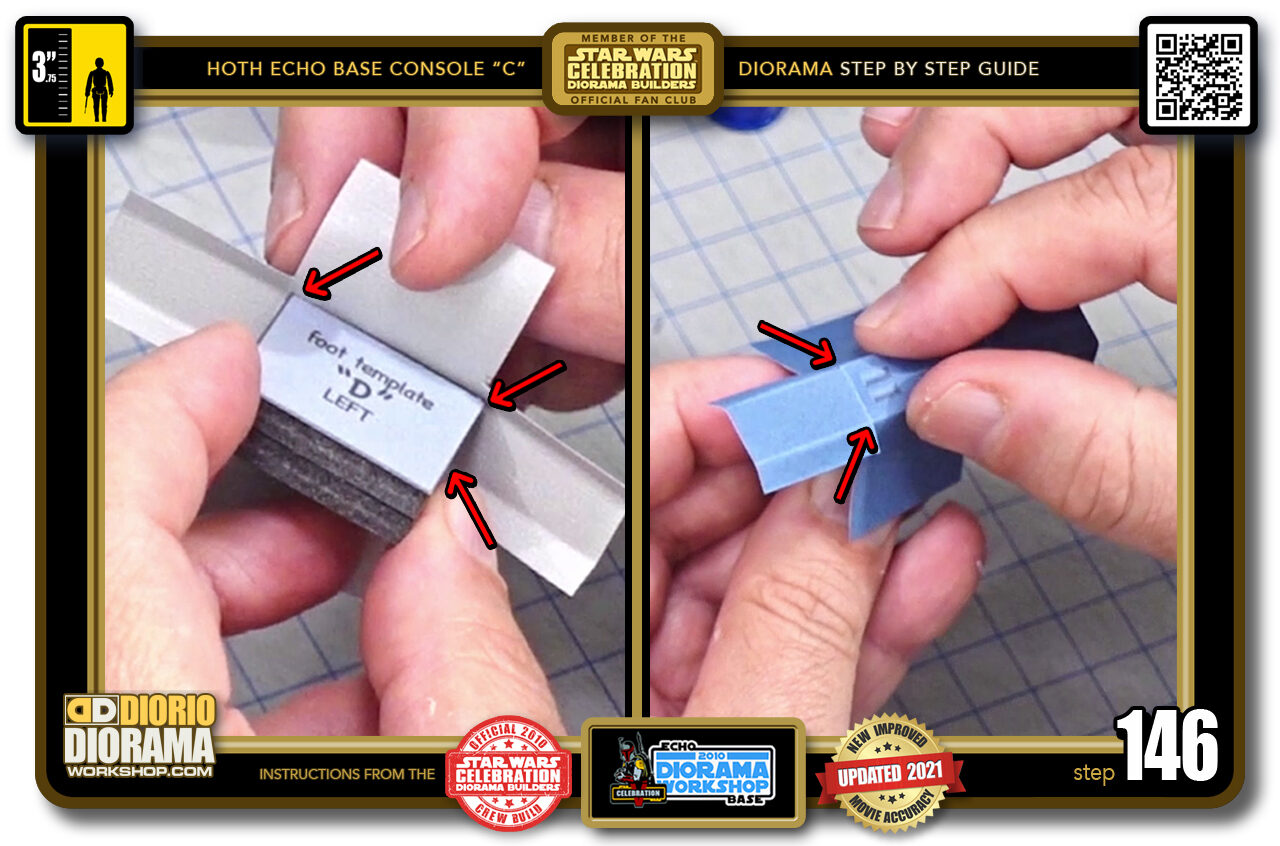
- STEP 146 > You want to align your box TOP with the centre of the folds. It should fit perfectly (left image) When you flip it over, if you feel with your fingers, you should see the decal folding over the edges along the pale blue lines (right image). When you are happy press down on the top securing the decal in place.
-
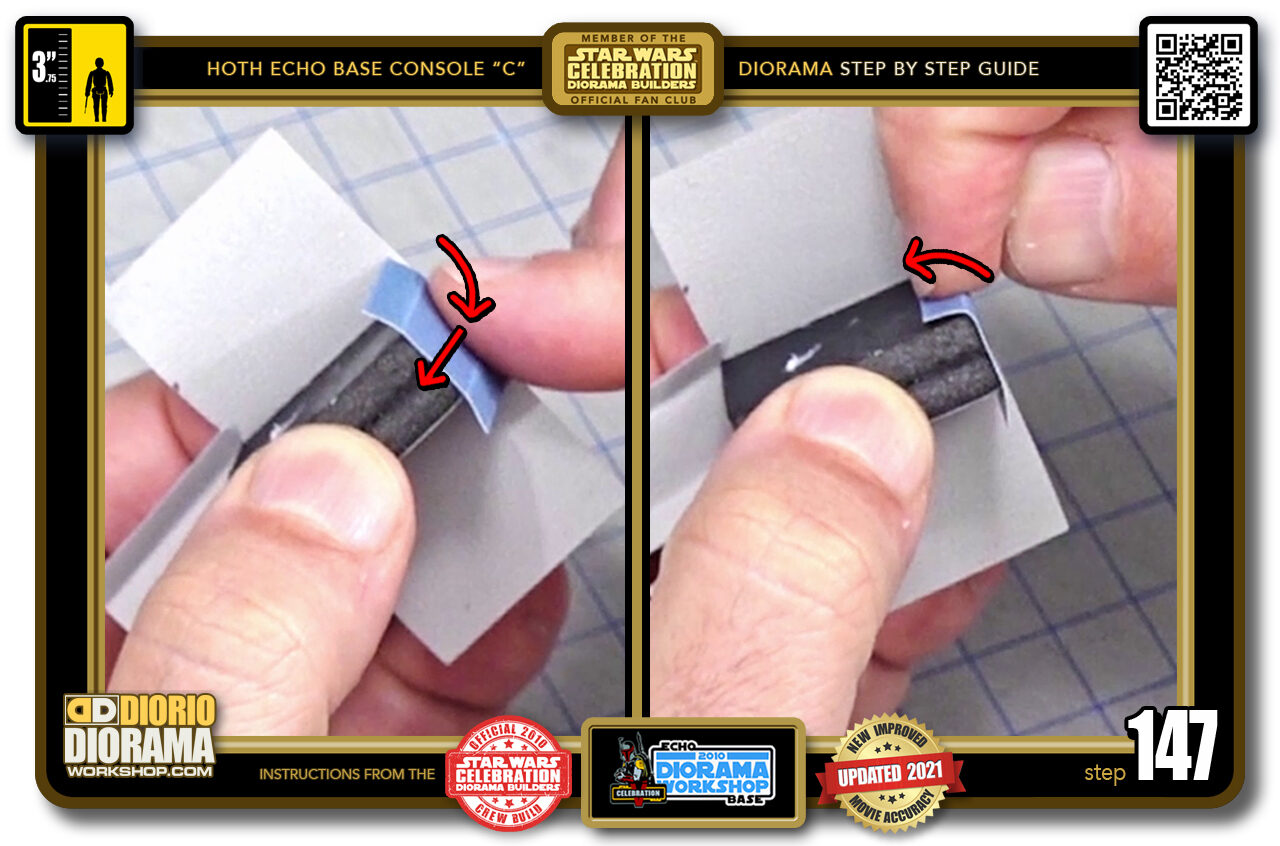
- STEP 147 > Next we want to fold over the sides. Pick one and bend it over the top edge (left image). Once you pressed down securing it in place, use your index to bend the side flaps around each side (right image).
-

- STEP 148 > What you want to make sure of is NOT to have a air bubble or rounded top (left image). You must make sure the folded side top is flat against the shape (right image) before you fold over it's flaps.
-
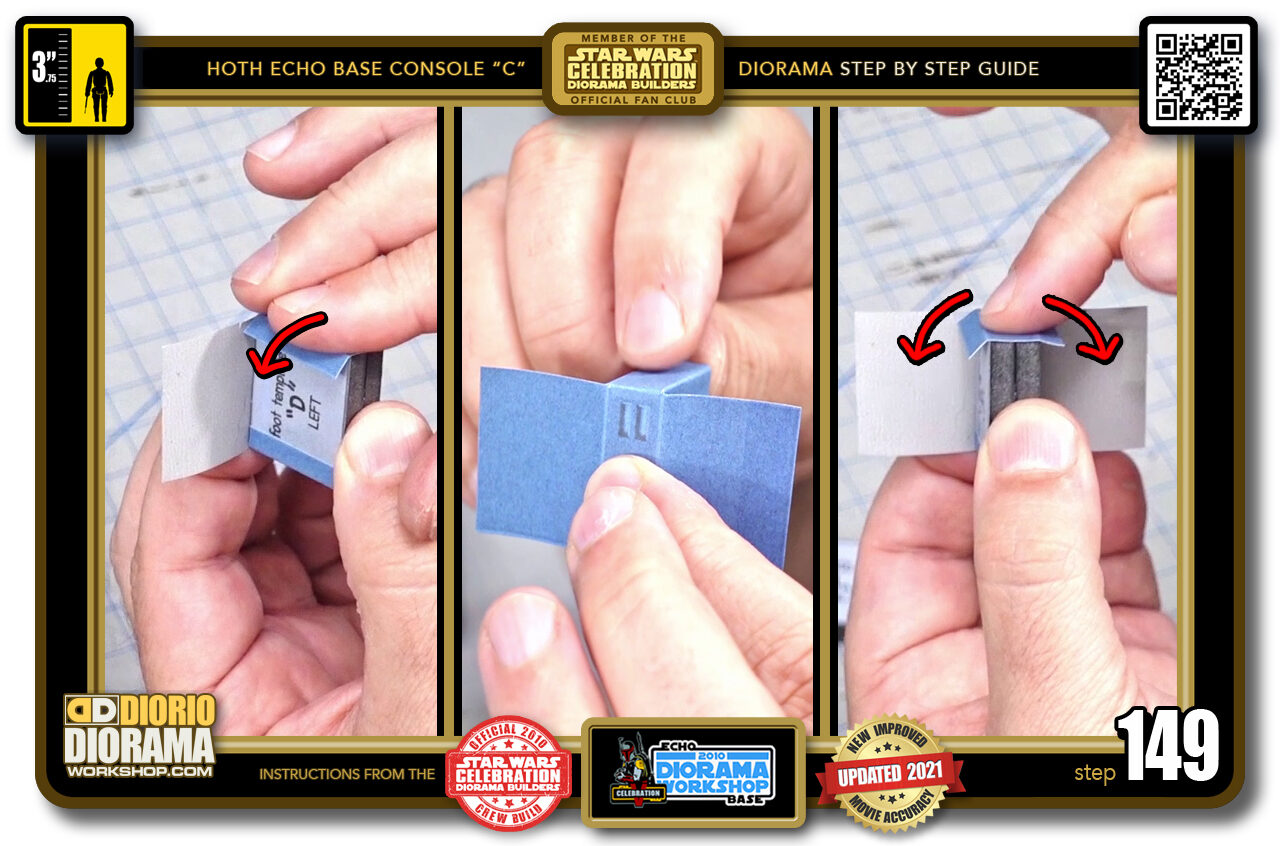
- STEP 149 > When you are sure the top is flat, bend over the other flap (left image) keep checking that the top hasn't bubble up. it must remain flat (centre image) You can then move on to the opposite side and repeat the same steps (right image).
-
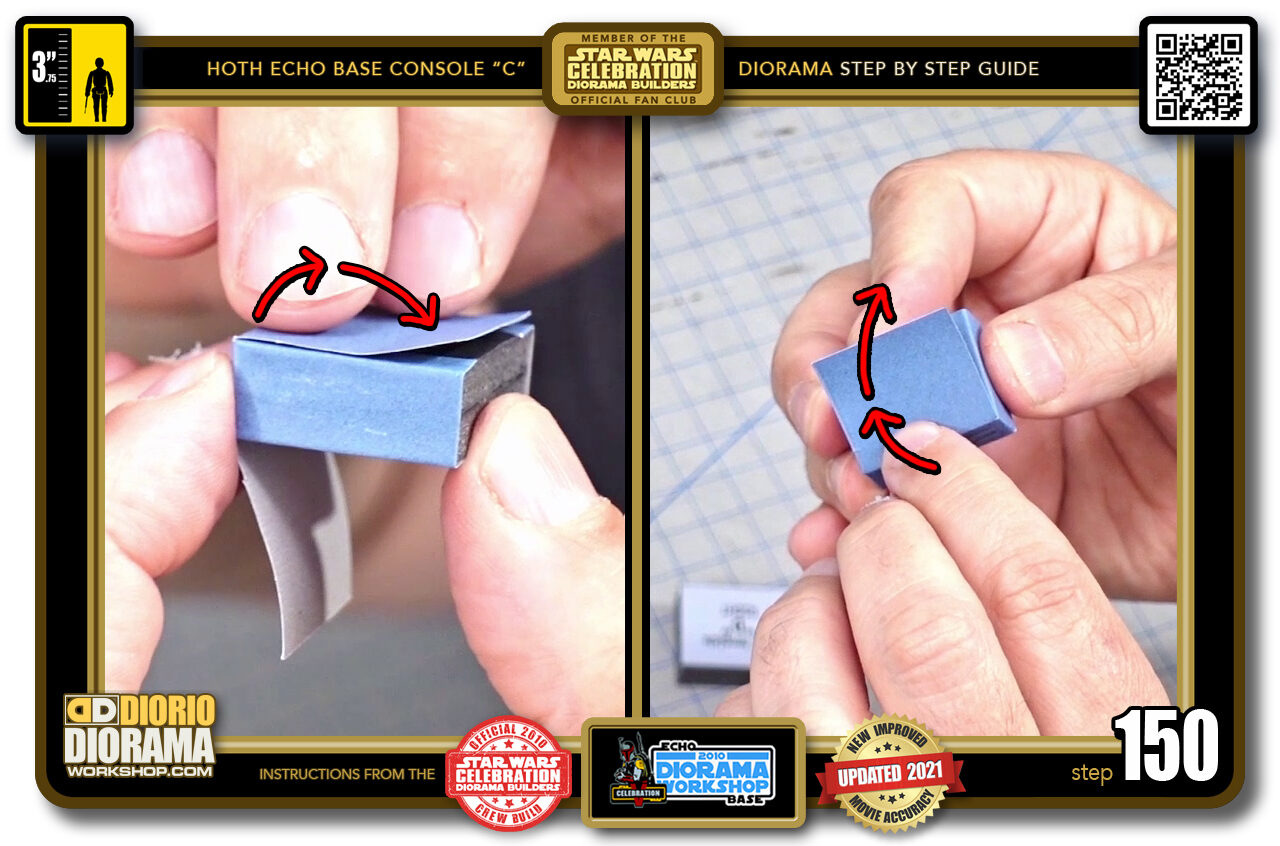
- STEP 150 > With the sides and their flaps bent around the side corners, we can move to the fron and back of your "feet". Carefully fold over fron the top edge outwards (left image). Always centre outwards first (right image). Then back to centre bottom move to top - well bottom of the box - left, back to centre, up towards right side until entire surface is applied.
-
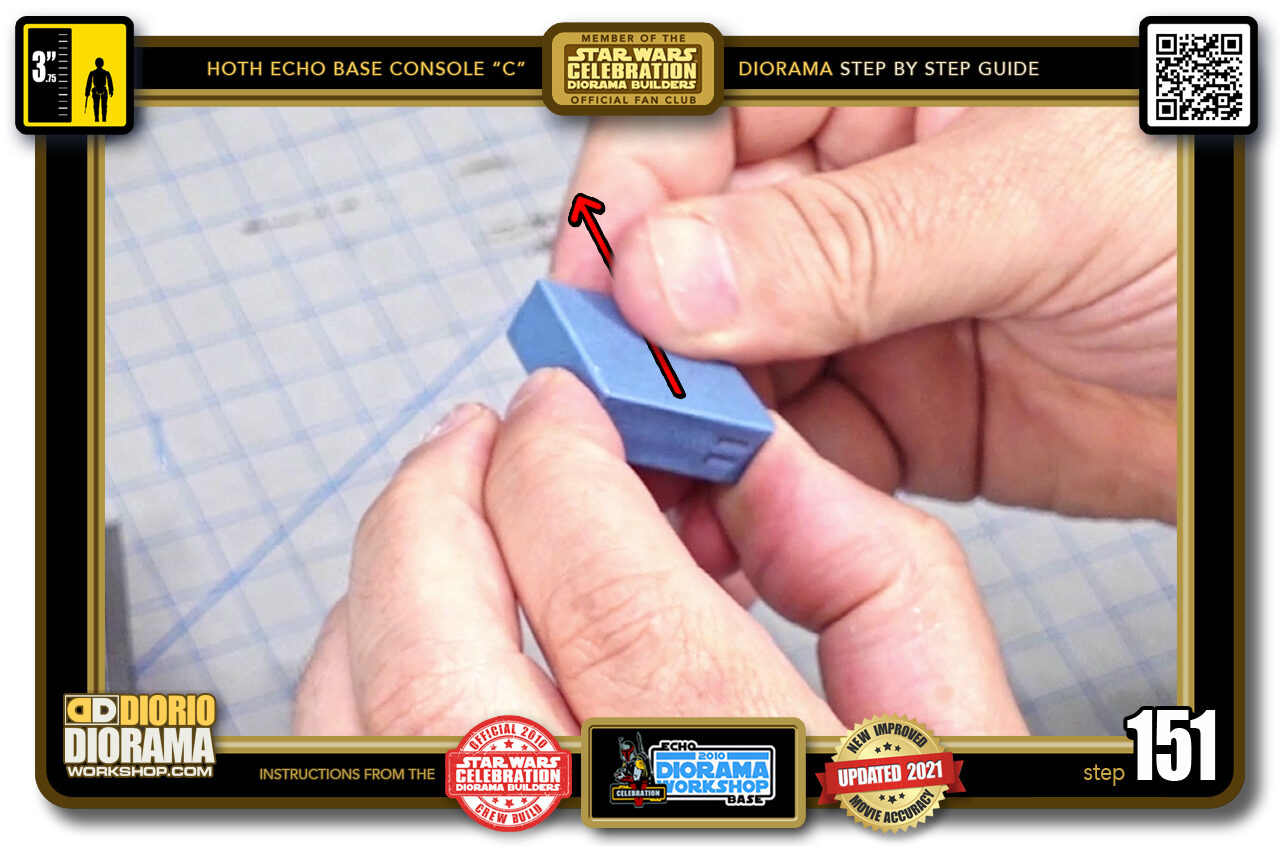
- STEP 151 > When you see there are no bubbles move to the other side and repeat. Do all the same steps for your second "foot" box.
-
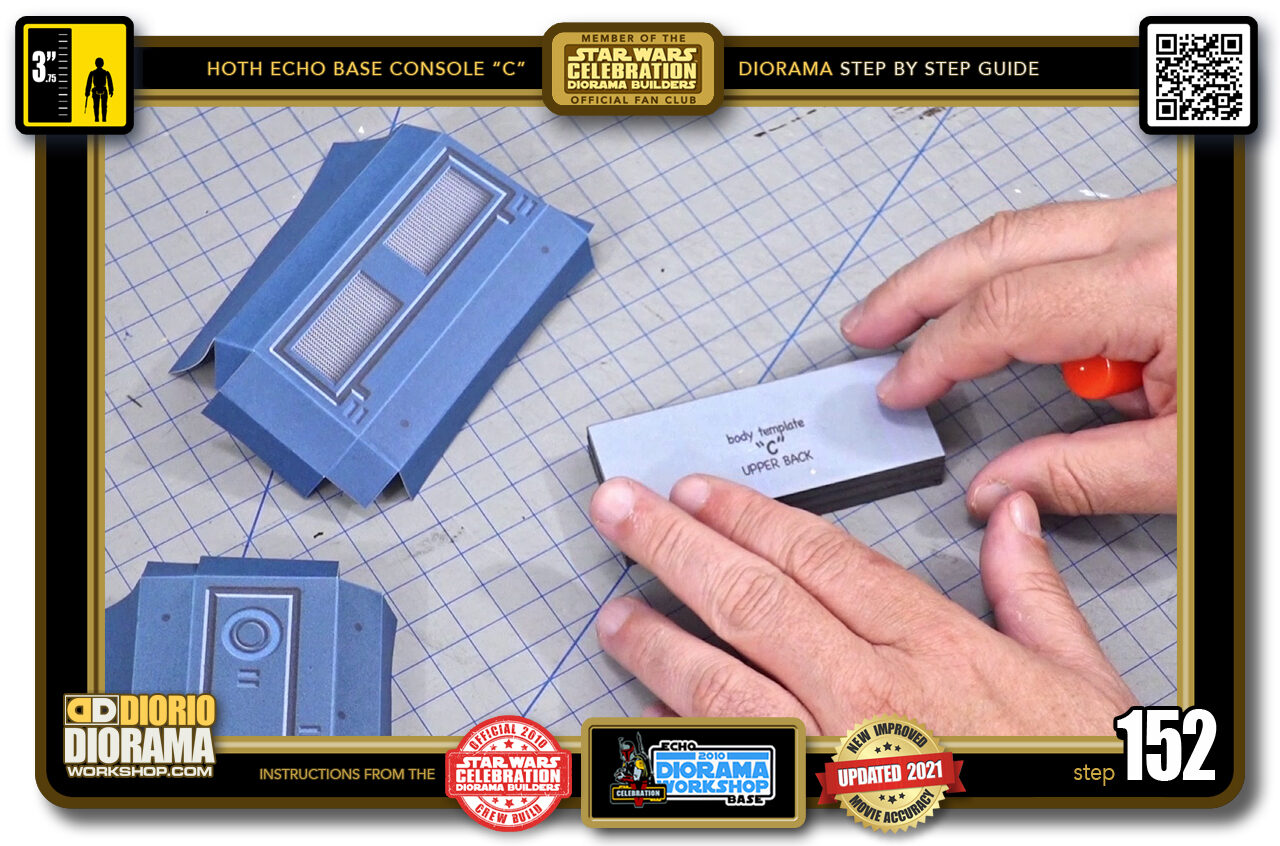
- STEP 152 > Moving on to the rear boxes. both are the same foamcore so it doesn't matter if you mix them up, they will all be covered with decals anyways.
-
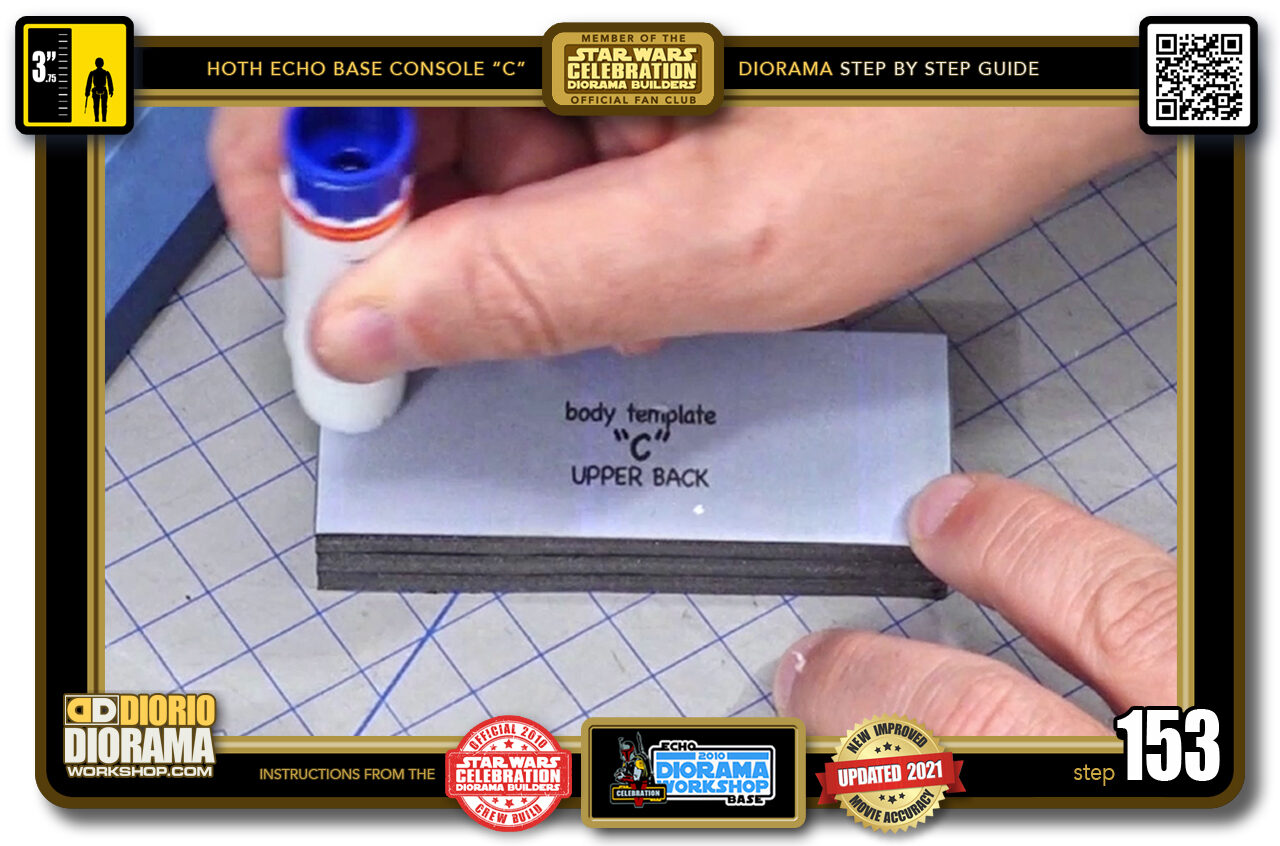
- STEP 153 > Apply good amount of gluestick on the top. NEVER use HOT GLUE when applying decals.
-
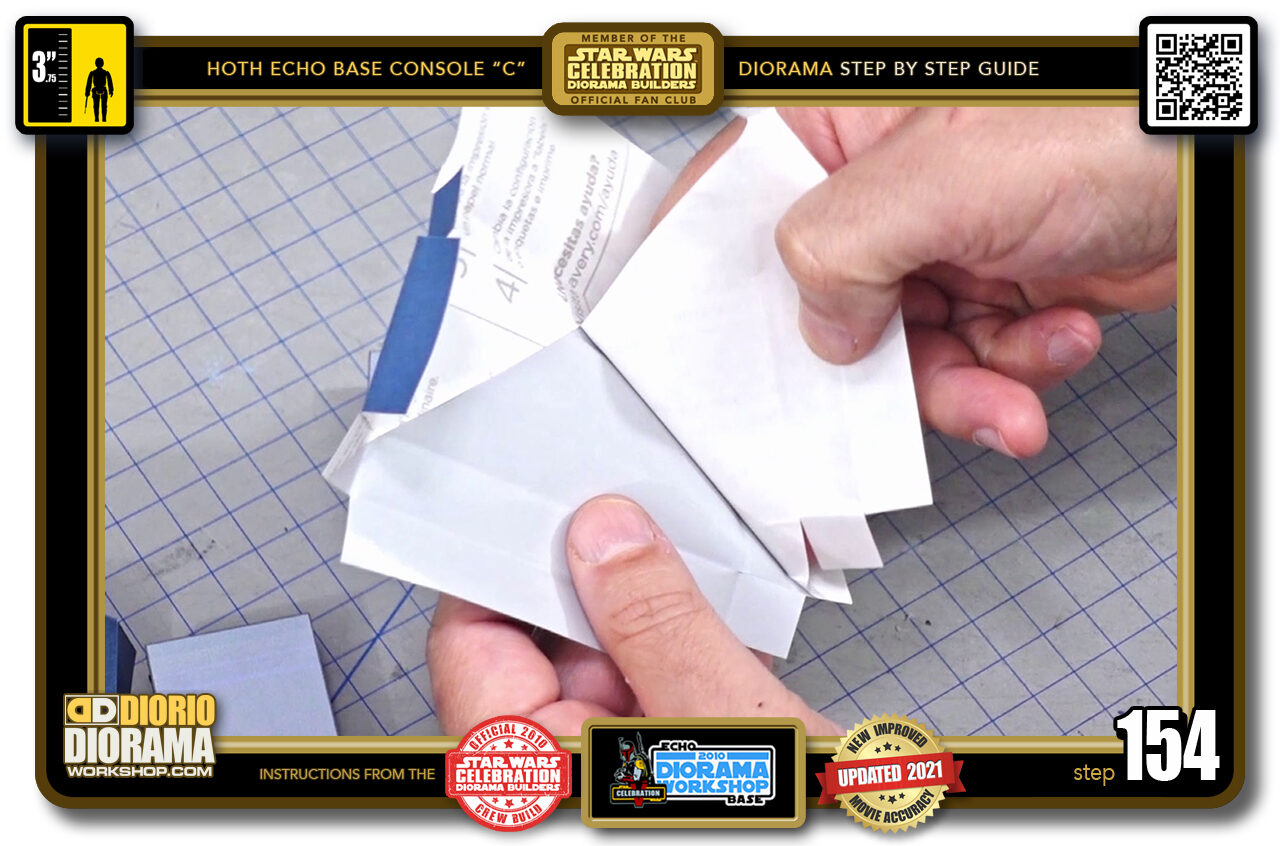
- STEP 154 > Peel back your decal.
-
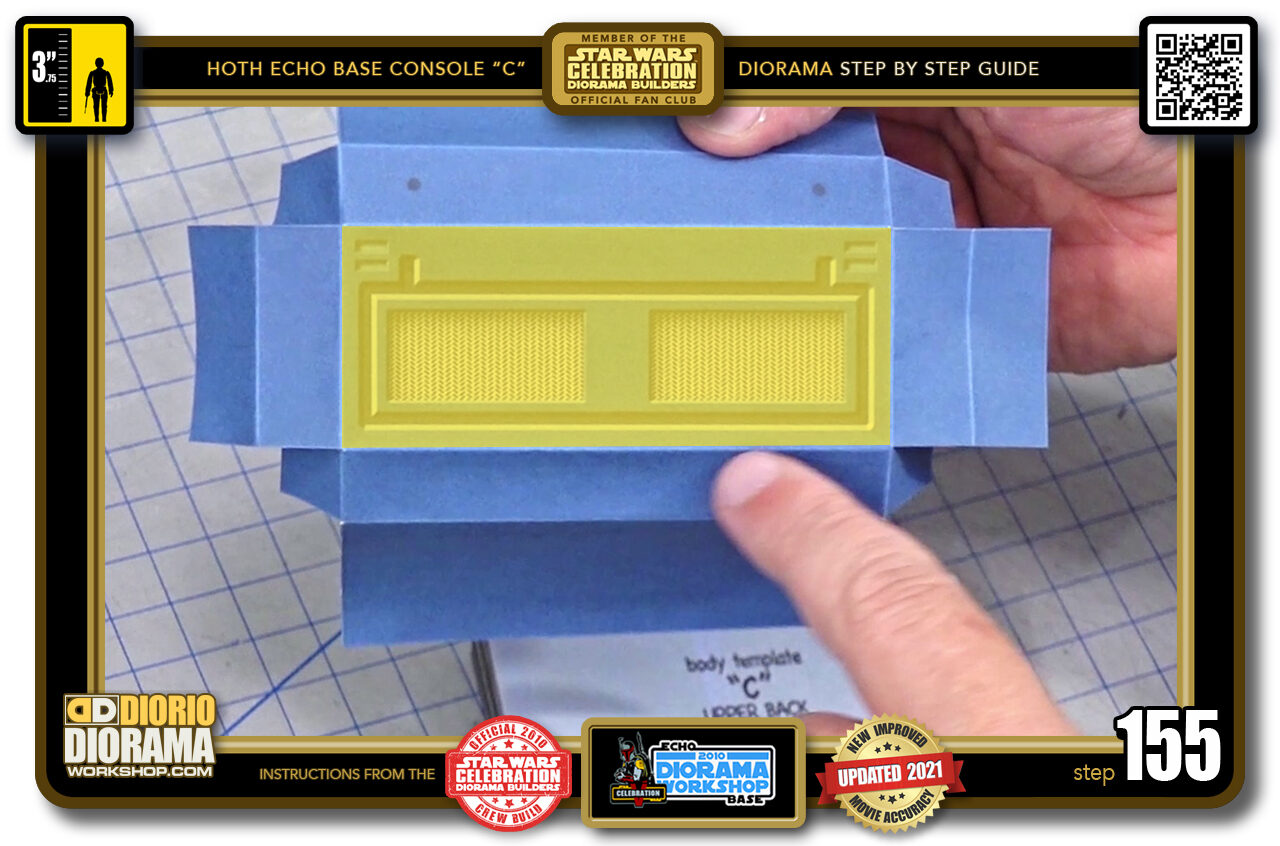
- STEP 155 > This yellow zone is where we are attaching our foamcore to first.
-
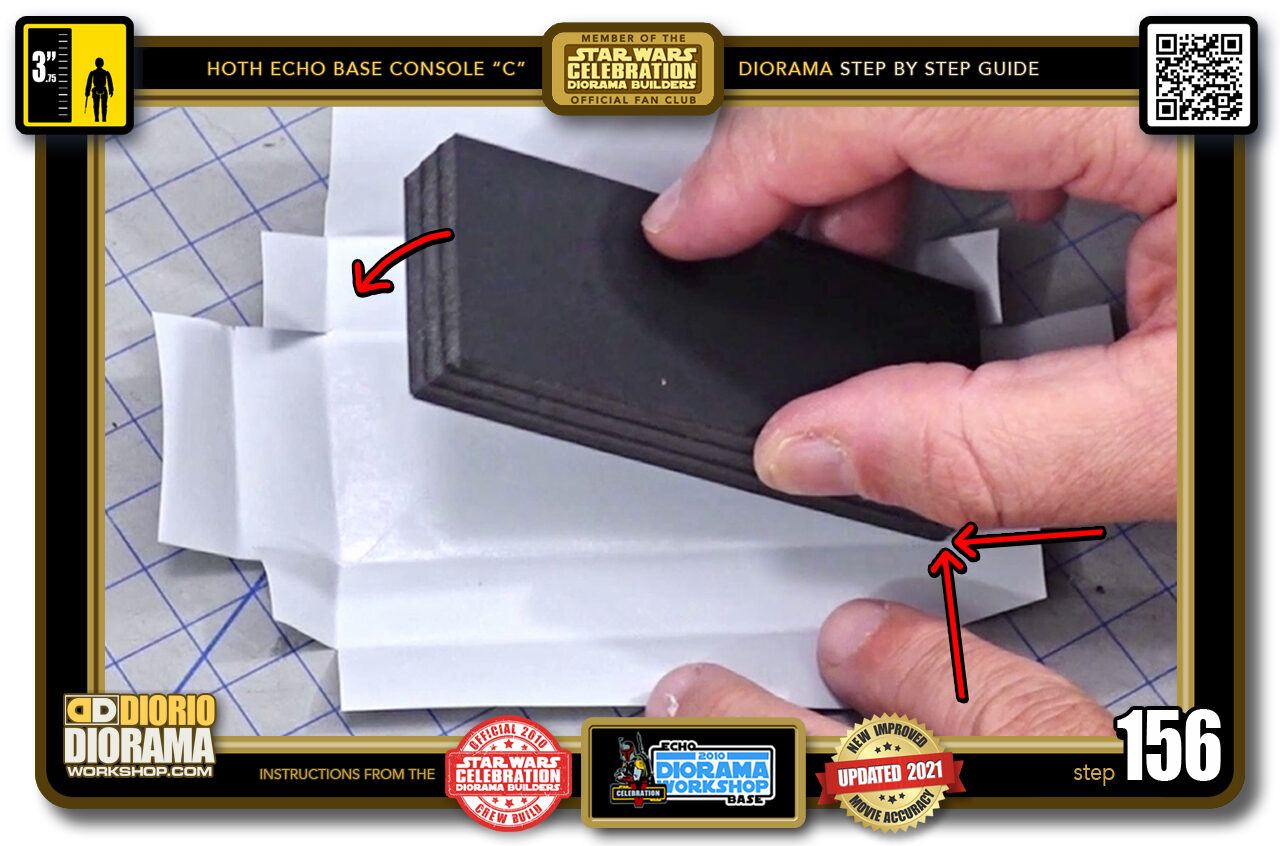
- STEP 156 > First align the right side edge with the corner folds. Then lower your foamcore until it makes contact with the left side.
-
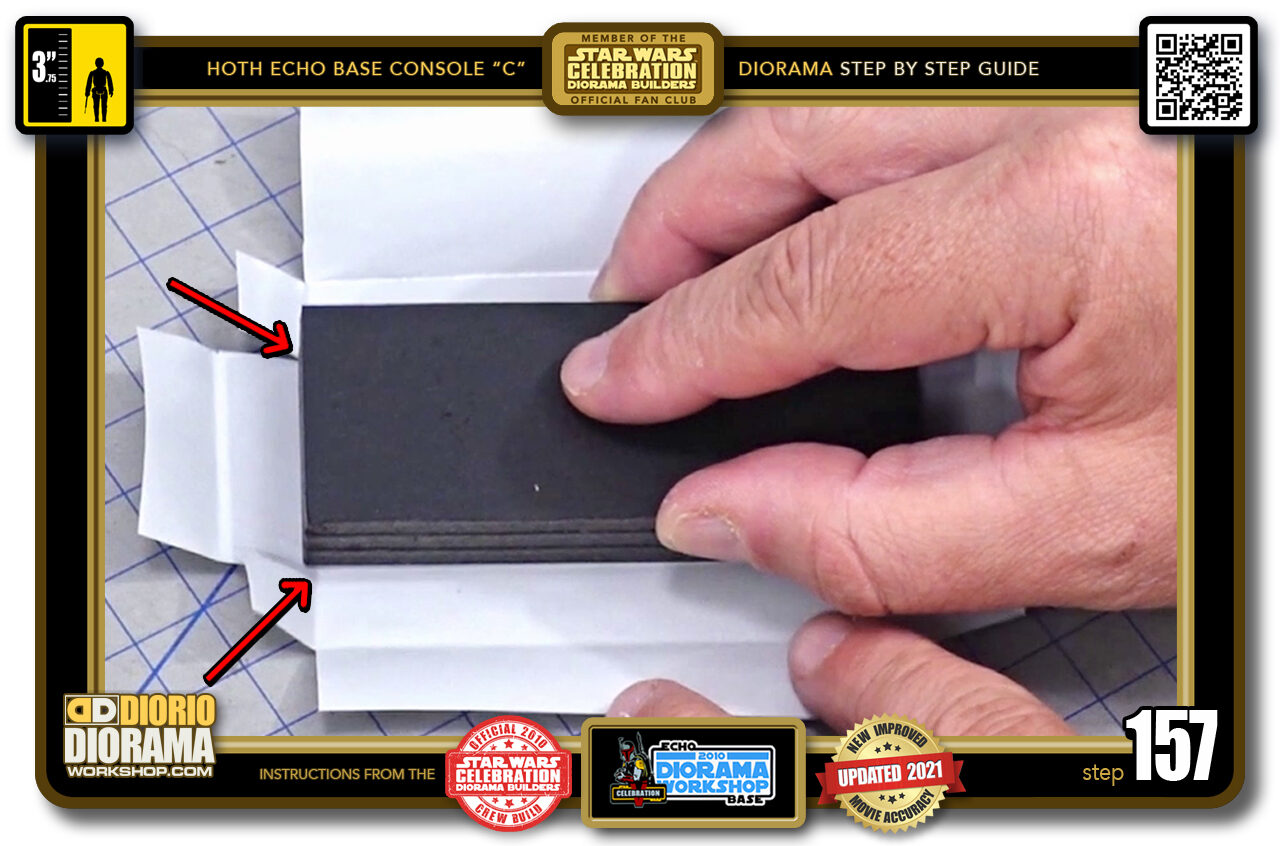
- STEP 157 > You should have the corners line up perfectly. if they are offset, do not panic. Because we placed gluestick you will be able to peel the decal off the foamcore.
-
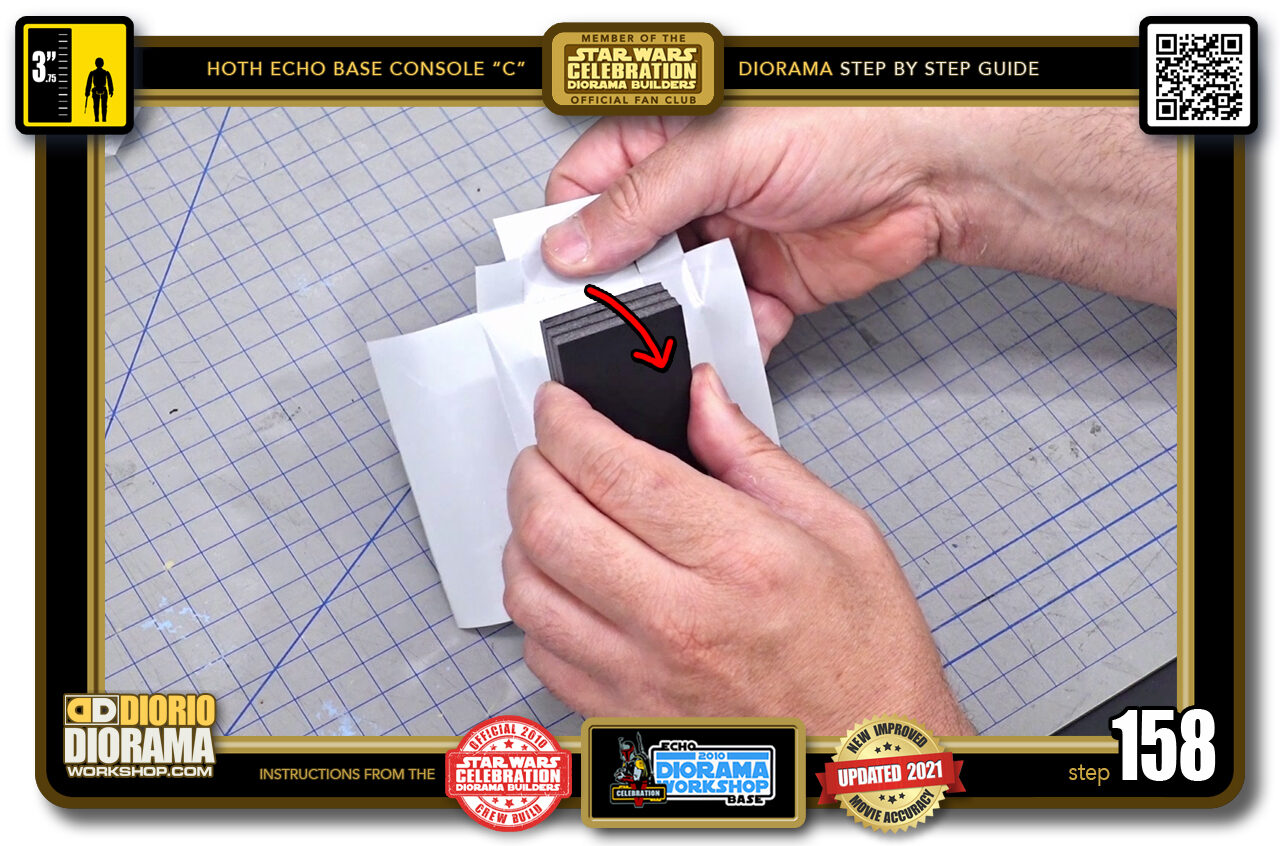
- STEP 158 > Just hold your foamcore, peel back the decal and re-orient the shape until it aligns better.
-
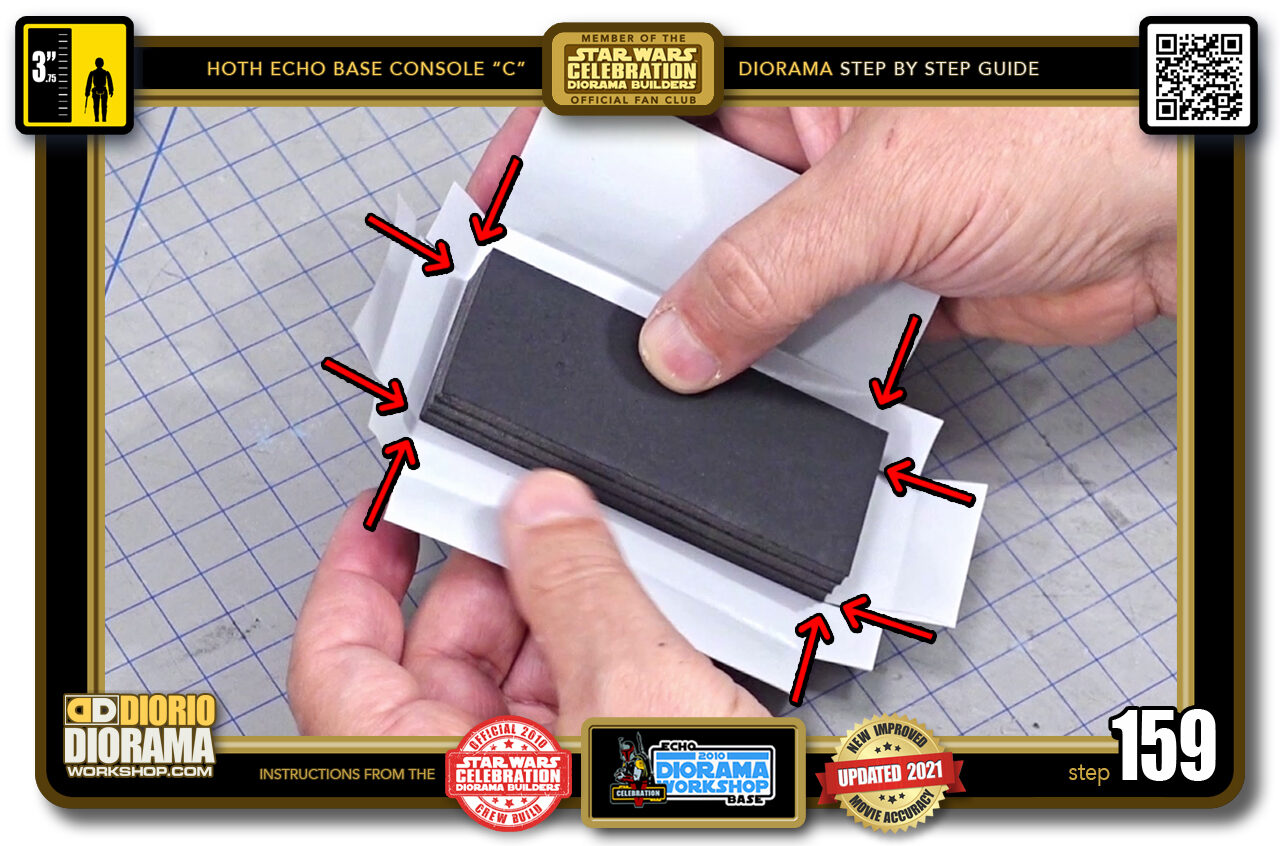
- STEP 159 > When you are satisfied that all 4 corners line up correctly we can start securing the decal to the front.
-

- STEP 160 > With your thumb, start to apply some pressure on the decal to make sure it stays in place and won't slide all over.

.
Did you already build this Diorama ? At home or at our Star Wars Celebration Diorama Builders workshop ? Would you like to show it in the site’s GALLERY VISITORS DIORAMAS section, YES ? That is Awesome !!! You can find out all the details on how to email me your photos on the VISITORS SUBMISSIONS INFO page … When I get your photos, I will create your very own page just like this one. You may not realize it but work does inspire others to join in the fun of making Action Figure Dioramas.
.
NOT FOR RESALE ALL Decals, tutorials and artwork are ©FrankDiorio (dioramaworkshop.com) and offered FOR FREE to the fans – that would be you ? so you can build and display my diorama designs in your very own home. I realize I cannot control what one does with my graphics once I place them on the web, I can only ask you as one fan to another, please respect the artist and do not be that jerk who uses my designs and tutorials to build a copy of my work only to sell it on EBAY or trade/sale groups and forums. Thank You. Frank.
.

.
.
If you have a facebook account, why not join the Official Diorama Builders Fan Club today, simply click the logo link below.
 .
.
Catch up with fellow visitors and exchange stories, read cool interviews with the crew, exchange photos, fun surprises and grab some FAN ONLY merchandise next year at actual future conventions ?
.
©2021 Frank Diorio DioramaWorkshop.Com
.
IF YOU LIKE WHAT YOU SEE, PLEASE SHARE WITH YOUR FRIENDS
USING THE SOCIAL MEDIA BUTTONS BELOW