


-
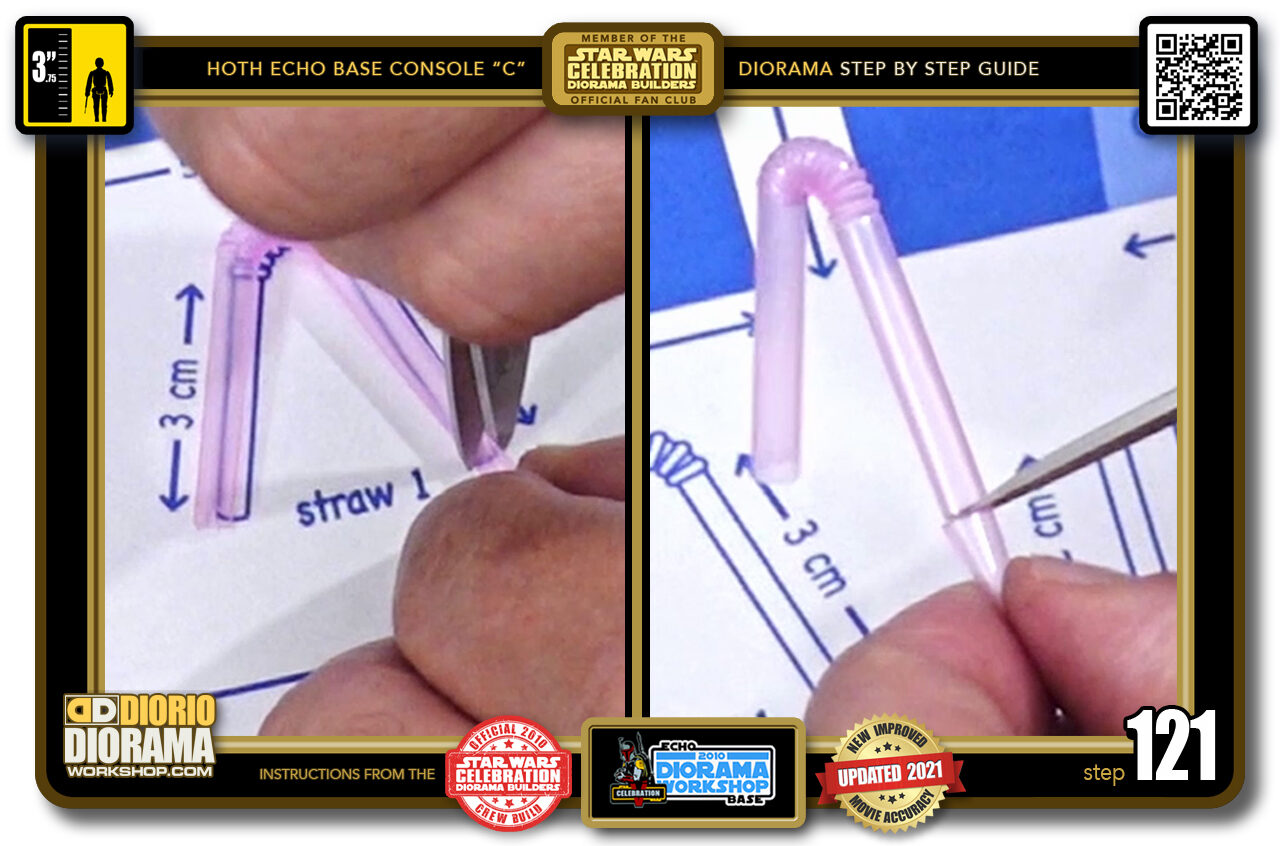
- STEP 121 > Put your bent straw back onto the blueprint sheet and this time cut off the right side (left image) If it didn't cut all the way trough, just snip the rest off (right image).
-
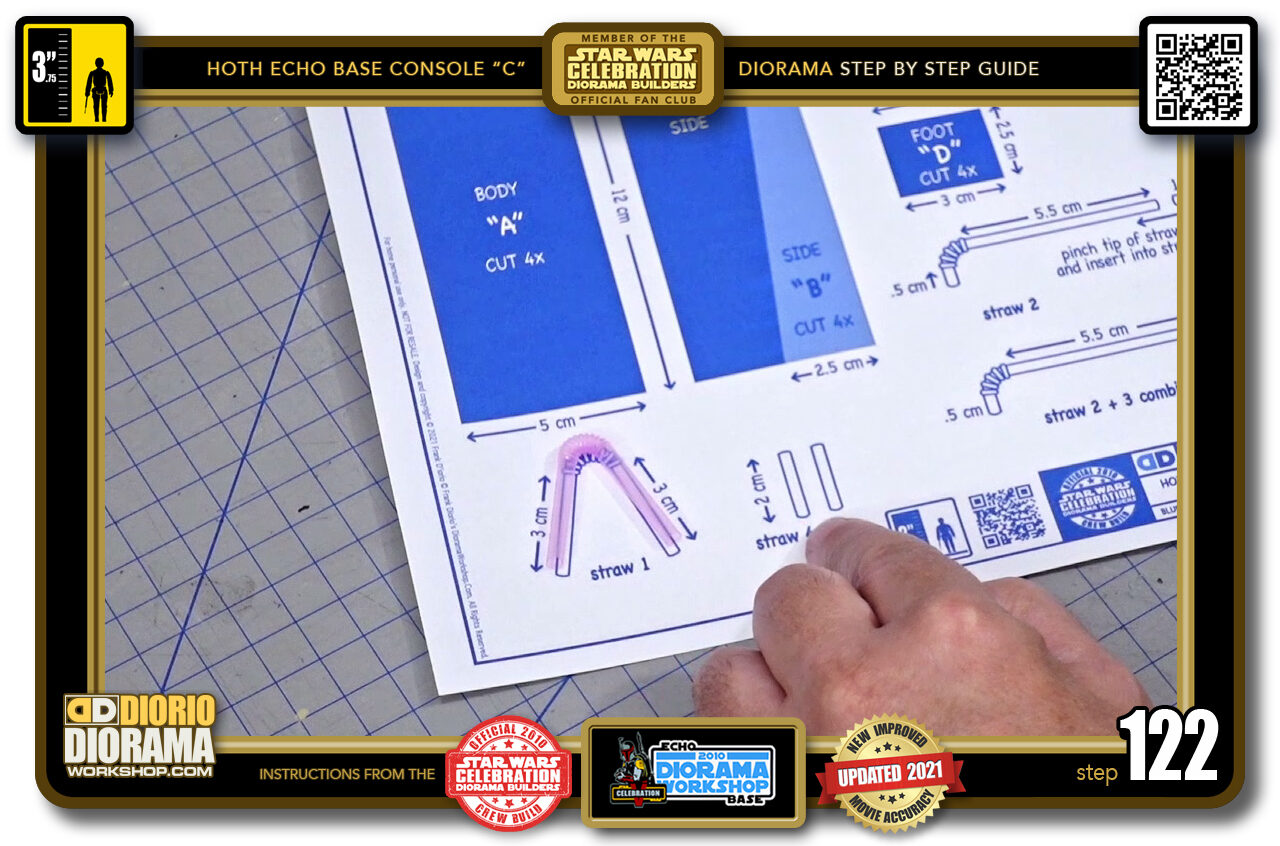
- STEP 122 > Our first straw piece is done. Now we need 2 small straight pieces.
-
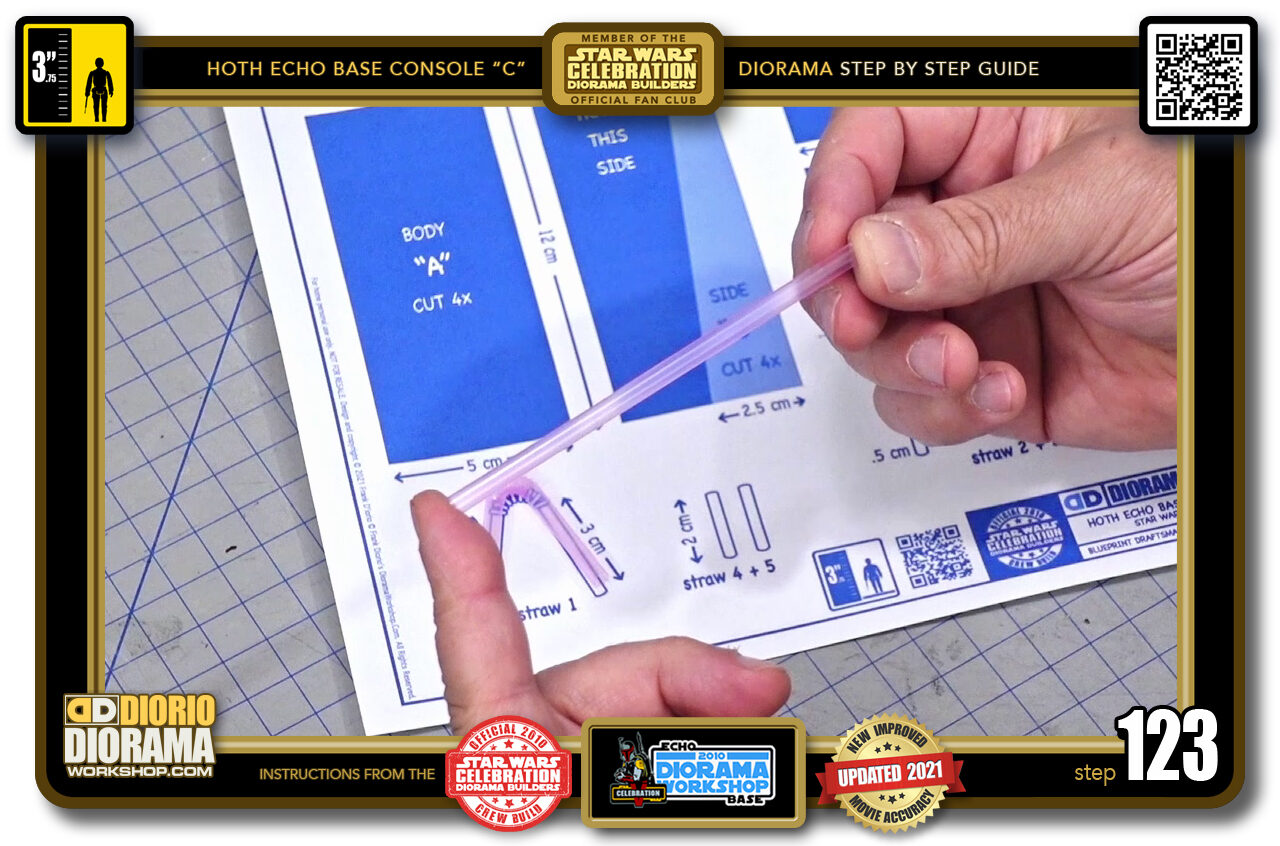
- STEP 123 > We have enough length remaining in our first straw so grab that.
-
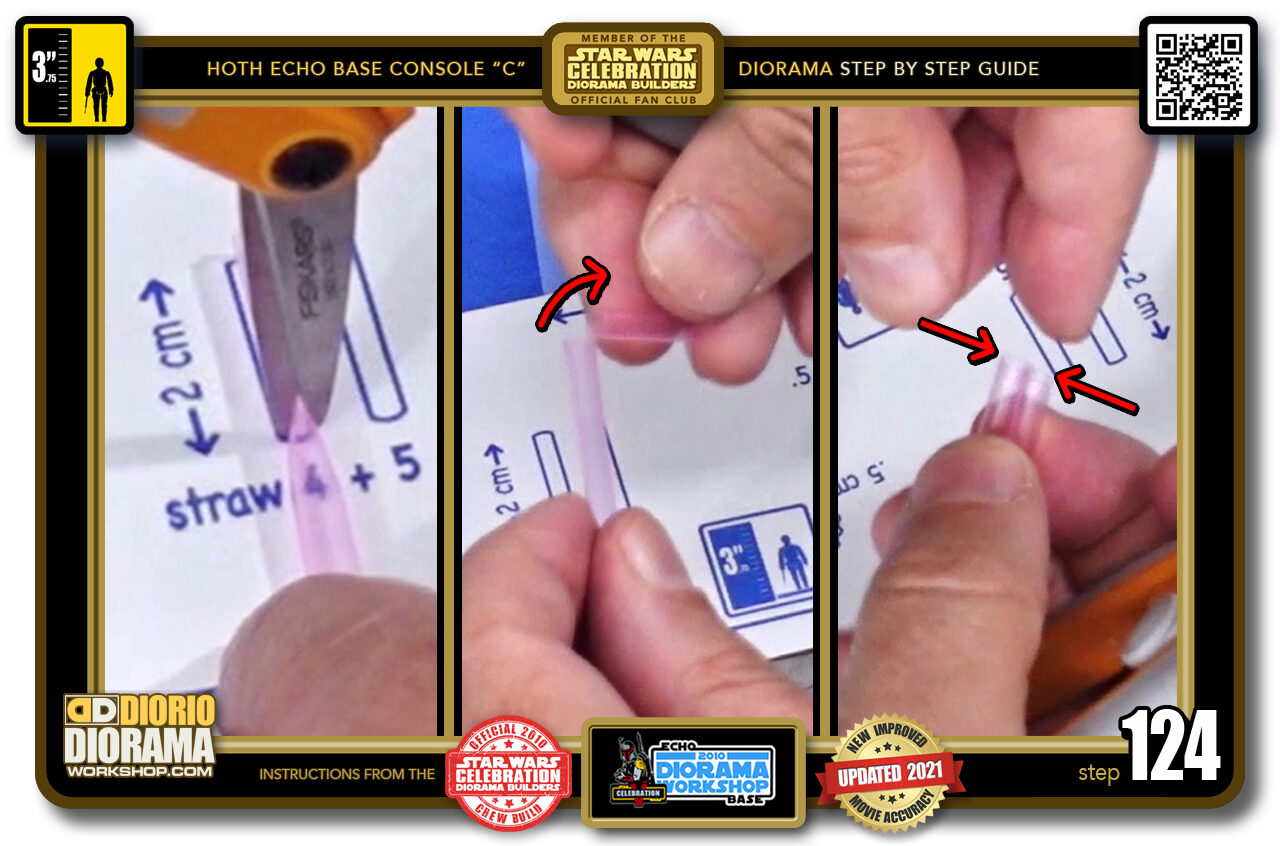
- STEP 124 > Place it on your blueprint and cut at the end (left image) Now fold the straw over (centre image) If your straw cut all the way through, just align it instead of bending. The important thing is you want the 2 pieces aligning like this (right image).
-
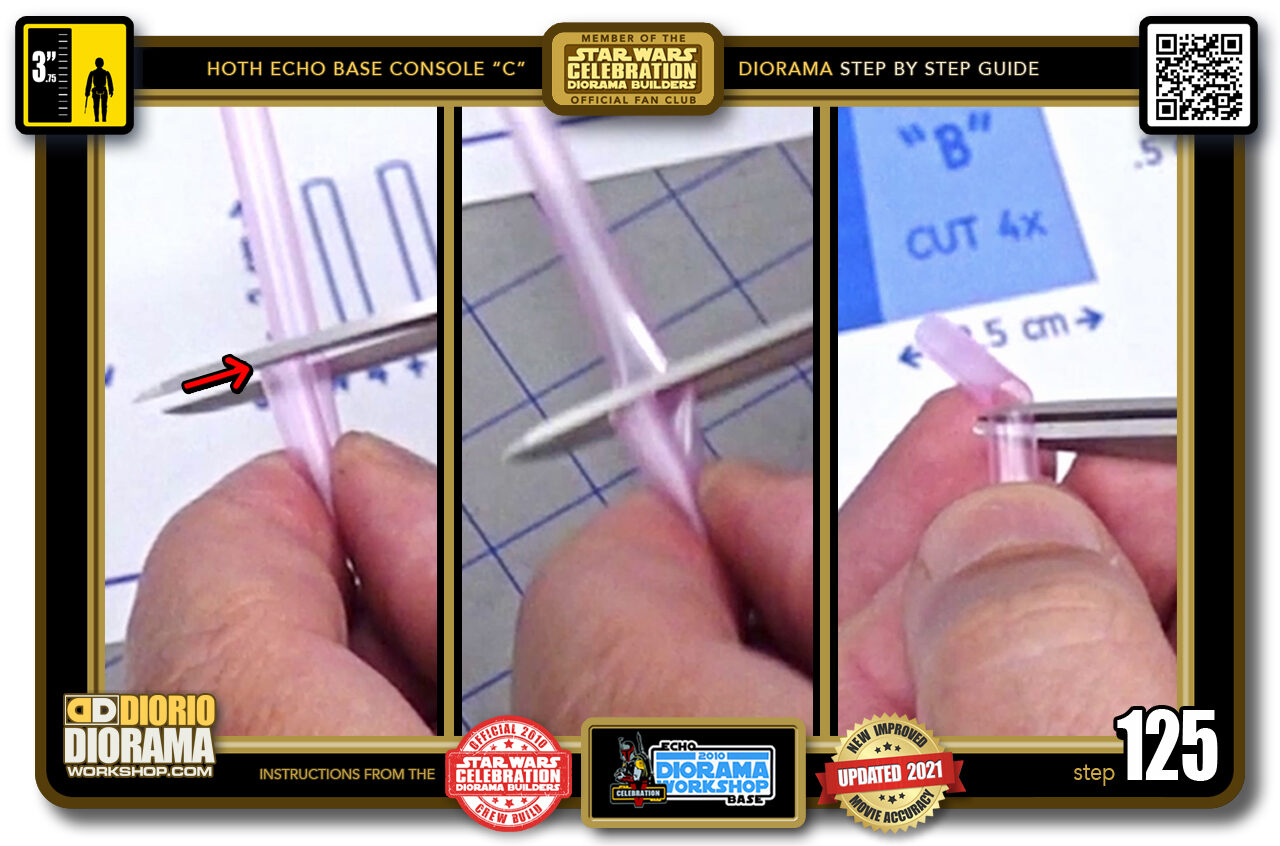
- STEP 125 > Place, lean your scissors against the first straw (left image) This is your cutting guide. It will guarantee both will be the same length. Now cut (centre image) and snip off and connections if the cut didn't go all the way through (right image).
-
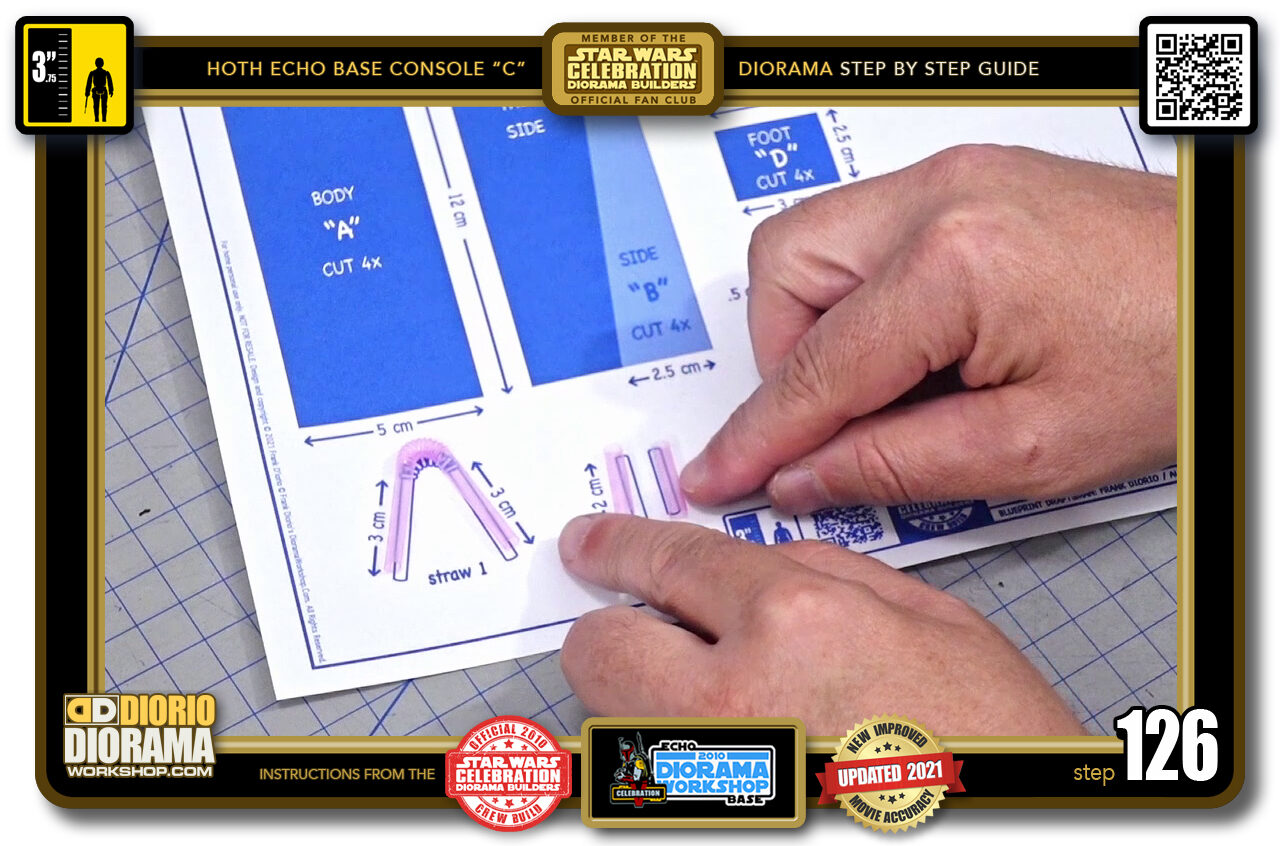
- STEP 126 > We now have our 2 small straight pieces.
-
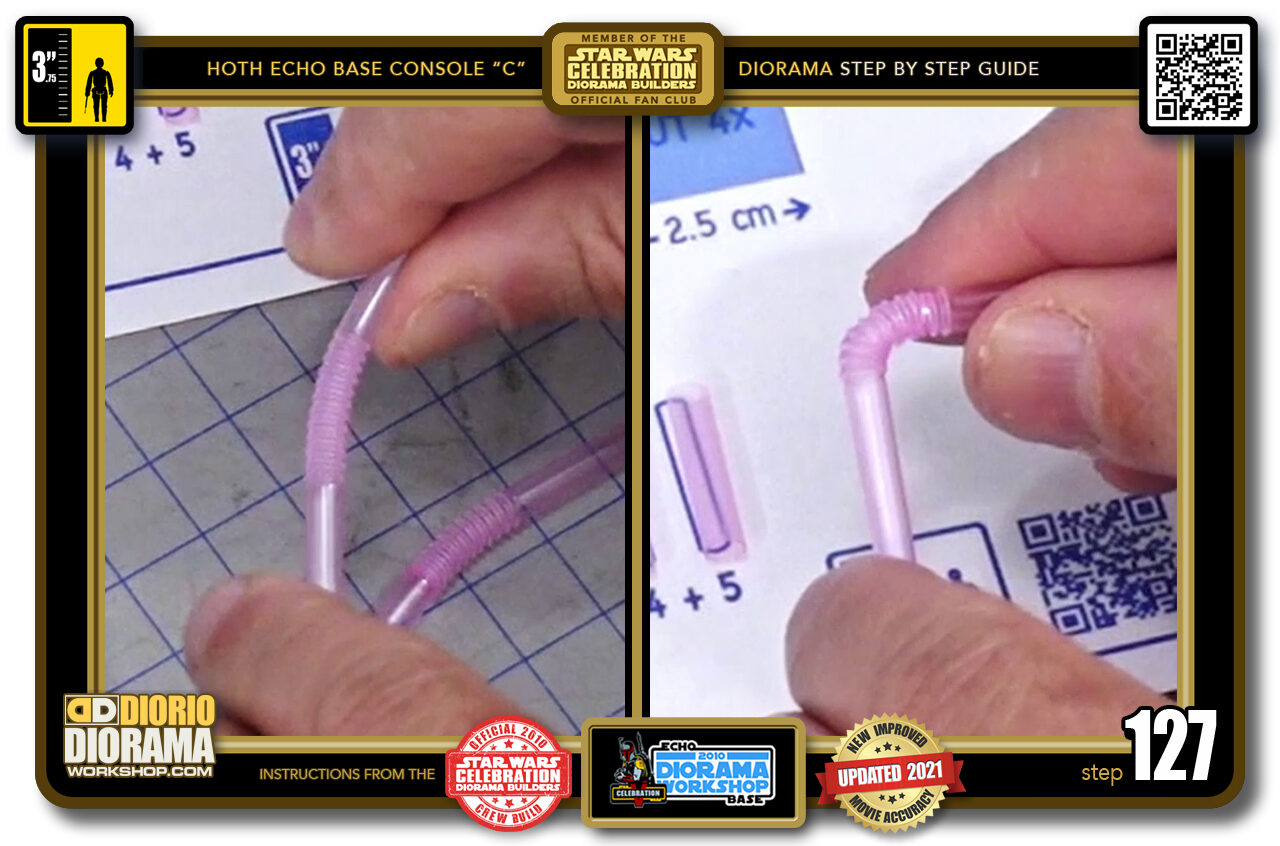
- STEP 127 > Time to make the "U" pipe shape. Start by extending 2 straws (left image) You want to bend them 90 degrees each (right image).
-
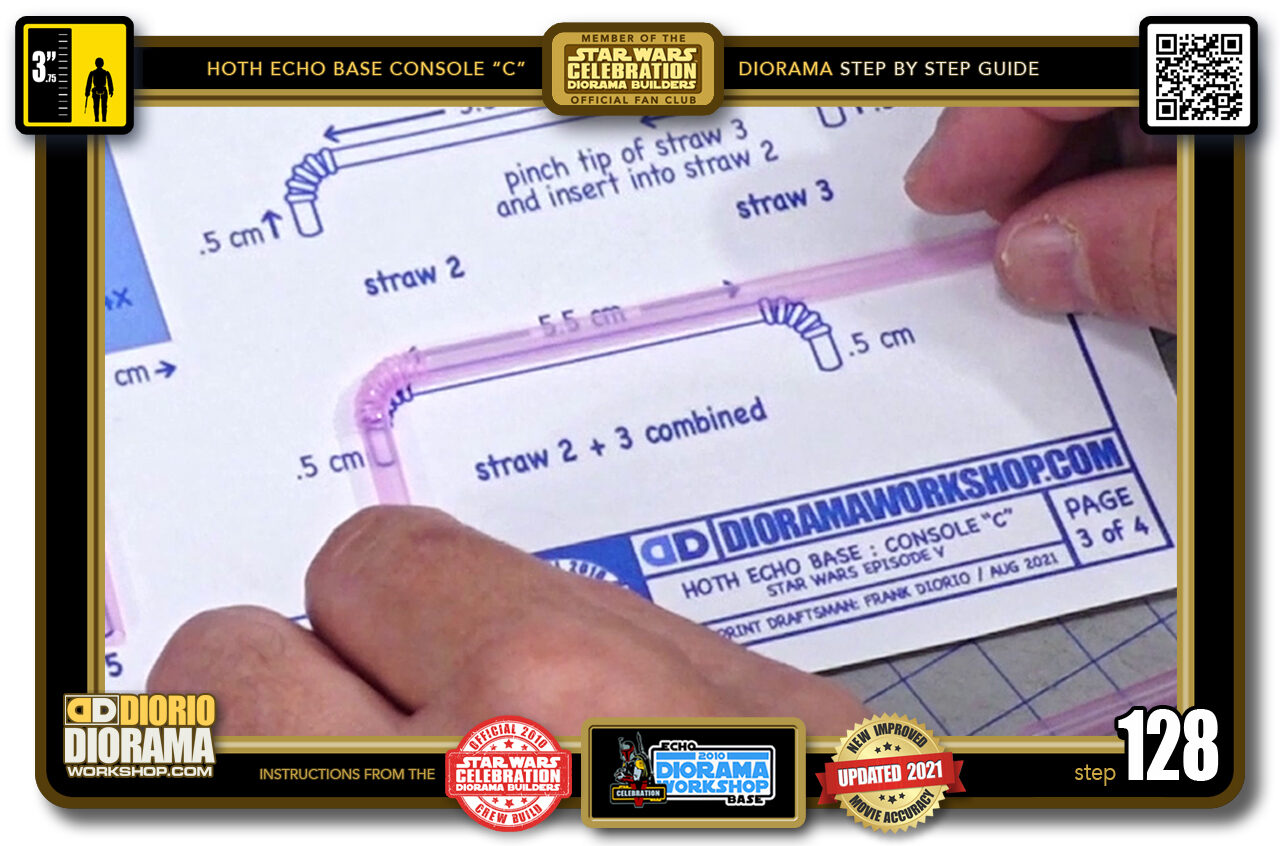
- STEP 128 > You can now place it on the blueprint and see how it matches up pretty close.
-
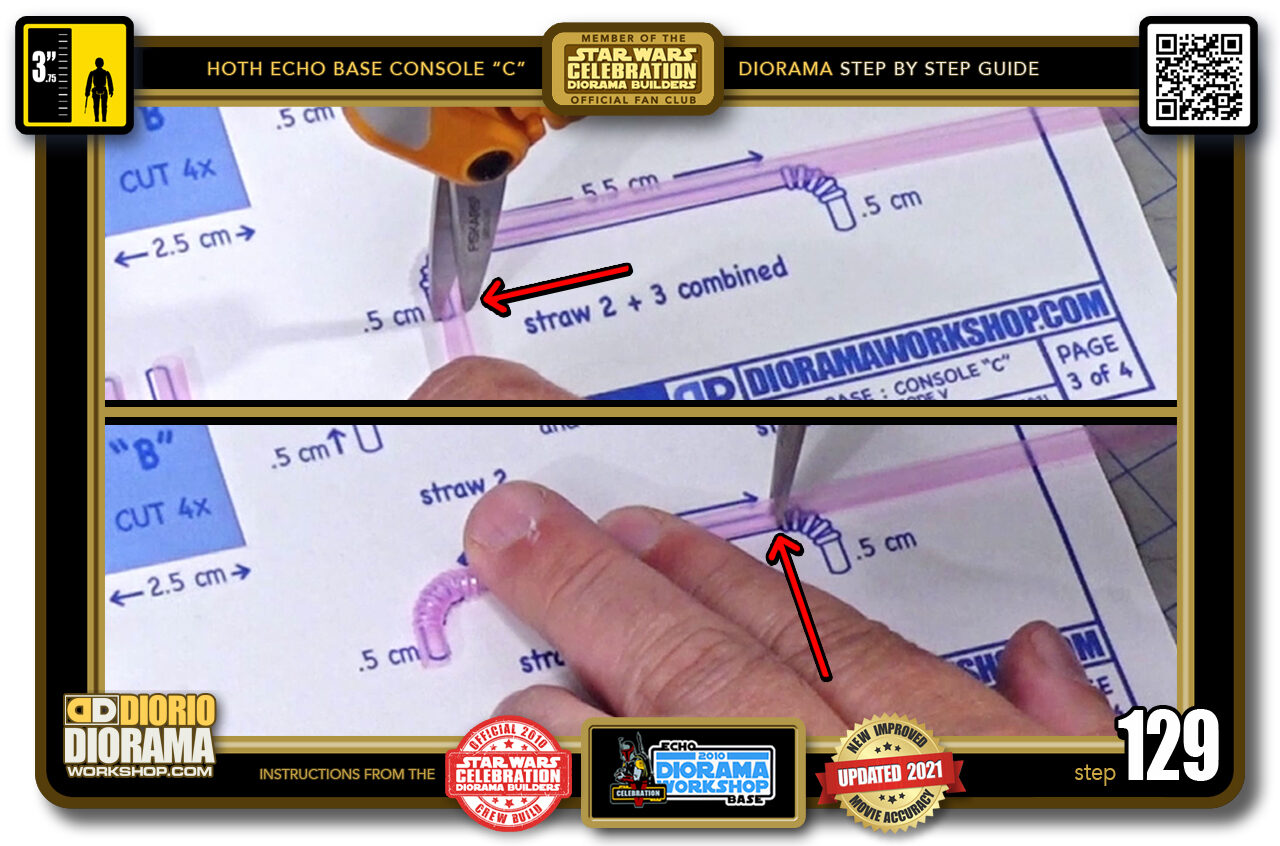
- STEP 129 > First we want to trim off the bottom left side. Follow your blueprint guide for the length and where to place your scissor and cut (top image) Now we want to cut just before the top right accordian starts (bottom image).
-
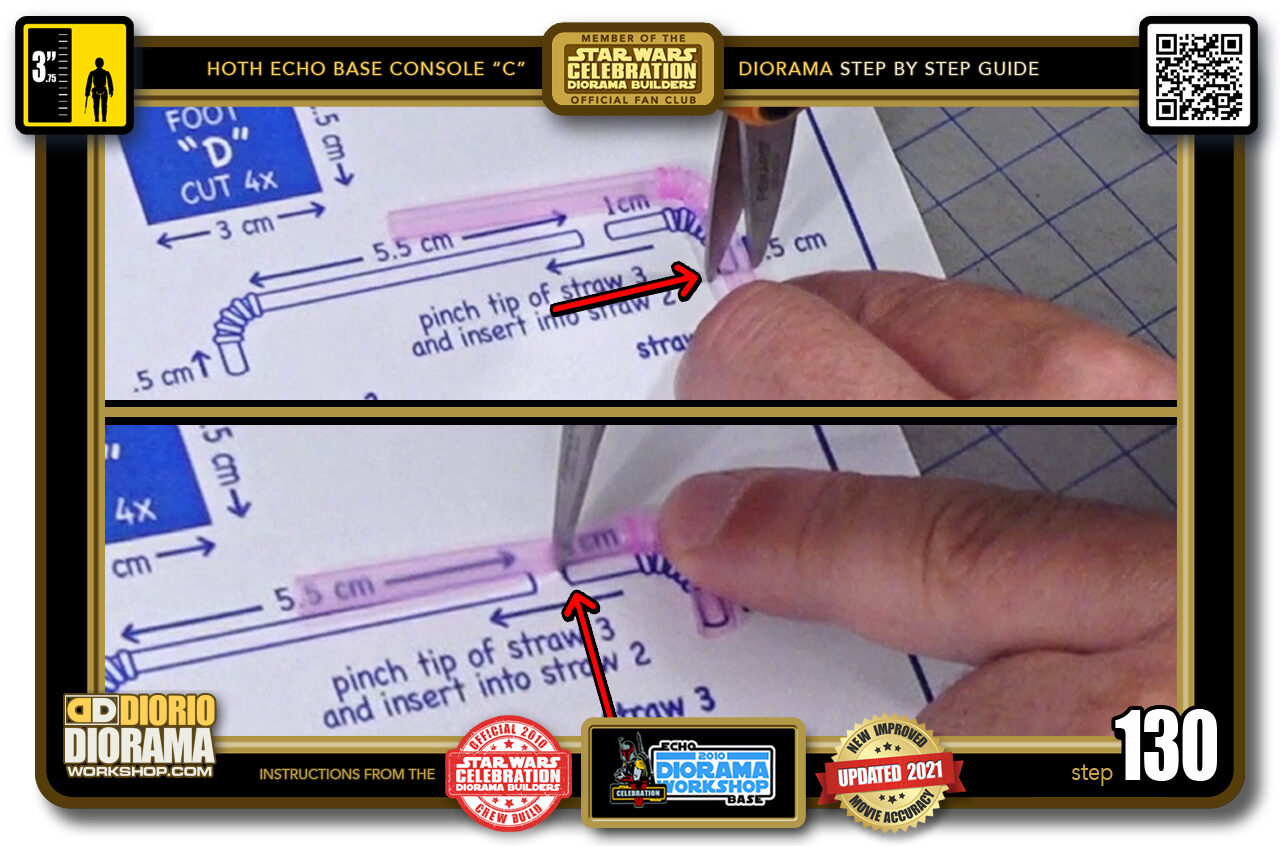
- STEP 130 > Now take your 2nd curved straw and place it on the top blueprint reference (top image) Align your scissor and cut off the excess. Move to the top of the straw and place your scissor at the tip of the blueprint cutting guide (bottom image).
-
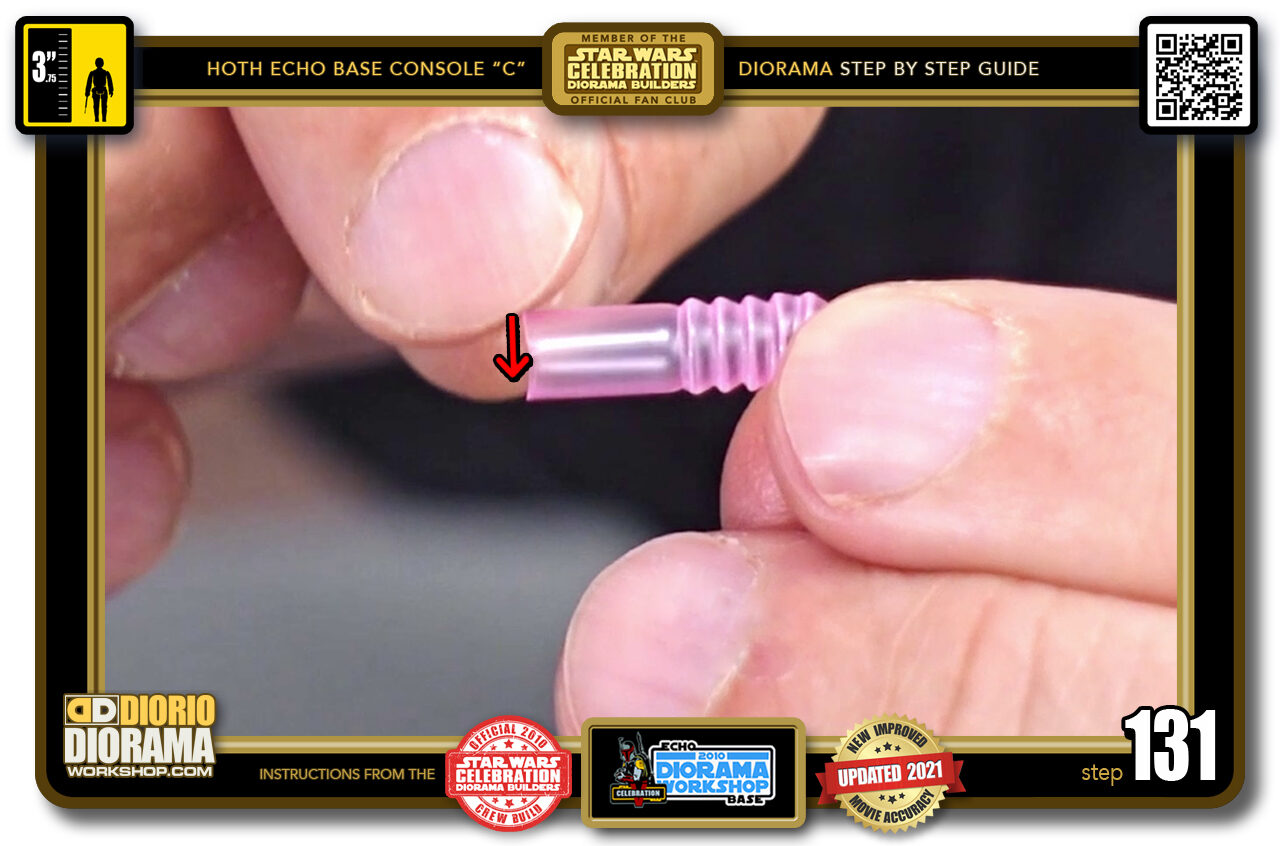
- STEP 131 > Now we want to connect the 2 straws to creat one "u" shape metal pipe. Start by pinching down the top of the 2nd straw to connect with the bottom of the straw hole (red arrow tip)
-
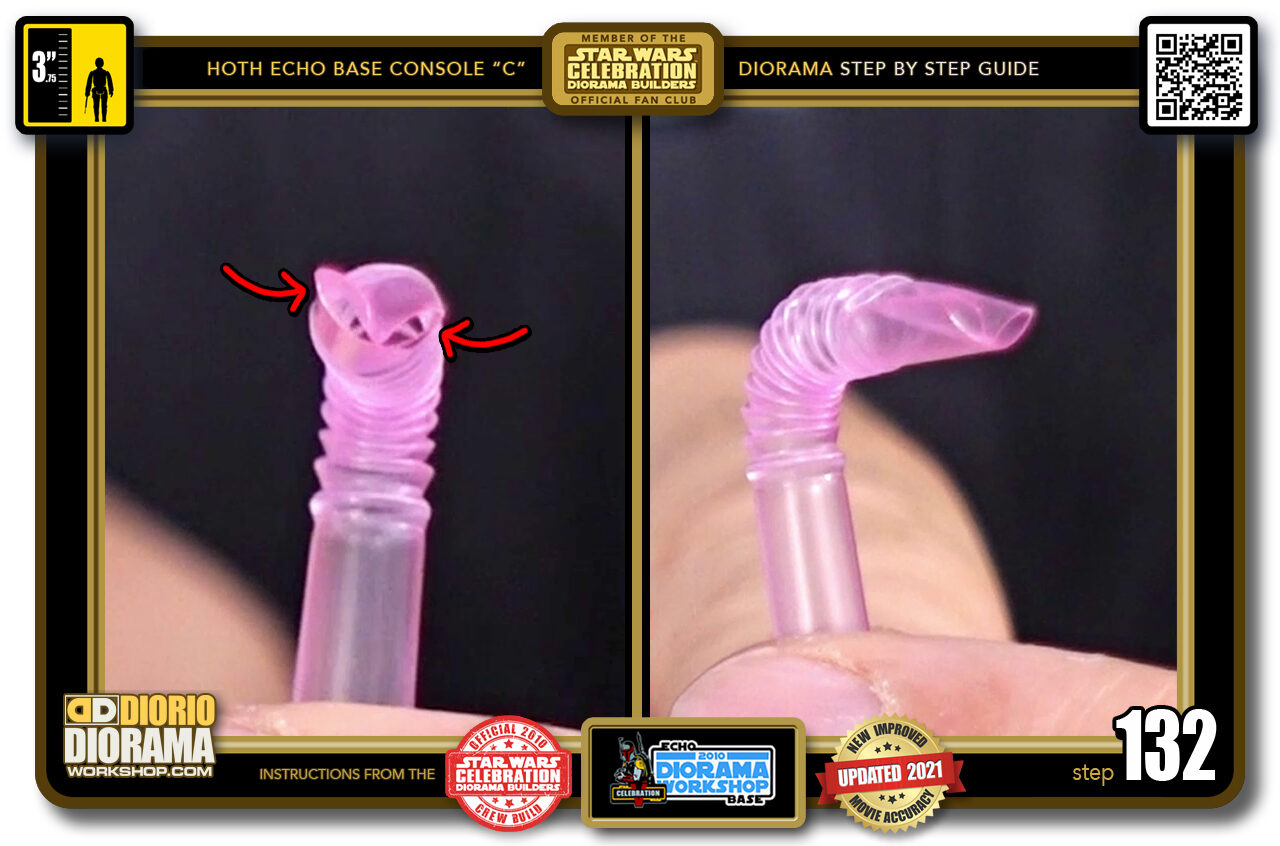
- STEP 132 > Now pinch the sides together (left image red arrows) with the top still at the bottom and it will create a "V" type shape
-
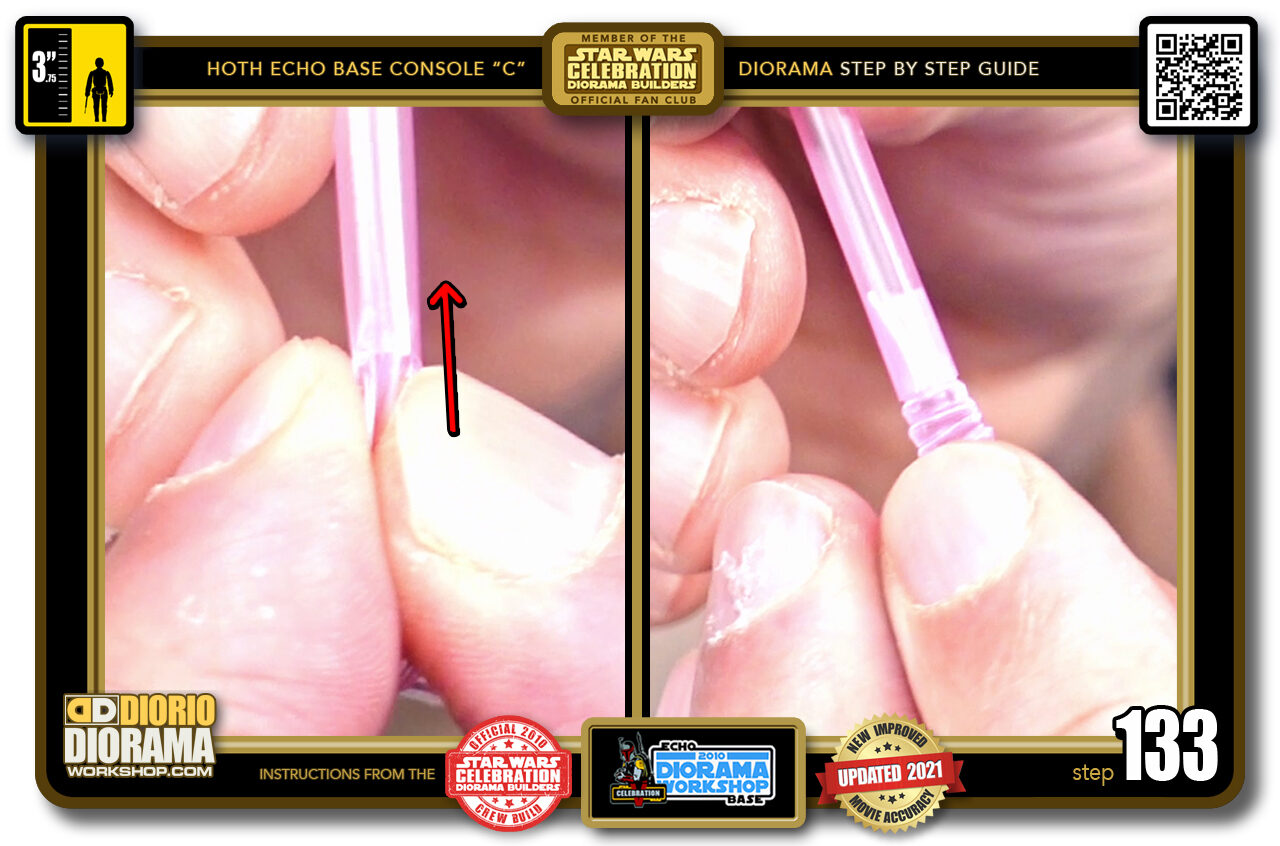
- STEP 133 > This will create one end to be thinner than the un-pinched hole and allow the pinched 2nd straw tip to be inserted into the first straw long side (left image). The accordion fold will act as the stopper (right image).
-
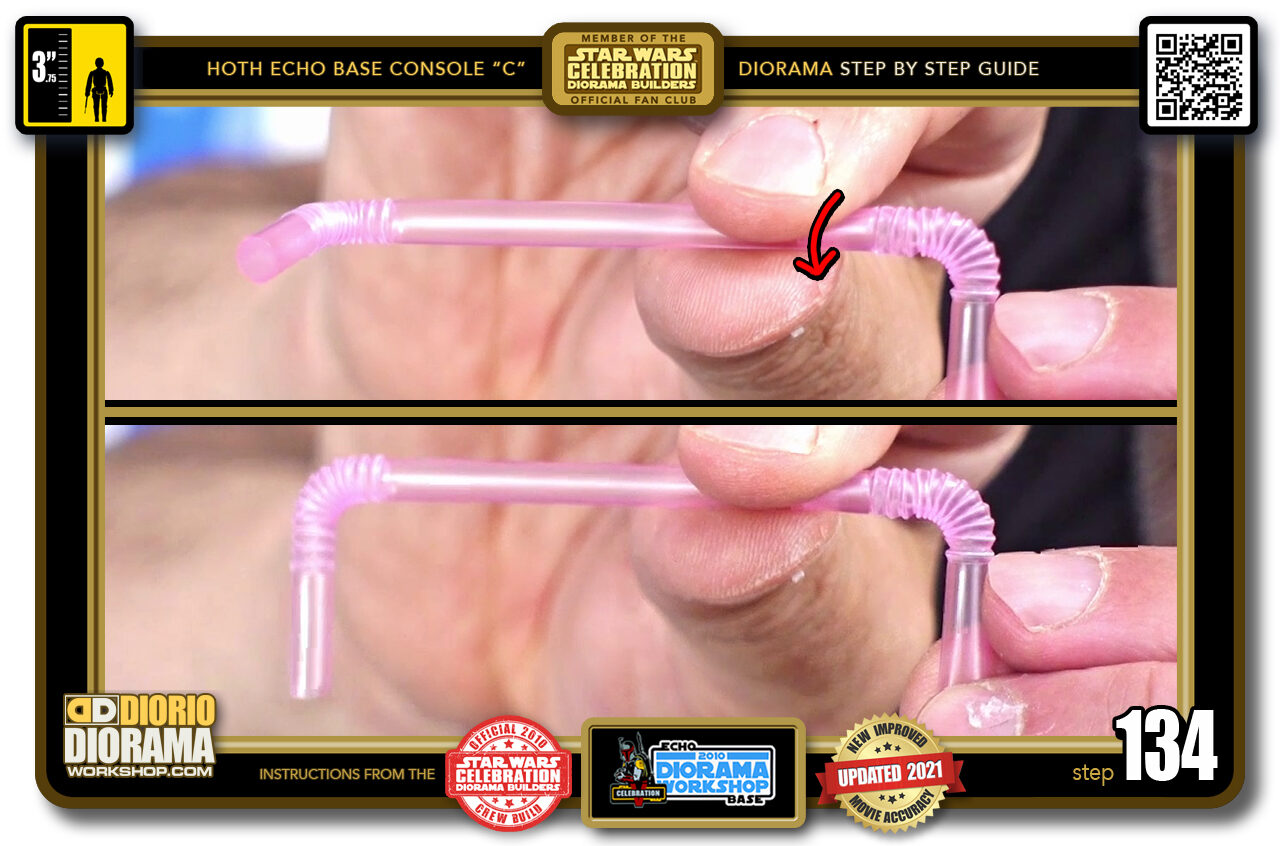
- STEP 134 > Since there is no glue you can grab the first straw by the long connected end (top image) and rotate it until the left side's bend matches, lines up with the right - 2nd straw - folding angle (bottom image).
-
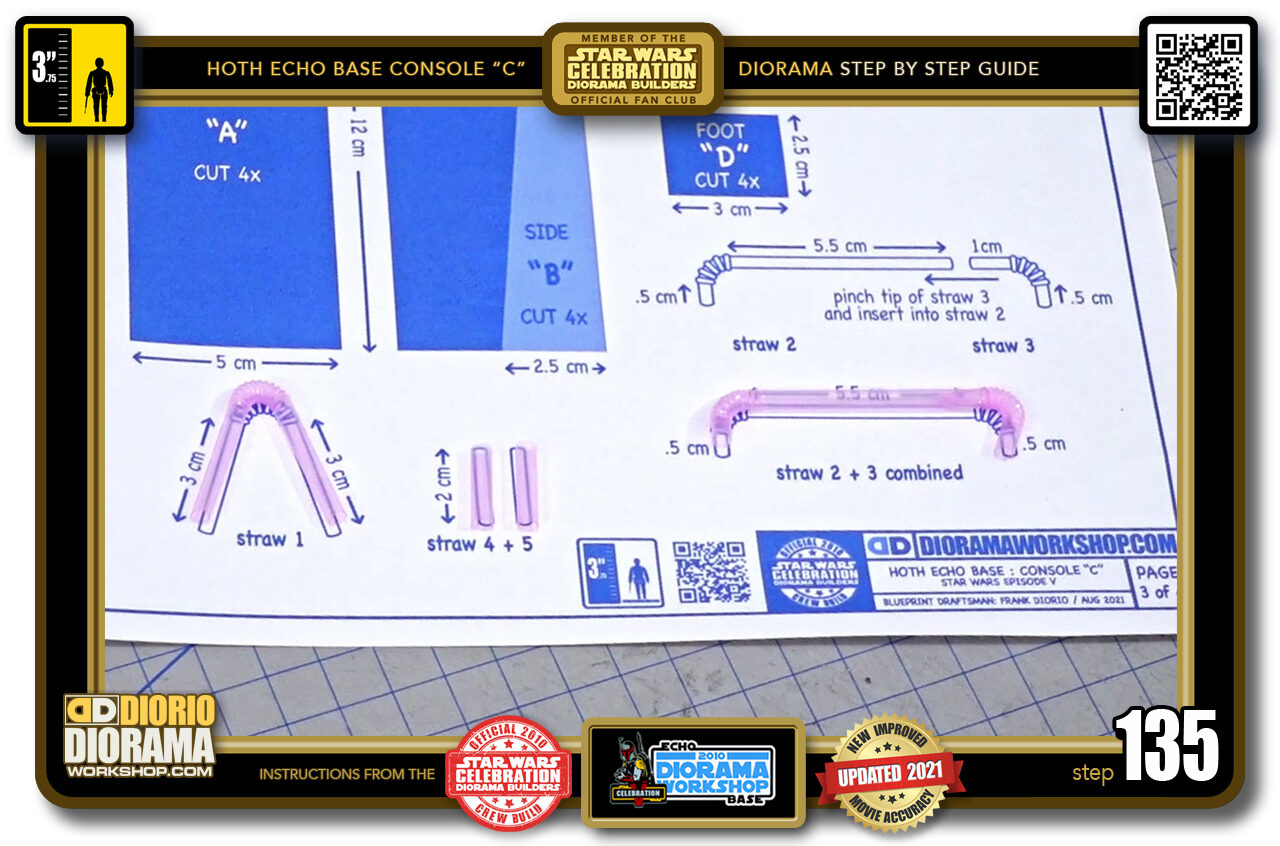
- STEP 135 > We now have all our straw pieces ready to be painted.
-
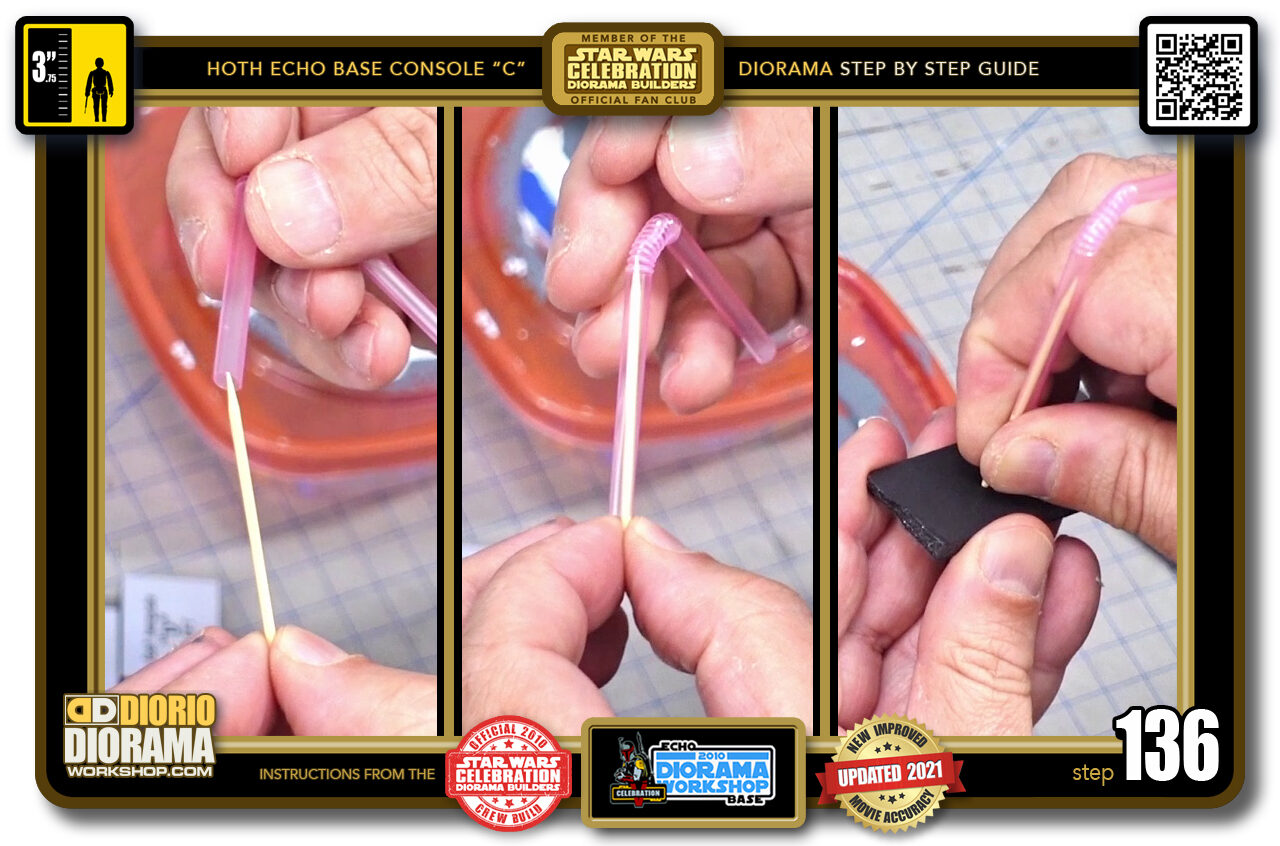
- STEP 136 > To help the painting process I find it useful to grab a toothpick (left image) and insert it into the straw (centre image) you can then poke the straw into a scrap foamcore to act as a base (right image. This is especially useful for drying.
-
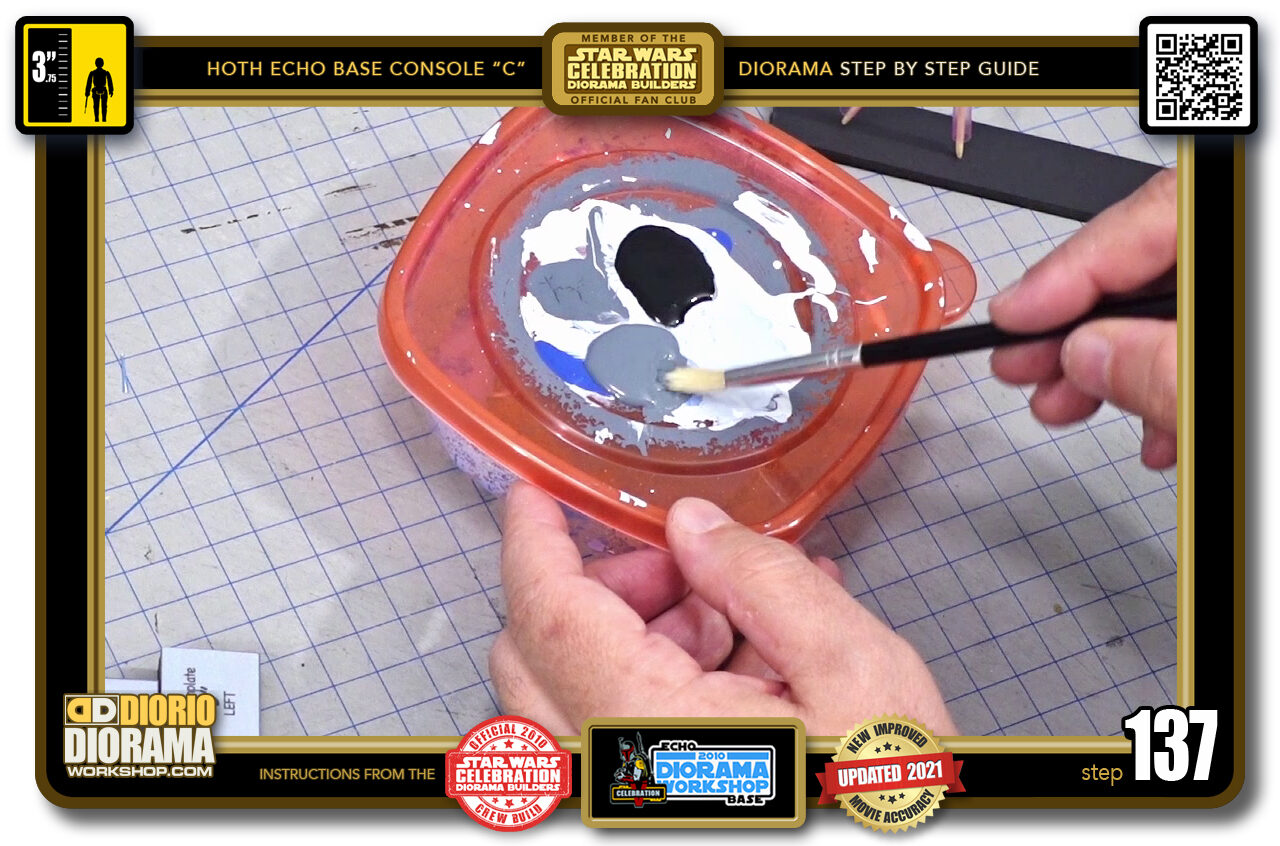
- STEP 137 > Take a little slate grey arts and craft latex paint.
-
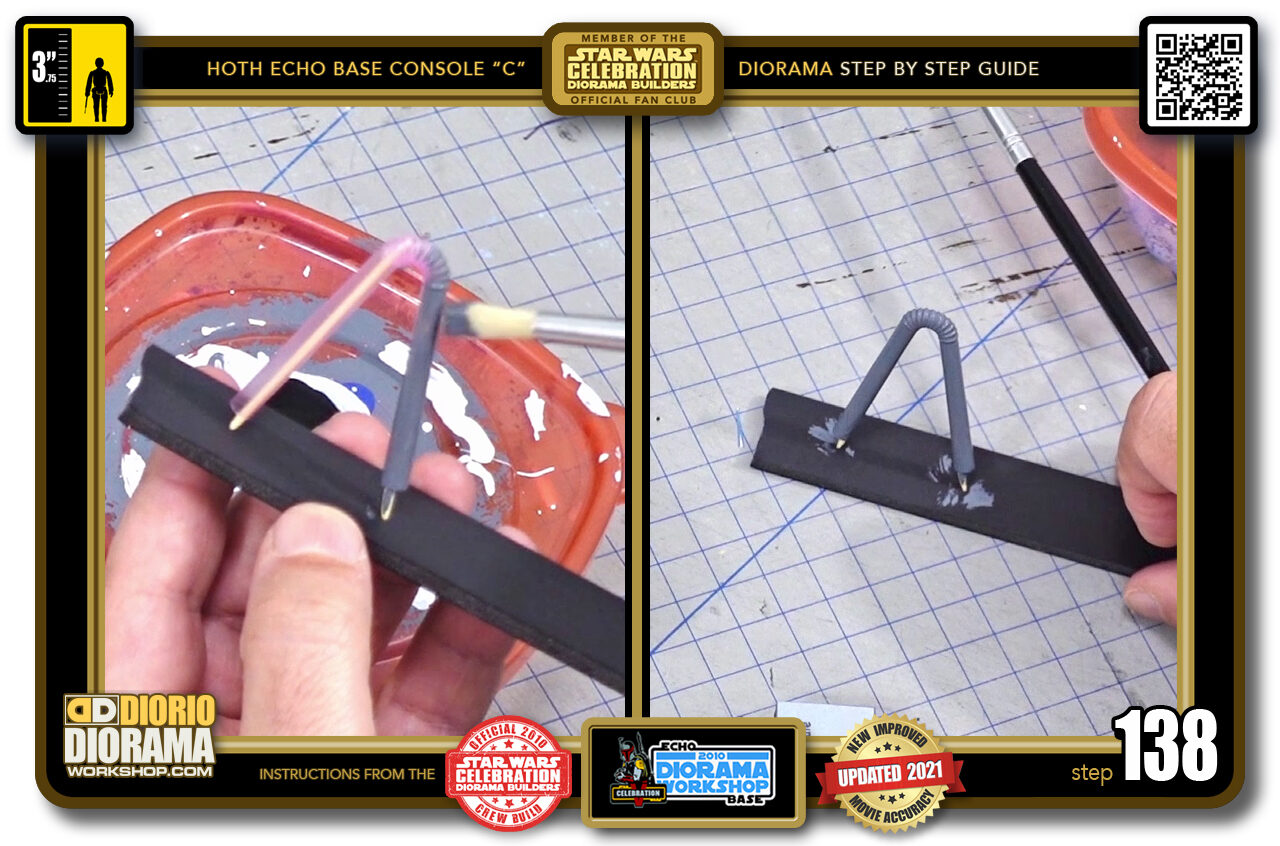
- STEP 138 > paint the entire surface of your straw. Use multiple thinner layers rather than one big glob so that you retain the accordion folds detail (left image). When done, set aside to dry as you move on to the other pieces (right image).
-
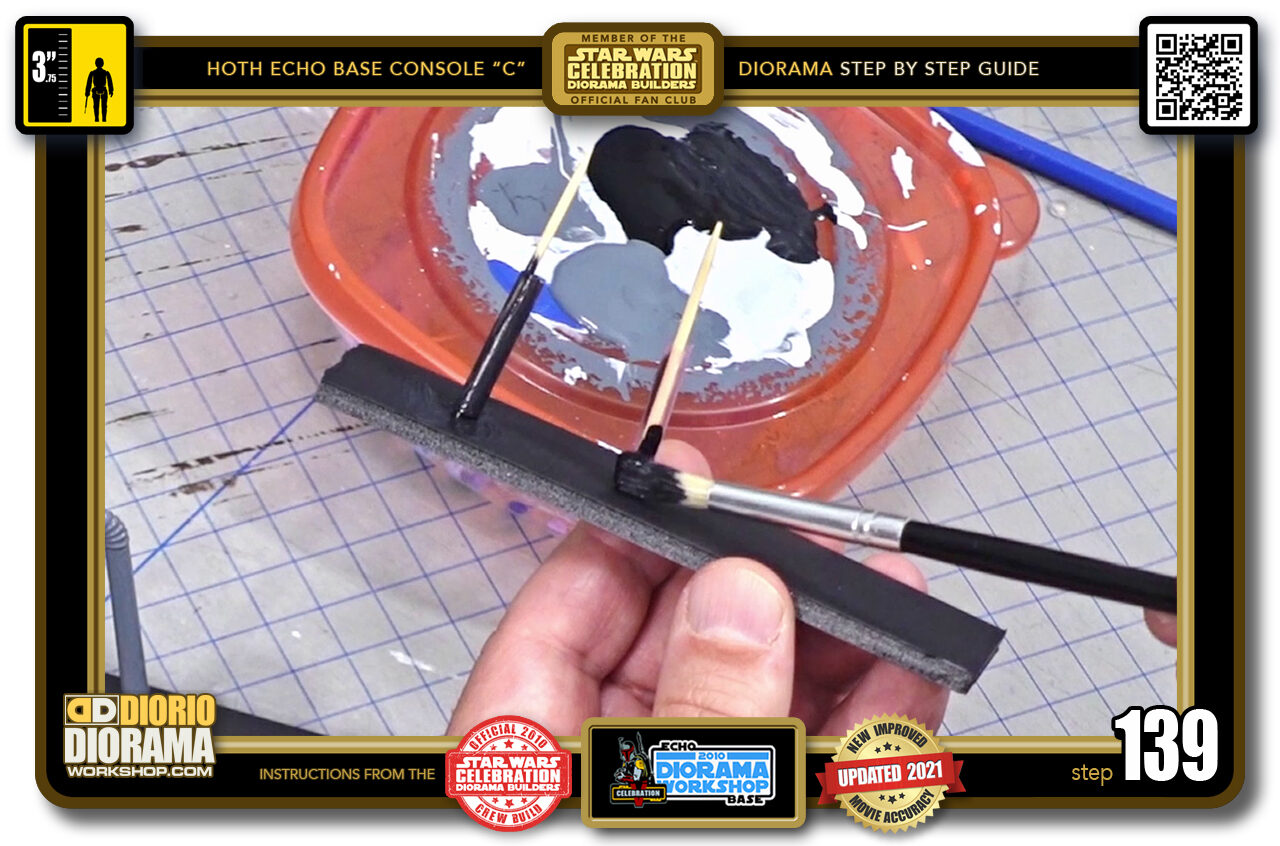
- STEP 139 > Now grab some black paint. Make sure to change brush or wash off the grey first. Paint the straight straws black.
-
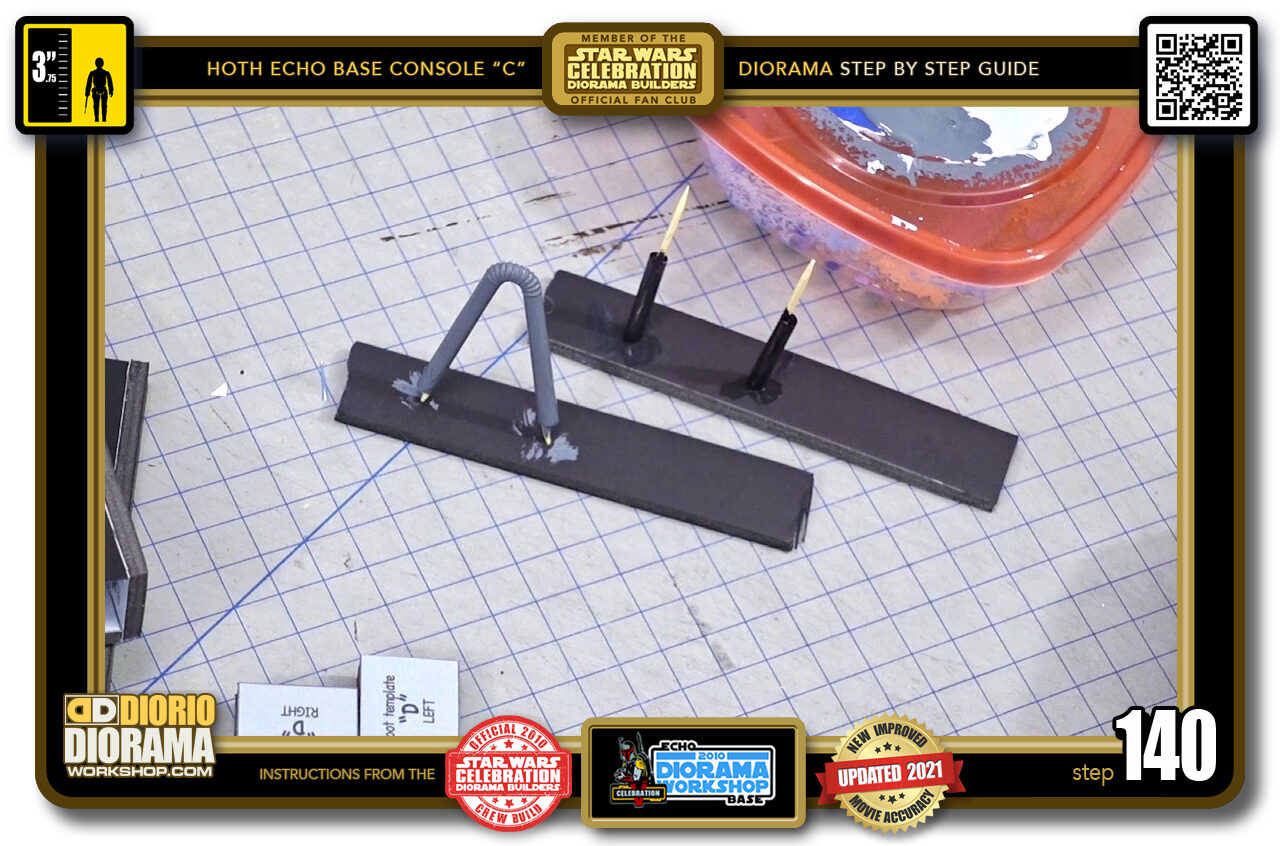
- STEP 140 > Set aside to dry as you move on to the last one.

.
Did you already build this Diorama ? At home or at our Star Wars Celebration Diorama Builders workshop ? Would you like to show it in the site’s GALLERY VISITORS DIORAMAS section, YES ? That is Awesome !!! You can find out all the details on how to email me your photos on the VISITORS SUBMISSIONS INFO page … When I get your photos, I will create your very own page just like this one. You may not realize it but work does inspire others to join in the fun of making Action Figure Dioramas.
.
NOT FOR RESALE ALL Decals, tutorials and artwork are ©FrankDiorio (dioramaworkshop.com) and offered FOR FREE to the fans – that would be you ? so you can build and display my diorama designs in your very own home. I realize I cannot control what one does with my graphics once I place them on the web, I can only ask you as one fan to another, please respect the artist and do not be that jerk who uses my designs and tutorials to build a copy of my work only to sell it on EBAY or trade/sale groups and forums. Thank You. Frank.
.

.
.
If you have a facebook account, why not join the Official Diorama Builders Fan Club today, simply click the logo link below.
 .
.
Catch up with fellow visitors and exchange stories, read cool interviews with the crew, exchange photos, fun surprises and grab some FAN ONLY merchandise next year at actual future conventions ?
.
©2021 Frank Diorio DioramaWorkshop.Com
.
IF YOU LIKE WHAT YOU SEE, PLEASE SHARE WITH YOUR FRIENDS
USING THE SOCIAL MEDIA BUTTONS BELOW