


-
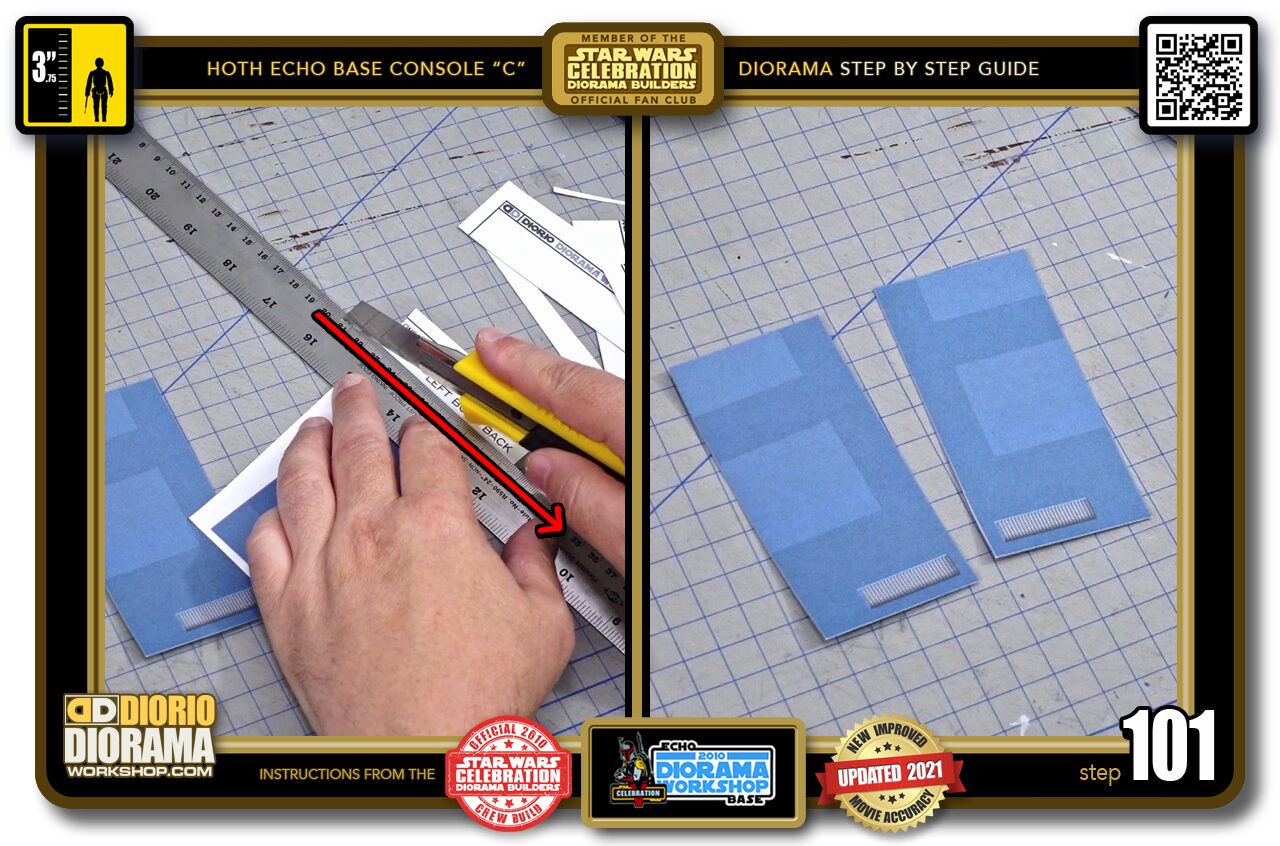
- STEP 101 > For the rear main body decals you just need to cut around each of the 4 sides with your ruler (left image) When done your 2 shapes look like this (right image).
-
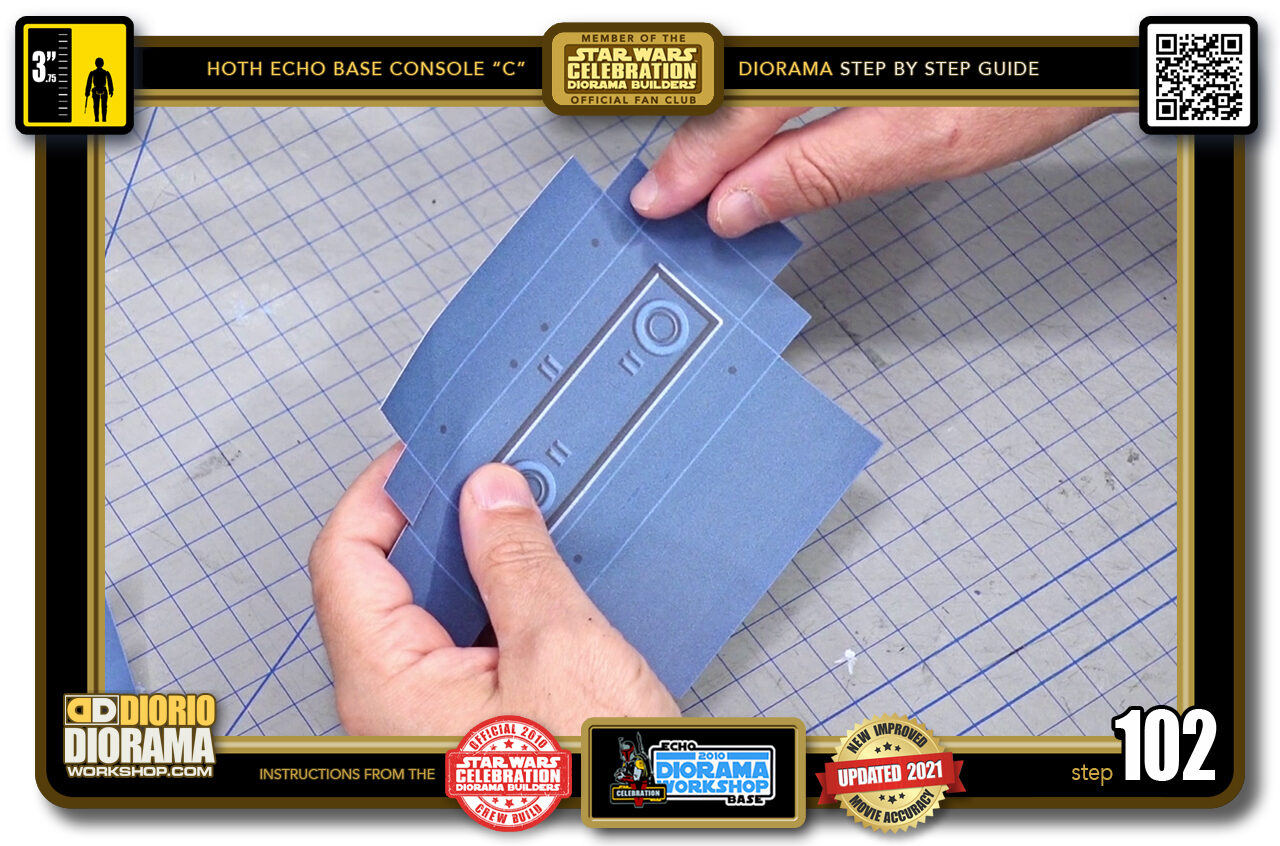
- STEP 102 > Time to fold the decals along the pale blue lines. Let's begin with one of the rear boxes.
-
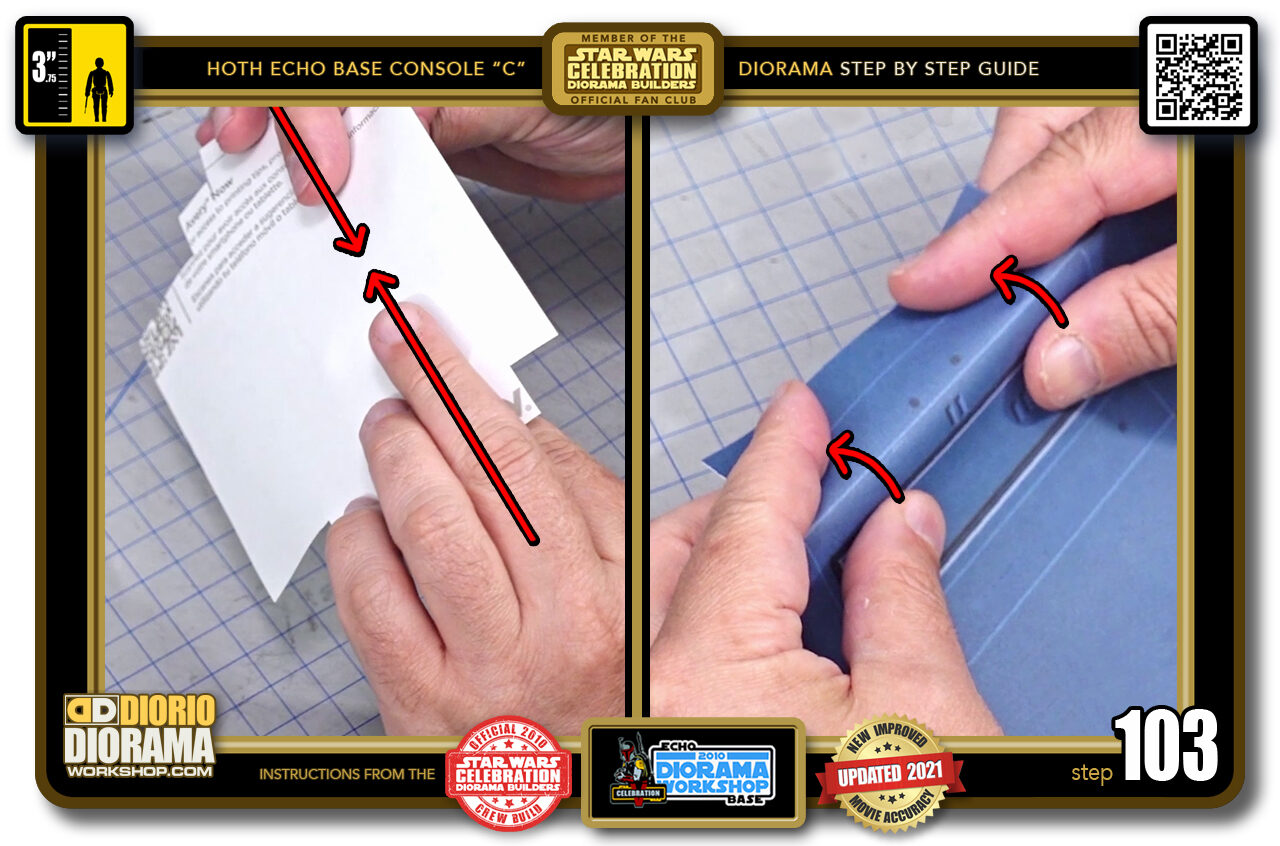
- STEP 103 > When doing the long wide horizontal folds, it's best to add a support with your fingers at the back of the decal (left image) You can the carefully slowly start bending at the front. Your thumbs will press against the rear fingers to keep the decal from slipping. Then use your index fingers to curve the decal around your rear fingers (right image).
-
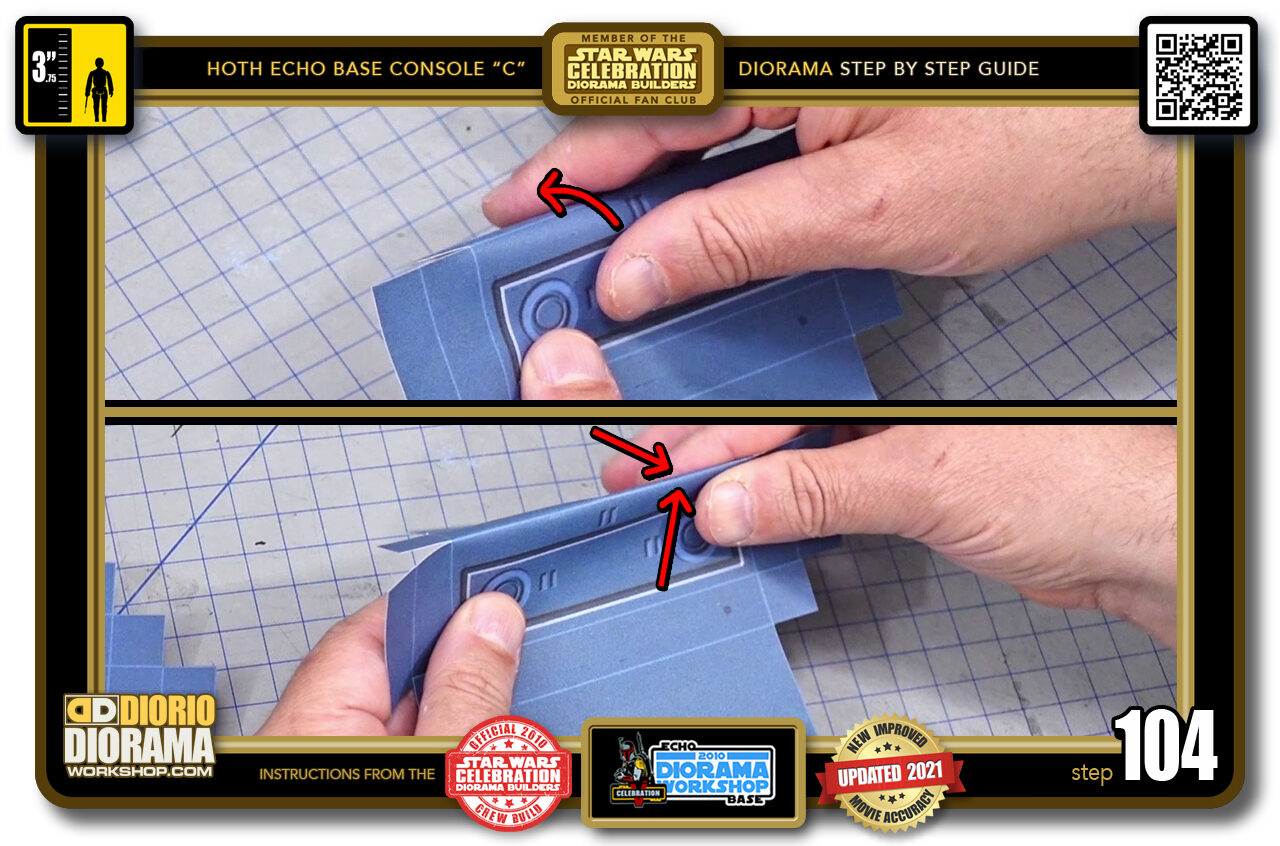
- STEP 104 > As you keep slowing curving and bending your decal (top image) it will start to keep a folded memory more and more until you get enough of a close curve to be able to start pinching the fold (bottom image).
-
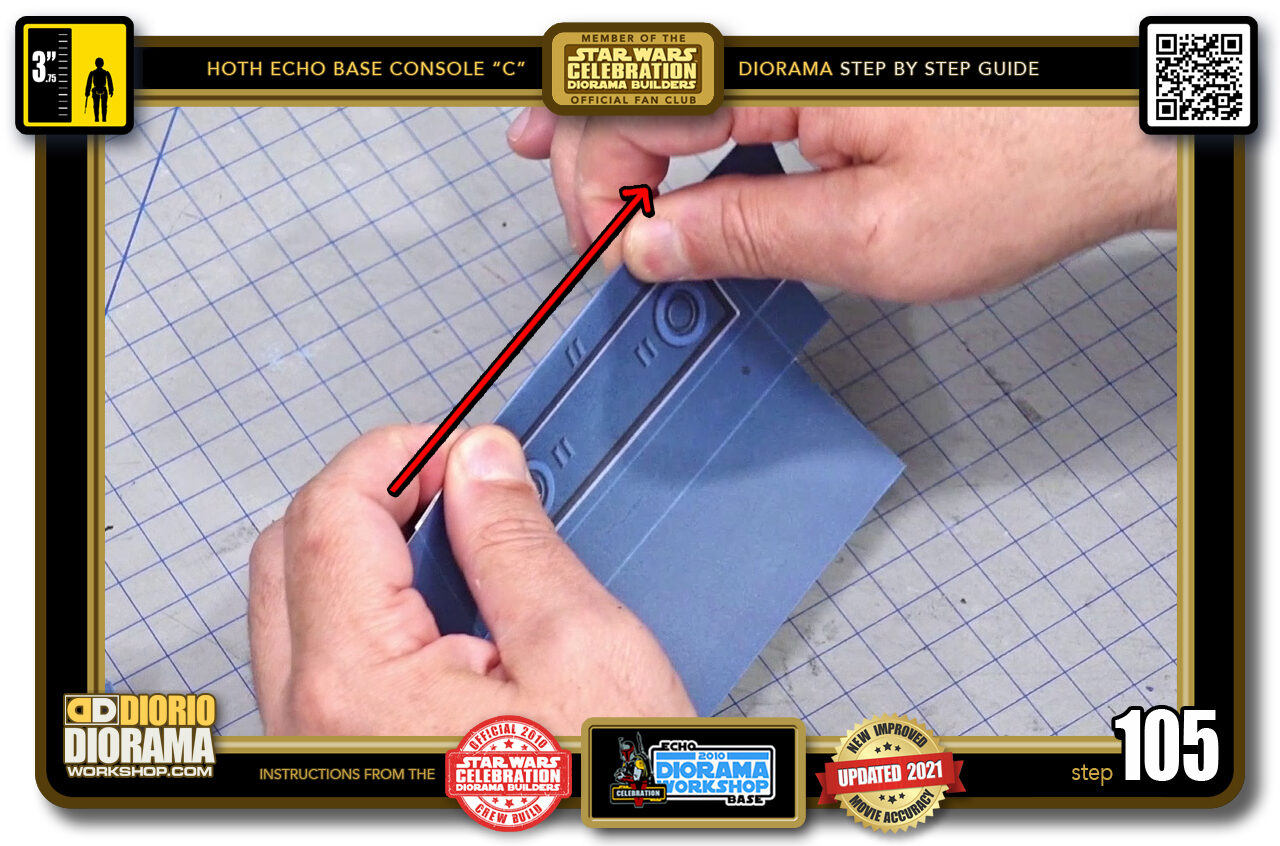
- STEP 105 > After a few pinches you will have enough memory for the paper to allow you to do a super tight horizontal slide pinch.
-
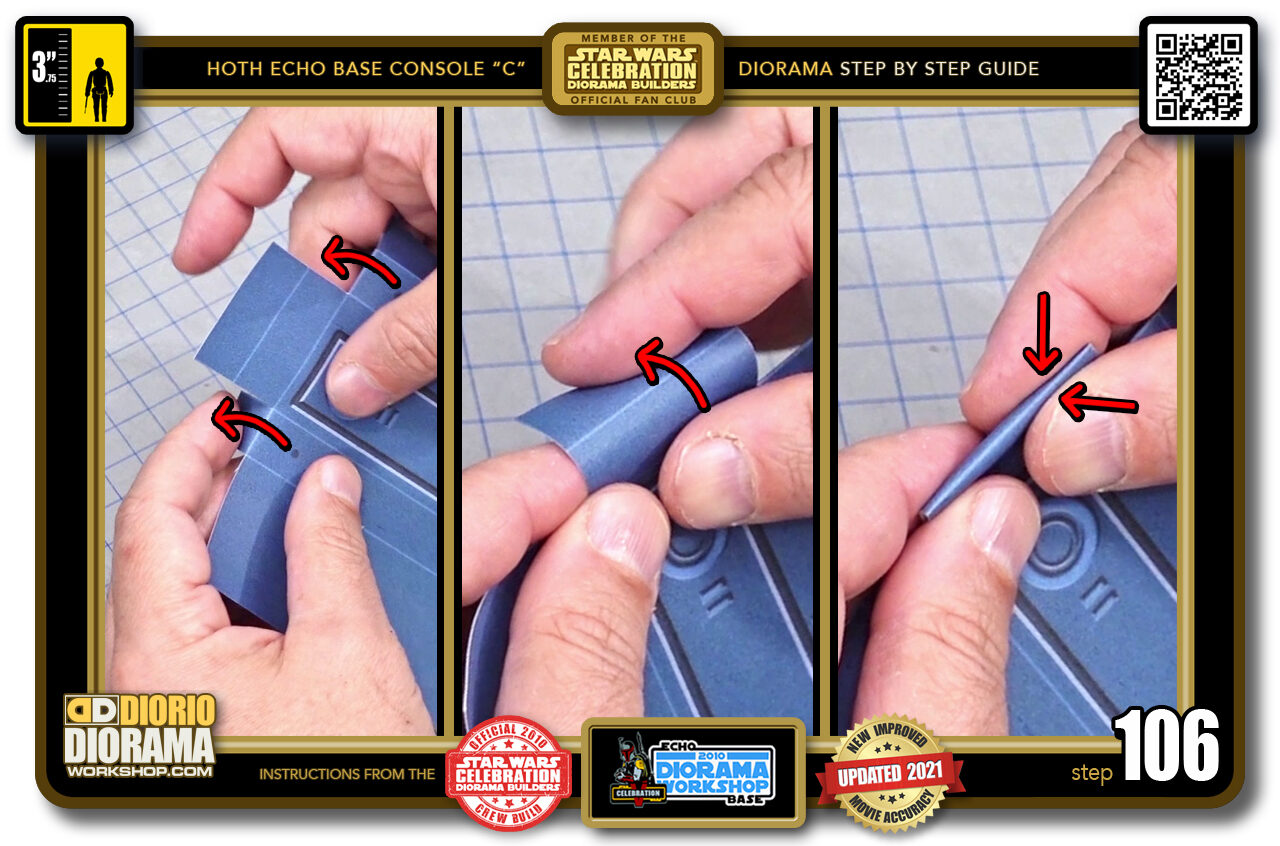
- STEP 106 > You want to repeat this now on the sides (left image). Start with soft large folding over (centre image) and finish with tighter finger finching (right image)
-
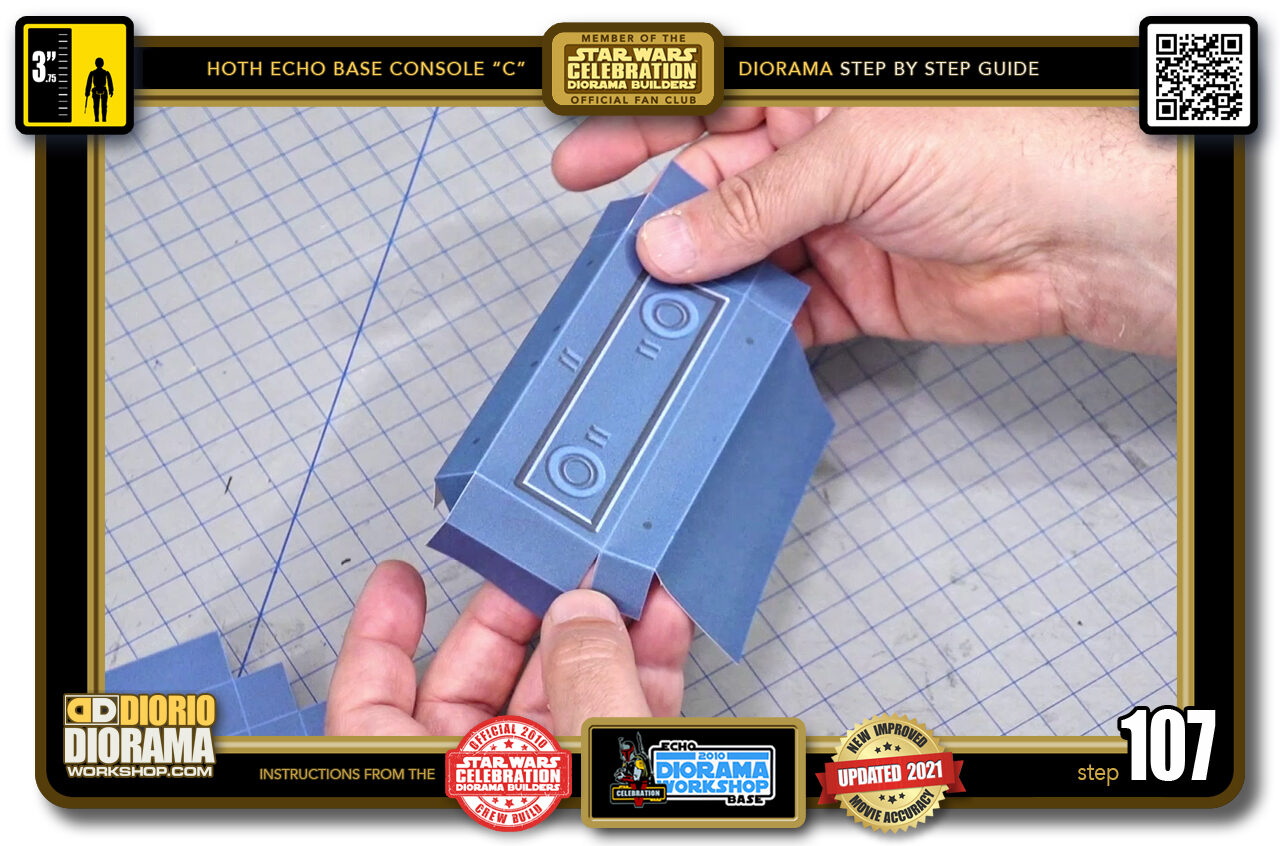
- STEP 107 > Once you go around all the pale blue fold lines on each side, your decal should look like this.
-

- STEP 108 > Now repeat the same steps on your other rear box decal.
-
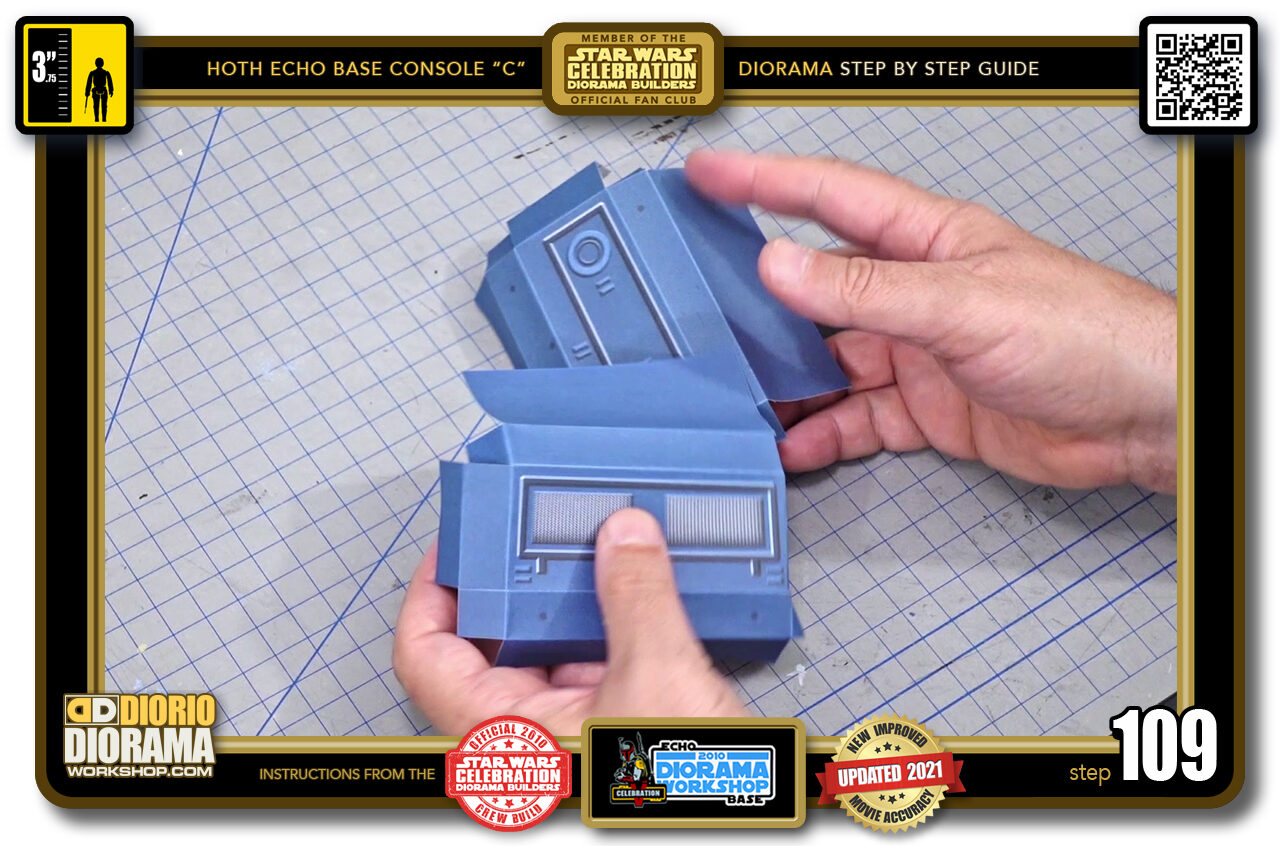
- STEP 109 > After less than 5 minutes, you have both rear box decals ready to go. Put them safely aside for now.
-
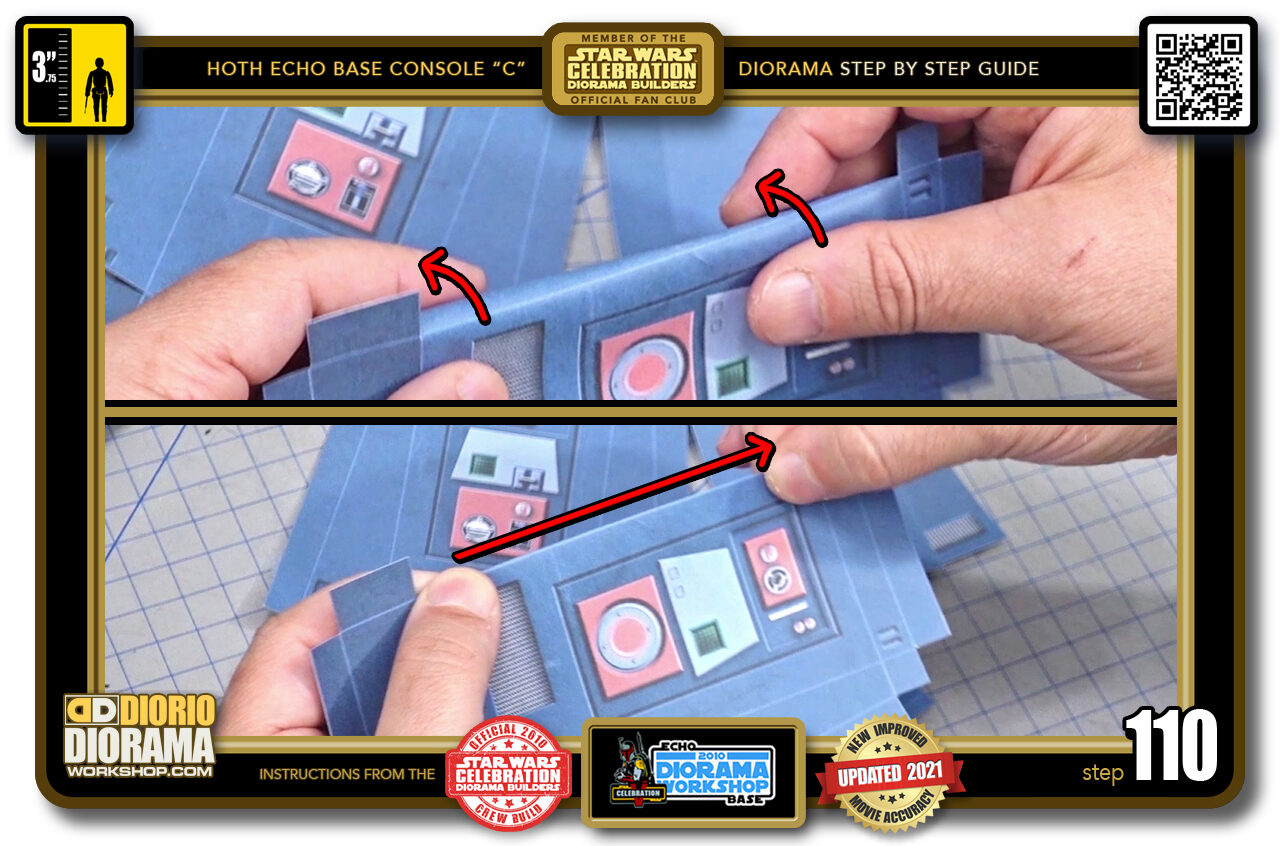
- STEP 110 > Grab one of your main body decals. We will start with the long wide horizontal pieces first. Again use your fingers as supports in the back if needed. Slow bends (top image) until you reach pinching and the final Slide pinch (bottom image).
-
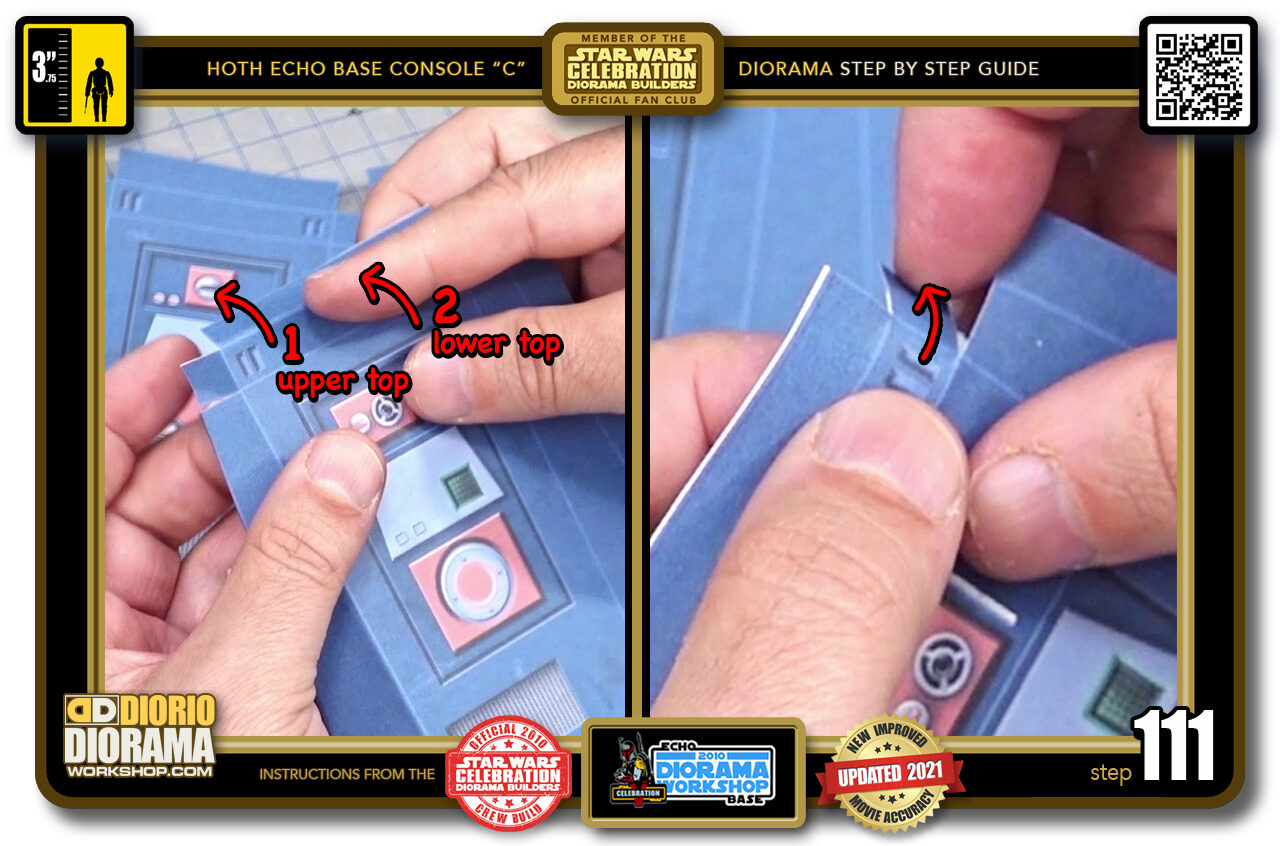
- STEP 111 > At the bottom is the same, Carefully fold along the pale blue lines (left image) Don't forget to fold the smaller side flaps (right image).
-
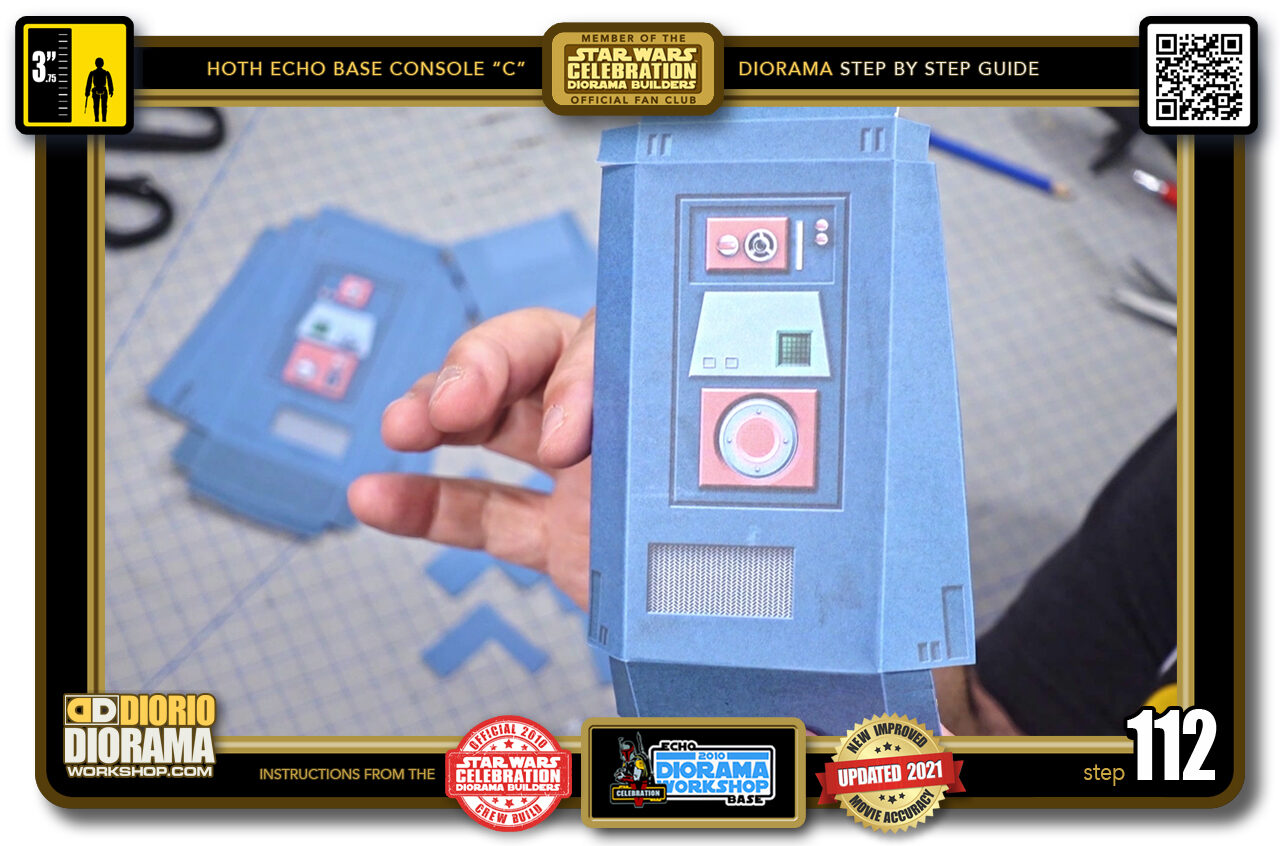
- STEP 112 > This is what your piece looks like when you are done. Now repeat with main body decal number 2.
-
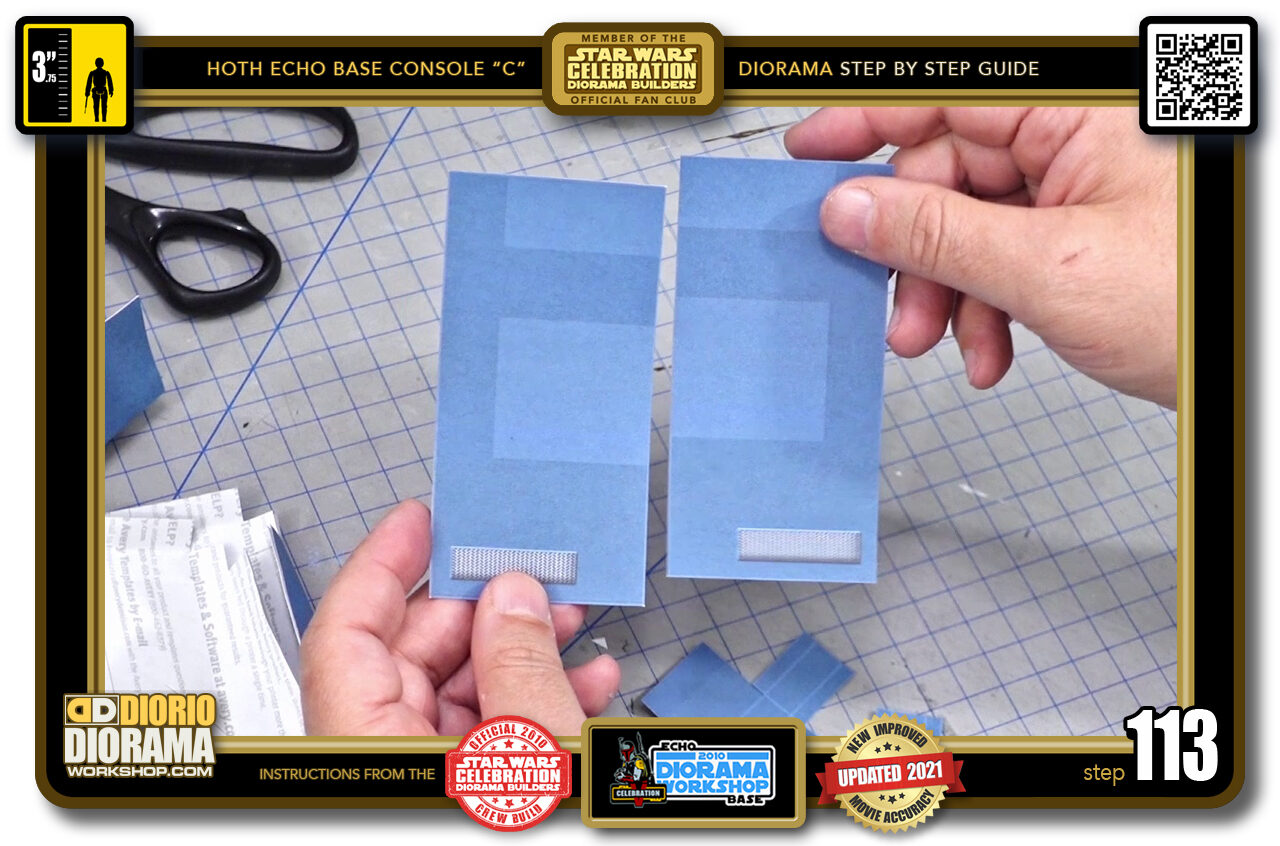
- STEP 113 > These are the easiest, there are NO folds 🙂 put them aside for now.
-
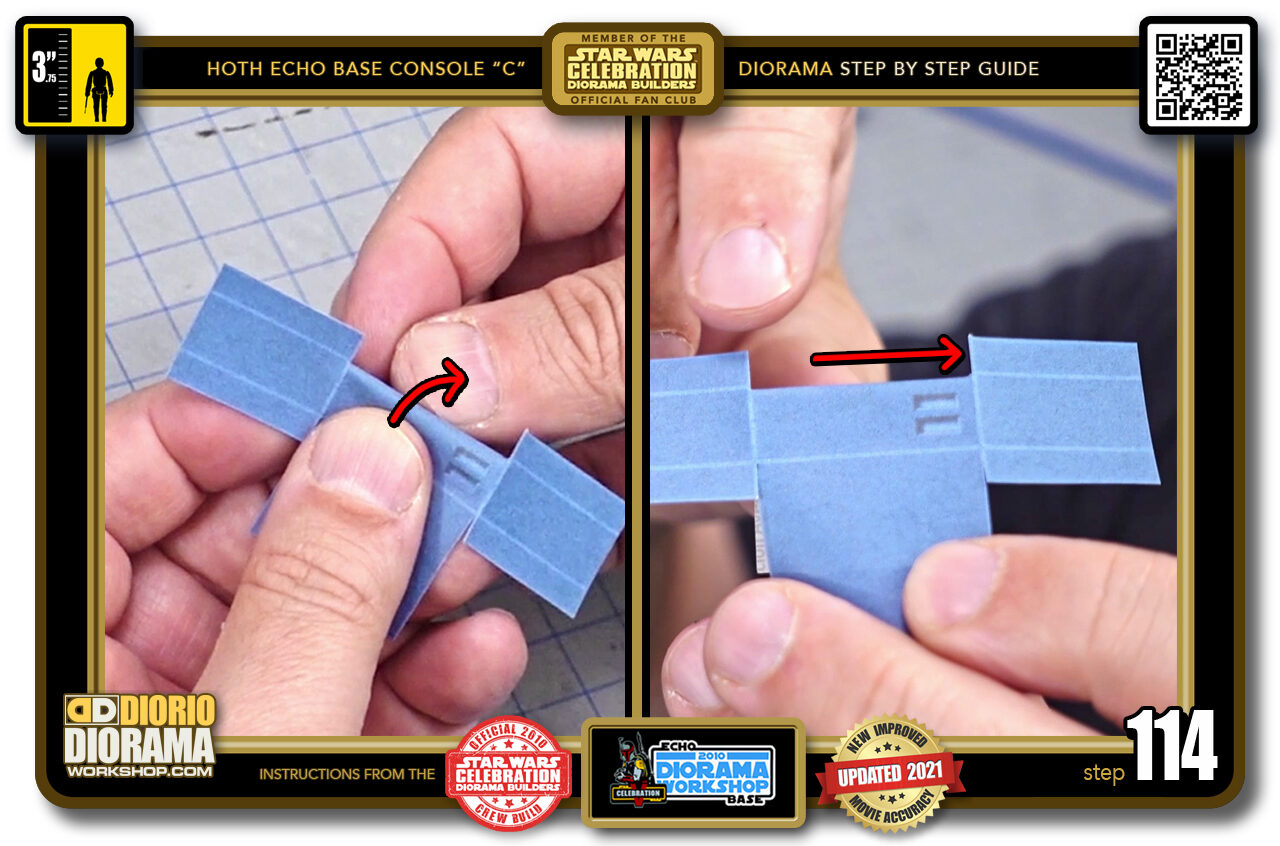
- STEP 114 > Time to fold the feet skins. Start with the centre zone (left image) Here you can see more clearly why we did those 4 little cuts into the folding lines earlier. Without the extended cuts, you would not have been able to fold the centre. it would be attached to the right and left sides and your fold would have folded all the way across. Does this make sense what I am trying to explain?
-
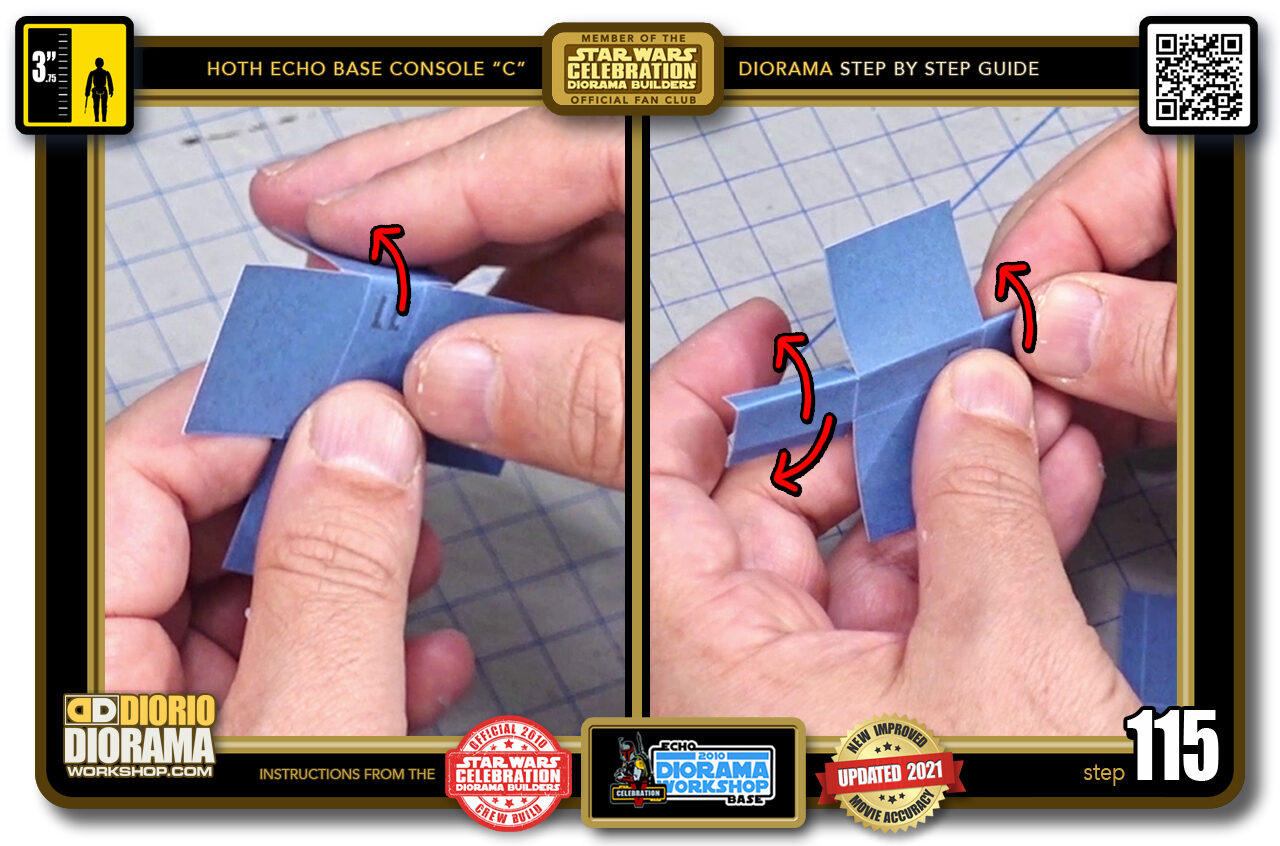
- STEP 115 > Now you can fold over the side (left image) and the little flaps at it's top and bottom (right image).
-
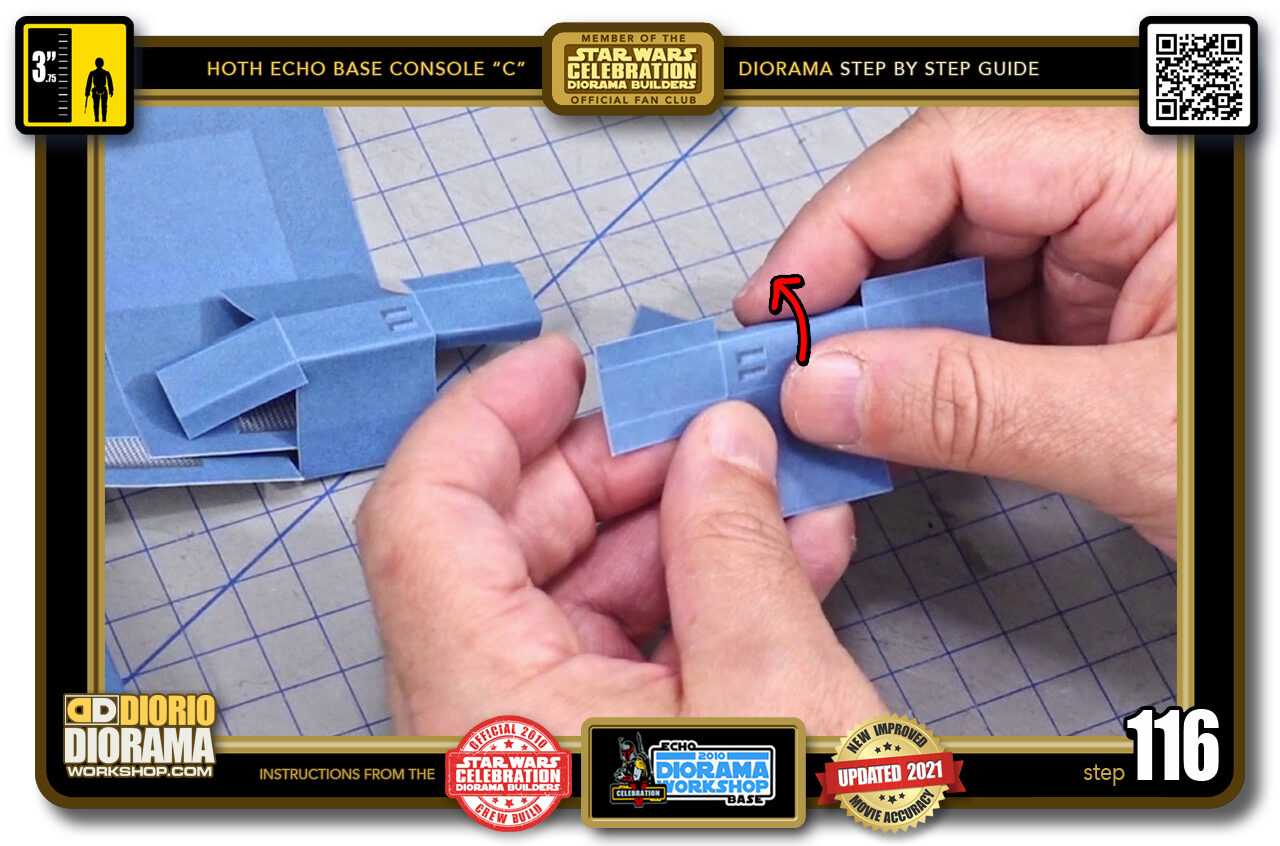
- STEP 116 > After you folded all the way around on your first foot, just do the same on the last foot decal.
-
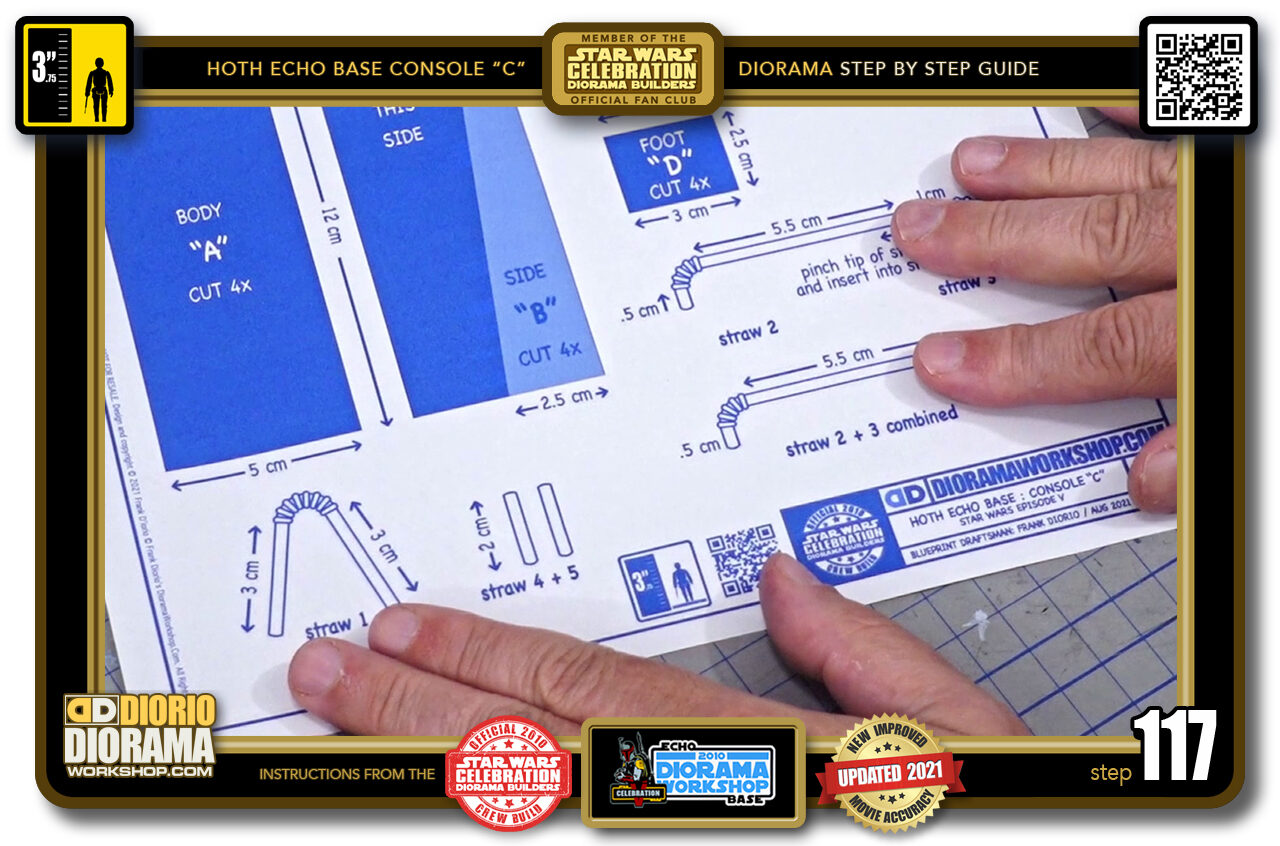
- STEP 117 > There is one more preparation to do before assembly. The straw details for the rear of the console. Grab your blueprint sheet (if you printed 1:1 100% scale (not using "fit to screen" option) your page will be an exact match for your straw measurements and act as your template guide.
-
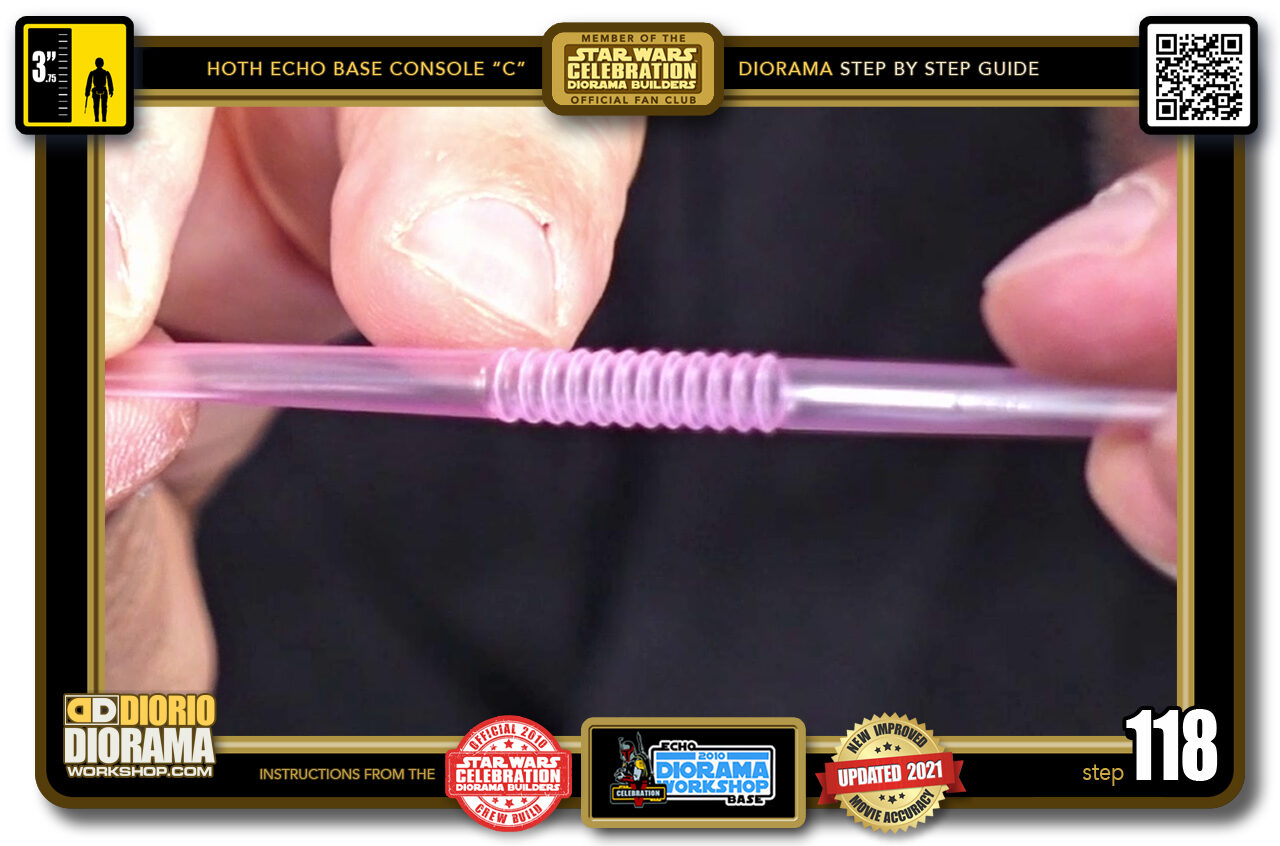
- STEP 118 > The colour of the straw you buy is not important. What you MUST have is a folding retractable accordion part like this.
-
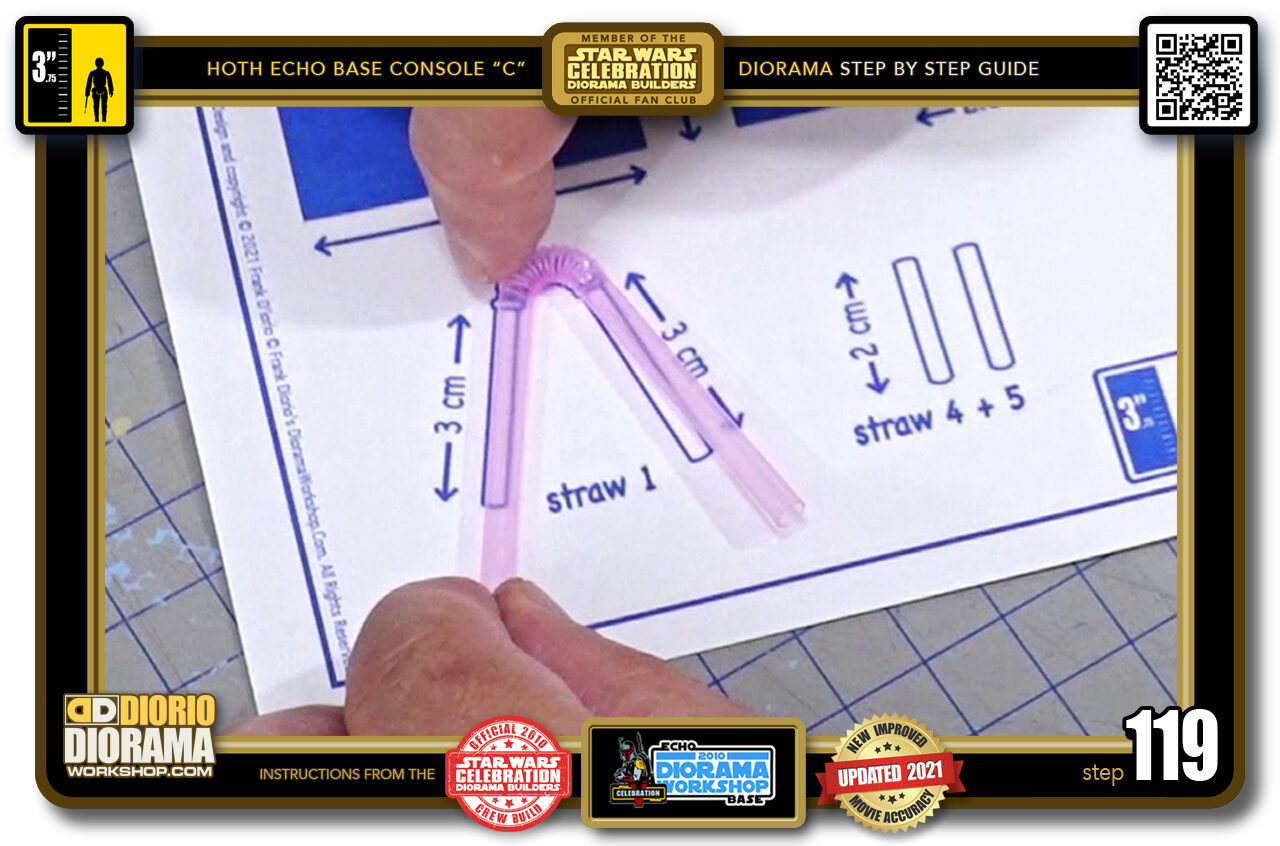
- STEP 119 > For the first straw piece, you want to extend the fold and bend it to this shape. Use the blueprint to get the exact shape. You want the ends to be 3cm.
-
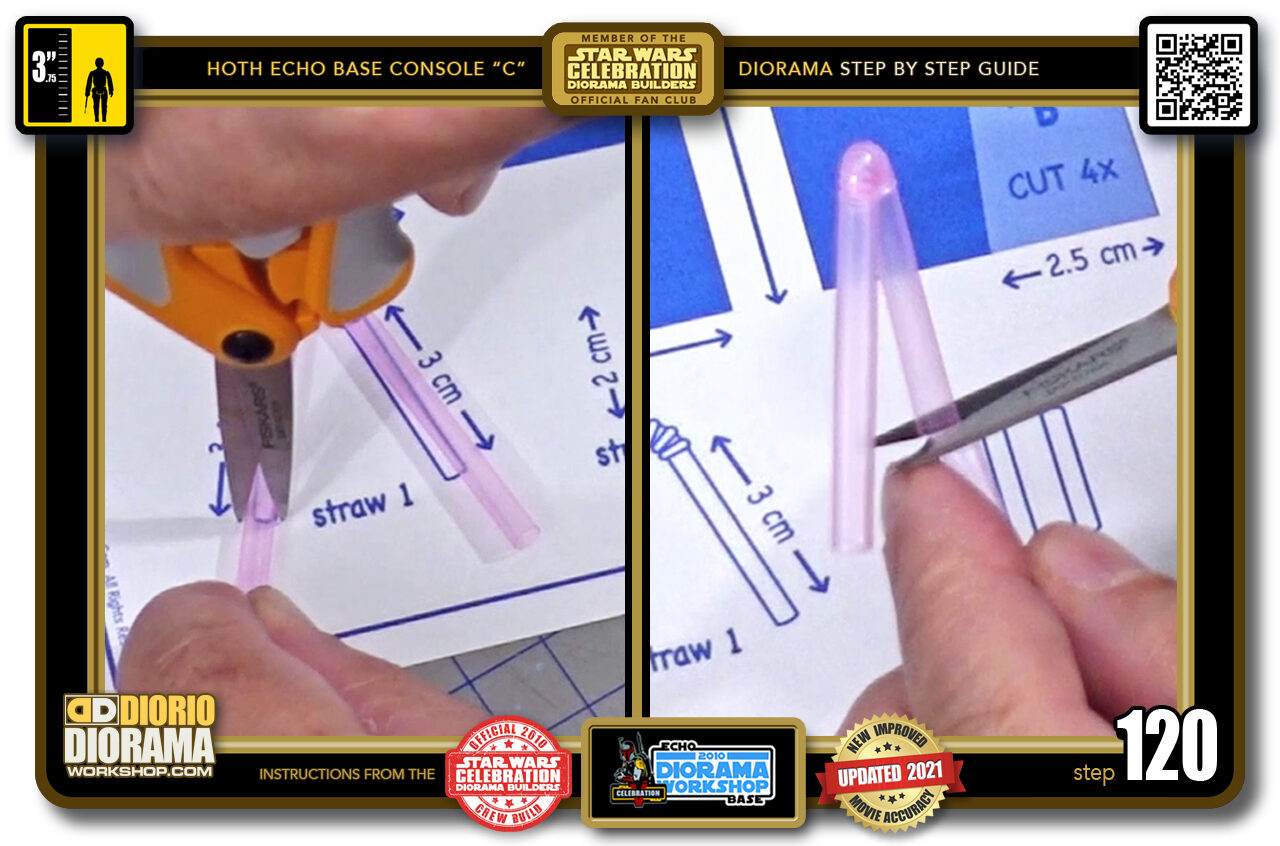
- STEP 120 > So grab your scissors and snip off where you see the tip on the blueprint (left image) then trim off the excess if it wasn't cut all the way through at the first snip.

.
Did you already build this Diorama ? At home or at our Star Wars Celebration Diorama Builders workshop ? Would you like to show it in the site’s GALLERY VISITORS DIORAMAS section, YES ? That is Awesome !!! You can find out all the details on how to email me your photos on the VISITORS SUBMISSIONS INFO page … When I get your photos, I will create your very own page just like this one. You may not realize it but work does inspire others to join in the fun of making Action Figure Dioramas.
.
NOT FOR RESALE ALL Decals, tutorials and artwork are ©FrankDiorio (dioramaworkshop.com) and offered FOR FREE to the fans – that would be you ? so you can build and display my diorama designs in your very own home. I realize I cannot control what one does with my graphics once I place them on the web, I can only ask you as one fan to another, please respect the artist and do not be that jerk who uses my designs and tutorials to build a copy of my work only to sell it on EBAY or trade/sale groups and forums. Thank You. Frank.
.

.
.
If you have a facebook account, why not join the Official Diorama Builders Fan Club today, simply click the logo link below.
 .
.
Catch up with fellow visitors and exchange stories, read cool interviews with the crew, exchange photos, fun surprises and grab some FAN ONLY merchandise next year at actual future conventions ?
.
©2021 Frank Diorio DioramaWorkshop.Com
.
IF YOU LIKE WHAT YOU SEE, PLEASE SHARE WITH YOUR FRIENDS
USING THE SOCIAL MEDIA BUTTONS BELOW