


-
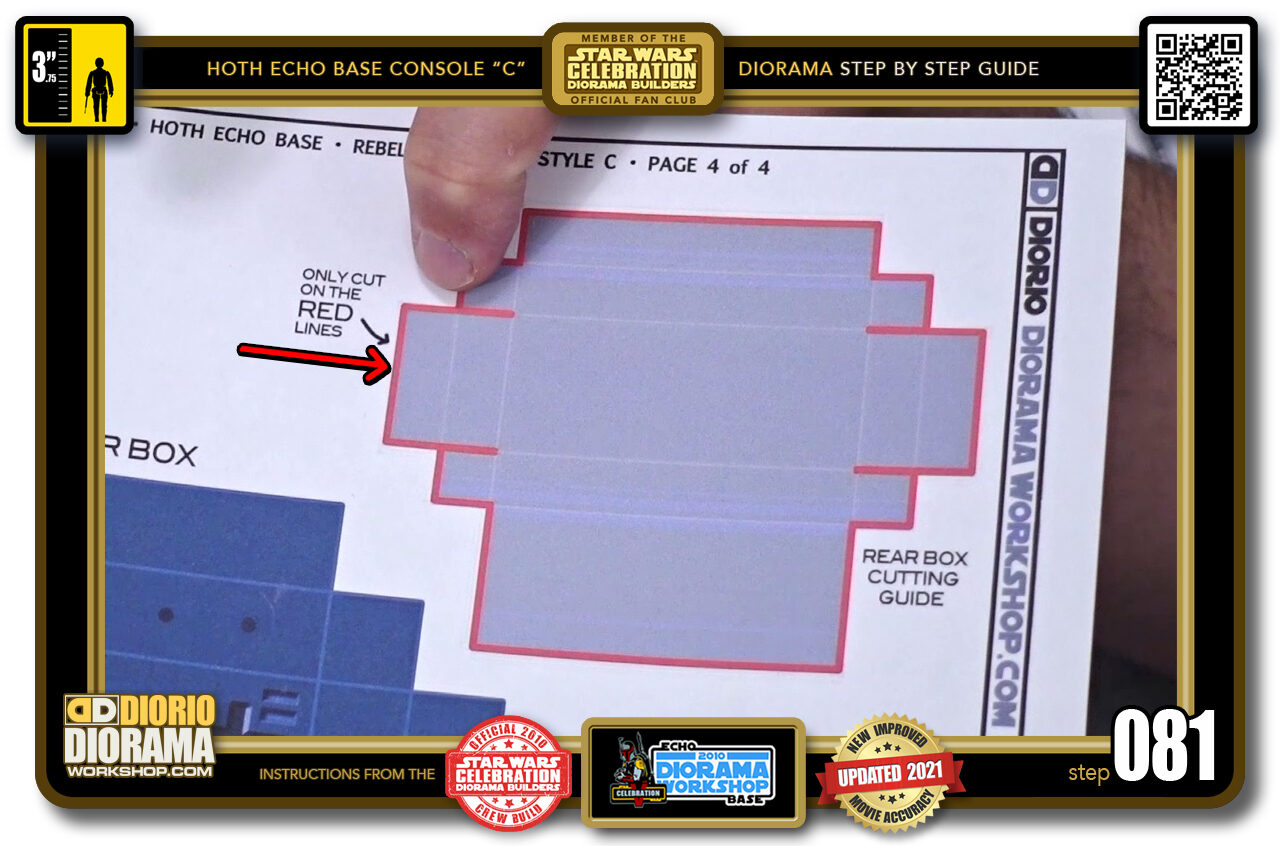
- STEP 081 > These red lines are your precision cutting guides. The pale blue lines in your decal are your FOLDING lines, you DON'T want to cut those off 🙂
-
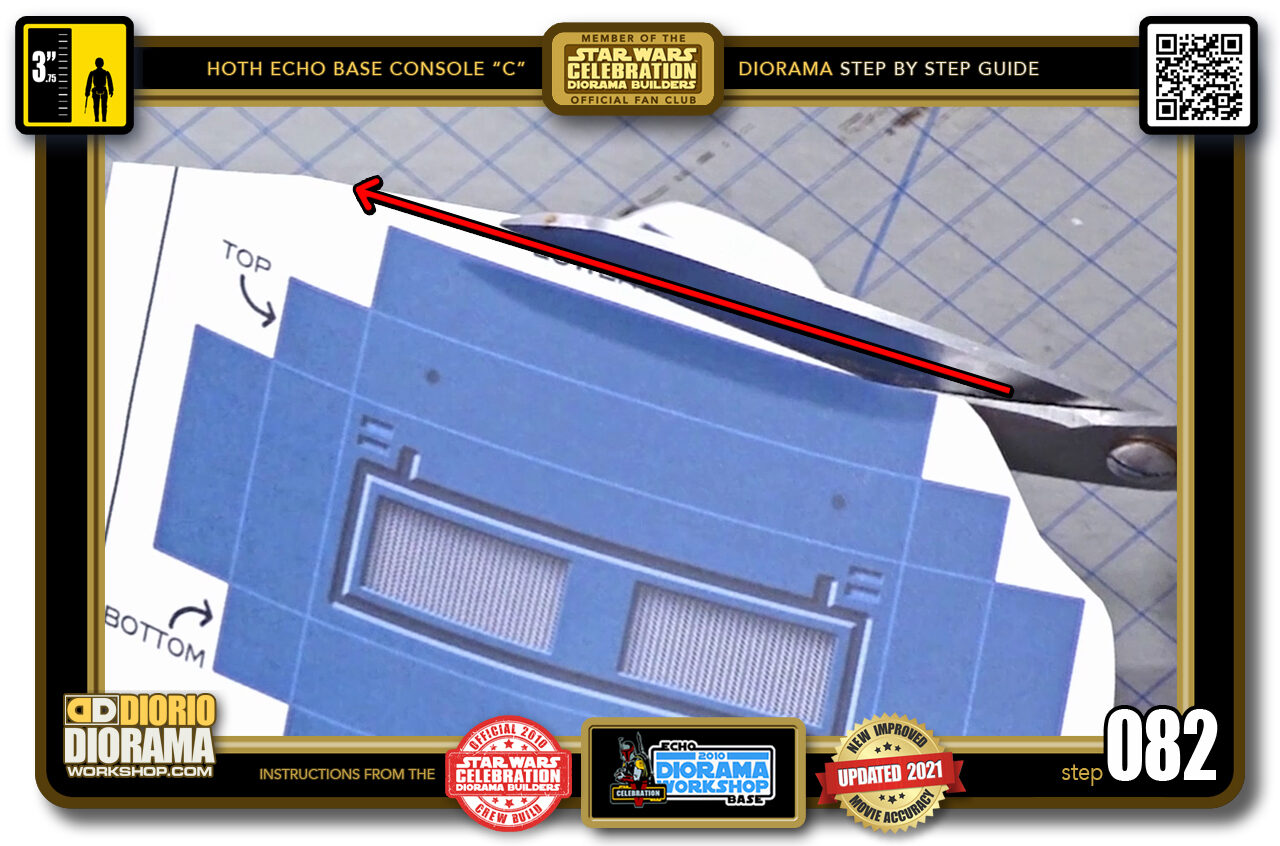
- STEP 082 > You can use scissors to cut along the outside edges first. You don't want any white showing on the decal skin itself, so trim just a little inside the colour area.
-
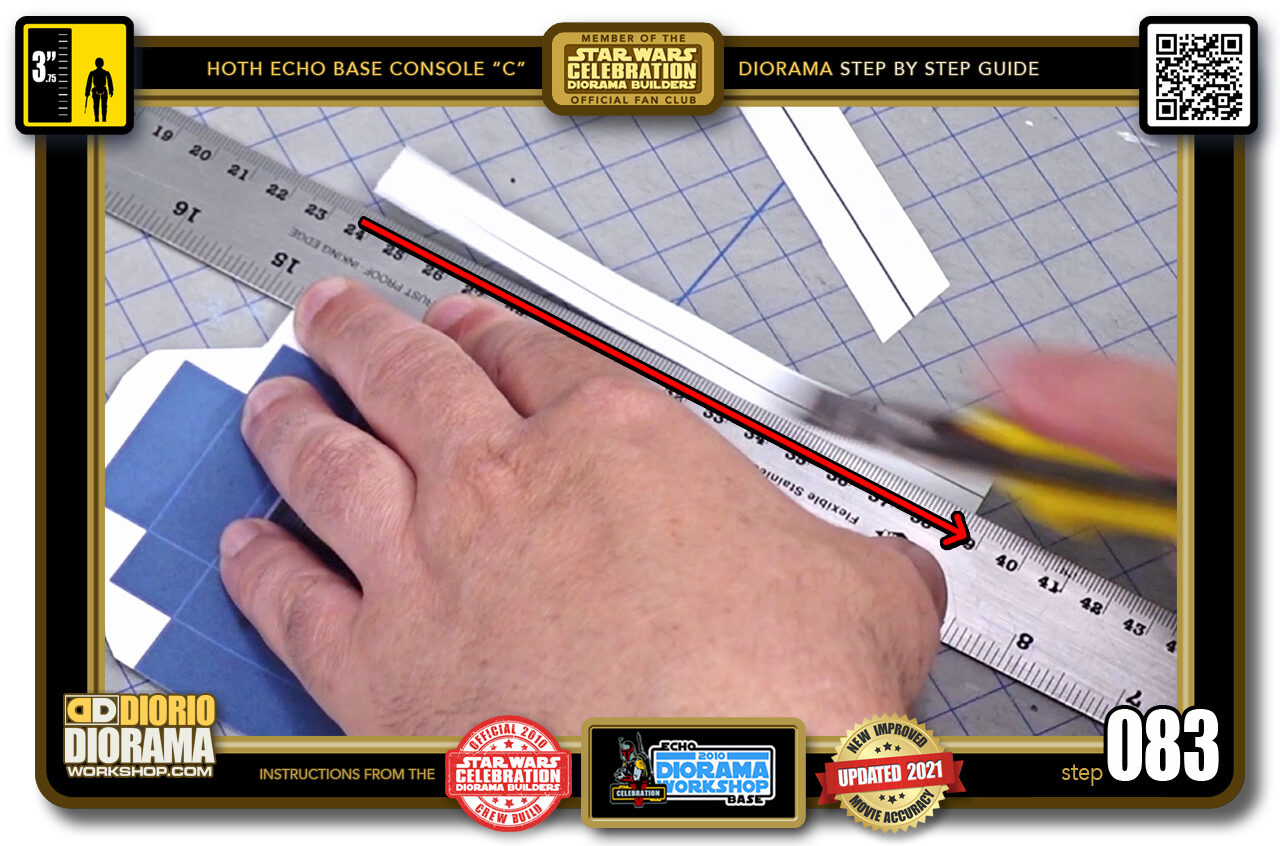
- STEP 083 > I find it faster to continue the outsides with the ruler and X-Acto knife. It's really up to you, there is no right or wrong way here.
-
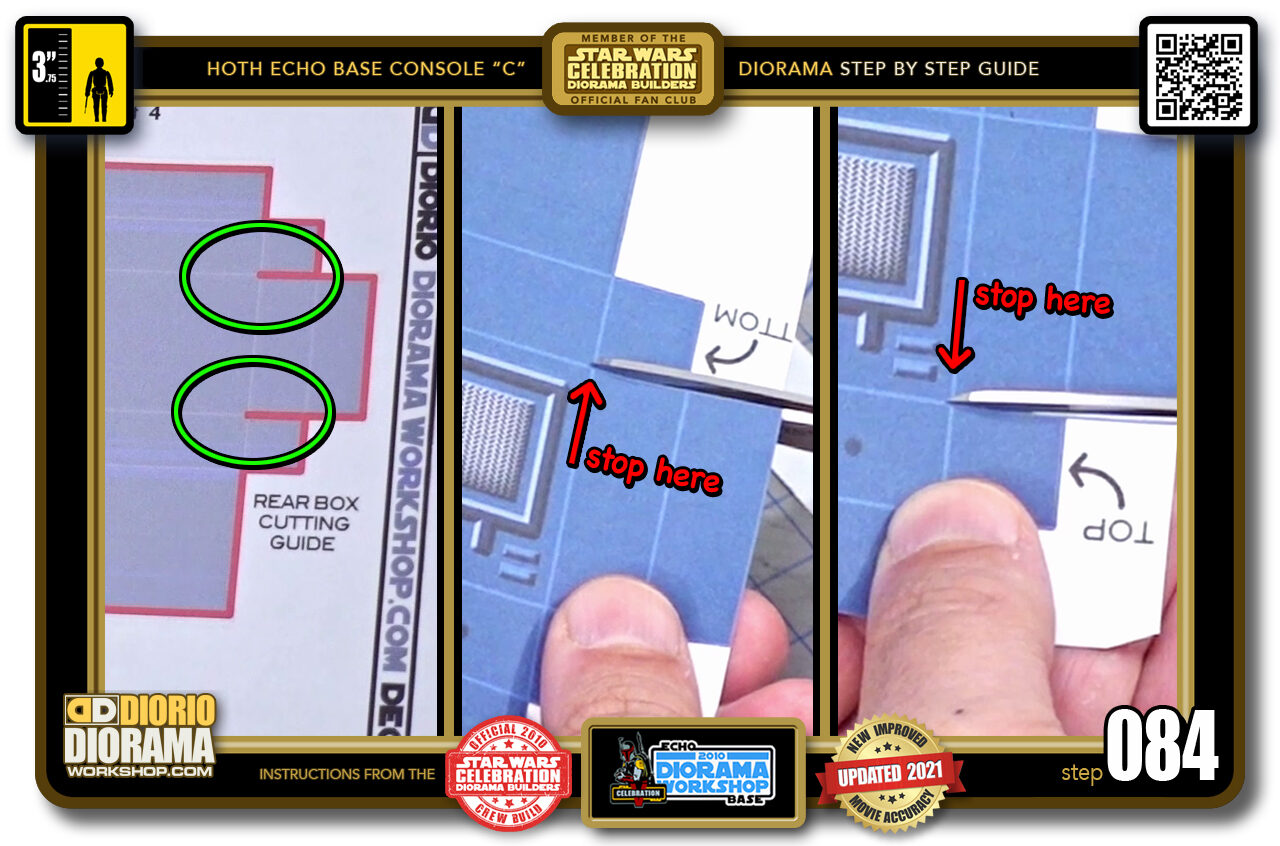
- STEP 084 > For the 2 sides you will need to cut into the folding line following the red guides (inside green circles left image) With your scissor, cut along the white edge but continue slightly until you meet the 2nd folding line (centre image STOP HERE arrow) You want to do the same cut in the lower green circle zone as well. (right image)
-
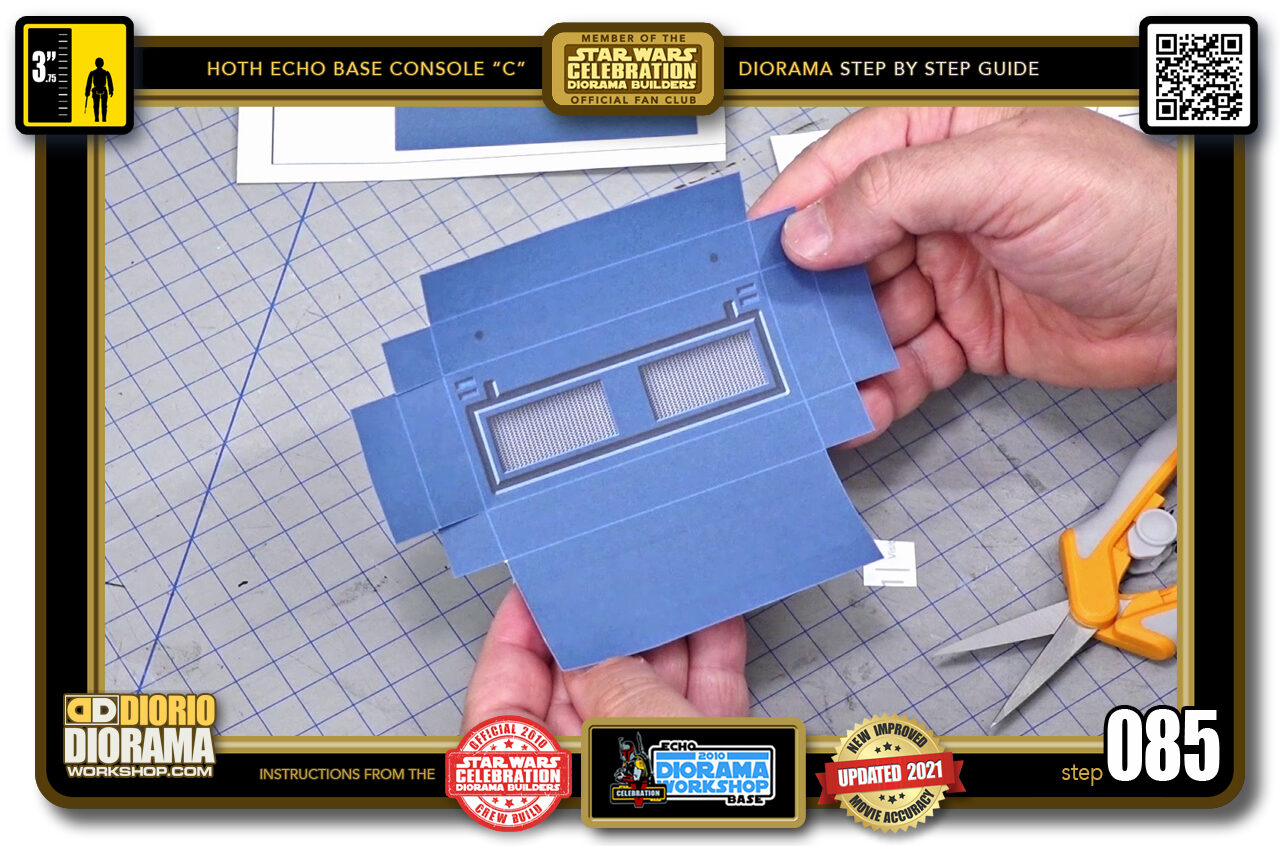
- STEP 085 > When you cut all the way around your decal skin looks like this. Now we need to do the same for the other one.
-
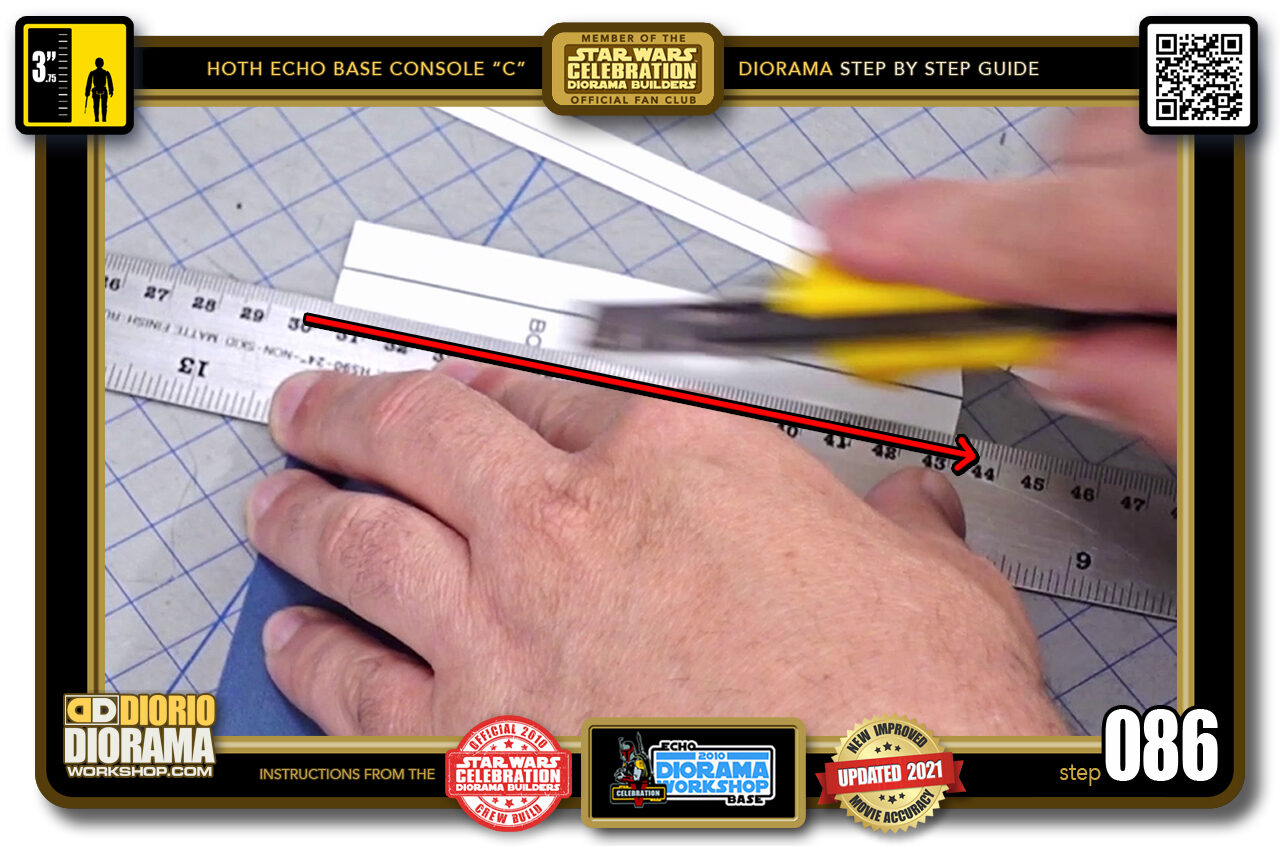
- STEP 086 > Start by removing all the straight white excess then go with scissor or fiskars to cut the small corners and the green zone red guid cuts too.
-
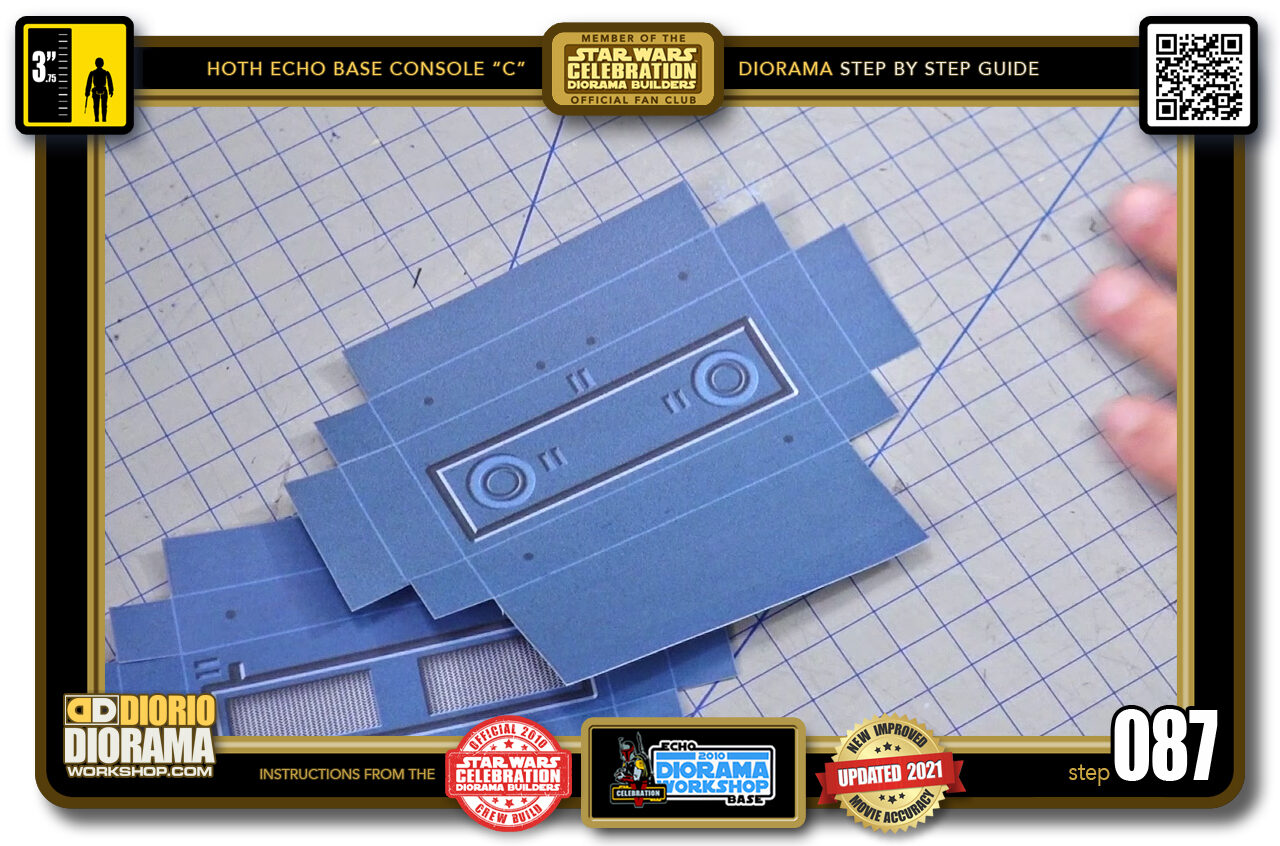
- STEP 087 > Your 2 rear box skins are cut, let's move on to the other decals.
-

- STEP 088 > Again roughly separate each piece from each other so that it will be easier to rotate and cut out to precision later on.
-
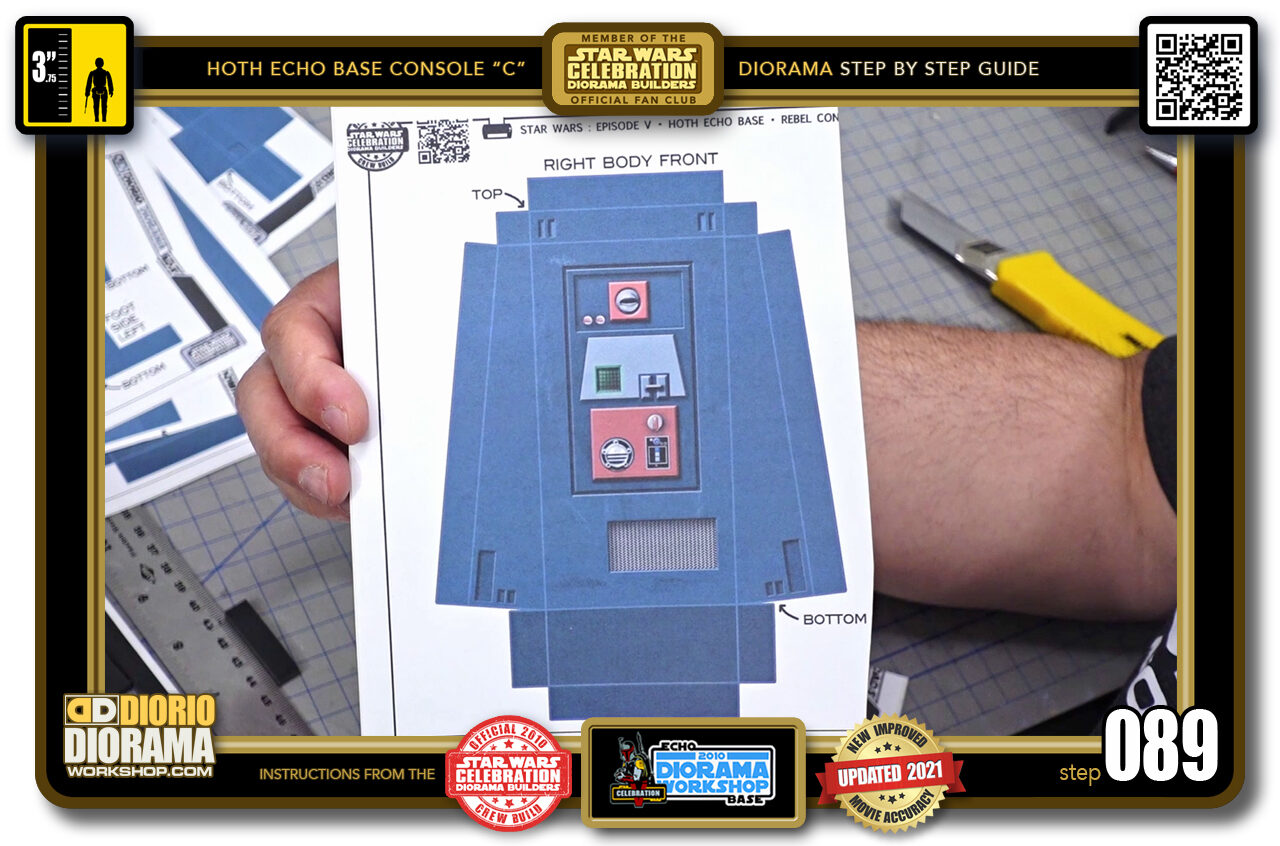
- STEP 089 > Let's start with one of the main body decals.
-
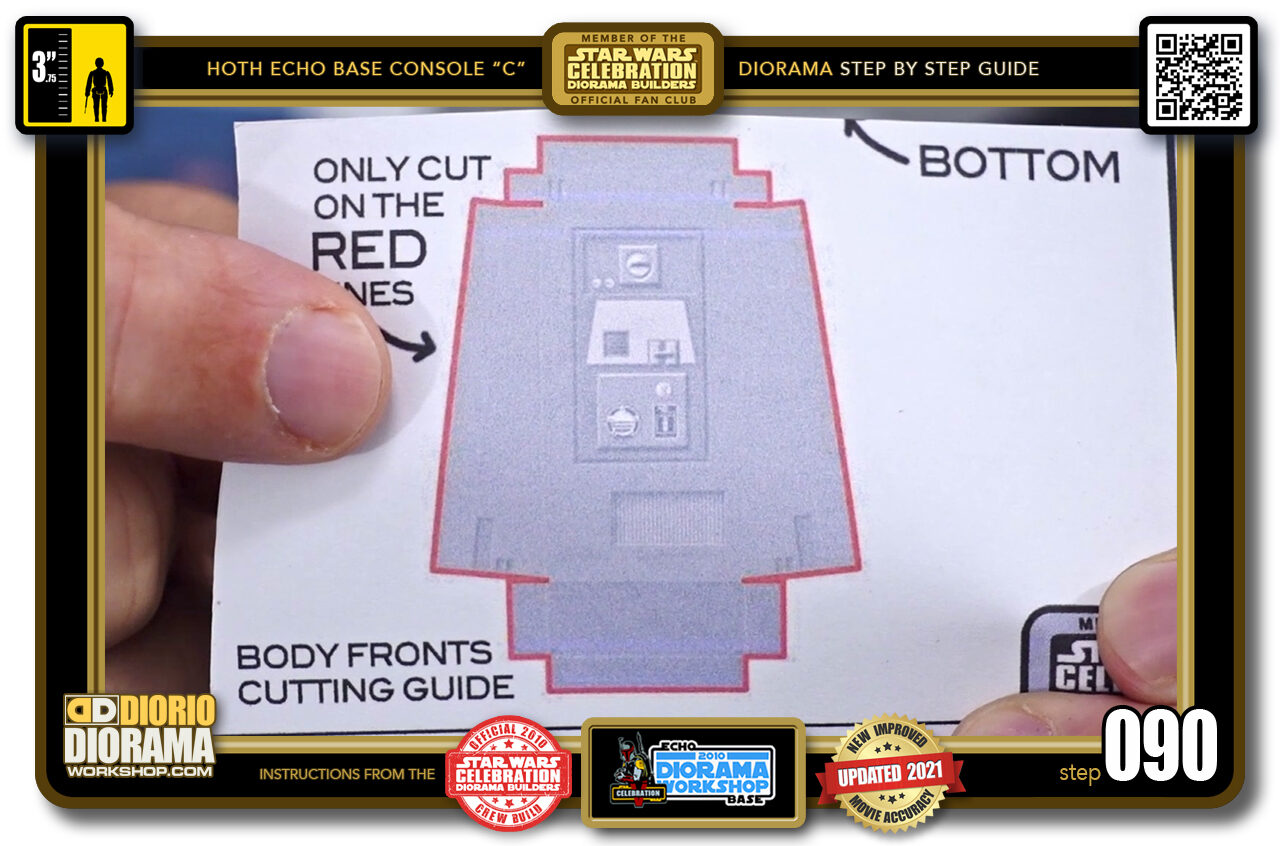
- STEP 090 > Here is the red cutting guide for this piece. The pale blue lines are for folding only, ONLY cut along these RED lines.
-
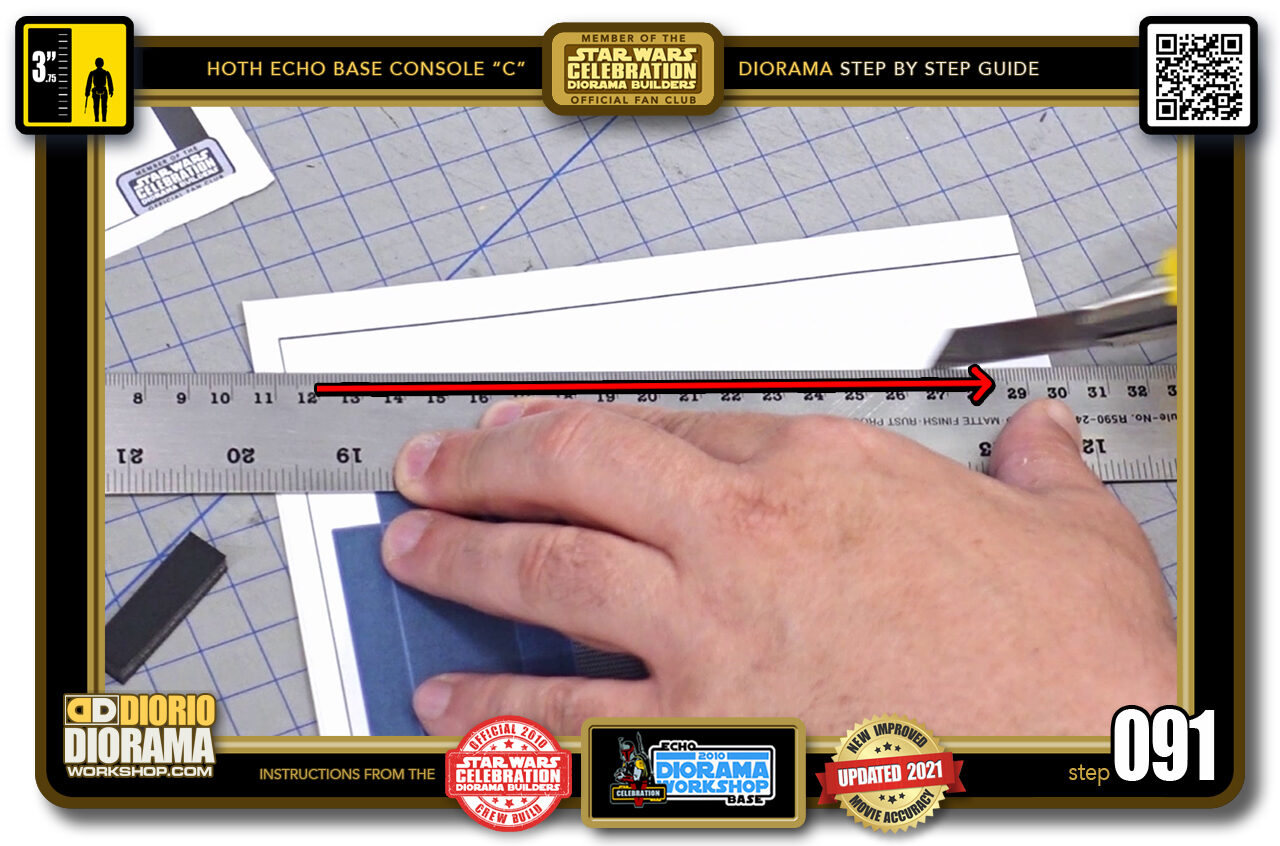
- STEP 091 > I again start with the X-Acto knife all the straight outside cuts.
-
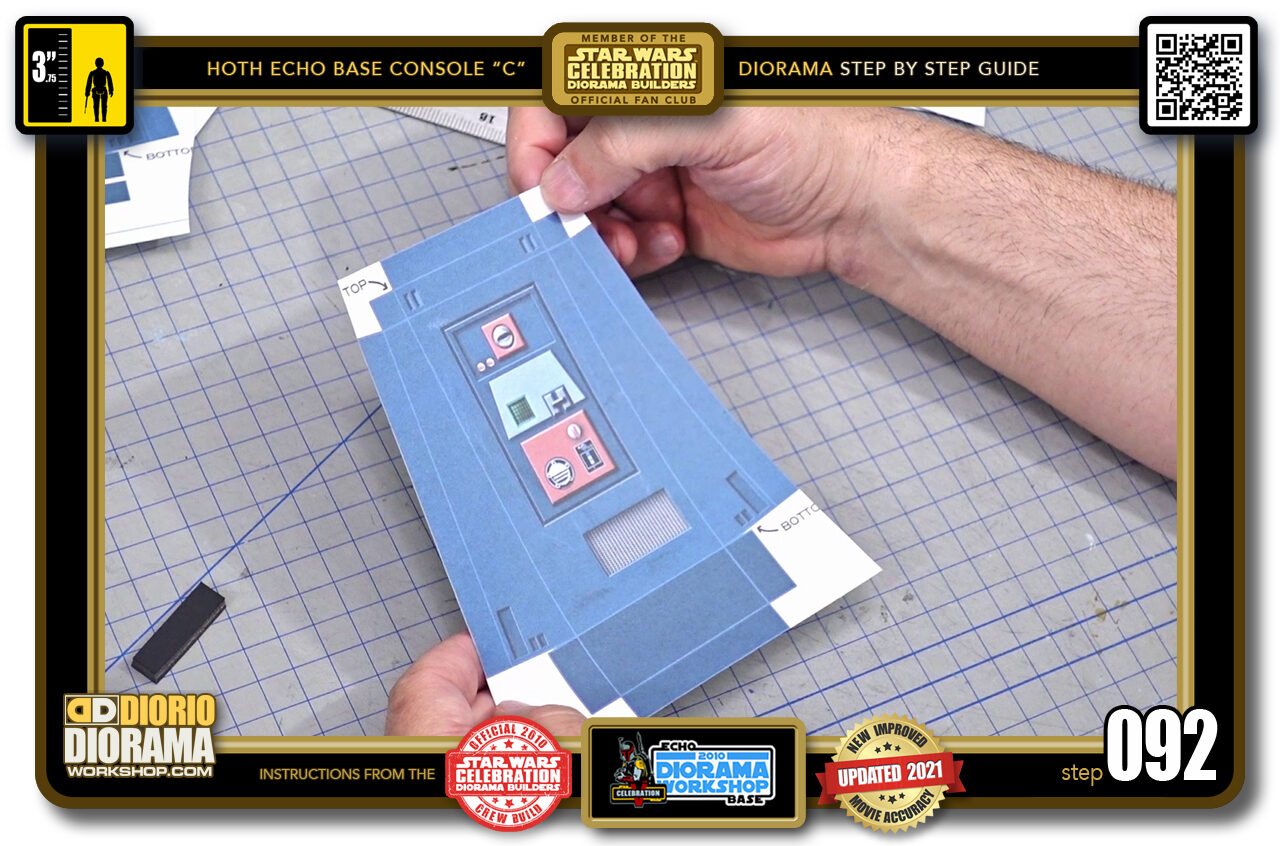
- STEP 092 > Then you can move on to remove all your corner whites.
-
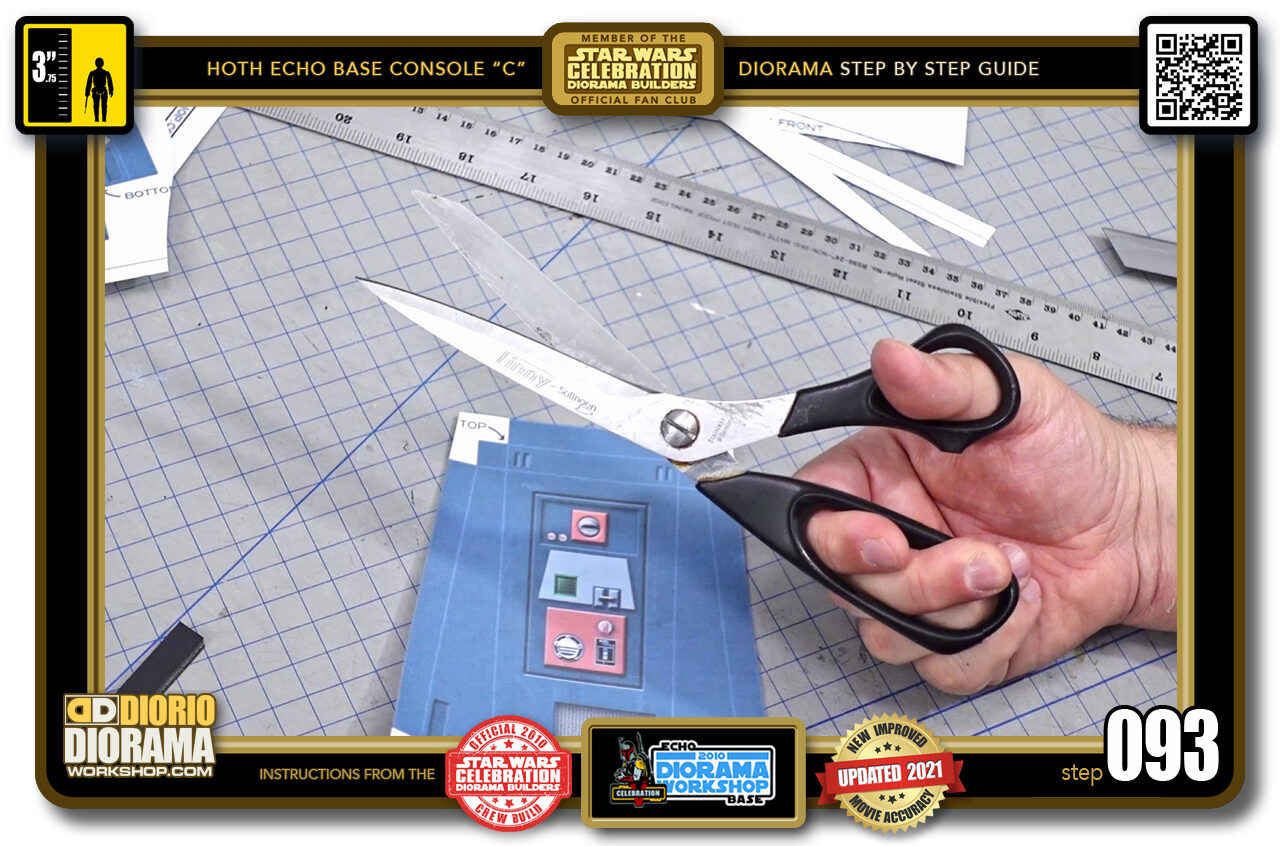
- STEP 093 > Switching to sciddors is better than X-Acto in my opinion.
-
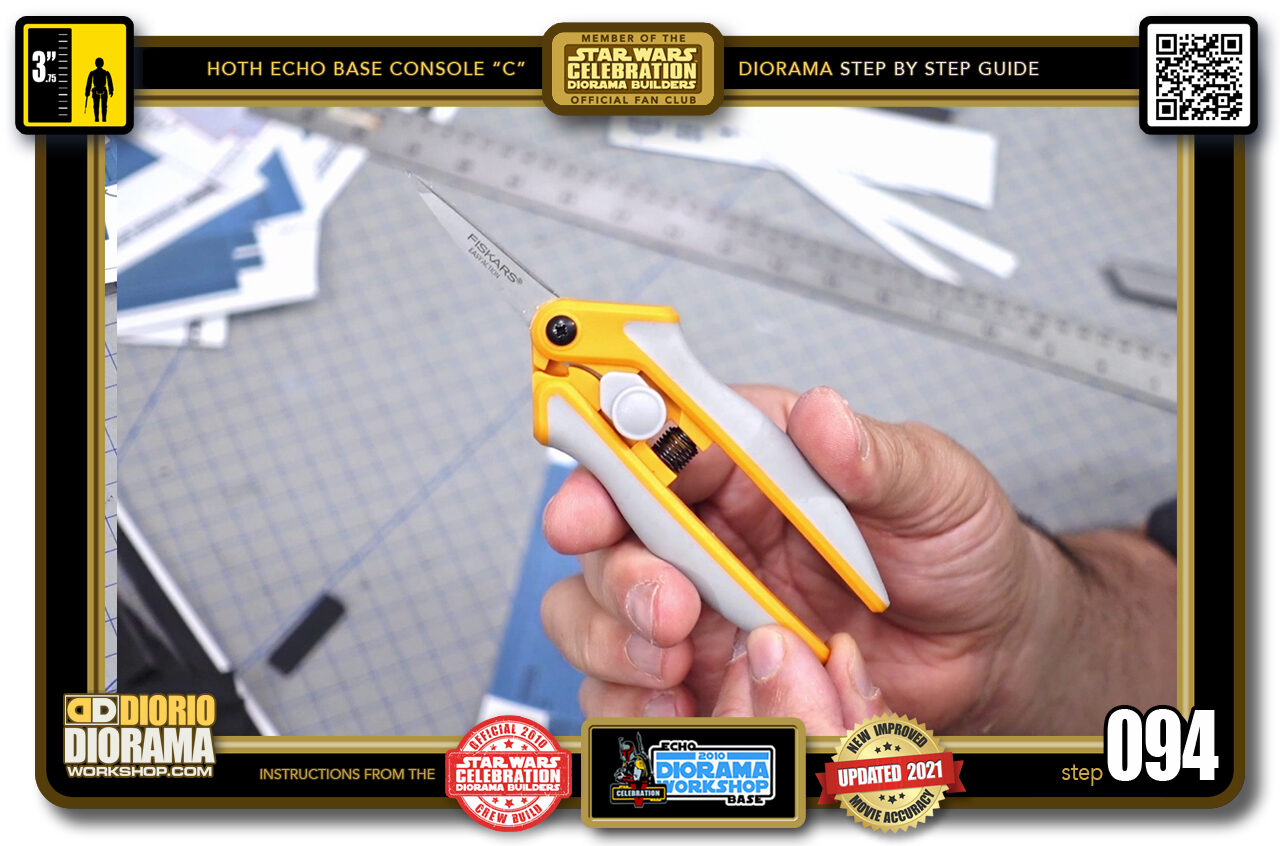
- STEP 094 > And if you own Fiskars mini scissors, these work the best.
-
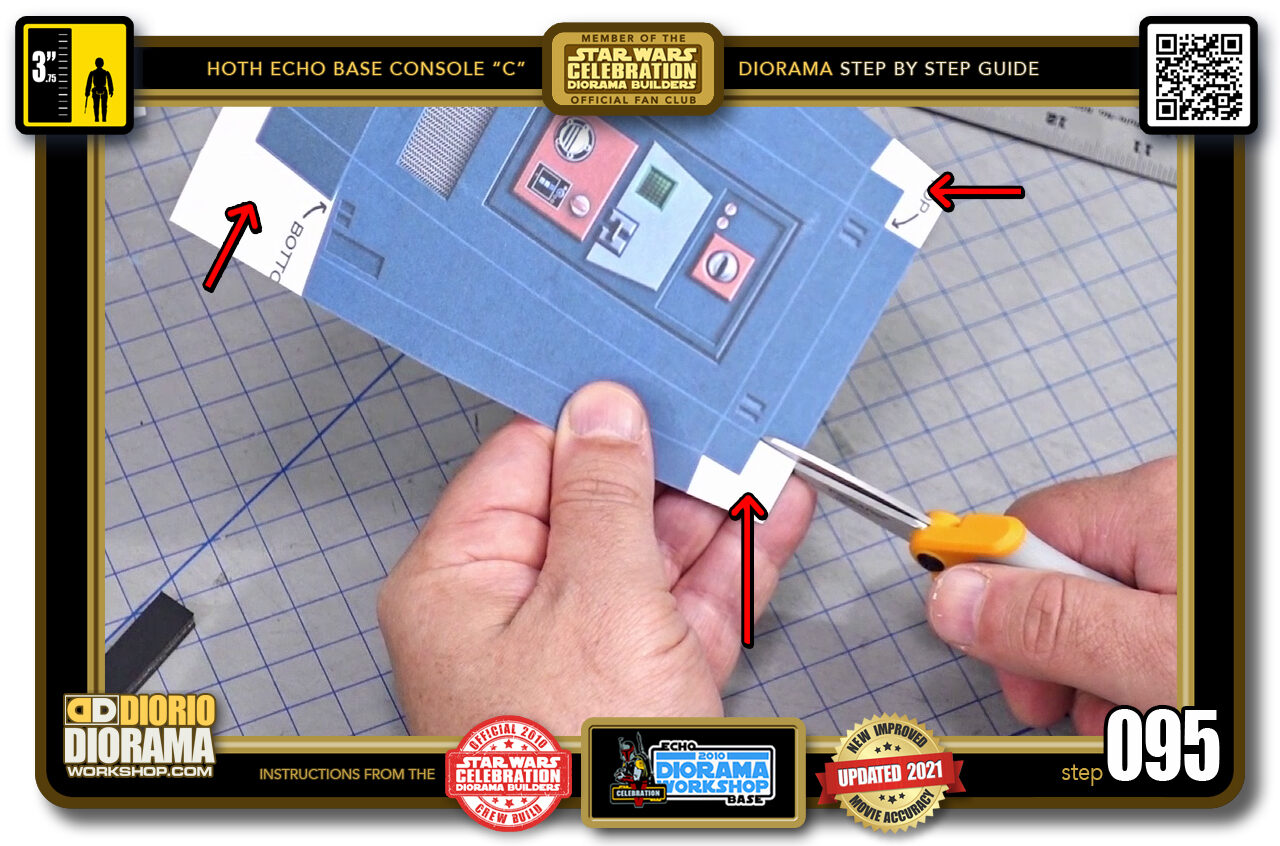
- STEP 095 > Just follow all the outside edges. Check your red line cutting guide if unsure of where to cut.
-
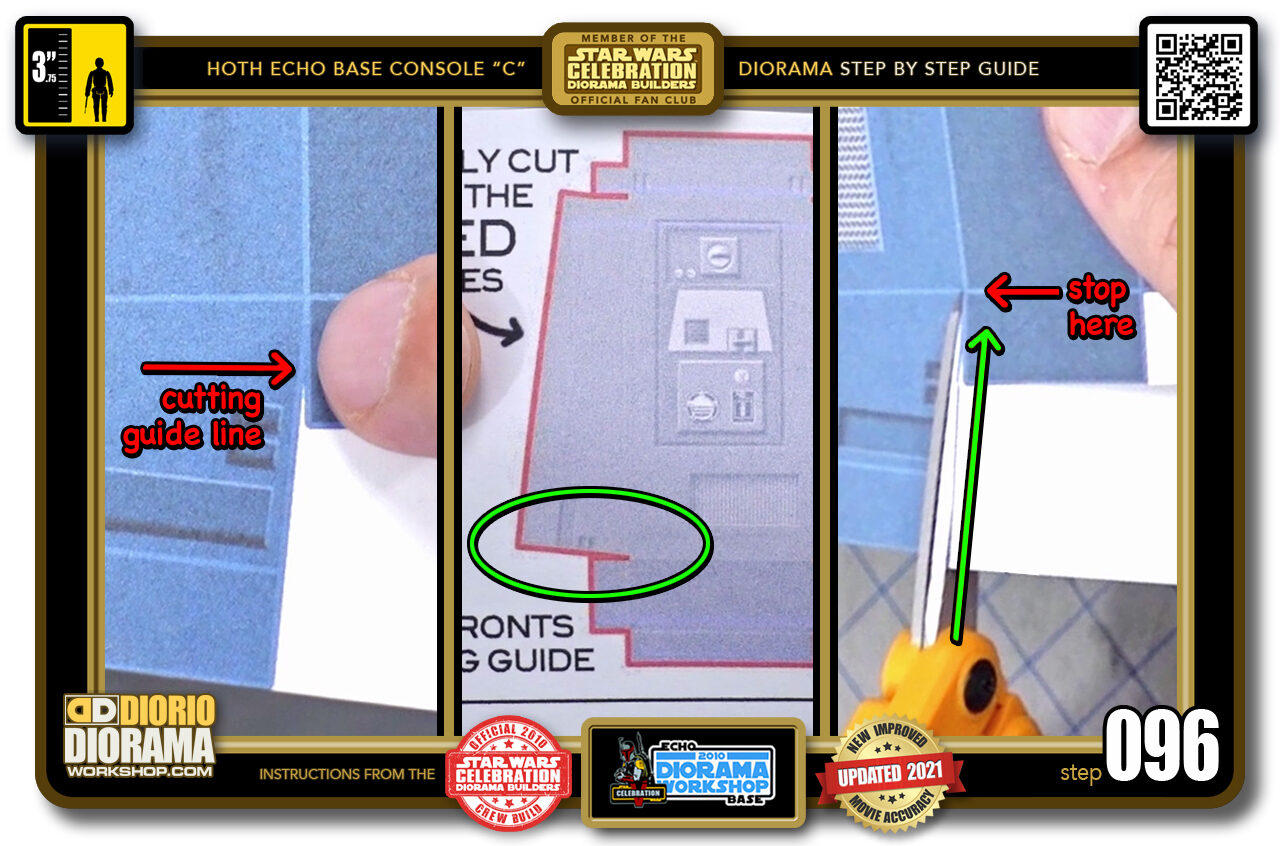
- STEP 096 > As we did for the rear boxes, the main body decals have 4 cuts that go into the folding lines. 2 on each bottom side (left image) You can see where your cut should extend and stop (centre image green zone) When ready grab your scissors and cut up in the direction of the right image green arrow. Stop at the 2nd folding line (red arrow right image)
-
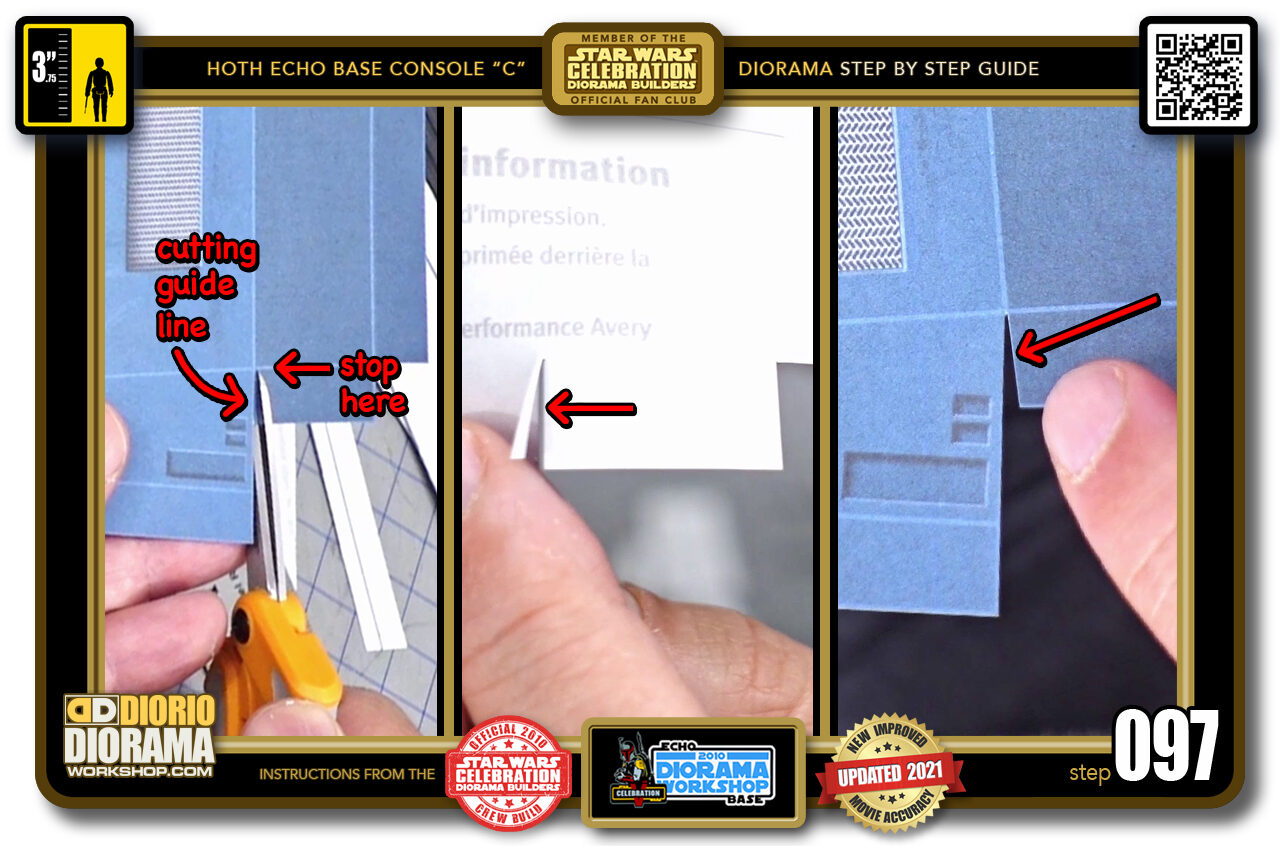
- STEP 097 > Now cut along the opposite side along the tiny white trianle gap. Stop at the 2nd folding line (red arrow left image). If you turn your decal around you will see the little chad we cut off (centre image) and what it looks like in the fron when the chad is pulled off (right image red arrow)
-
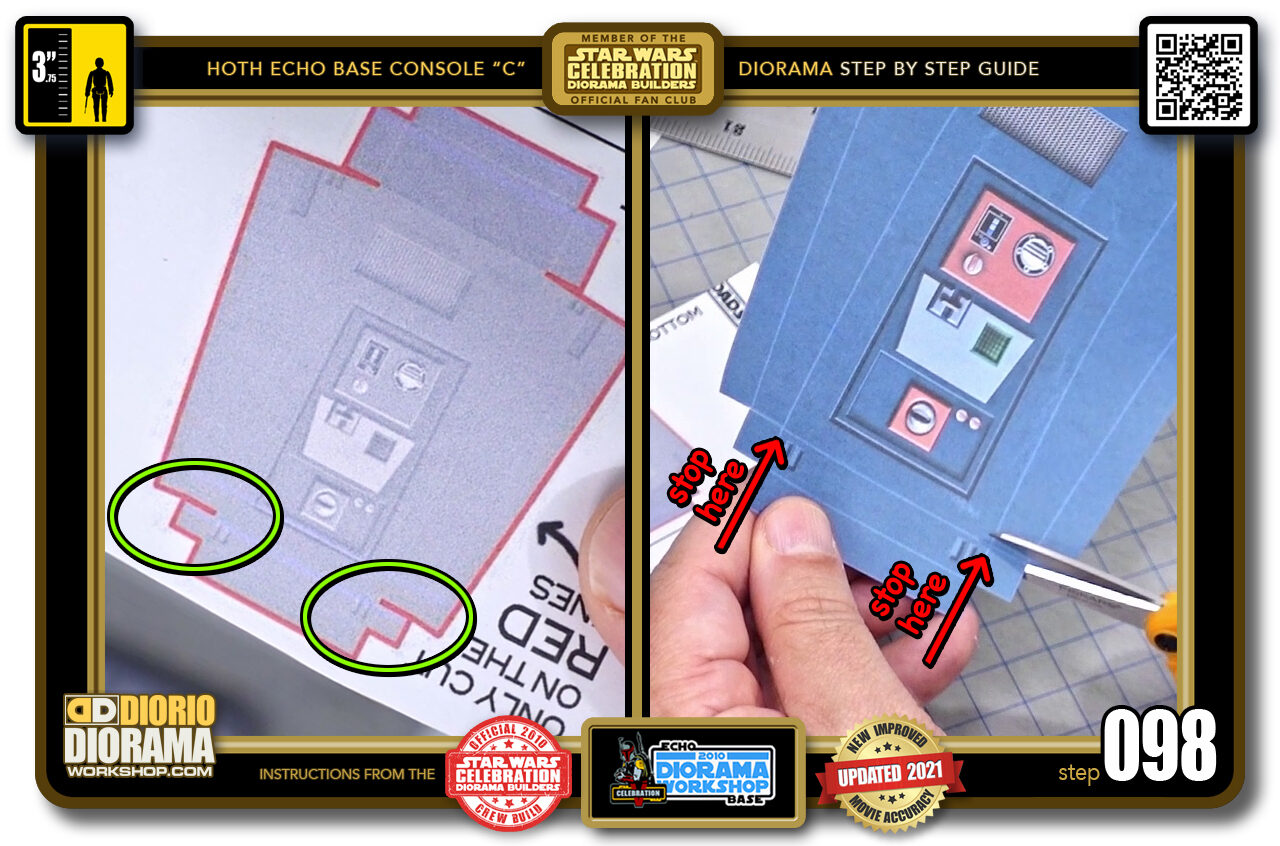
- STEP 098 > There are 2 more cuts that extend into the fold lines. This time at the top (left image green circles) You just need to keep cutting along the outside white on these until you reach the 2nd folding line corners (red arrows right image). Always refer to your Red Cutting guides if unsure where to remove the unwanted excess)
-
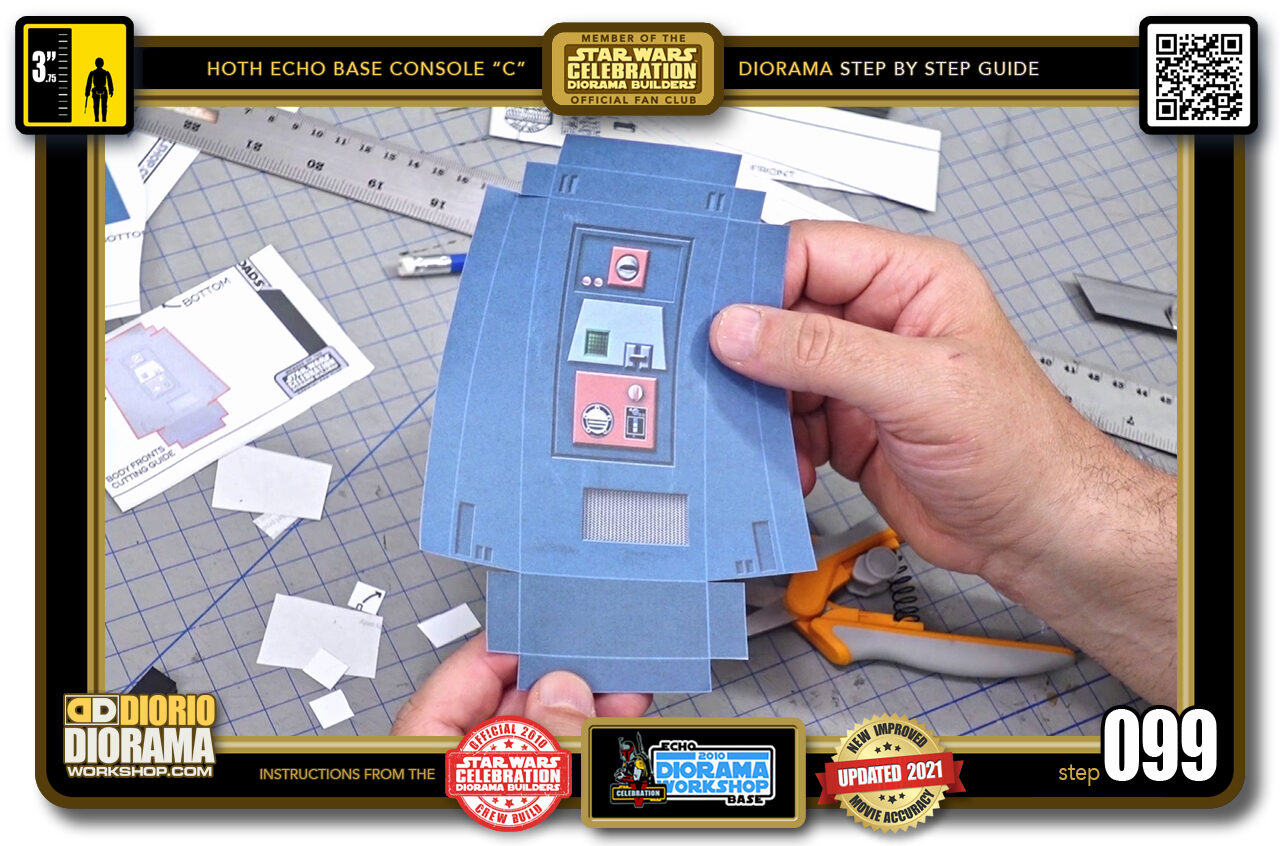
- STEP 099 > This is what your finished shape looks like.
-
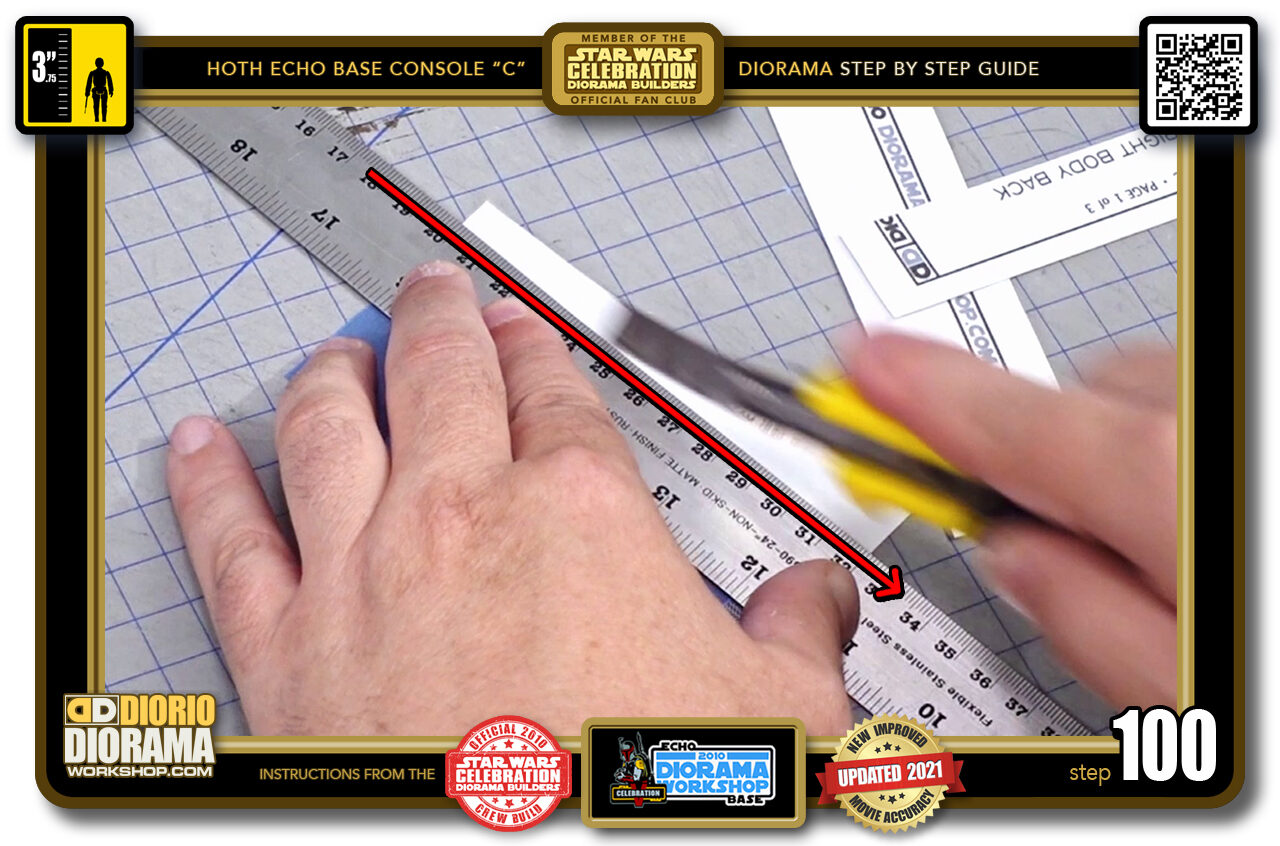
- STEP 100 > Now repeat all the cuts on the other main body decal.

.
Did you already build this Diorama ? At home or at our Star Wars Celebration Diorama Builders workshop ? Would you like to show it in the site’s GALLERY VISITORS DIORAMAS section, YES ? That is Awesome !!! You can find out all the details on how to email me your photos on the VISITORS SUBMISSIONS INFO page … When I get your photos, I will create your very own page just like this one. You may not realize it but work does inspire others to join in the fun of making Action Figure Dioramas.
.
NOT FOR RESALE ALL Decals, tutorials and artwork are ©FrankDiorio (dioramaworkshop.com) and offered FOR FREE to the fans – that would be you ? so you can build and display my diorama designs in your very own home. I realize I cannot control what one does with my graphics once I place them on the web, I can only ask you as one fan to another, please respect the artist and do not be that jerk who uses my designs and tutorials to build a copy of my work only to sell it on EBAY or trade/sale groups and forums. Thank You. Frank.
.

.
.
If you have a facebook account, why not join the Official Diorama Builders Fan Club today, simply click the logo link below.
 .
.
Catch up with fellow visitors and exchange stories, read cool interviews with the crew, exchange photos, fun surprises and grab some FAN ONLY merchandise next year at actual future conventions ?
.
©2021 Frank Diorio DioramaWorkshop.Com
.
IF YOU LIKE WHAT YOU SEE, PLEASE SHARE WITH YOUR FRIENDS
USING THE SOCIAL MEDIA BUTTONS BELOW