


-
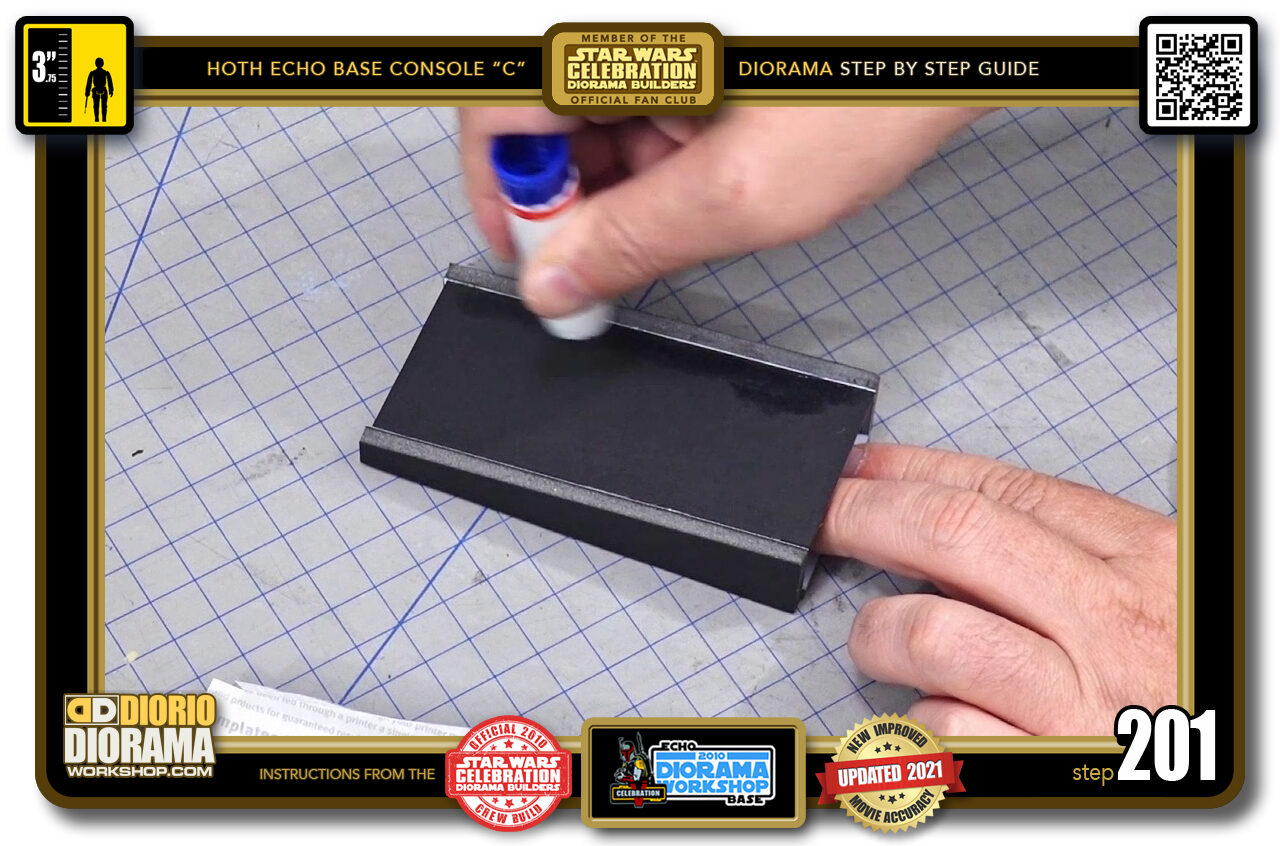
- STEP 201 > Repeat all the same steps for the 2nd body.
-
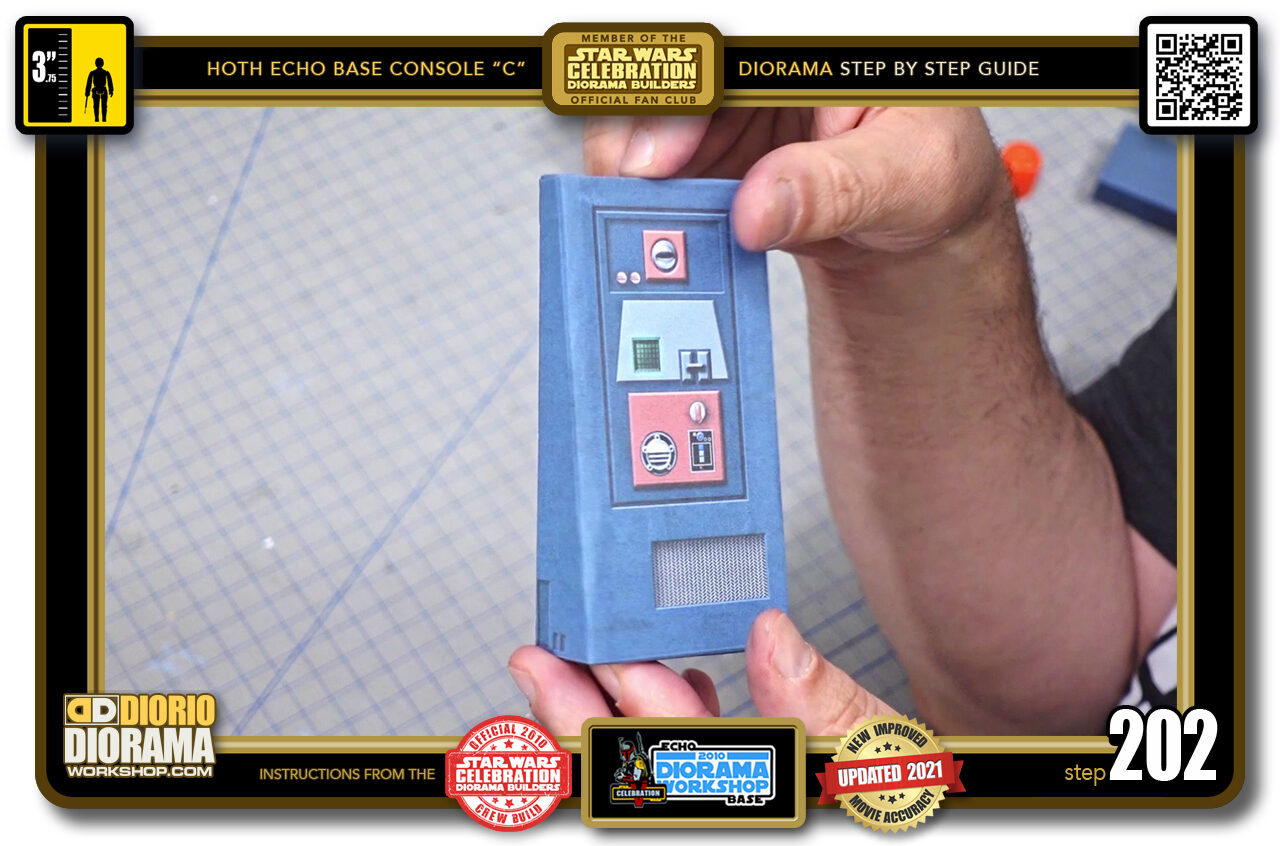
- STEP 202 > In a short flash you will be done and have both body pieces completed.
-
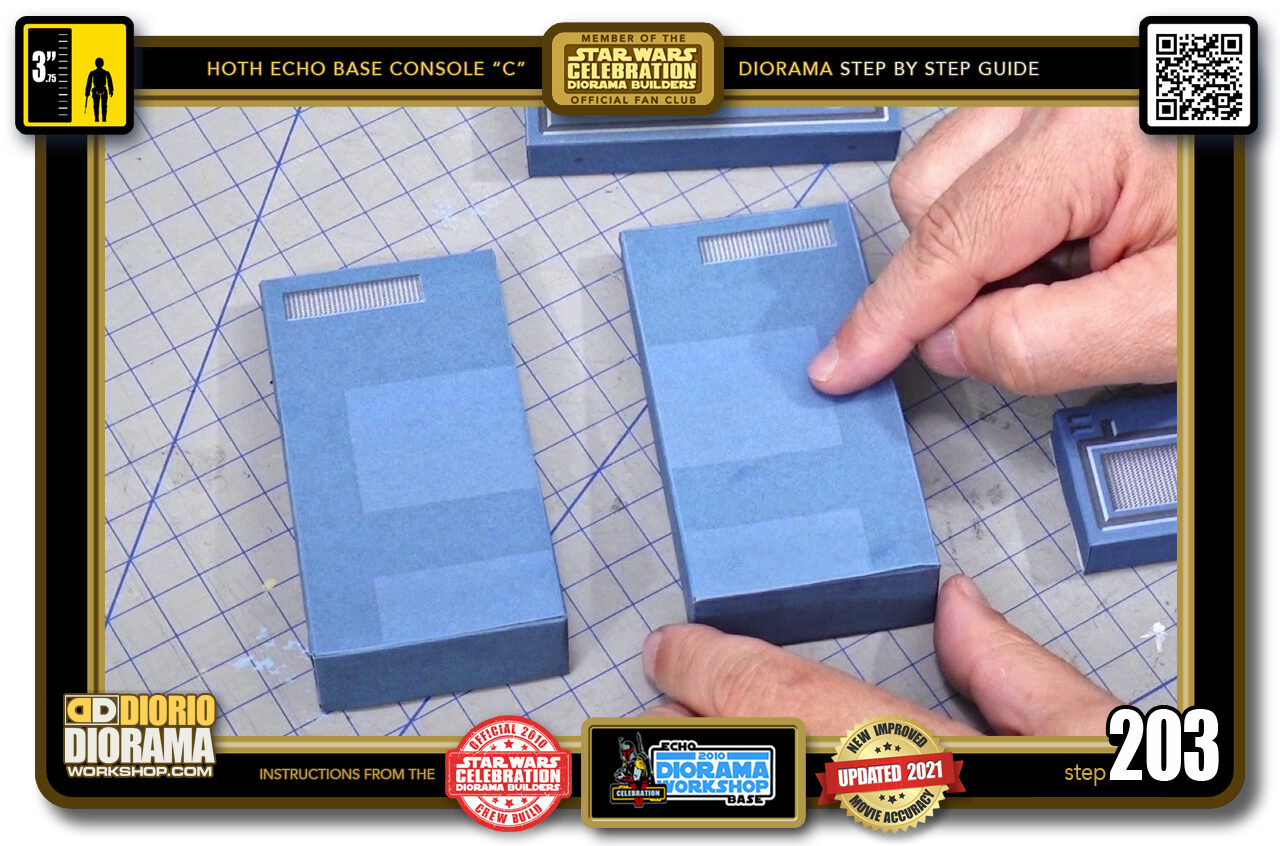
- STEP 203 > Now if you turn both bodies around you will see there is a colour change in the blue. The pale blue is to indicate to you your glue zone and where your rear boxes will be located.
-
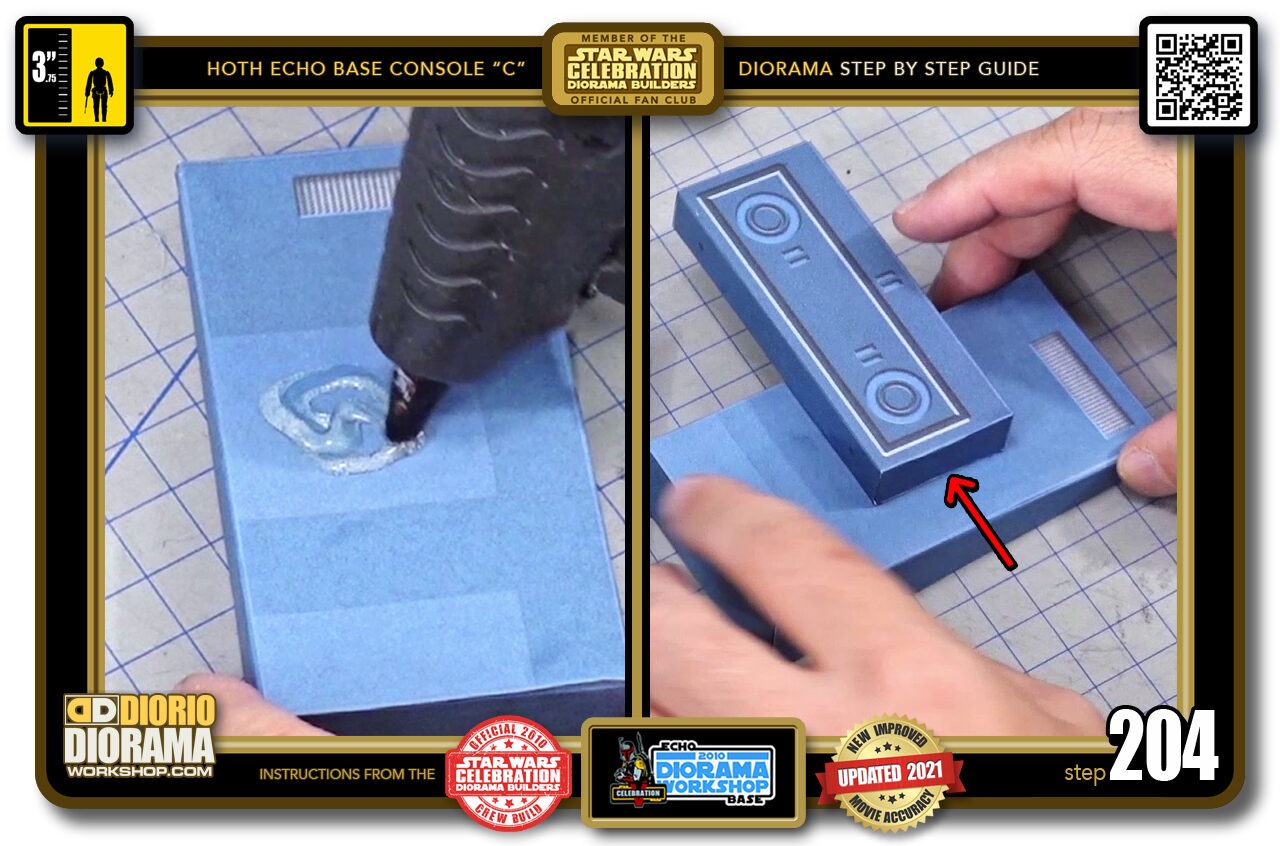
- STEP 204 > Start with the left body and place a round glob of hot glue on the upper pale blue square (left image). Now take your rear TOP box with the 2 circle shapes that look like robot eyes, and align it with the pale blue shape. Make sure the outside edges line up (right image).
-
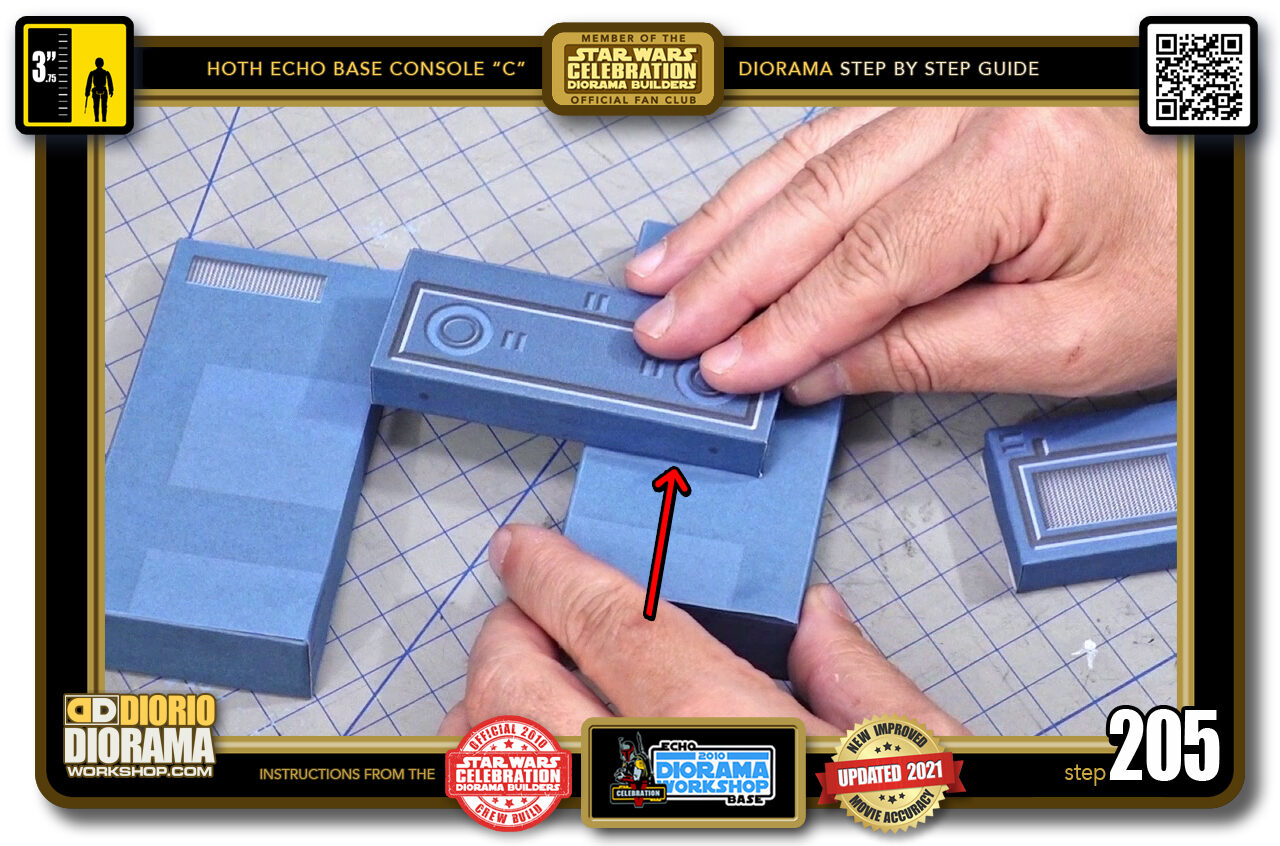
- STEP 205 > Then make sure it lines up at the bottom of the shape too. Once aligned perfectly, let the hot glue cool down a minute or 2.
-
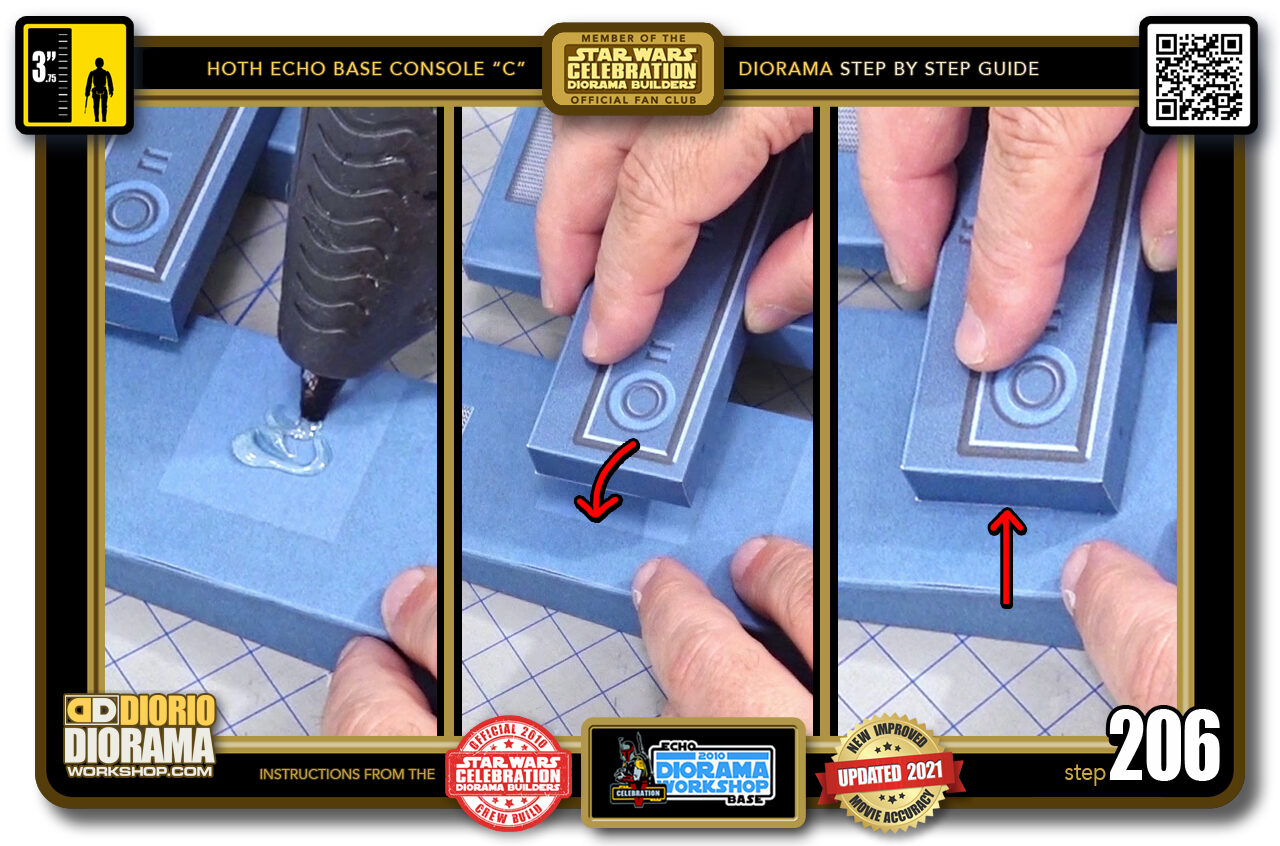
- STEP 206 > Now place round glob of hot glue on the pale blue square of your remaining body piece (left image). Raise the top rear piece that is also now attached to the left body, and carefully lower it into position with the pale blue edge (centre image). Press down once alignment is correct (right image).
-
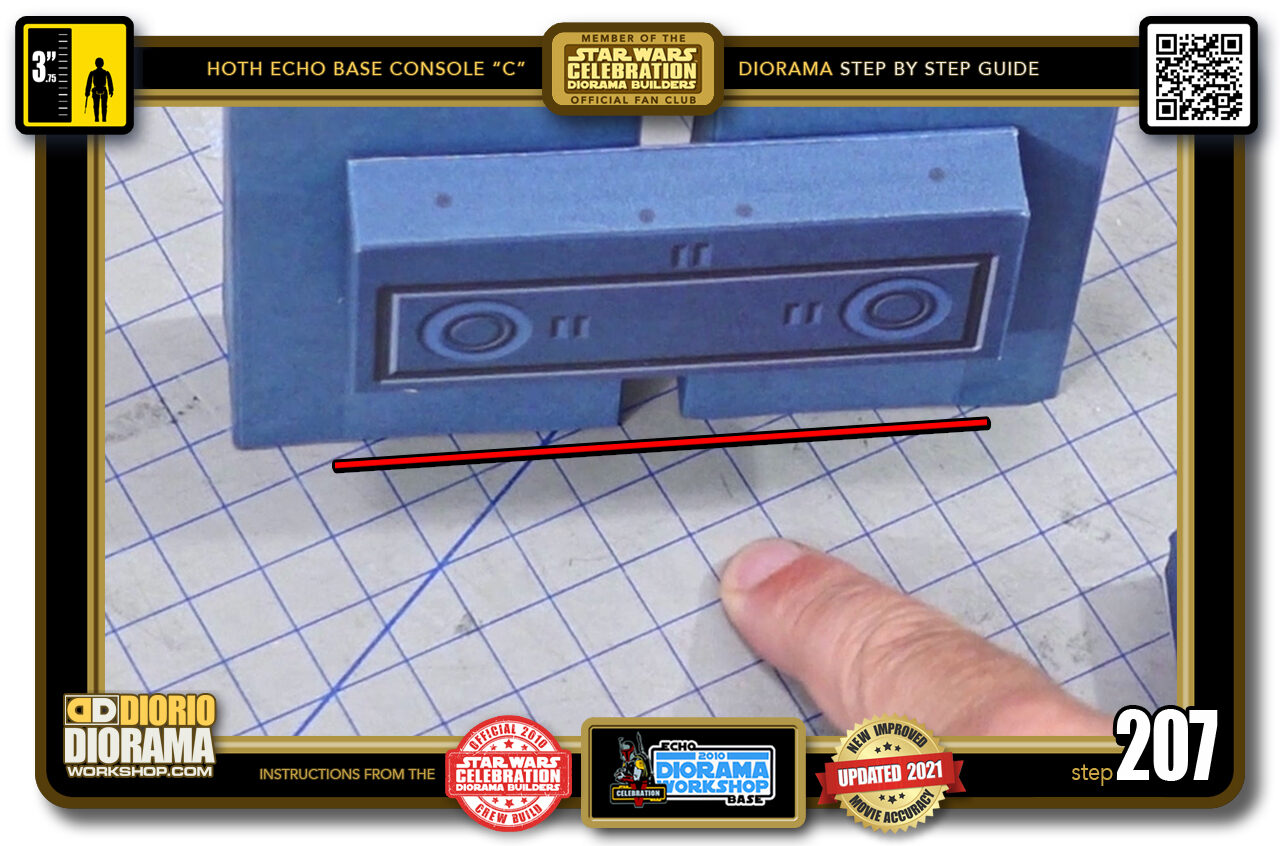
- STEP 207 > Important to note that we want to keep the bottom of the 2 body pieces flat and even. We don't want it to wobble in the diorama.
-
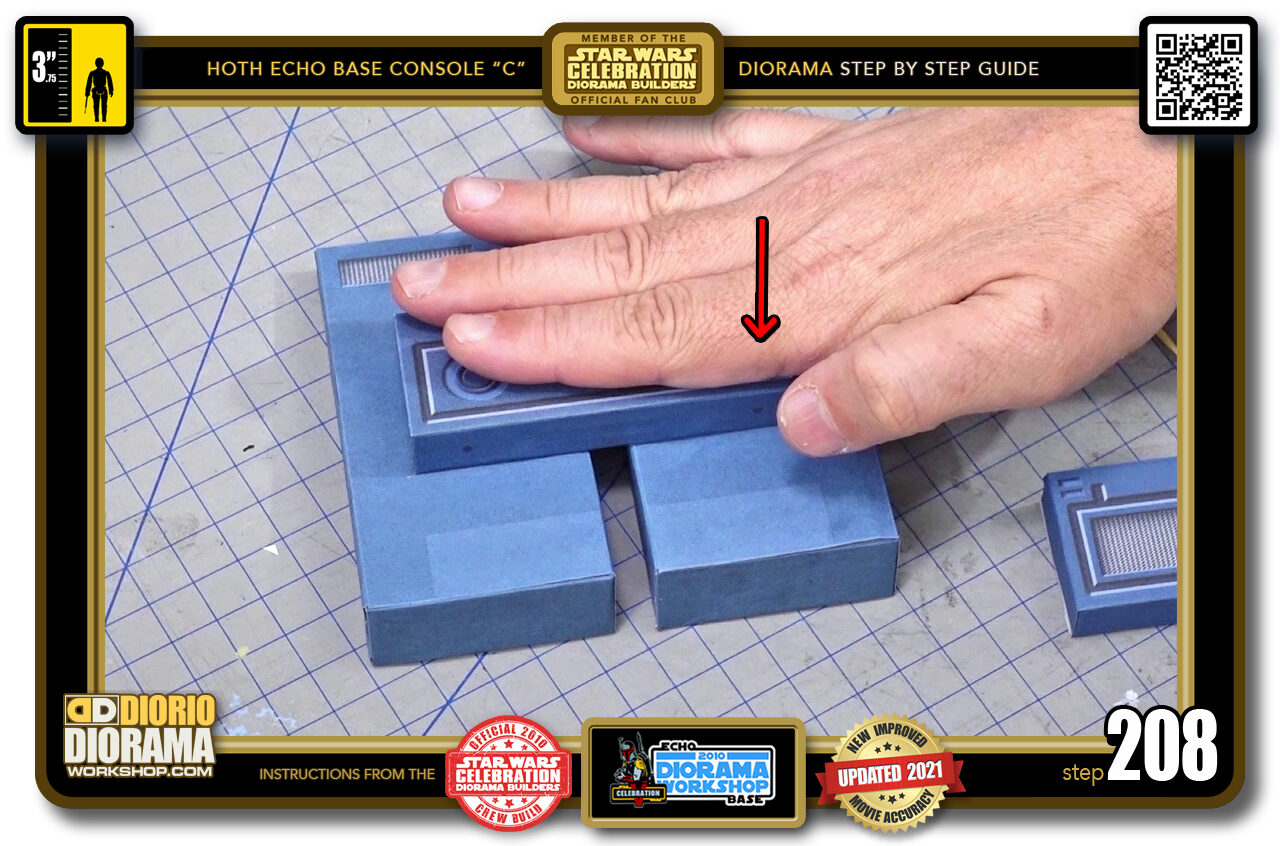
- STEP 208 > When happy with the positioning, press down for a few seconds then let cool down for a minute or 2 to make sure the hot glue doesn't let the pieces shift crooked.
-
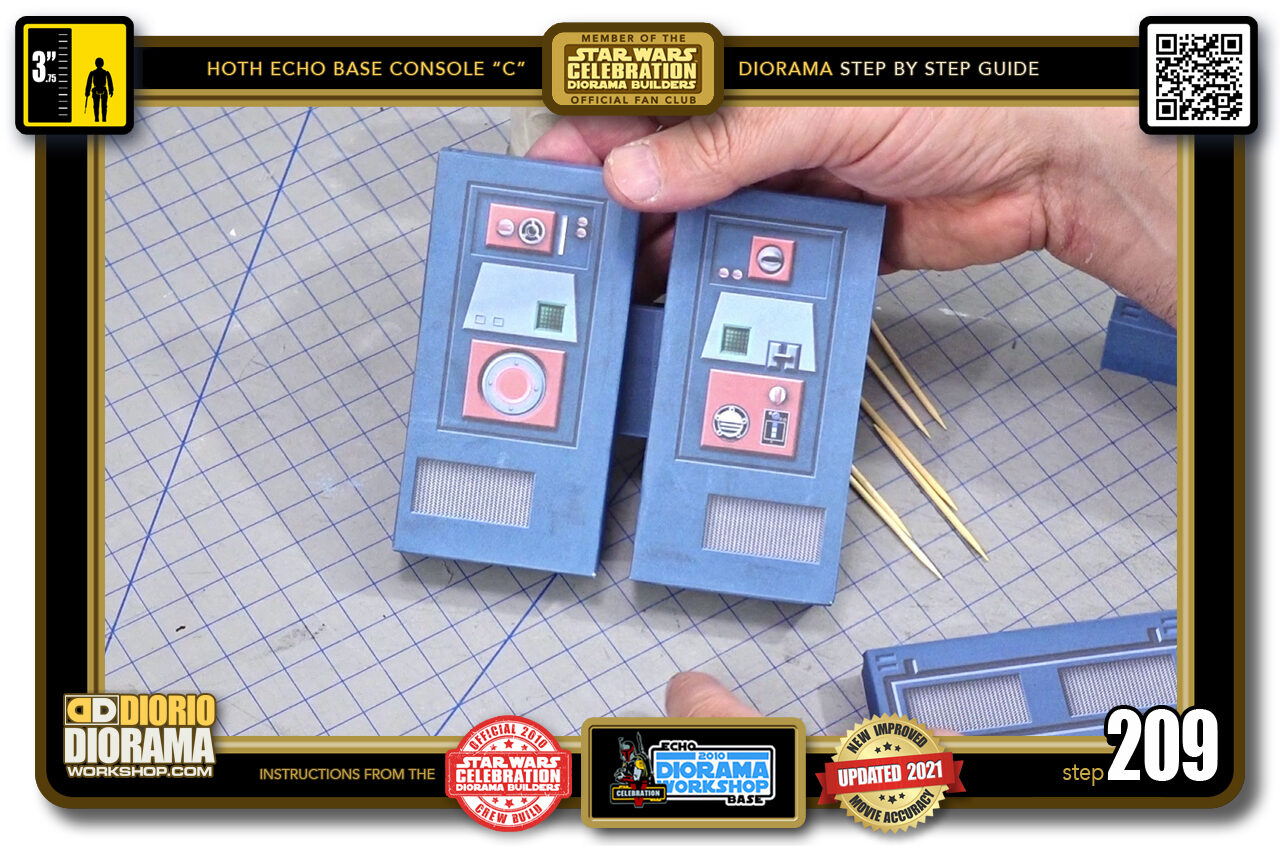
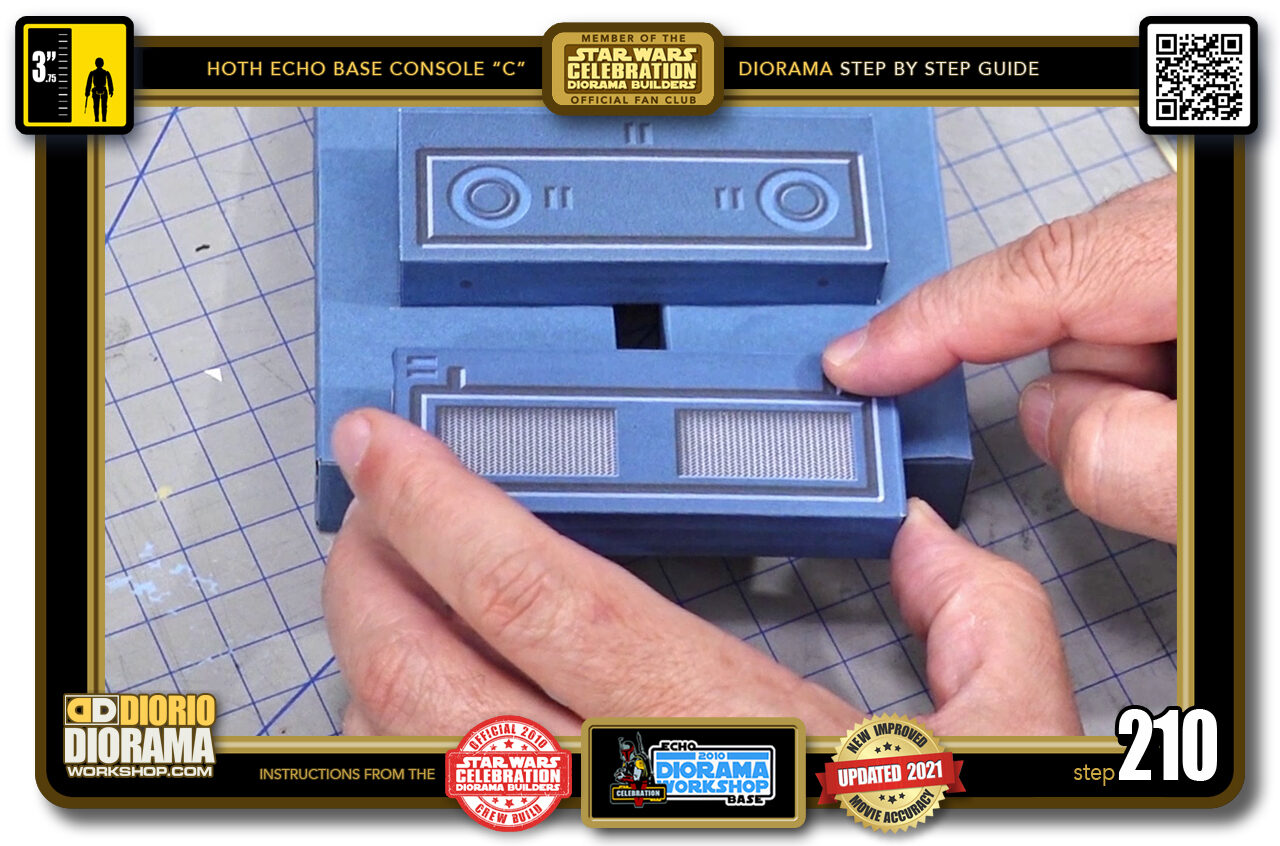
- STEP 209 > Our front now looks like this. See how the pale guides gave you a even gap along the middle ?
-
- STEP 210 > Now we need to place the lower rear box but first, we need to insert the conecting straws.
-
-
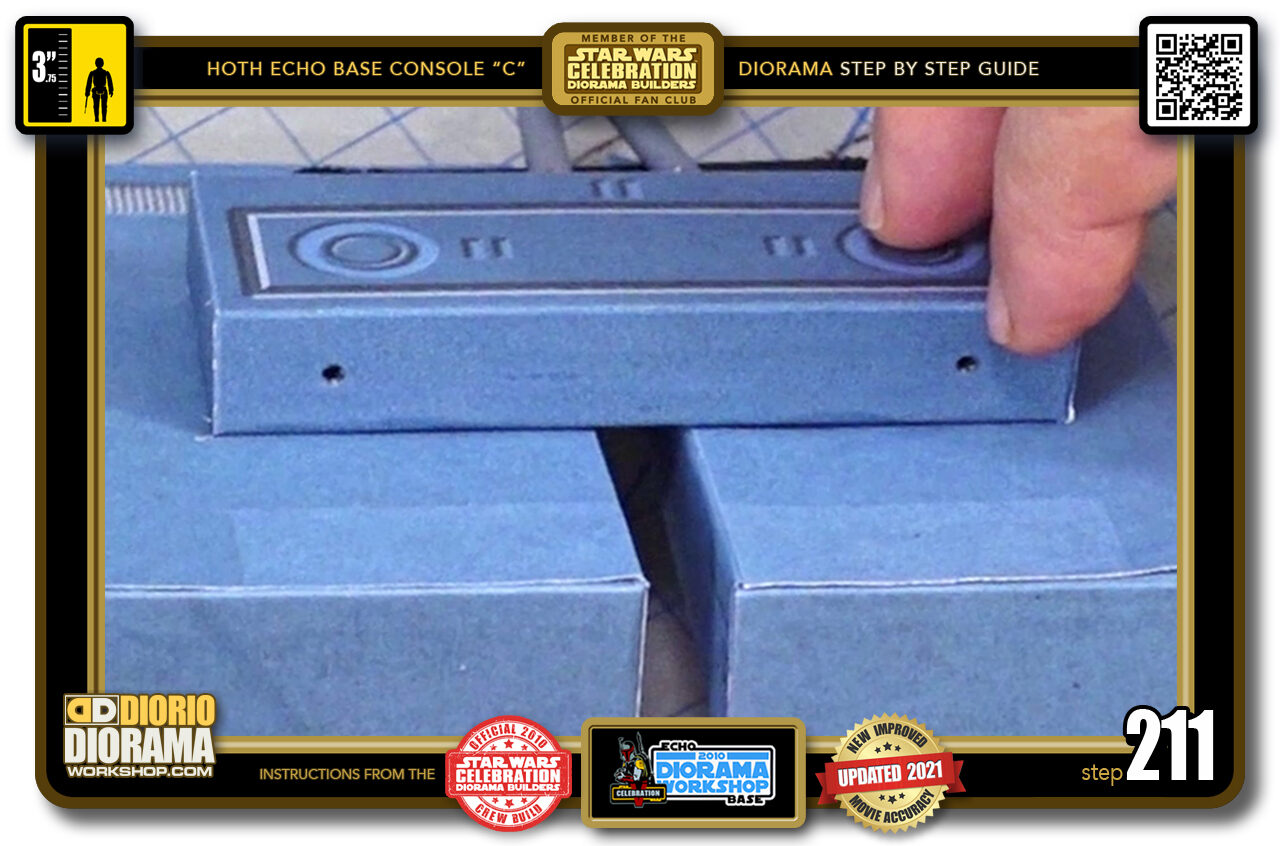
STEP 211 > IMPORTANT - To avoid confusion, ignore the grey "V" straw and black "U" shape attached to the box seen in photos 211 to 220 - I had only noticed at editing that the "how to" insert the toothpick and straws of steps 212 to 220 were missing. So I had to reshoot after the top steps were done.
You will notice 2 dots at the bottom of your top rear piece. This is where you will poke your toothpicks in.
-
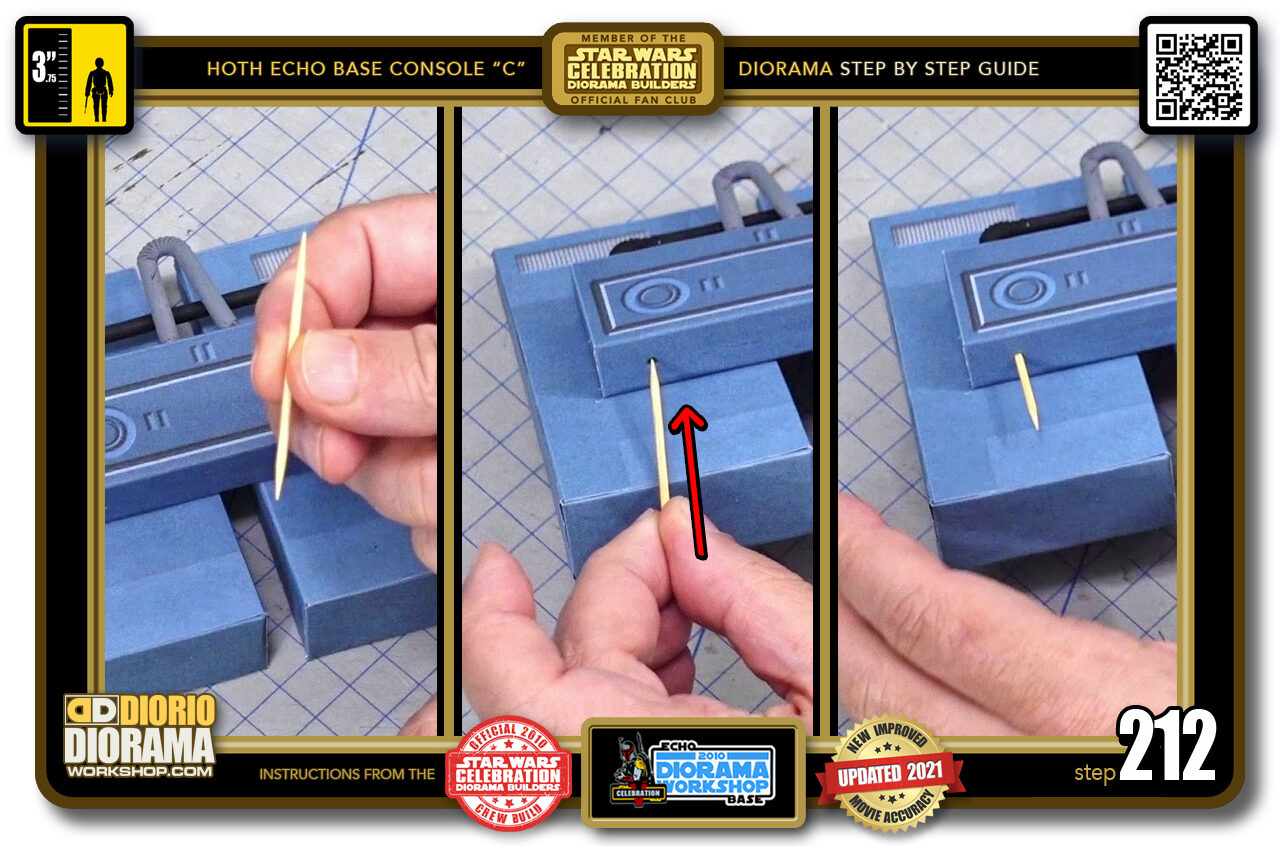
- STEP 212 > Start by grabbing a toothpick (left image) Align it with your left hole and press it into the foamcore (centre image) When you are about halfway (right image) you can stop pushing it inside.
-
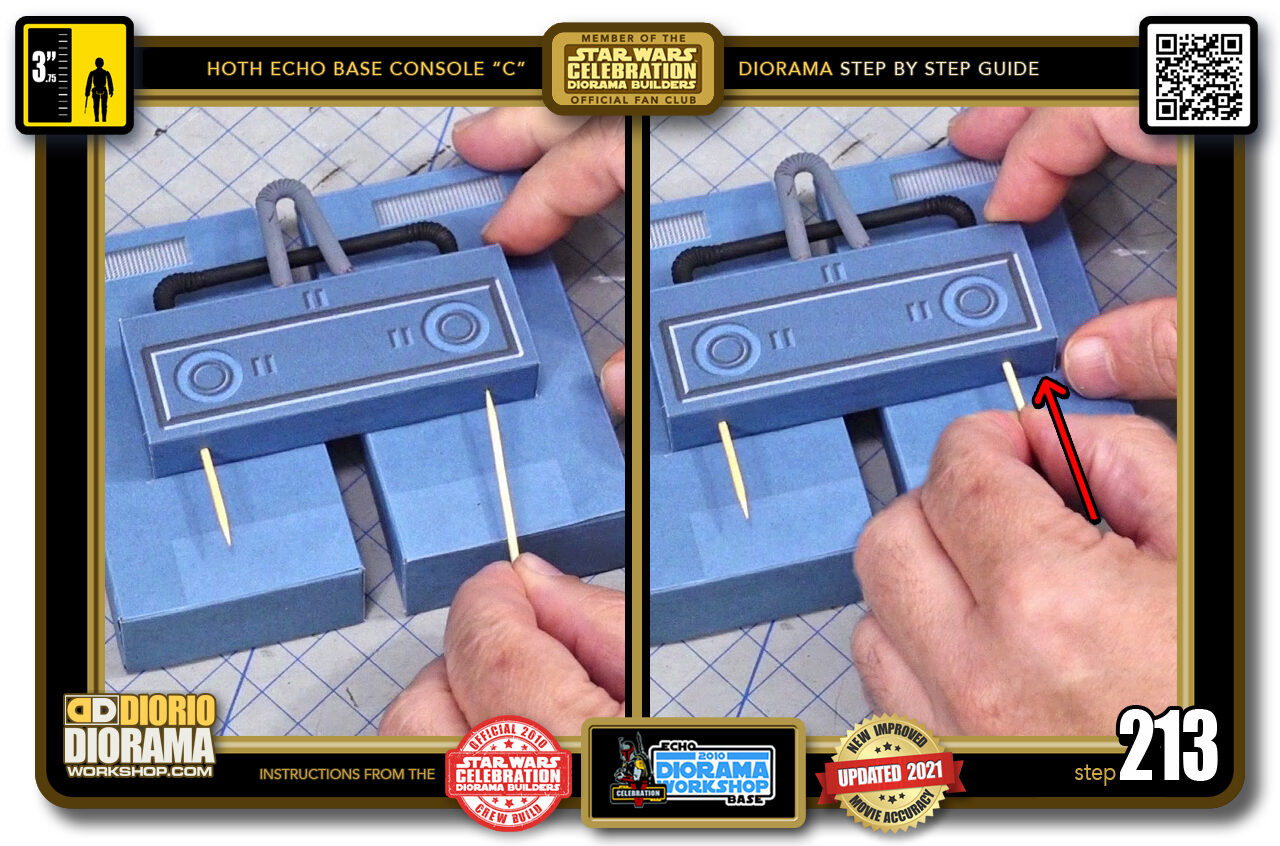
- STEP 213 > Do the same with the right dot. Align your toothpick (left image) and poke and press into the foamcore stopping about half way (right image).
-
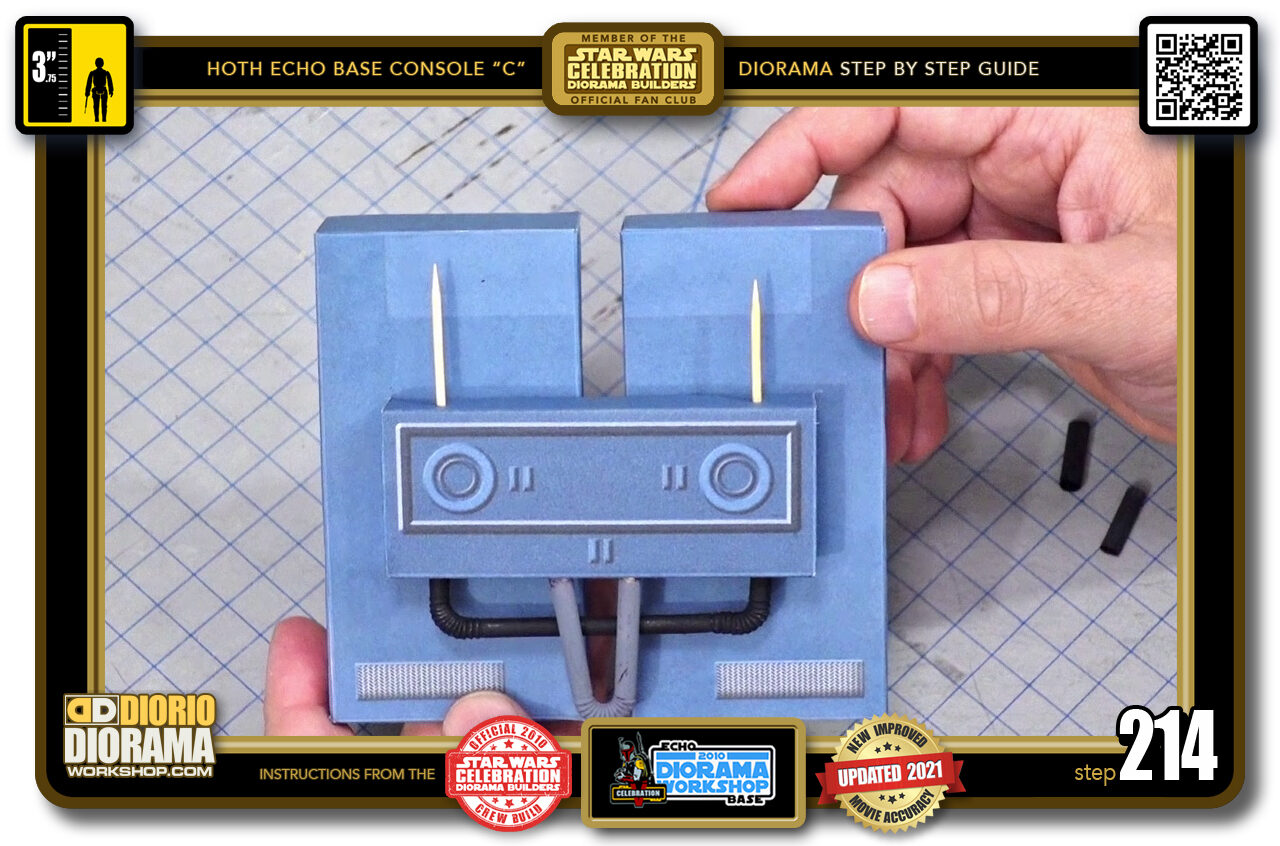
- STEP 214 > Your toothpicks should look something like this.
-
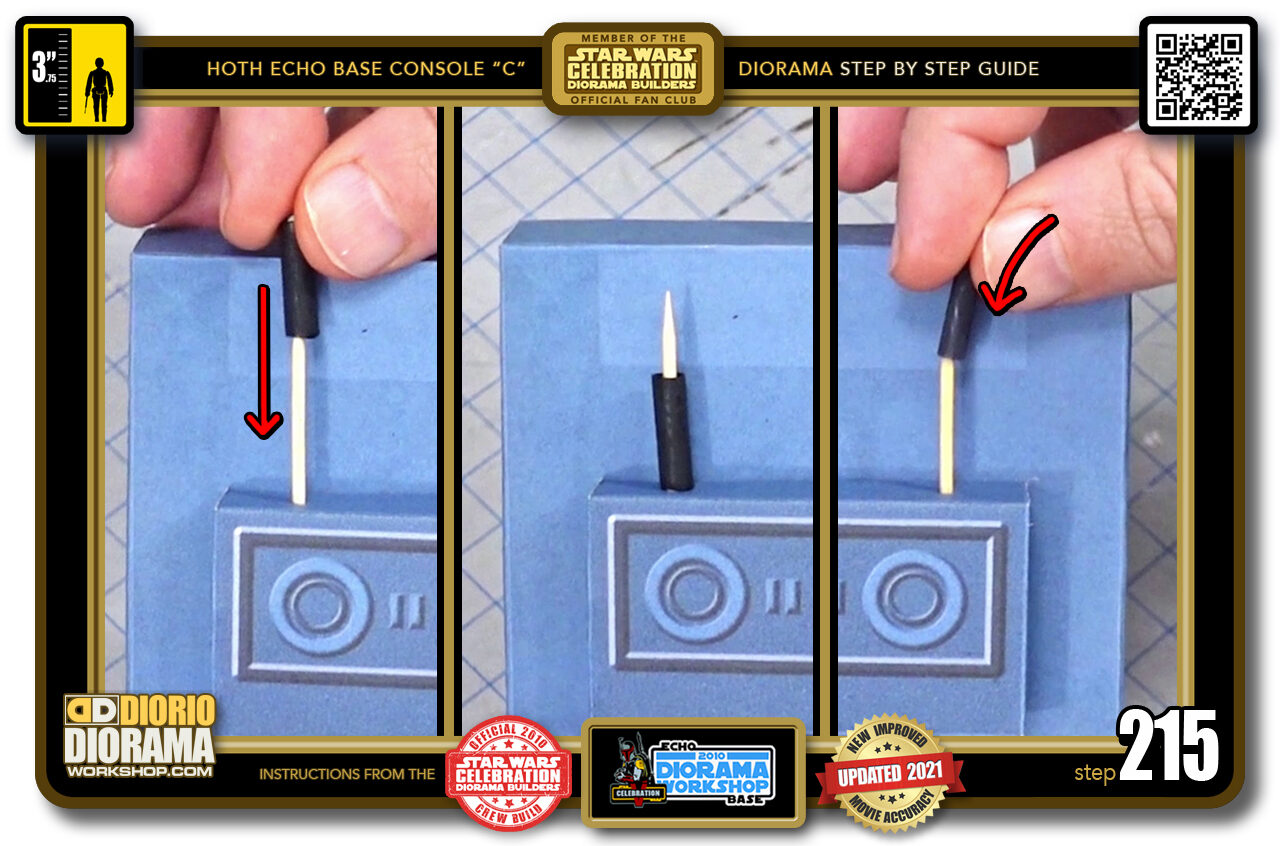
- STEP 215 > We can now take one of your 2 straight black straws and slide it over the first toothpick (left image) It will fall down and rest against the edge of the top rear box (centre image) Place your 2nd black straw over the other toothpick (right image)
-
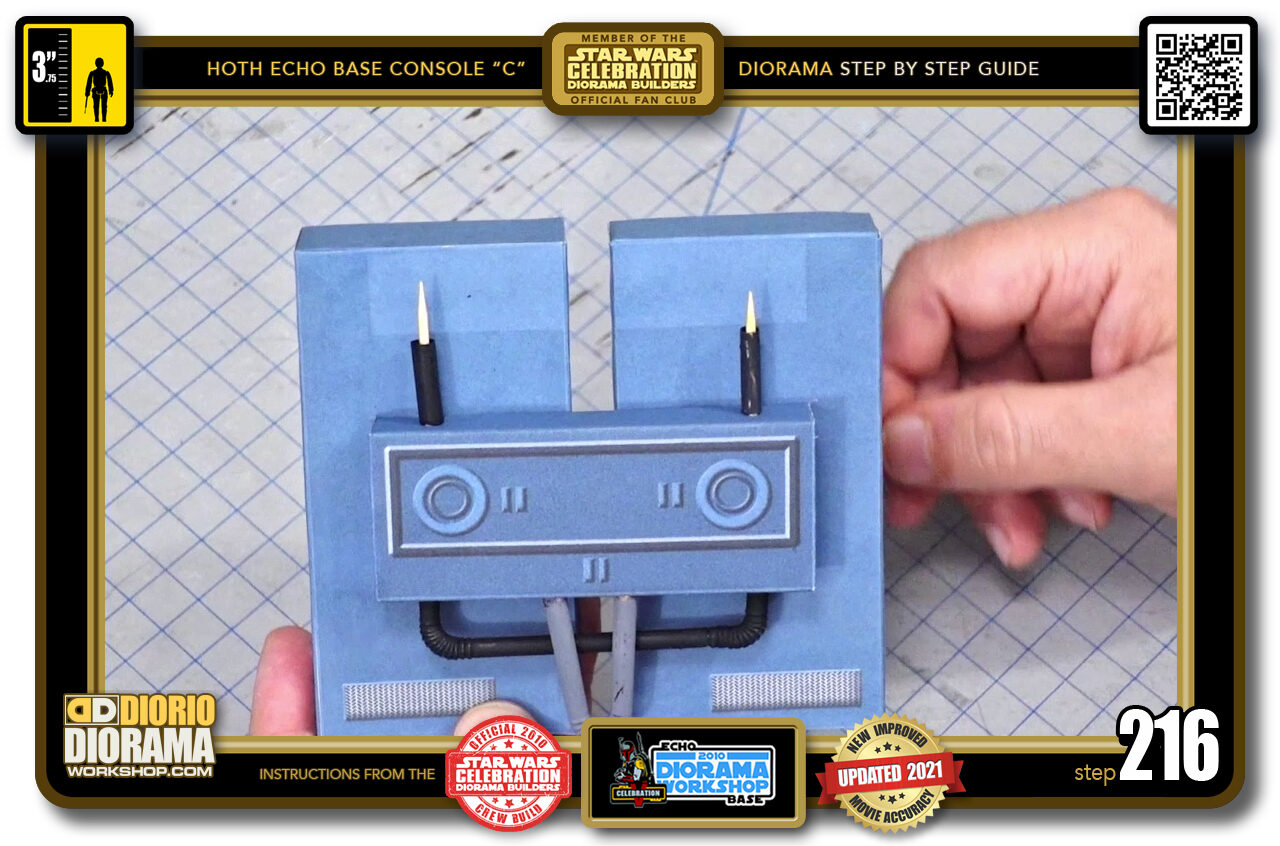
- STEP 216 > This is what your straw placement looks like so far. hiding the toothpicks and enough sticking past to allow insertion into the bottom rear box.
-
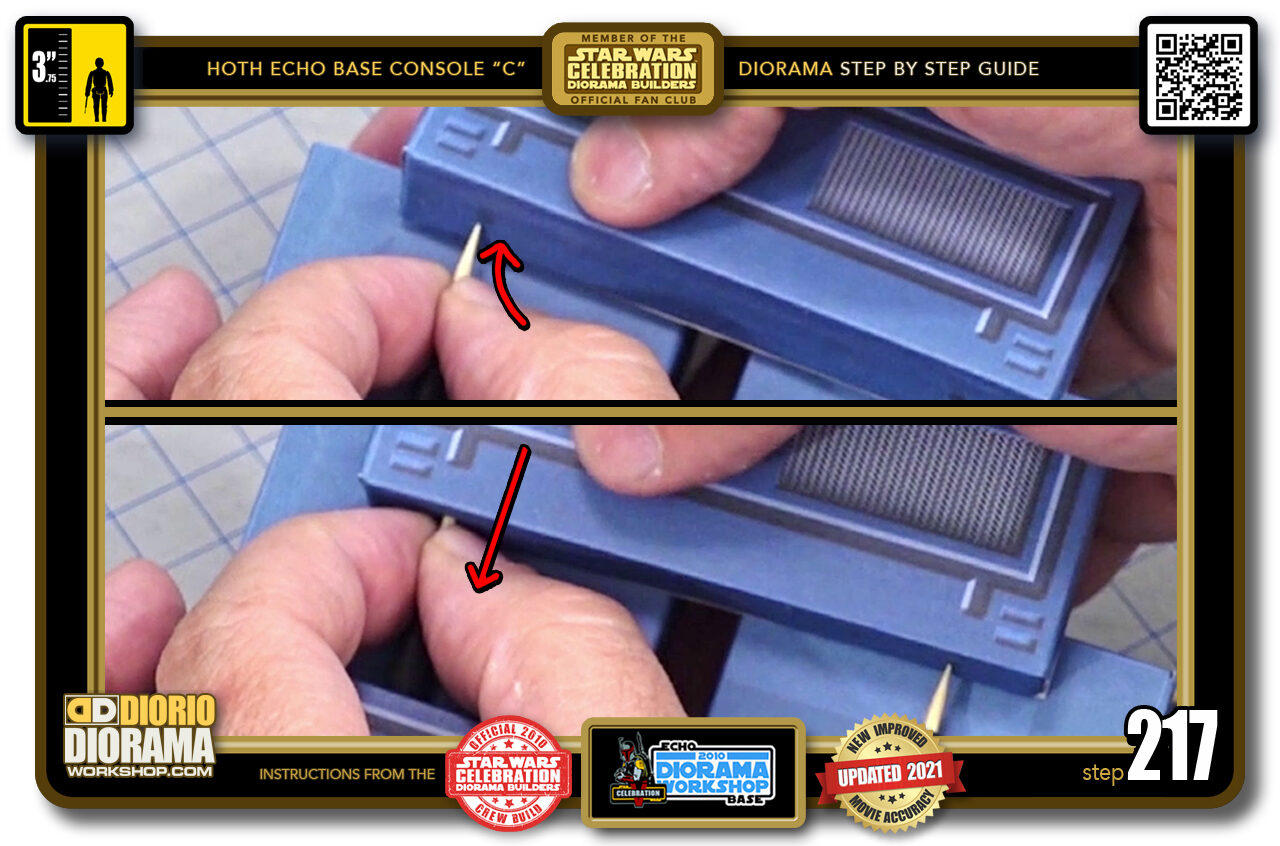
- STEP 217 > You want to raise the toothpick slightly until it aligns with the lower box left hole (top image) Then push down on your lower box until the straw pierces the decal (bottom image). Don't push it all the way in just yet.
-
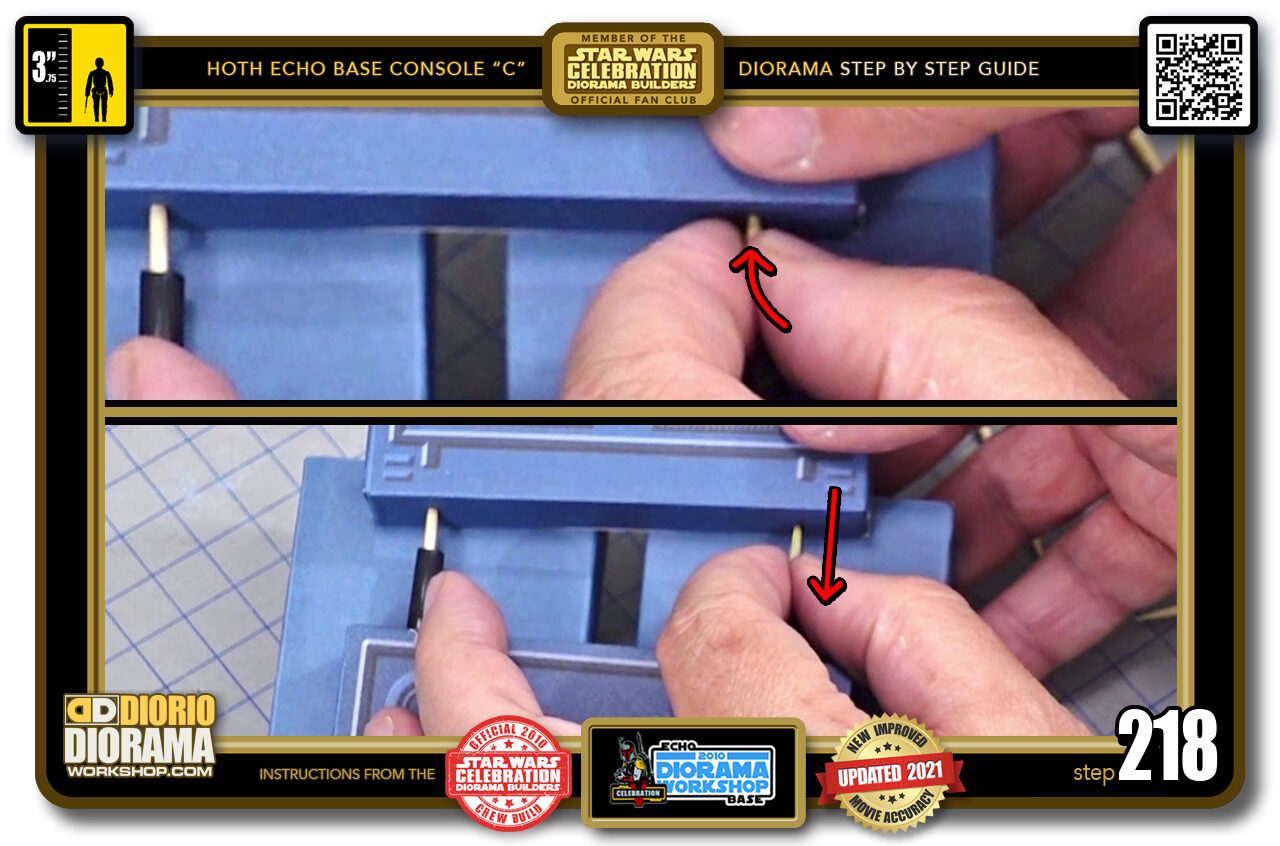
- STEP 218 > Raise the right toothpick slightly until you align it with the right dot (top image) Then press the lower box down until you hear the pop - piercing - of the decal paper and insertion into the foamcore (bottom image).
-
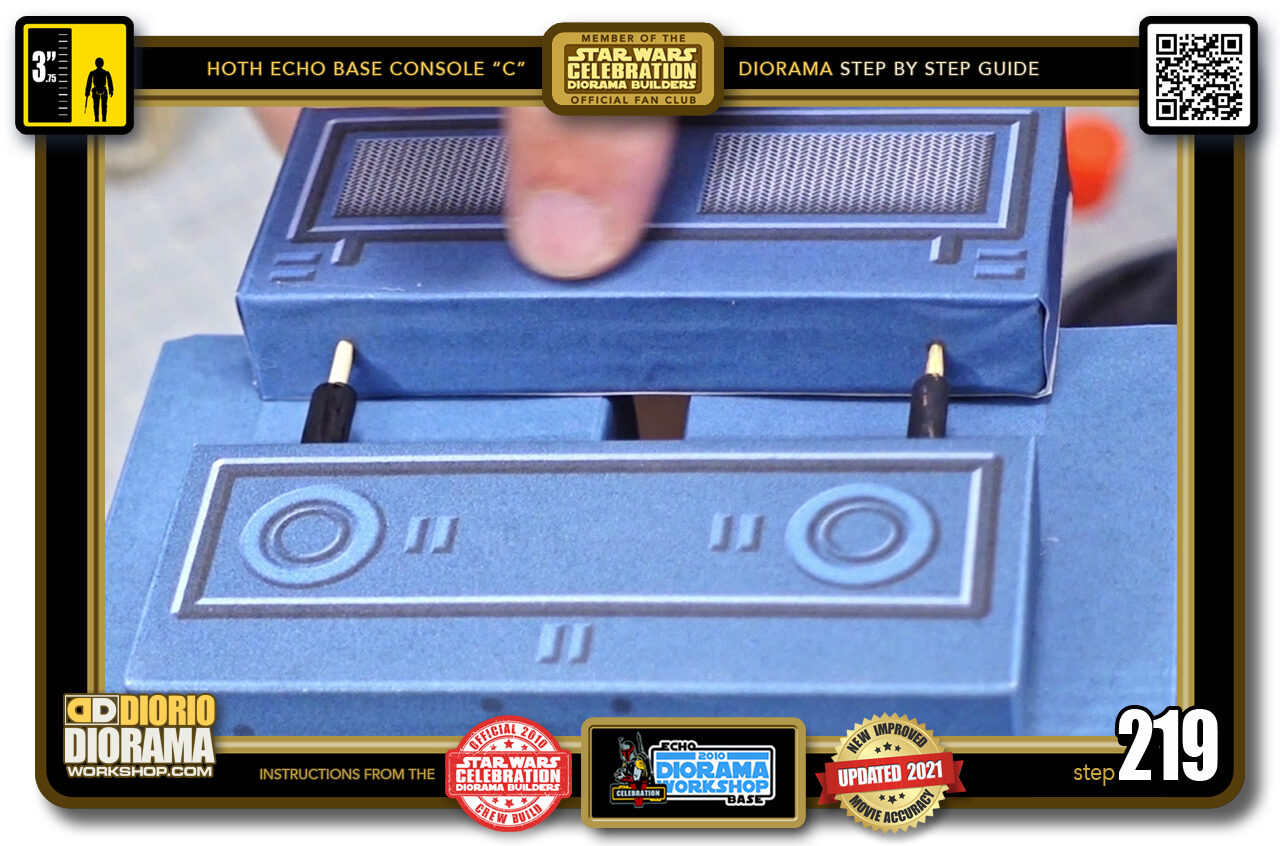
- STEP 219 > Now you have made connection and you know your toothpicks are started and ligned up with your dot guides.
-
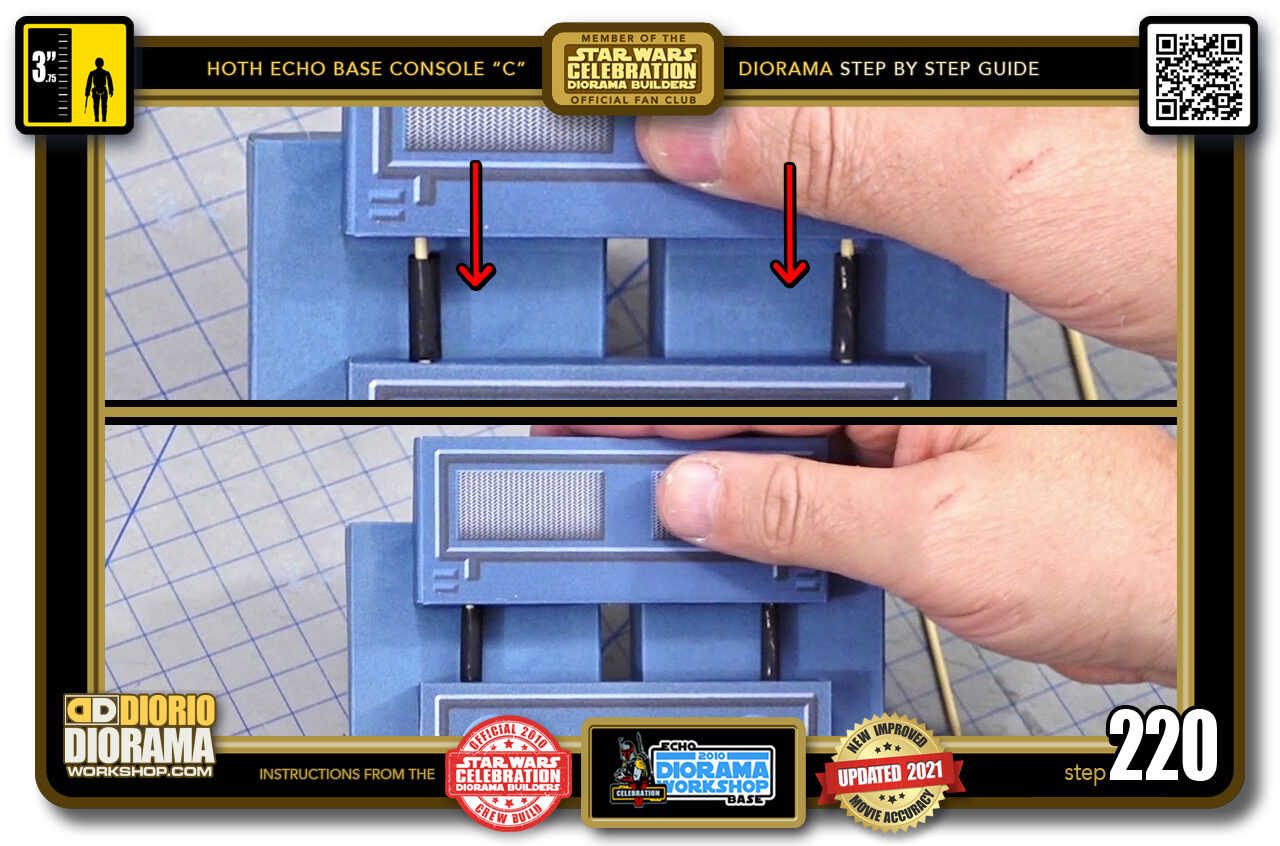
- STEP 220 > You can now push your lower rear box along the toothpicks (top image) until you make contact with the straw tops which will prevent you from sliding any further (lower image)

.
Did you already build this Diorama ? At home or at our Star Wars Celebration Diorama Builders workshop ? Would you like to show it in the site’s GALLERY VISITORS DIORAMAS section, YES ? That is Awesome !!! You can find out all the details on how to email me your photos on the VISITORS SUBMISSIONS INFO page … When I get your photos, I will create your very own page just like this one. You may not realize it but work does inspire others to join in the fun of making Action Figure Dioramas.
.
NOT FOR RESALE ALL Decals, tutorials and artwork are ©FrankDiorio (dioramaworkshop.com) and offered FOR FREE to the fans – that would be you ? so you can build and display my diorama designs in your very own home. I realize I cannot control what one does with my graphics once I place them on the web, I can only ask you as one fan to another, please respect the artist and do not be that jerk who uses my designs and tutorials to build a copy of my work only to sell it on EBAY or trade/sale groups and forums. Thank You. Frank.
.

.
.
If you have a facebook account, why not join the Official Diorama Builders Fan Club today, simply click the logo link below.
 .
.
Catch up with fellow visitors and exchange stories, read cool interviews with the crew, exchange photos, fun surprises and grab some FAN ONLY merchandise next year at actual future conventions ?
.
©2021 Frank Diorio DioramaWorkshop.Com
.
IF YOU LIKE WHAT YOU SEE, PLEASE SHARE WITH YOUR FRIENDS
USING THE SOCIAL MEDIA BUTTONS BELOW