


-
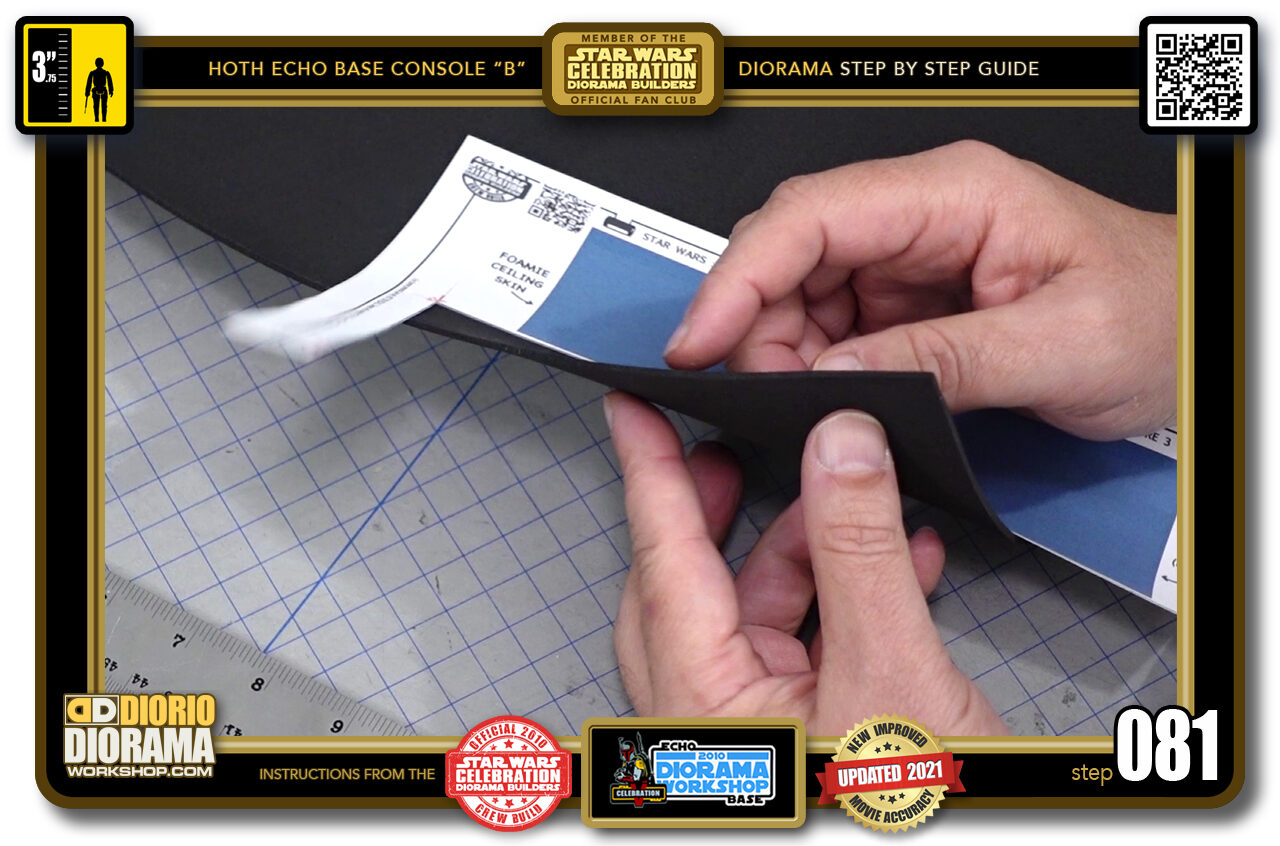
- STEP 081 > Now for this step you can use black foamie if that is what you have.
-
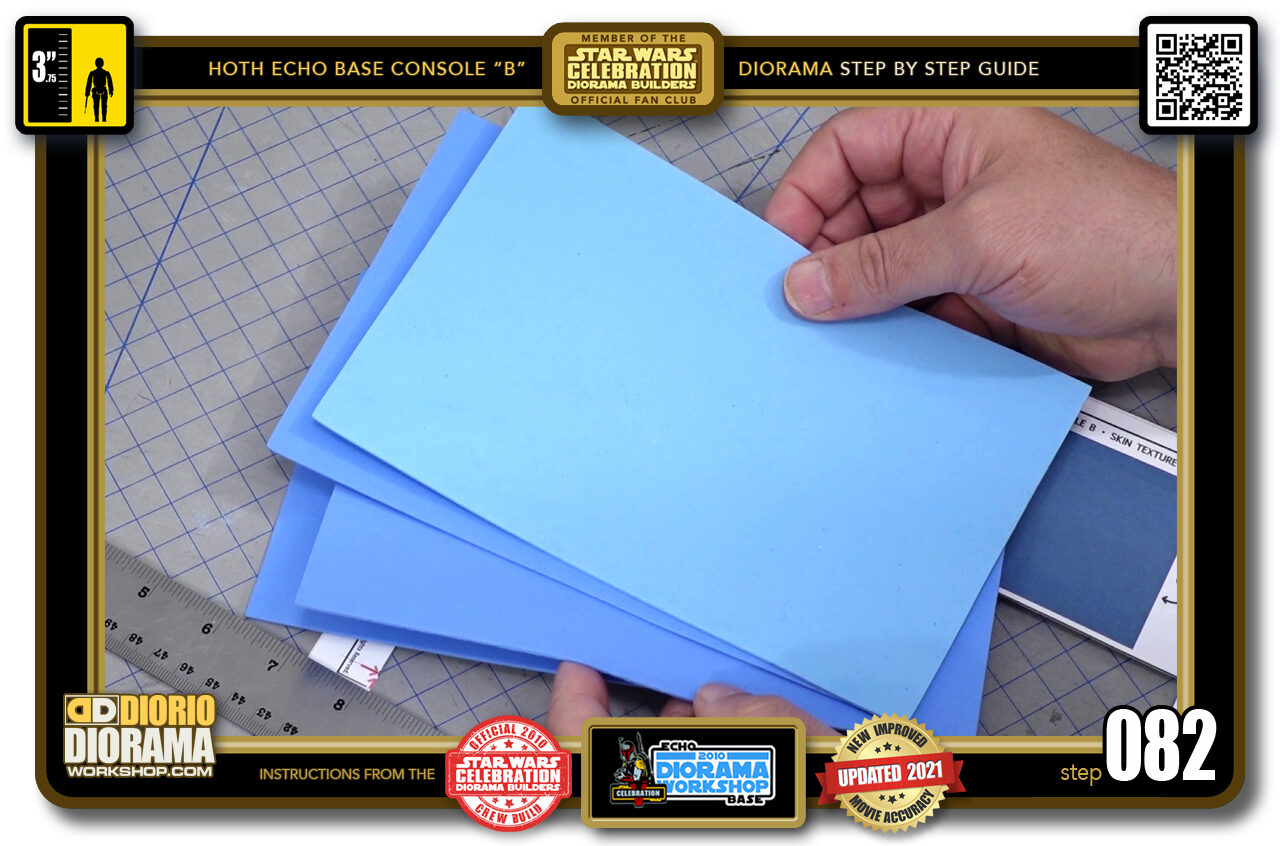
- STEP 082 > Or you can use a blue shade of foamie if you prefer.
-
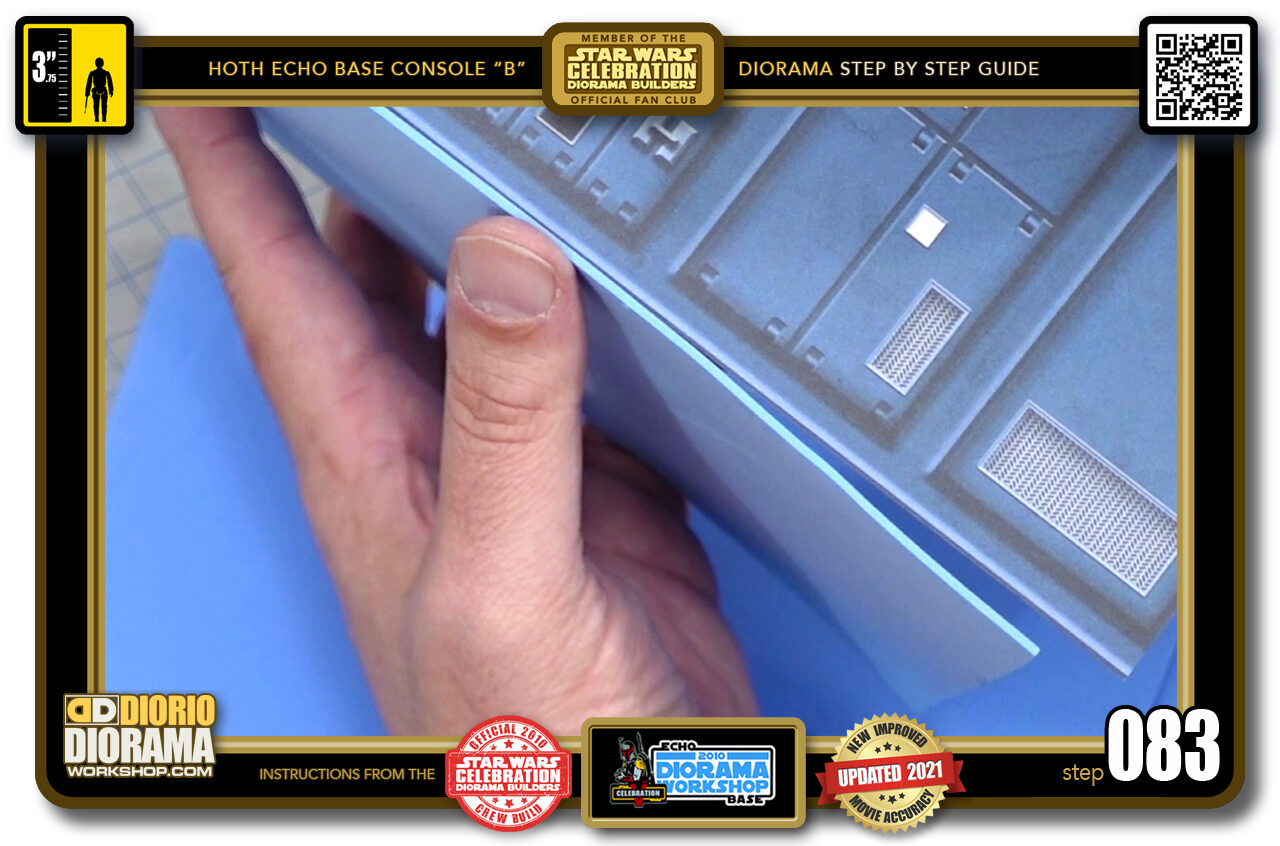
- STEP 083 > Because the decal wrap skin has a slight blue colour when you will cap off the top and bottom of the body, you will see the thickness of the foamie all around the edges. Being blue might be a choice that you find cosmetically more appealing. I will be doing a test in both Blue and Black so that you can see the differences and decide for yourself. (you can skip to Step 147 if you want to see now before you proceed)
-
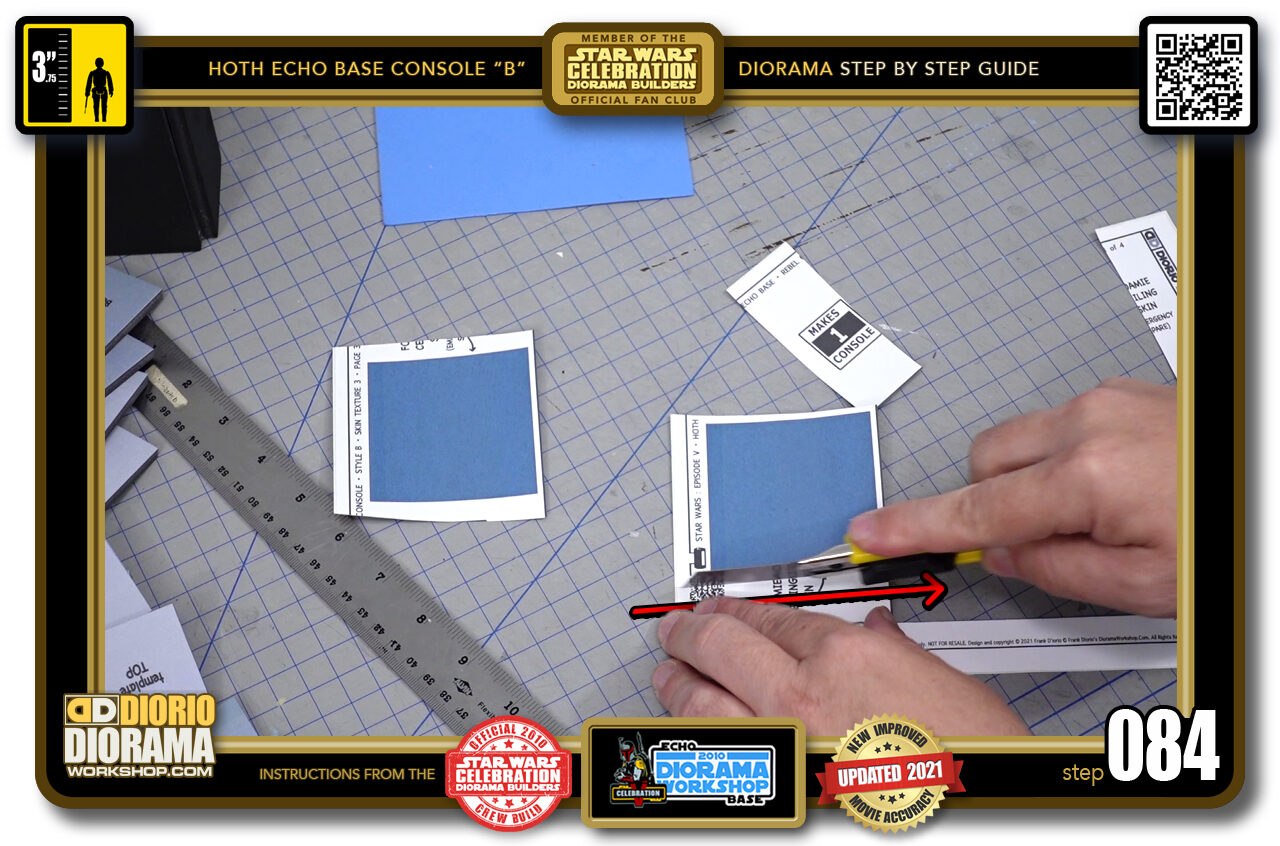
- STEP 084 > We want to begin by just doing a rough cut around, along all sides of your top and bottom decal. You don't need to follow the colour edges precisely just yet.
-
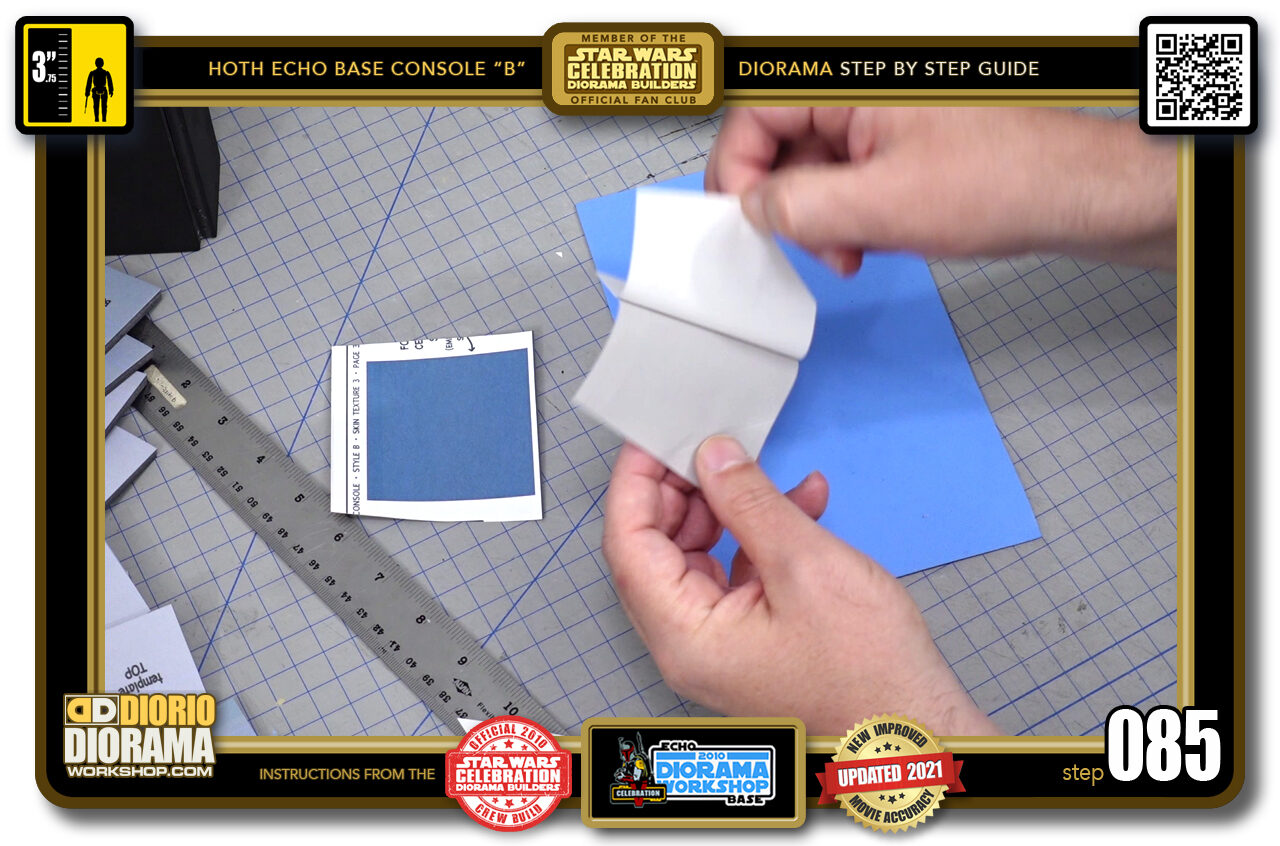
- STEP 085 > Peel the back of your sticker sheet, use gluestick if you printed on plain paper.
-

- STEP 086 > And apply it to the foamie sheet of your choice (black or blue)
-

- STEP 087 > Peel the other...
-
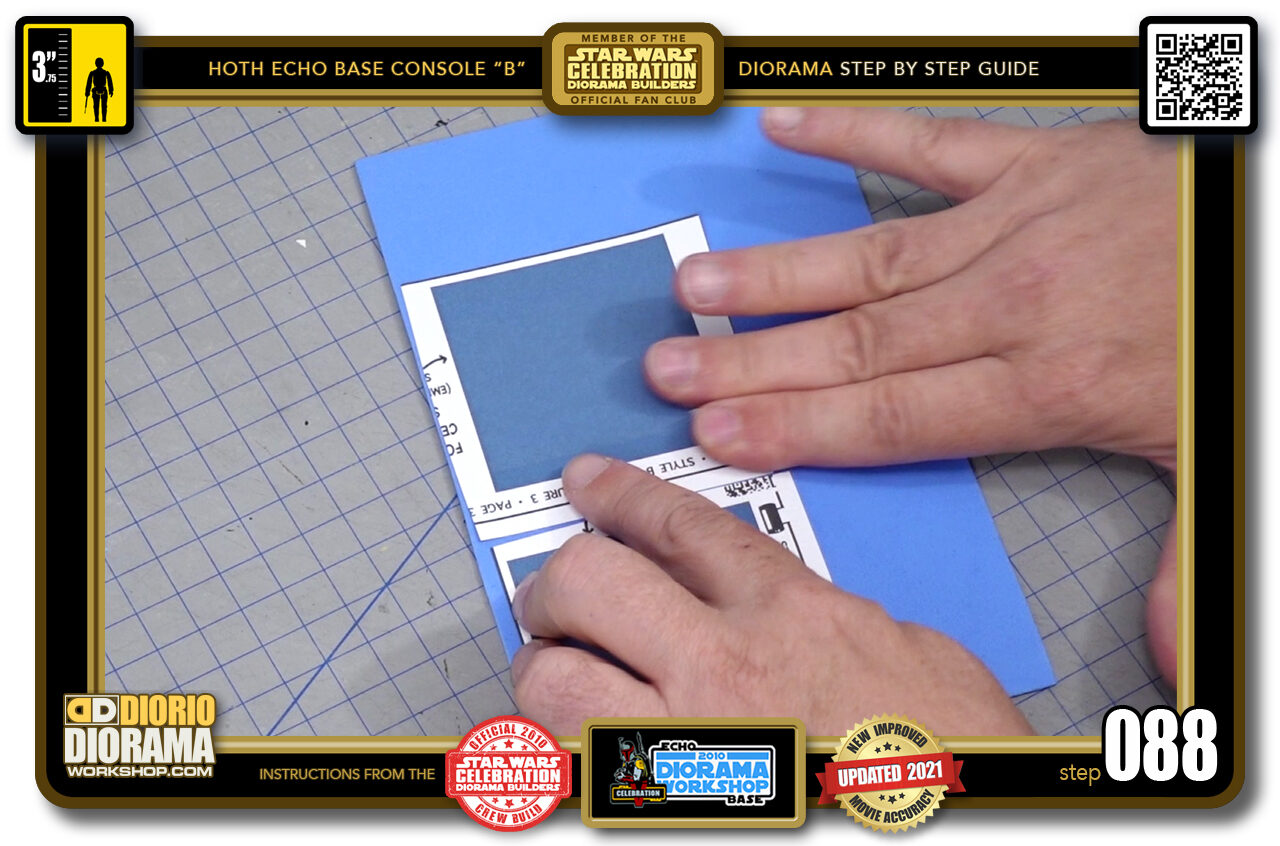
- STEP 088 > And apply it to your foamie sheet.
-
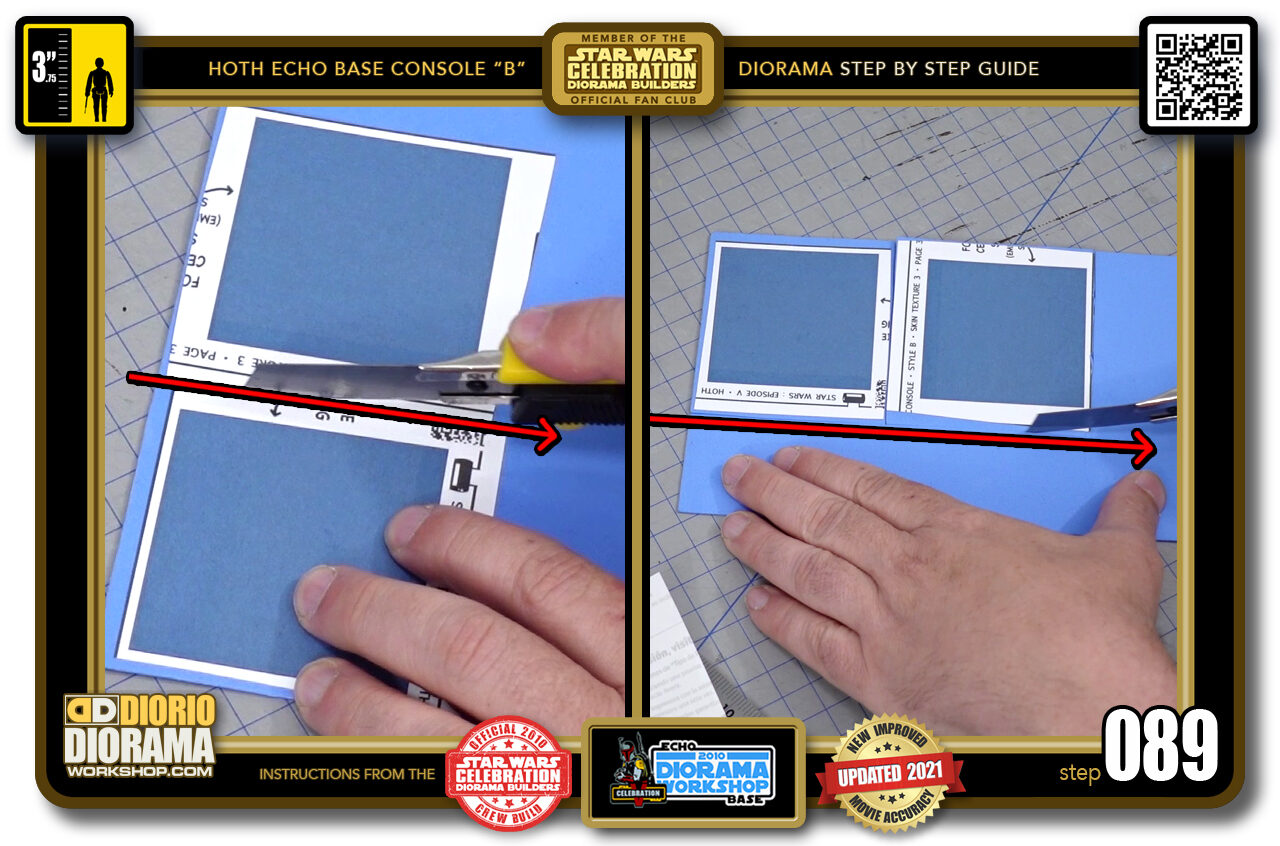
- STEP 089 > Now to make it easier to do the precise cuts, just cut roughly down the centre of your 2 pieces (left image) then along the long edge. Place the left over foamie aside for later use and put the 2 top and bottom pieces aside for a few minutes to dry while we attach the straws to the body corners.
-
-
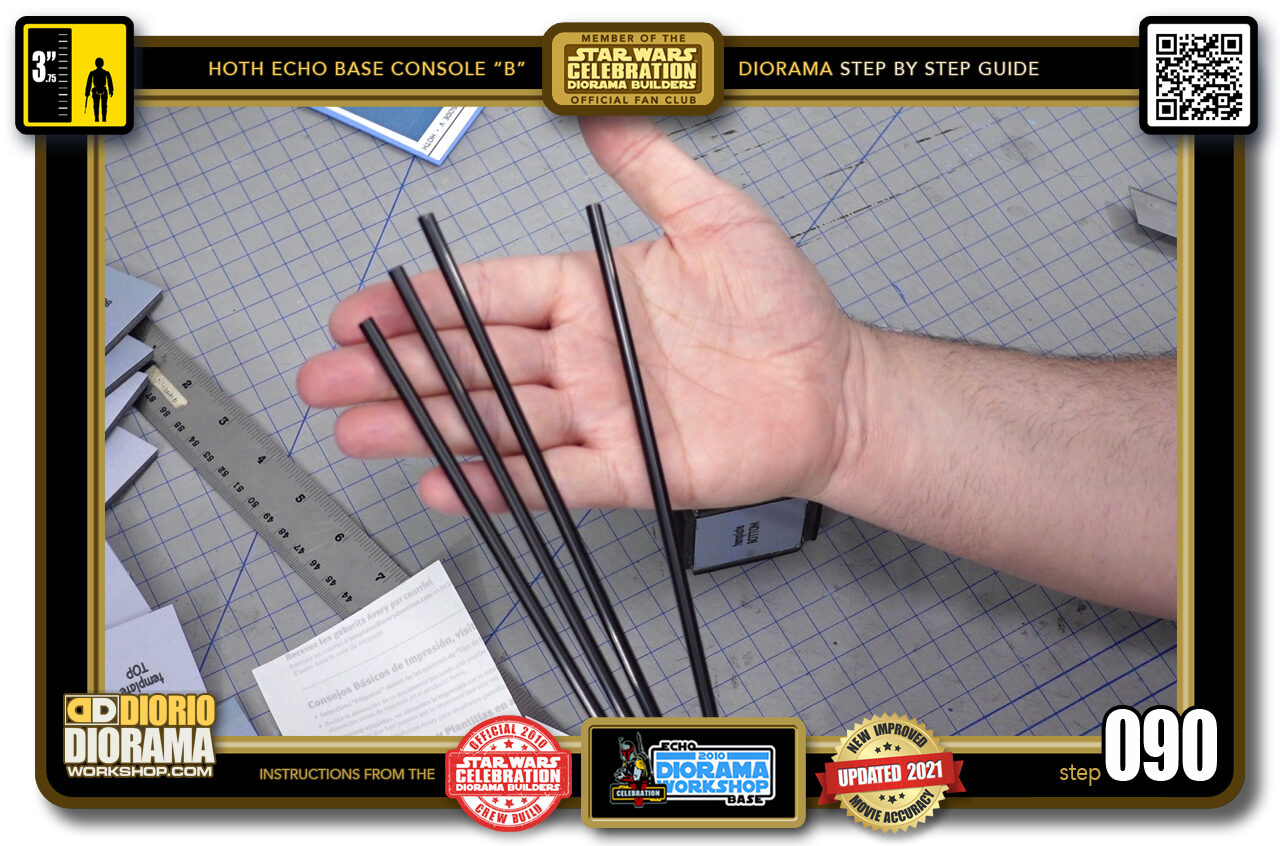
STEP 090 > You want to grab 4 straws. They don't have to be black, these are just the ones I bought for my death star, they can be any colour as they will be hidden with the body decal wrap.
NOTE: If your straws are long enough, you might be able to just need 2 as I ended up noticing when cutting mine.
-
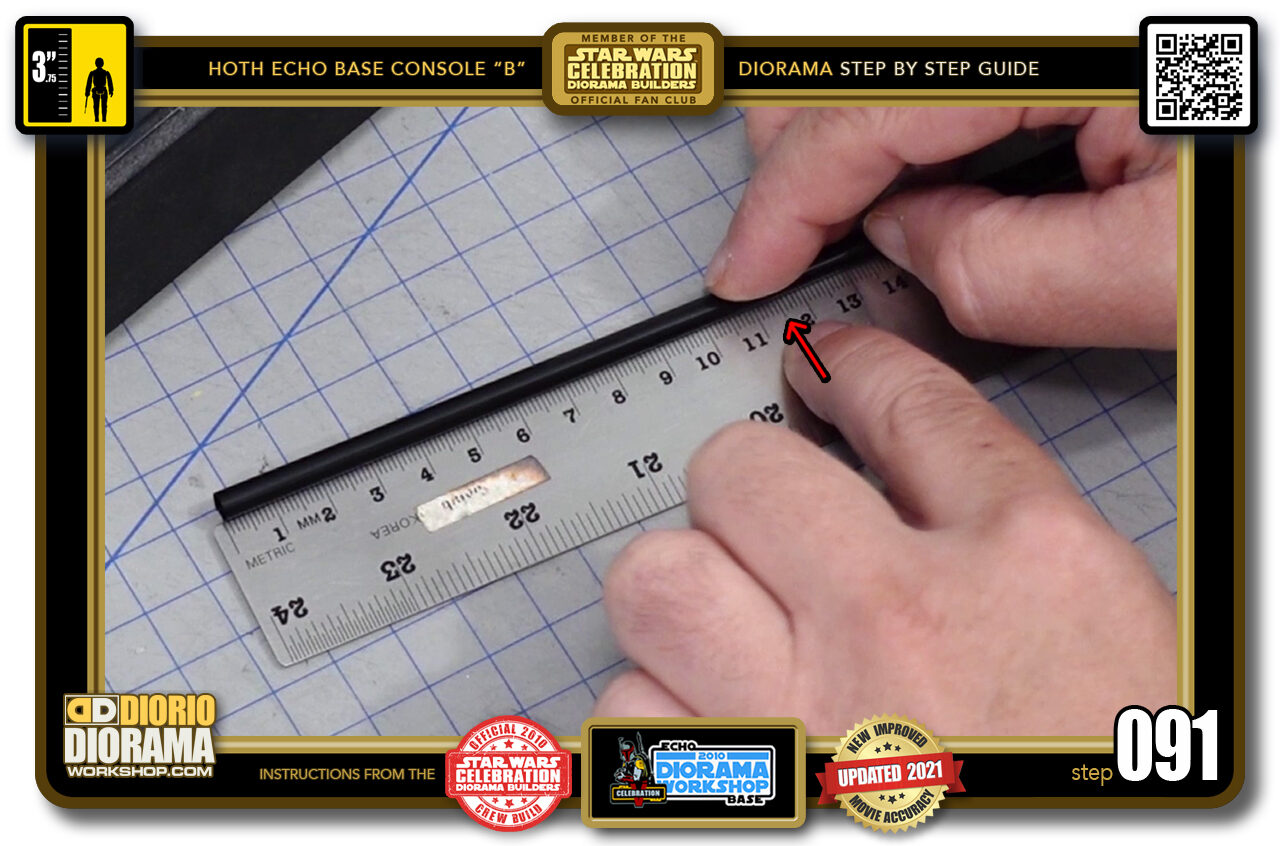
- STEP 091 > We want 11.5 cm lengths.
-
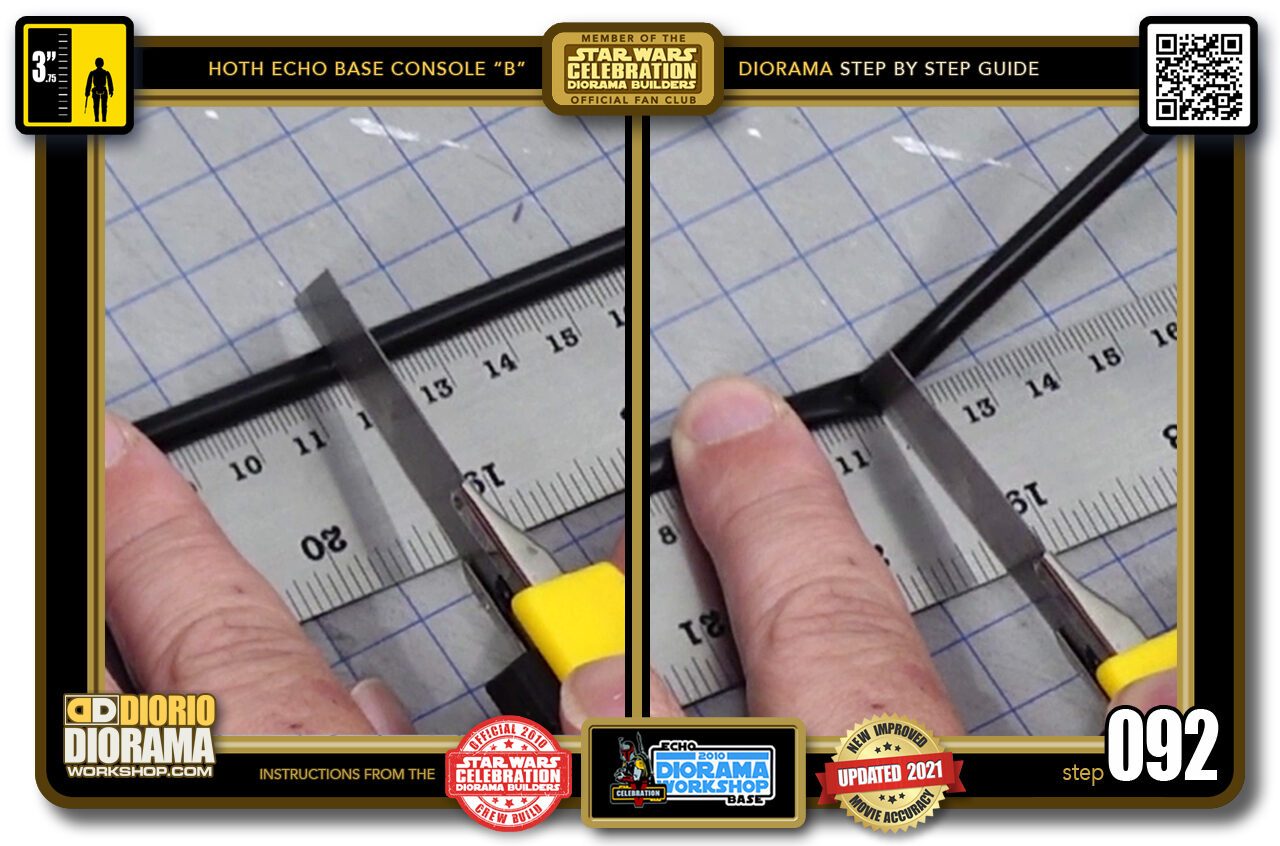
- STEP 092 > Take your X-Acto knife and place the blade against the straw at 11.5 cm (left image) and press down until the straw snaps in 2 (right image) Be careful it will tend to fly off in all directions like a firework - Don't poke your eye out LOL.
-
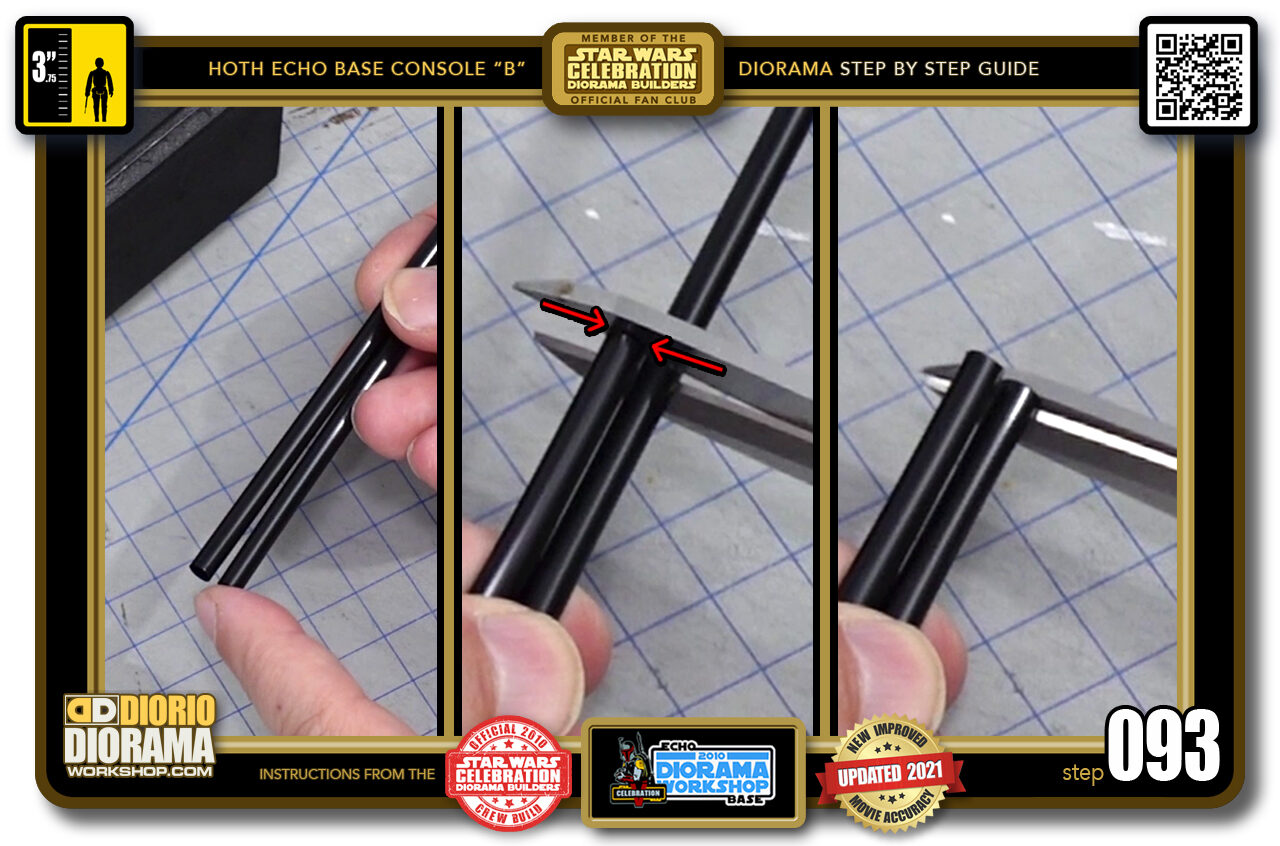
- STEP 093 > After your first cut, I found it easier to place a second straw against the first you just cut to size (left image) then press your scissors edge against the first straw (centre image) and snip off the other straw to get 2 identical lengths (right image) Do this 2 more times.
-

- STEP 094 > You now have 4 straws measuring 11.5 cm.
-
- STEP 095 > They will fit perfectly along the gap just like this. We are now ready to glue them on the body.
-
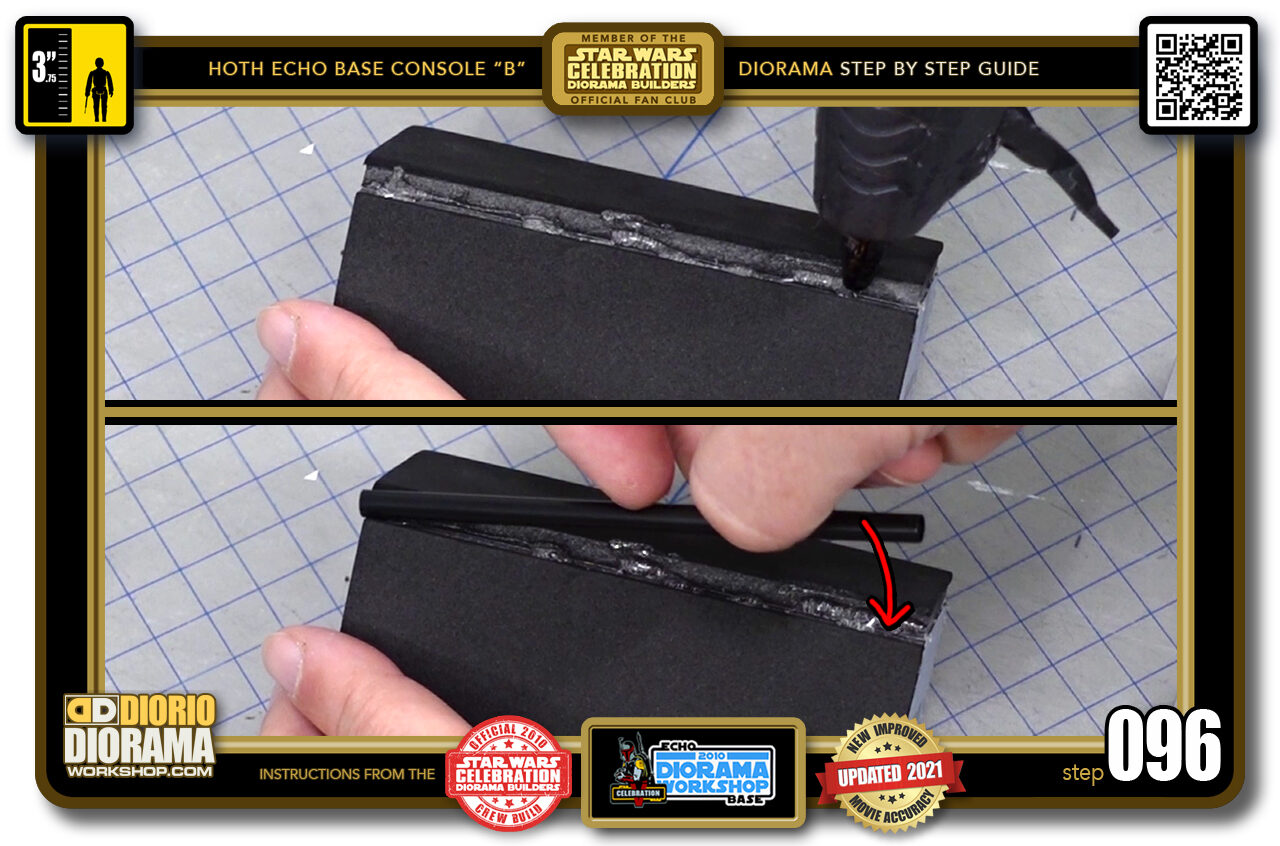
- STEP 096 > Simply apply a small dab of hot glue inside the crack or gap of one of your corners (top image) and gently drop your straw onto the hot glue. (bottom image).
-
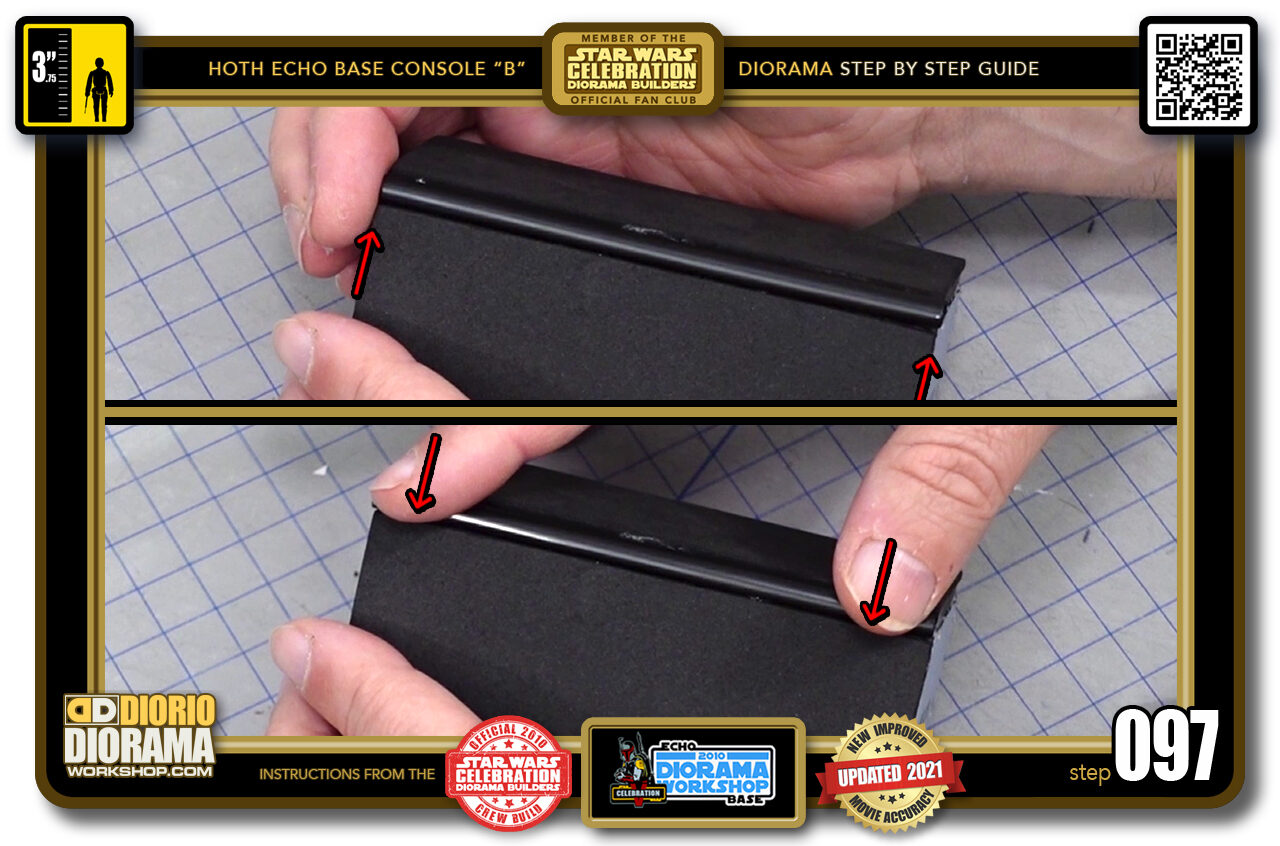
- STEP 097 > Make sure it is centre and not sticking out on either side of the body edges (top image) and the press lightly with your fingers until the glue cools down 30-40 seconds (bottom image).
-
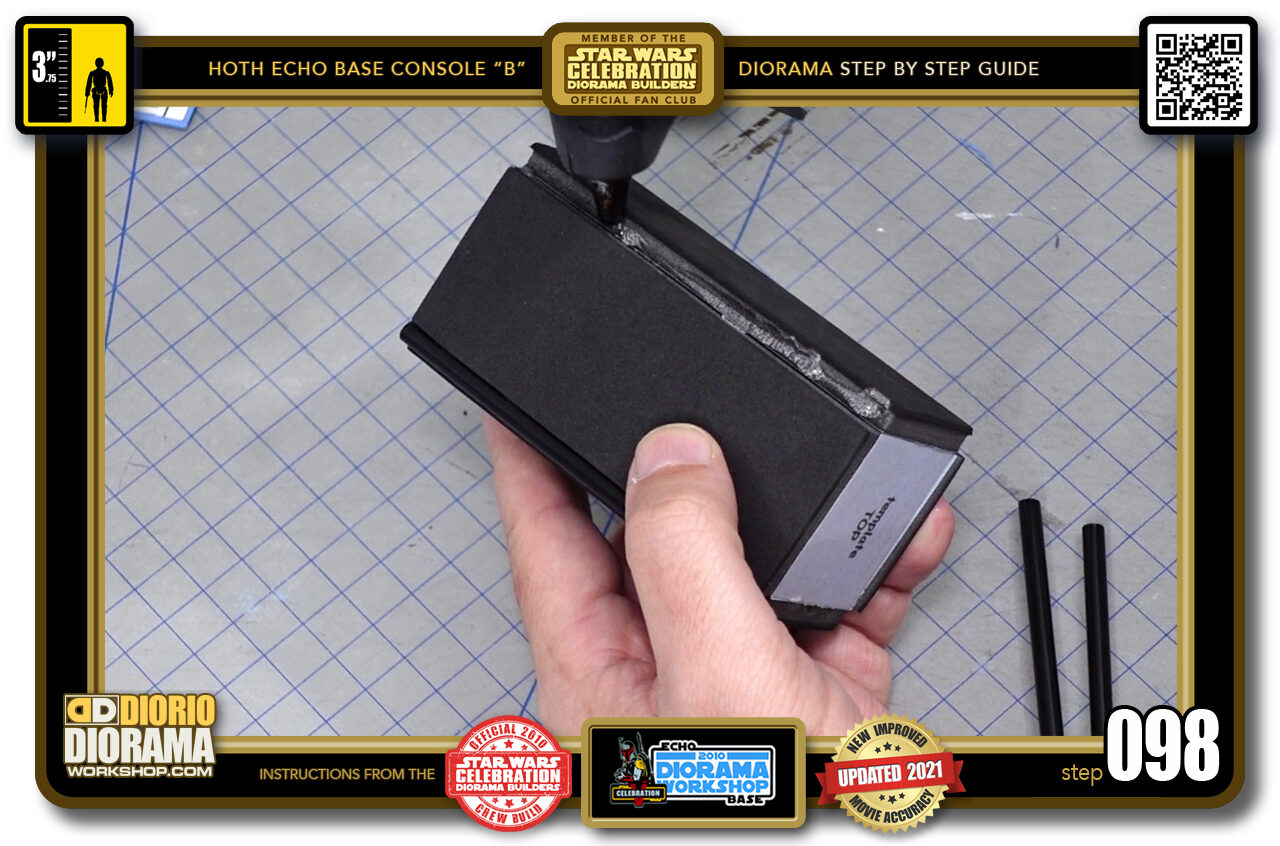
- STEP 098 > Repeat the same steps for the remaining 3 sides.
-
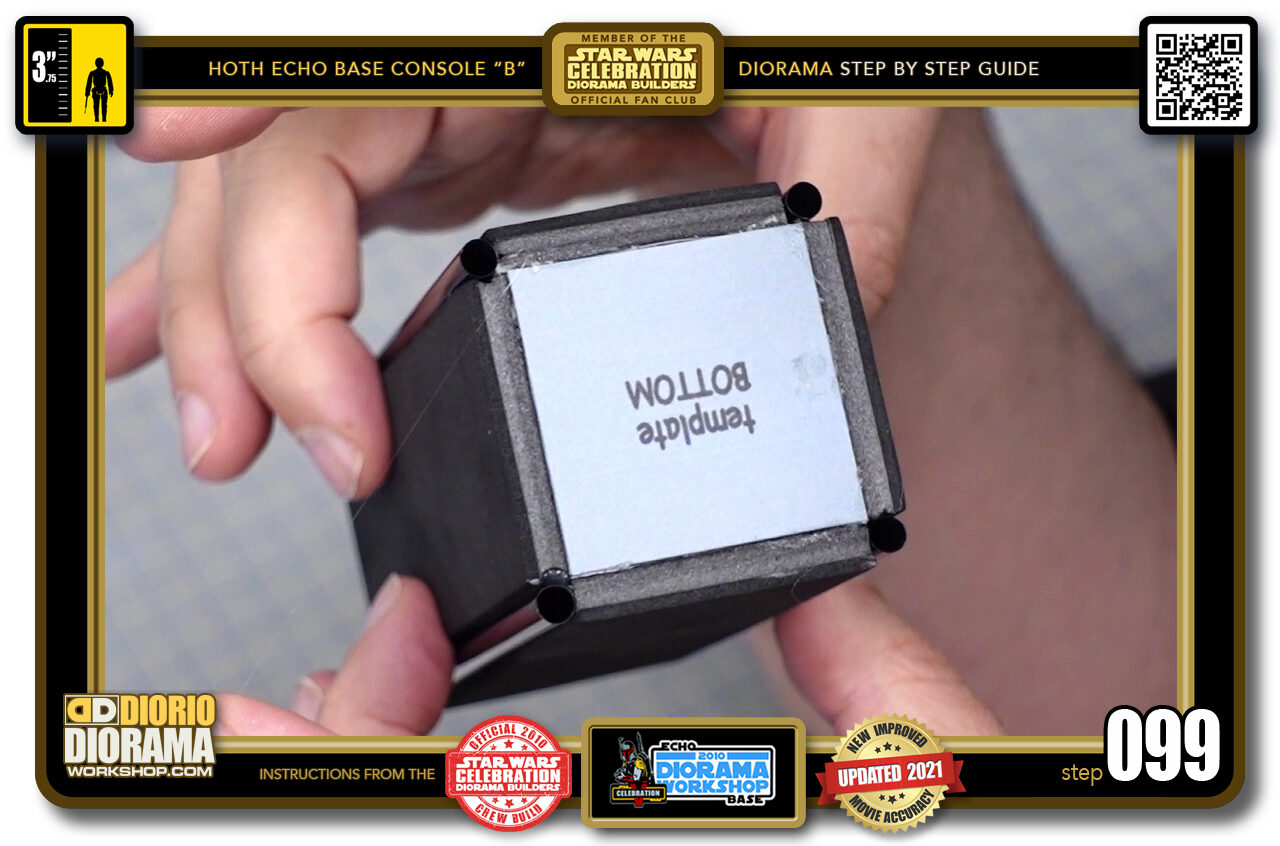
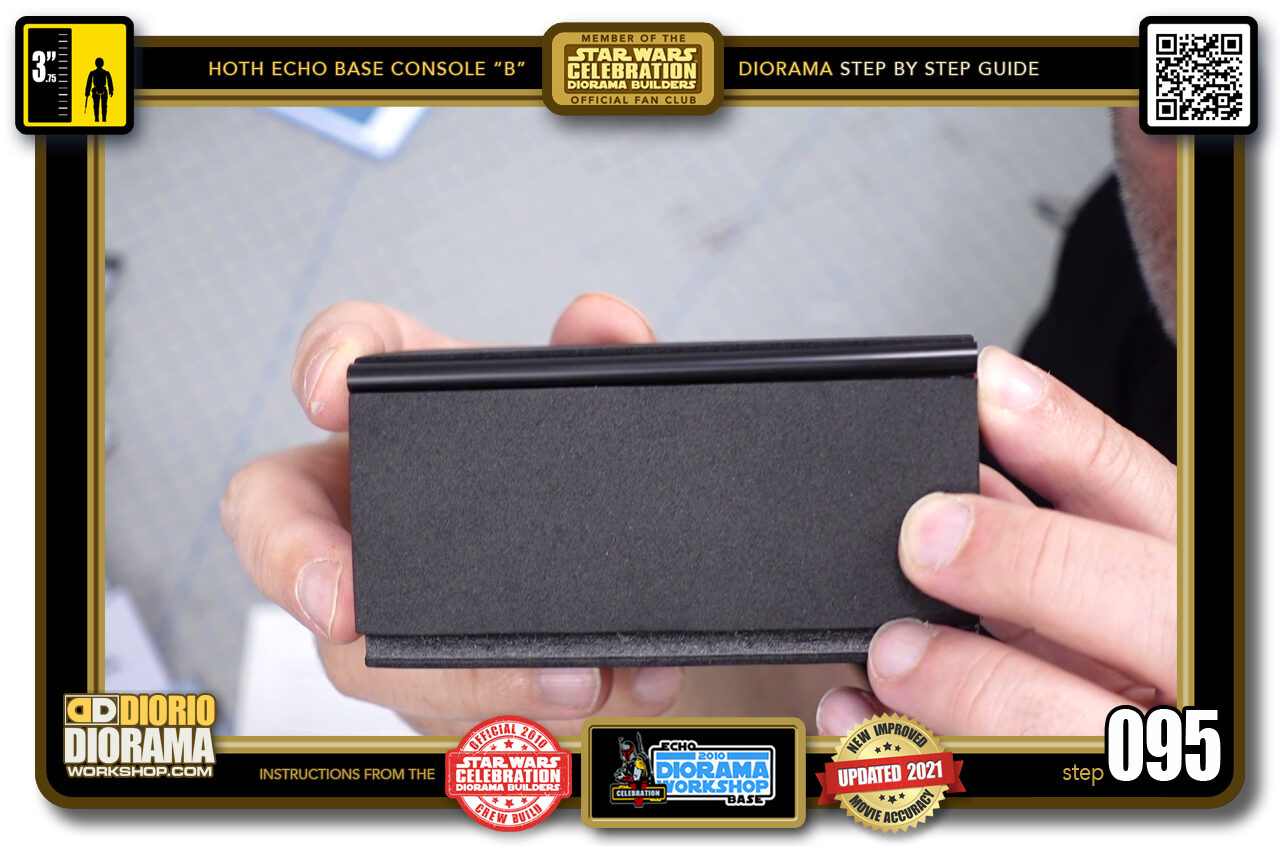
- STEP 099 > And there you go, your console "B" body is done and ready for the fun part - putting on the decal stickers.
-
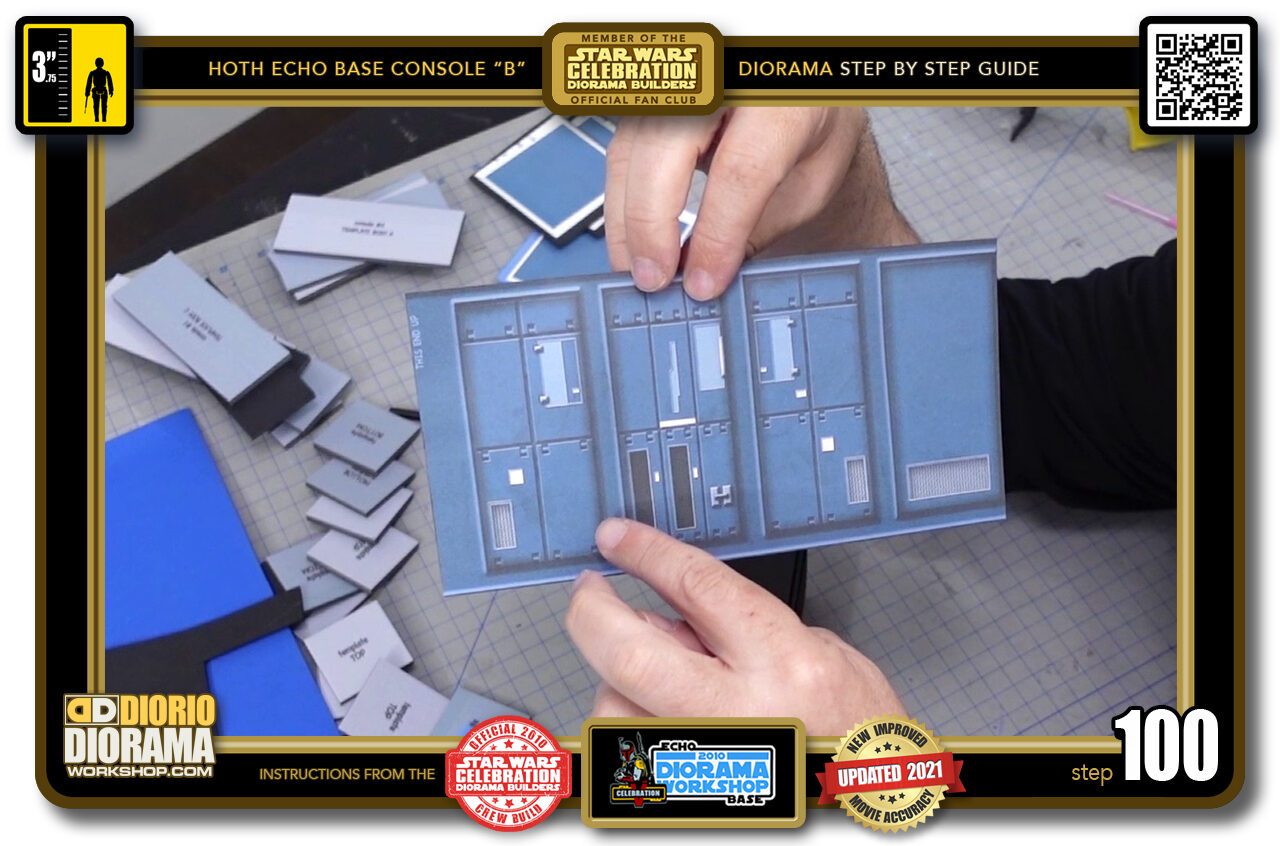
- STEP 100 > You will notice that each decal has 4 rectangle boxes (1 for each side - i know - duh LOL. Box number TWO is the first you want to glue onto the body. You may also be wondering why there seems to be a large space between each side. This is because like in the movie, the corners are rounded and not connected 90 degrees.

.
Did you already build this Diorama ? At home or at our Star Wars Celebration Diorama Builders workshop ? Would you like to show it in the site’s GALLERY VISITORS DIORAMAS section, YES ? That is Awesome !!! You can find out all the details on how to email me your photos on the VISITORS SUBMISSIONS INFO page … When I get your photos, I will create your very own page just like this one. You may not realize it but work does inspire others to join in the fun of making Action Figure Dioramas.
.
NOT FOR RESALE ALL Decals, tutorials and artwork are ©FrankDiorio (dioramaworkshop.com) and offered FOR FREE to the fans – that would be you ? so you can build and display my diorama designs in your very own home. I realize I cannot control what one does with my graphics once I place them on the web, I can only ask you as one fan to another, please respect the artist and do not be that jerk who uses my designs and tutorials to build a copy of my work only to sell it on EBAY or trade/sale groups and forums. Thank You. Frank.
.

.
.
If you have a facebook account, why not join the Official Diorama Builders Fan Club today, simply click the logo link below.
 .
.
Catch up with fellow visitors and exchange stories, read cool interviews with the crew, exchange photos, fun surprises and grab some FAN ONLY merchandise next year at actual future conventions ?
.
©2021 Frank Diorio DioramaWorkshop.Com
.
IF YOU LIKE WHAT YOU SEE, PLEASE SHARE WITH YOUR FRIENDS
USING THE SOCIAL MEDIA BUTTONS BELOW