


-
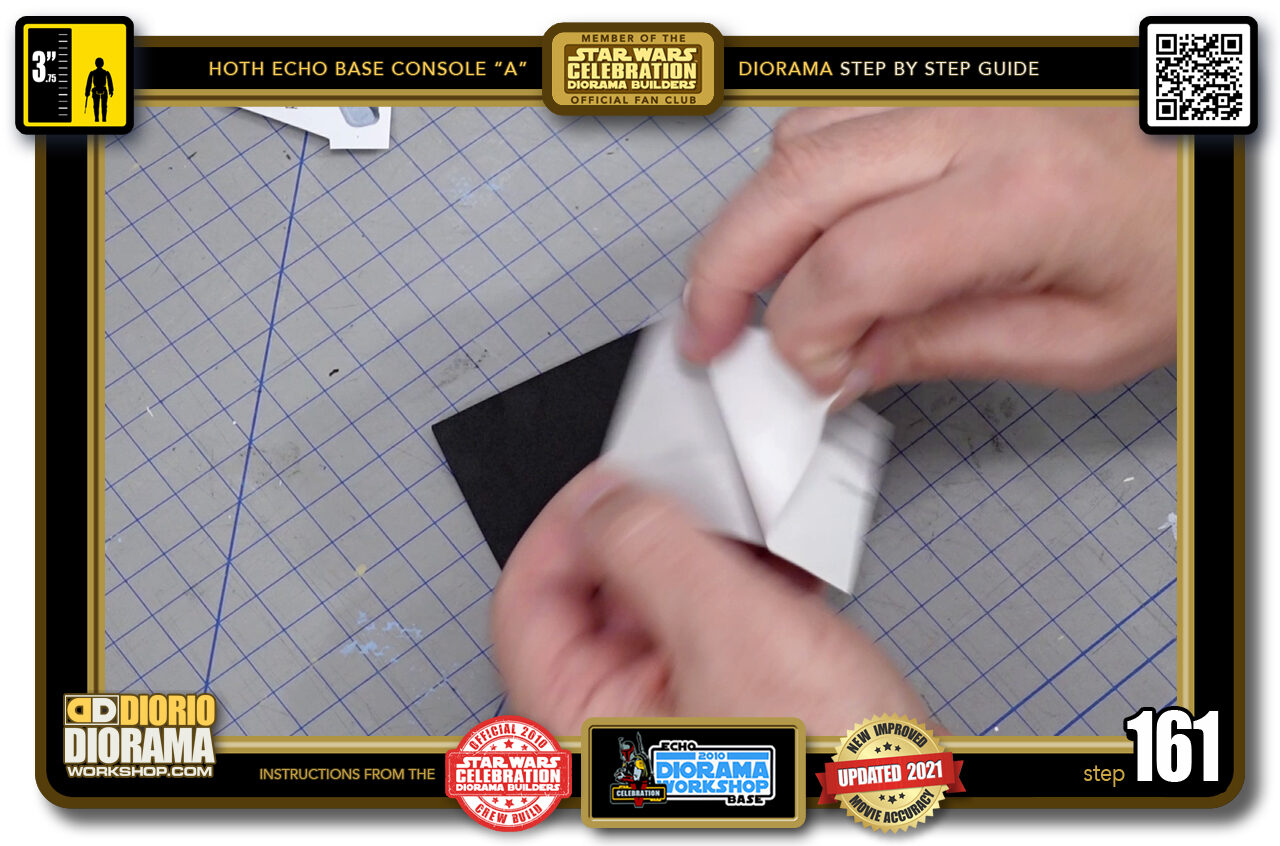
- STEP 161 > Peel back your cushion decal skins.
-
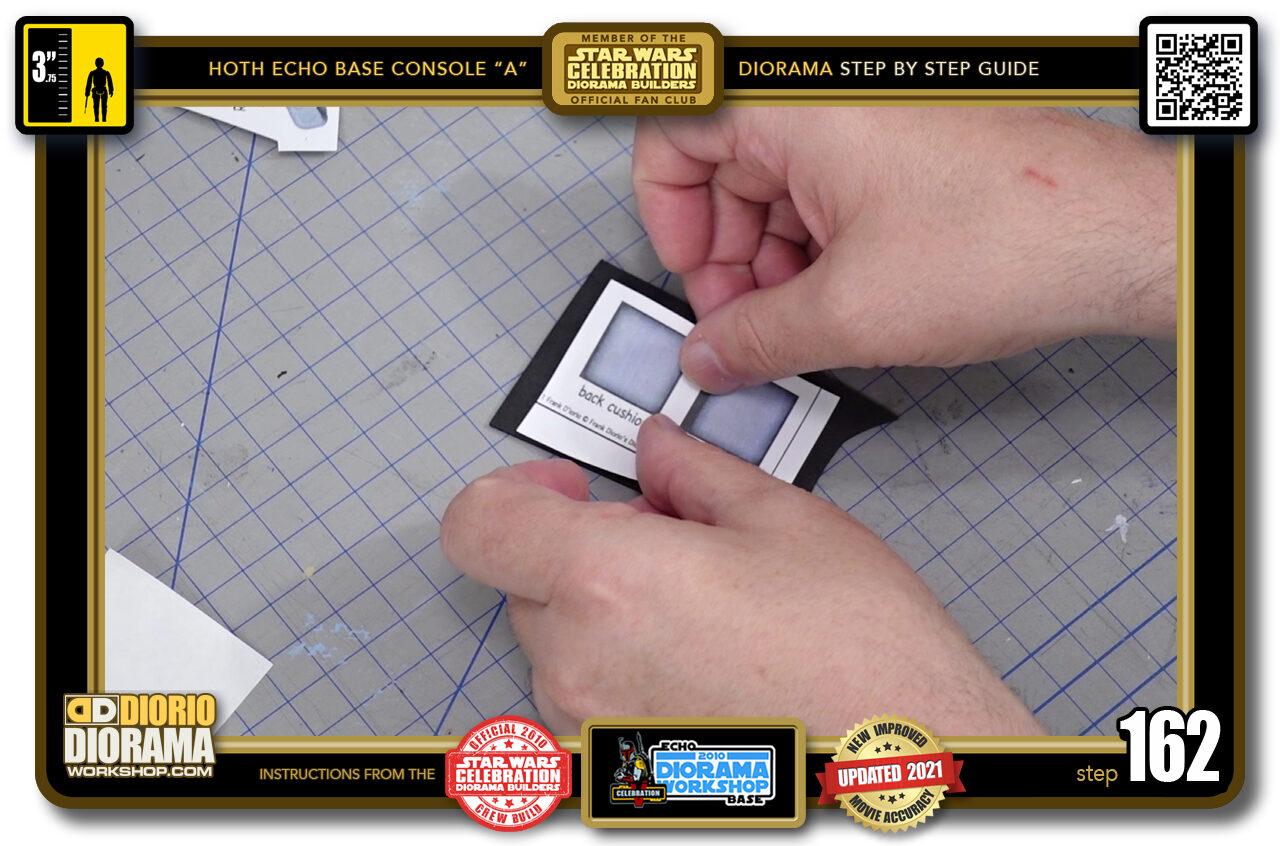
- STEP 162 > Apply them onto your foamie piece.
-
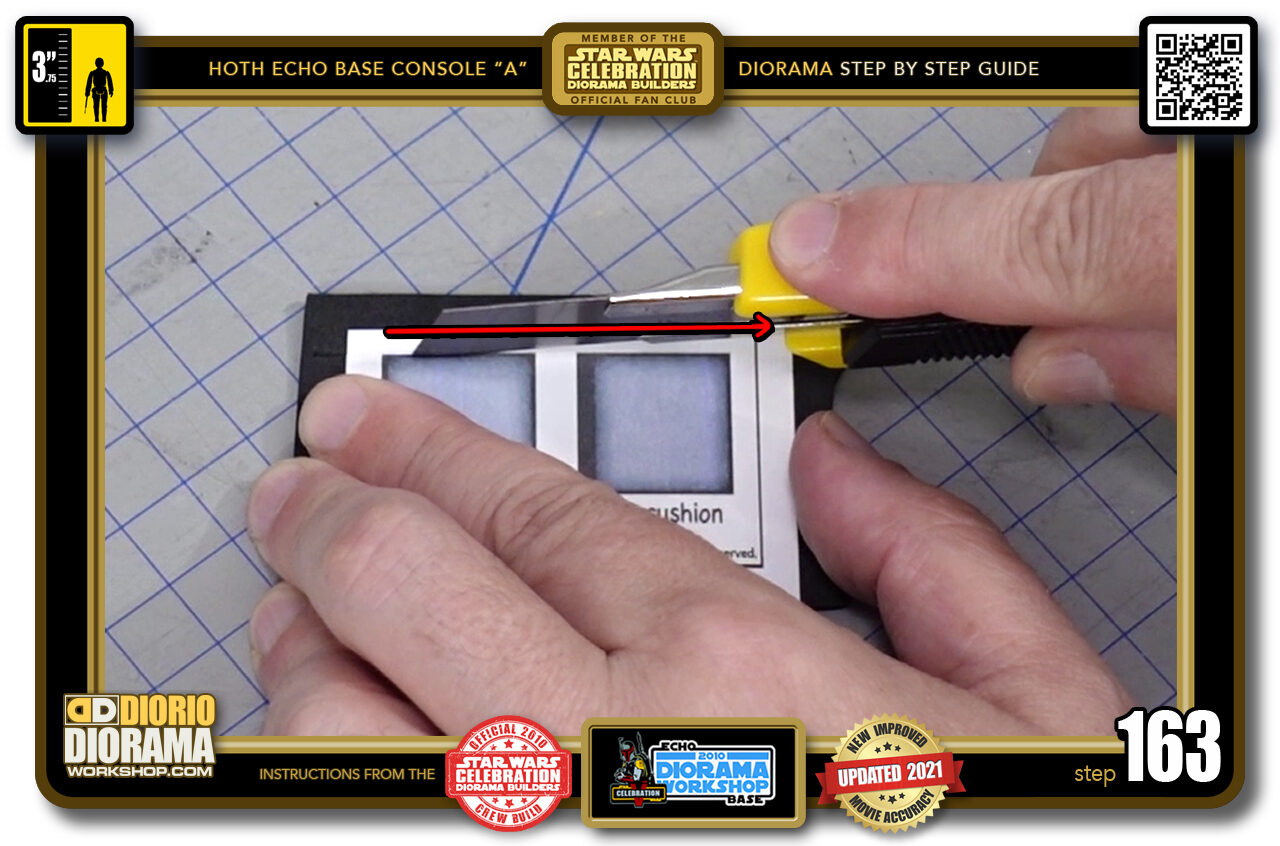
- STEP 163 > They are aligned in the decal so you can just cut straight along both pieces at the same time. Cut all the way around all sides of your cushions.
-
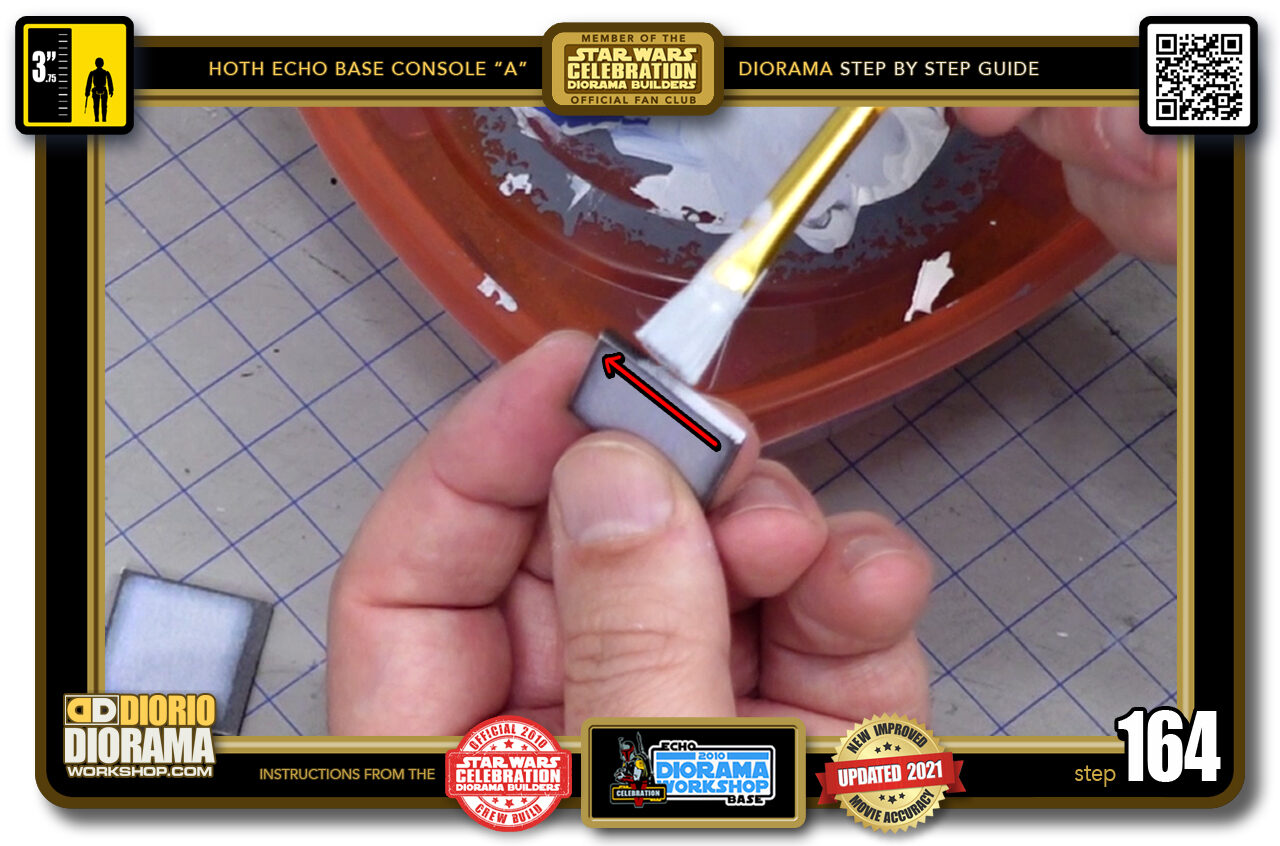
- STEP 164 > I discovered that if you paint the edges of your cushions (in the same way we use black sharpie for Death Star construction) you get a cleaner look to your finished chair.
-
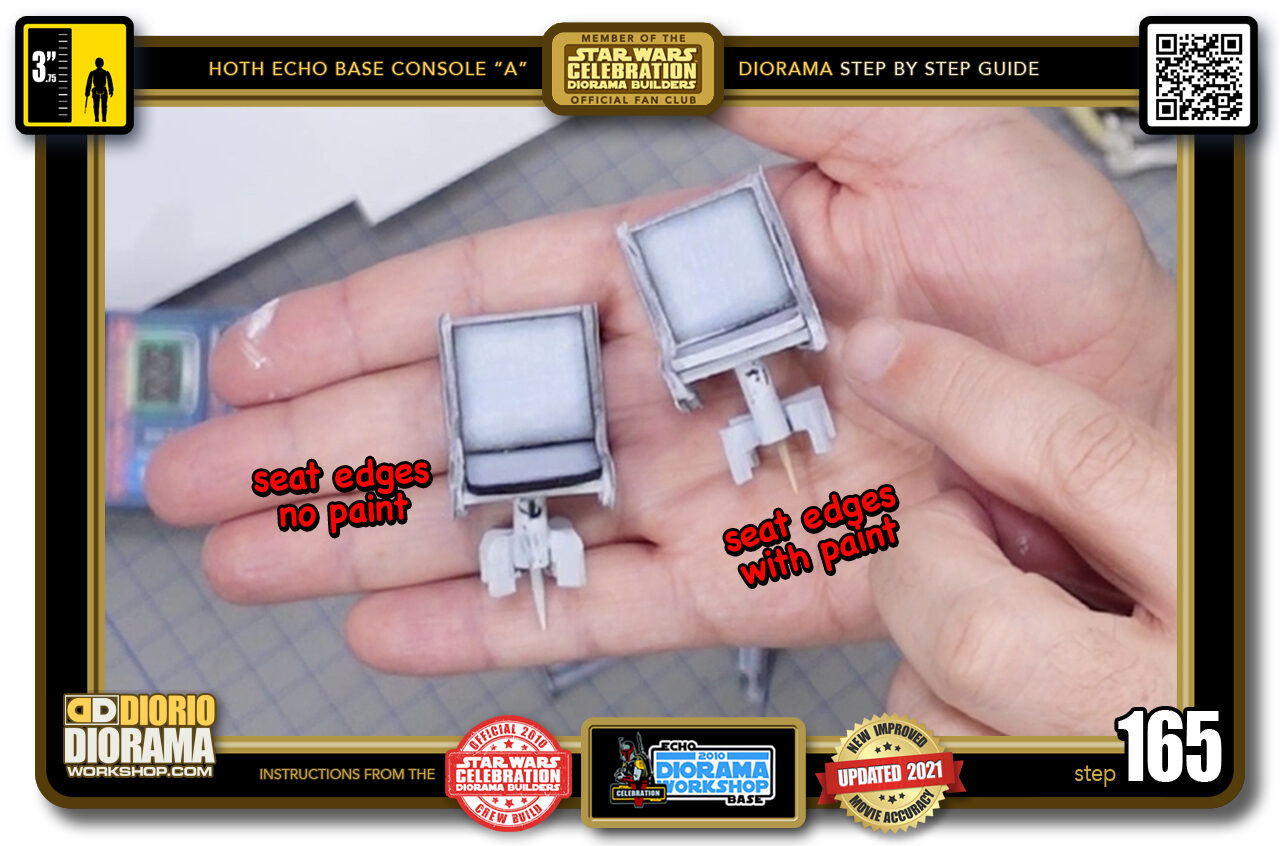
- STEP 165 > Here is a comparison for you to see what your chair looks like with and without the cushion sides painted. It's a small extra step that you can do or skip based on your preference. It's up to you and the version you like best.
-
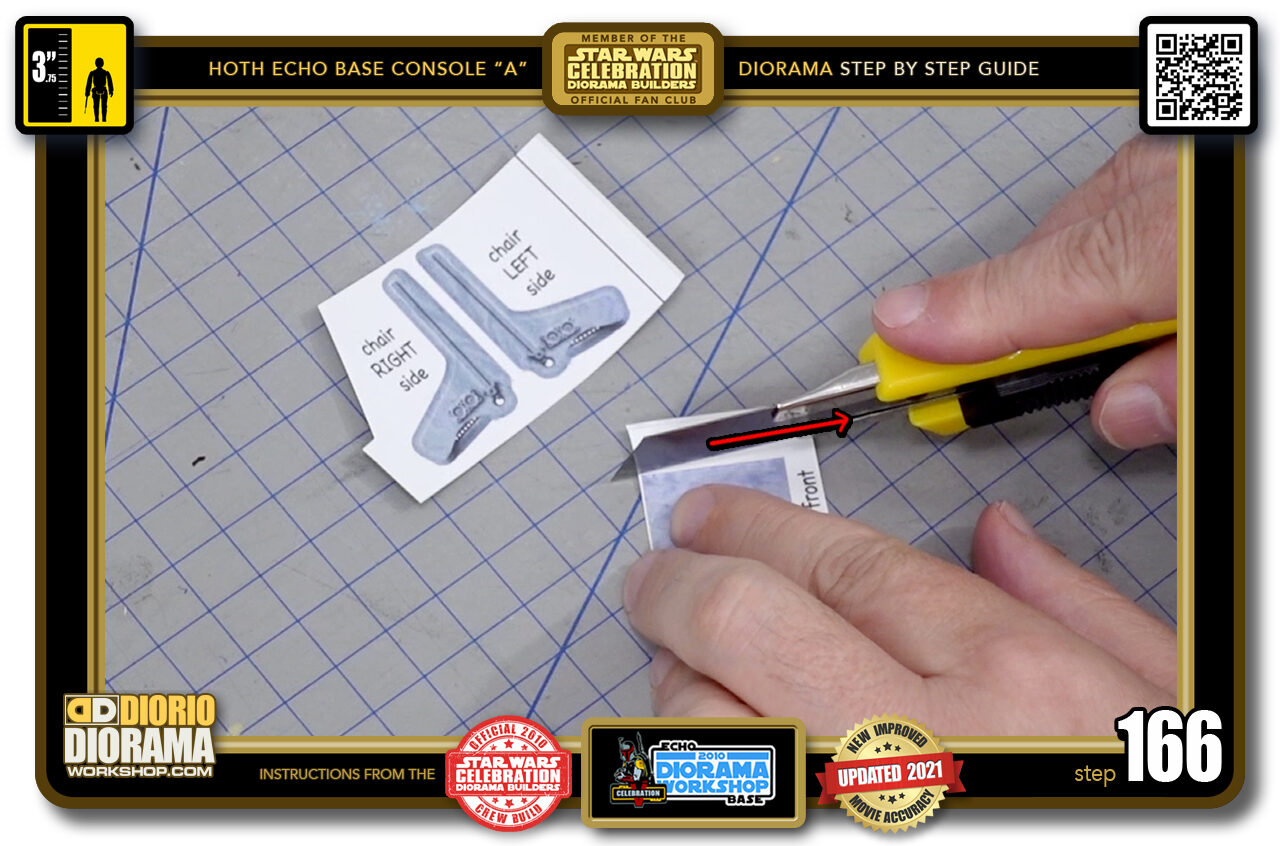
- STEP 166 > Time to cut out our chair skins. For the chair back FRONT and REAR simply cut all the way around as close to the colour as possible.
-
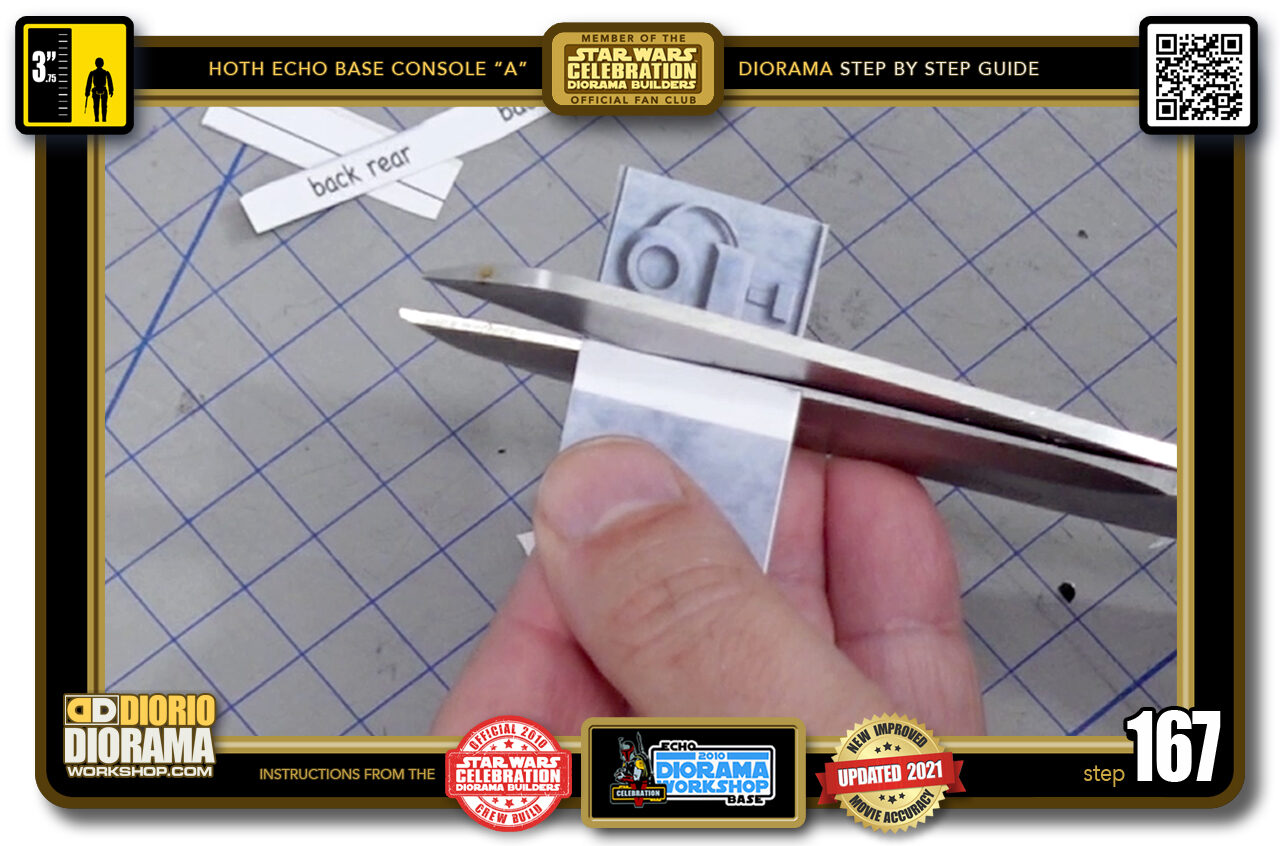
- STEP 167 > You can also use scissors for this step if you prefer.
-
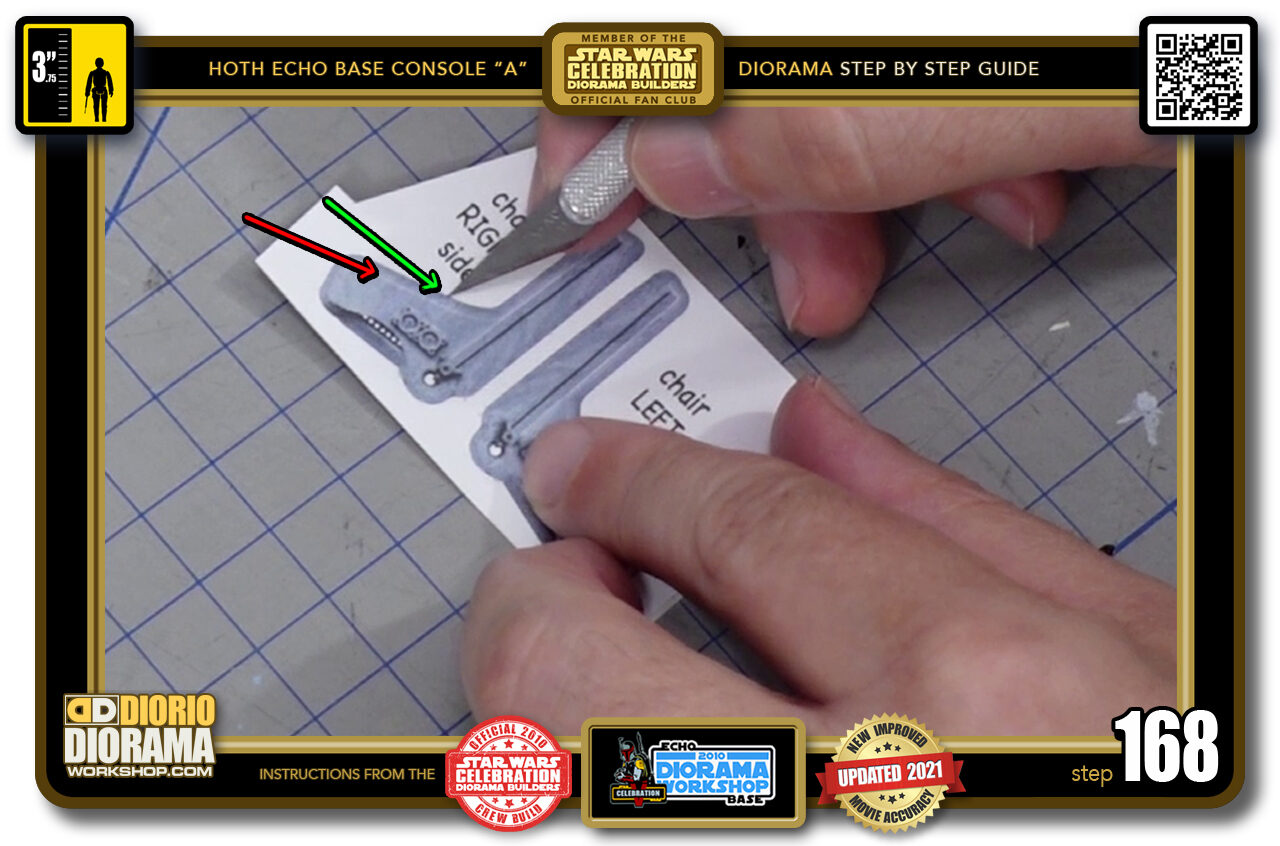
- STEP 168 > Now when it comes to the chair sides, we want to cut inside the BLEED. The area between the actual chair edges (red arrow) and where the bleed meets the white paper (green arrow).
-
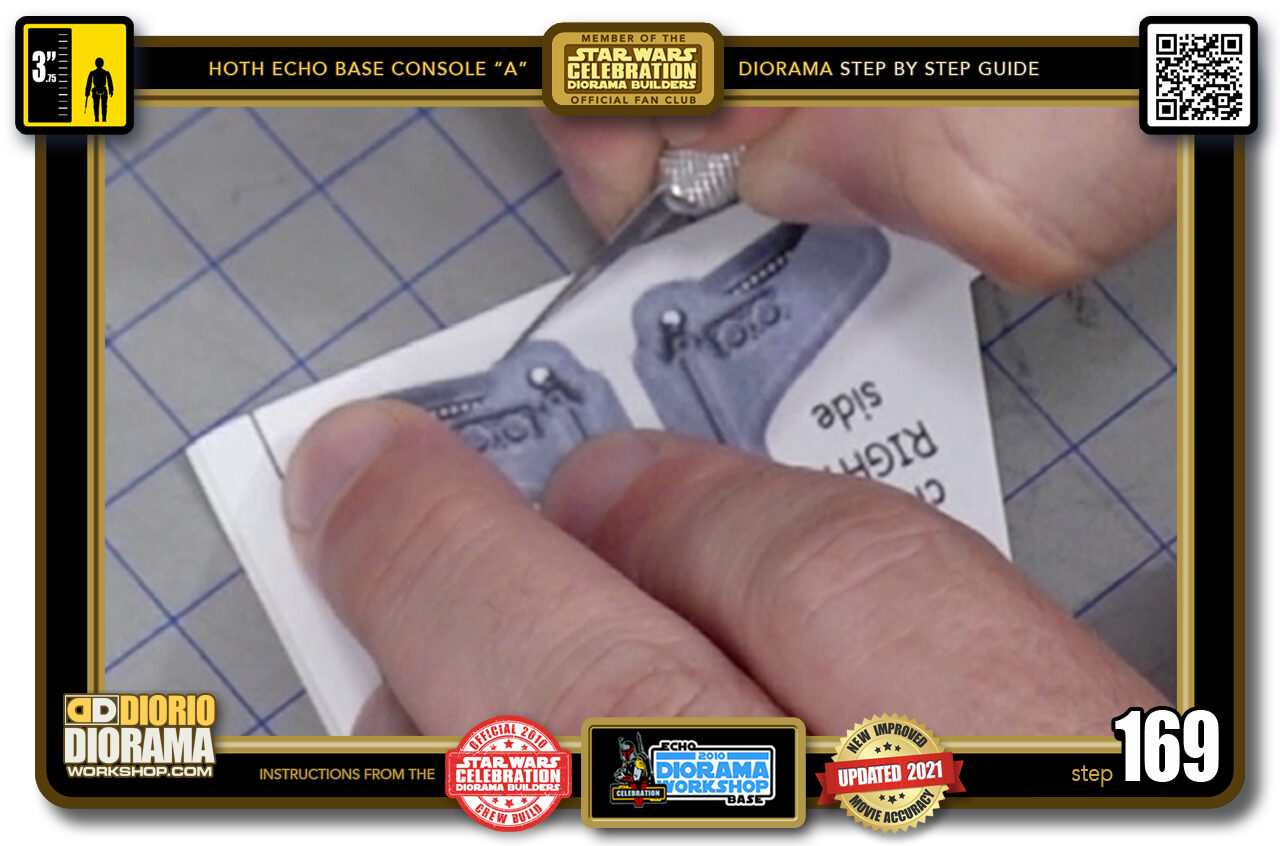
- STEP 169 > What we want to do is cut all the way around in between this zone. Because the curves are so tiny, using your X-Acto PEN makes it a lot easier and precise.
-
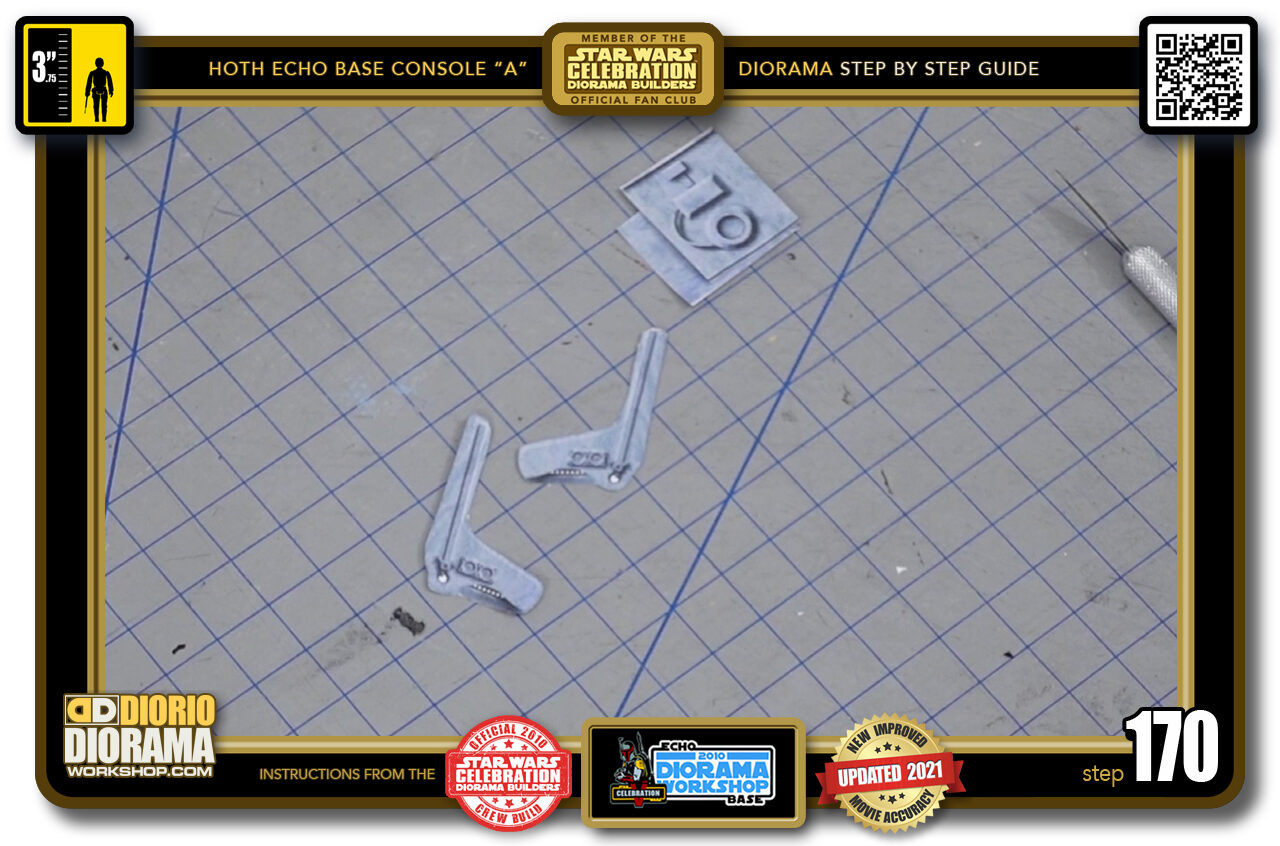
- STEP 170 > Your chair skins are now cut and ready. Put them aside for now as we will cut the body skins next.
-
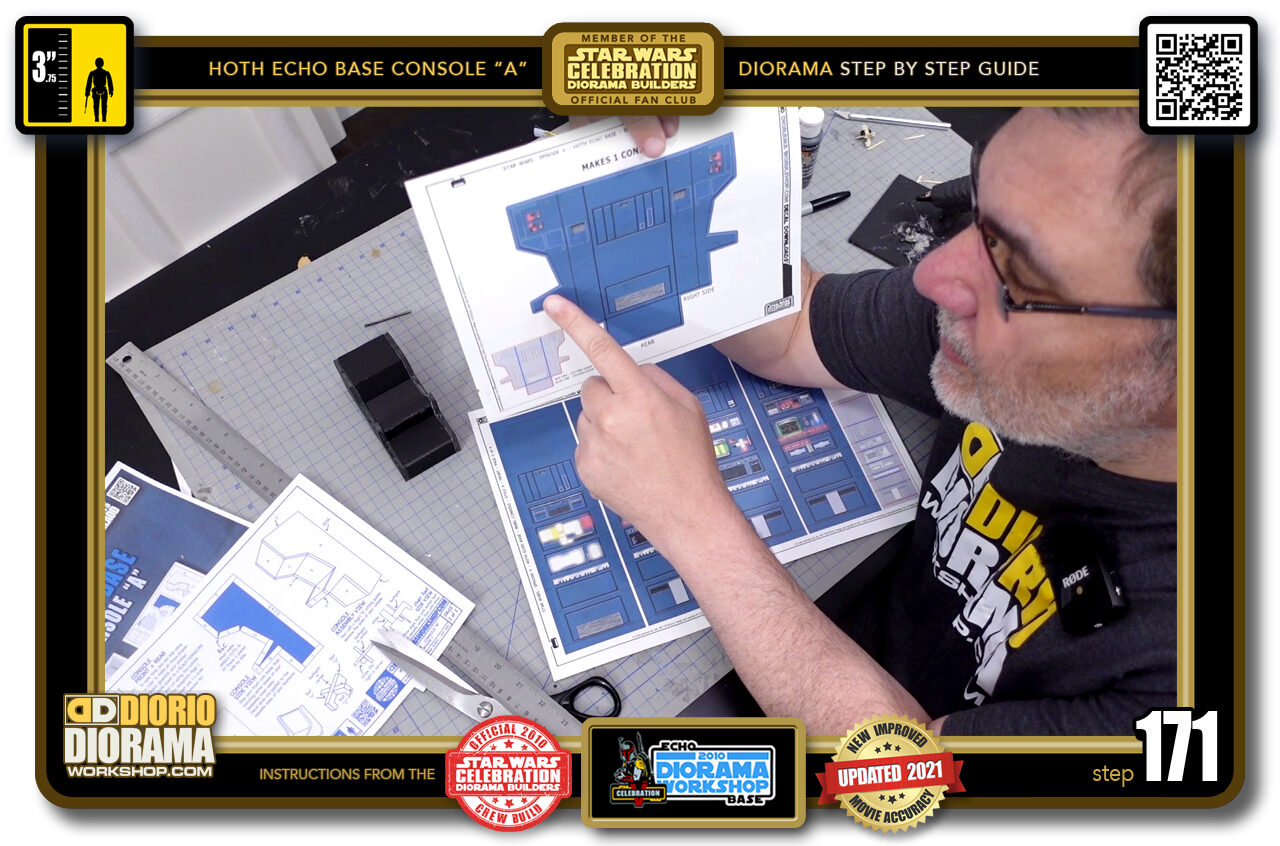
- STEP 171 > The body decals come in 2 sheets. The first is your SIDES and REAR skin.
-
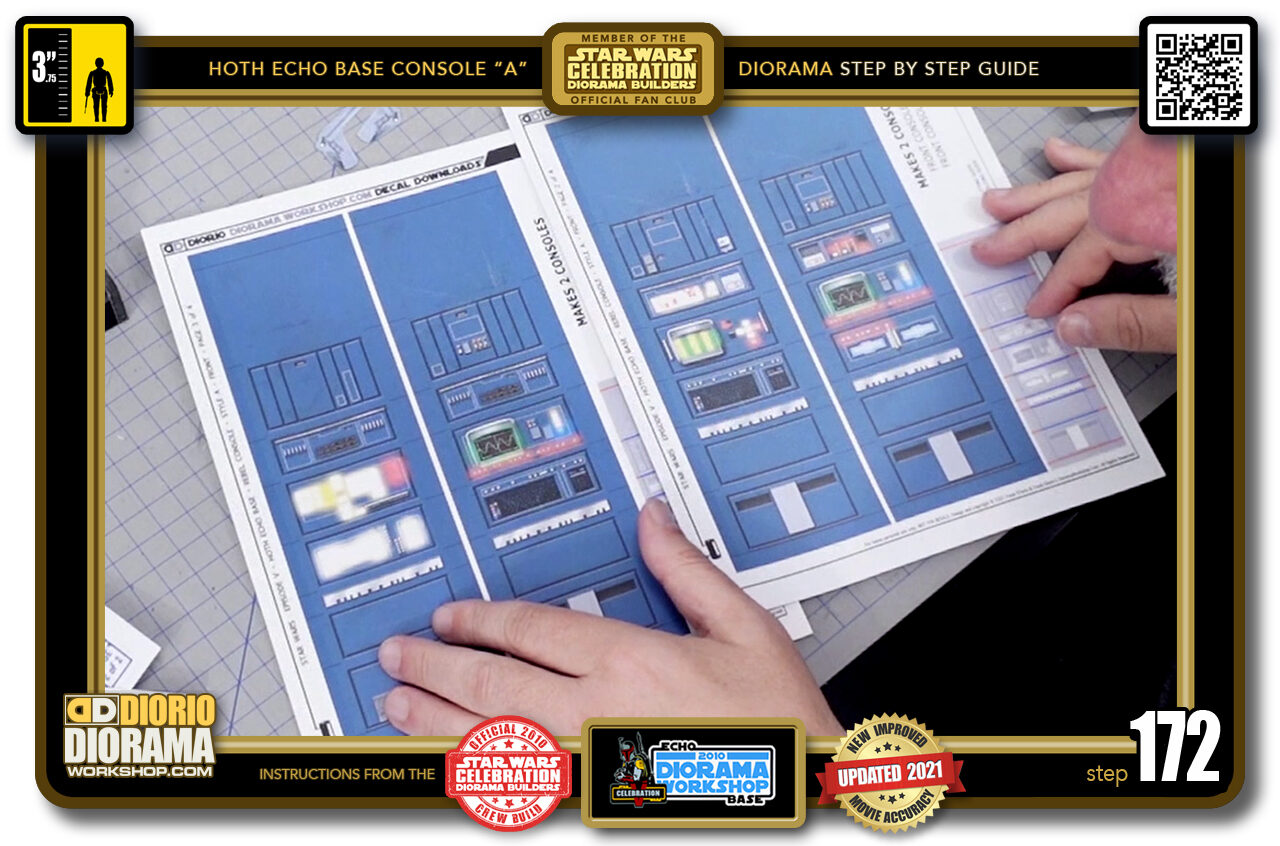
- STEP 172 > the FRONT skins come in 4 different patterns so that when you place more than 1 console "A" next to each other, the screens don't just look like a copy paste. All 4 screen designs are based on actual Empire Strikes Back movie stills.
-
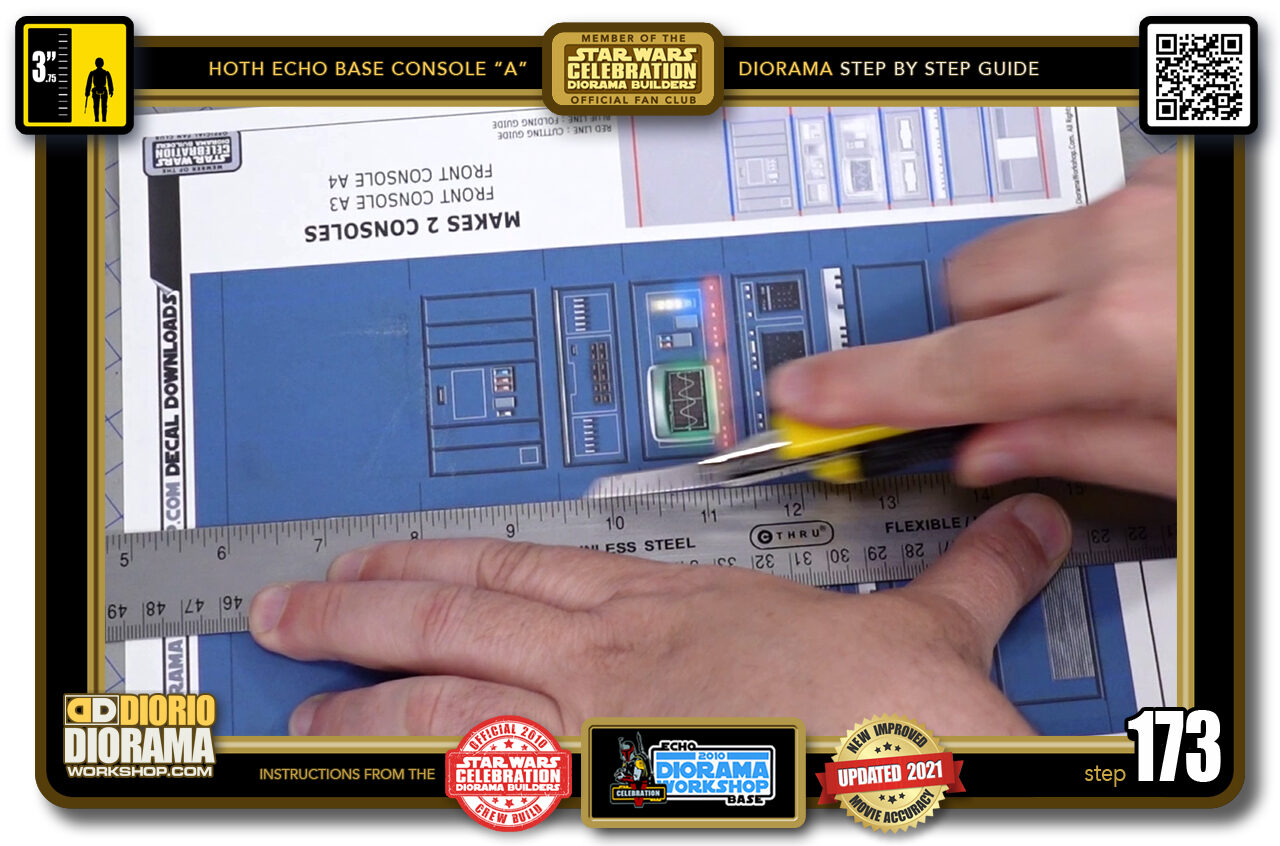
- STEP 173 > Select the one you want to start with and keep the others for later use. Start bu cutting along the colour LEFT and RIGHT sides edges.
-
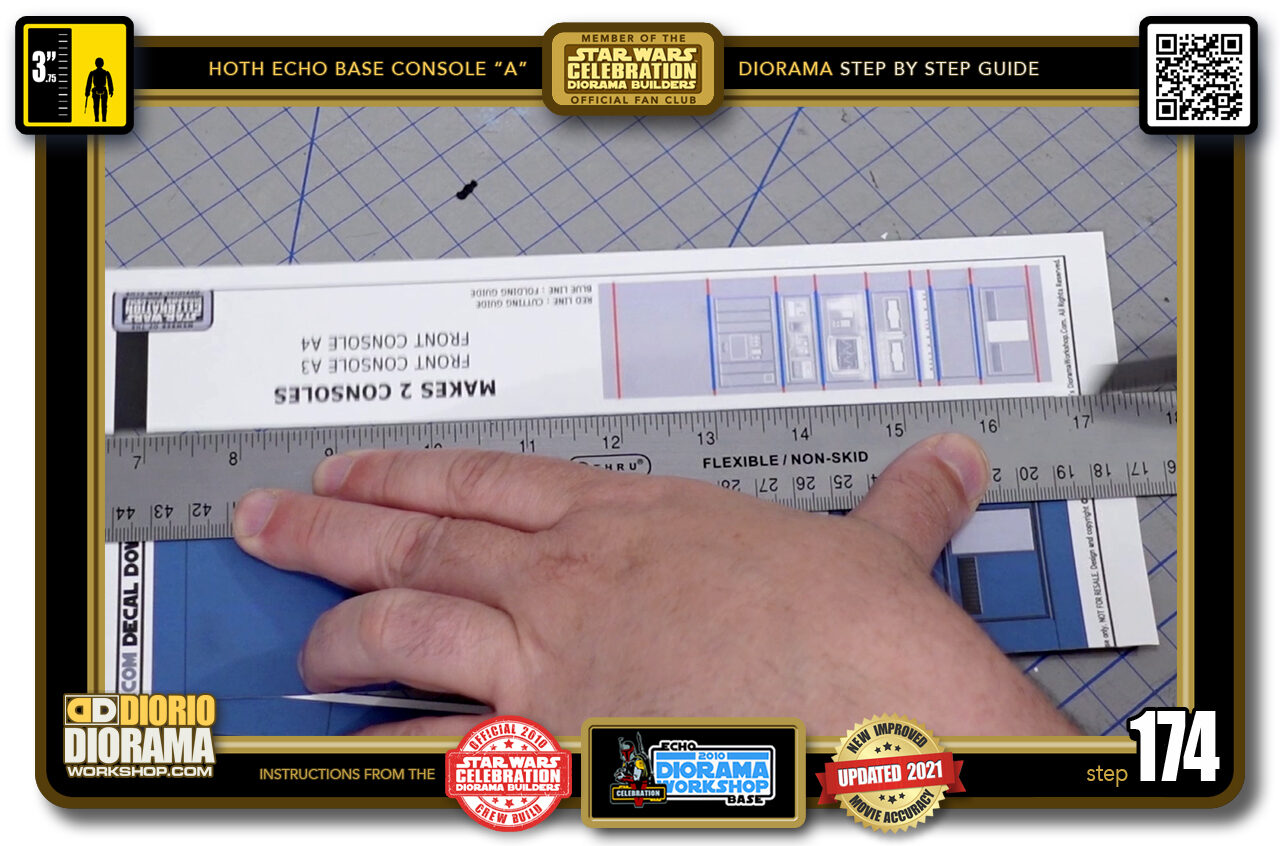
- STEP 174 > Because of how llong this skin is it is best to cut it with a ruler.
-
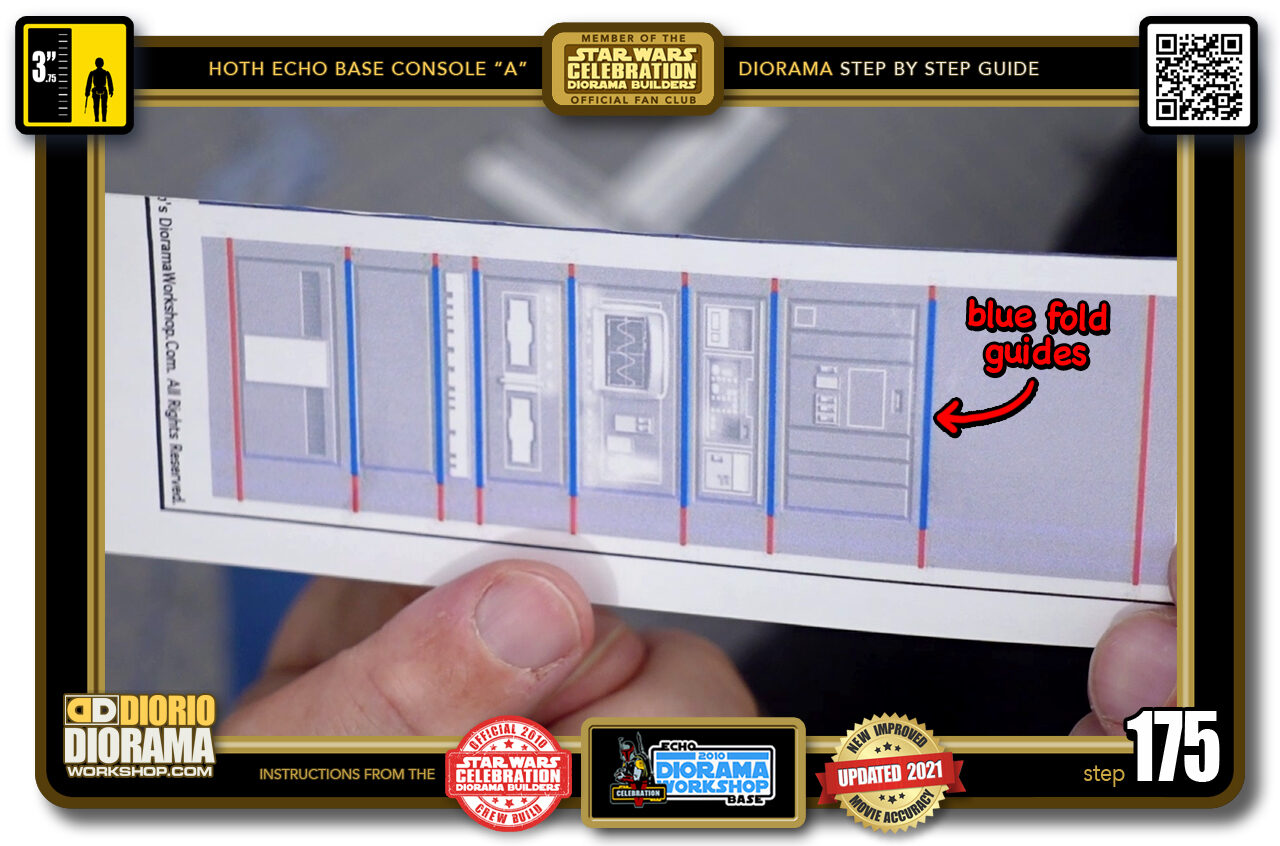
- STEP 175 > Now before you keep cutting you have to understand the guide. The BLUE LINES are your FOLDING GUIDES. you DON'T want to cut into these. What you DO want to cut are along the RED GUIDE LINES.
-

- STEP 176 > The TOP and BOTTOM of your front decal skins are RED GUIDELINES thus need to be sliced off completely.
-
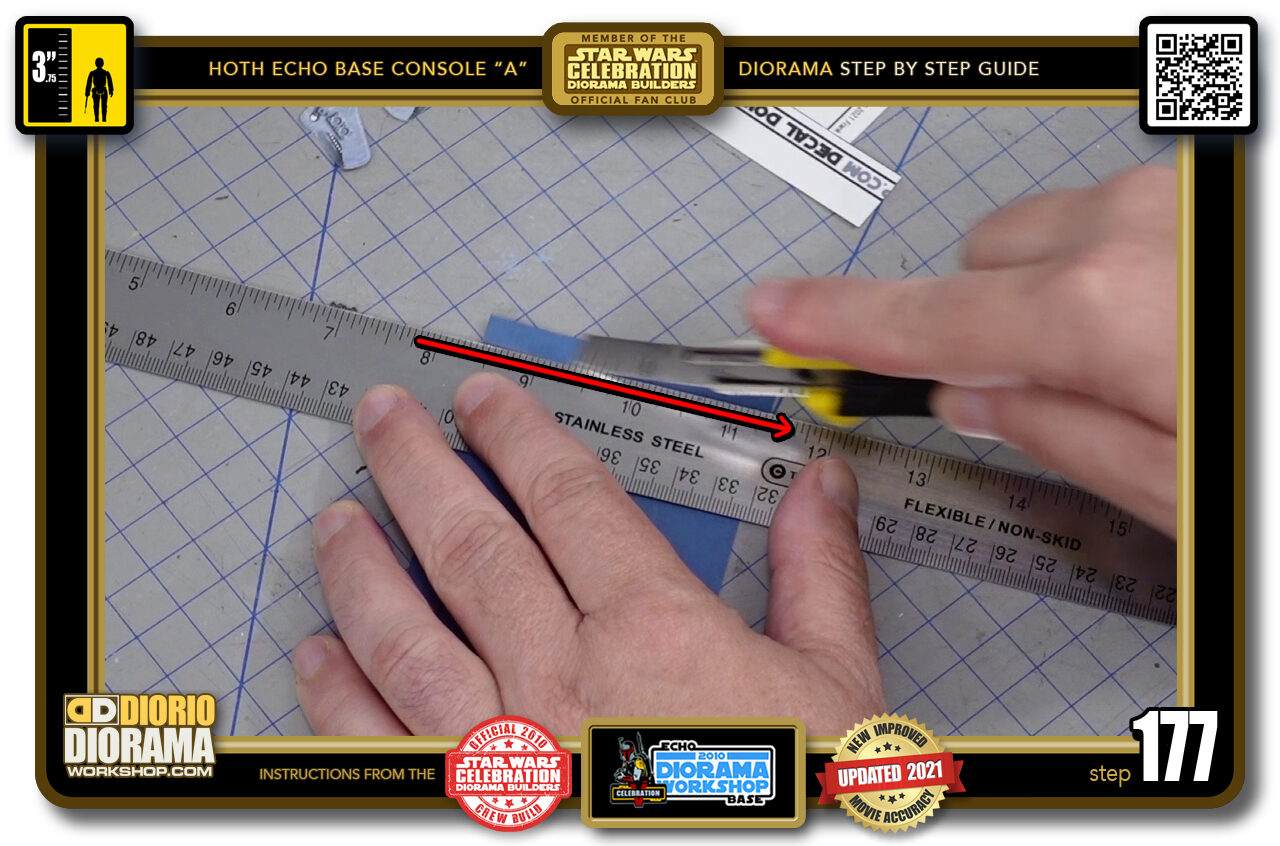
- STEP 177 > Align your ruler and cut off along the darker line.
-
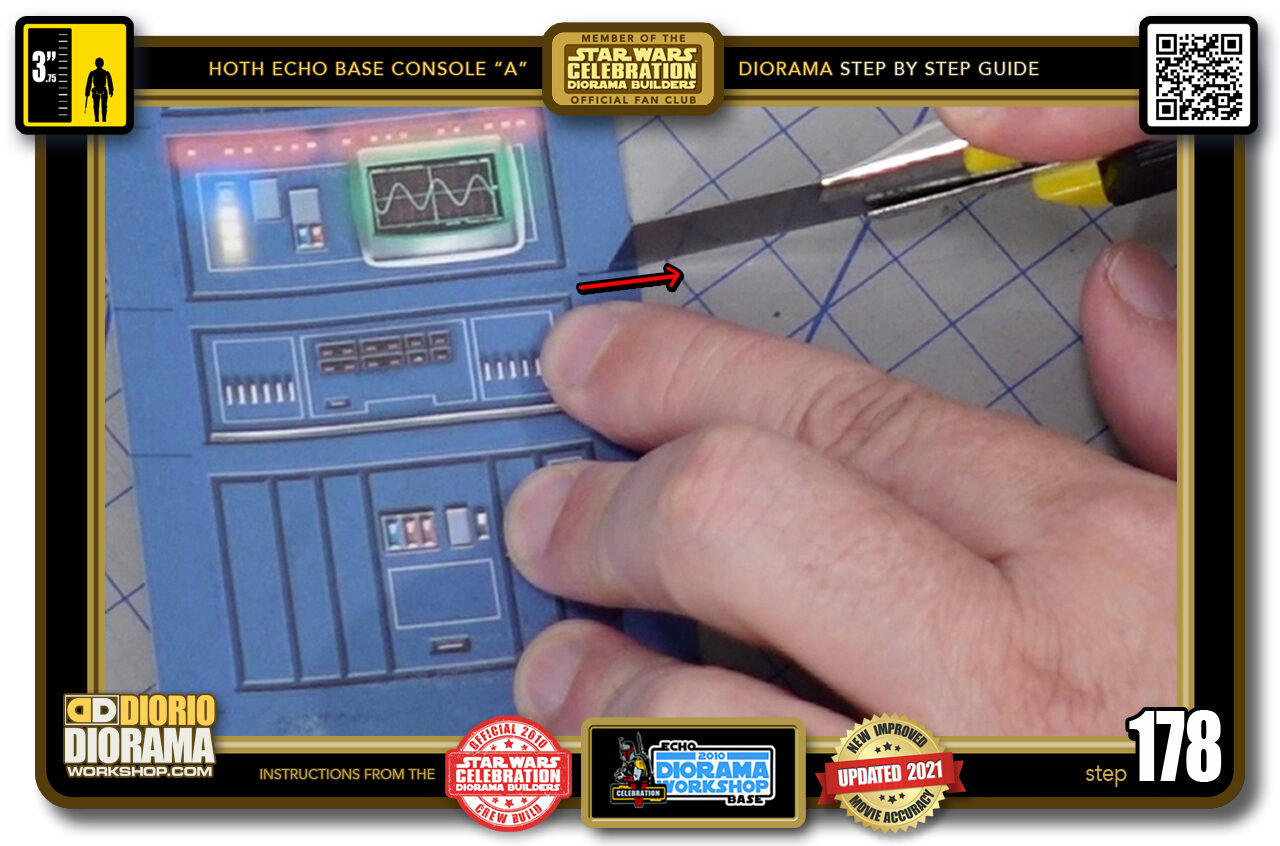
- STEP 178 > For the sides you want to slice only INSIDE the LINES. Place your blade at the start of the cutting line and SLICE OUTWARDS.
-
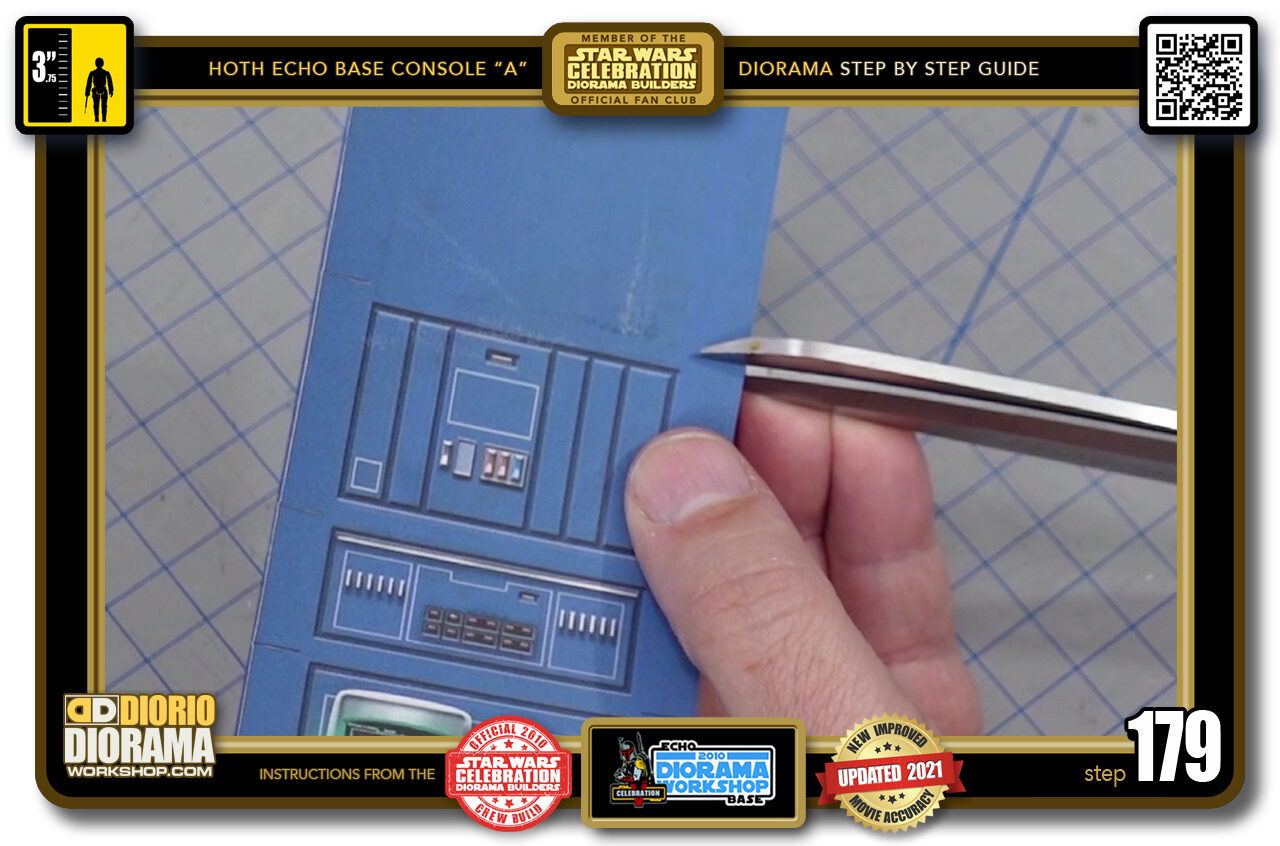
- STEP 179 > You can also use a scissor if you prefer. Just align and SNIP.
-
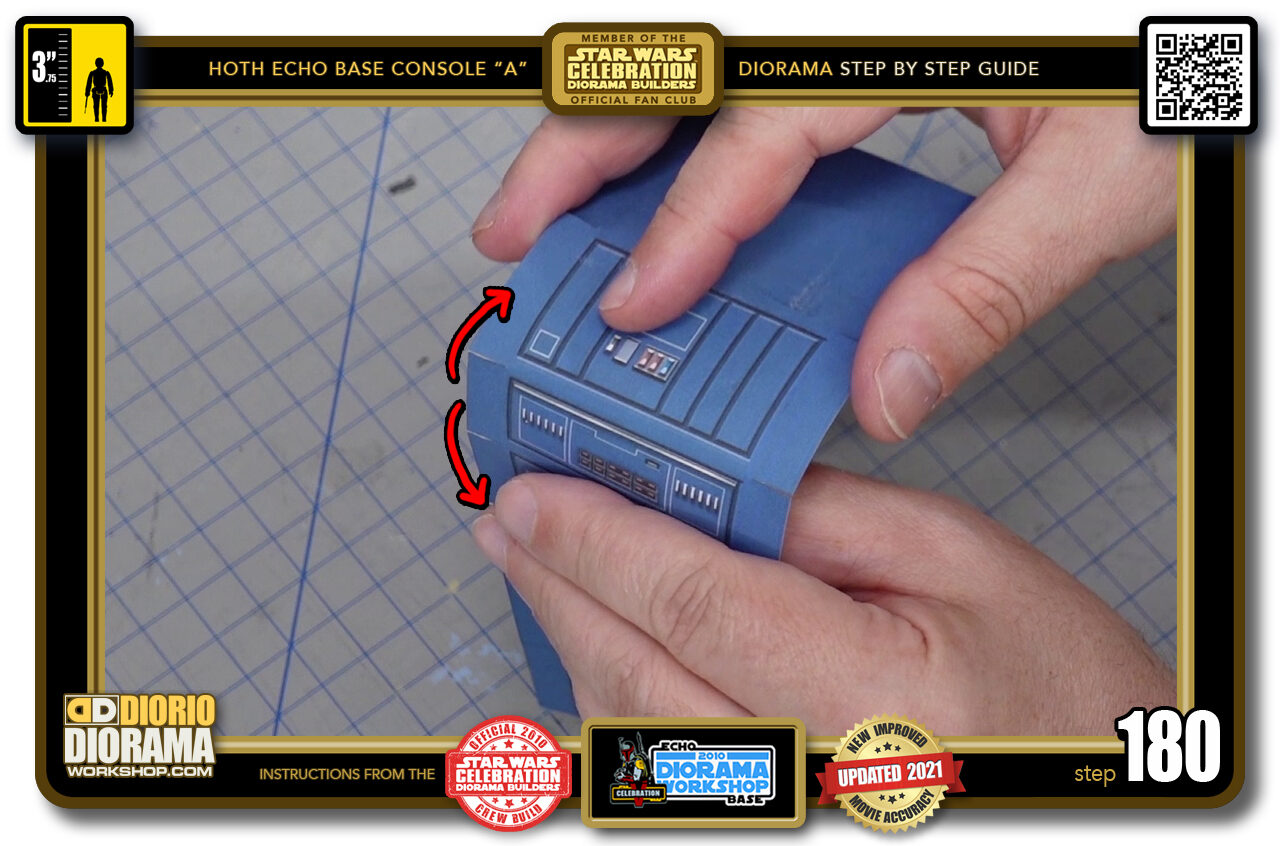
- STEP 180 > After you made all your side cuts, you will be able to start folding the decal to allow it to fit just right on top of your foamcore body.

.
Did you already build this Diorama ? At home or at our Star Wars Celebration Diorama Builders workshop ? Would you like to show it in the site’s GALLERY VISITORS DIORAMAS section, YES ? That is Awesome !!! You can find out all the details on how to email me your photos on the VISITORS SUBMISSIONS INFO page … When I get your photos, I will create your very own page just like this one. You may not realize it but work does inspire others to join in the fun of making Action Figure Dioramas.
.
NOT FOR RESALE ALL Decals, tutorials and artwork are ©FrankDiorio (dioramaworkshop.com) and offered FOR FREE to the fans – that would be you ? so you can build and display my diorama designs in your very own home. I realize I cannot control what one does with my graphics once I place them on the web, I can only ask you as one fan to another, please respect the artist and do not be that jerk who uses my designs and tutorials to build a copy of my work only to sell it on EBAY or trade/sale groups and forums. Thank You. Frank.
.

.
.
If you have a facebook account, why not join the Official Diorama Builders Fan Club today, simply click the logo link below.
 .
.
Catch up with fellow visitors and exchange stories, read cool interviews with the crew, exchange photos, fun surprises and grab some FAN ONLY merchandise next year at actual future conventions ?
.
©2021 Frank Diorio DioramaWorkshop.Com
.
IF YOU LIKE WHAT YOU SEE, PLEASE SHARE WITH YOUR FRIENDS
USING THE SOCIAL MEDIA BUTTONS BELOW