


-
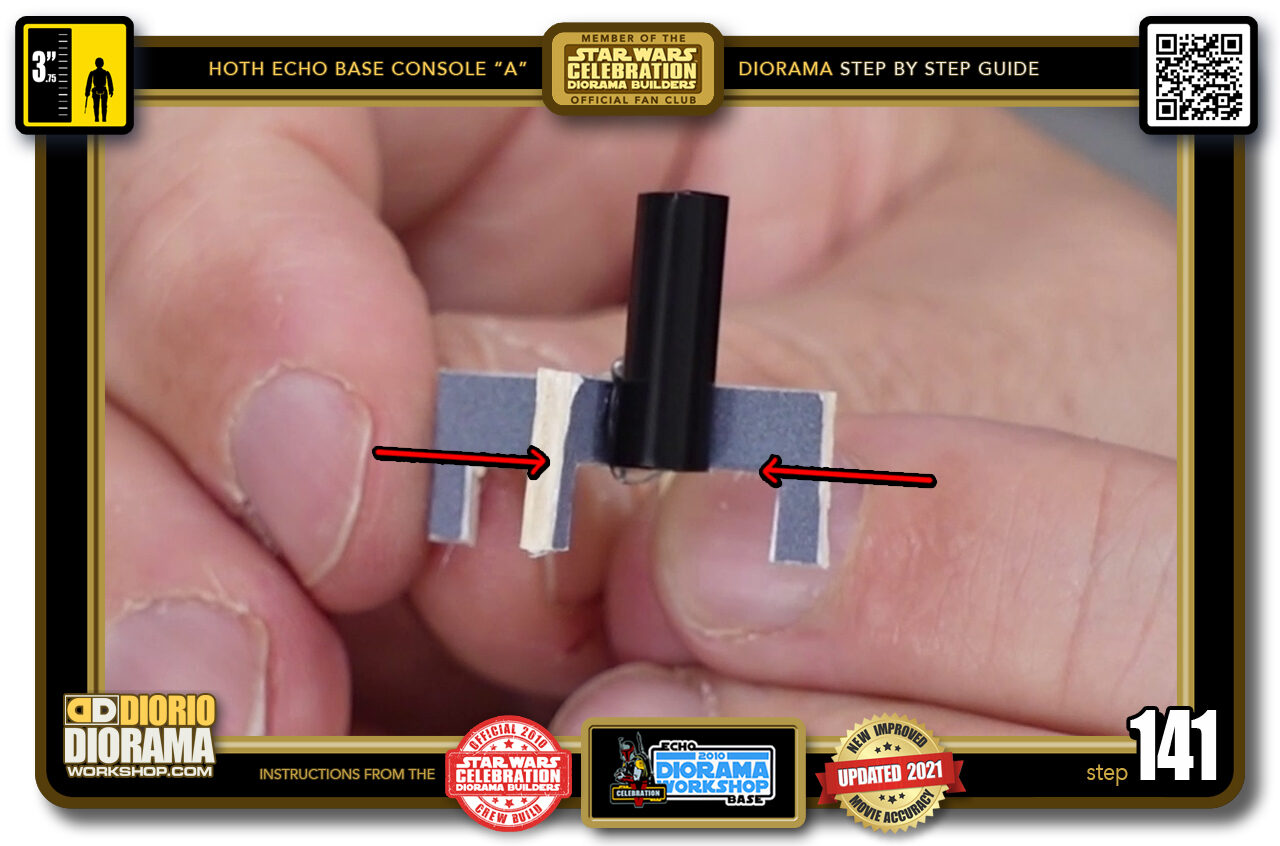
- STEP 141 > Again make sure the bottom of the straw is FLUSH with the underside bottom of the wide "U" shape (red arrows).
-
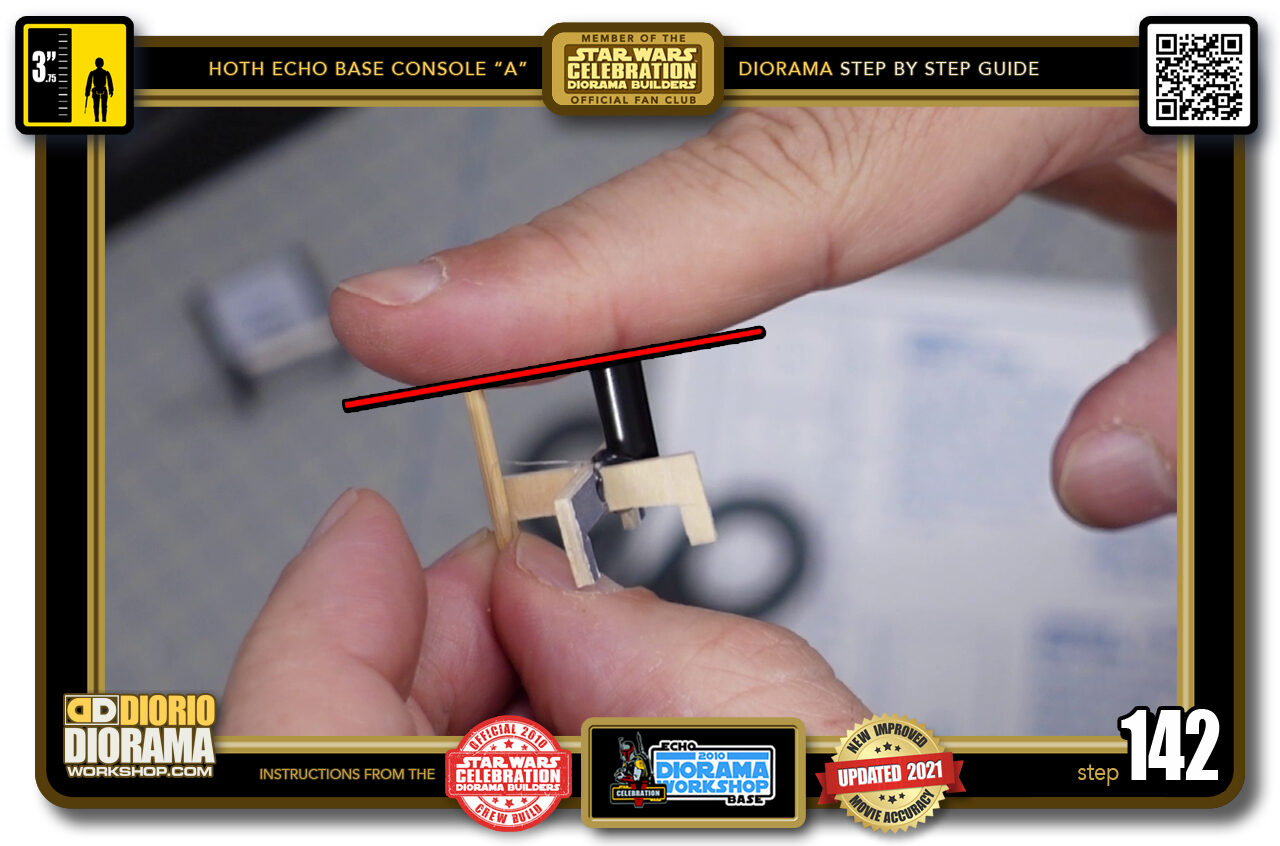
- STEP 142 > Next is your toothpick. You want it to be FLUSH with the TOP of your straw (red line).
-
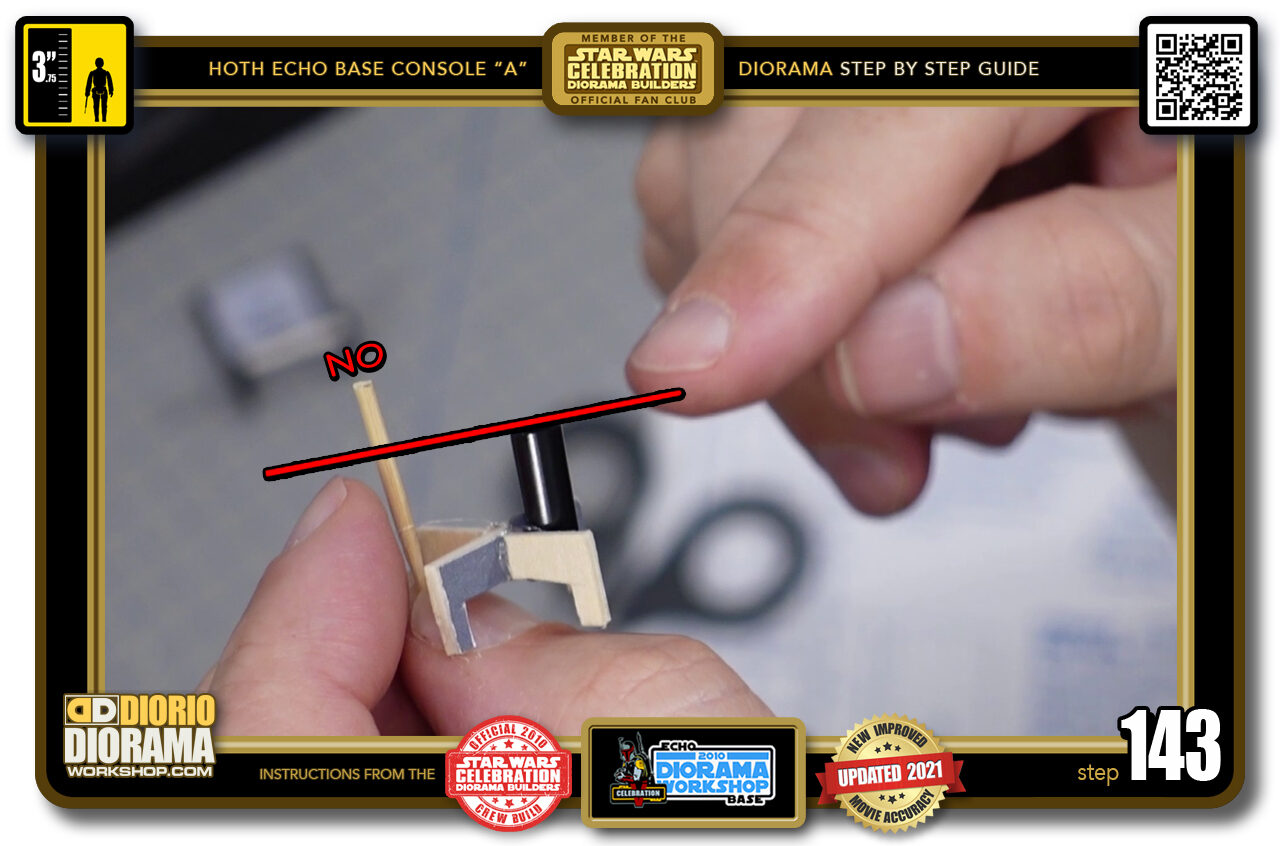
- STEP 143 > You DON'T want the toothpick to poke higher as it ill cause the chair to be attached at an angle and cause your figure to slip off when sitting.
-
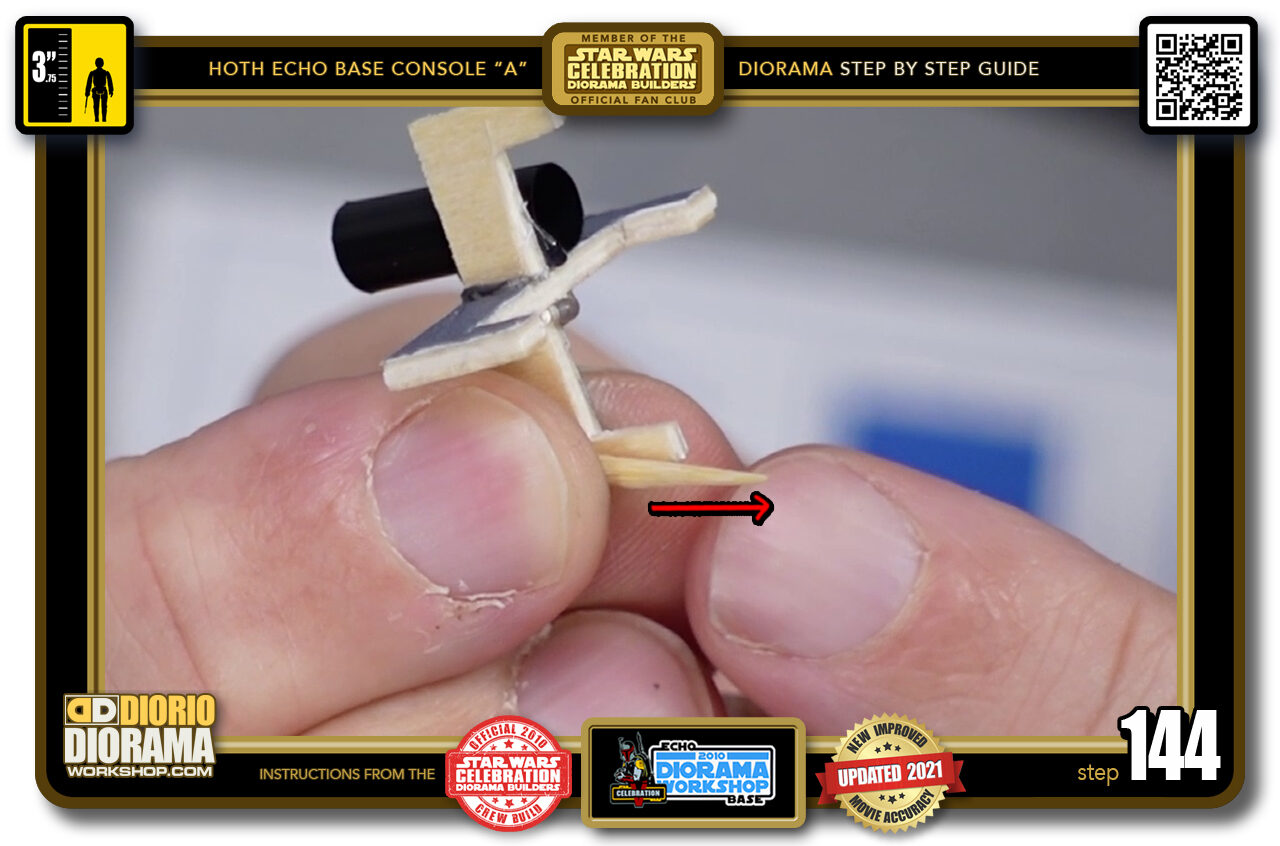
- STEP 144 > It IS NORMAL for your toothpick to poke OUT past the feet. This is because it will be your chair's anchor and poke INTO the styrofoam floor and prevent it from ever tippig over.
-
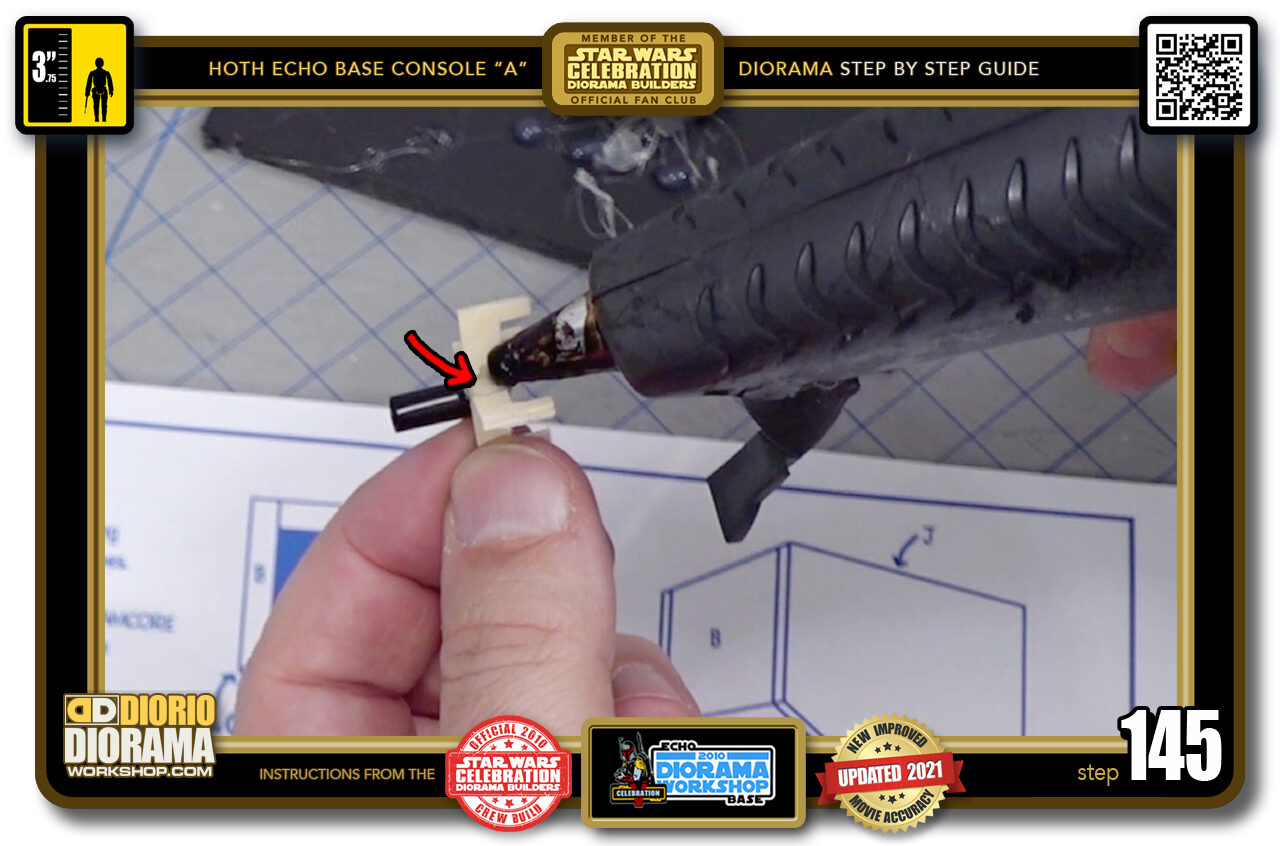
- STEP 145 > Apply a small drop of hot glue on the opposite corner of the one you placed your straw (red arrow).
-
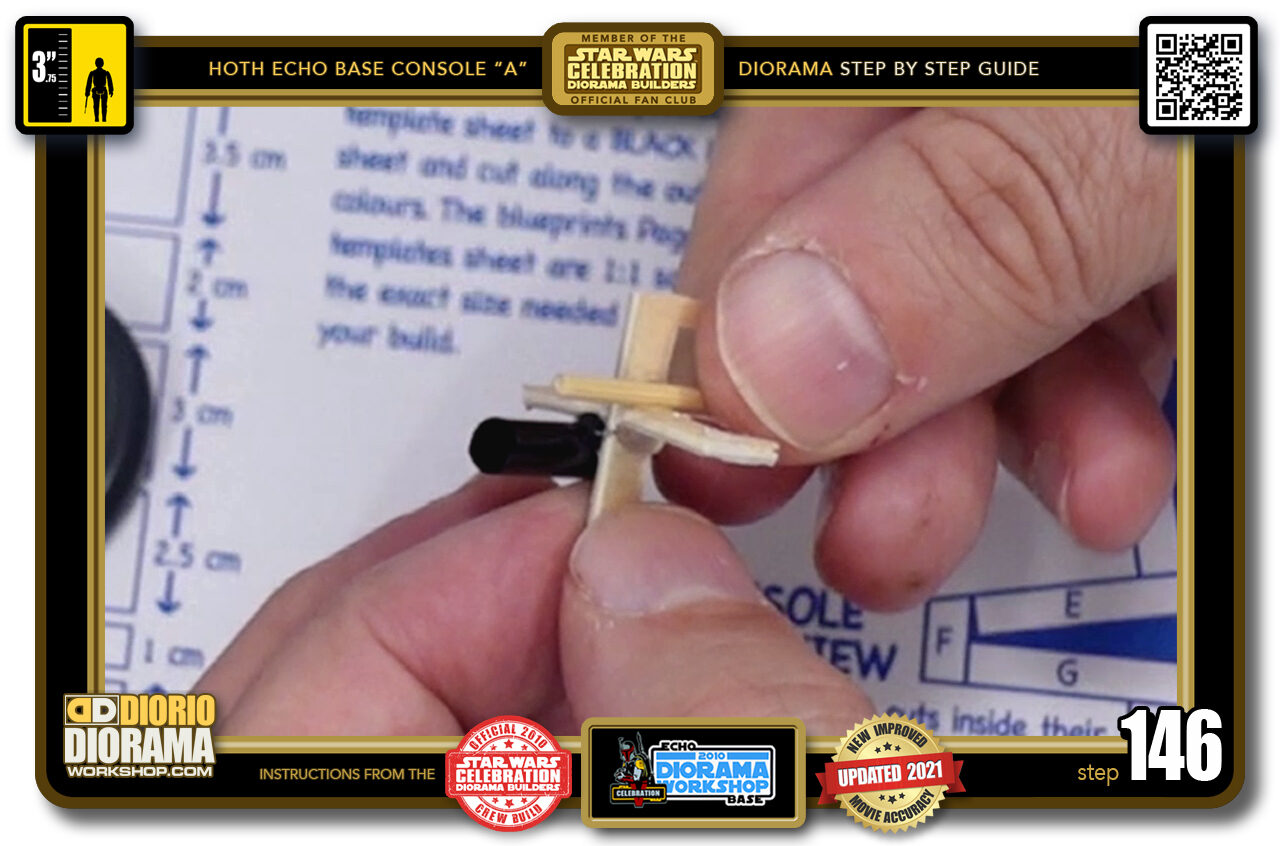
- STEP 146 > Place your toothpick onto the glue.
-
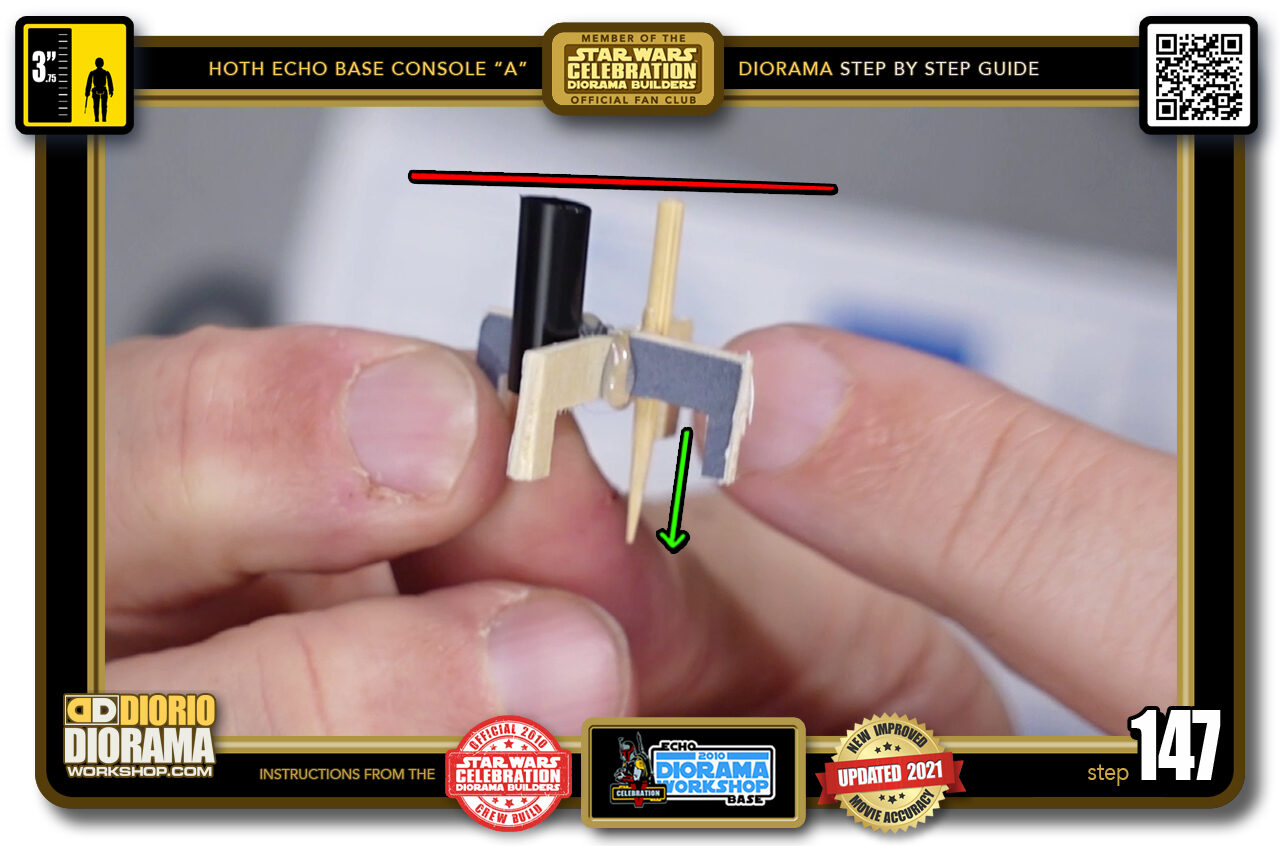
- STEP 147 > Make sure to keep the tops FLUSH (red line).
-
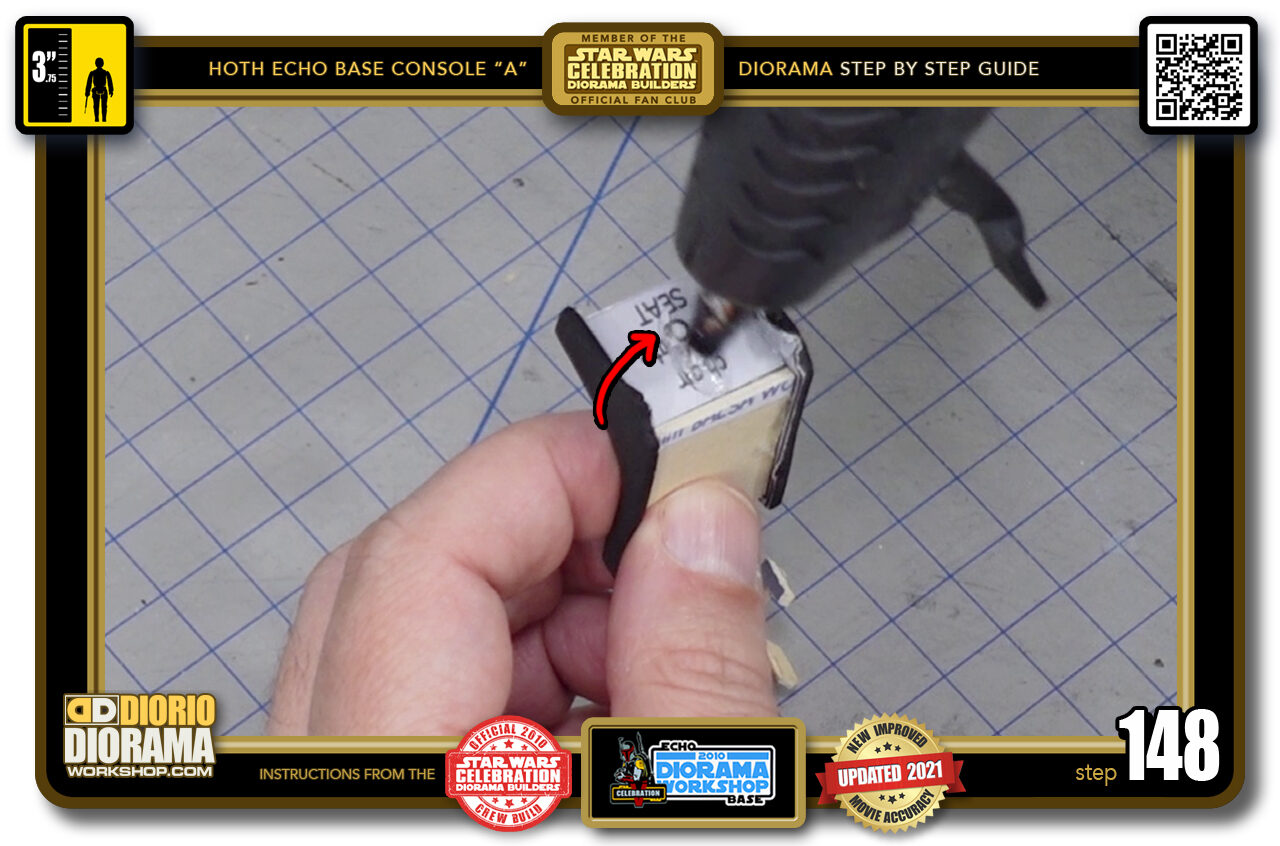
- STEP 148 > The circle (red arrow) is where the strawa will connect to the chair itself and the toothpick slightly lower. You want to place 2 drops of hot glue here to make sure BOTH connect properly.
-
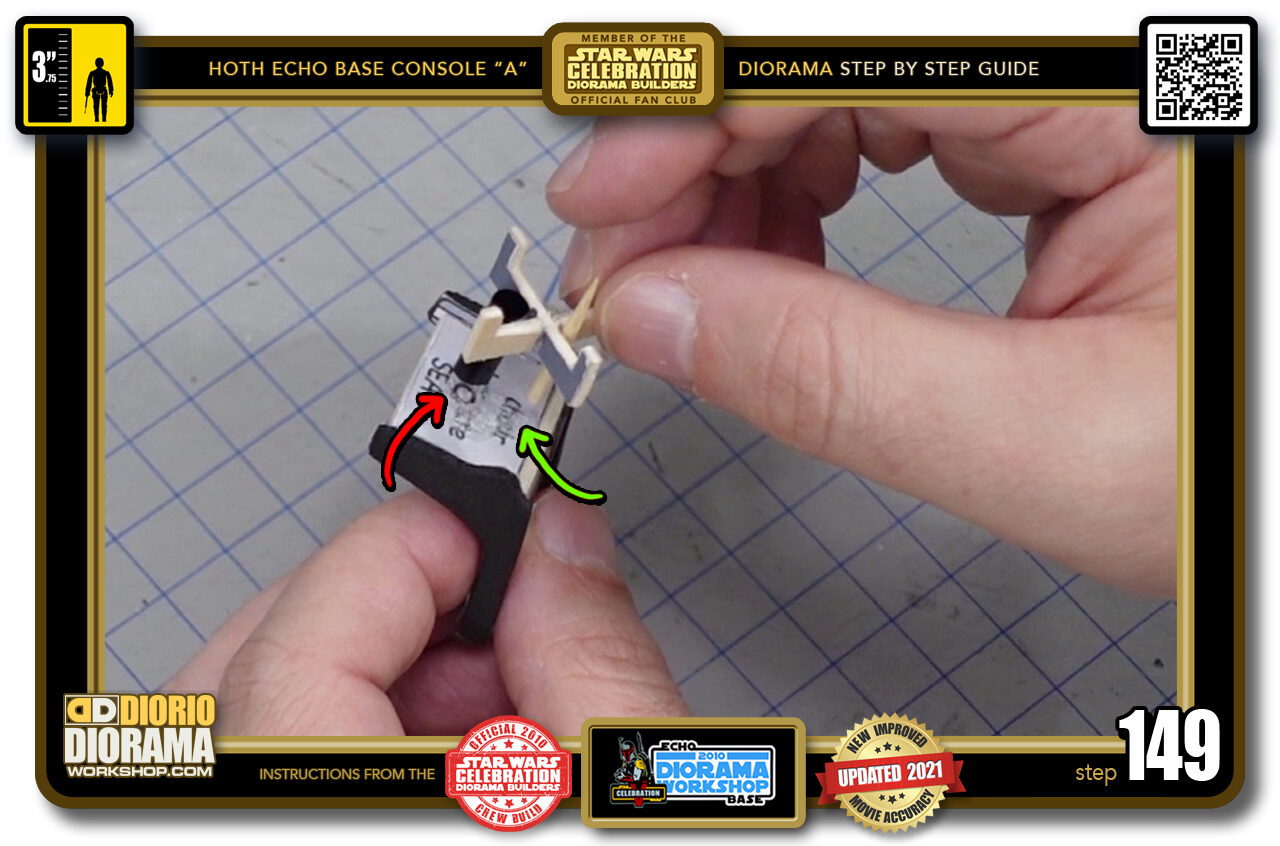
- STEP 149 > Carefully align your straw with the template circle (red arrow) and spin the feet to have your toothpick attach centered as well (green arrow).
-
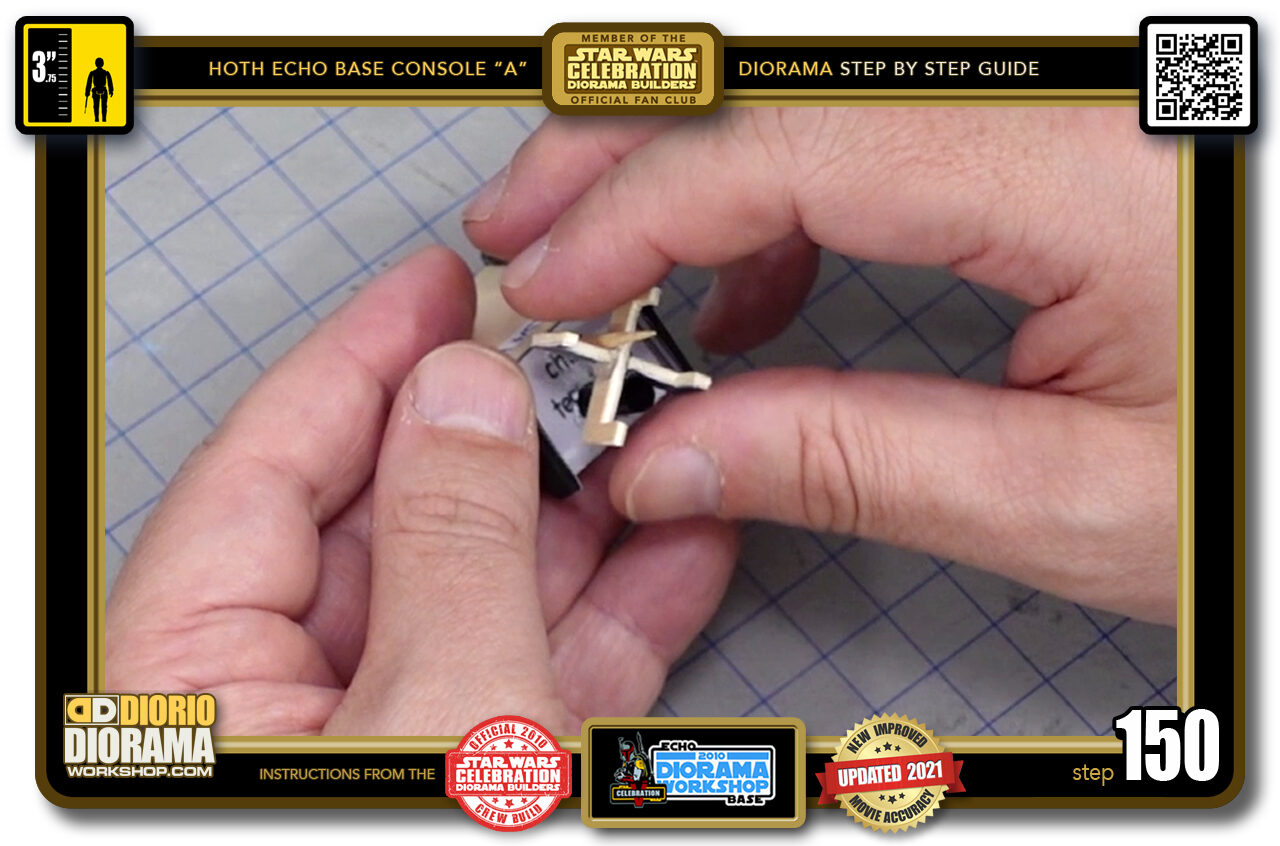
- STEP 150 > Wiggle it a little if you want to center it perfectly.
-
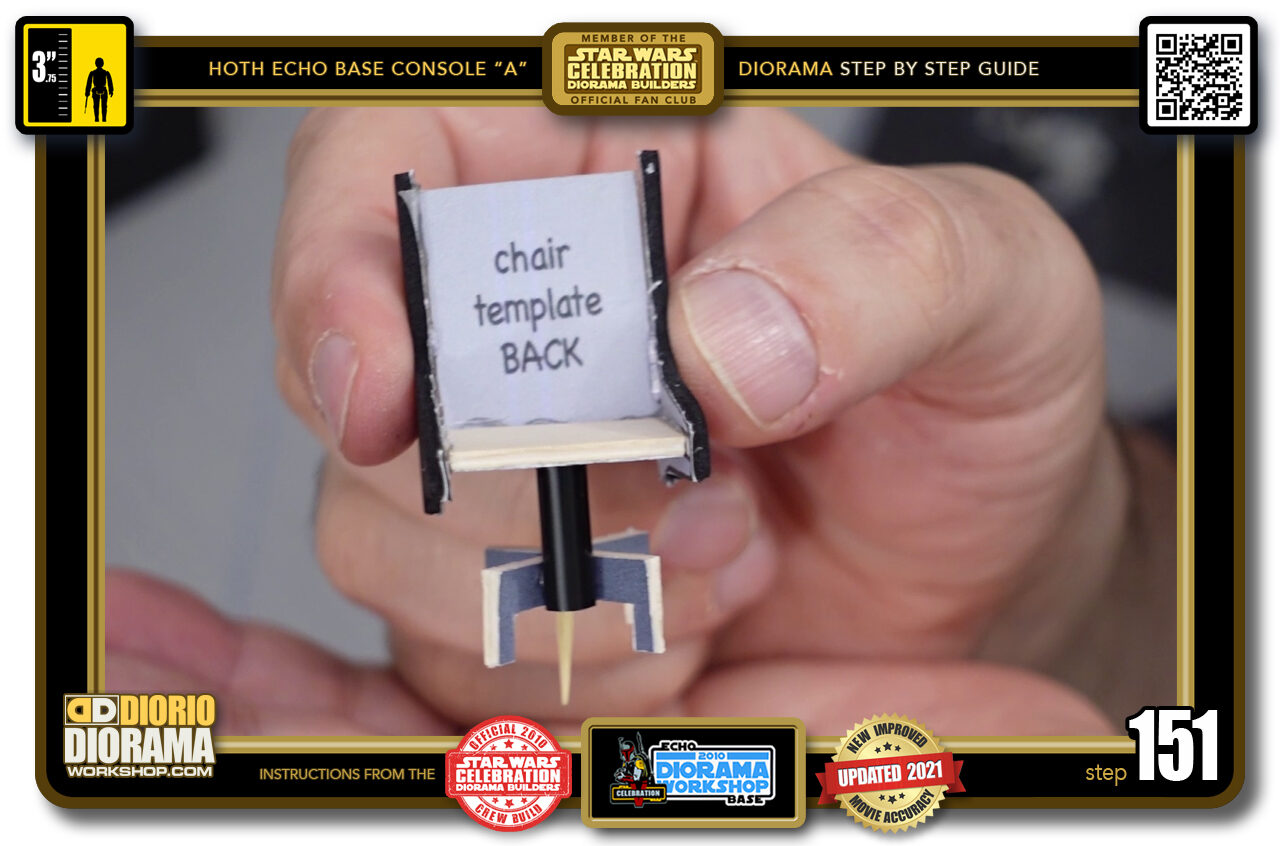
- STEP 151 > You chair construction is complete and should look like this.
-
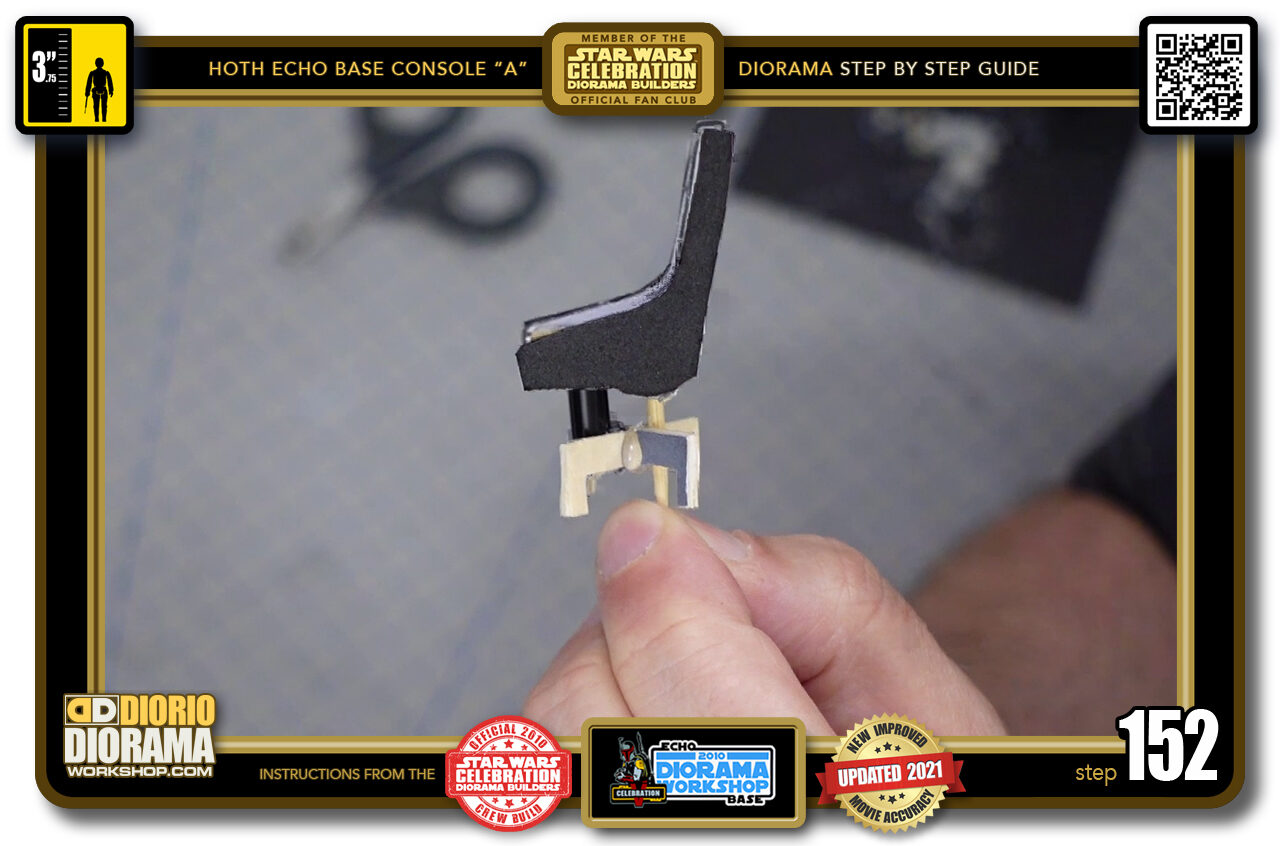
- STEP 152 > All that is left is to PAINT and apply the DECAL SKINS.
-
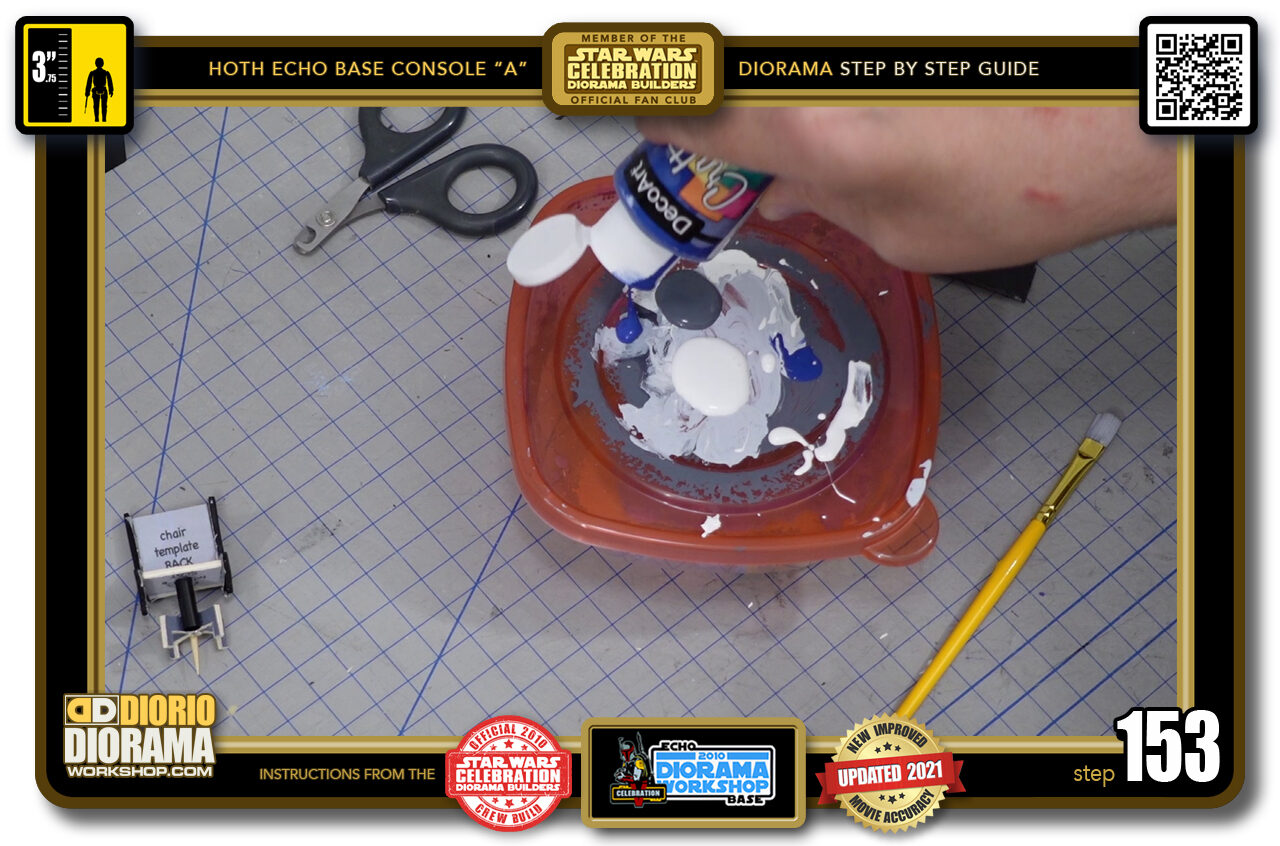
- STEP 153 > I put a small amount of white, grey and blue onto my tupperware dish.
-
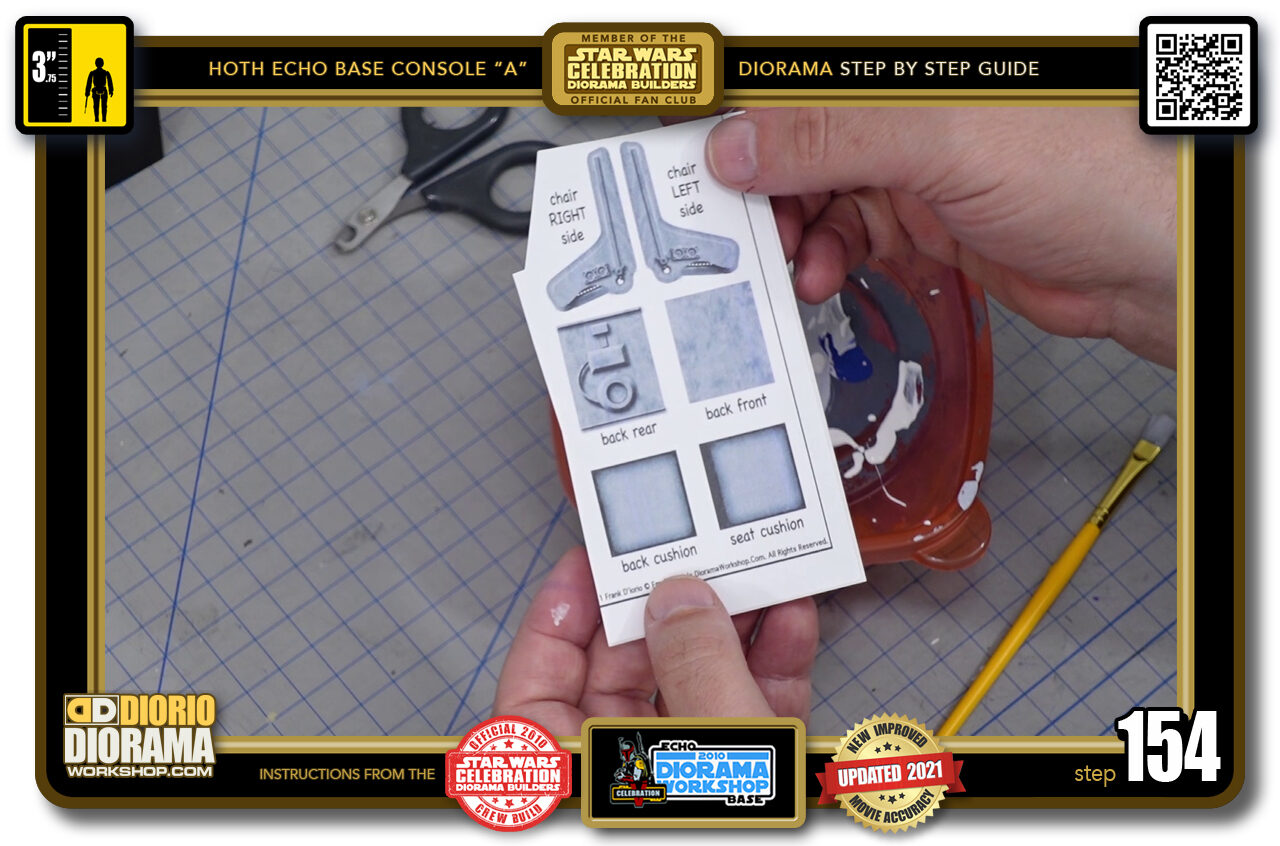
- STEP 154 > What we want to do is match as close as possible, the color of our decal skins.
-
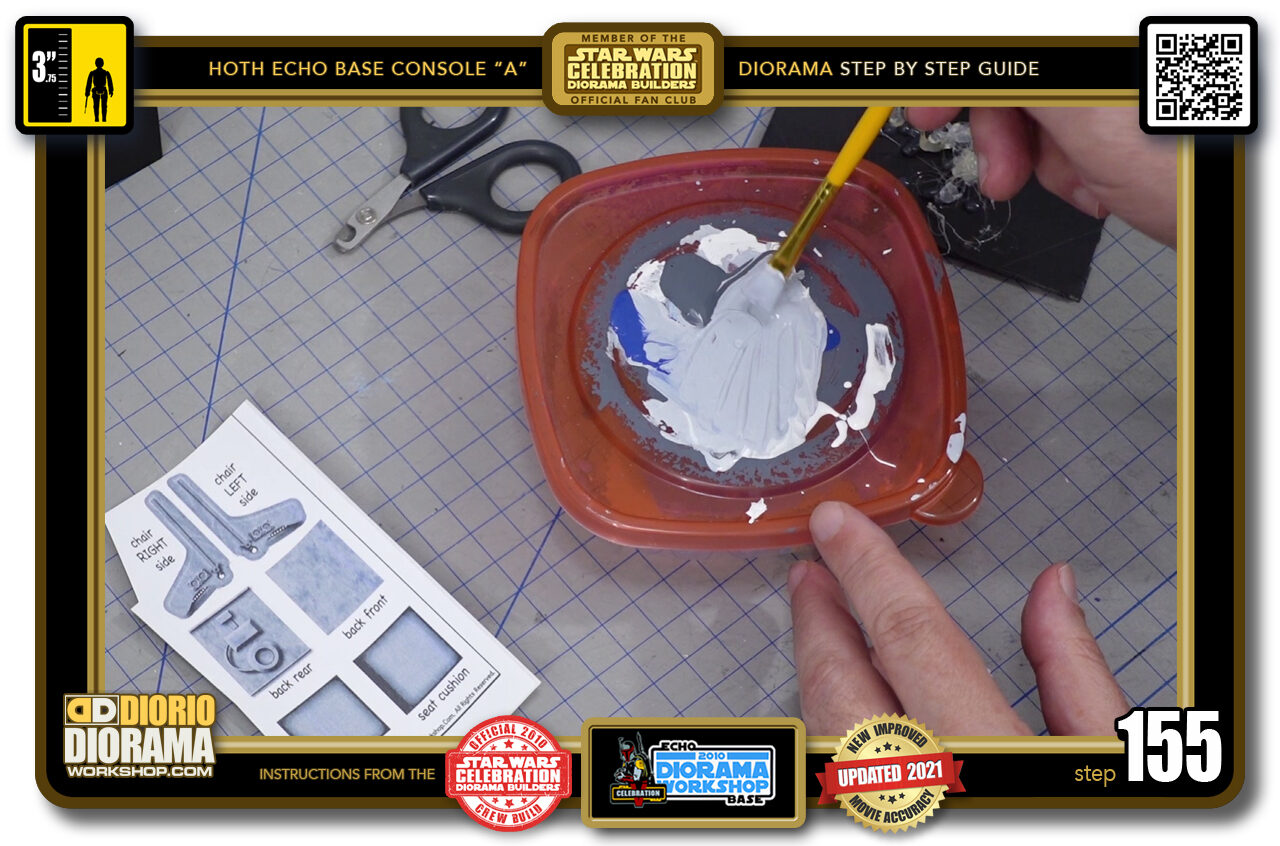
- STEP 155 > Play with your colours until you get a result you are happy with.
-
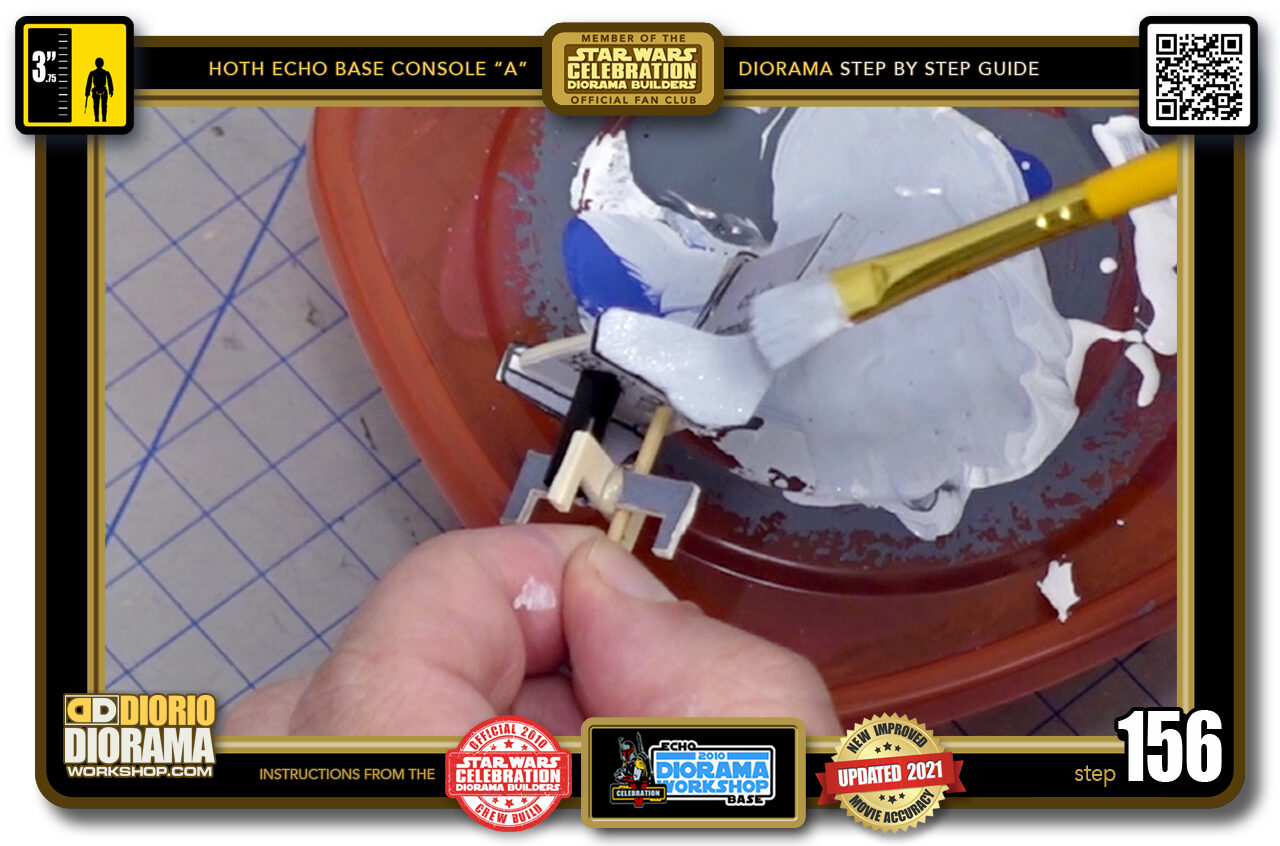
- STEP 156 > Using a small flat brush, apply your latex paint to the sides and all surfaces of your chair.
-
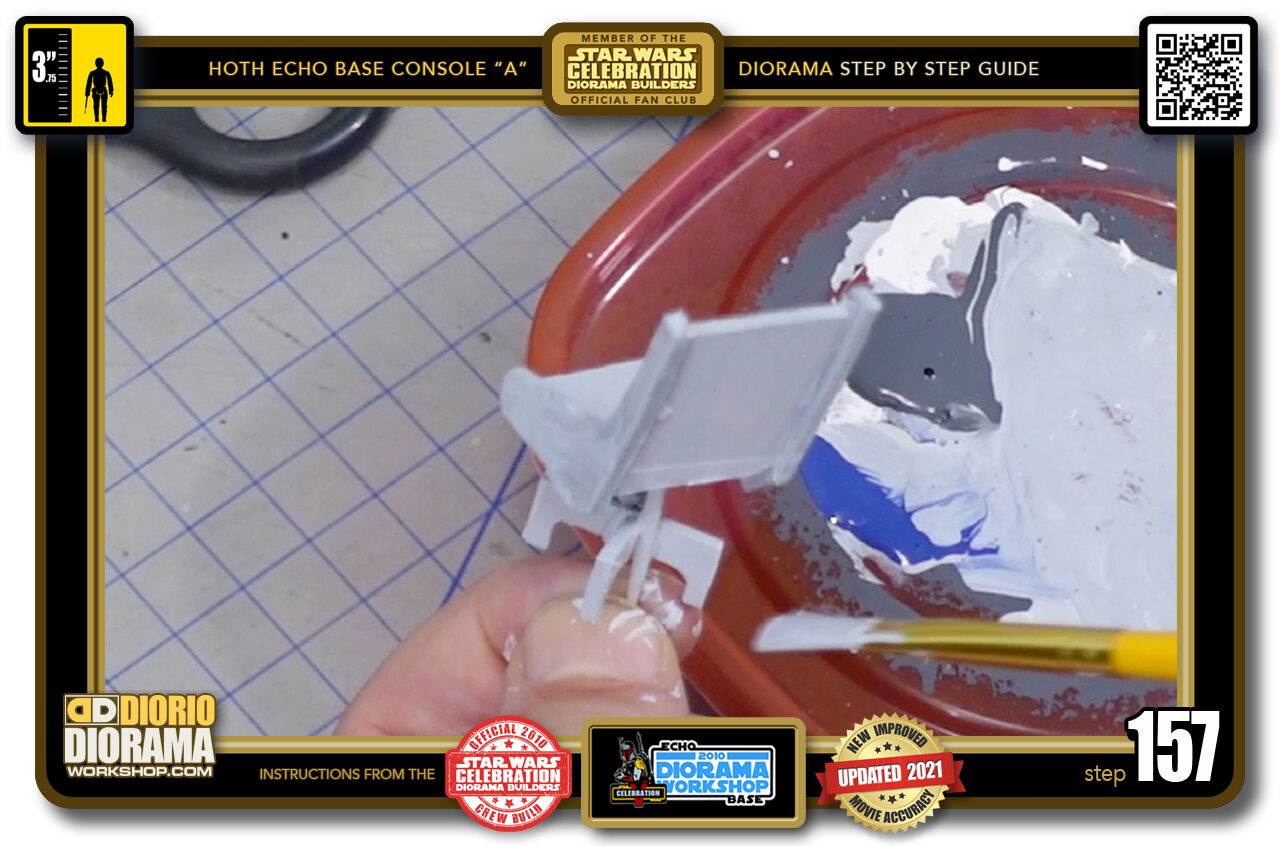
- STEP 157 > Once all is painted you can put it aside to dry while you cut out the decal skins.
-
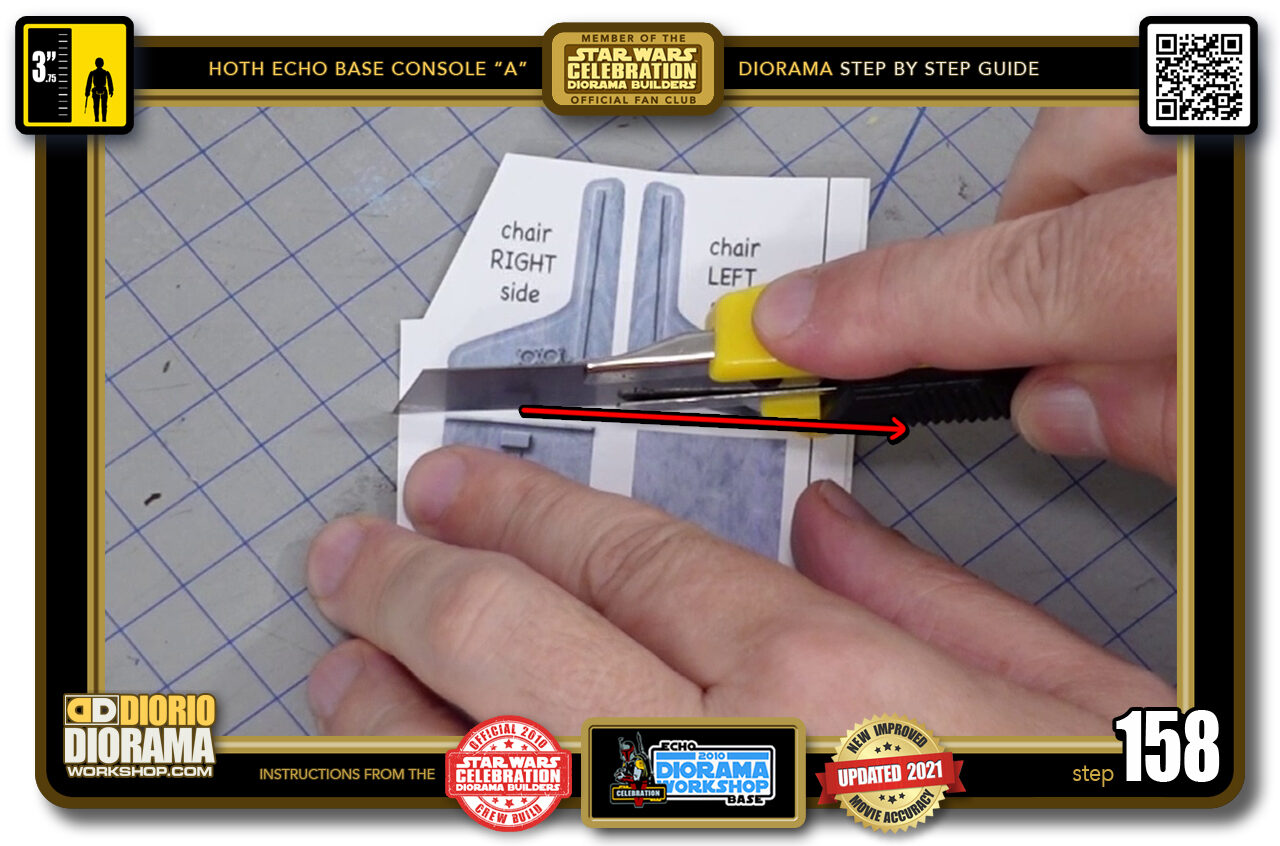
- STEP 158 > Since we are applying the skins on different surfaces, it is best for you to slice them into 3 parts.
-
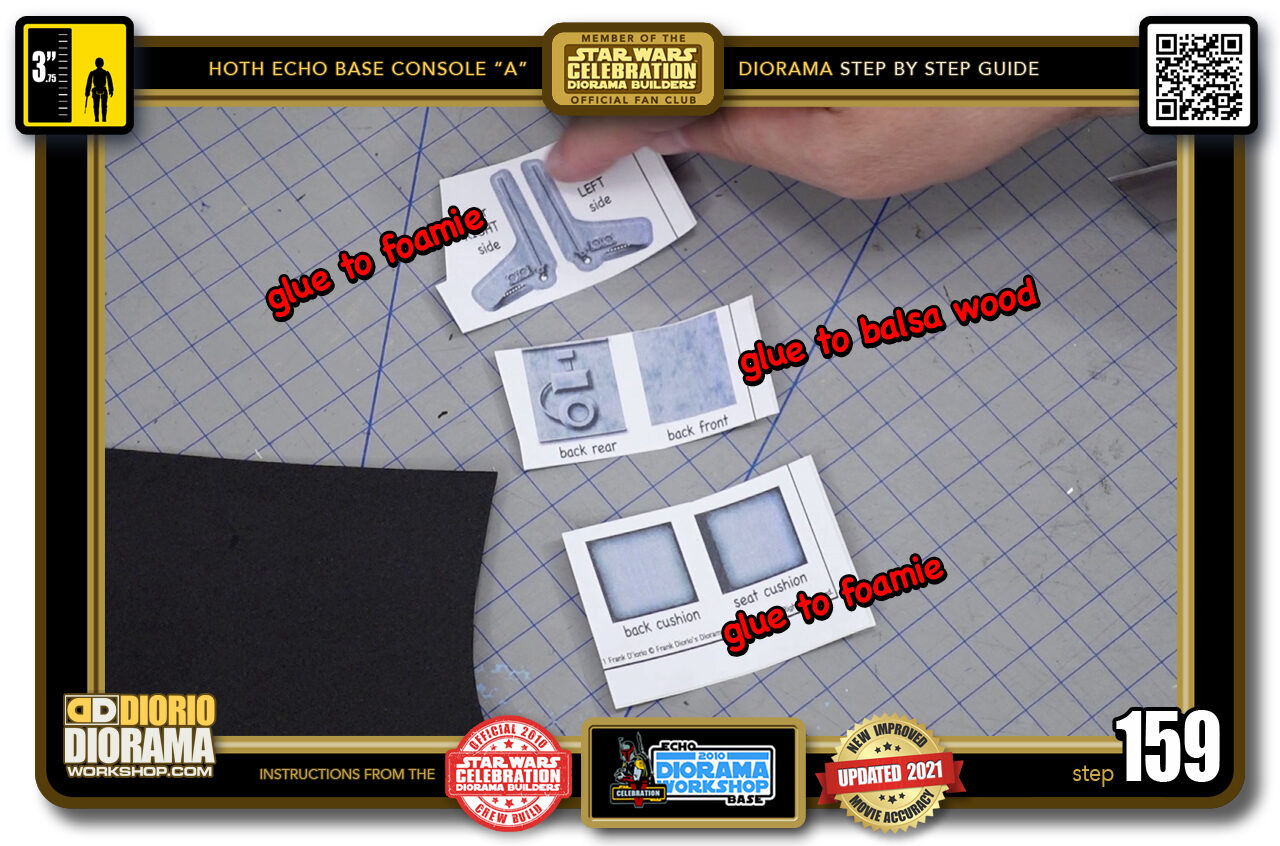
- STEP 159 > The sides (top skins) will go on the outside foamie sides of your chair. The centre (middle skins)will be glue onto the balsa wood back front and rear and the pillows (bottom skins) will be applied to new foamie sheet.
-

- STEP 160 > You just need a small piece of foamie large enough to apply the cushion decals. Just roughly cut out what you need from your larger foamie sheet.

.
Did you already build this Diorama ? At home or at our Star Wars Celebration Diorama Builders workshop ? Would you like to show it in the site’s GALLERY VISITORS DIORAMAS section, YES ? That is Awesome !!! You can find out all the details on how to email me your photos on the VISITORS SUBMISSIONS INFO page … When I get your photos, I will create your very own page just like this one. You may not realize it but work does inspire others to join in the fun of making Action Figure Dioramas.
.
NOT FOR RESALE ALL Decals, tutorials and artwork are ©FrankDiorio (dioramaworkshop.com) and offered FOR FREE to the fans – that would be you ? so you can build and display my diorama designs in your very own home. I realize I cannot control what one does with my graphics once I place them on the web, I can only ask you as one fan to another, please respect the artist and do not be that jerk who uses my designs and tutorials to build a copy of my work only to sell it on EBAY or trade/sale groups and forums. Thank You. Frank.
.

.
.
If you have a facebook account, why not join the Official Diorama Builders Fan Club today, simply click the logo link below.
 .
.
Catch up with fellow visitors and exchange stories, read cool interviews with the crew, exchange photos, fun surprises and grab some FAN ONLY merchandise next year at actual future conventions ?
.
©2021 Frank Diorio DioramaWorkshop.Com
.
IF YOU LIKE WHAT YOU SEE, PLEASE SHARE WITH YOUR FRIENDS
USING THE SOCIAL MEDIA BUTTONS BELOW