


-
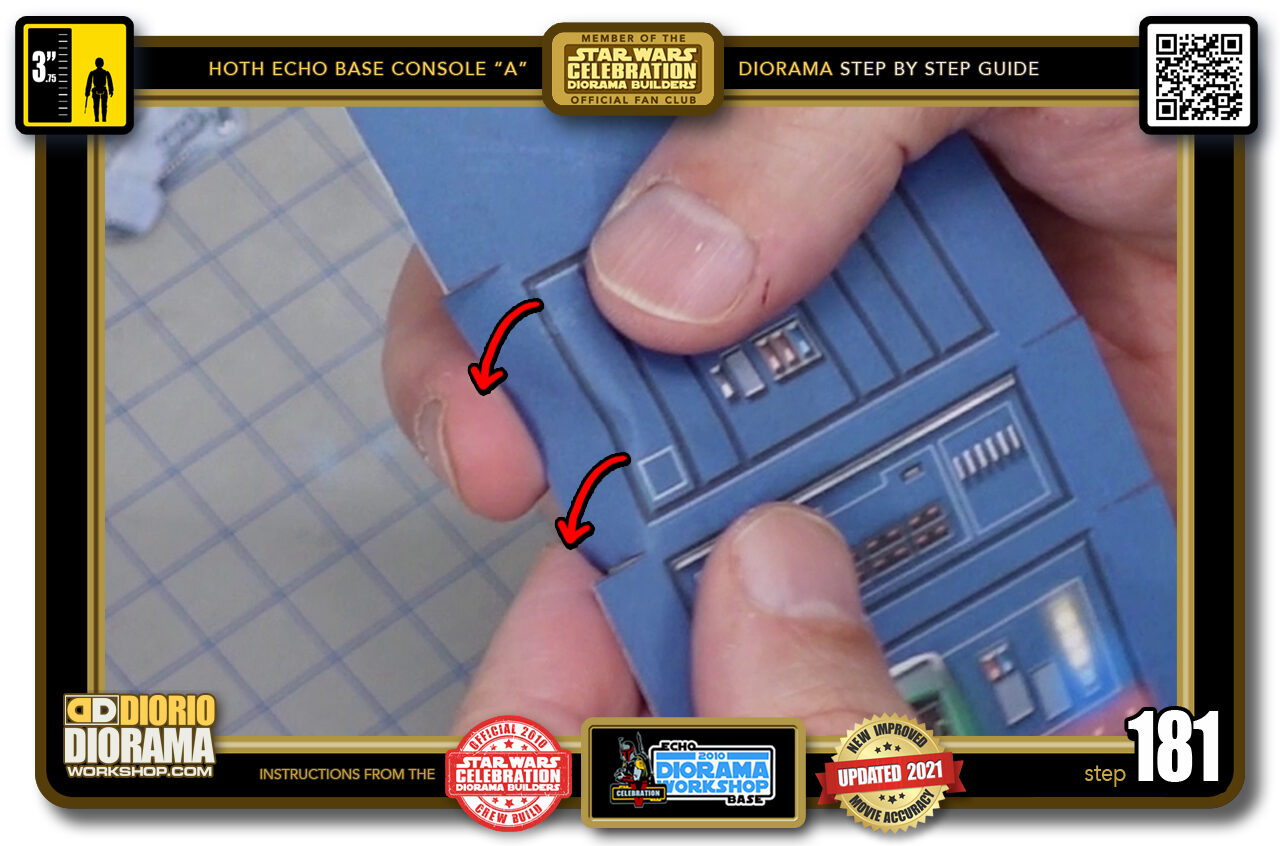
- STEP 181 > Because you cut along the side guides you create these slits that will allow you to fold over your skin off to the sides.
-
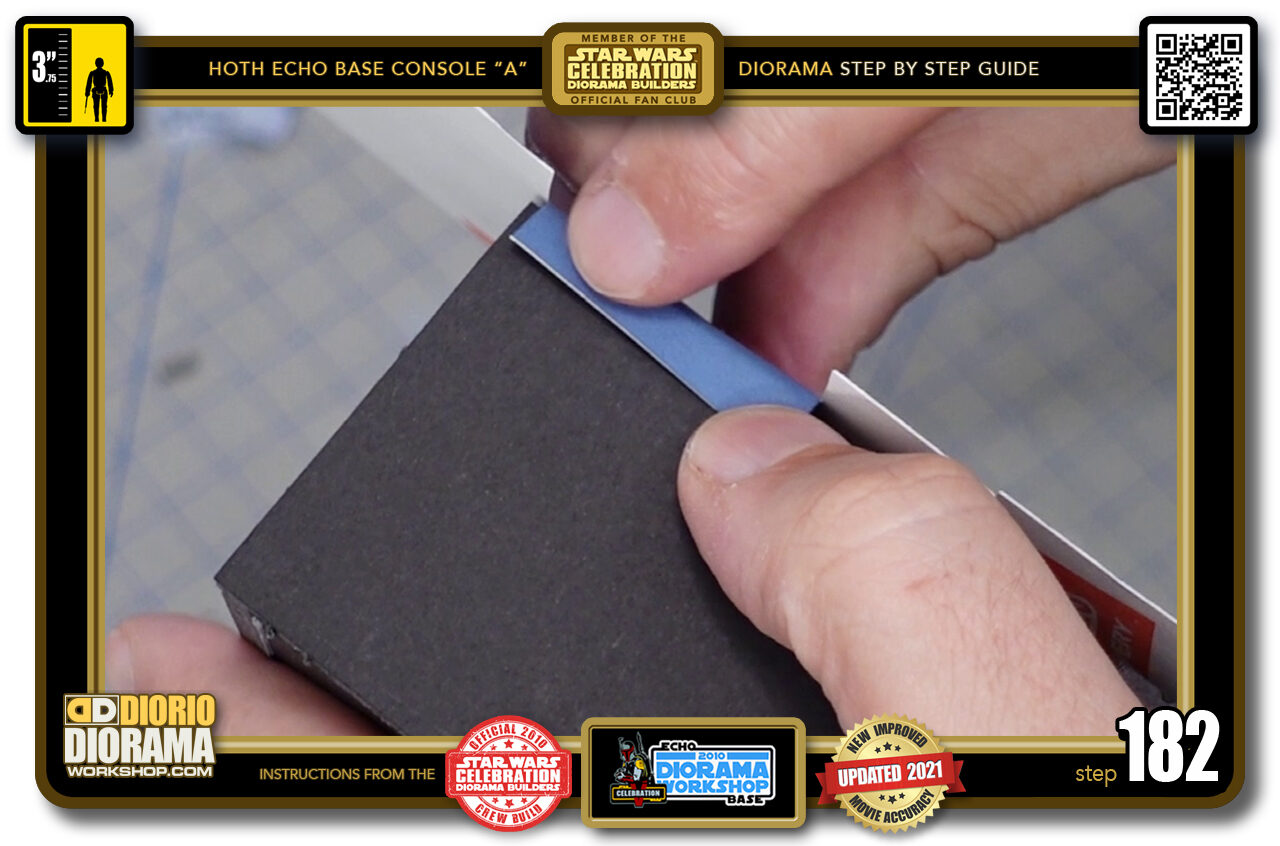
- STEP 182 > Which will overlap the edges and cover the black foamcore and giveyour crisper cleaner decal blending when applying the side and rear piece later on.
-
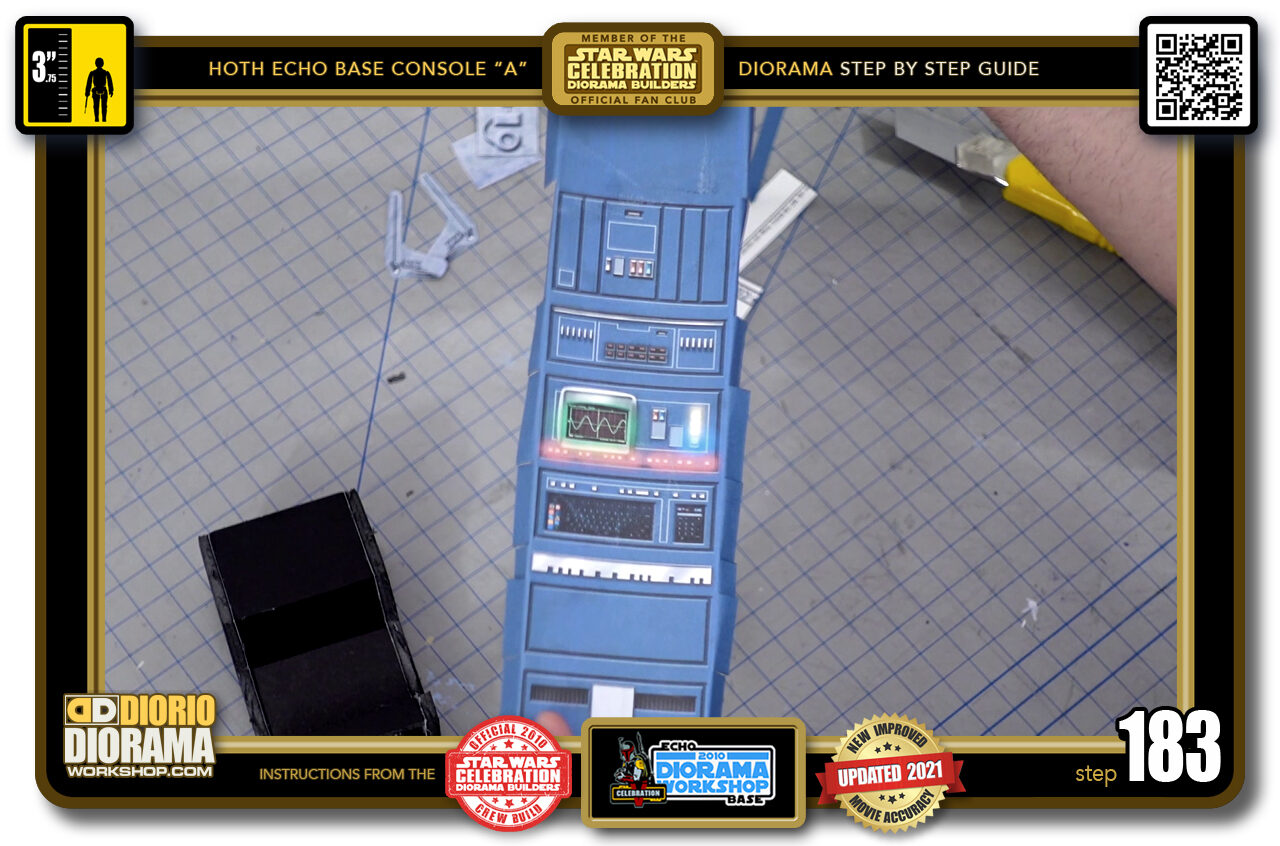
- STEP 183 > So fold each of your ends along each slit until they all bend towards the backside or rear of the decal skin.
-
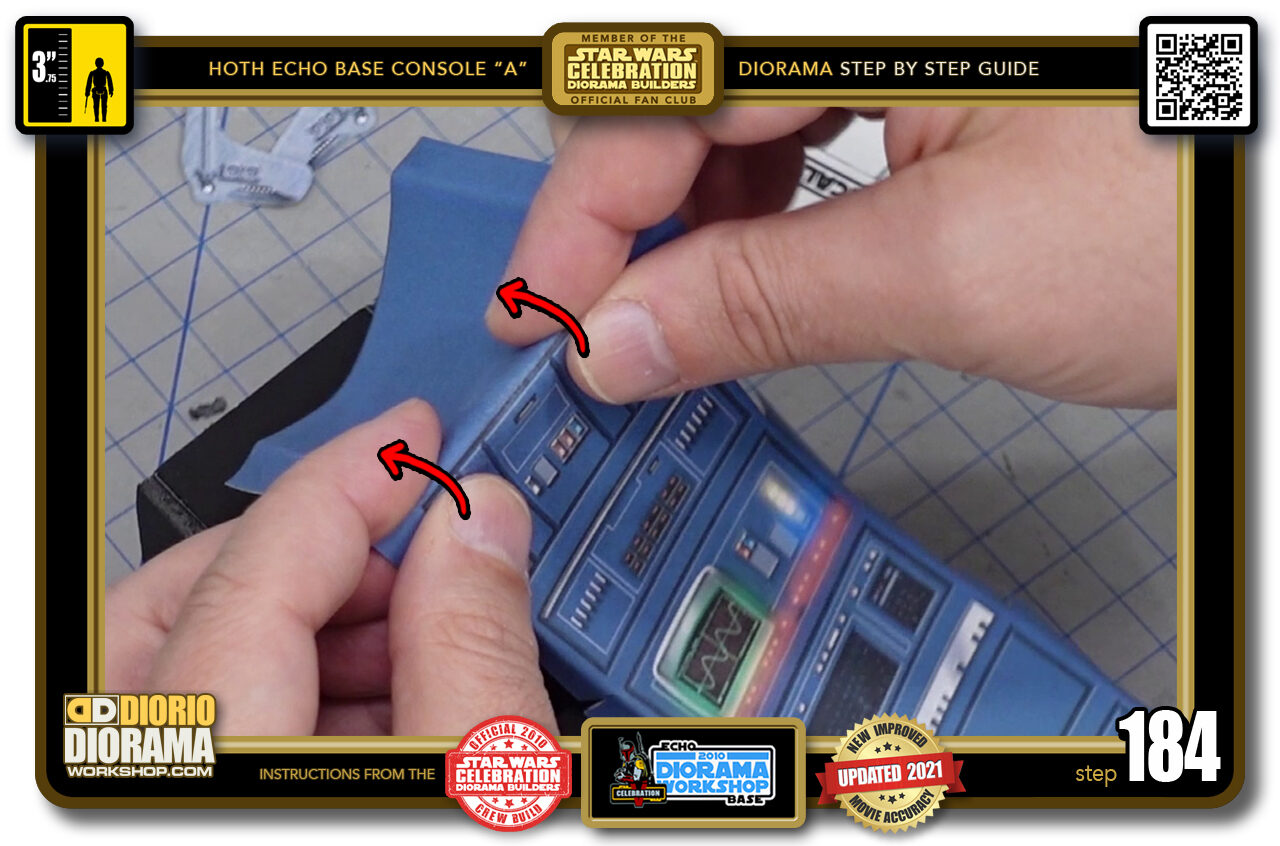
- STEP 184 > Now we can start folding the decal along the horizontal guide lines so that it can wrap properly along the body's various angles.
-
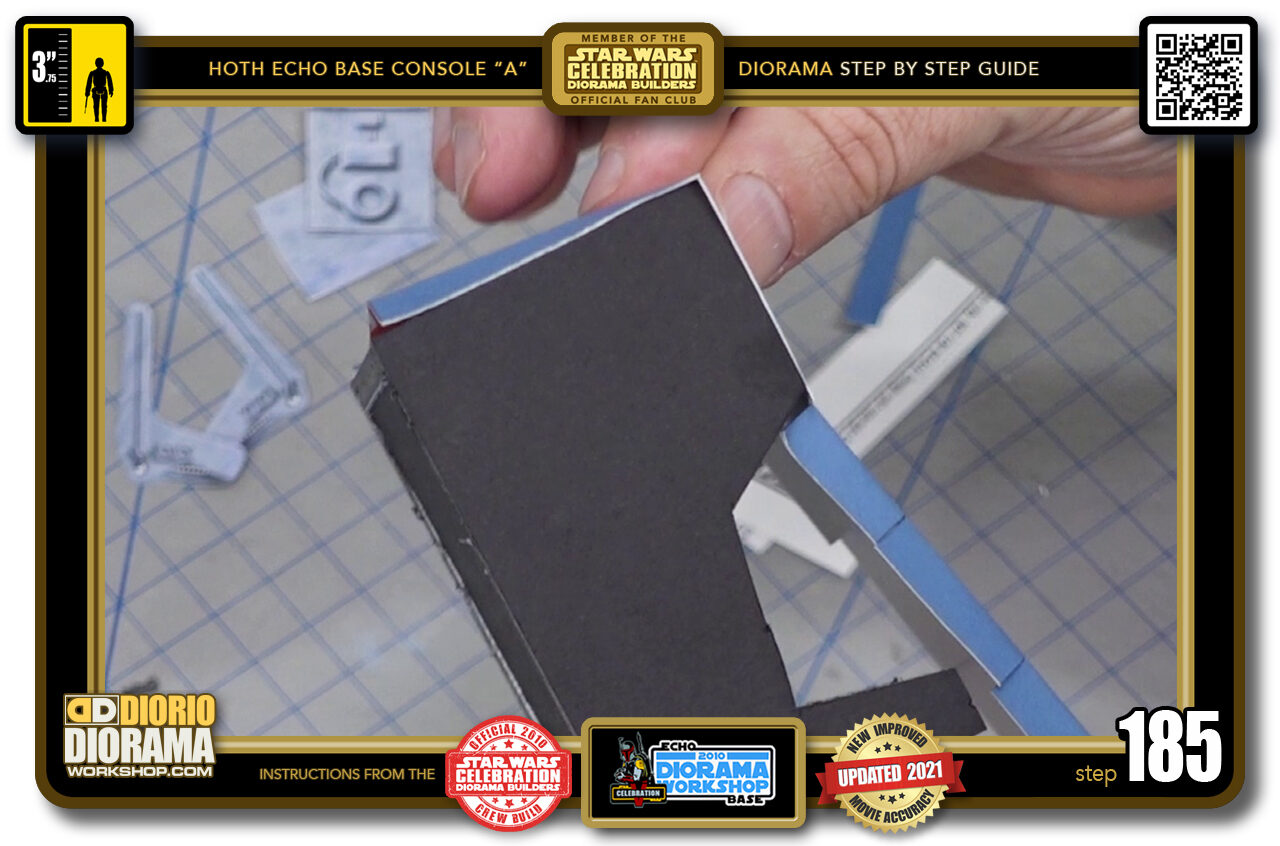
- STEP 185 > After you do each fold, place it against your body to make sure it fits just right.
-
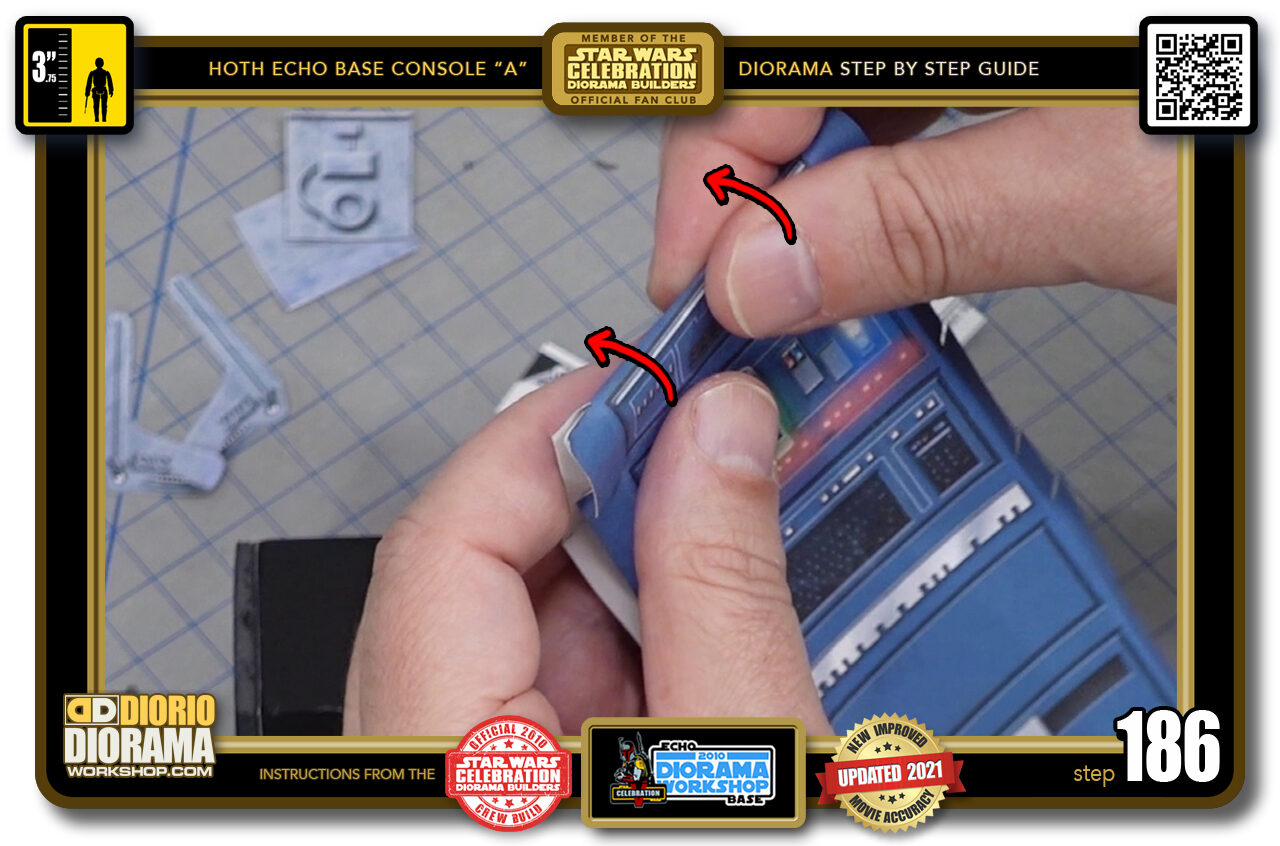
- STEP 186 > Then move onto the next fold. You must check the body of the console to know what folds are INNER and which are OUTER folds.
-
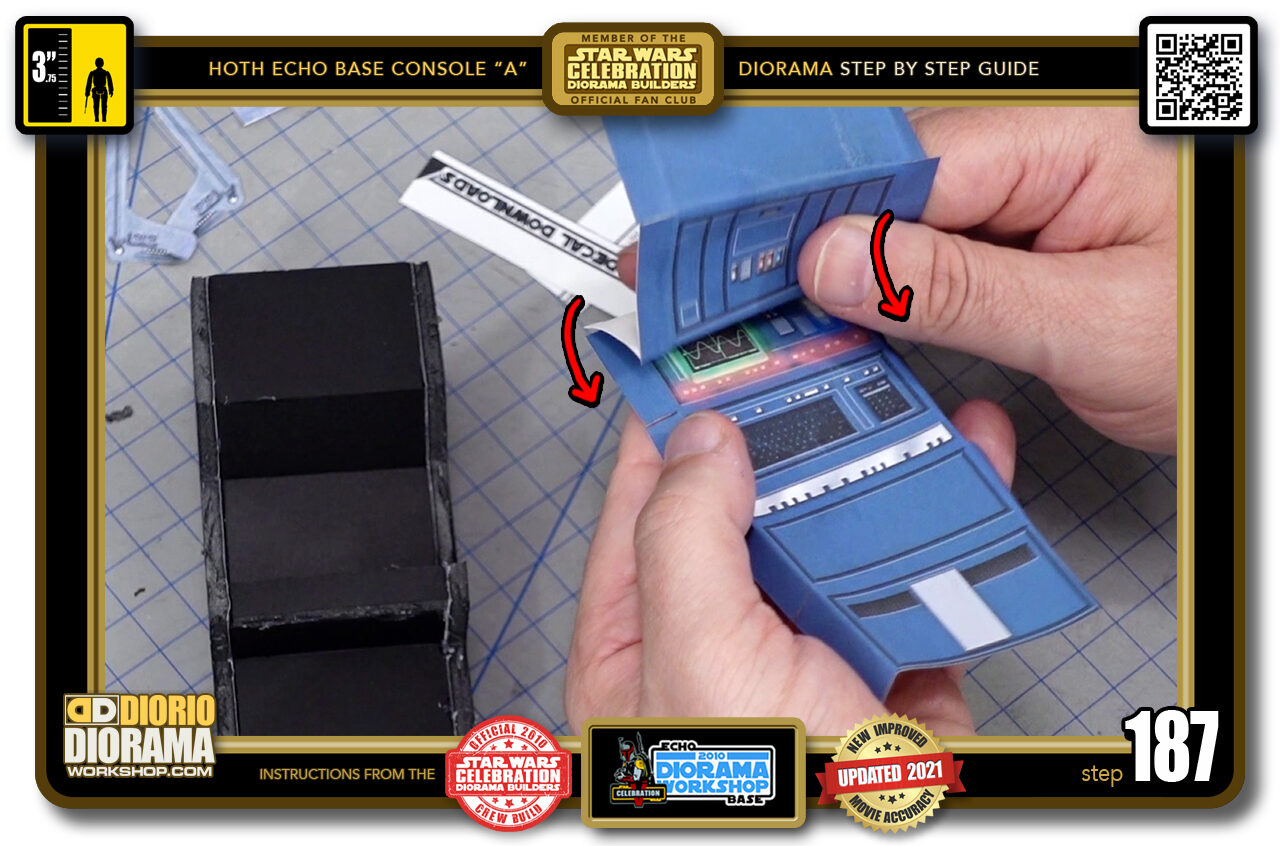
- STEP 187 > Some like this one (between the "C" and "D" pieces) are folded INWARDS.
-
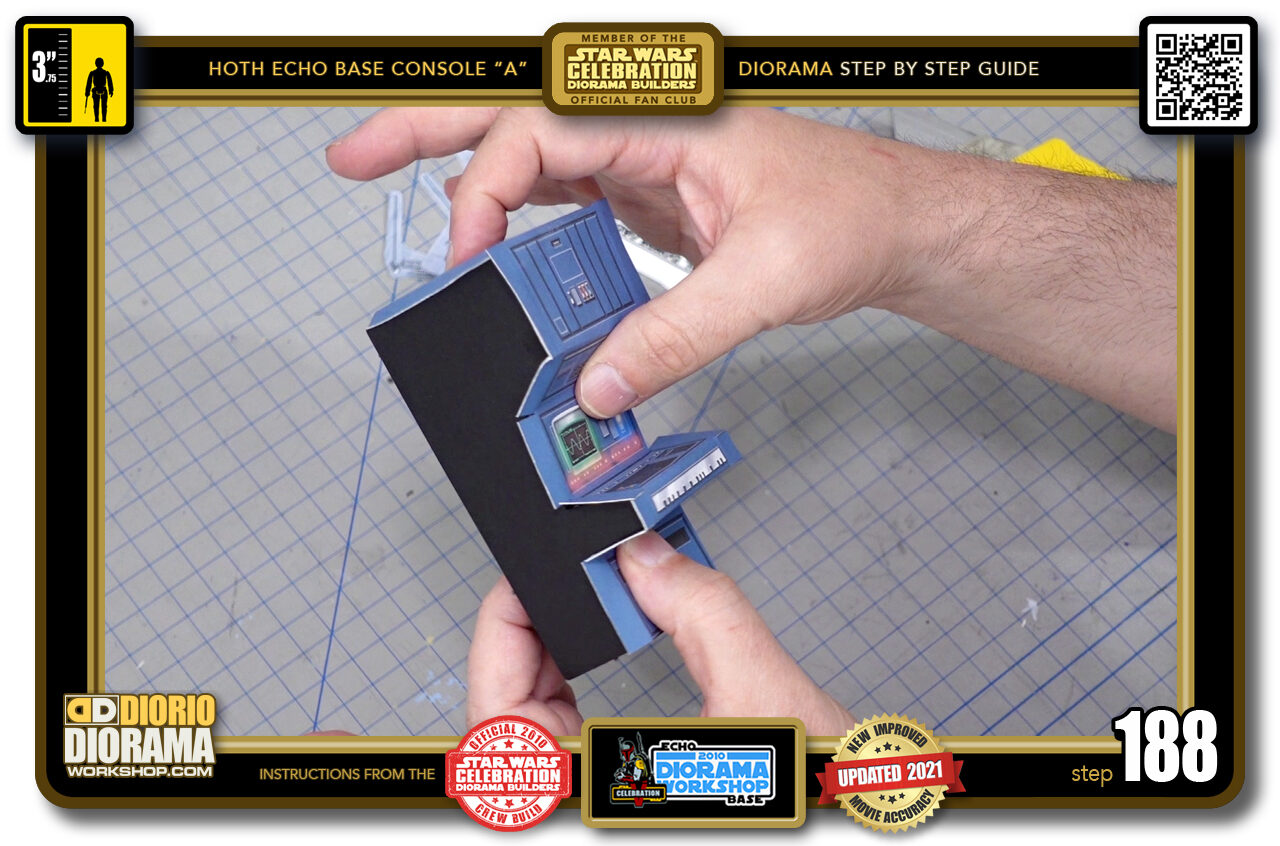
- STEP 188 > Continue all your folds until every horizontal guide fits around each angle just like this.
-
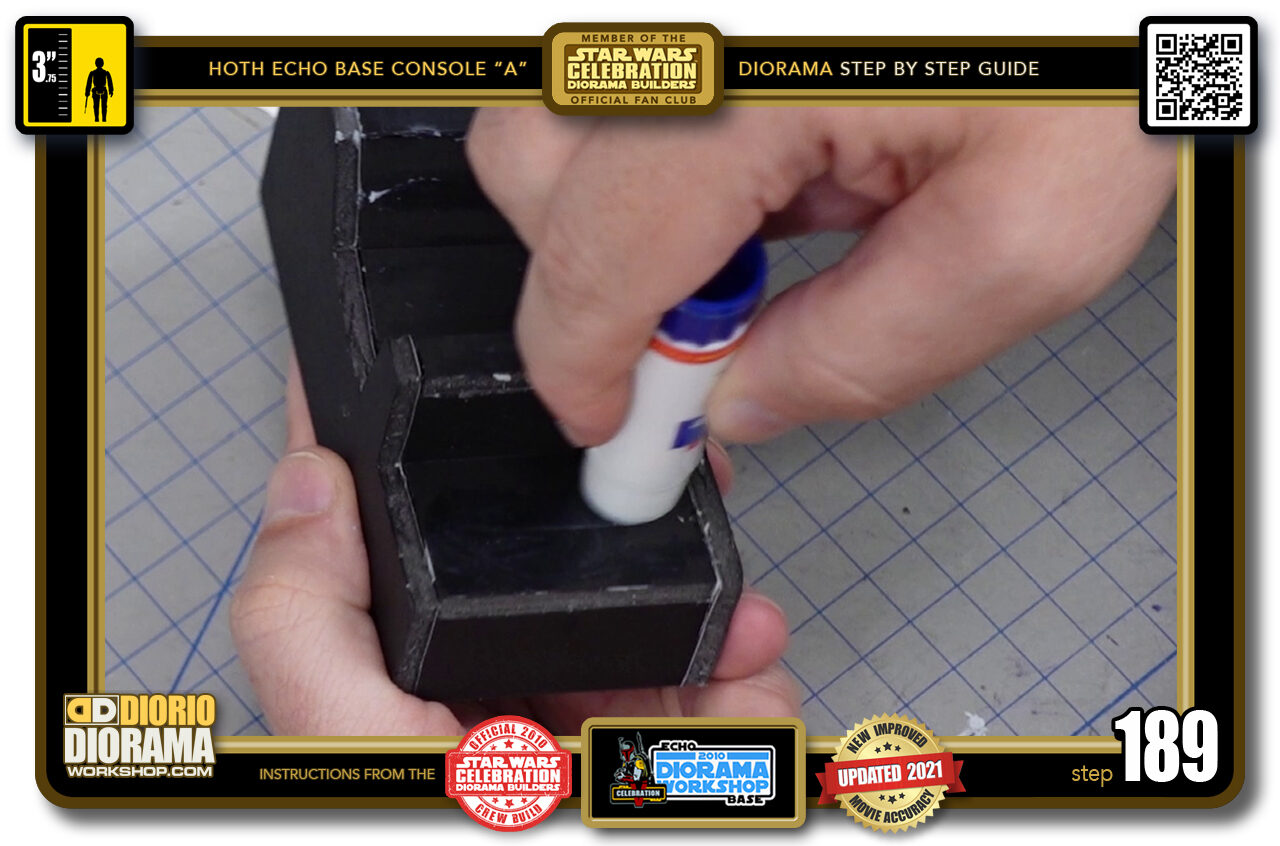
- STEP 189 > Because we want to have the luxury to wiggle around the decals if we need to tweak the positioning, it is best to cover the entire fron surface with a good amount of gluestick. NEVER USE HOT GLUE FOR DECALS.
-
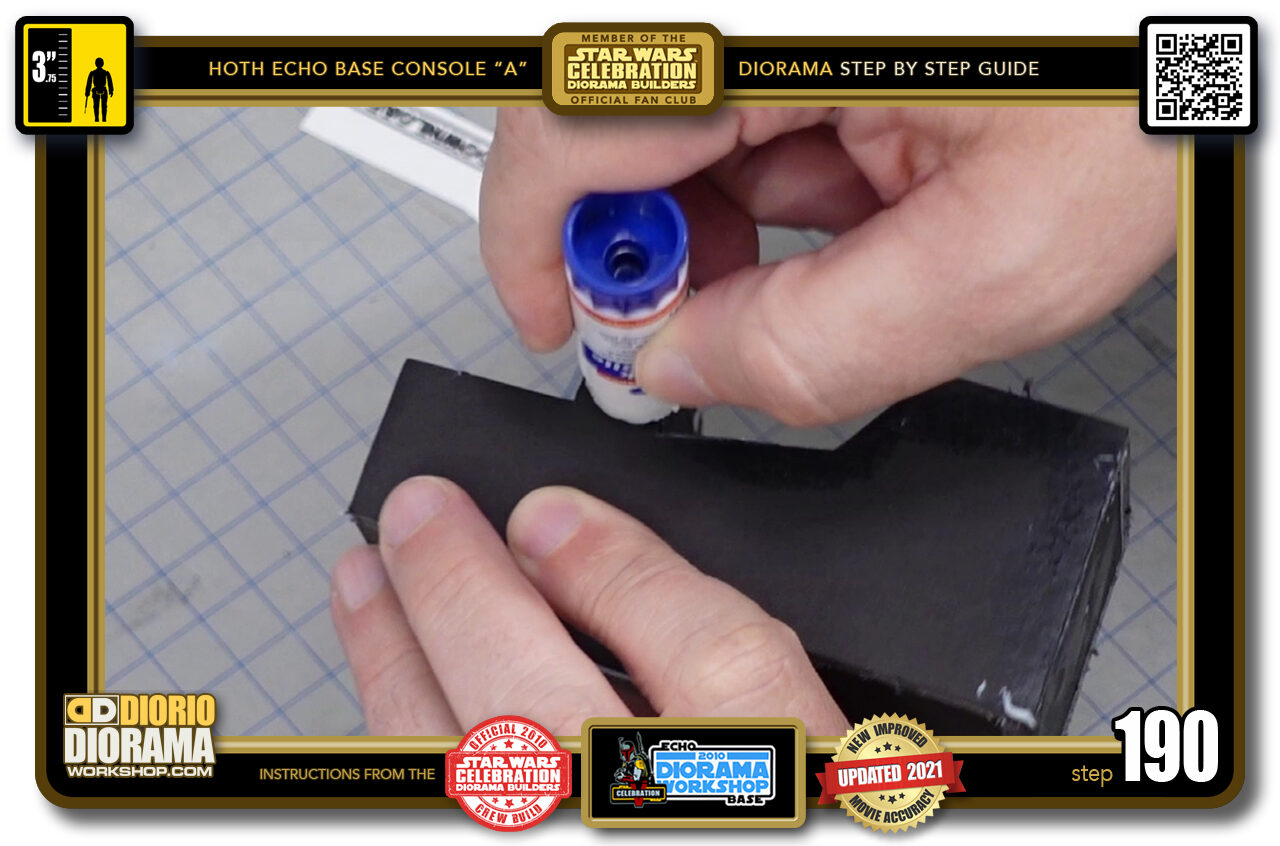
- STEP 190 > Place a good amout of glue stick along the side edges as well but only the first .5 cm or so NOT the ENTIRE side body panel.
-
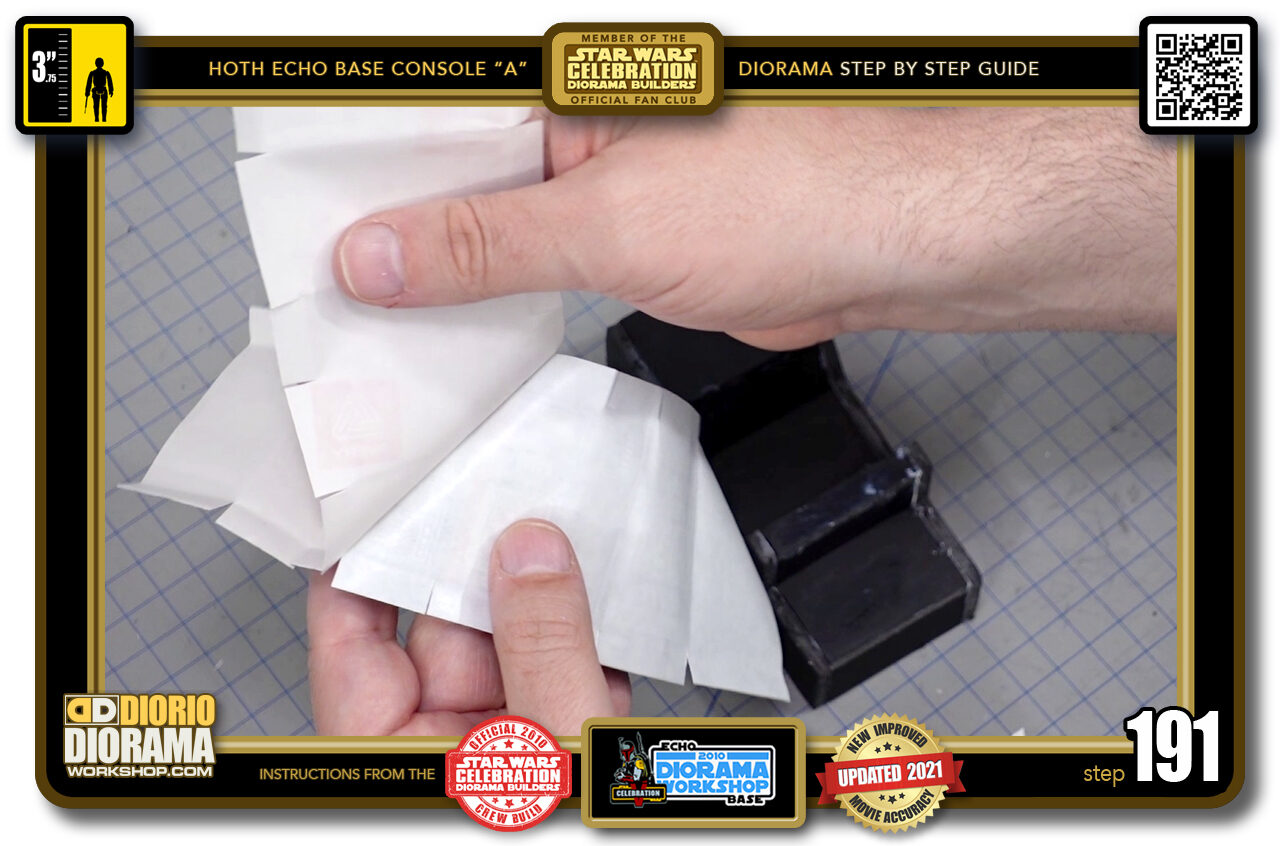
- STEP 191 > Peel your front decal skin. BE CAREFULL when PULLING along the SLITS as the paper want to tear here. That is the last thing you would want to happen.
-

- STEP 192 > Now the best place to START the alignment process if the FRONT "F" section (red arrows) This will allow you to easily know where to place your decal both horizontally and cantered evenly on each sides.
-
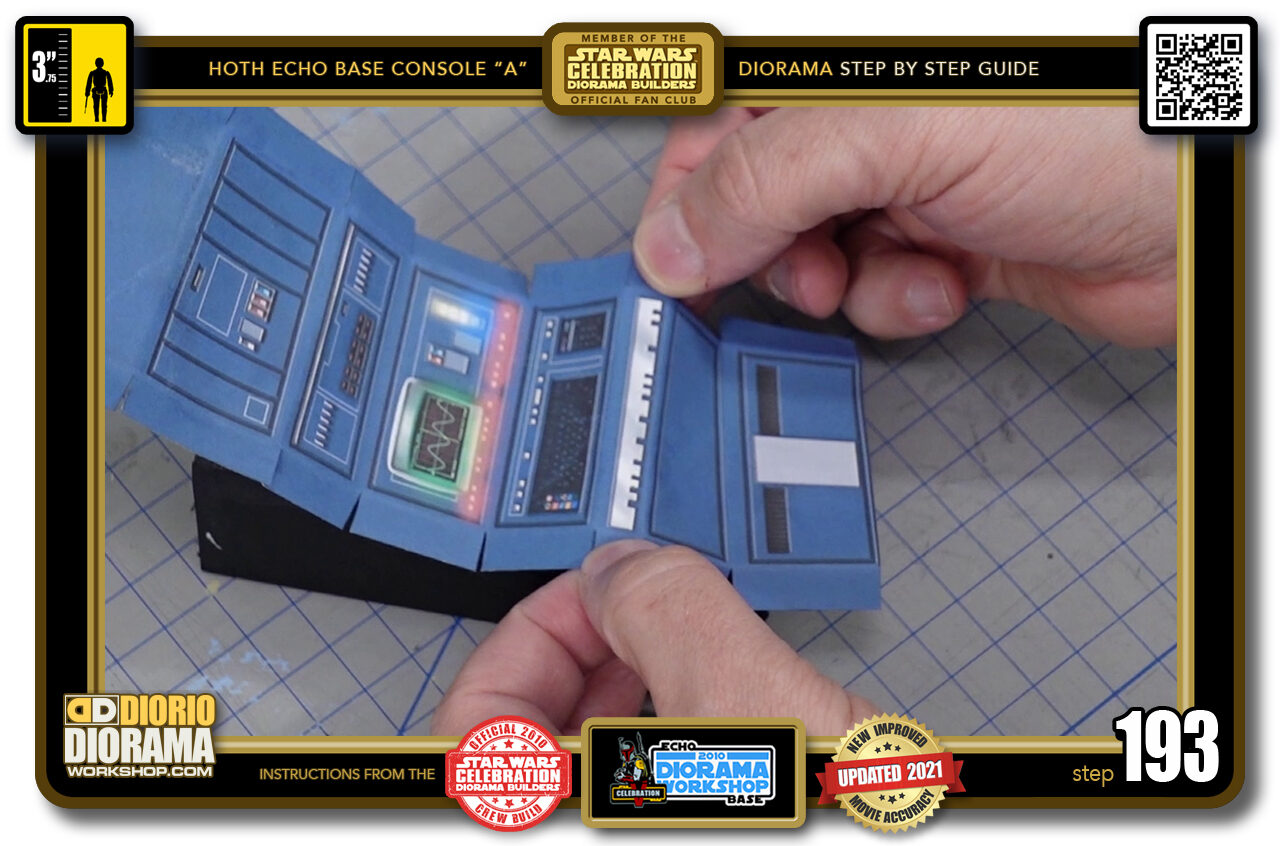
- STEP 193 > Grab the decal by the ends of your "F" and hover over the body shape. Slowly lower it until you make contact with the foamcore. Feel around to make sure its placed properly. Having gluestick underneath prevents the decal sheet to stick permanently right away and gives you a little time to shift things around if need be.
-
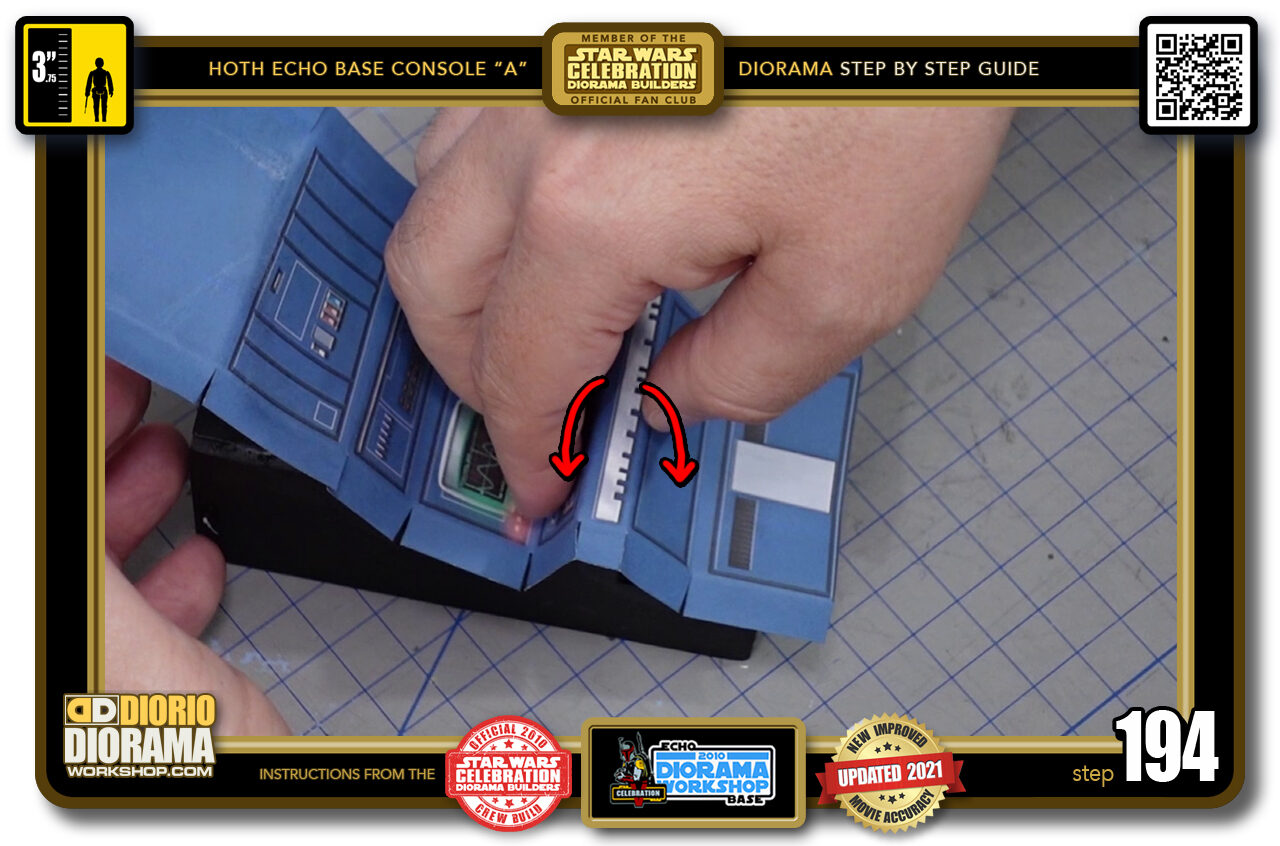
- STEP 194 > When you are happy with the position slowly and gently fold over the TOP and BOTTOM at the CENTRE FIRST. ALWAYS move from the centre outwards.
-
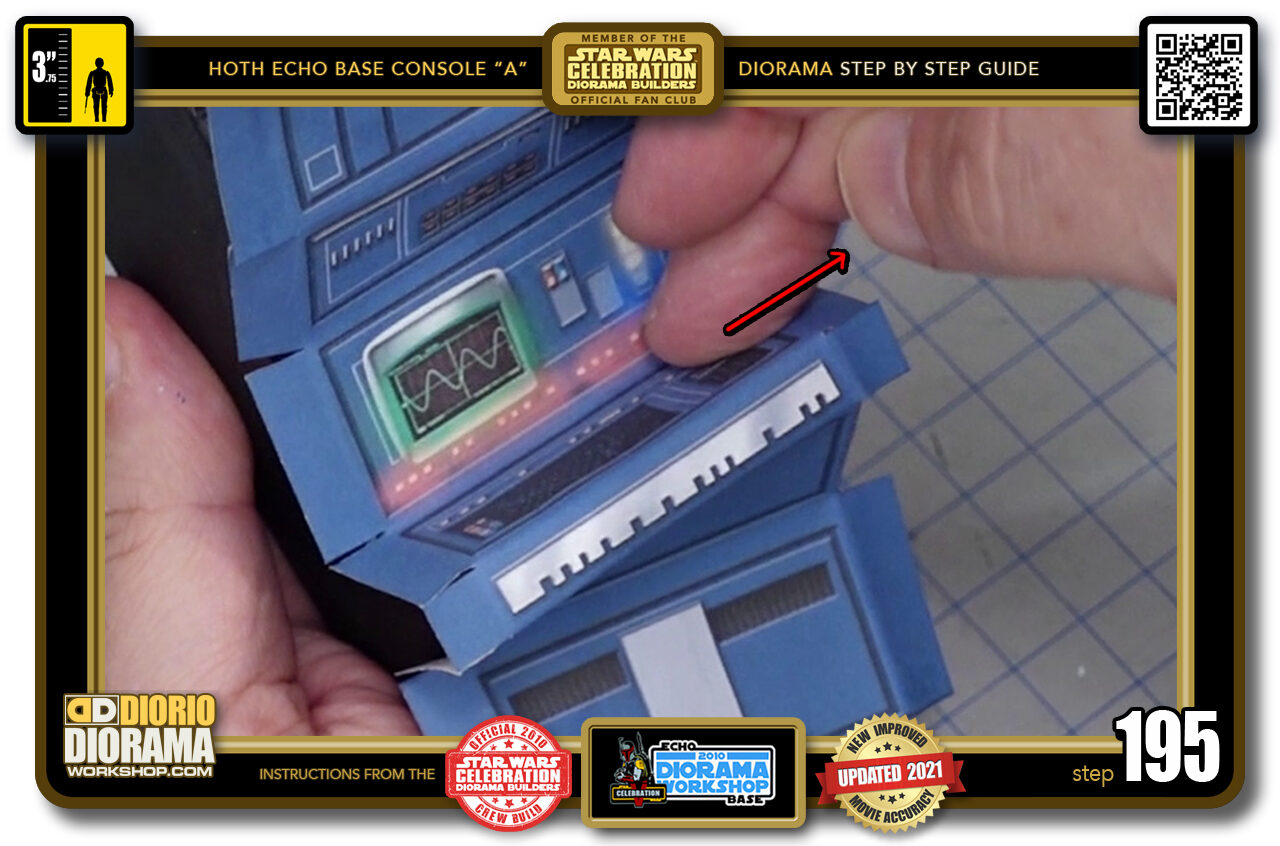
- STEP 195 > Gently move your way to the sides as you press down flat onto the "E" and "G" pieces.
-

- STEP 196 > If you feel they are not fitting well, you can unstick the decal from the surface and wiggle it a little until you are happy with the positioning.
-
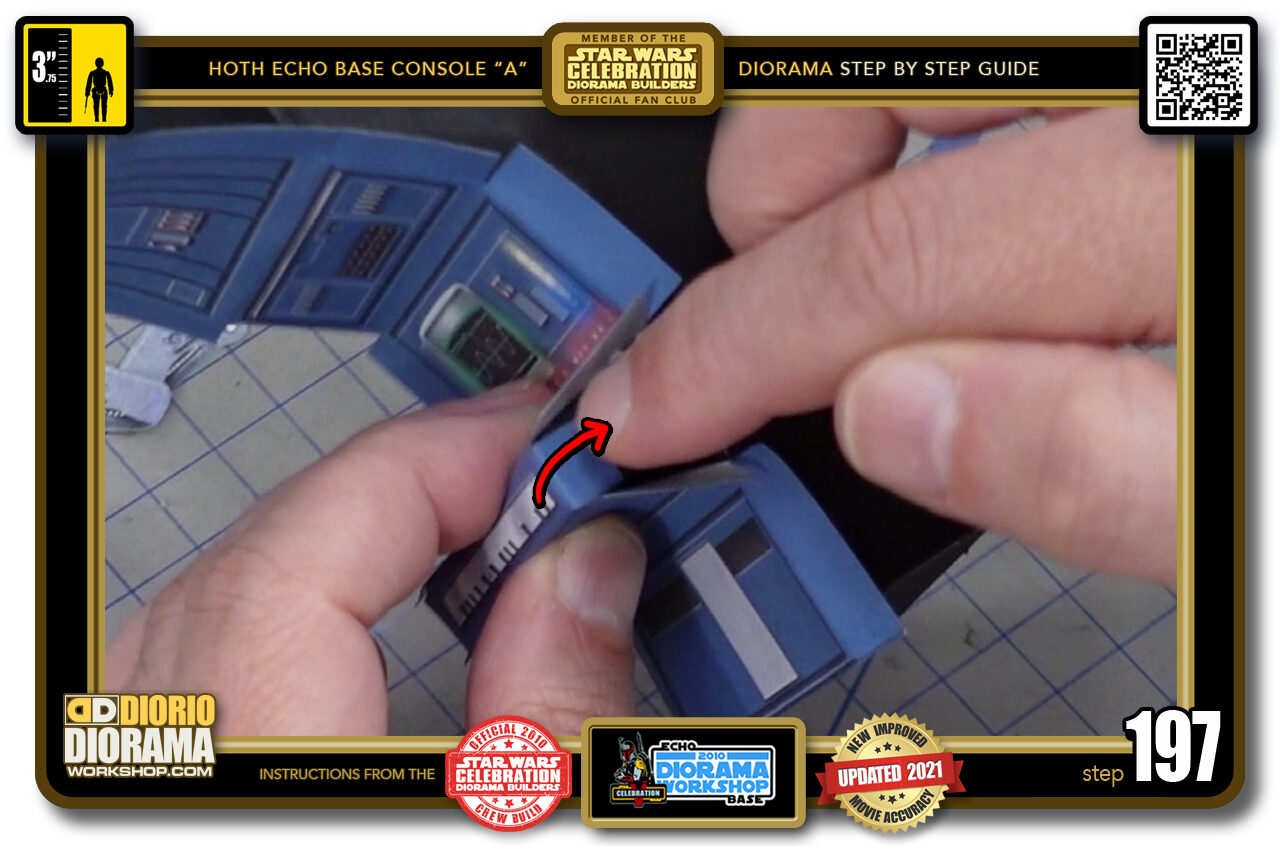
- STEP 197 > You can then start folding over the "F" corner flaps onto the body sides.
-
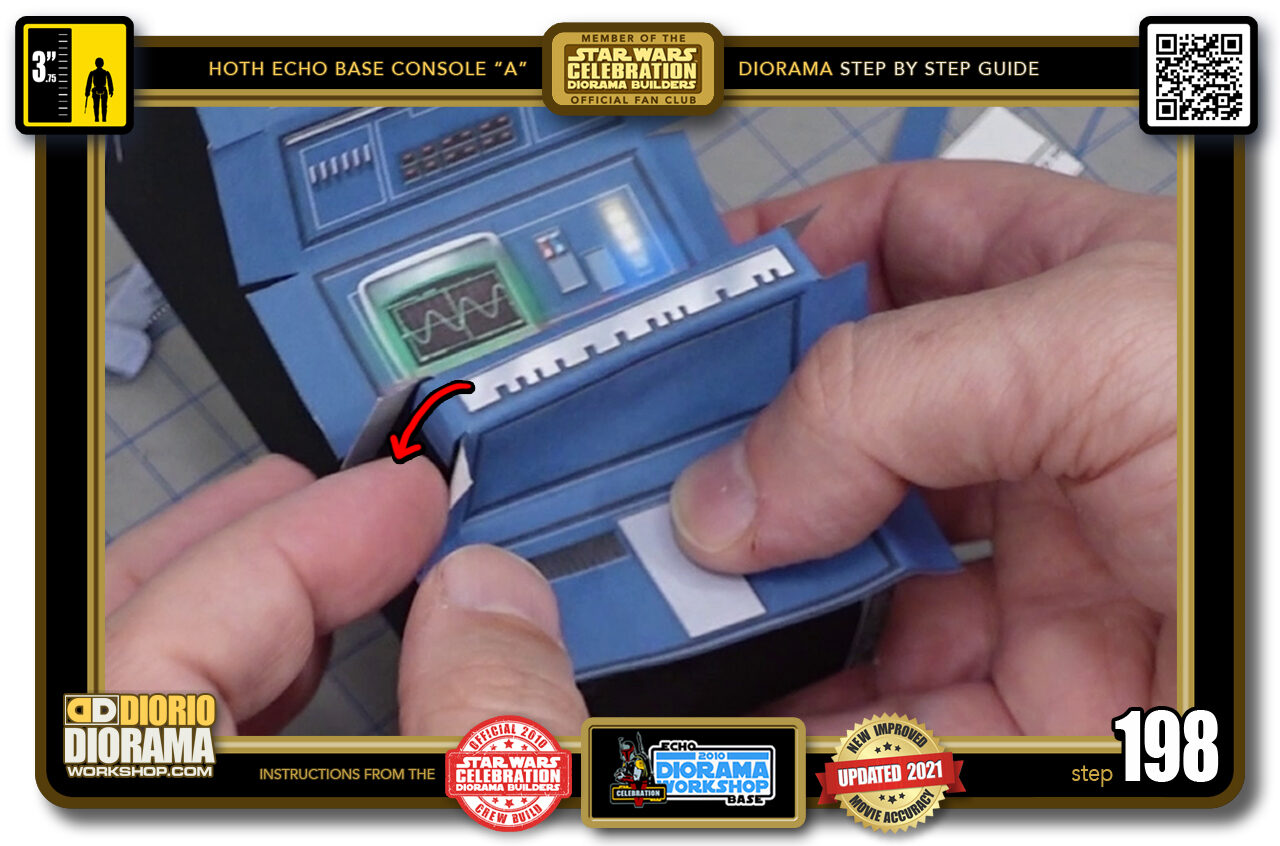
- STEP 198 > By doing so you will assure the rest of the decal won't start sliding out of alignment.
-
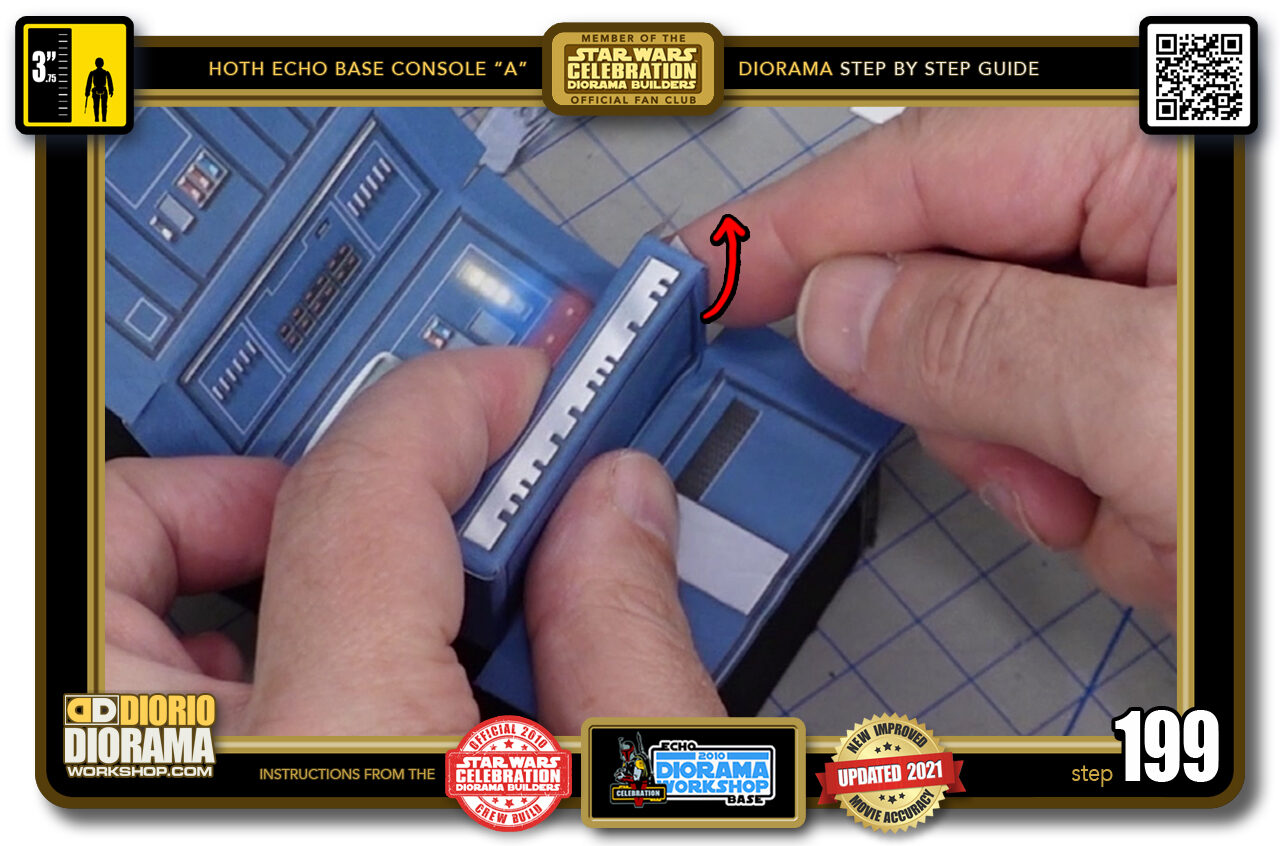
- STEP 199 > You can then start folding over the ends of your "G" sections.
-
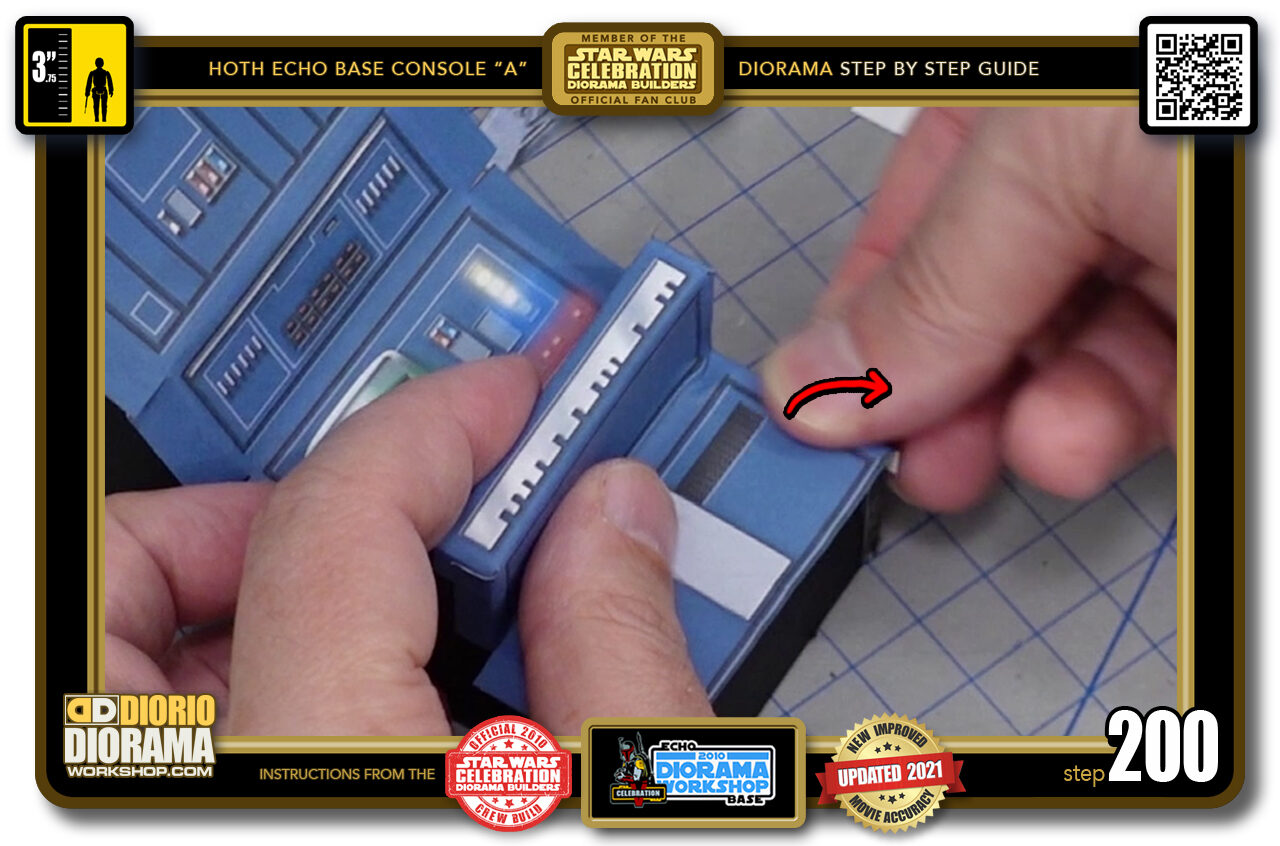
- STEP 200 > With the centre of the body skin in place, you can move onto the bottom half. Start by pressing down the centre of the front going from top to bottom, then back to centre top and move to bottom right, centre top, bottom left.

.
Did you already build this Diorama ? At home or at our Star Wars Celebration Diorama Builders workshop ? Would you like to show it in the site’s GALLERY VISITORS DIORAMAS section, YES ? That is Awesome !!! You can find out all the details on how to email me your photos on the VISITORS SUBMISSIONS INFO page … When I get your photos, I will create your very own page just like this one. You may not realize it but work does inspire others to join in the fun of making Action Figure Dioramas.
.
NOT FOR RESALE ALL Decals, tutorials and artwork are ©FrankDiorio (dioramaworkshop.com) and offered FOR FREE to the fans – that would be you ? so you can build and display my diorama designs in your very own home. I realize I cannot control what one does with my graphics once I place them on the web, I can only ask you as one fan to another, please respect the artist and do not be that jerk who uses my designs and tutorials to build a copy of my work only to sell it on EBAY or trade/sale groups and forums. Thank You. Frank.
.

.
.
If you have a facebook account, why not join the Official Diorama Builders Fan Club today, simply click the logo link below.
 .
.
Catch up with fellow visitors and exchange stories, read cool interviews with the crew, exchange photos, fun surprises and grab some FAN ONLY merchandise next year at actual future conventions ?
.
©2021 Frank Diorio DioramaWorkshop.Com
.
IF YOU LIKE WHAT YOU SEE, PLEASE SHARE WITH YOUR FRIENDS
USING THE SOCIAL MEDIA BUTTONS BELOW