


-
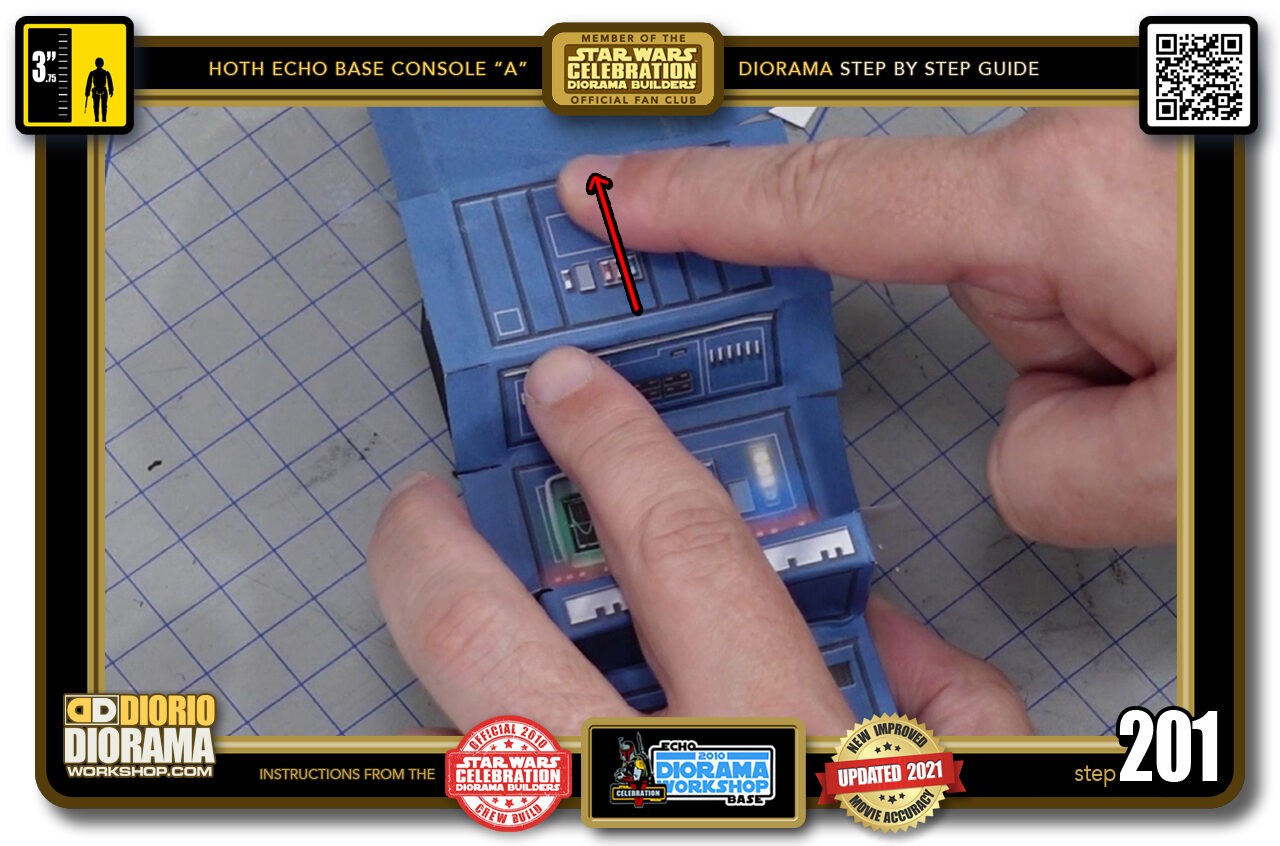
- STEP 201 > You can then move on to the TOP of the body. Again start from the centre UP then centre LEFT and centre RIGHT.
-
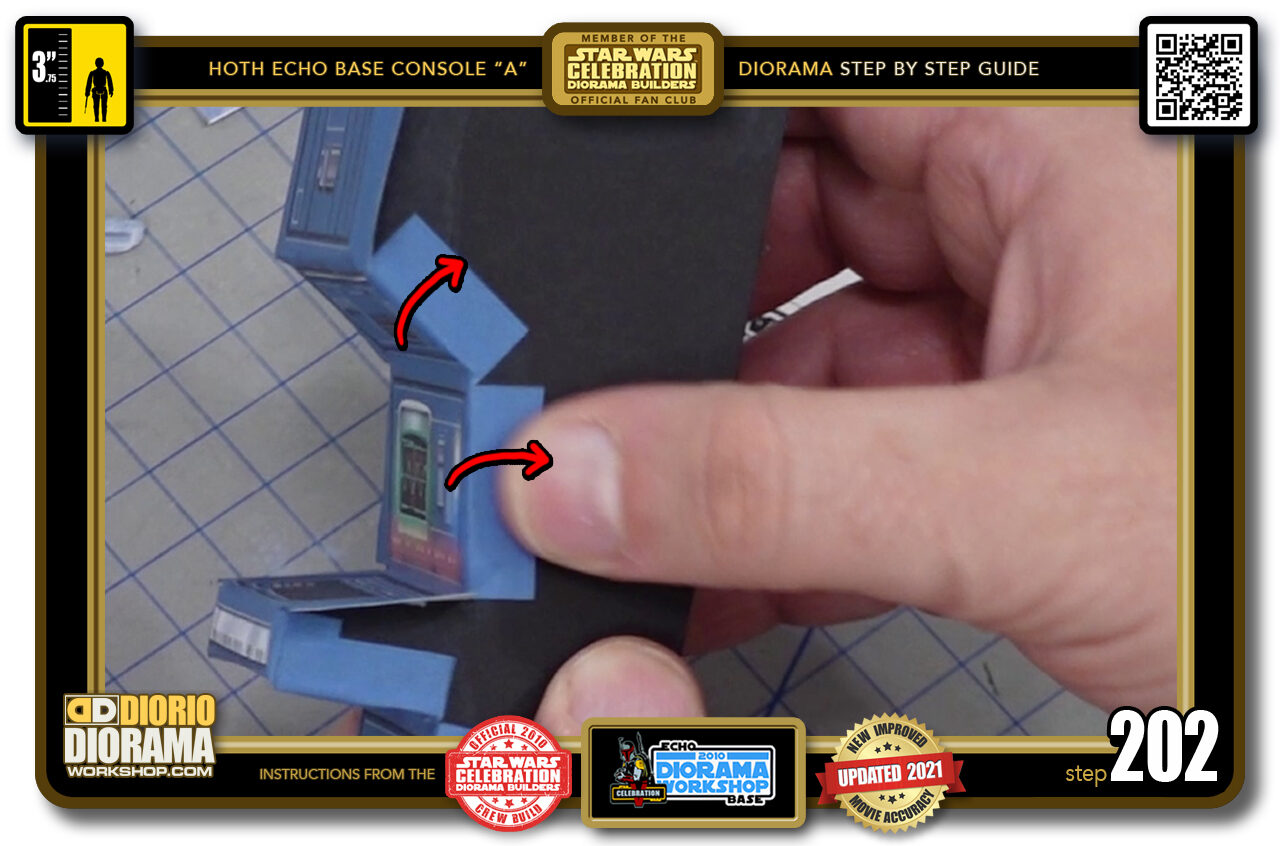
- STEP 202 > When the fronts are secure you can fold over each of their flaps onto the body sides.
-

- STEP 203 > Repeat the same techniques on the other side of the body.
-
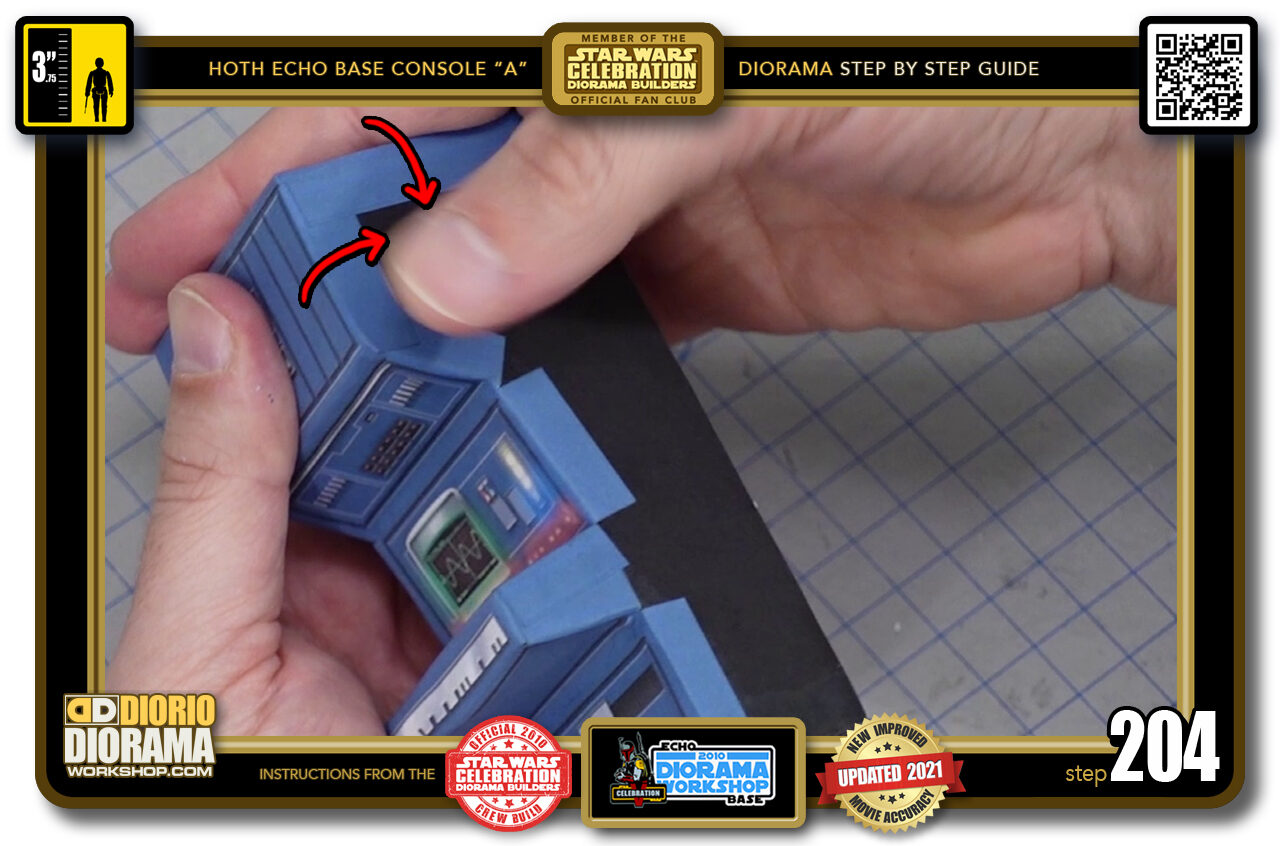
- STEP 204 > Keep folding the flaps.
-
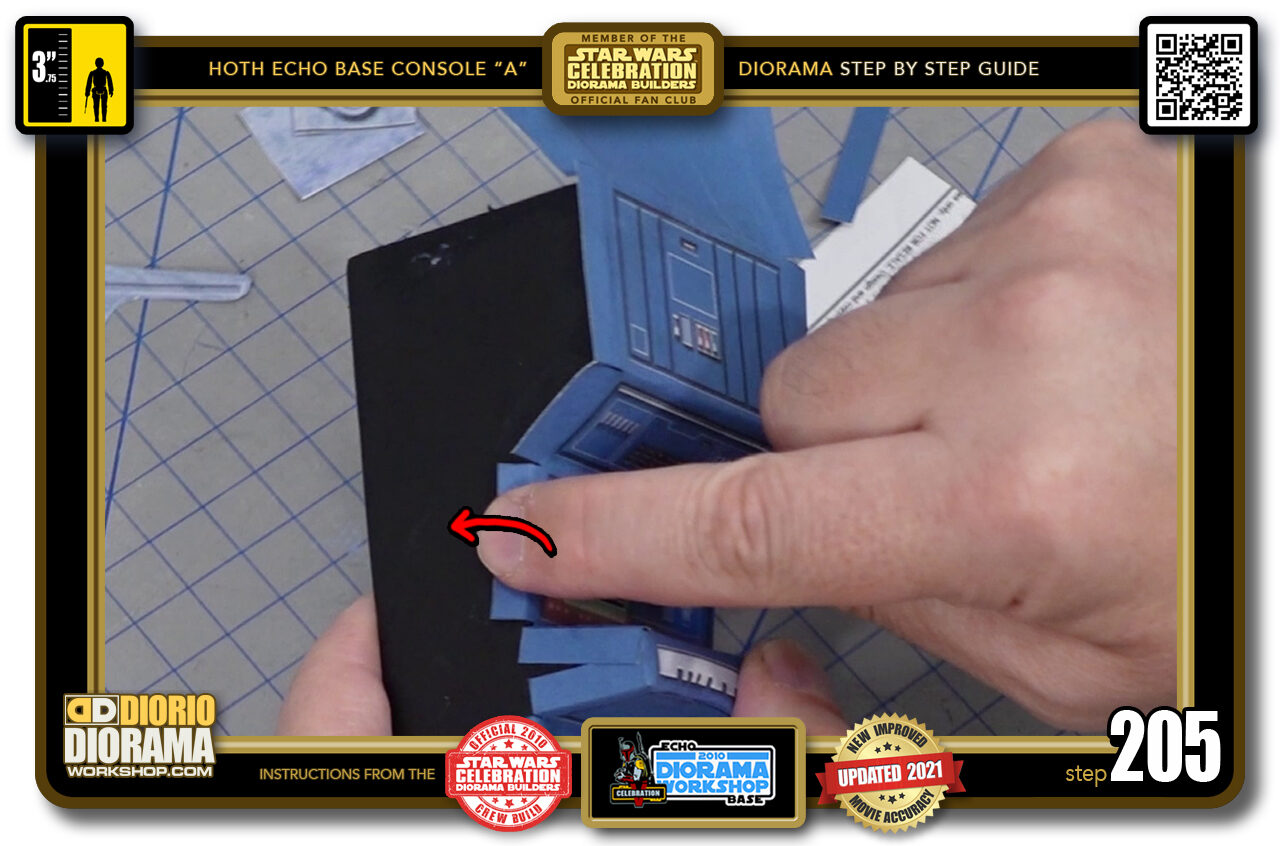
- STEP 205 > Always centre out.
-
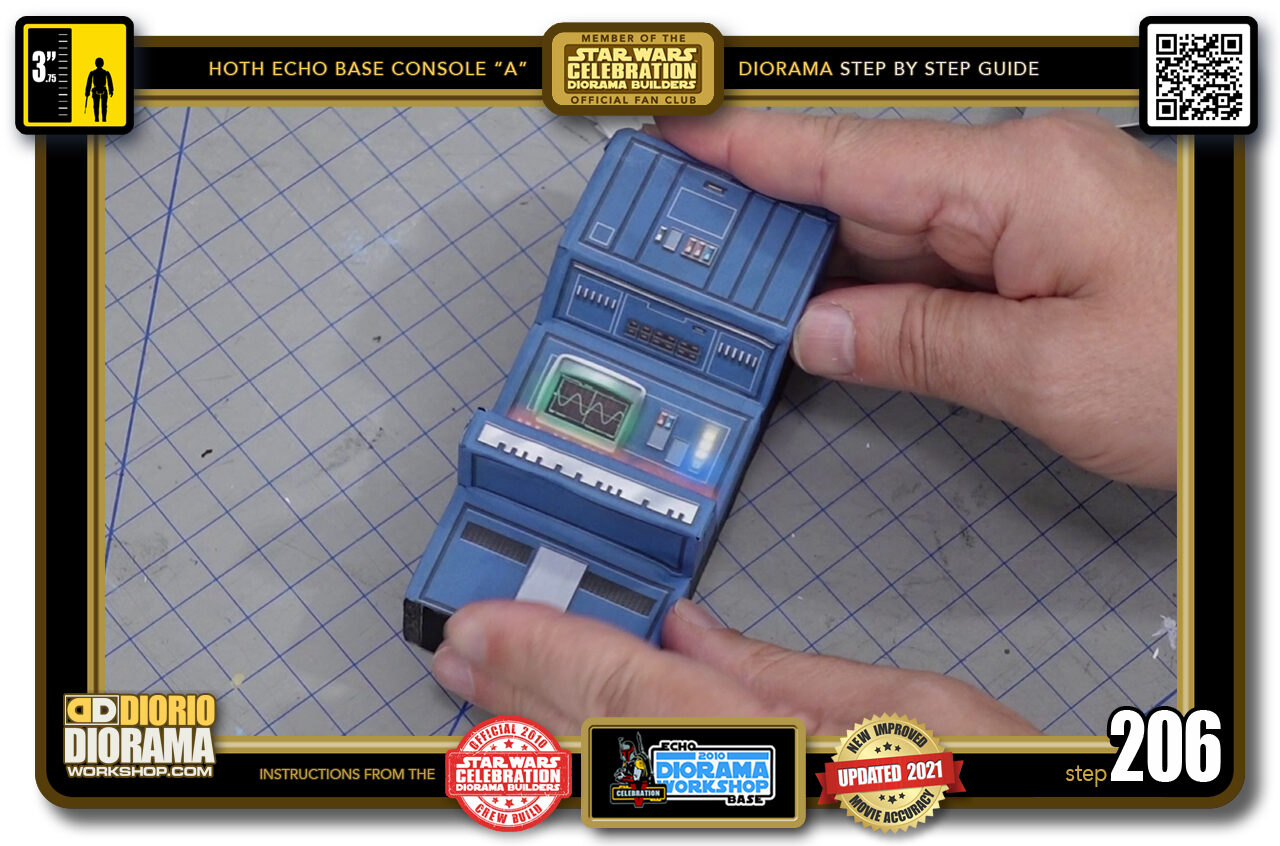
- STEP 206 > After a few minutes your front decal skin is applied and should look like this.
-
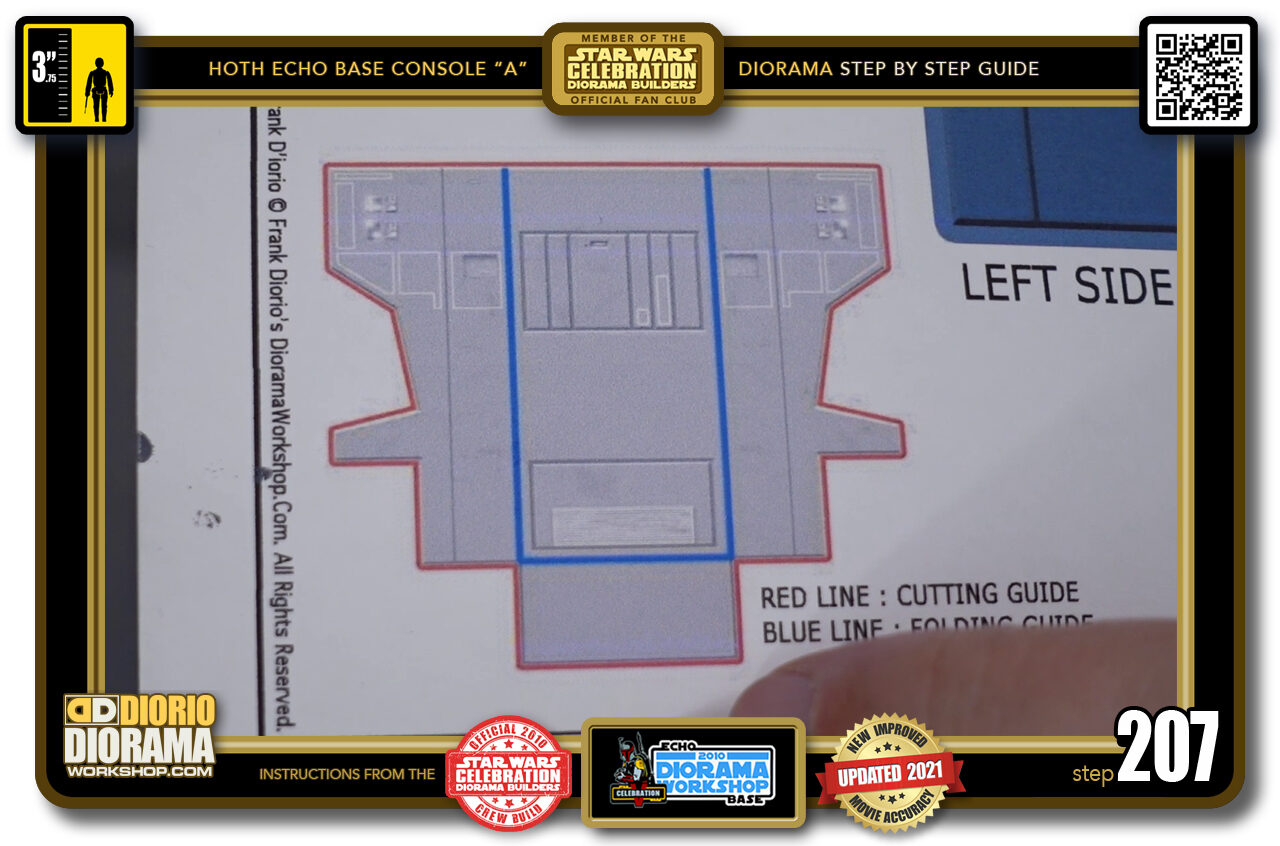
- STEP 207 > Moving onto the SIDE and REAR decal skin, like for the front, the BLUE lines are your FOLDING GUIDES. The RED lines are where you cut your decal.
-
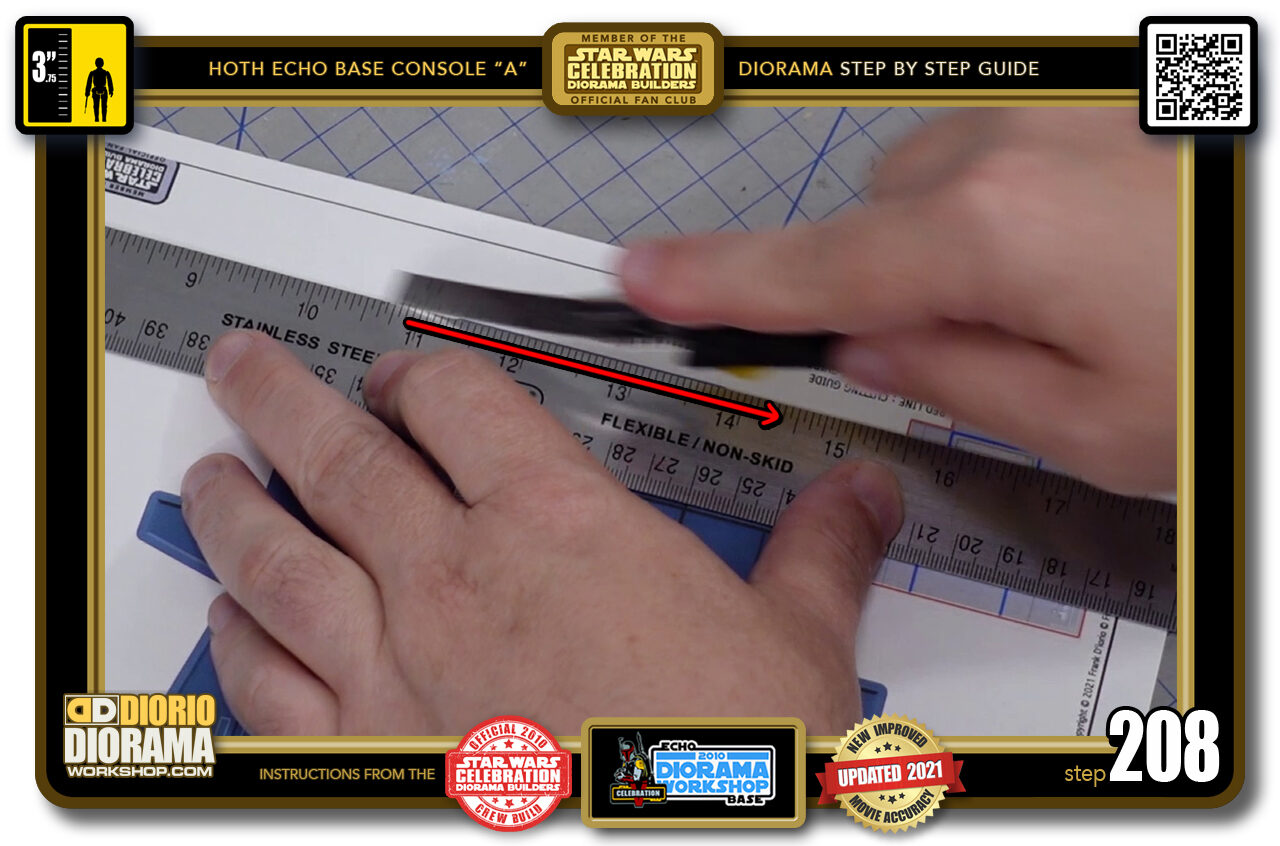
- STEP 208 > Align your ruler at the TOP and BOTTOM of your skin as close to the clour as possible and slice off using your X-Acto knife.
-

- STEP 209 > For the bottom sides DON'T SLICE OFF THE MIDDLE by mistake (red arrow) You want to only cut along the green arrows.
-
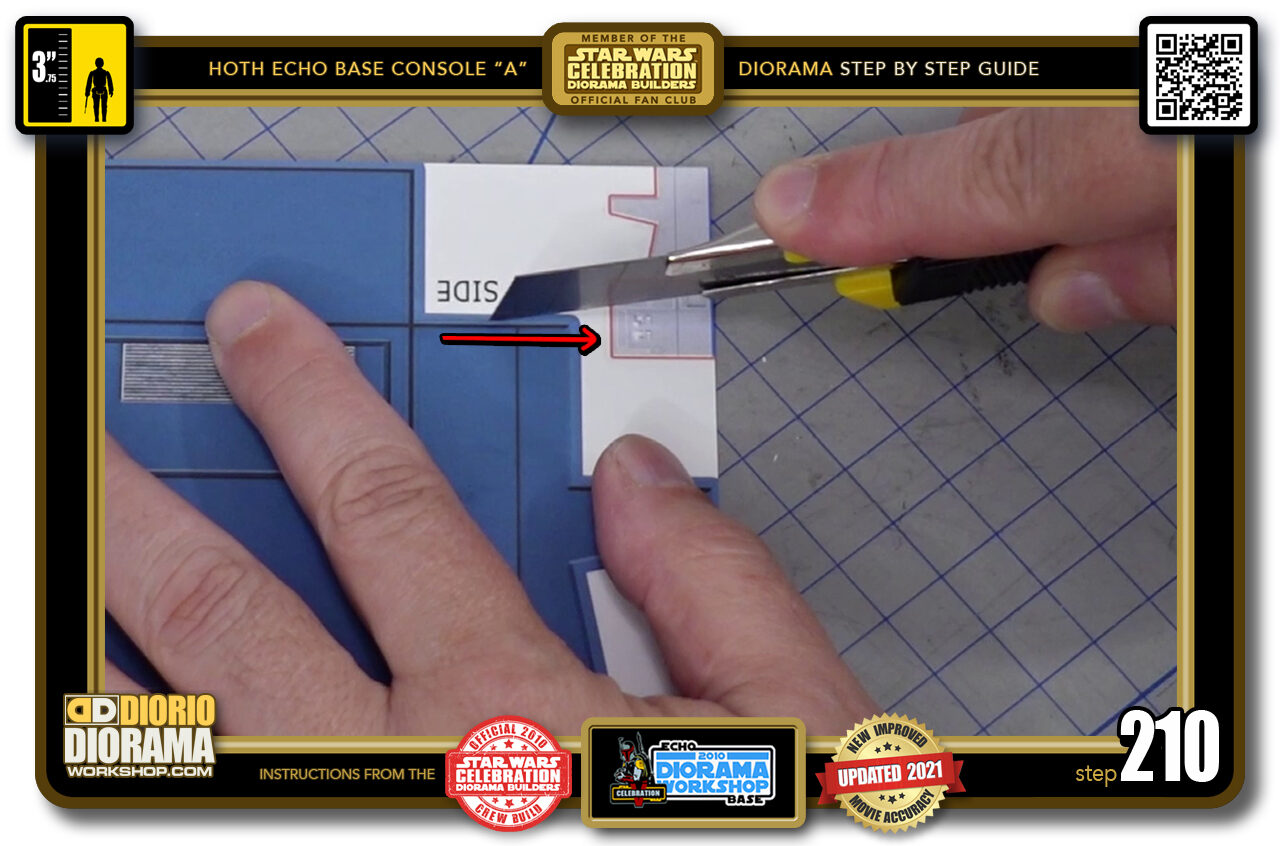
- STEP 210 > Use a ruler or freehand like I like to do ALWAYS from the CORNERS OUTWARDS.
-
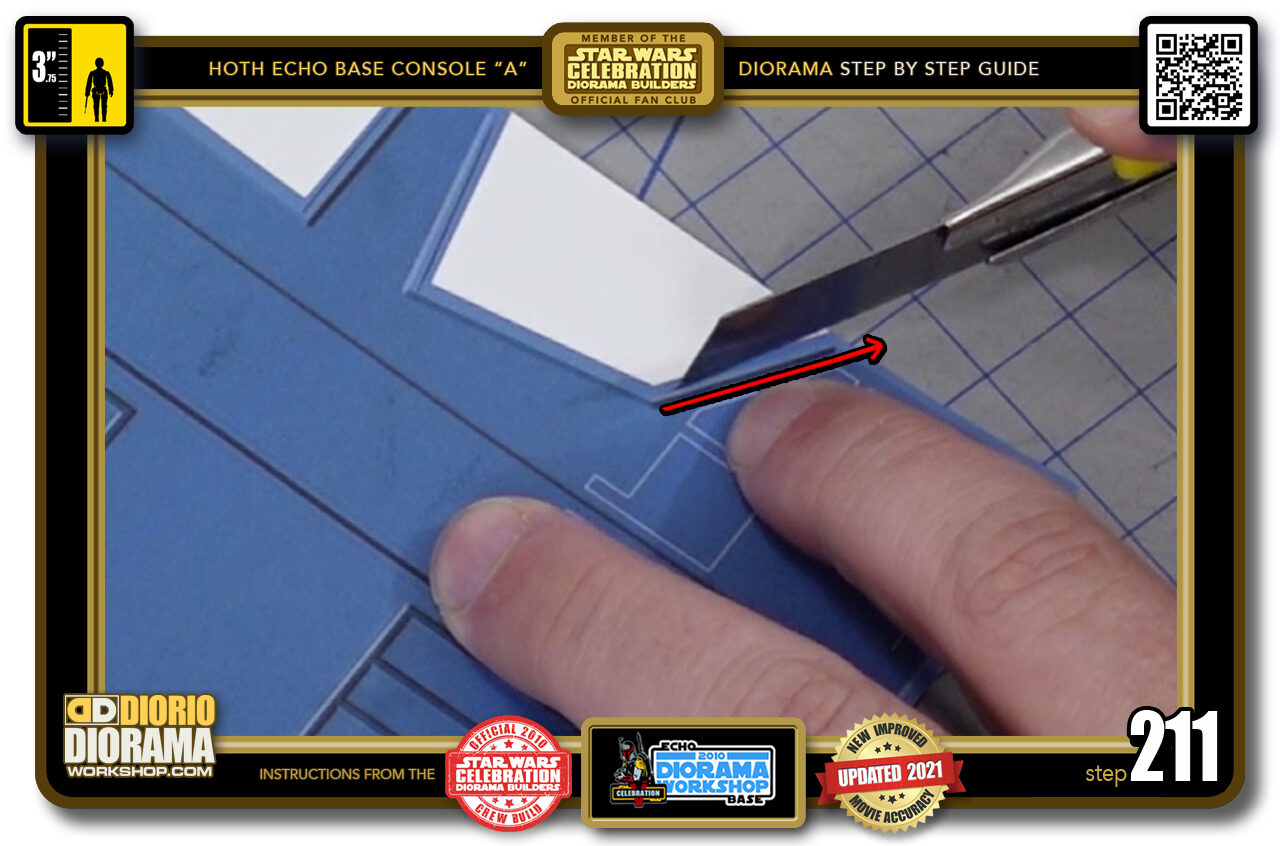
- STEP 211 > Corner OUTWARDS. Just as you did for the body template.
-
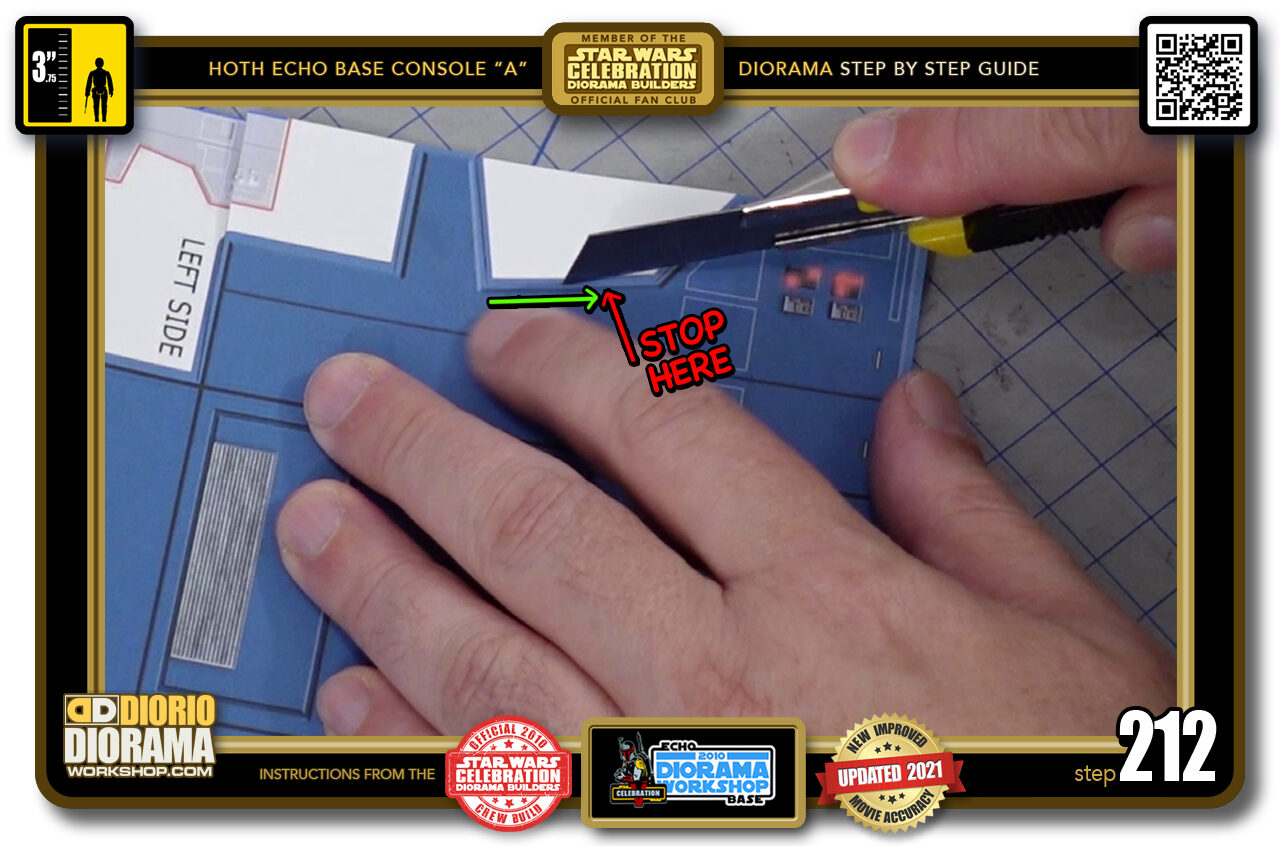
- STEP 212 > Same technique goes for the decal "D" section. Start at a corner and STOP your cut just BEFORE you reach the end.
-
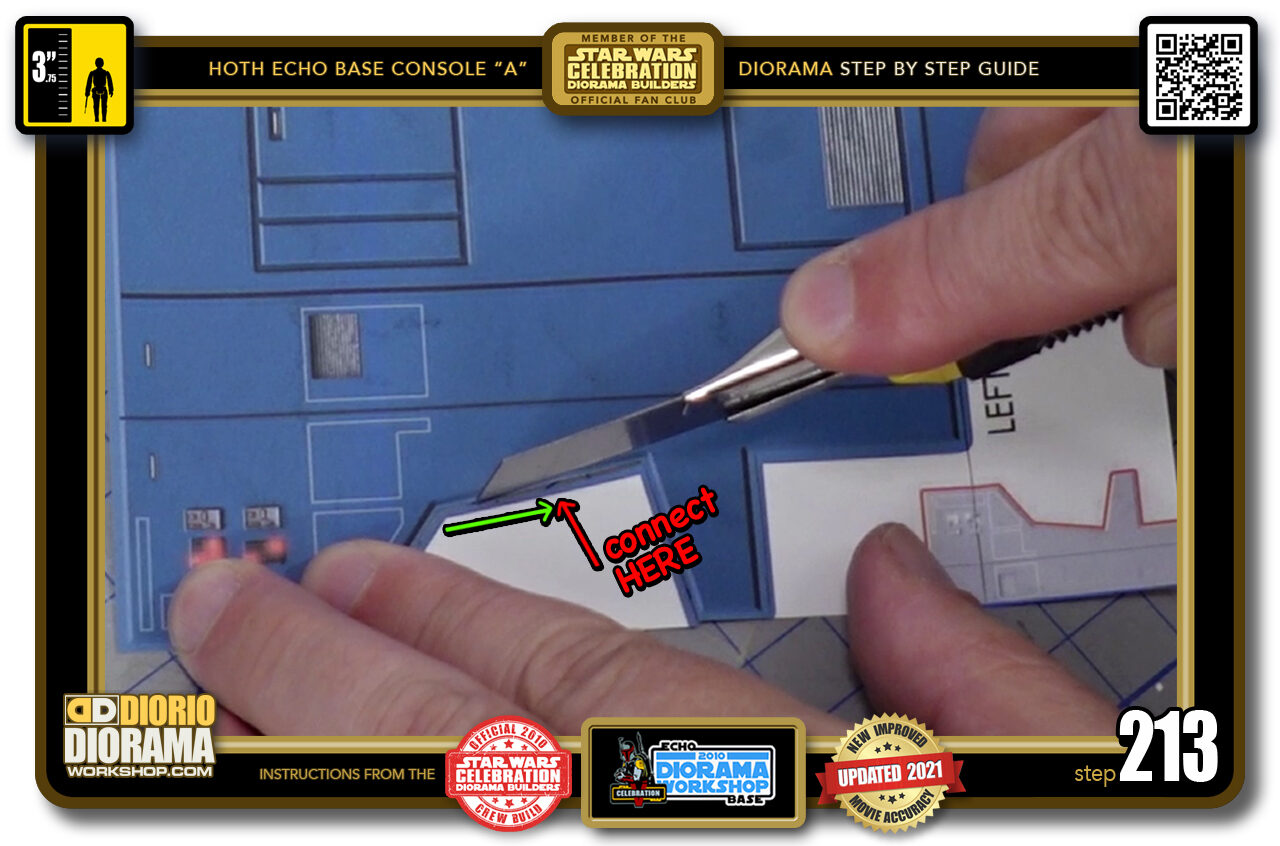
- STEP 213 > Spin your decal 180 degrees, cut again from the corner and STOP when you CONNECT with your first cut.
-
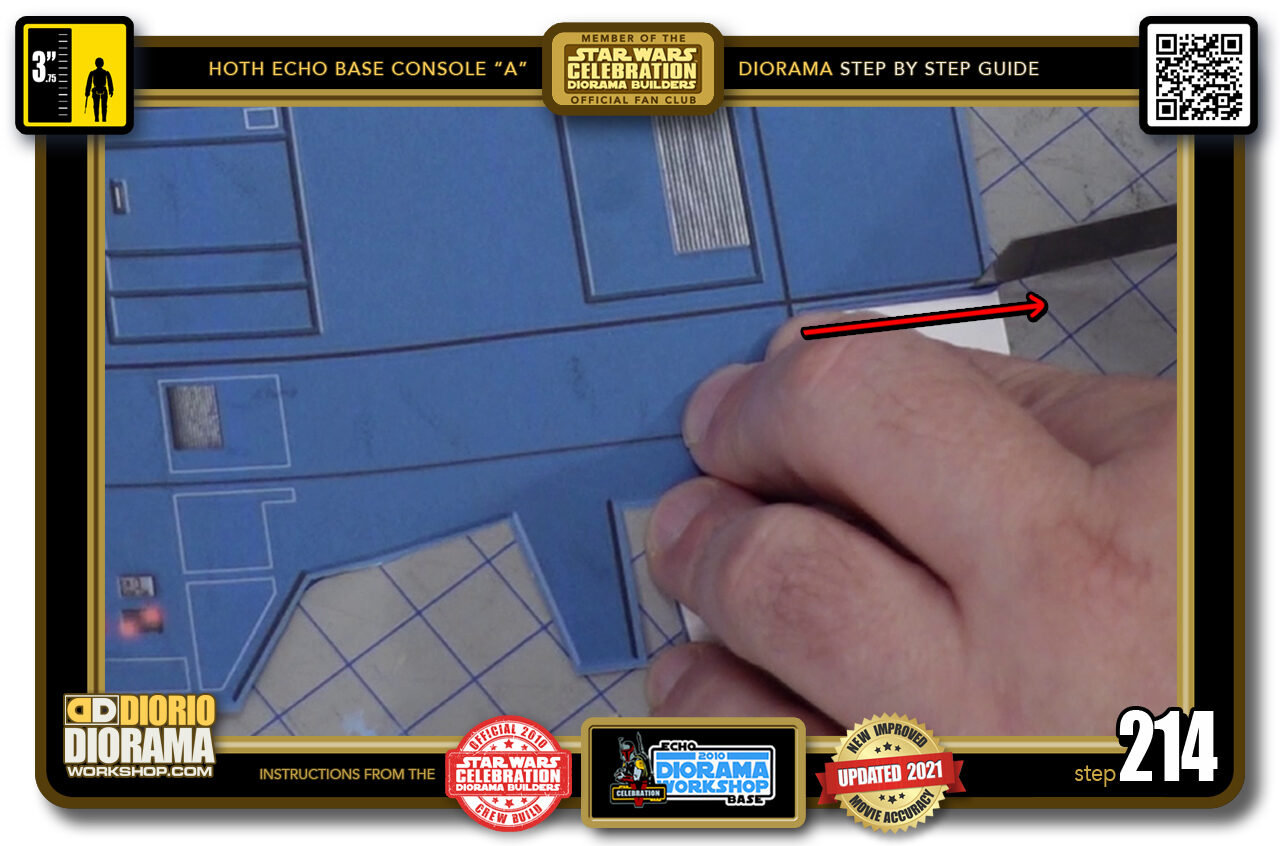
- STEP 214 > Simple CORNERS to OUTWARDS slices finish off your side and rear decal.
-
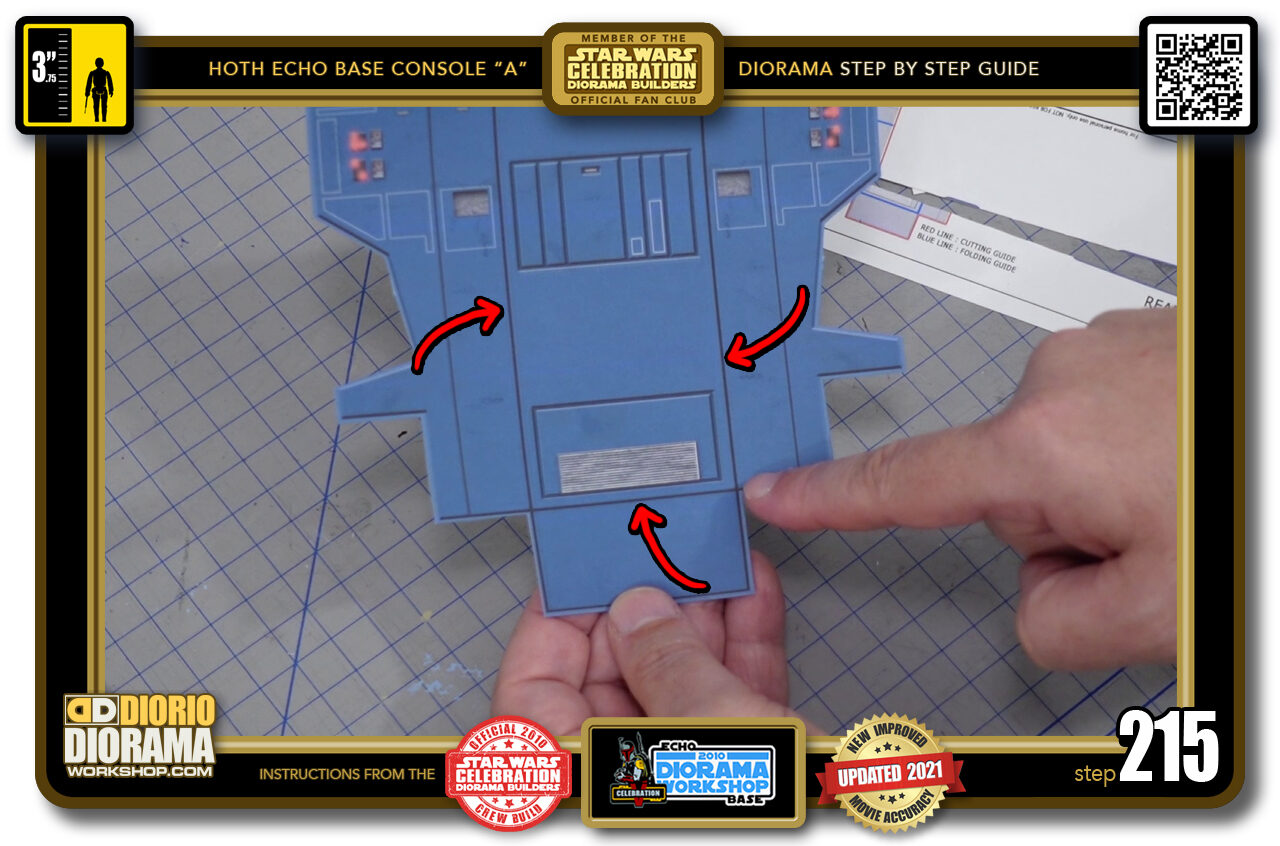
- STEP 215 > Once your decal is cut all the way around, you need to fold along the 3 guides. At the bottom and on each sides (red arrows).
-
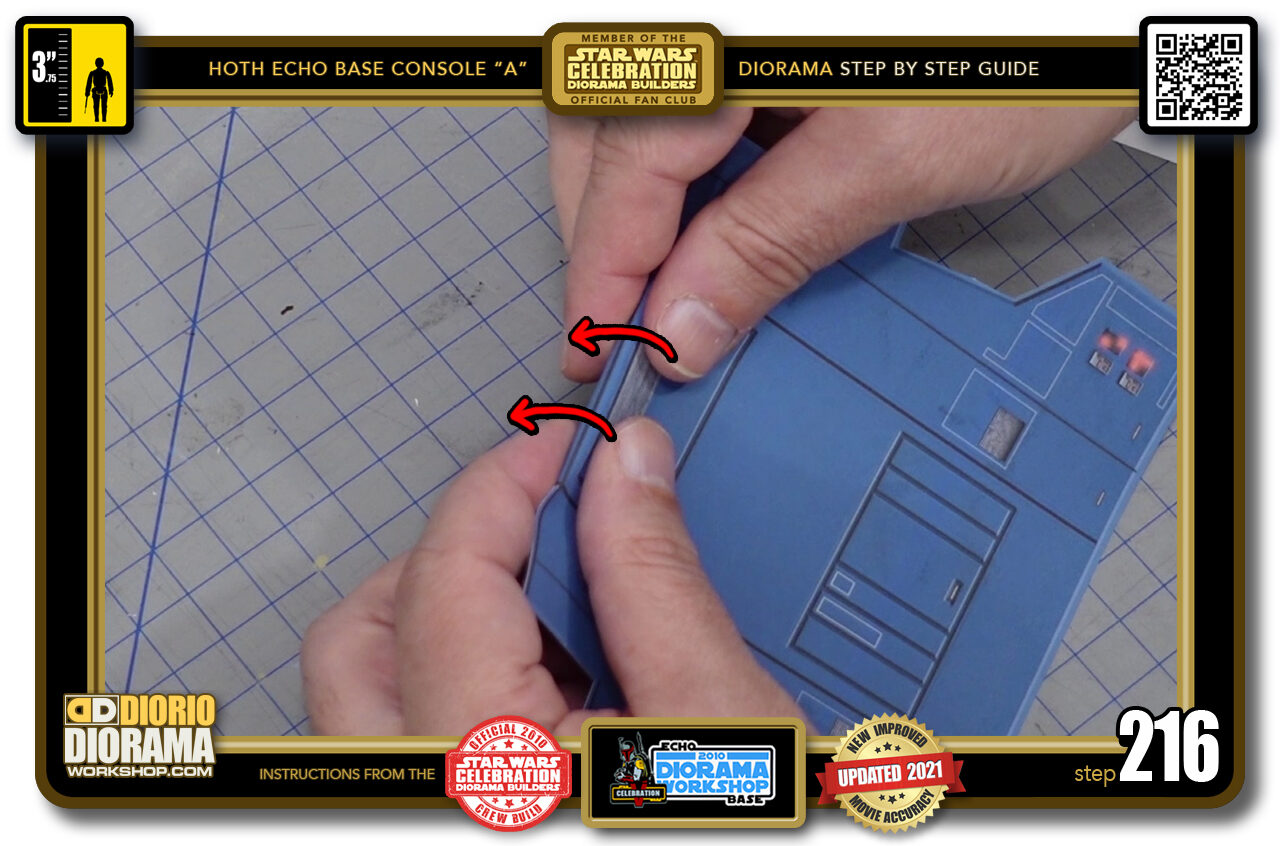
- STEP 216 > Start by gently bending the decal along the guide lines then pressing stronger to make the fold even more precise.
-
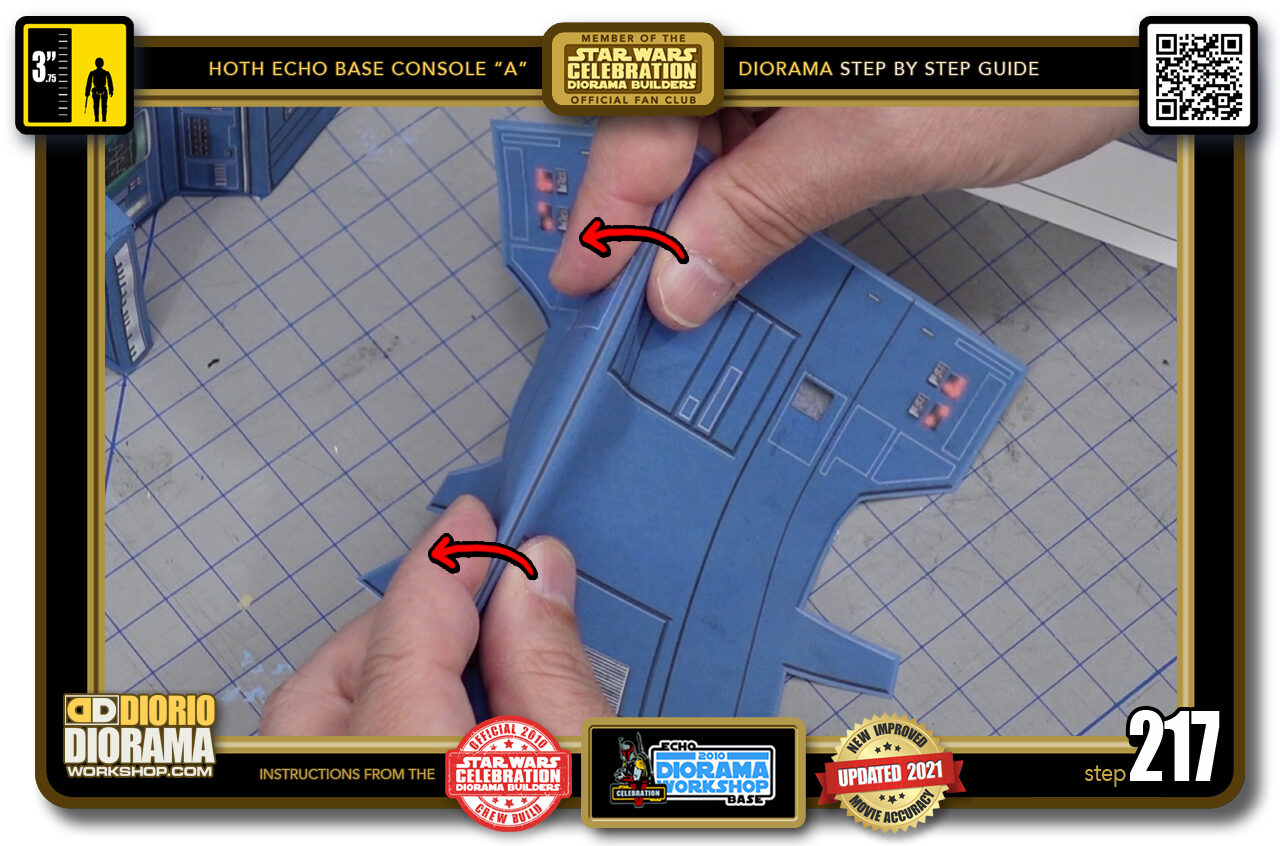
- STEP 217 > Do the same for the left side.
-
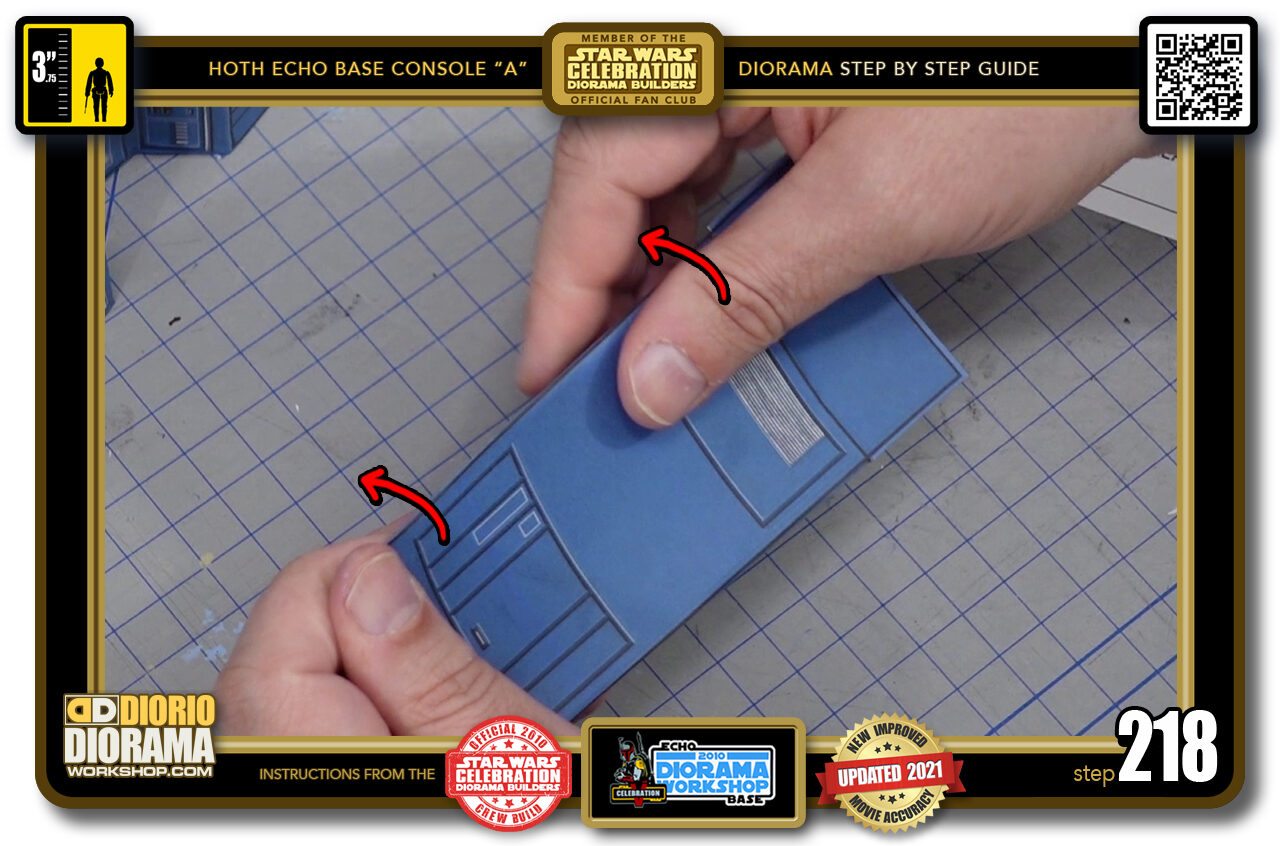
- STEP 218 > And the right one.
-
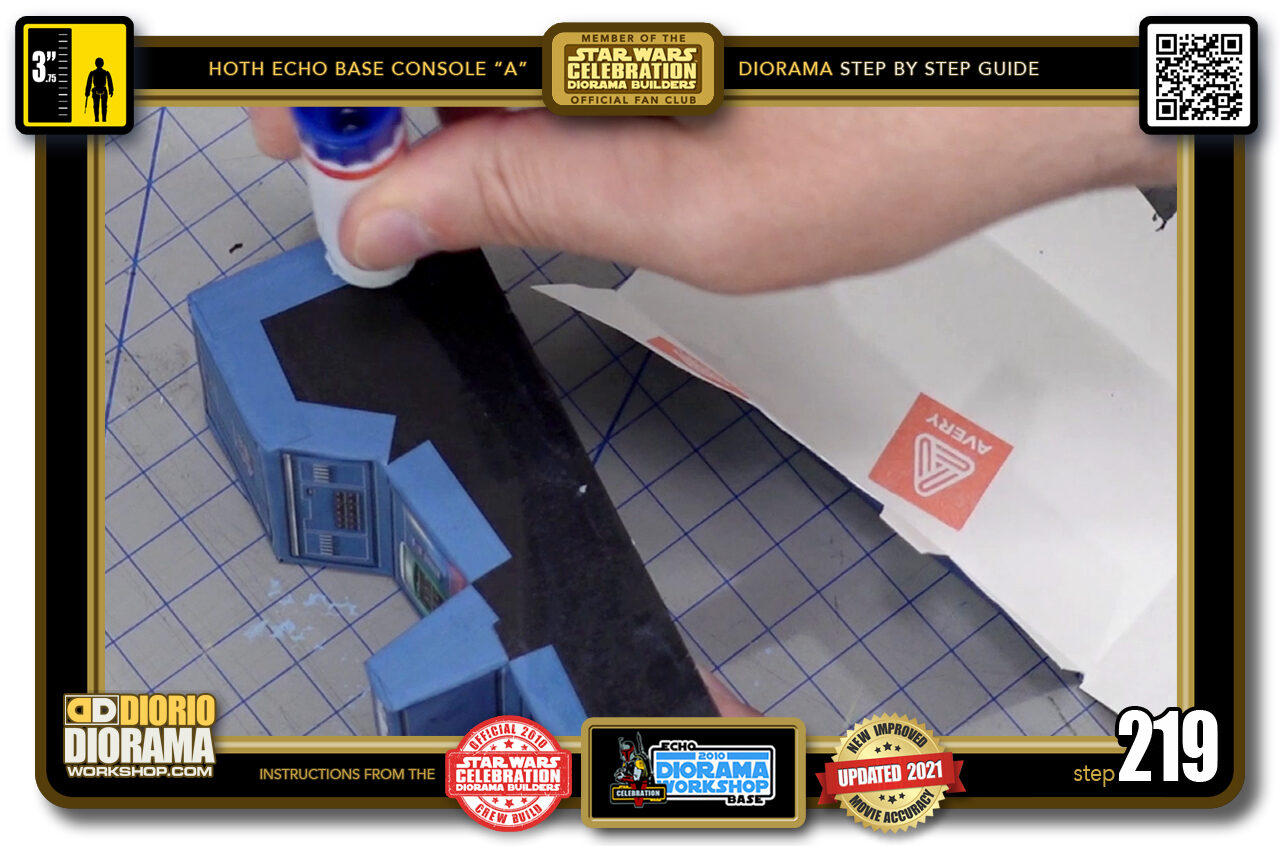
- STEP 219 > As before, we want to put a decent amount of gluestick on ONE SIDE ONLY at first.
-
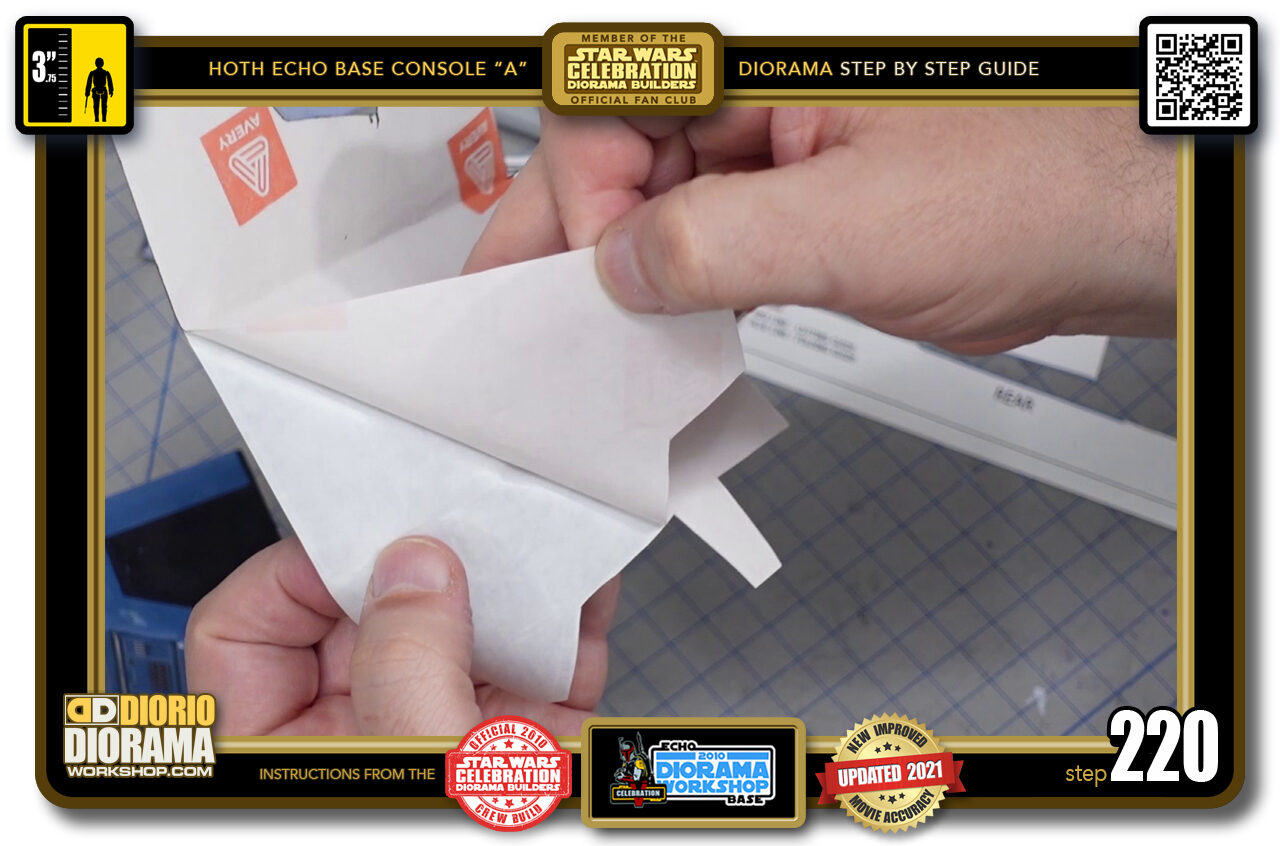
- STEP 220 > Peel your decal.

.
Did you already build this Diorama ? At home or at our Star Wars Celebration Diorama Builders workshop ? Would you like to show it in the site’s GALLERY VISITORS DIORAMAS section, YES ? That is Awesome !!! You can find out all the details on how to email me your photos on the VISITORS SUBMISSIONS INFO page … When I get your photos, I will create your very own page just like this one. You may not realize it but work does inspire others to join in the fun of making Action Figure Dioramas.
.
NOT FOR RESALE ALL Decals, tutorials and artwork are ©FrankDiorio (dioramaworkshop.com) and offered FOR FREE to the fans – that would be you ? so you can build and display my diorama designs in your very own home. I realize I cannot control what one does with my graphics once I place them on the web, I can only ask you as one fan to another, please respect the artist and do not be that jerk who uses my designs and tutorials to build a copy of my work only to sell it on EBAY or trade/sale groups and forums. Thank You. Frank.
.

.
.
If you have a facebook account, why not join the Official Diorama Builders Fan Club today, simply click the logo link below.
 .
.
Catch up with fellow visitors and exchange stories, read cool interviews with the crew, exchange photos, fun surprises and grab some FAN ONLY merchandise next year at actual future conventions ?
.
©2021 Frank Diorio DioramaWorkshop.Com
.
IF YOU LIKE WHAT YOU SEE, PLEASE SHARE WITH YOUR FRIENDS
USING THE SOCIAL MEDIA BUTTONS BELOW