


-
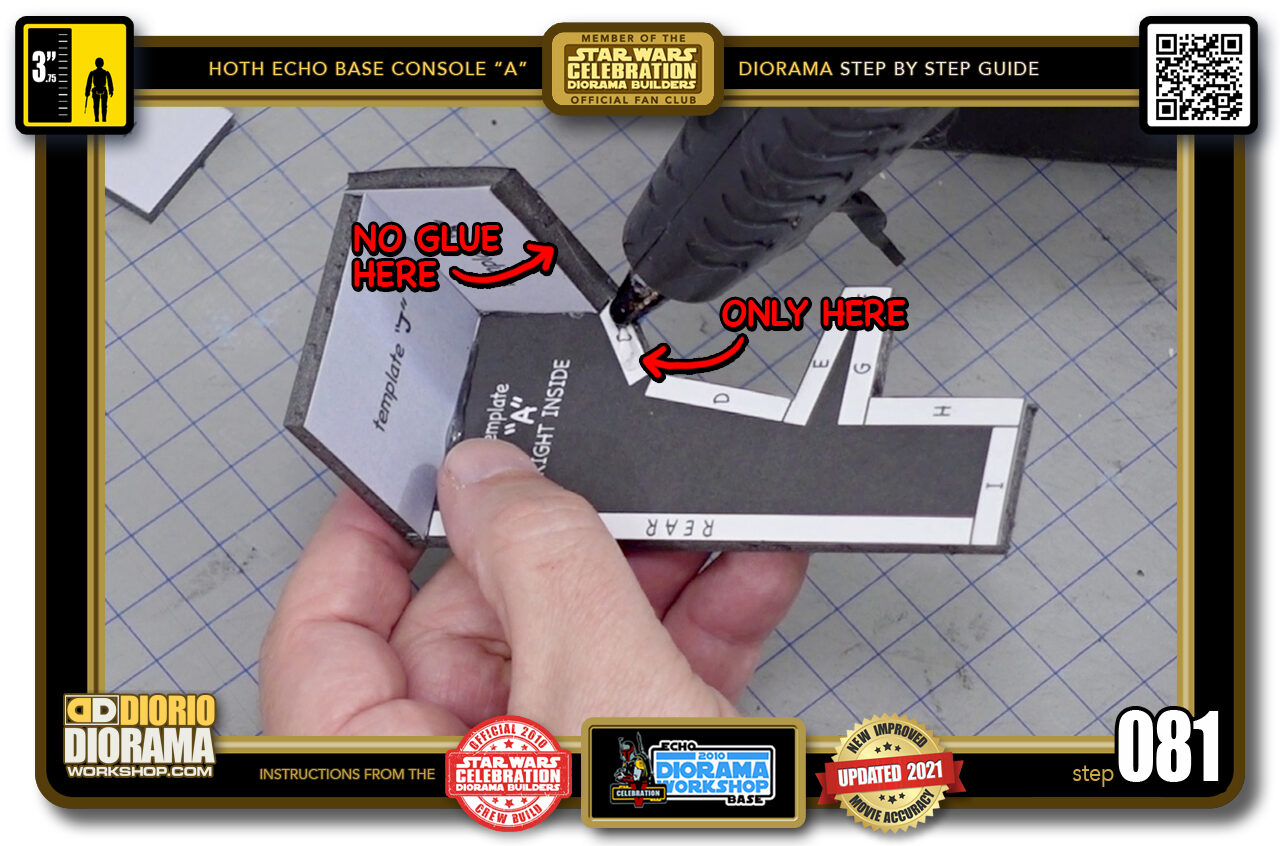
- STEP 081 > Next up put a small line of hot glue along the "C" white guide box and UP along the side of your "B" template angled corners edge.
-
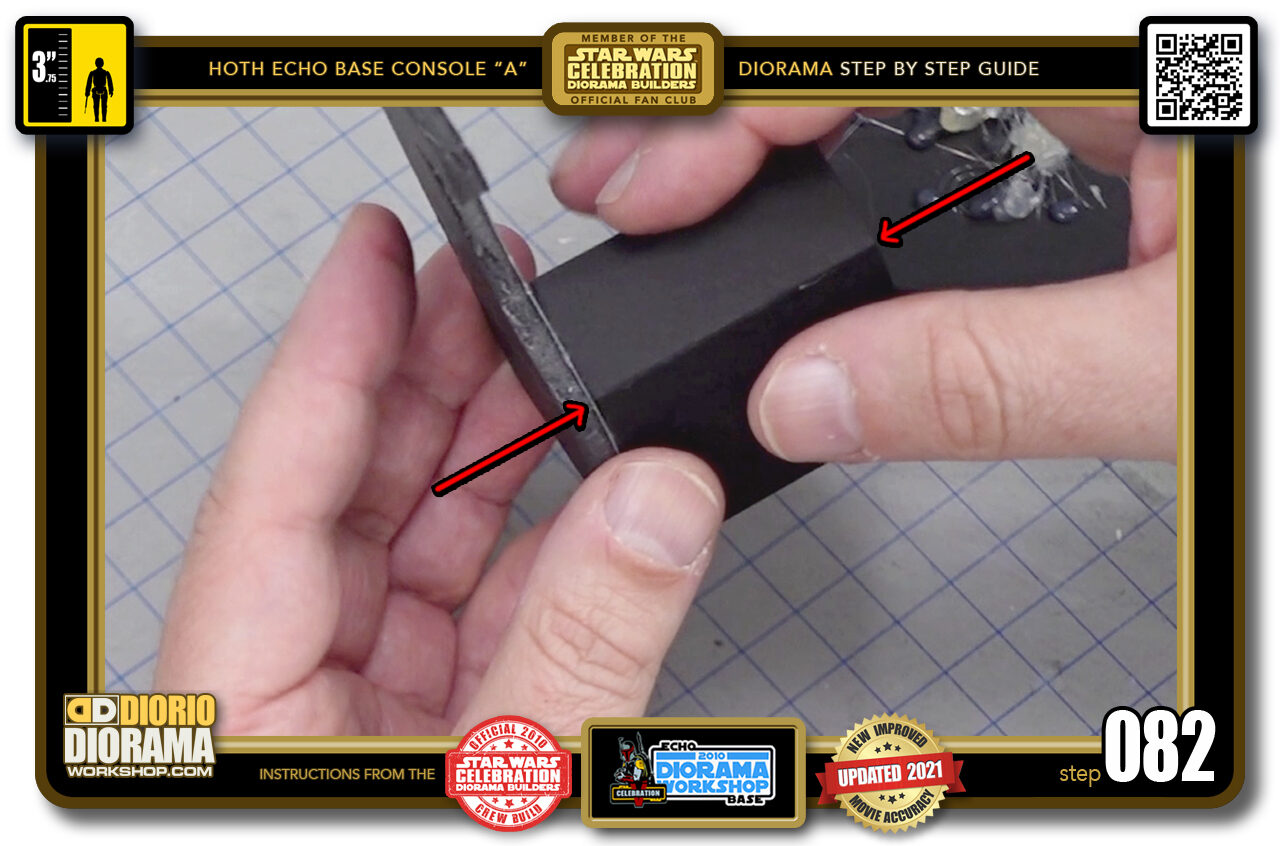
- STEP 082 > Align "B" and "C" so that they connect FLUSH in the front. (red arrows). Also make sure it is FLUSH with the side edge.
-
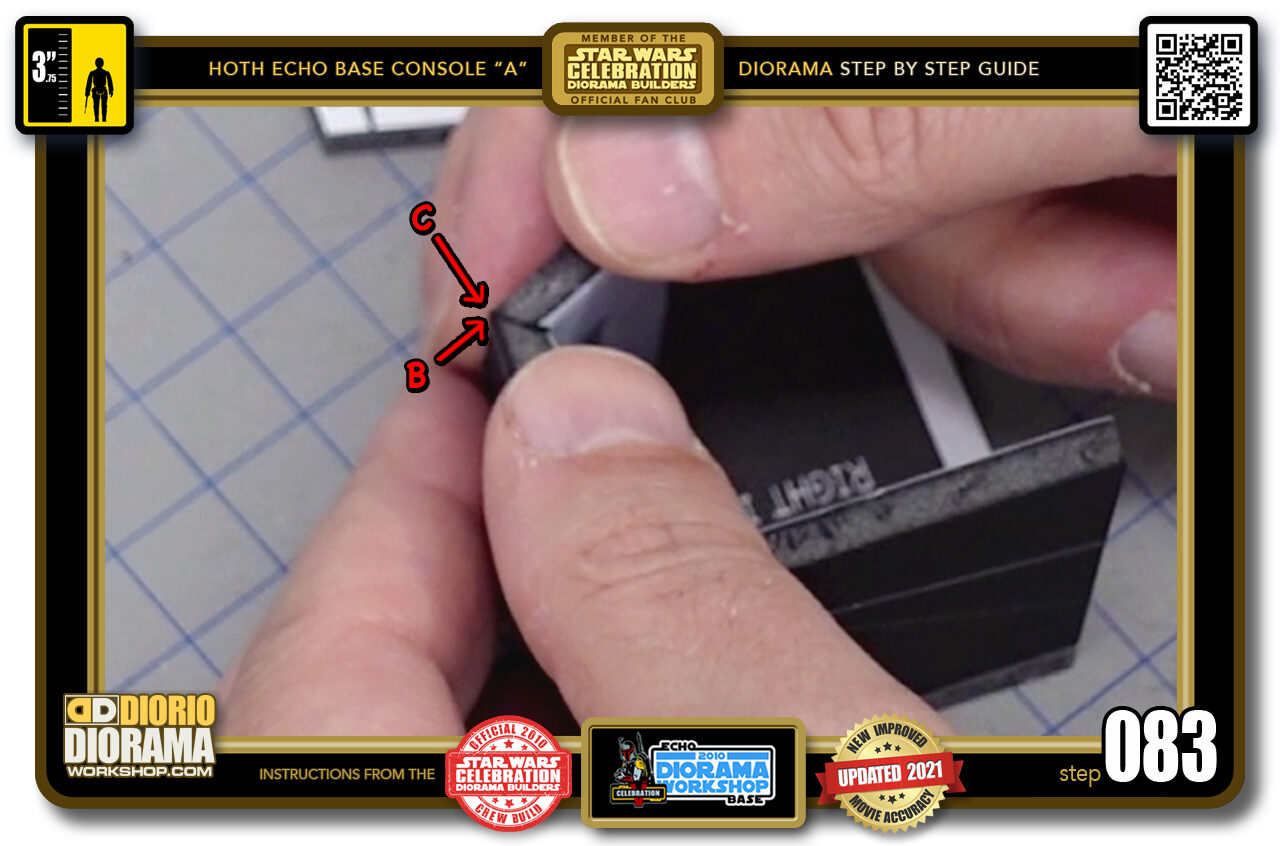
- STEP 083 > You want the OUTSIDE TIPS to TOUCH like you see here in the photo.
-
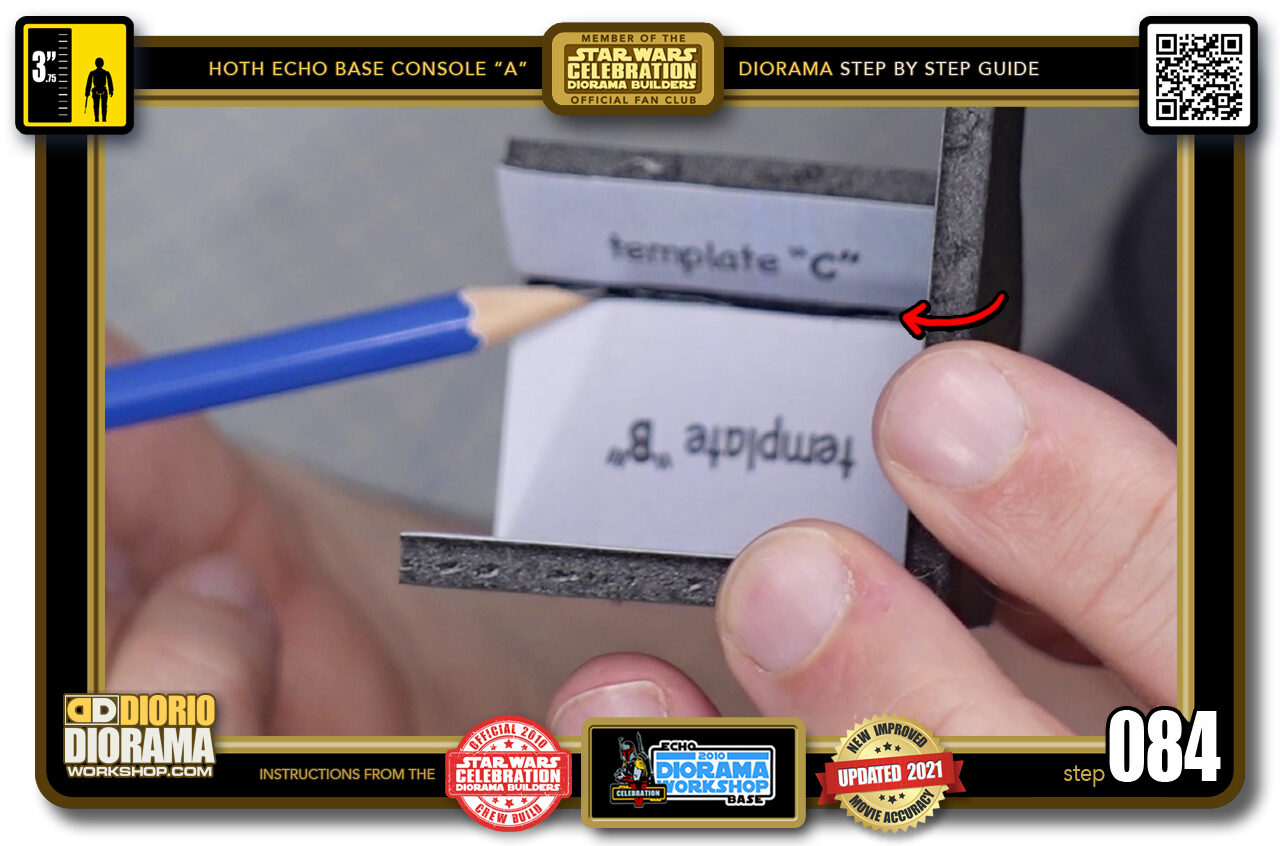
- STEP 084 > It is normal that your INSIDES do not touch 100% and leave an empty gap like you see here (red arrow and pencil)
-
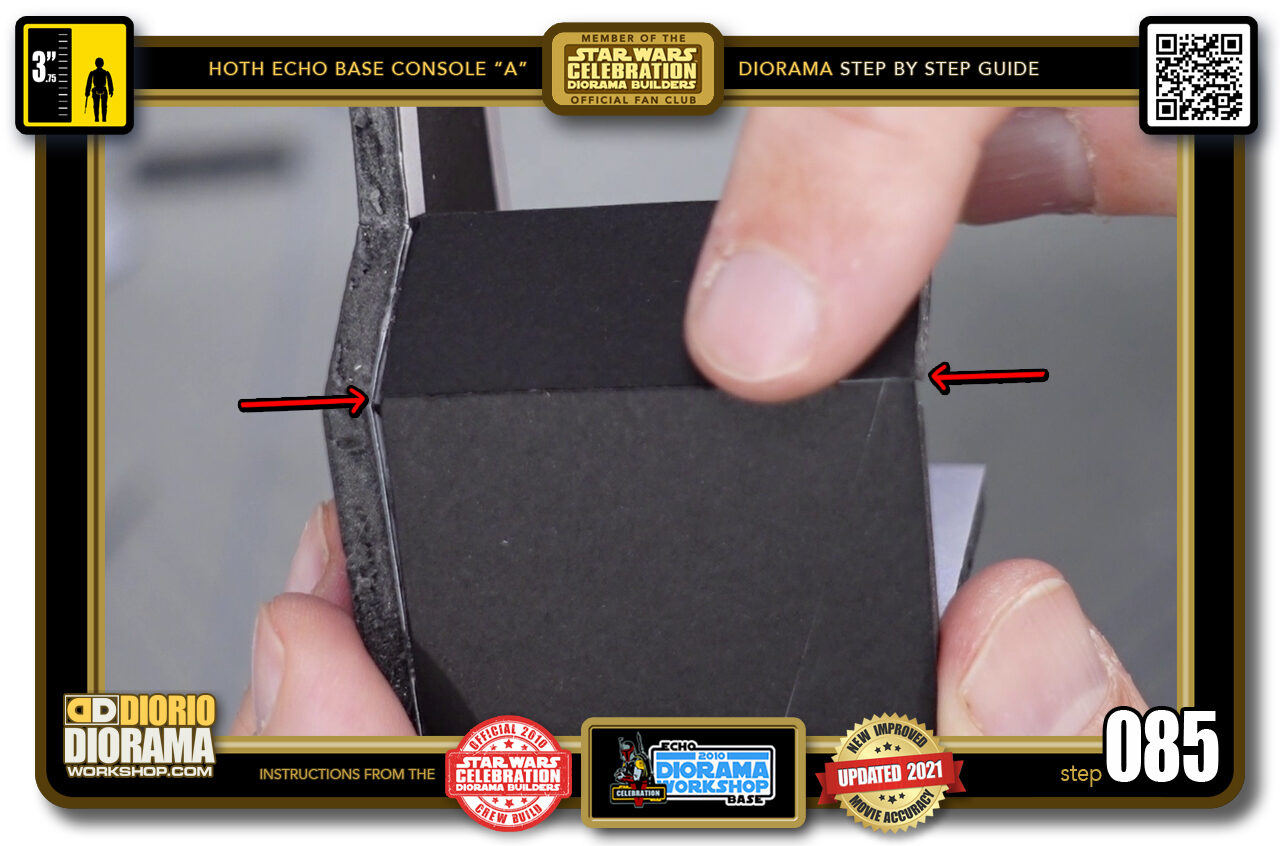
- STEP 085 > What is MOST IMPORTANT is that your connection in the FRONT are FLUSH NICE and CLEAN.
-
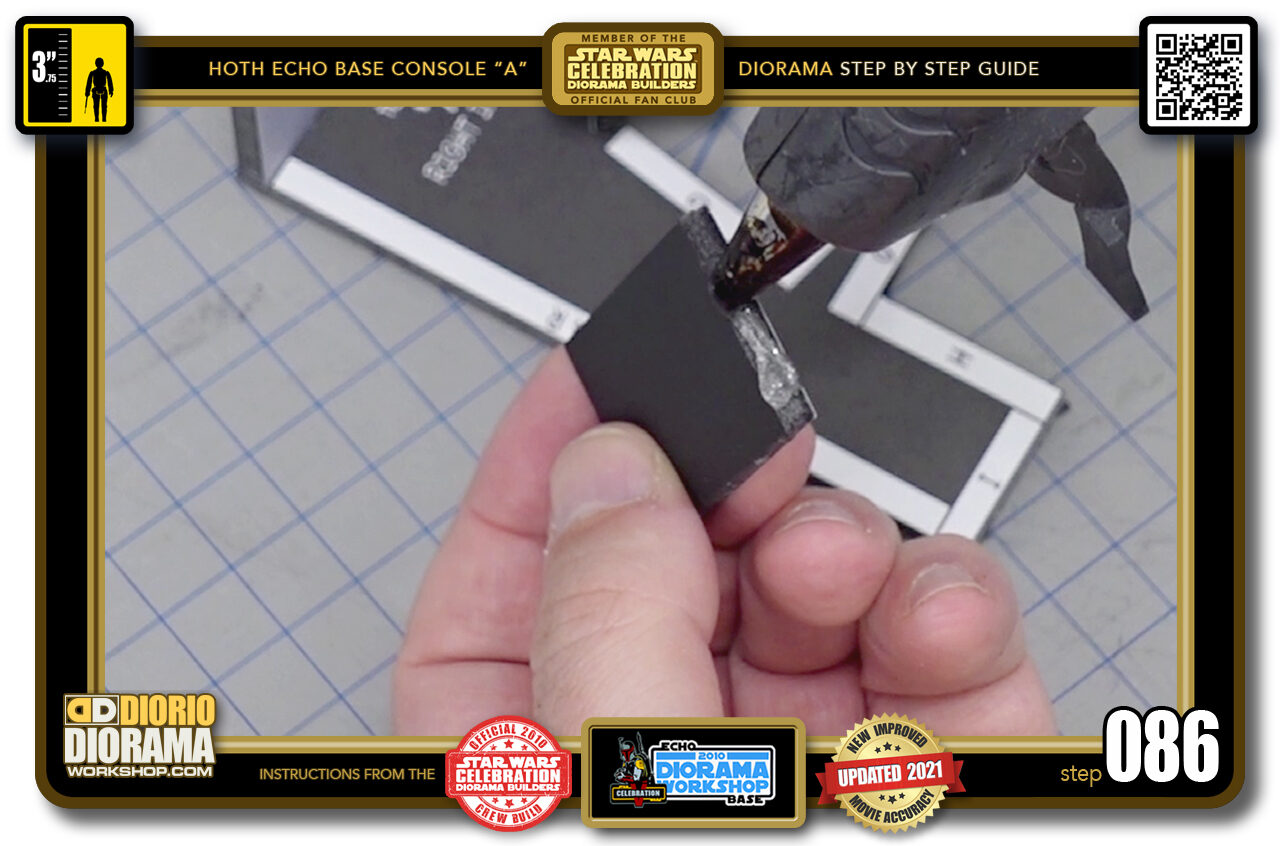
- STEP 086 > Next is "D" template. Put a line of hot glue ONLY along the bottom edge.
-
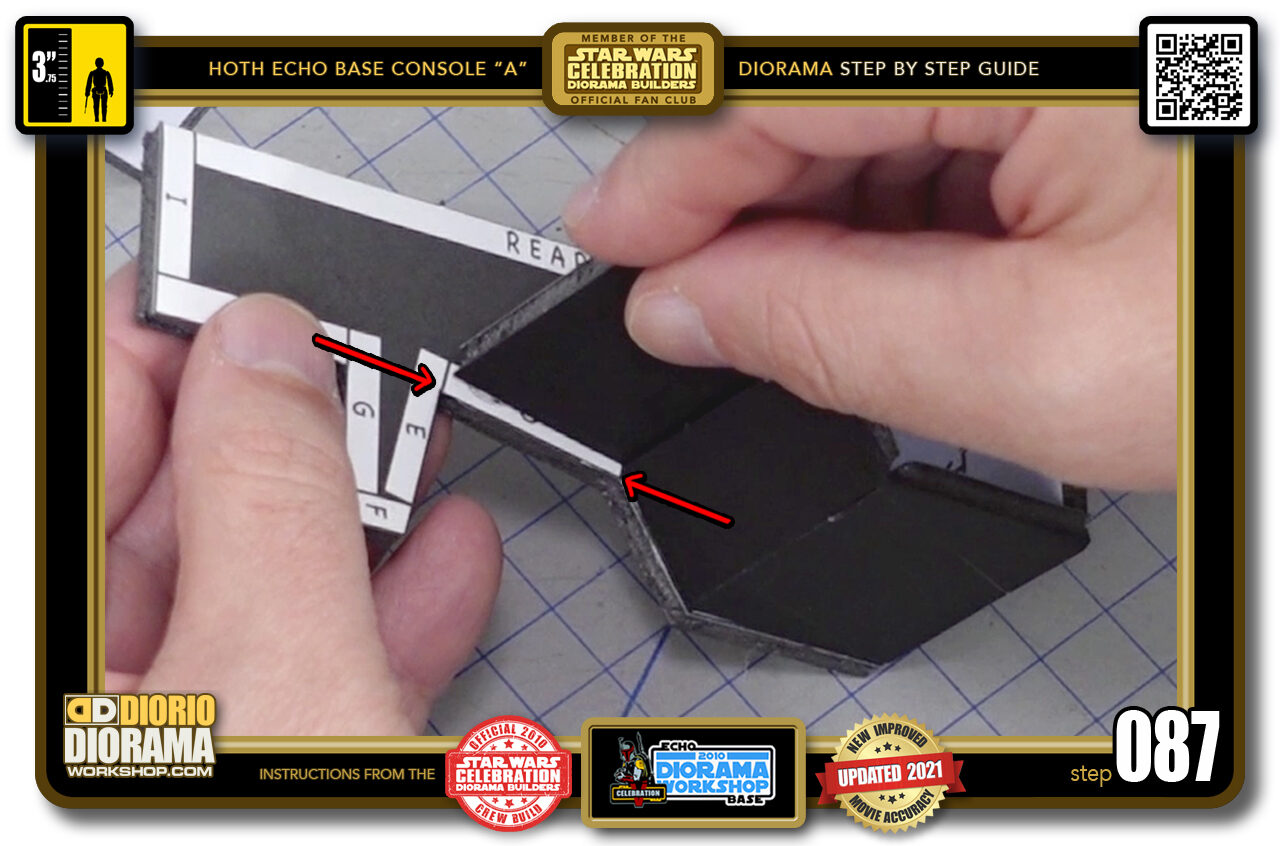
- STEP 087 > Carefully place it inside your white guide box. Bring it FLUSH to the front so all the side edges line up (red arrows).
-
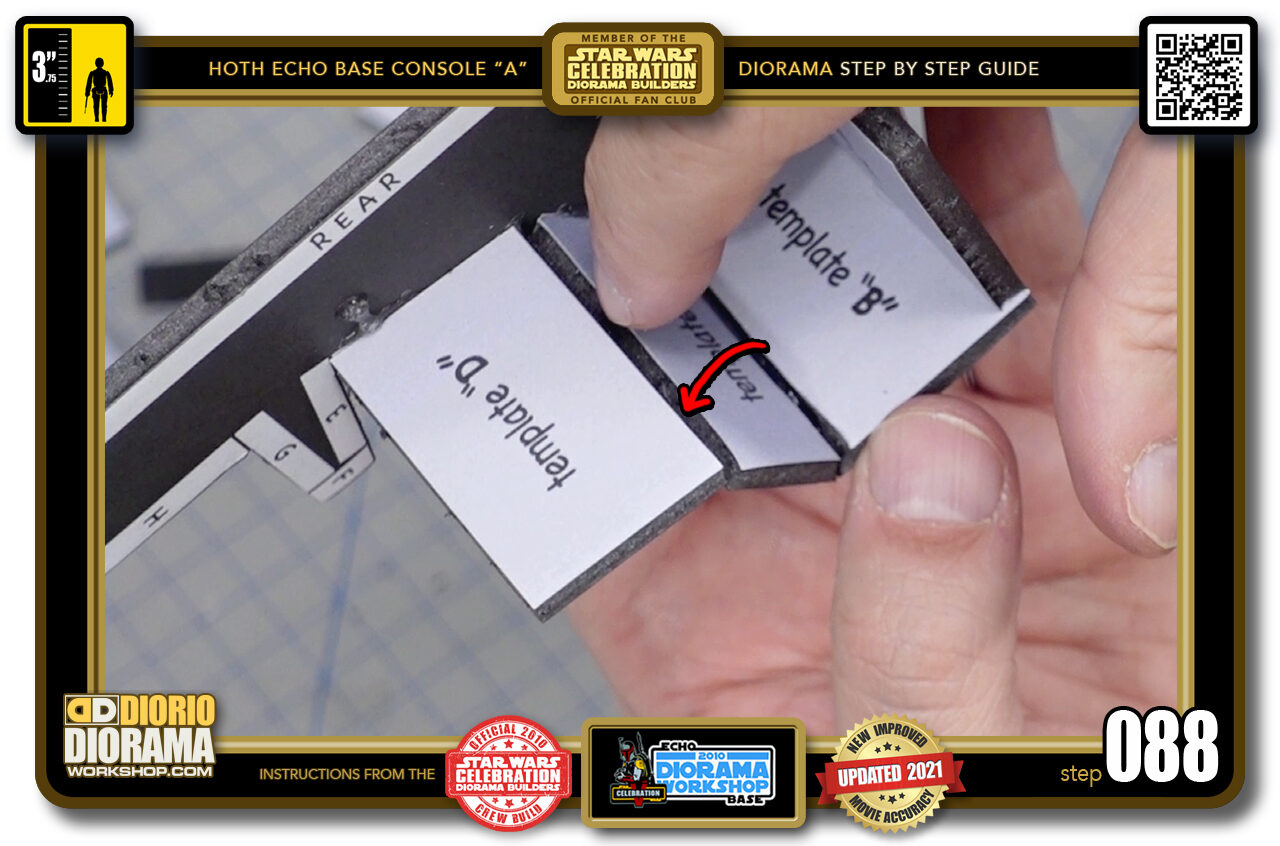
- STEP 088 > We now want to attach these 2 pieces together by putting 2 drops of hot glue inside the foamcore gap (red arrow).
-

- STEP 089 > First, gently press the 2 pieces close together until they make contact (red arrow) and put your thumb on top to prevent them from sliding apart.
-
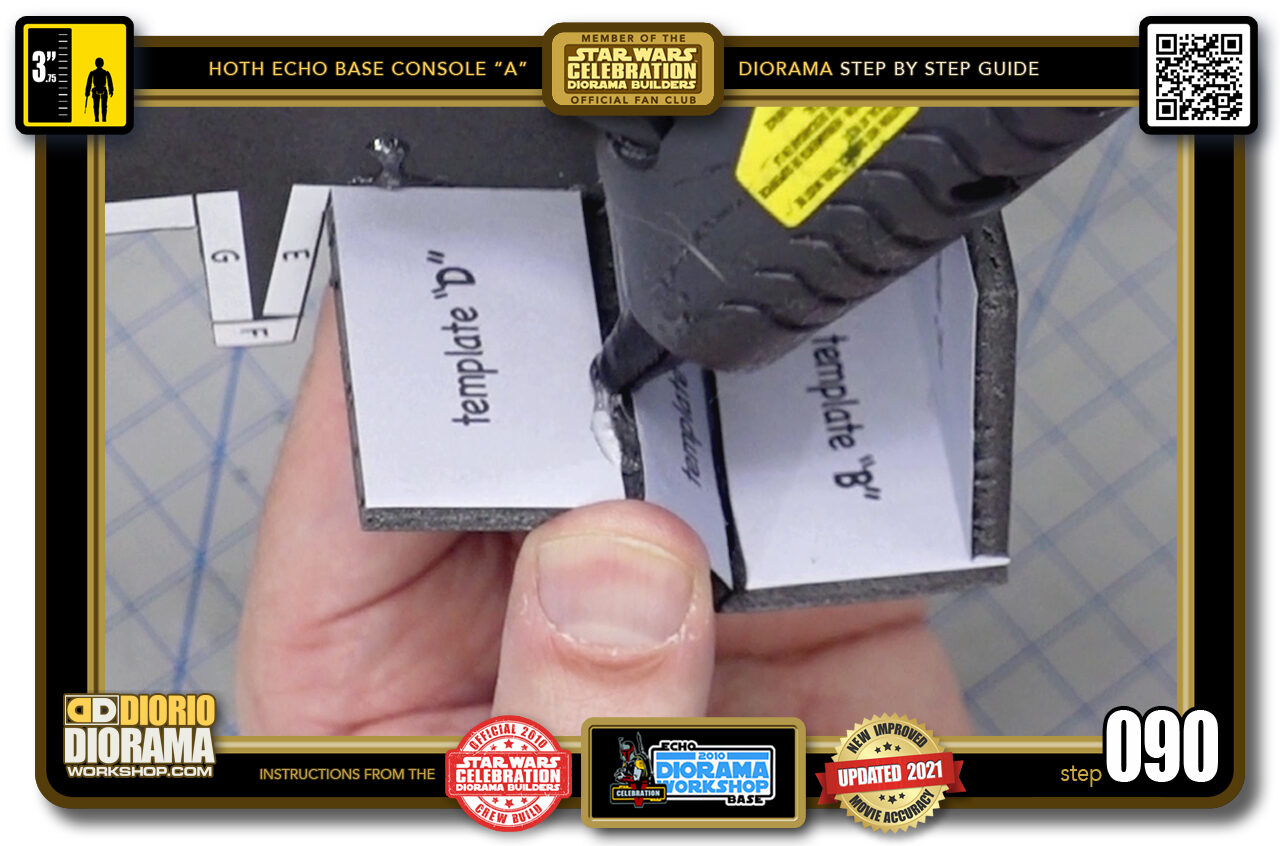
- STEP 090 > Keeping pressure with your thumb, put 2 small drops of hot glue and ...
-
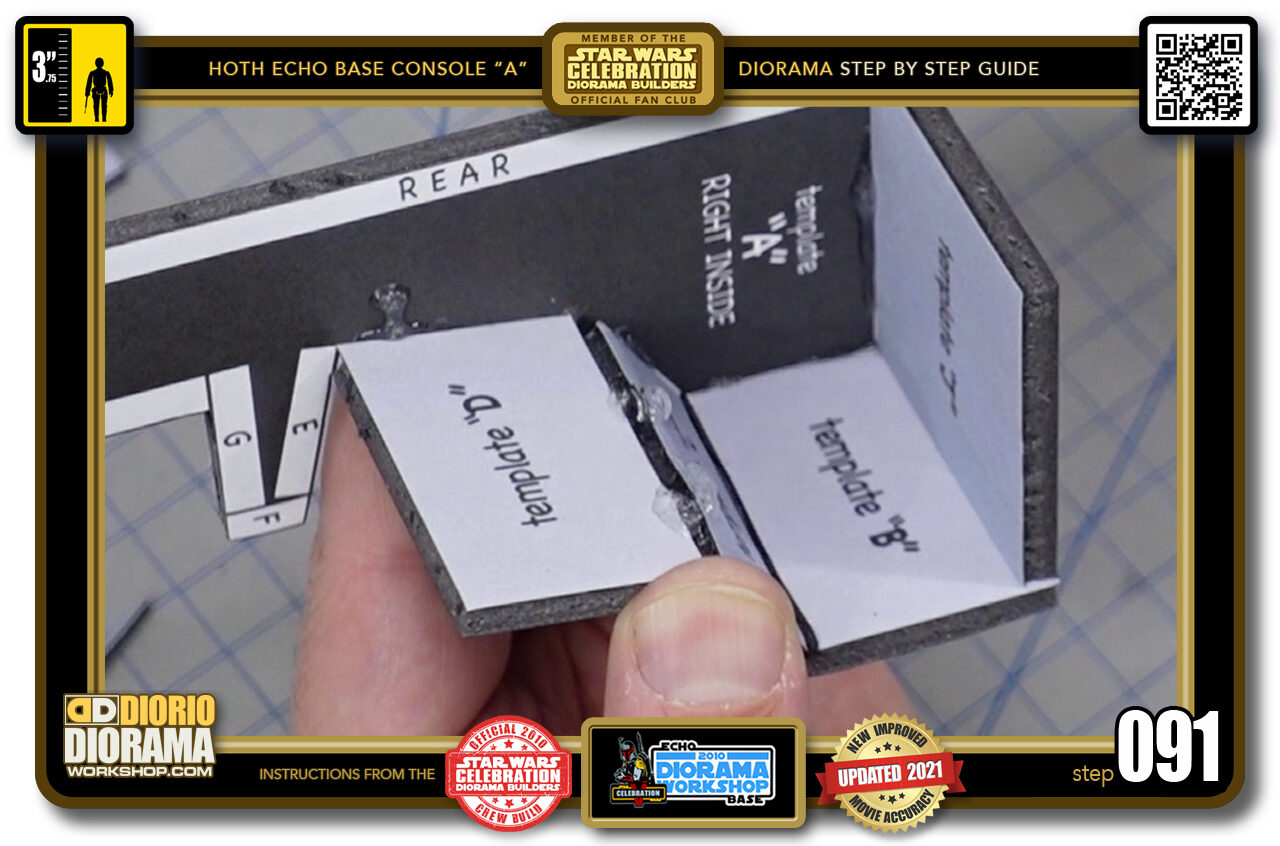
- STEP 091 > ... Hold until the glue cools down and the pieces are secured in place.
-
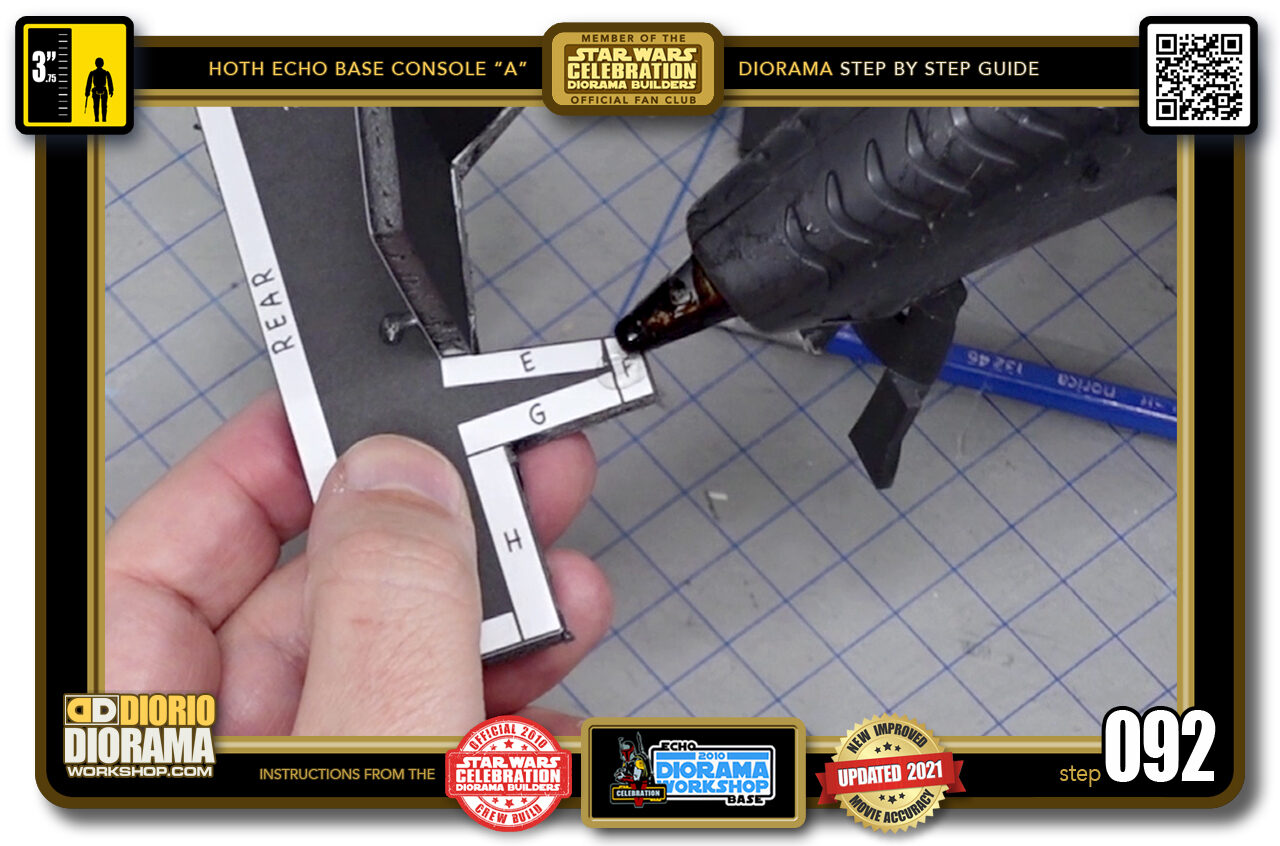
- STEP 092 > Next is NOT "E" but the end cap "F" template piece. Put a small drop of hot glue on the white guide box.
-
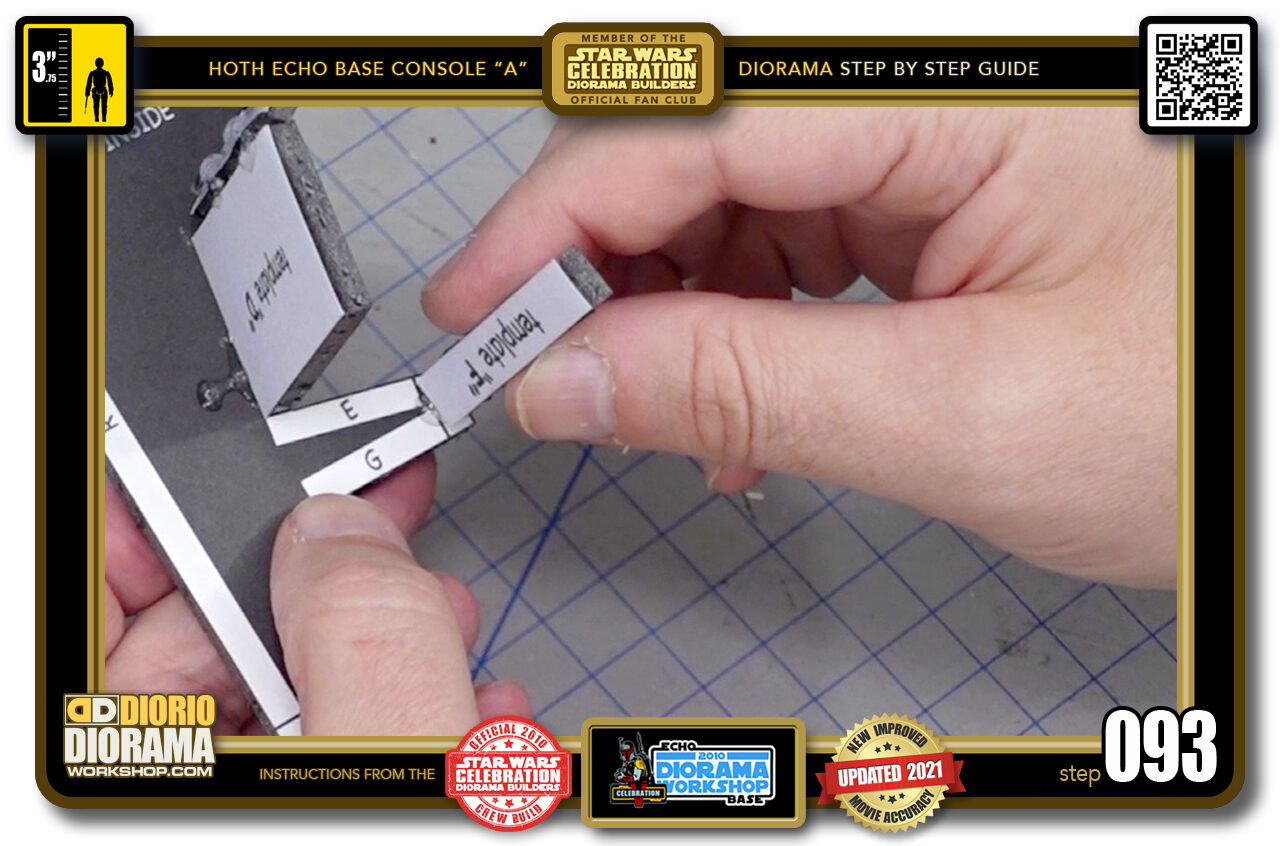
- STEP 093 > Align the side inside the white guide box and wiggle until you get a clean 90 degree FLUSH connection.
-
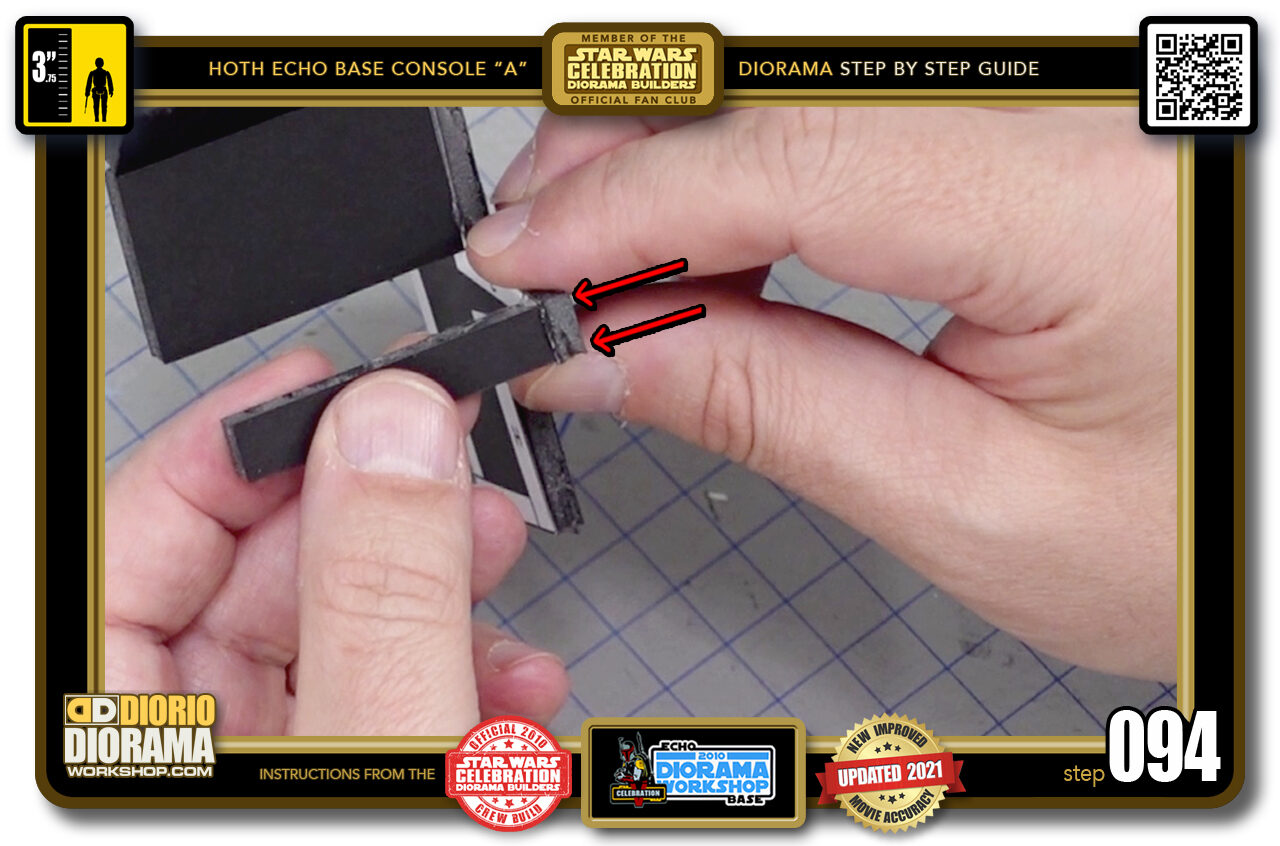
- STEP 094 > You want to have the top and bottom (red arrows) matching up with the side's front tip.
-
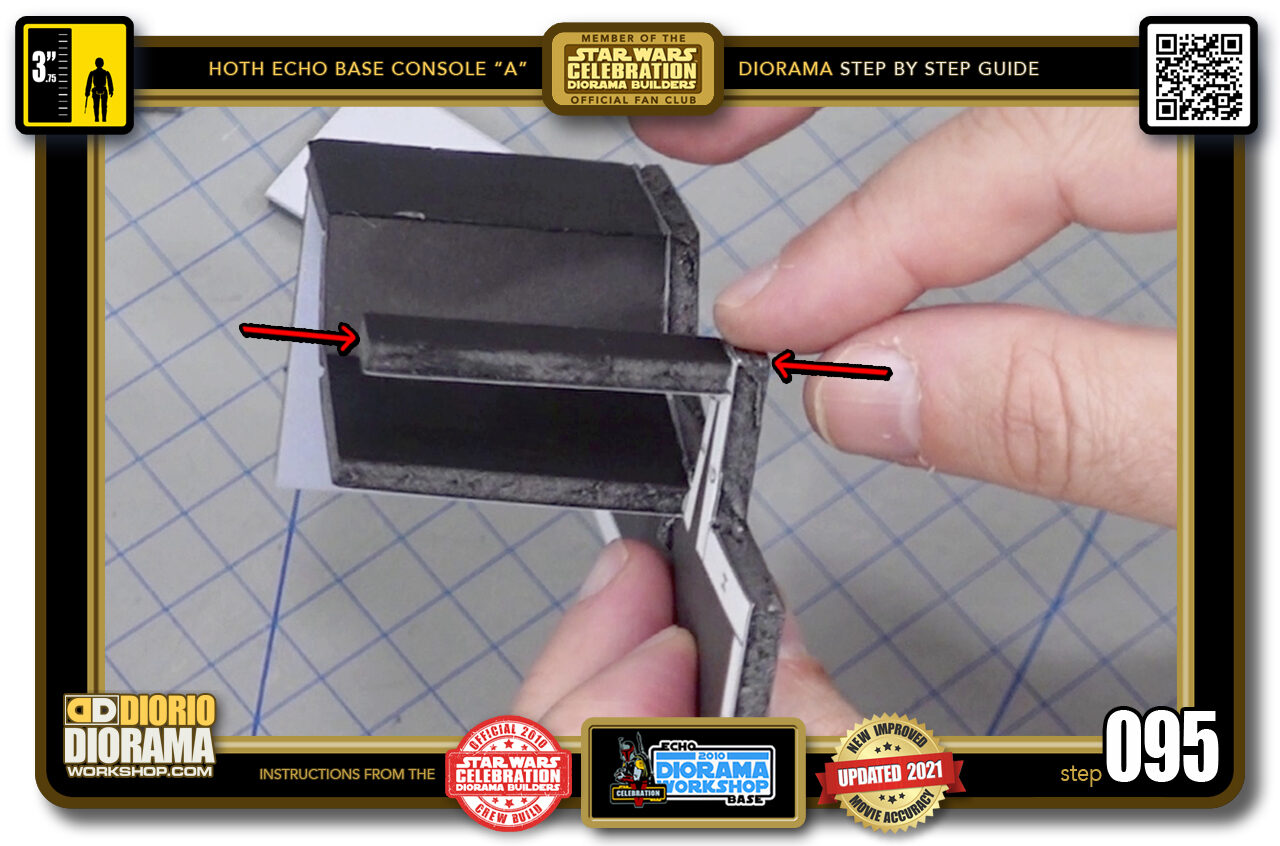
- STEP 095 > As well as FLUSH with the front edge to give you a smooth line that will allow your decal skin to be applied without showing any bumps on the ends.
-
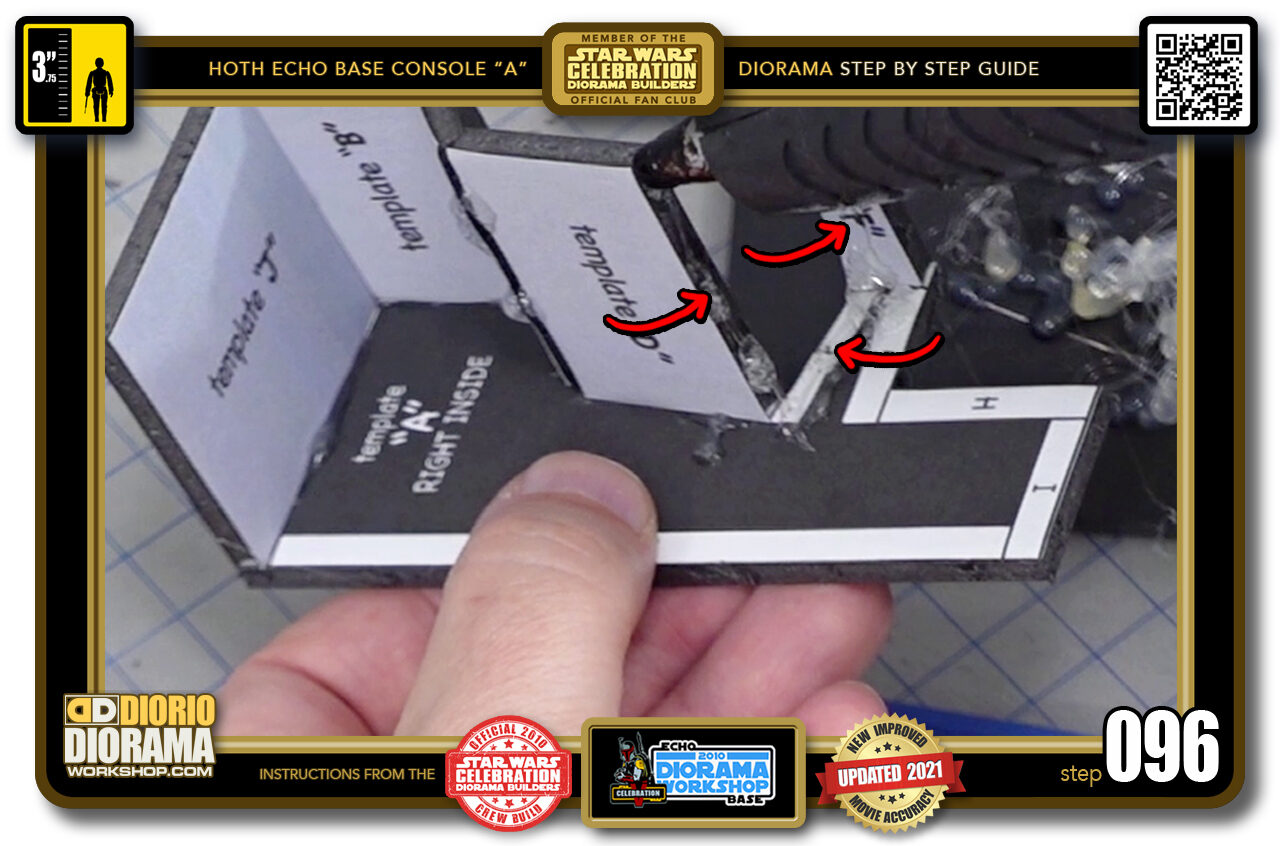
- STEP 096 > "E" template is next. Put some hot glue along the "E" white guide box and UP the SIDES of your "D" and "F" templates.
-
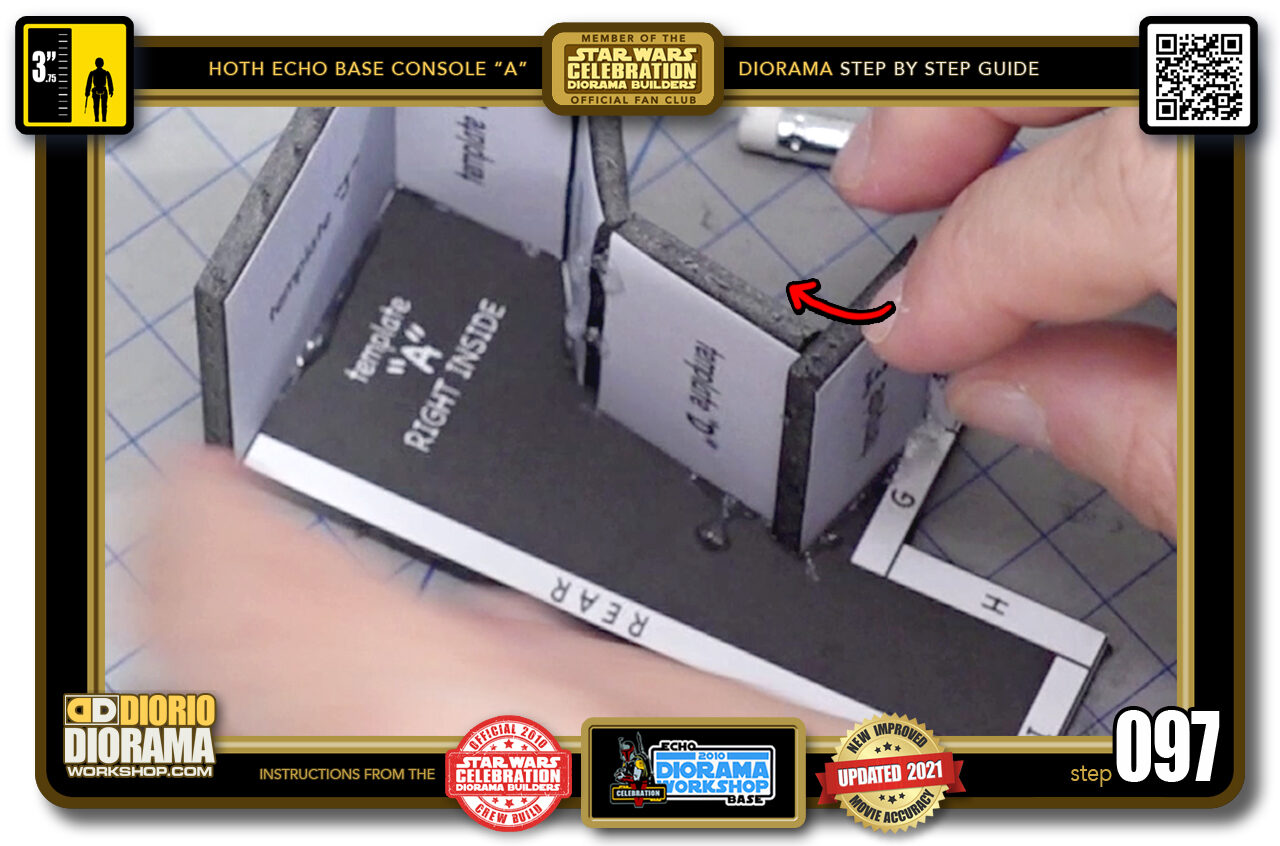
- STEP 097 > Place your "E" template bottom inside it's white guide box then PUSH with your finger at the top until it presses against the "D" template edge.
-
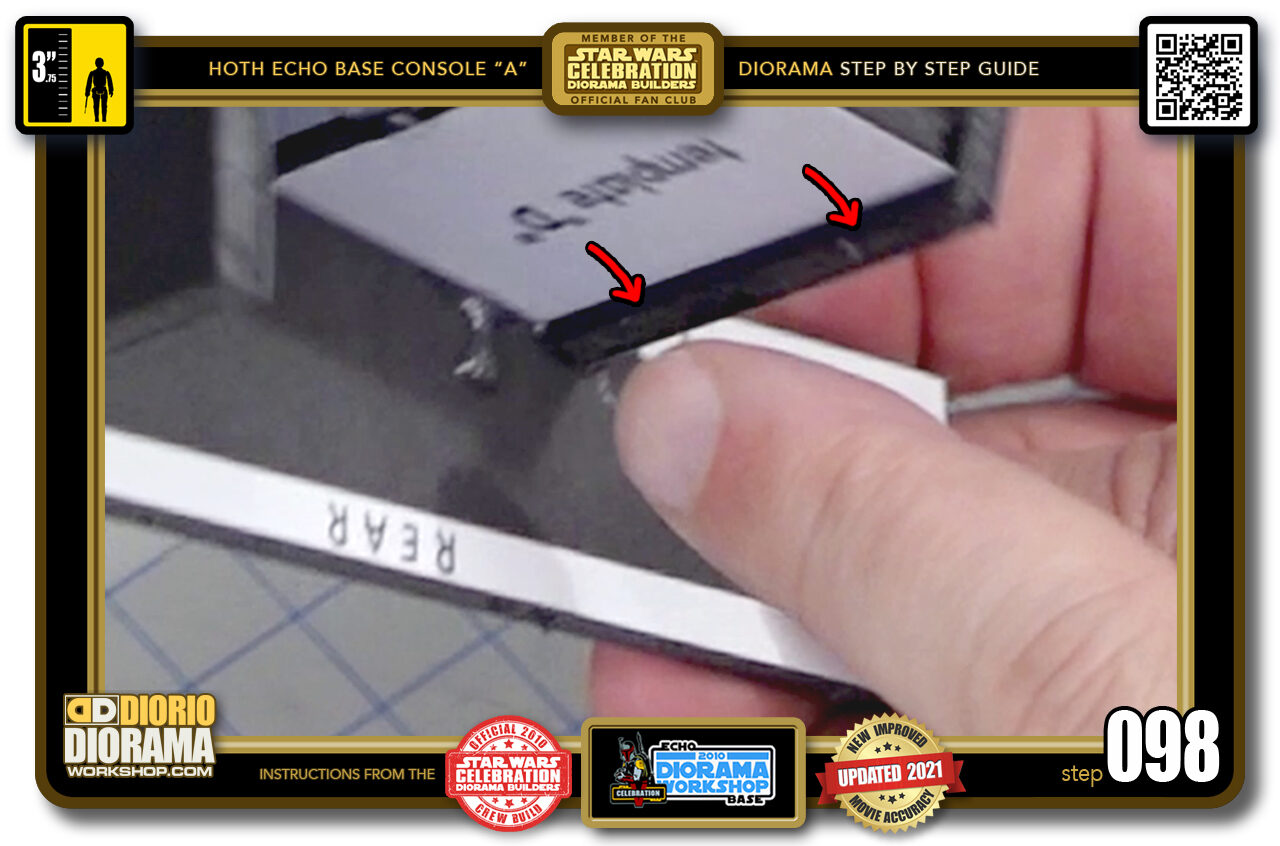
- STEP 098 > It is NORMAL that your piece STICKS OUT about .5cm past the "D" edge.
-
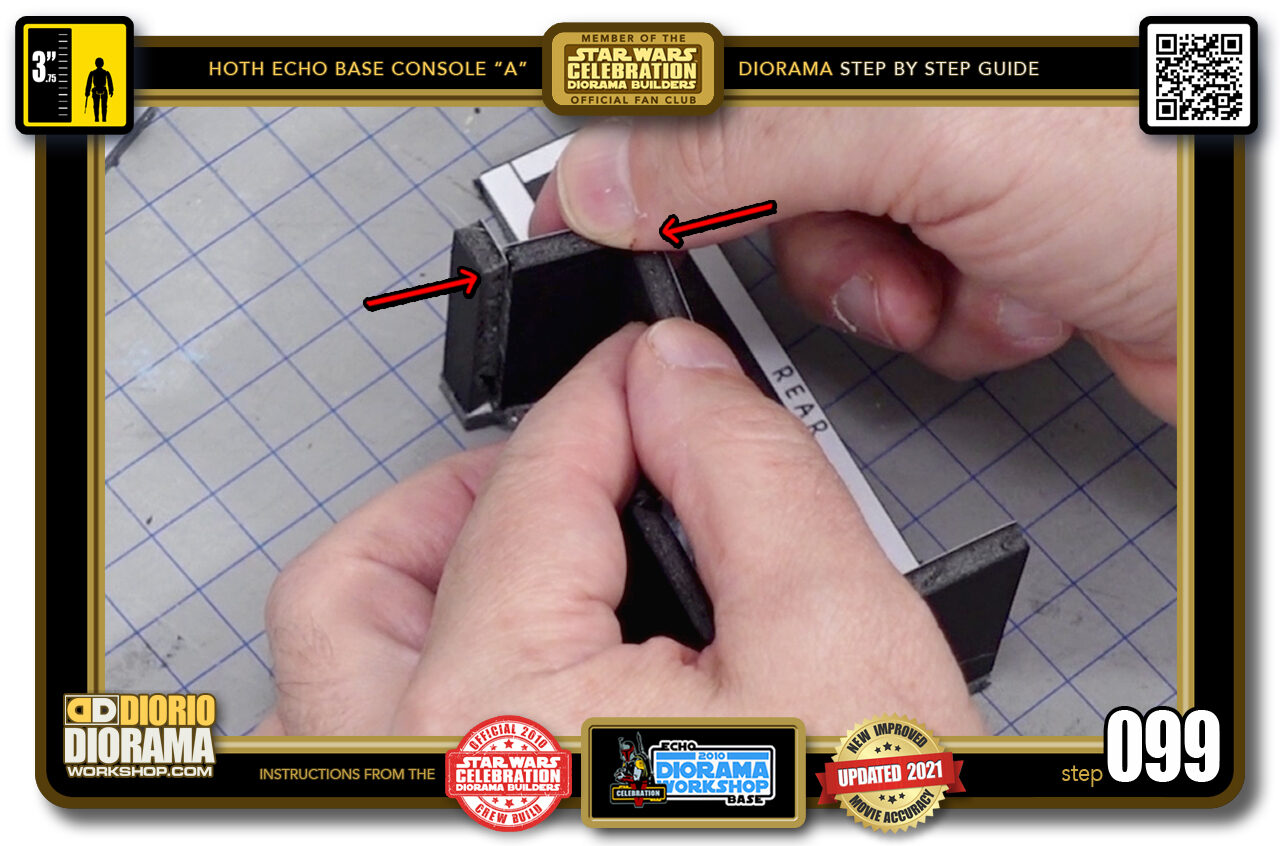
- STEP 099 > Also make sure your other "E" side matches up with your "F" front and remains FLUSH on the TOP edge.
-
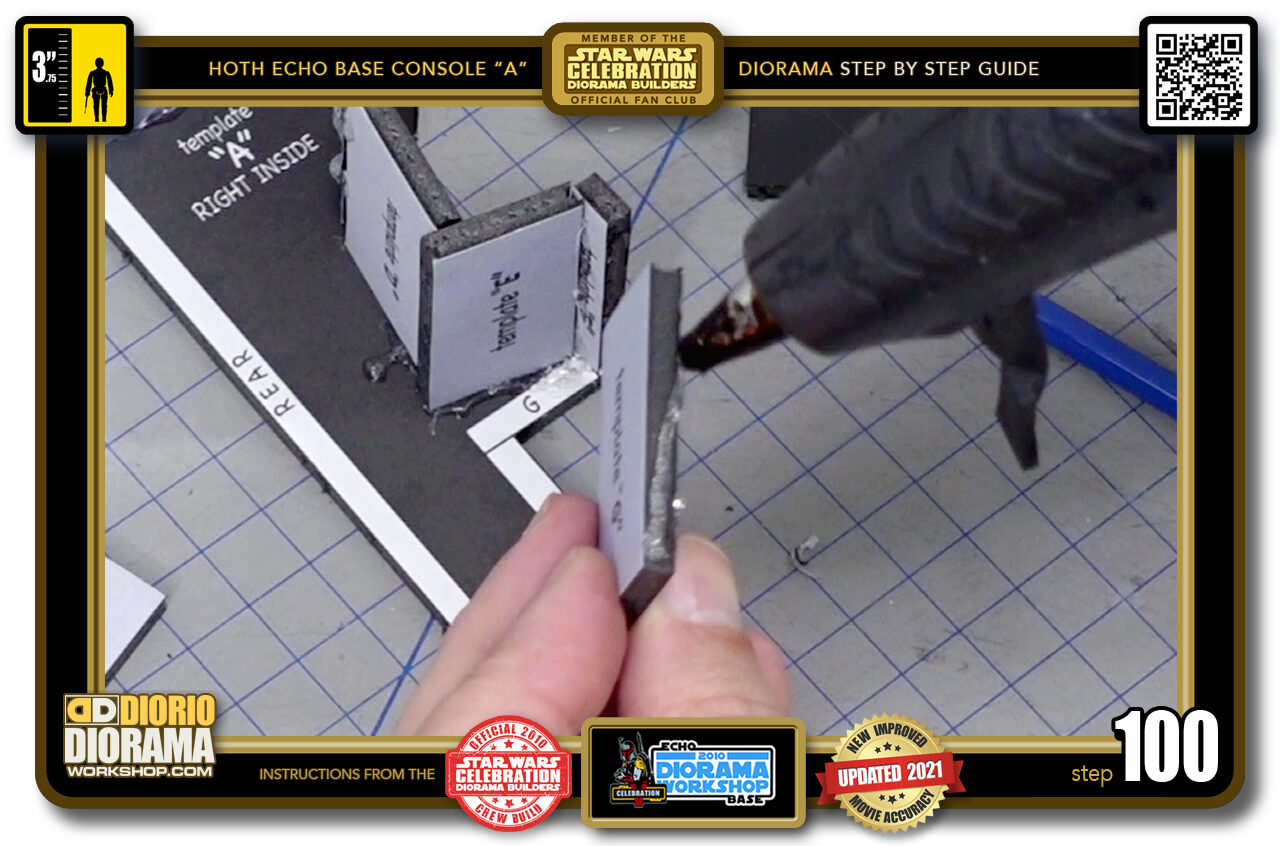
- STEP 100 > You can now move to "G" by putting a small line of hot glue along the BOTTOM and INSIDE your "G" White Guide Box.

.
Did you already build this Diorama ? At home or at our Star Wars Celebration Diorama Builders workshop ? Would you like to show it in the site’s GALLERY VISITORS DIORAMAS section, YES ? That is Awesome !!! You can find out all the details on how to email me your photos on the VISITORS SUBMISSIONS INFO page … When I get your photos, I will create your very own page just like this one. You may not realize it but work does inspire others to join in the fun of making Action Figure Dioramas.
.
NOT FOR RESALE ALL Decals, tutorials and artwork are ©FrankDiorio (dioramaworkshop.com) and offered FOR FREE to the fans – that would be you ? so you can build and display my diorama designs in your very own home. I realize I cannot control what one does with my graphics once I place them on the web, I can only ask you as one fan to another, please respect the artist and do not be that jerk who uses my designs and tutorials to build a copy of my work only to sell it on EBAY or trade/sale groups and forums. Thank You. Frank.
.

.
.
If you have a facebook account, why not join the Official Diorama Builders Fan Club today, simply click the logo link below.
 .
.
Catch up with fellow visitors and exchange stories, read cool interviews with the crew, exchange photos, fun surprises and grab some FAN ONLY merchandise next year at actual future conventions ?
.
©2021 Frank Diorio DioramaWorkshop.Com
.
IF YOU LIKE WHAT YOU SEE, PLEASE SHARE WITH YOUR FRIENDS
USING THE SOCIAL MEDIA BUTTONS BELOW