


-
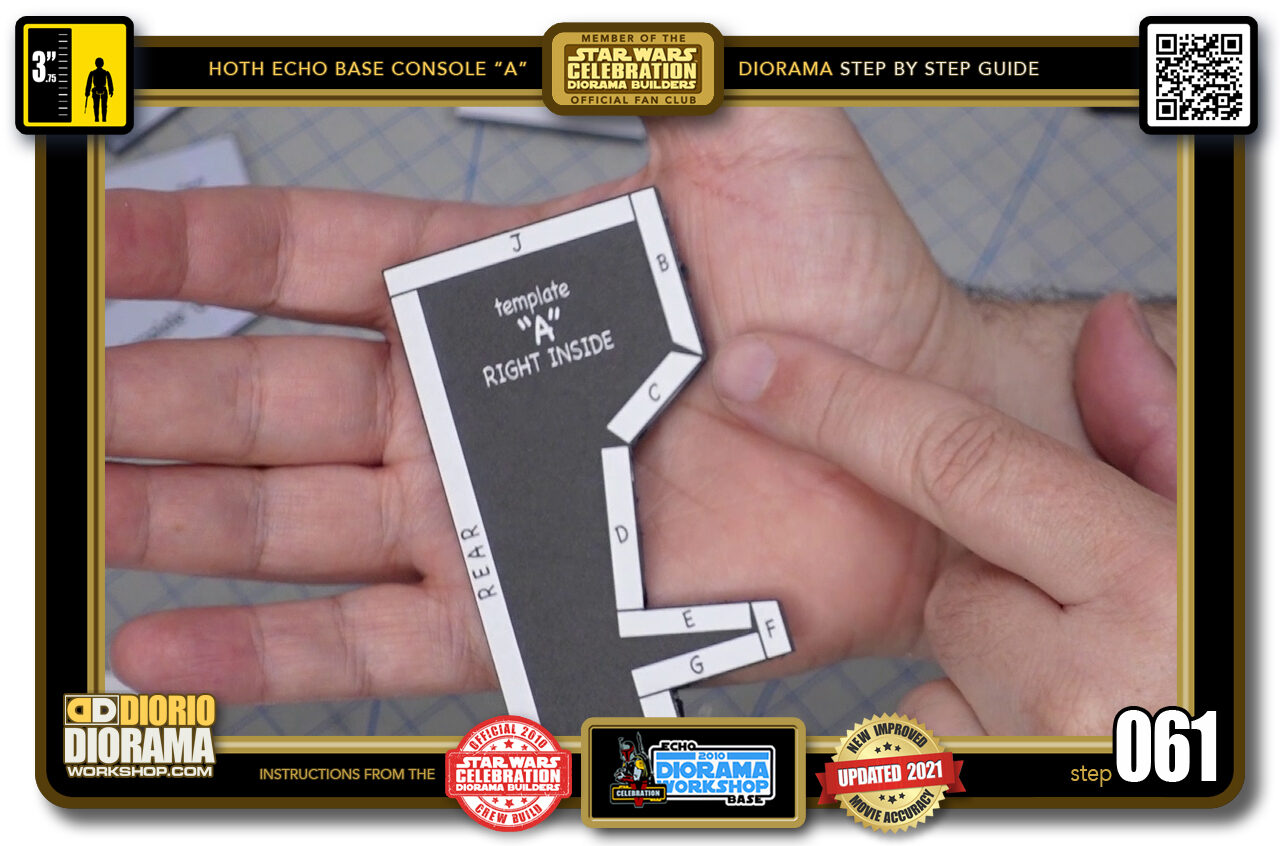
- STEP 061 > Before we start hot gluing our pieces to the body sides, you will notice that for pieces "B" and "C" there is an ANGLE that needs to be cut for them to connect properly.
-
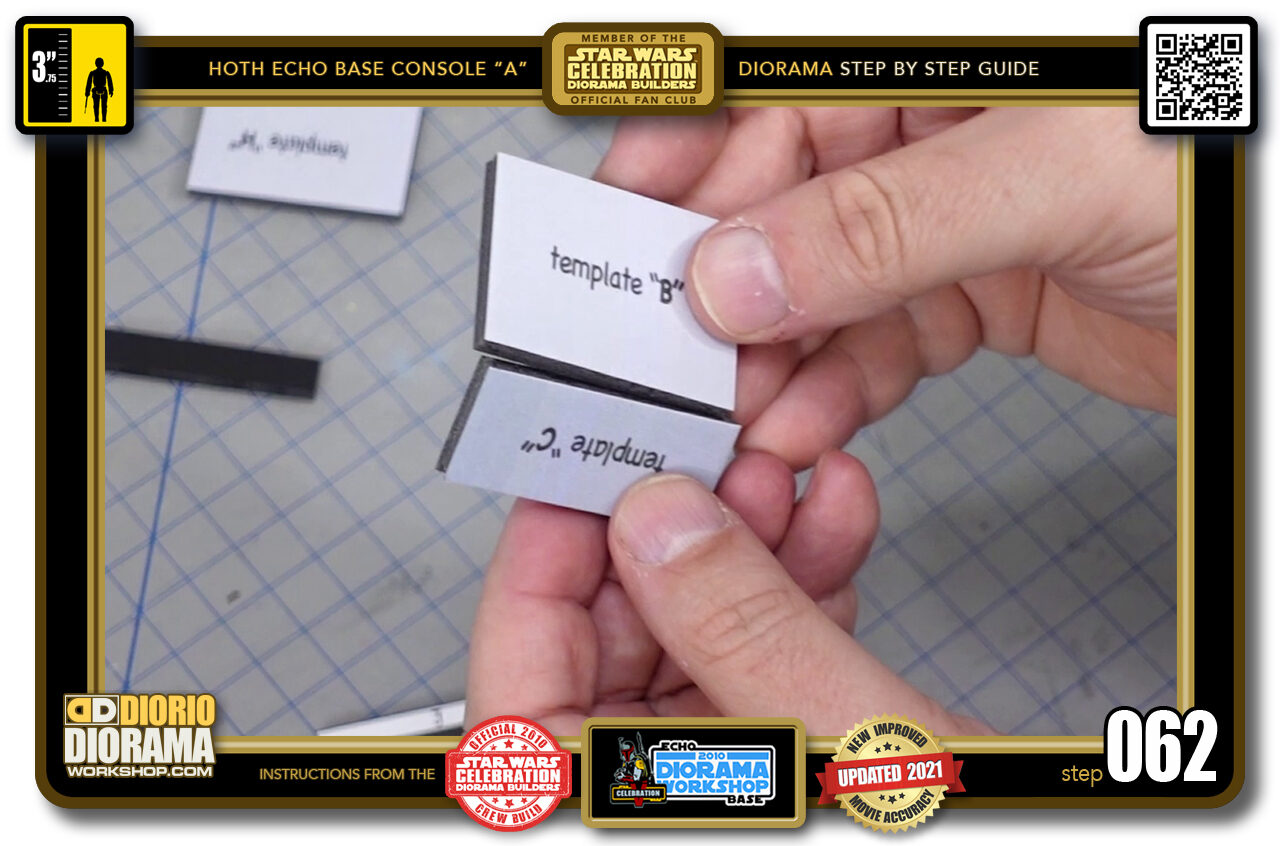
- STEP 062 > If we were just to place the 2 pieces side by side, the edges would bump into each other and not align the way they were designed to.
-
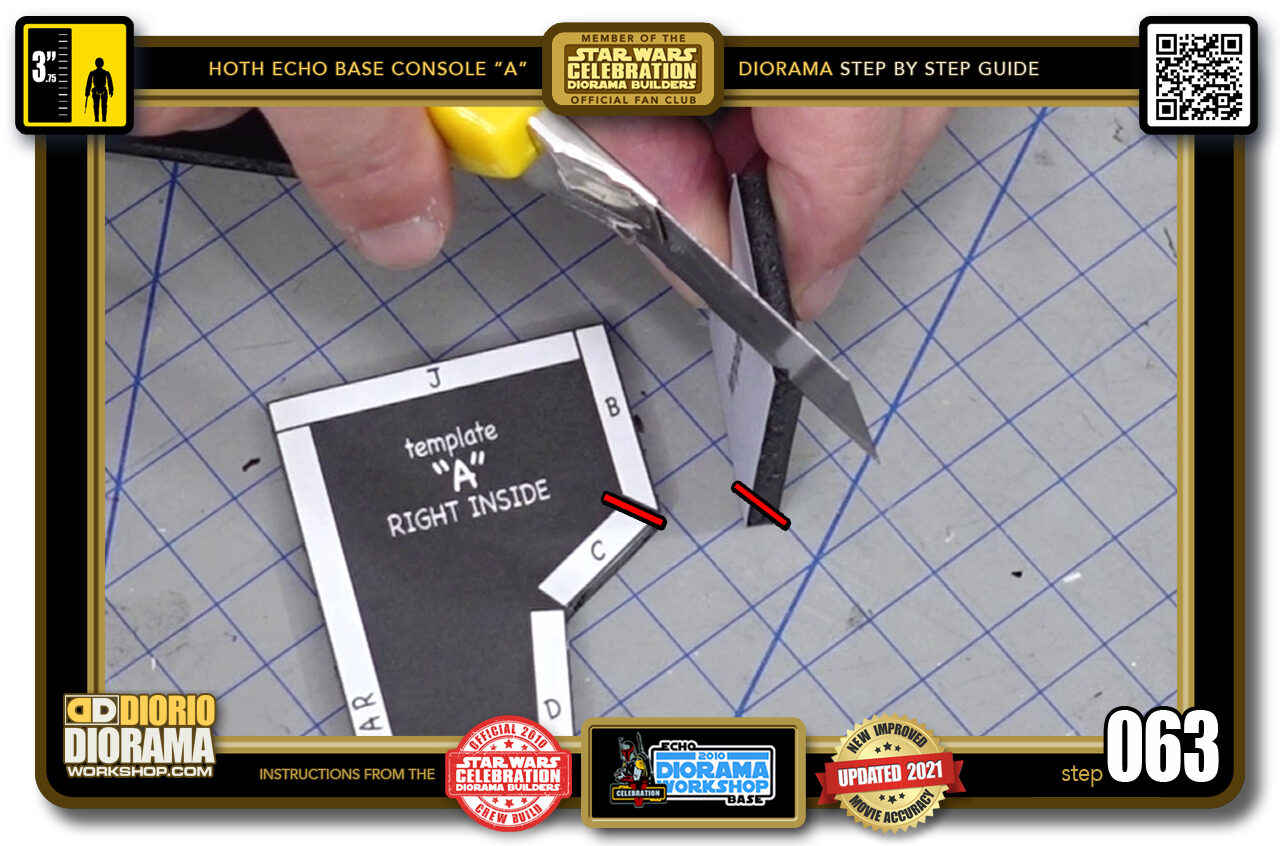
- STEP 063 > Start with your "B" piece. Notice how the bottom is angled close to 45 degrees. You want to place, align your blade in the same orientation to trim off the INSIDE of your "B" corner.
-
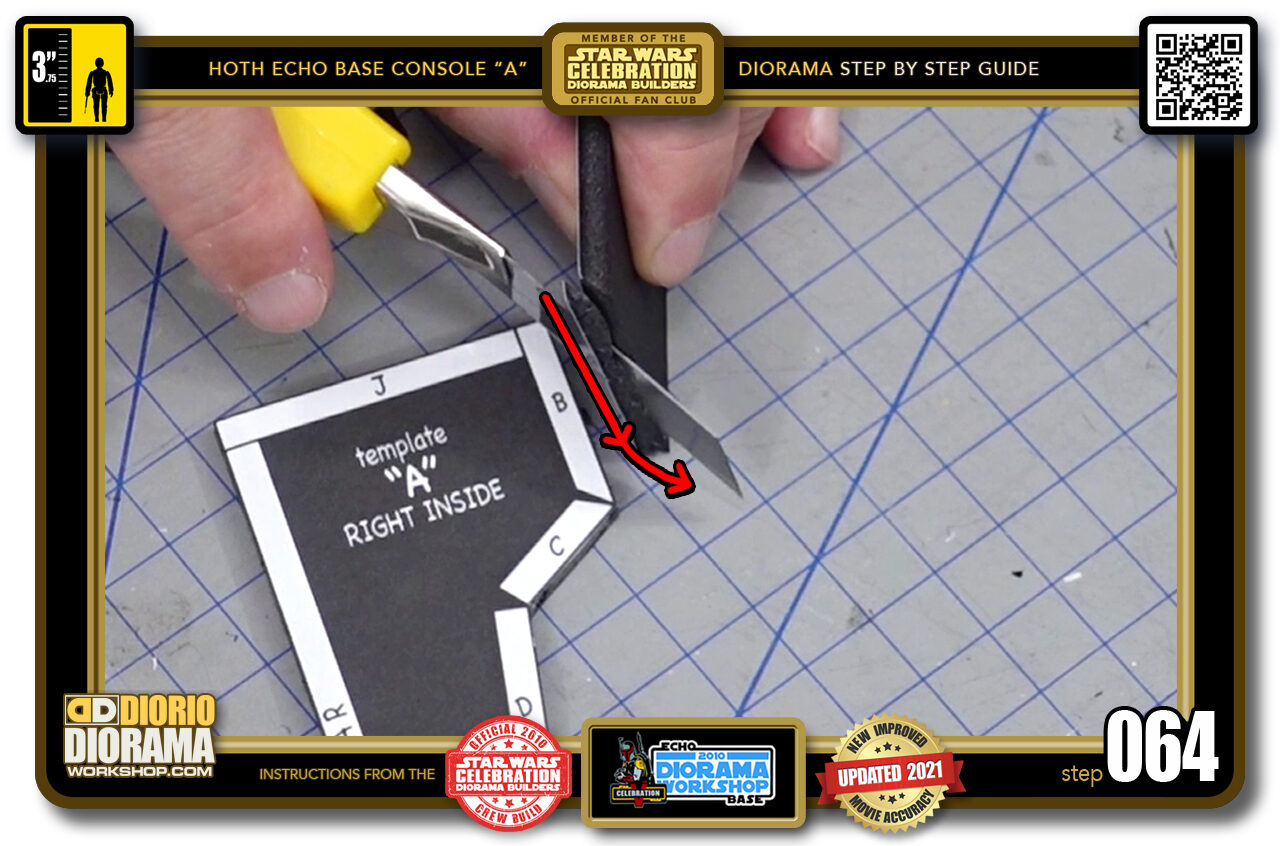
- STEP 064 > The exact angle doesn't matter, what is important is that as you SLICE DOWN and FORWARDS your cut is as CLOSE and FLUSH as possible to the OUTER PAPER SKIN corner. You want to keep that outside edge as straight and clean as possible. This may take so practice at first. Practice on scrap pieces so that you get the feel of it.
-
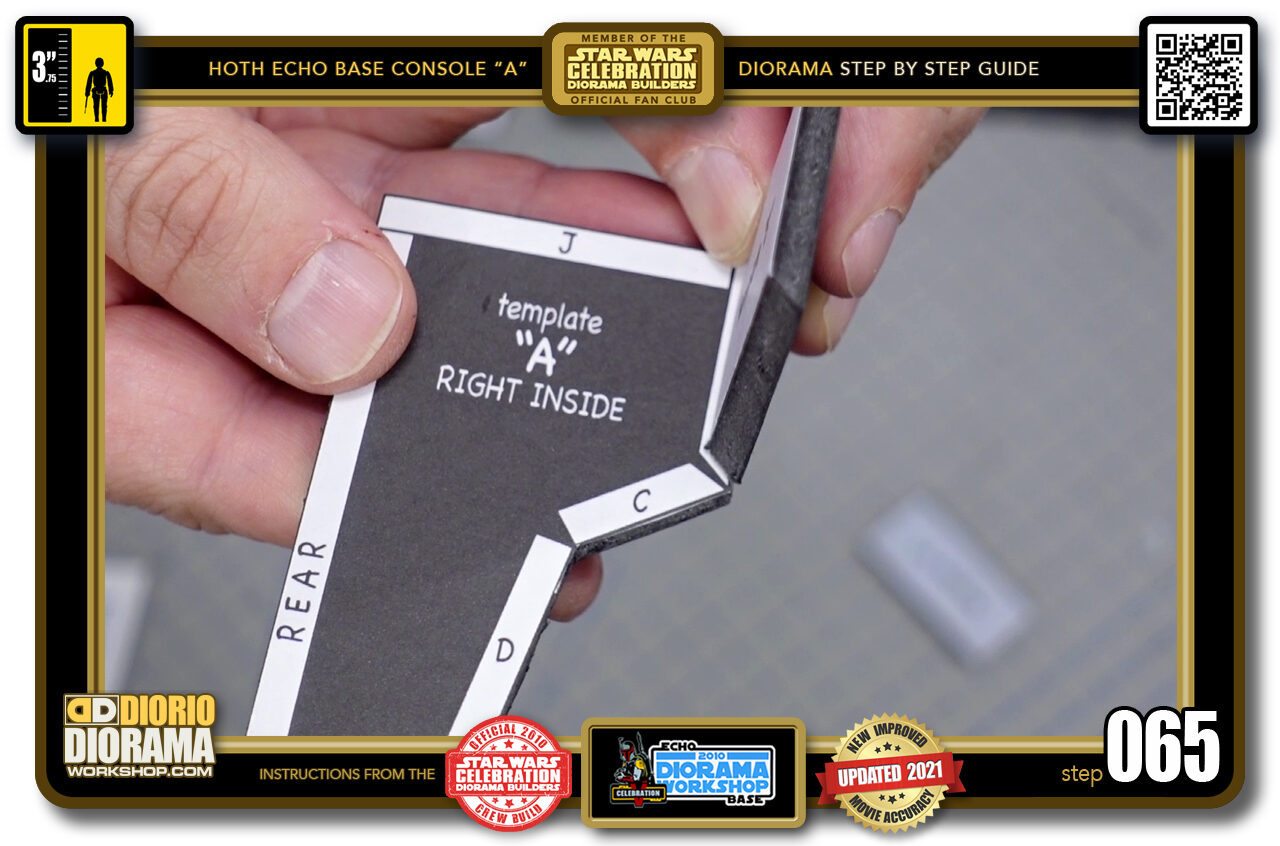
- STEP 065 > When done, see how your "B" template now fits just right inside it's white guide shape. Now when you cut the "C" piece, the outside edges will now match and connect perfectly.
-
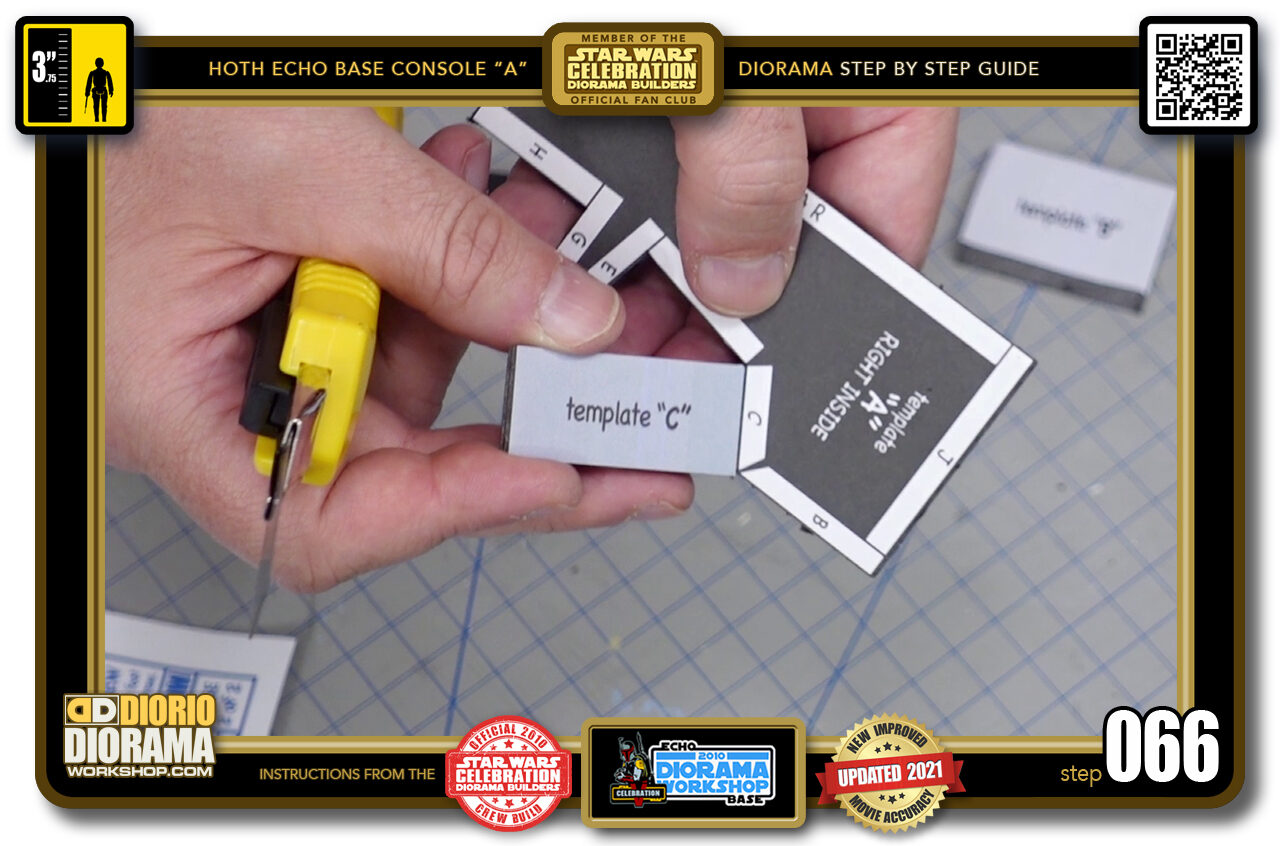
- STEP 066 > So grab your "C" piece and we will be doing the same technique as we did with "B"
-
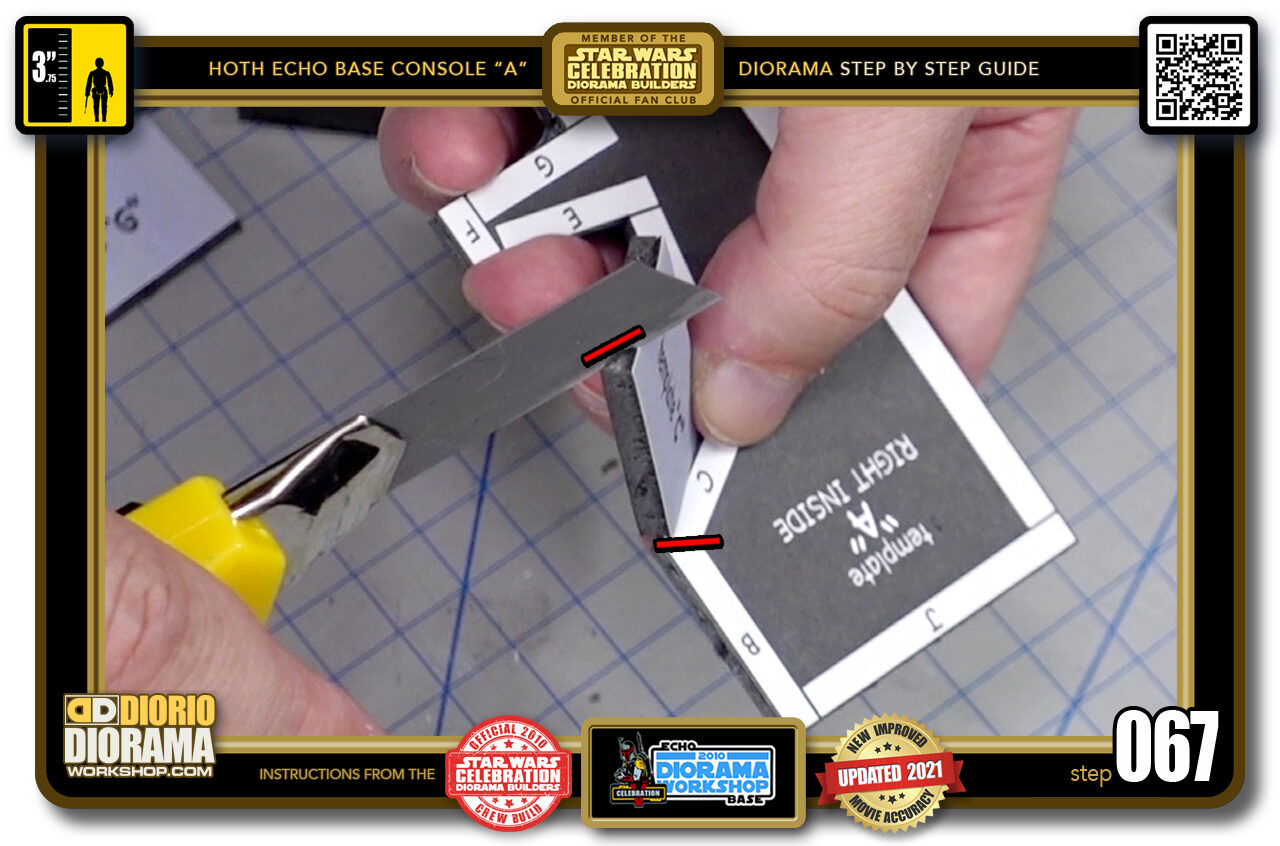
- STEP 067 > Place your "C" piece onto the side template so that you can know what direction, angle, you need to trim off.
-
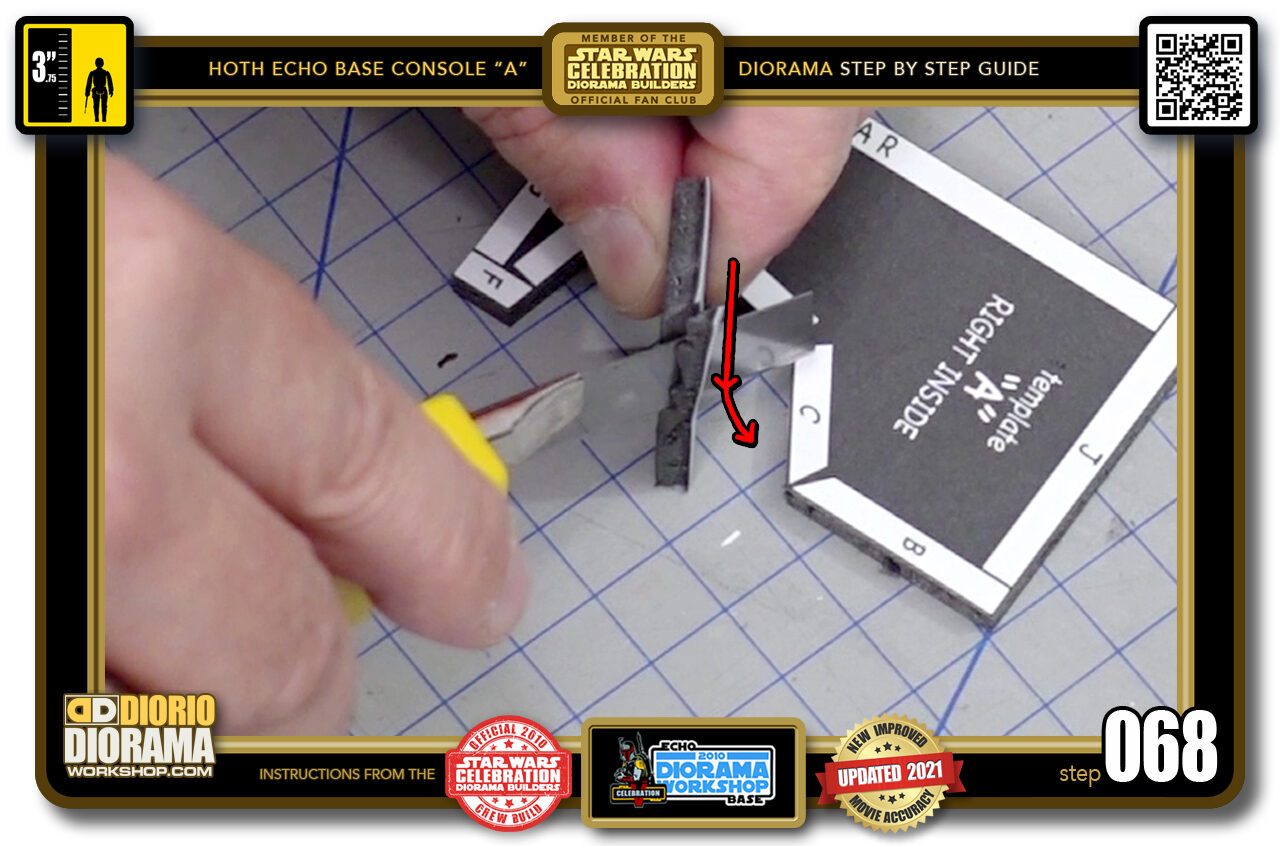
- STEP 068 > Just like before, with your blade fully extended, Slice FORWARD as your LOWER the blade DOWN.. If you don't reach the bottom in 1 pass, this is normal, just reset your blade if you will, bring it back to the front tip and do the same motion, Press FORWARDS as you press DOWN.
-
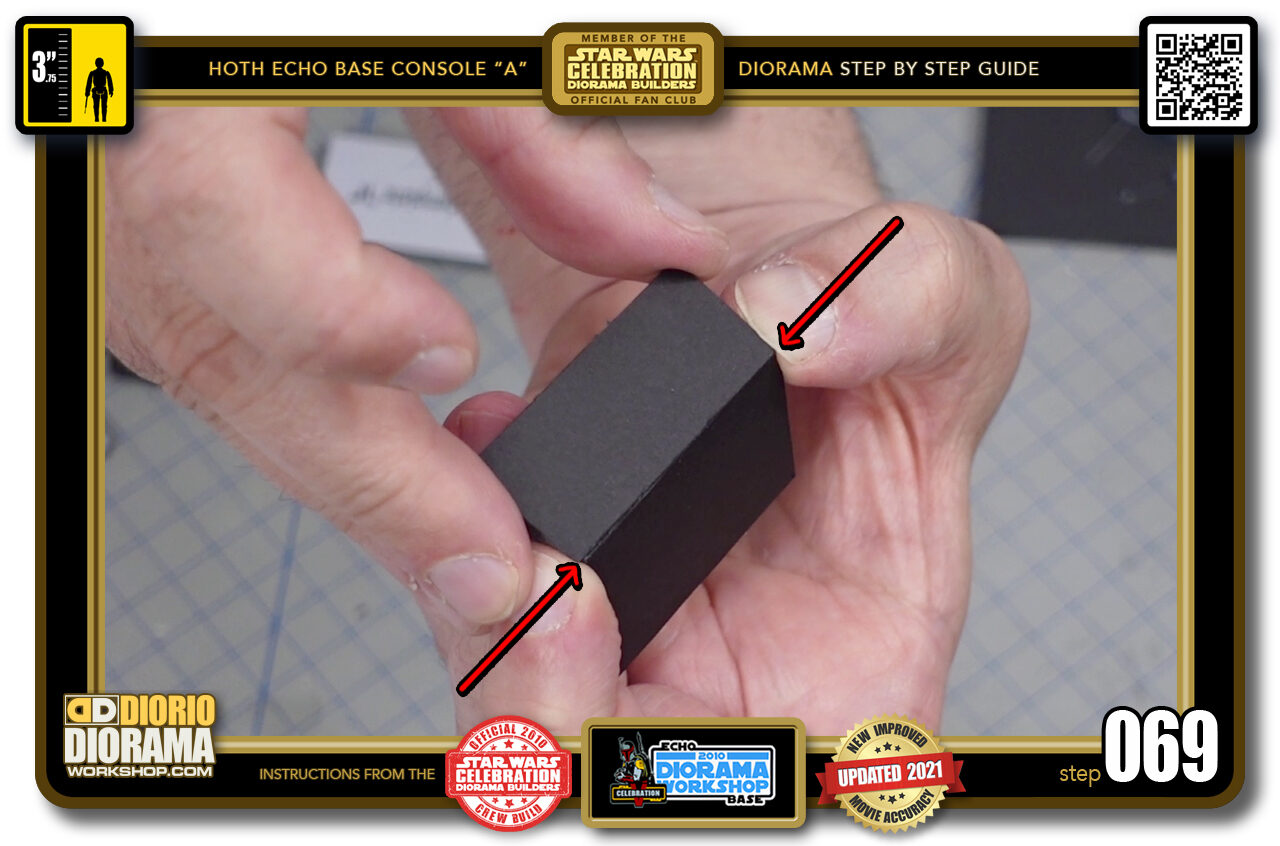
- STEP 069 > Now when you place your 2 pieces together the touch just right in the front and allow you to angle them into their proper position.
-
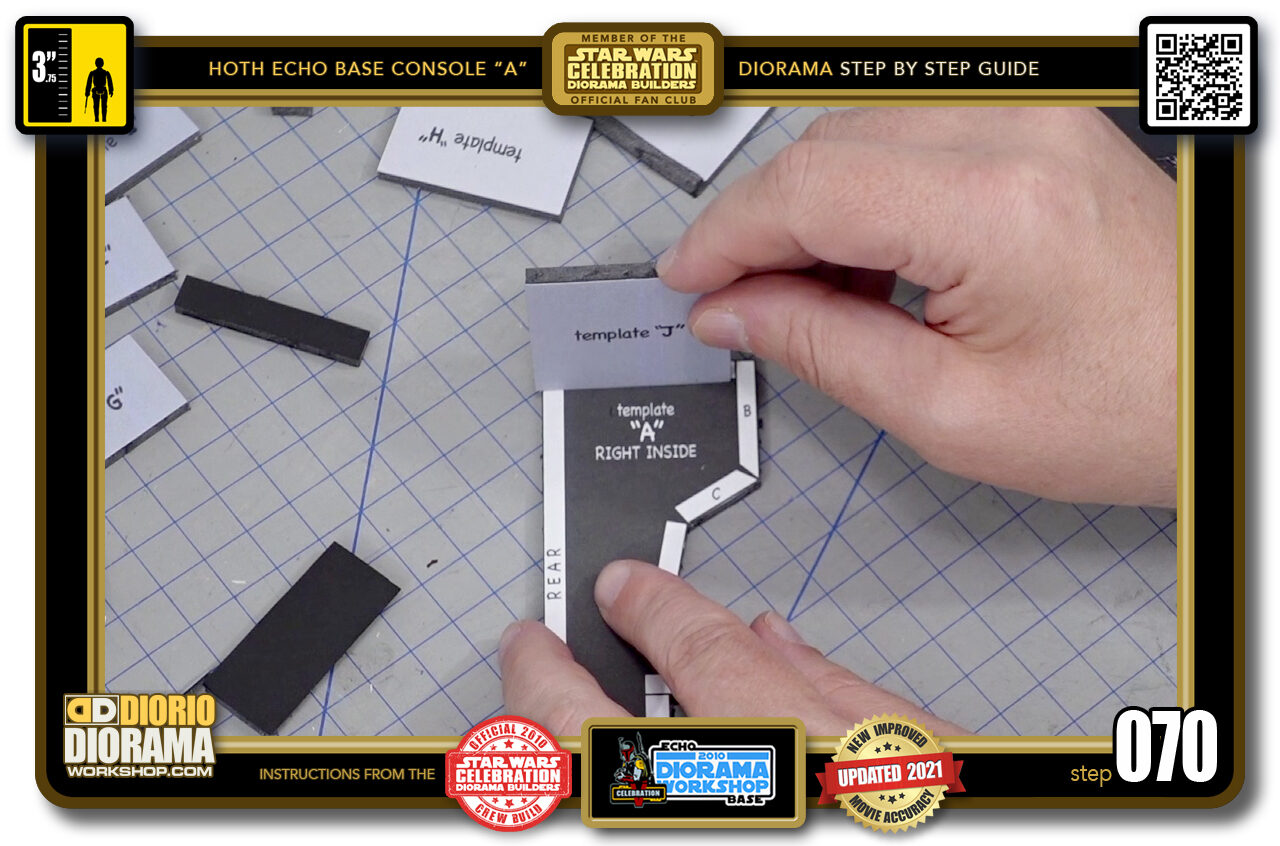
- STEP 070 > Time to start making the body. Grab your TOP "J" template piece and do a dry run so you know where it will fit inside the white guide boxes. REMEMBER to ALWAYS GLUE with the decal side FACING INSIDE.
-
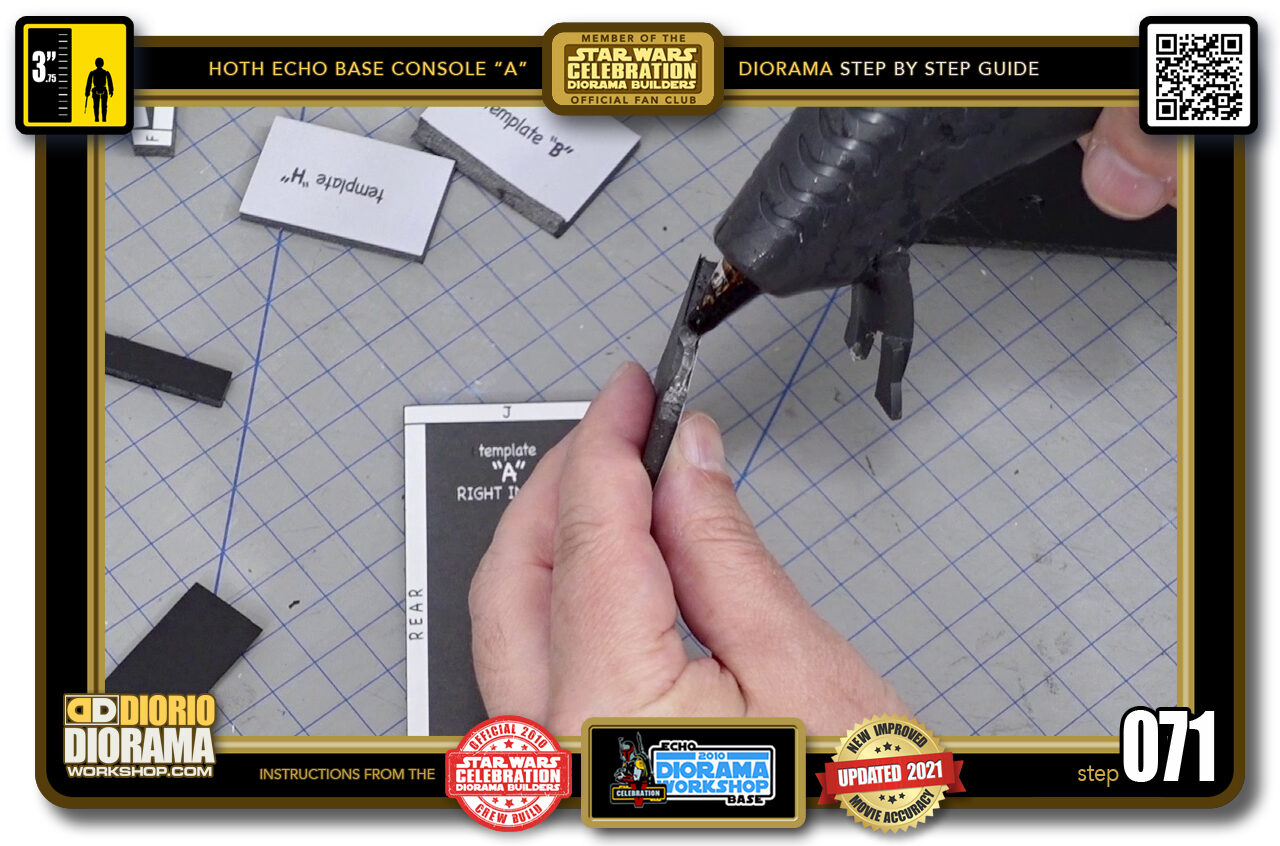
- STEP 071 > Put a small line of hot glue along the bottom edge.
-
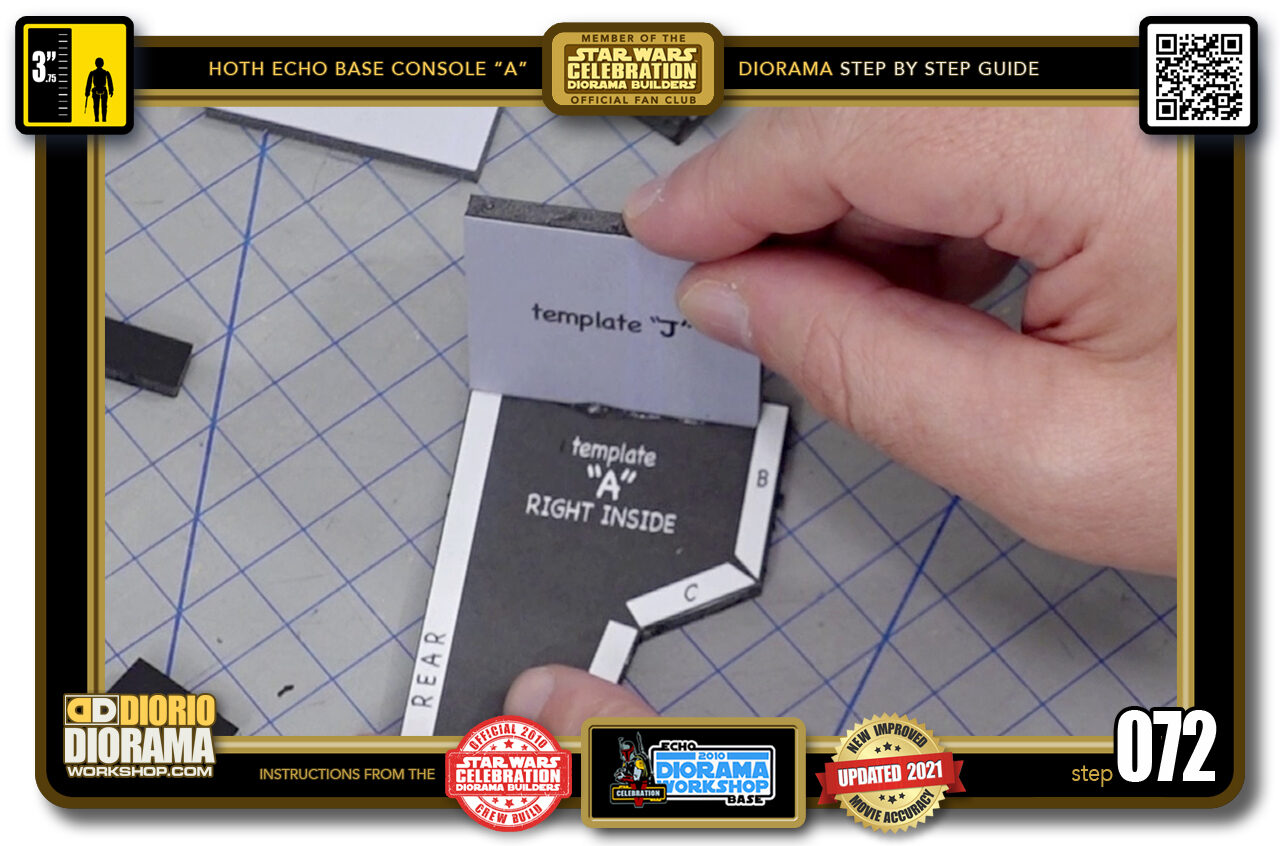
- STEP 072 > Slowly bring it down and align inside the white box guide and press.
-
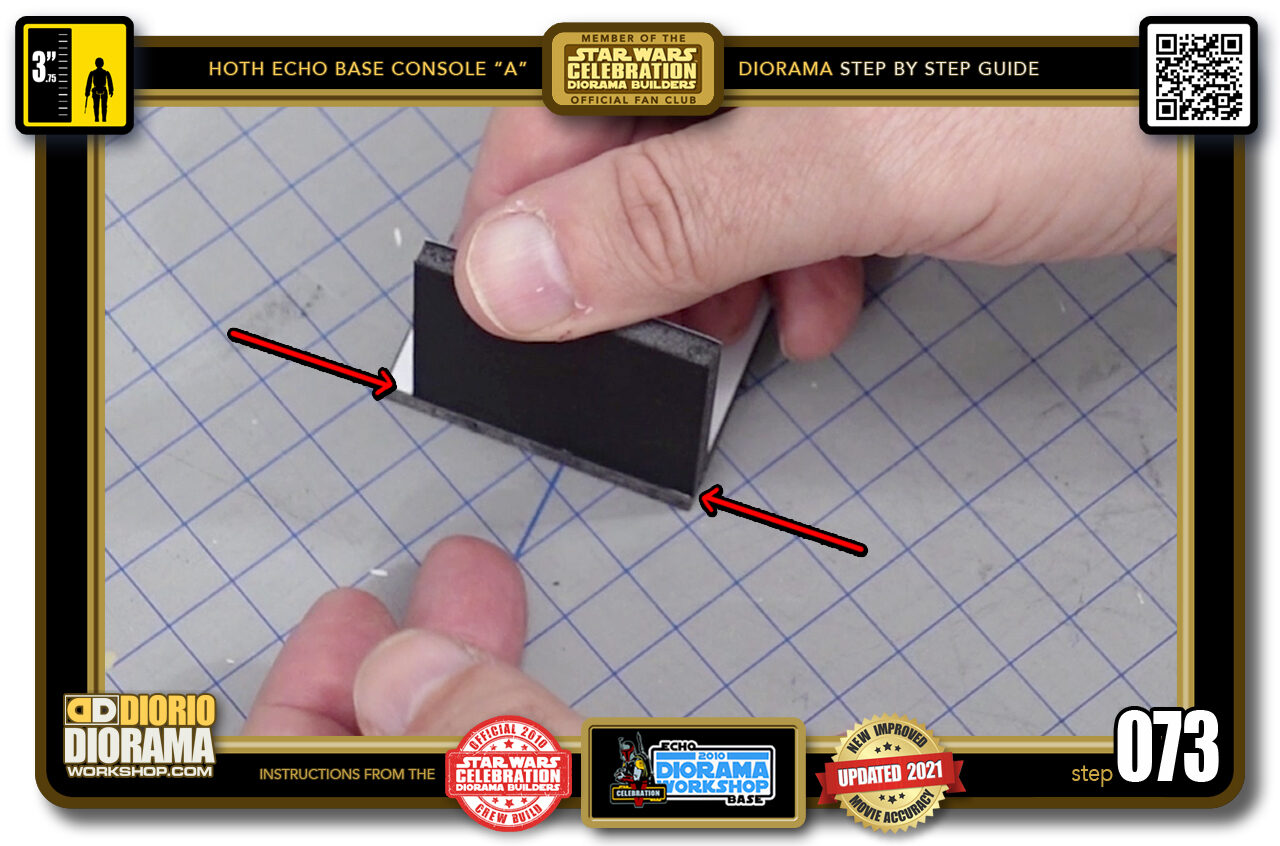
- STEP 073 > You want to make sure the outside TOP is FLUSH with the EDGE of the side (red arrows)
-
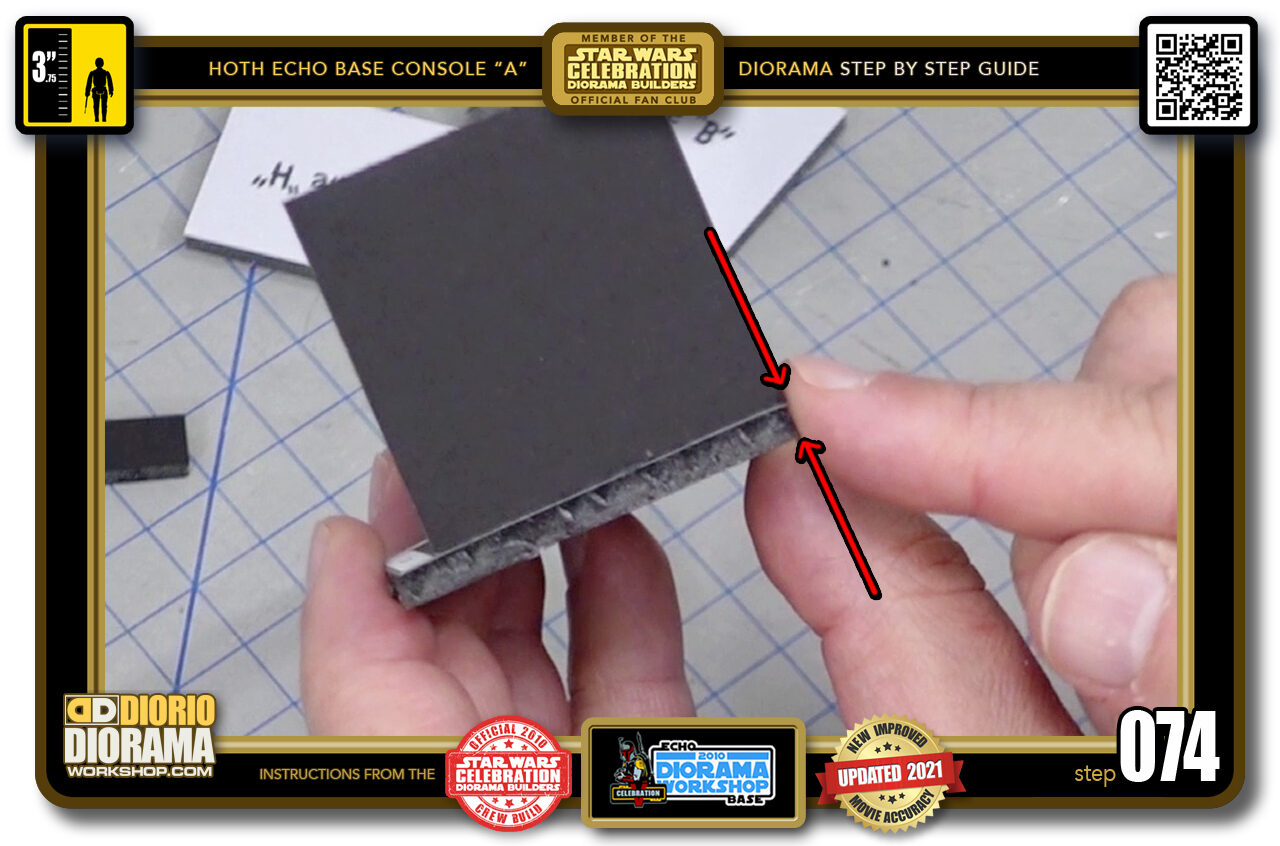
- STEP 074 > As well as FLUSH with the outer corner (red arrows)
-
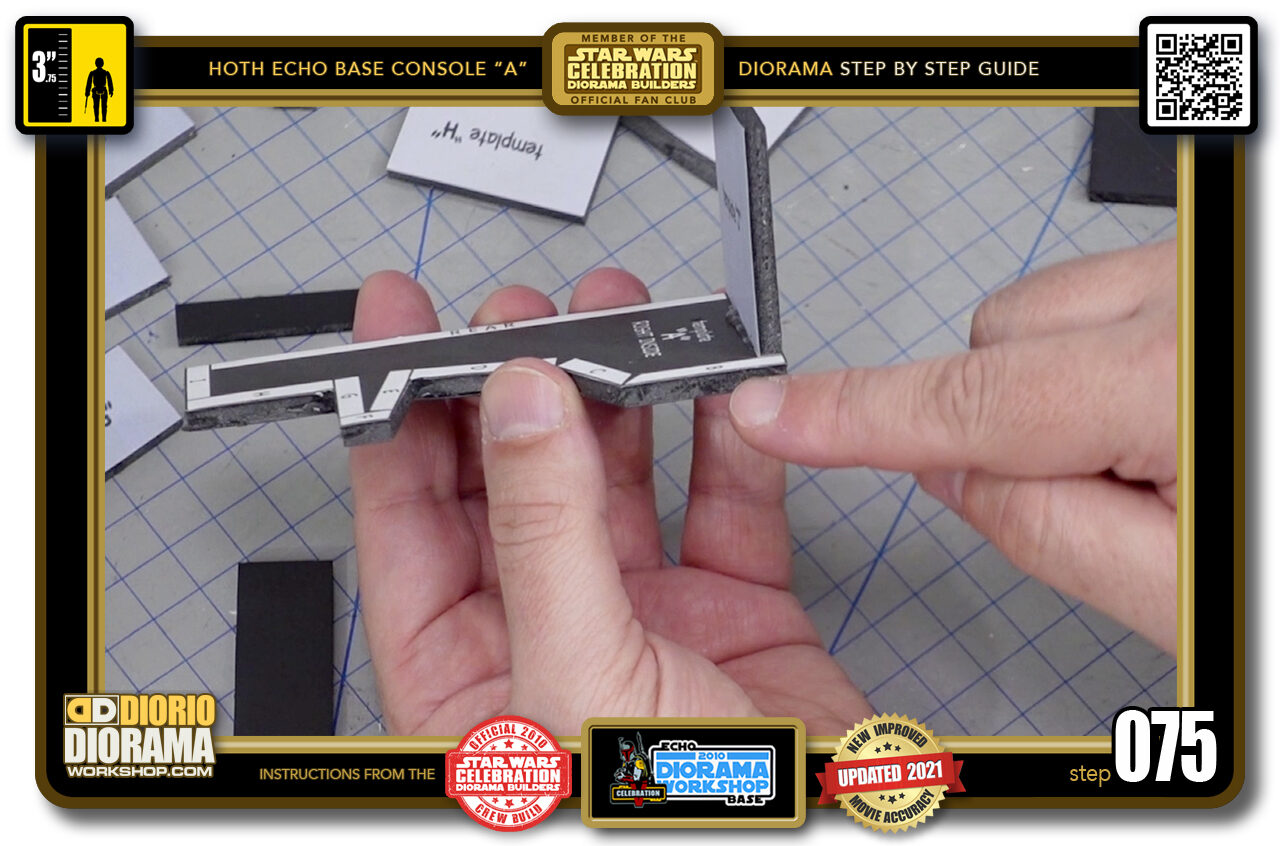
- STEP 075 > Next up will be connecting your top front "B" template piece.
-
- STEP 076 > You want to apply a small line of Hot Glue along the "B" white box as well as UP the EDGE of your "J" piece.
-
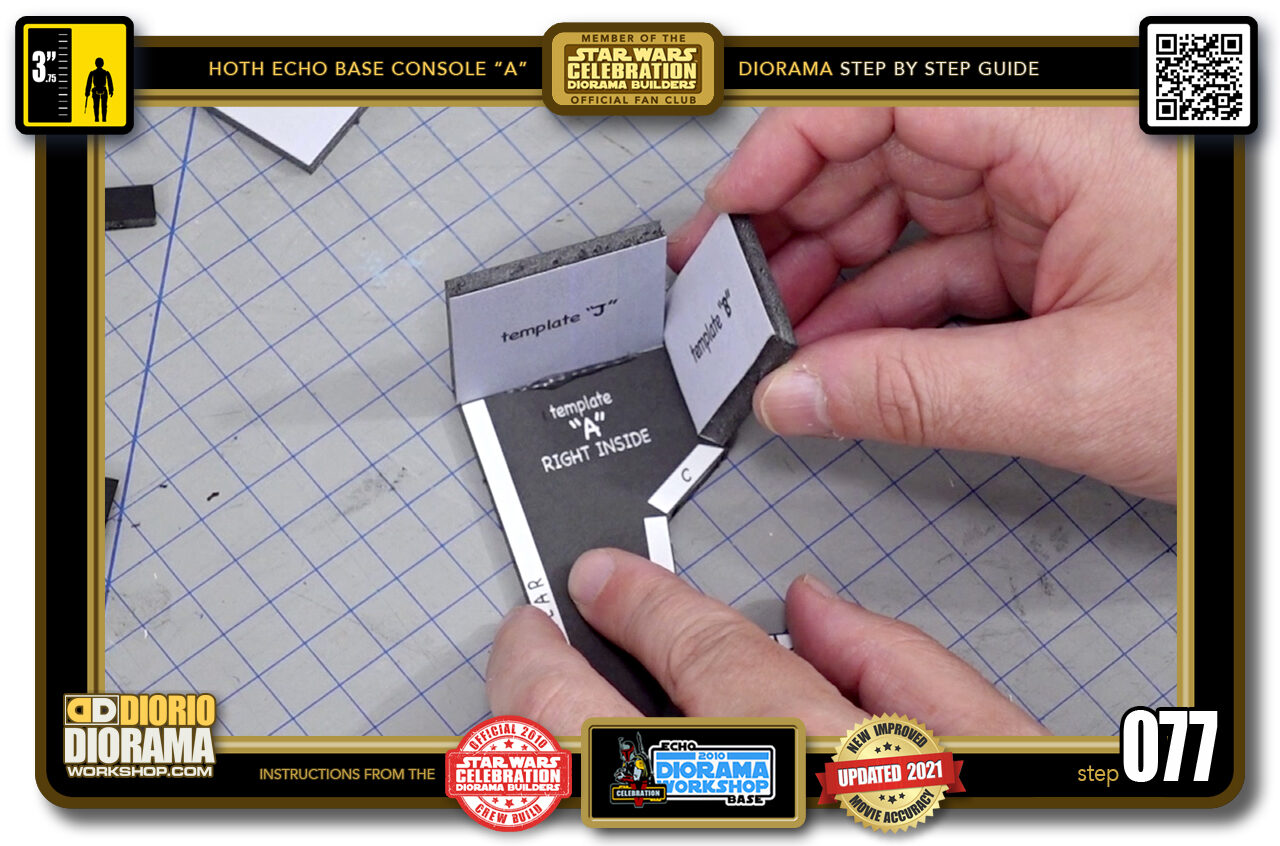
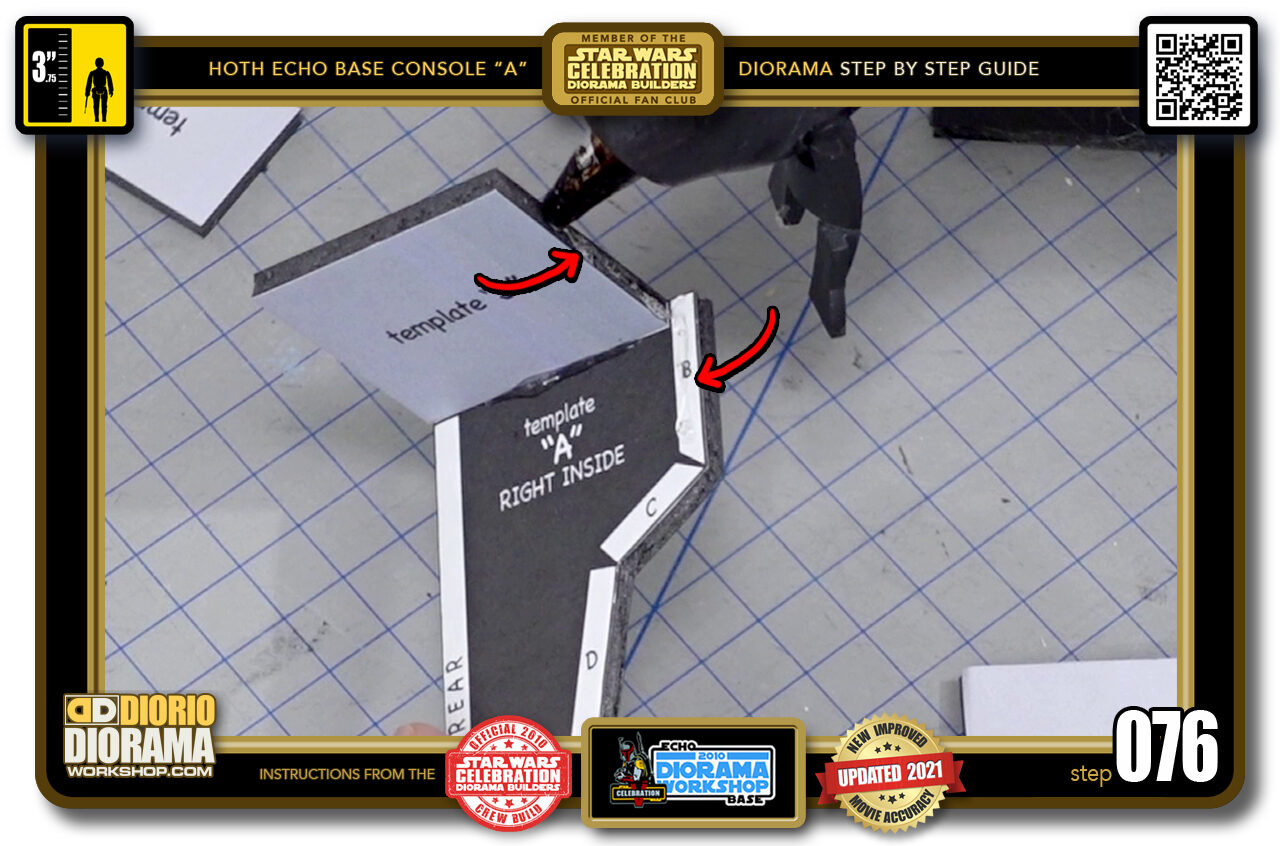
- STEP 077 > Start at an angle and lower your piece agaisnt the bottom white box guide then straighten it up until the top touches the "J" corner.
-
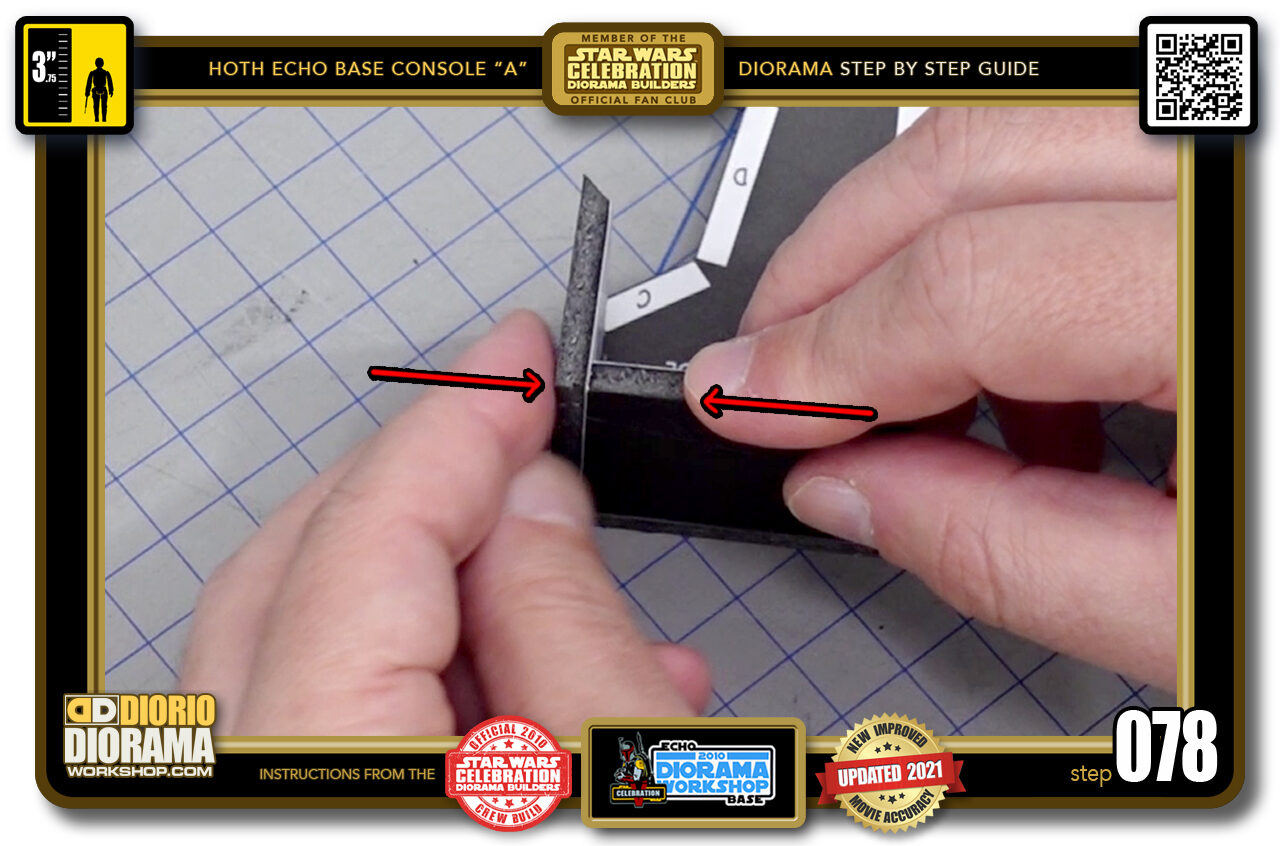
- STEP 078 > Move your pieces until the "B" EDGE and "J" BACK are clean and FLUSH (red arrows)
-
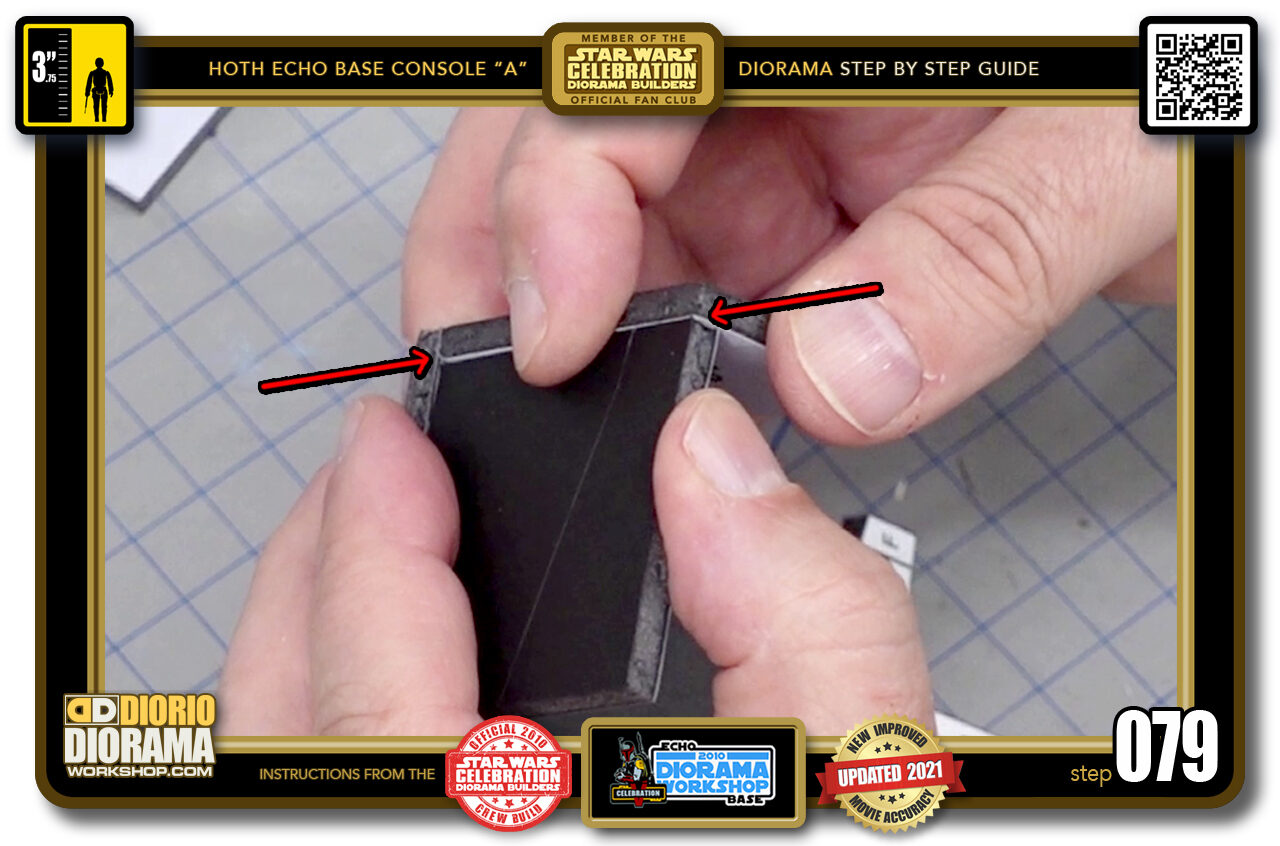
- STEP 079 > You also want to make sure the BACK is all ligned up FLUSH as well. We don't want any corners or edges to poke out that will cause the decal skins to obtain a BUMP defect upon their applications later on.
-
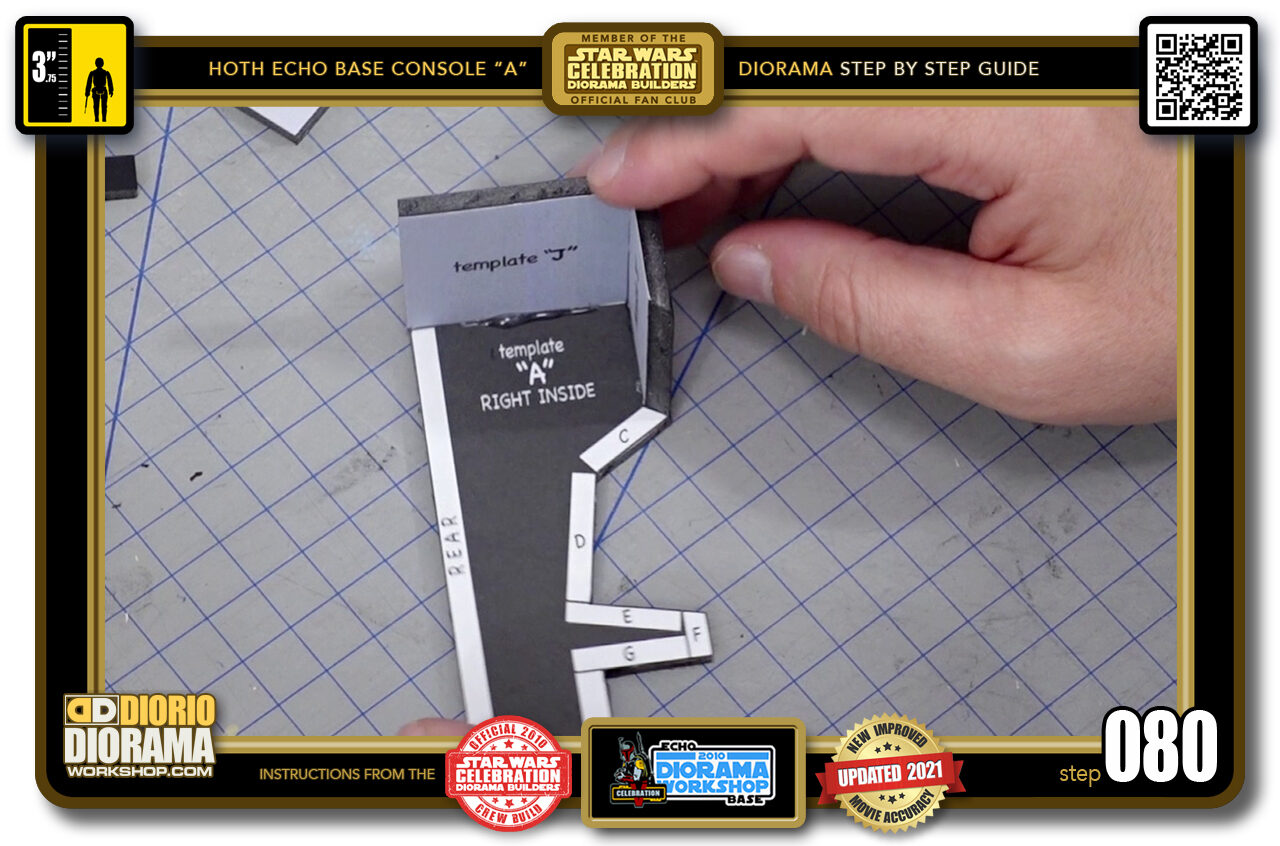
- STEP 080 > Now Keep some finger pressure until the hot glue cools down a little and the 2 pieces are locked together properly.

.
Did you already build this Diorama ? At home or at our Star Wars Celebration Diorama Builders workshop ? Would you like to show it in the site’s GALLERY VISITORS DIORAMAS section, YES ? That is Awesome !!! You can find out all the details on how to email me your photos on the VISITORS SUBMISSIONS INFO page … When I get your photos, I will create your very own page just like this one. You may not realize it but work does inspire others to join in the fun of making Action Figure Dioramas.
.
NOT FOR RESALE ALL Decals, tutorials and artwork are ©FrankDiorio (dioramaworkshop.com) and offered FOR FREE to the fans – that would be you ? so you can build and display my diorama designs in your very own home. I realize I cannot control what one does with my graphics once I place them on the web, I can only ask you as one fan to another, please respect the artist and do not be that jerk who uses my designs and tutorials to build a copy of my work only to sell it on EBAY or trade/sale groups and forums. Thank You. Frank.
.

.
.
If you have a facebook account, why not join the Official Diorama Builders Fan Club today, simply click the logo link below.
 .
.
Catch up with fellow visitors and exchange stories, read cool interviews with the crew, exchange photos, fun surprises and grab some FAN ONLY merchandise next year at actual future conventions ?
.
©2021 Frank Diorio DioramaWorkshop.Com
.
IF YOU LIKE WHAT YOU SEE, PLEASE SHARE WITH YOUR FRIENDS
USING THE SOCIAL MEDIA BUTTONS BELOW