


-

- STEP 041 > Then you can SPIN your shape 180 degrees, align your blade with the opposite corner and START AGAIN, keep cutting until you CONNECT with your FIRST CUT.
-
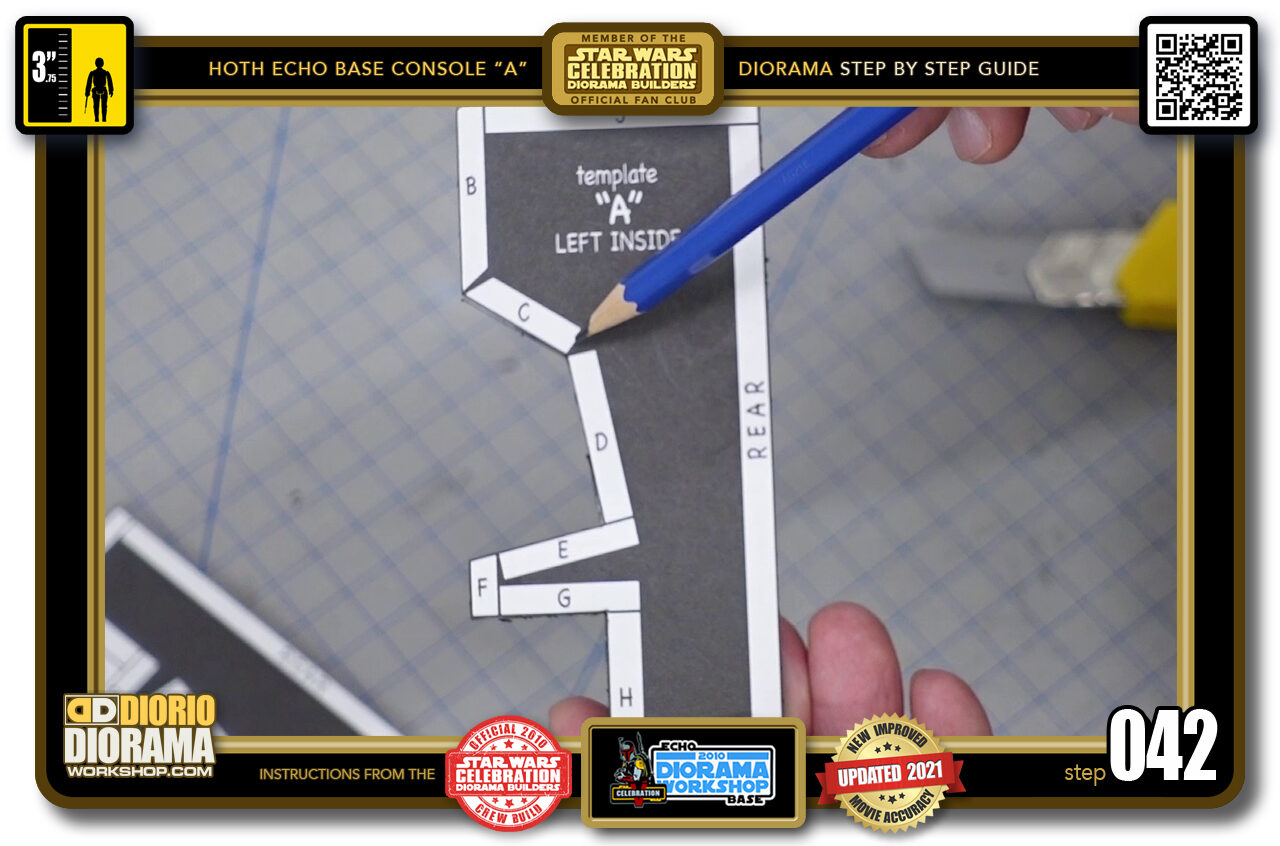
- STEP 042 > This should give you perfect CLEAN contact corners.
-
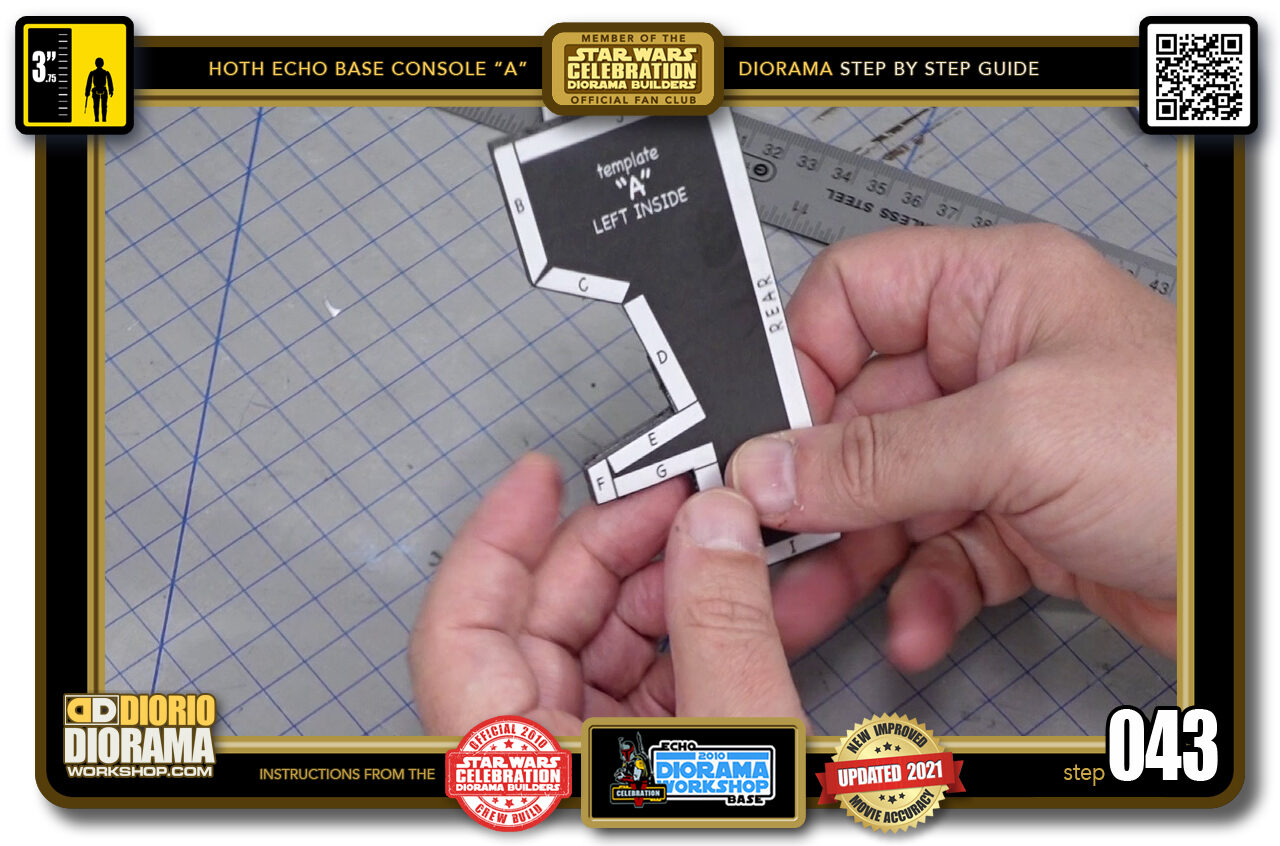
- STEP 043 > Your first side teplate is done.
-

- STEP 044 > Just repeat the same cutting techniques for the other side.
-
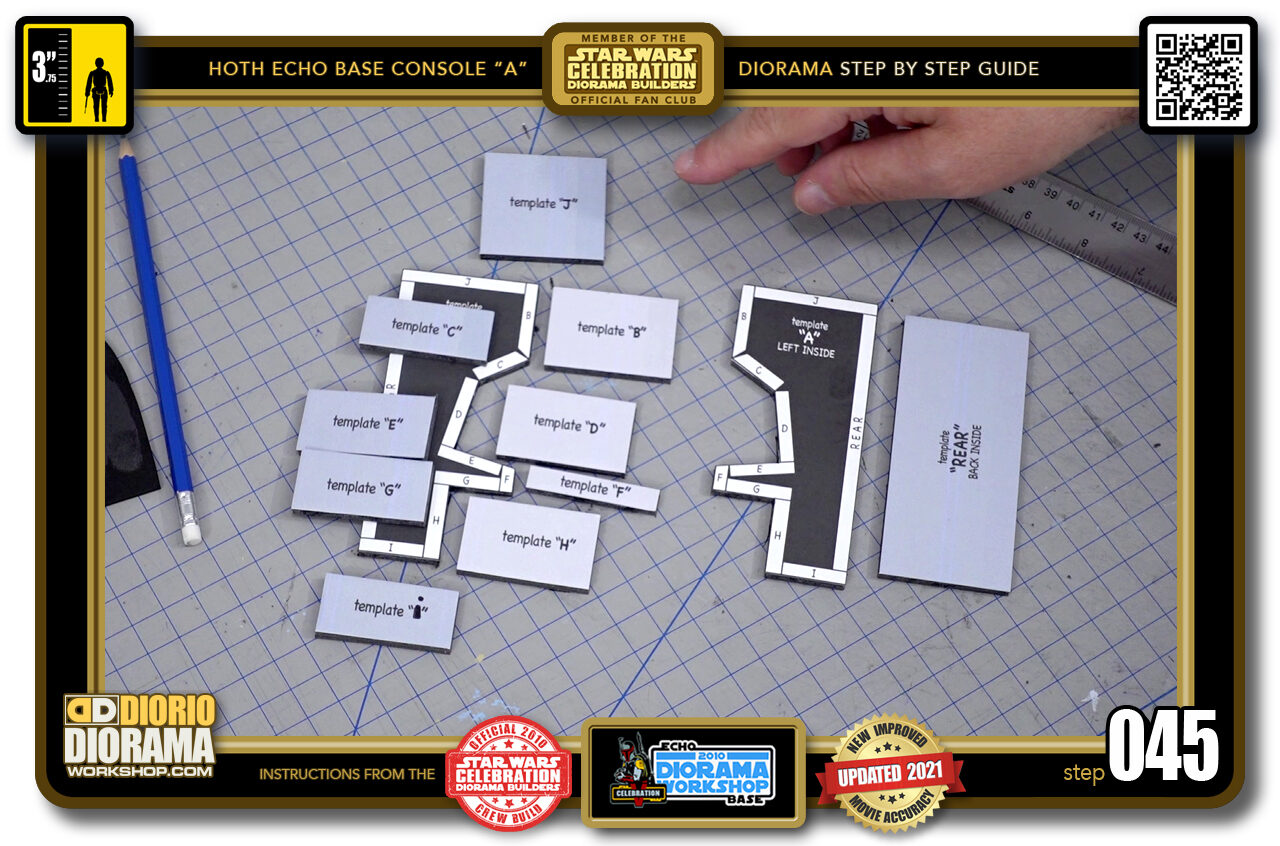
- STEP 045 > This is what you should have when ALL of your FOAMCORE template pieces are cut.
-
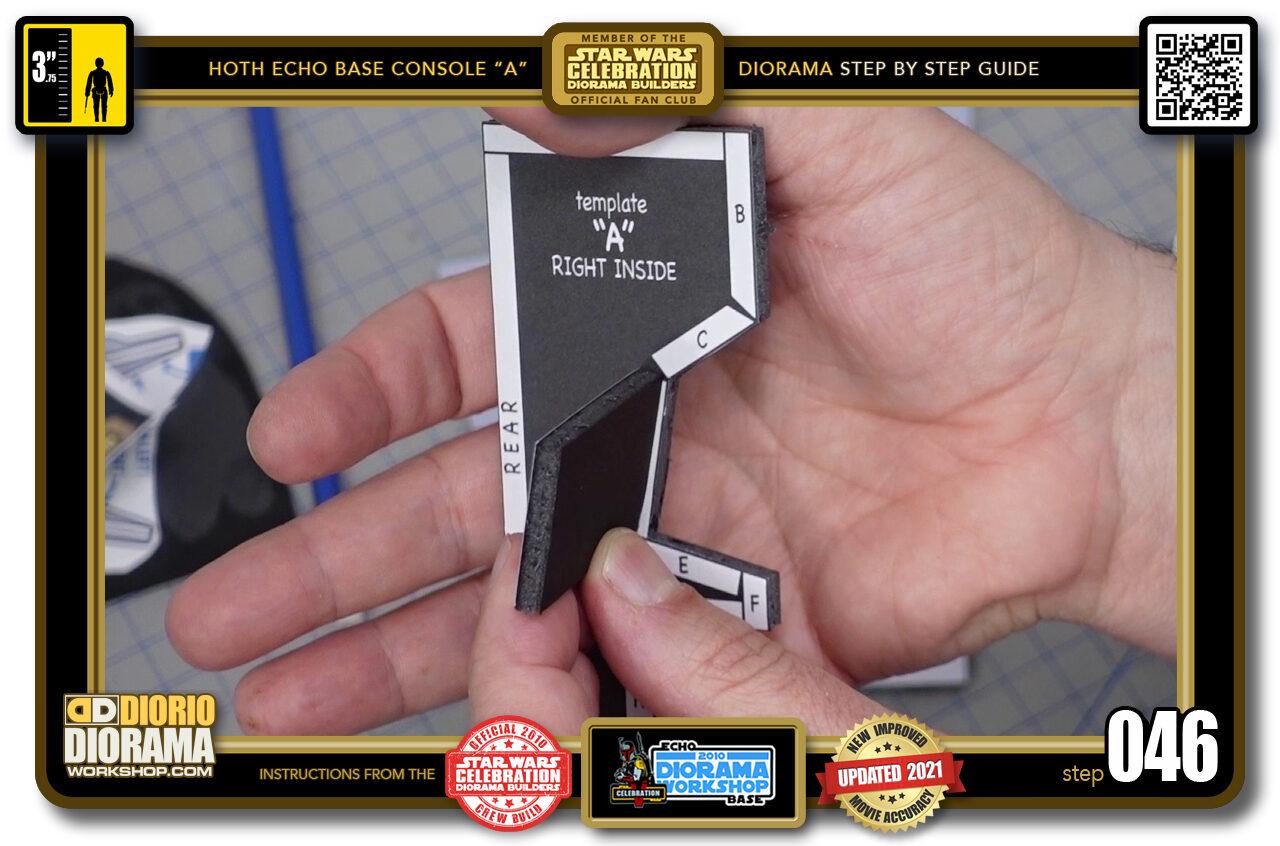
- STEP 046 > I designed the templates so that you can easily identify where they should be glued properly. As you can see, each piece will fit perfectly inside it's own white guide. But first... let's cut the chair pieces.
-
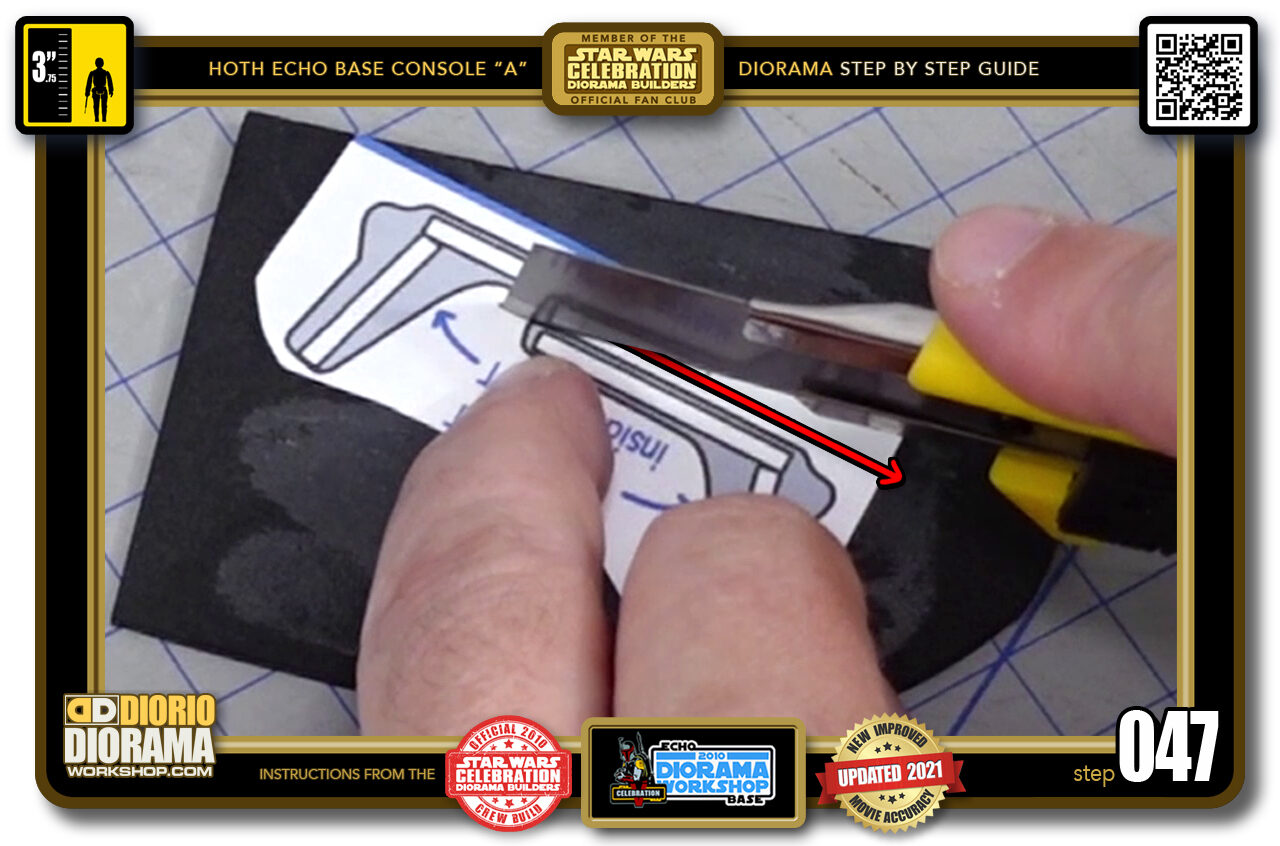
- STEP 047 > Foamie is softer and eaasier to cut than Balsa Wood so I like to start with the chair sides. Start by separating the 2 to avoid any accidents and slicing into a section that will need you to reprint and glue a new template. Just go down the back (rear) and cut along the black lines.
-
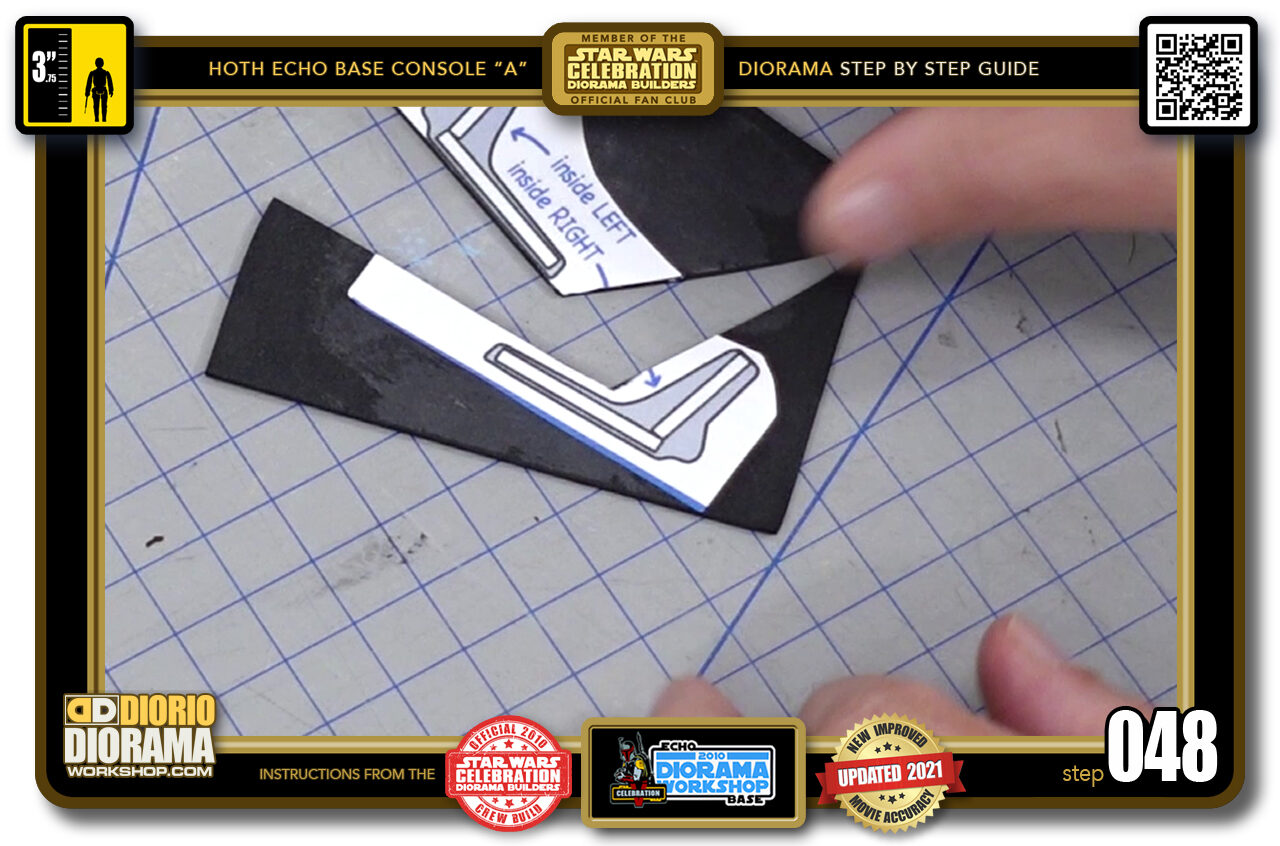
- STEP 048 > Then just do a rough cut to give you 2 cutting pieces that will eliminate the chance of damaging each other when going more precise.
-
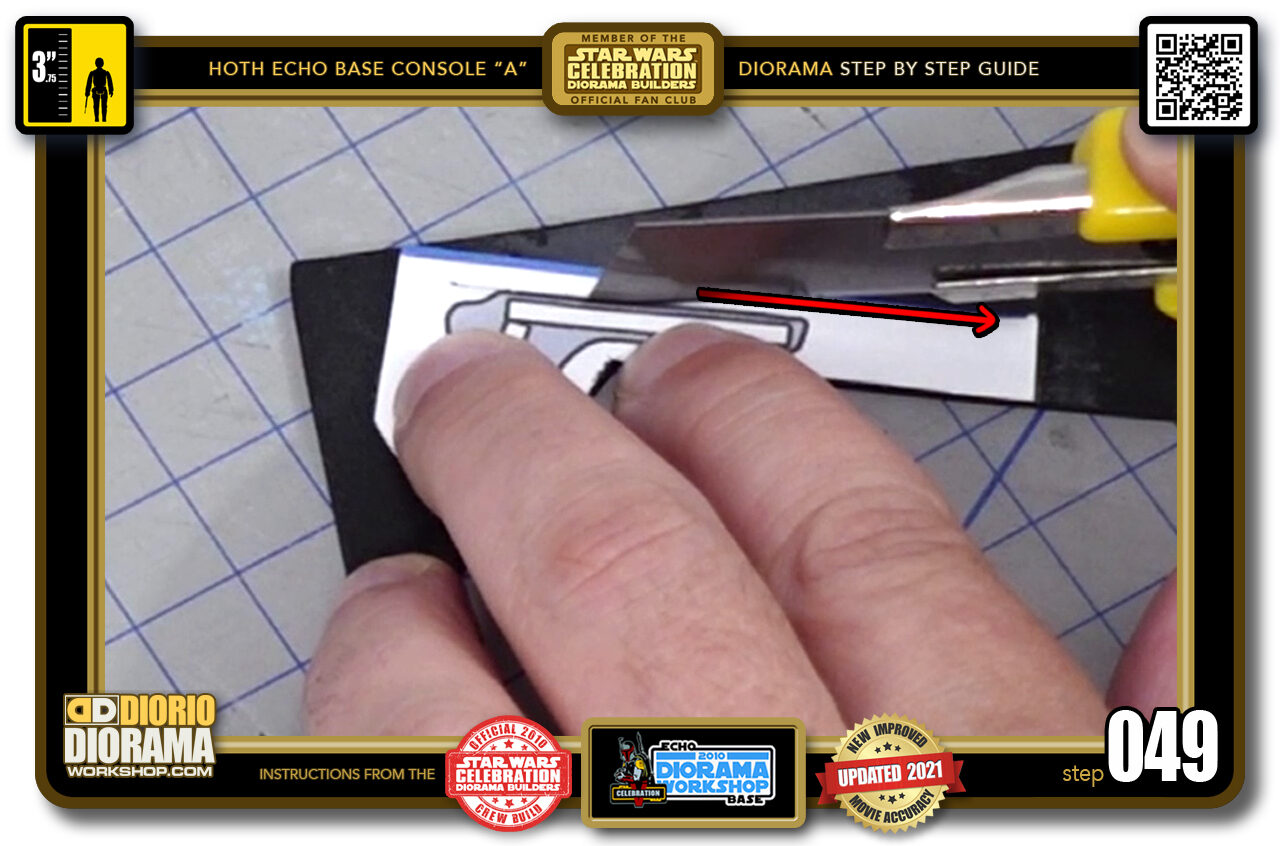
- STEP 049 > The long lines - edges are the best place to start and you can use your X-Acto Knife for these.
-

- STEP 050 > When you get to the CURVES I prefer to switch to my X-Acto PEN as it allows more precise turns.
-
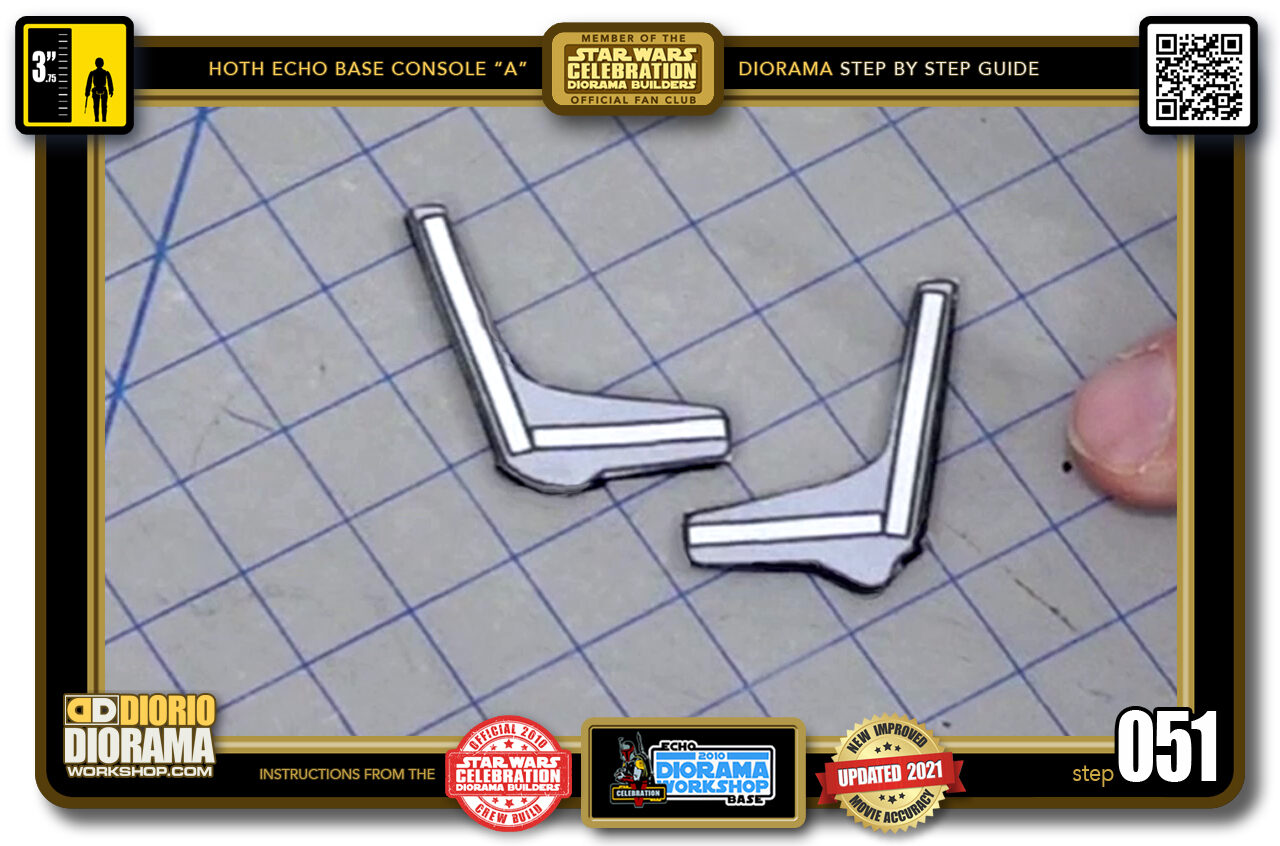
- STEP 051 > When you have your 2 chair sides, put them aside for now and grab your piece of Balsa Wood.
-
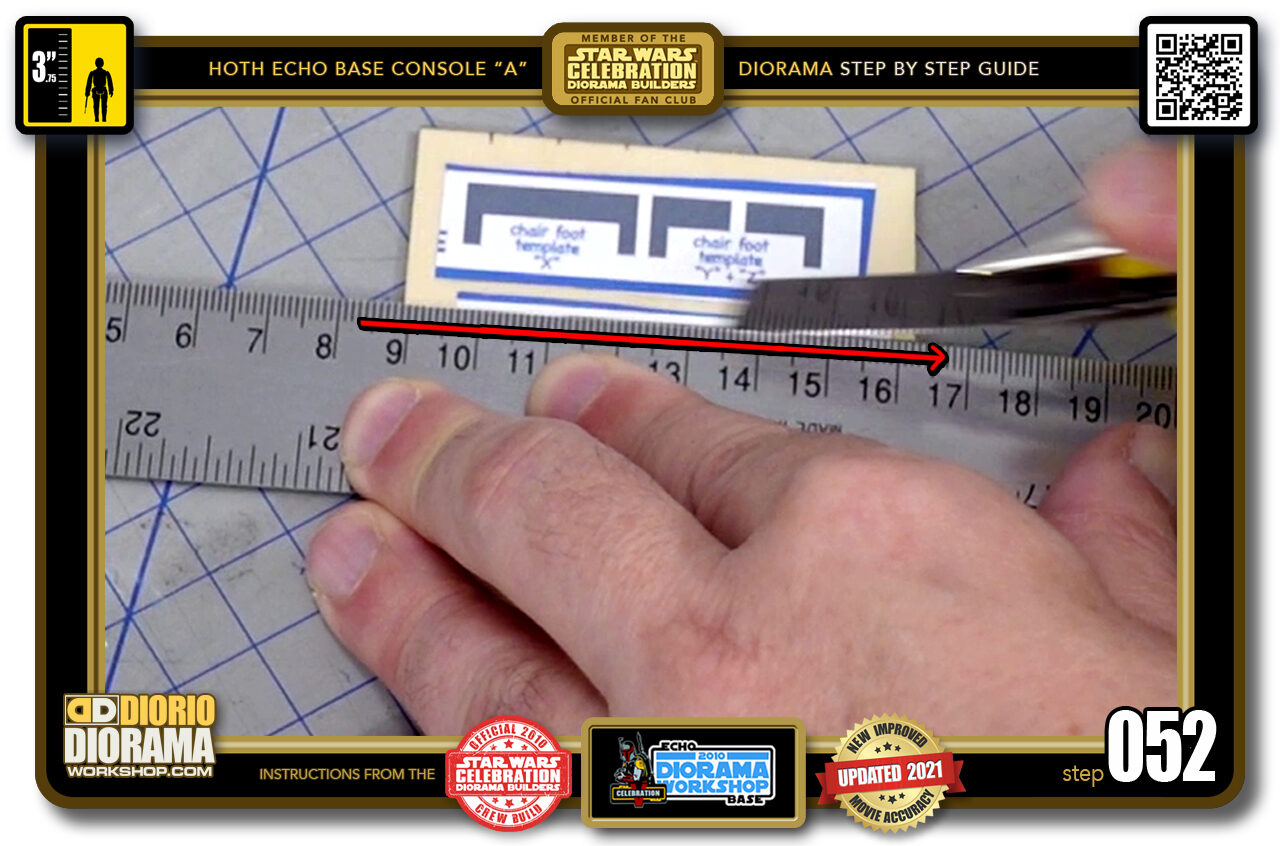
- STEP 052 > Again the straight lines are easier to do so start with the Chair BACK and SEAT pieces. Now Balsa Wood is the same thickness as foamie but not as soft, so you will have to do multiple passes in order to snap , cut through. Sometime 4-5 or even 6. Just take your time and cut safe.
-
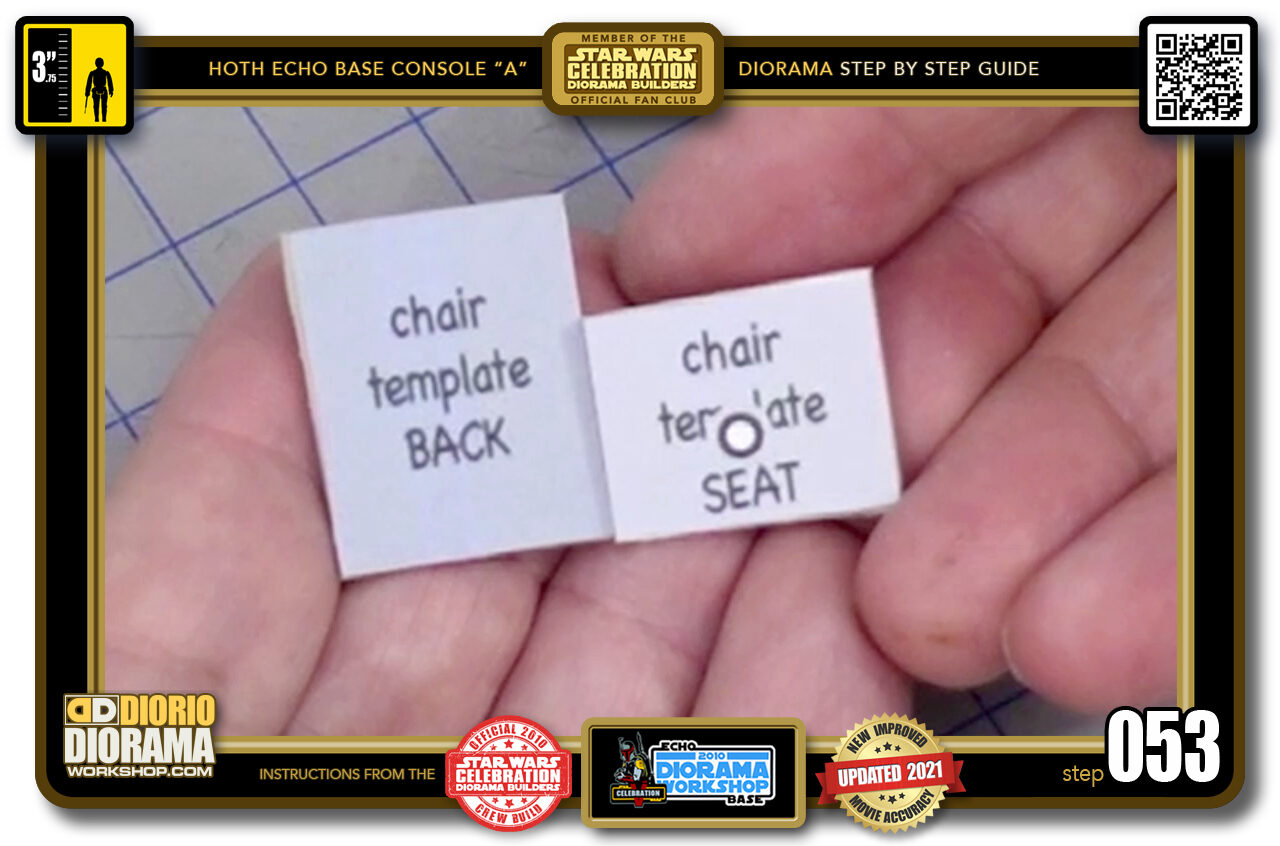
- STEP 053 > Once your Seat and Back are cut like this we can move on to the most difficult part of the build - cutting the mini chair feet.
-
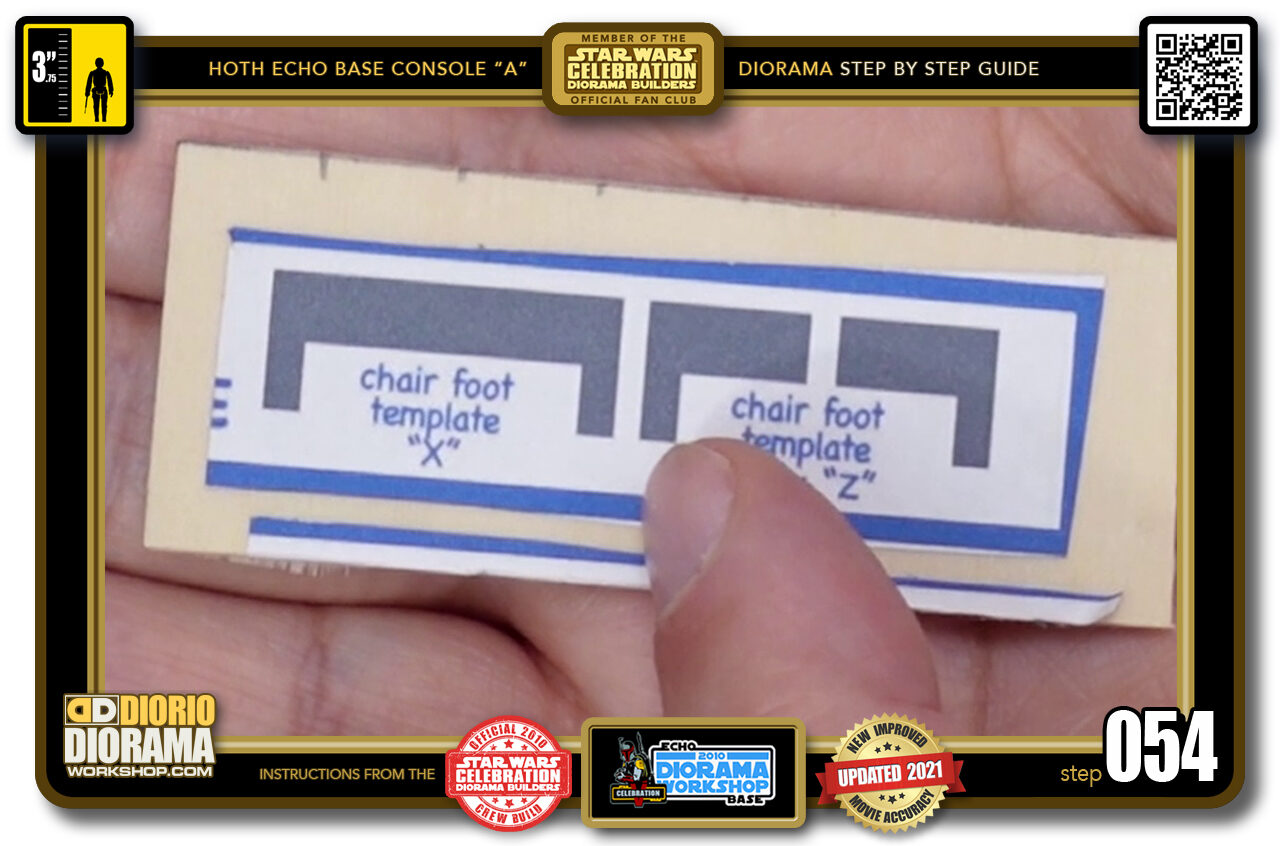
- STEP 054 > Since these are so tiny and delicate, you better start off with the longest cuts first. This would be at the TOP and BOTTOM. Since all 3 pieces are aligned properly, you can place your ruler in a straight line from one end to the other and do your cuts.
-
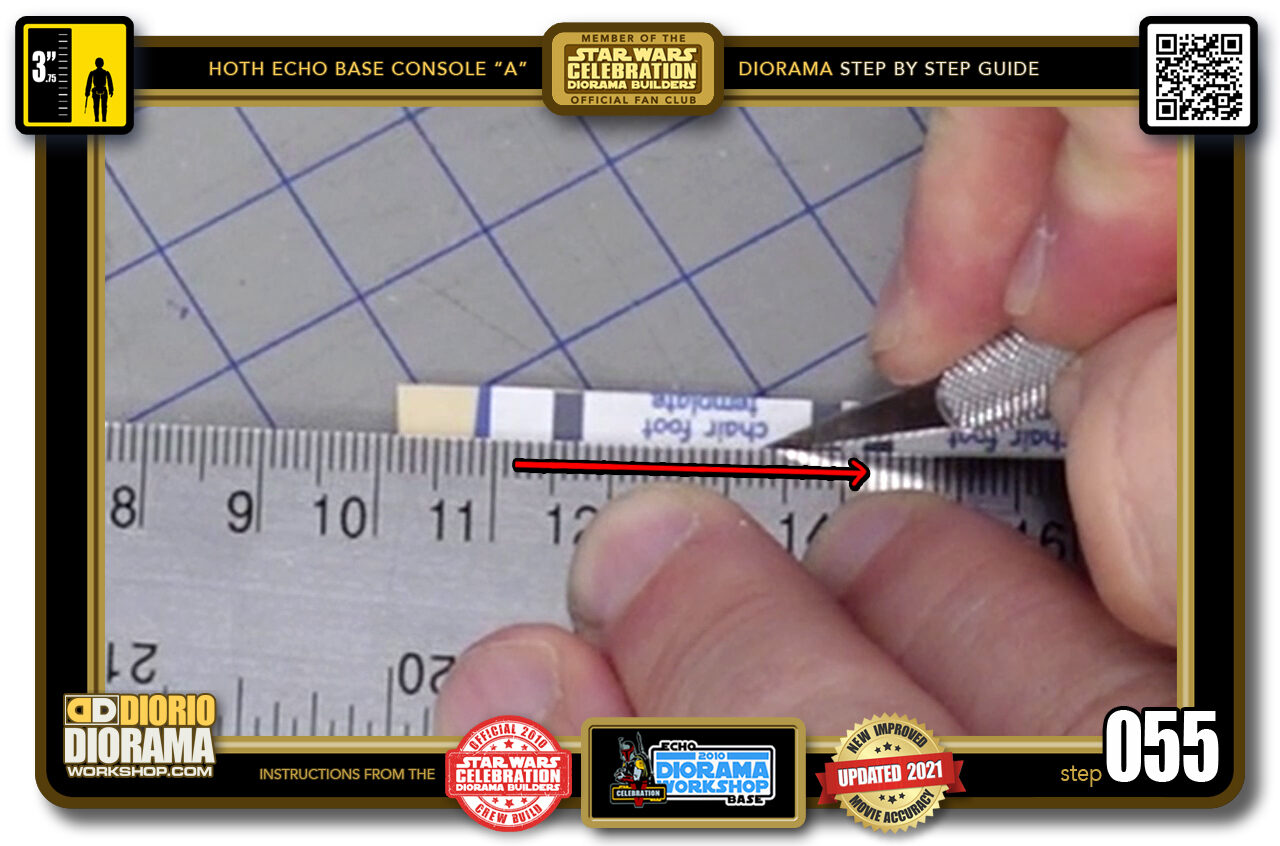
- STEP 055 > Because they are so small, if you feel more at ease with the X-Acto Pen, feel free to use this as I did.
-
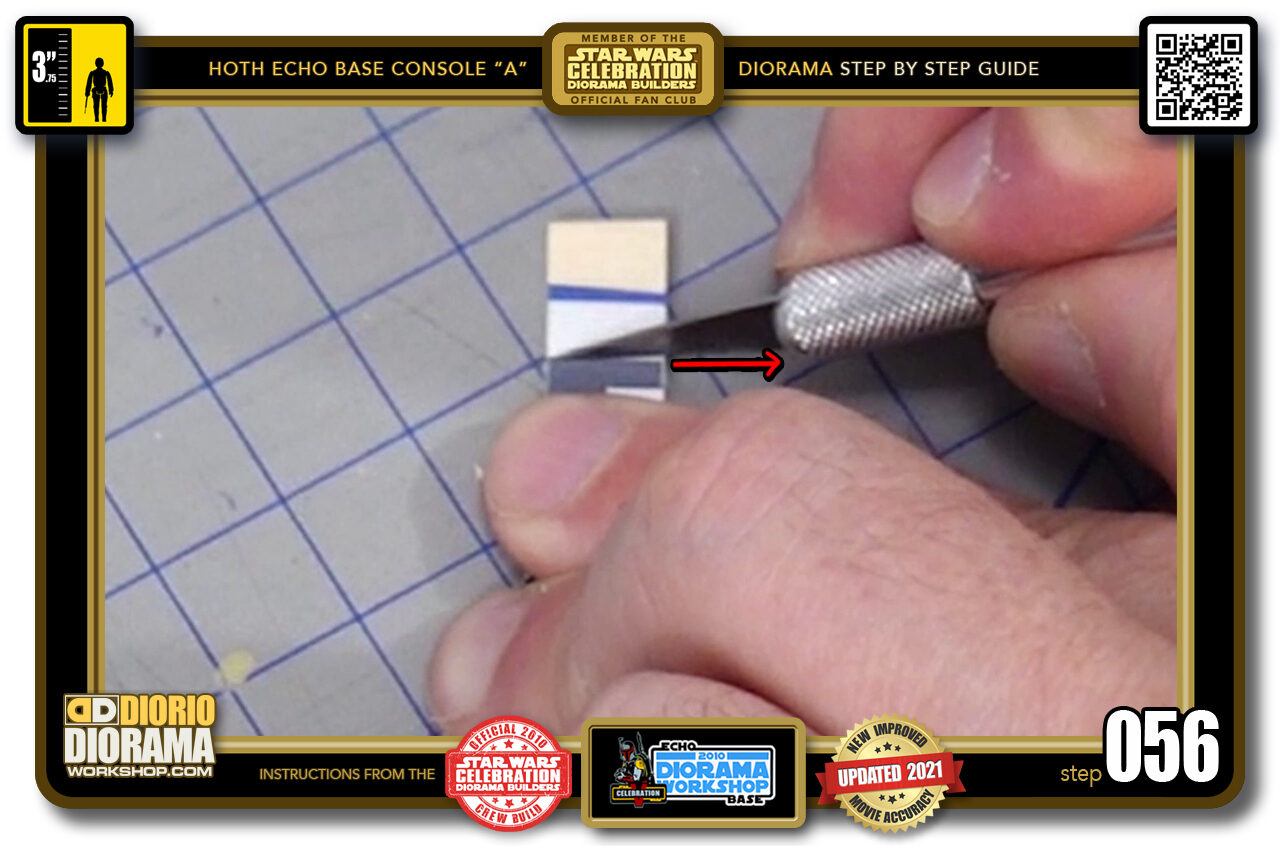
- STEP 056 > Once the Top and Bottom lines are cut you need to separate the feet into their individual even SMALLER pieces. Start with the outside edges.
-
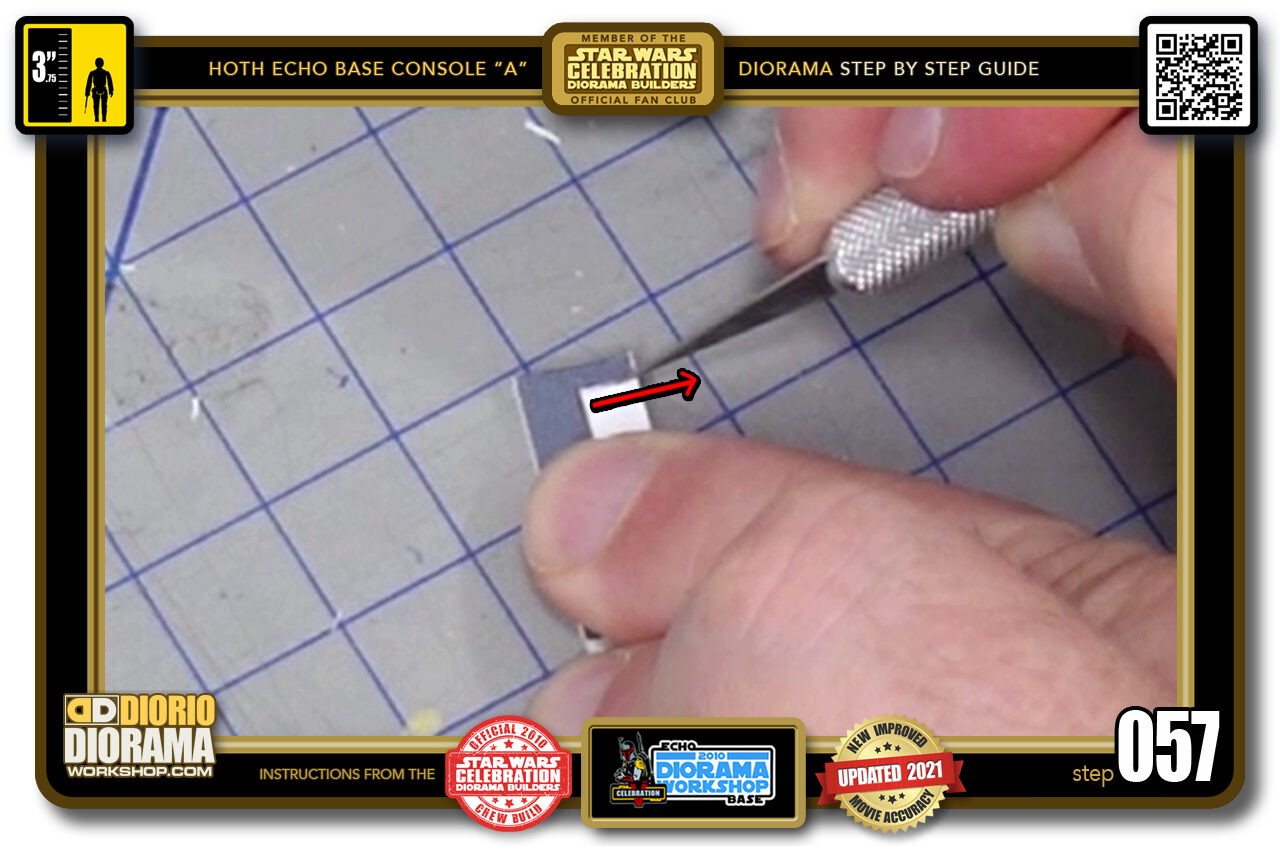
- STEP 057 > When cutting the INSIDES, the .5 cm width is so fragile, Try cutting a LITTLE OUTSIDE the decal template colour and INTO the WHITE, just to make it a little thicker.
-

- STEP 058 > When cut out your piece should look like this.
-
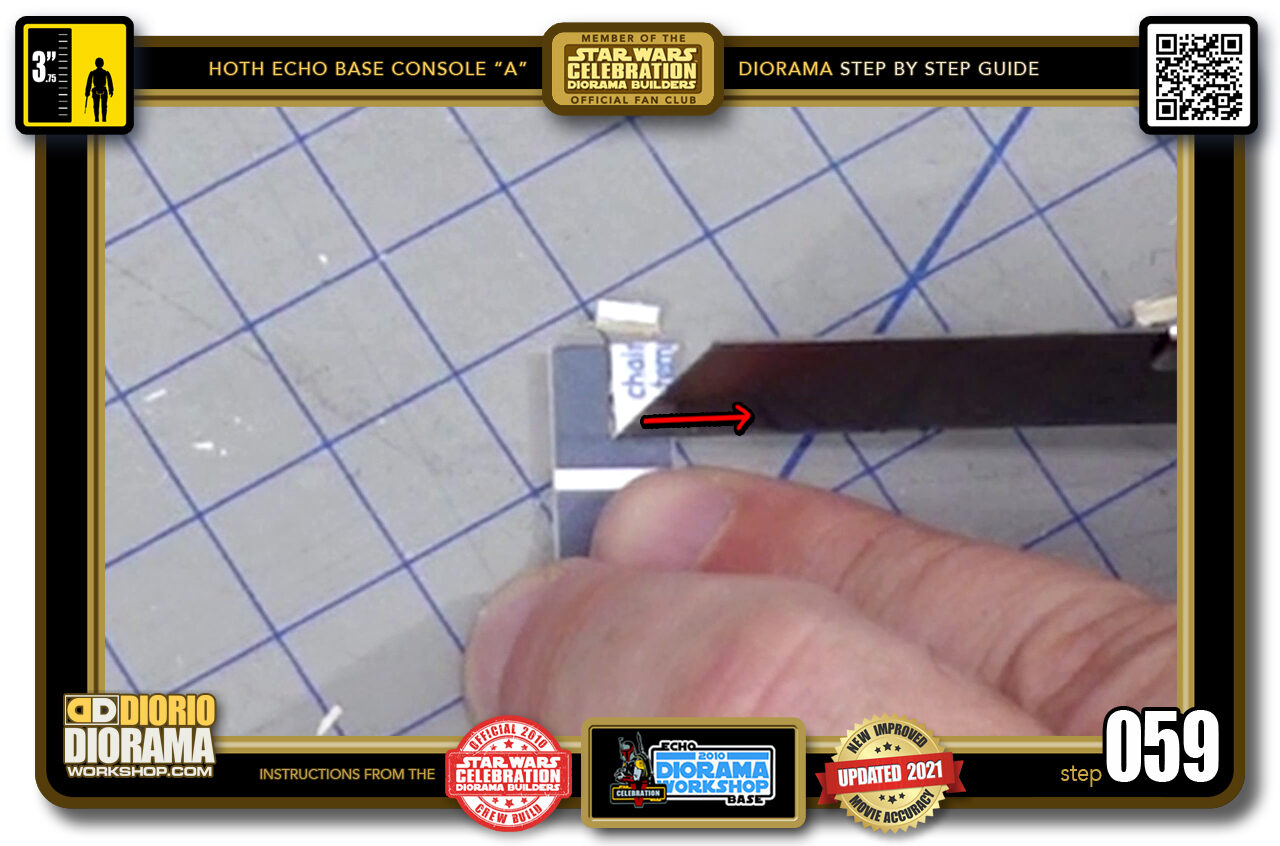
- STEP 059 > Now do the same for the other foot side. If you prefer you CAN use the regular X-Acto Knife to make your straight inside cuts. Just BE CAREFULL not to break them in half. These leg supports are so fragile even in Balsa Wood.
-
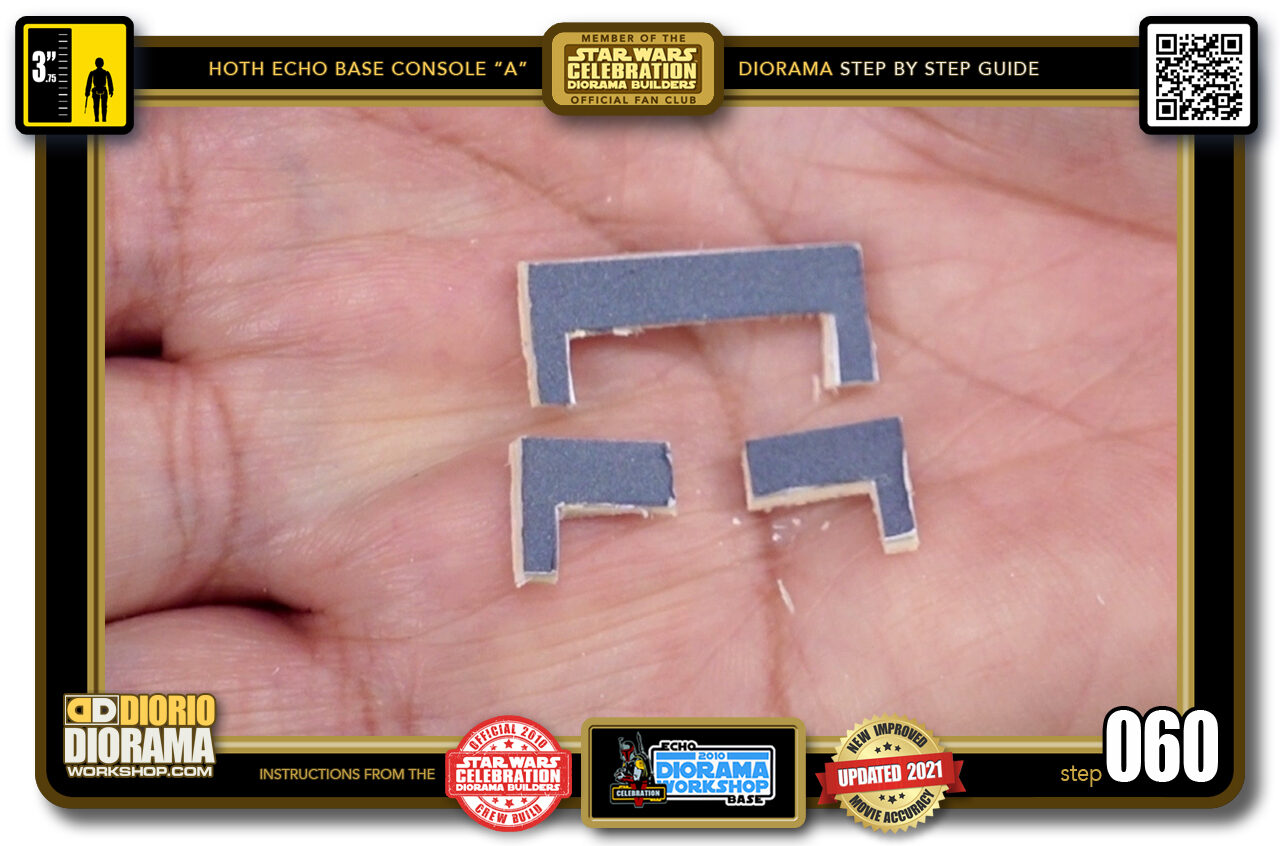
- STEP 060 > You should have these 3 pieces when you are done.

.
Did you already build this Diorama ? At home or at our Star Wars Celebration Diorama Builders workshop ? Would you like to show it in the site’s GALLERY VISITORS DIORAMAS section, YES ? That is Awesome !!! You can find out all the details on how to email me your photos on the VISITORS SUBMISSIONS INFO page … When I get your photos, I will create your very own page just like this one. You may not realize it but work does inspire others to join in the fun of making Action Figure Dioramas.
.
NOT FOR RESALE ALL Decals, tutorials and artwork are ©FrankDiorio (dioramaworkshop.com) and offered FOR FREE to the fans – that would be you ? so you can build and display my diorama designs in your very own home. I realize I cannot control what one does with my graphics once I place them on the web, I can only ask you as one fan to another, please respect the artist and do not be that jerk who uses my designs and tutorials to build a copy of my work only to sell it on EBAY or trade/sale groups and forums. Thank You. Frank.
.

.
.
If you have a facebook account, why not join the Official Diorama Builders Fan Club today, simply click the logo link below.
 .
.
Catch up with fellow visitors and exchange stories, read cool interviews with the crew, exchange photos, fun surprises and grab some FAN ONLY merchandise next year at actual future conventions ?
.
©2021 Frank Diorio DioramaWorkshop.Com
.
IF YOU LIKE WHAT YOU SEE, PLEASE SHARE WITH YOUR FRIENDS
USING THE SOCIAL MEDIA BUTTONS BELOW