


-

- STEP 161 > Again as you did for the front, gently press along the bottom. Always centre towards the outer corners to avoid causing any air trap bubbles or creases. In the photo it shows 2 fingers but you should really be using only 1 finger as the other hand is keeping the decal lifted off the rest of the surface until you press down with your foamcore top (remember the sandwhich technique). Once the decal is completely laid flat and making full contact, you can start to press more firmly with the rest of your hand to make sure the decal is secure.
-
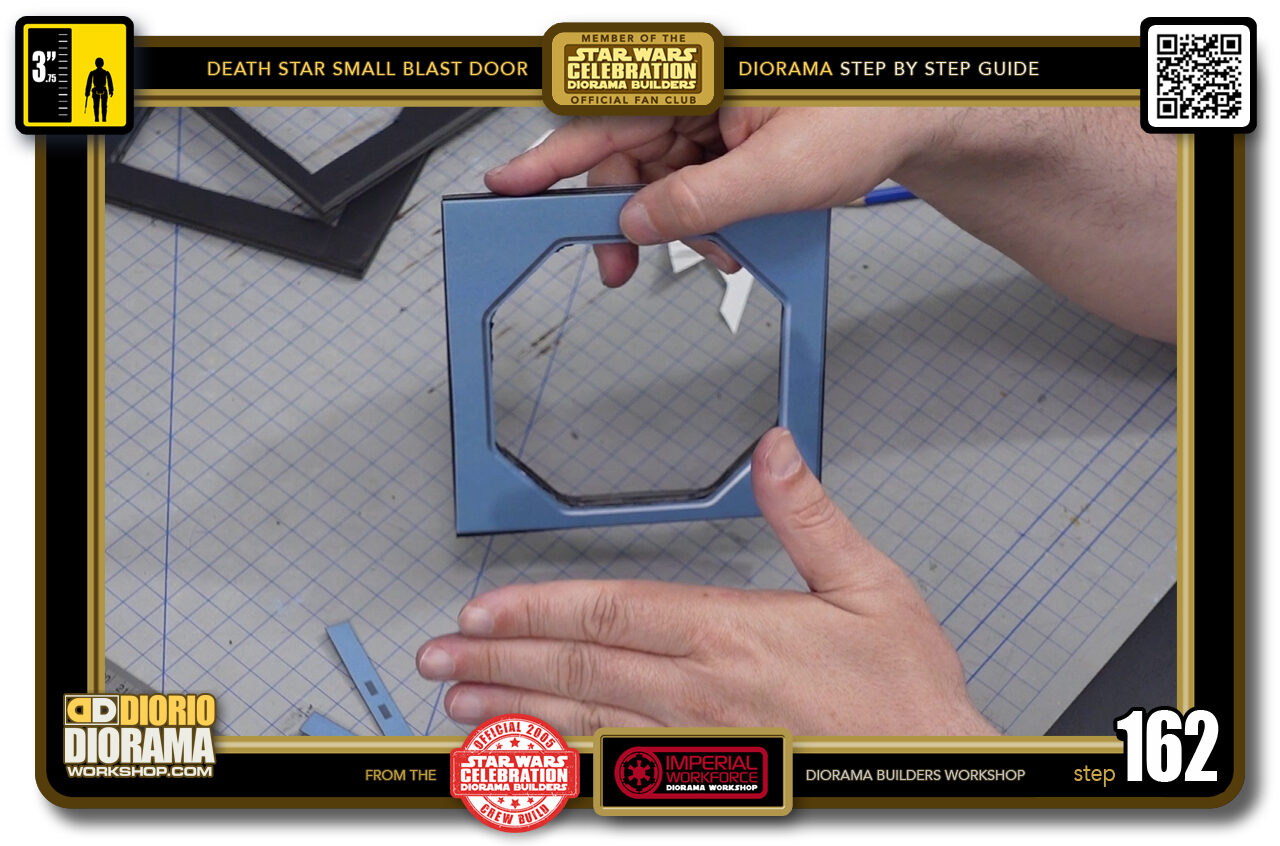
- STEP 162 > This is what your decal should look like.
-

- STEP 163 > A technique I created that greatly helps the blending of the spines is to use your thumb's nail to press against the decal edge as you move it is the smae way as your earlier pencil technique. You want to lay your nail flat and slide it inwards as you glide it along the side. Repeat this as many times until you get a nice rounded edge.
-
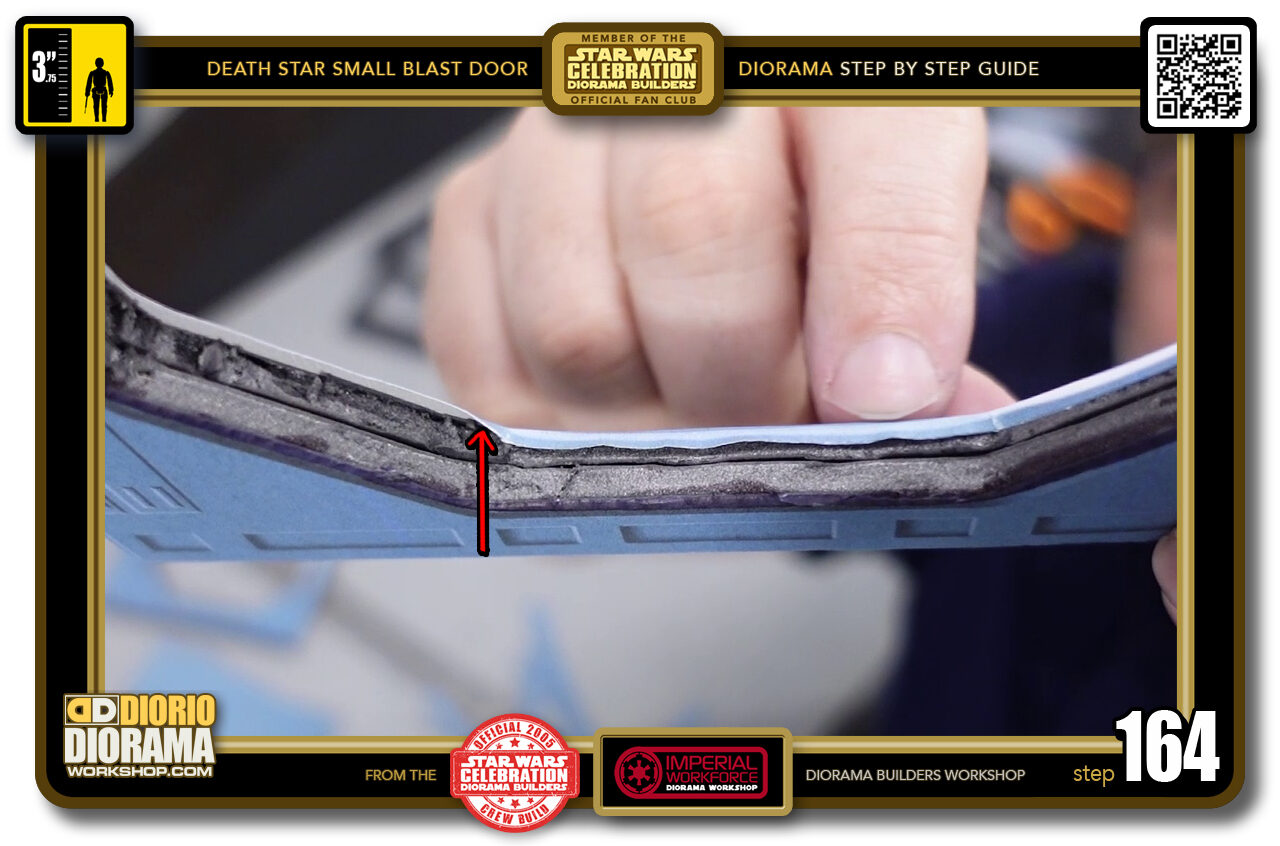
- STEP 164 > When you look at it from the inside, you can see how your nail caused a nice rounded bend and actually pressed the decals edges against the inner frame cuts. On the left you can see what the decal looks like before you do the thumb nail trick.
-
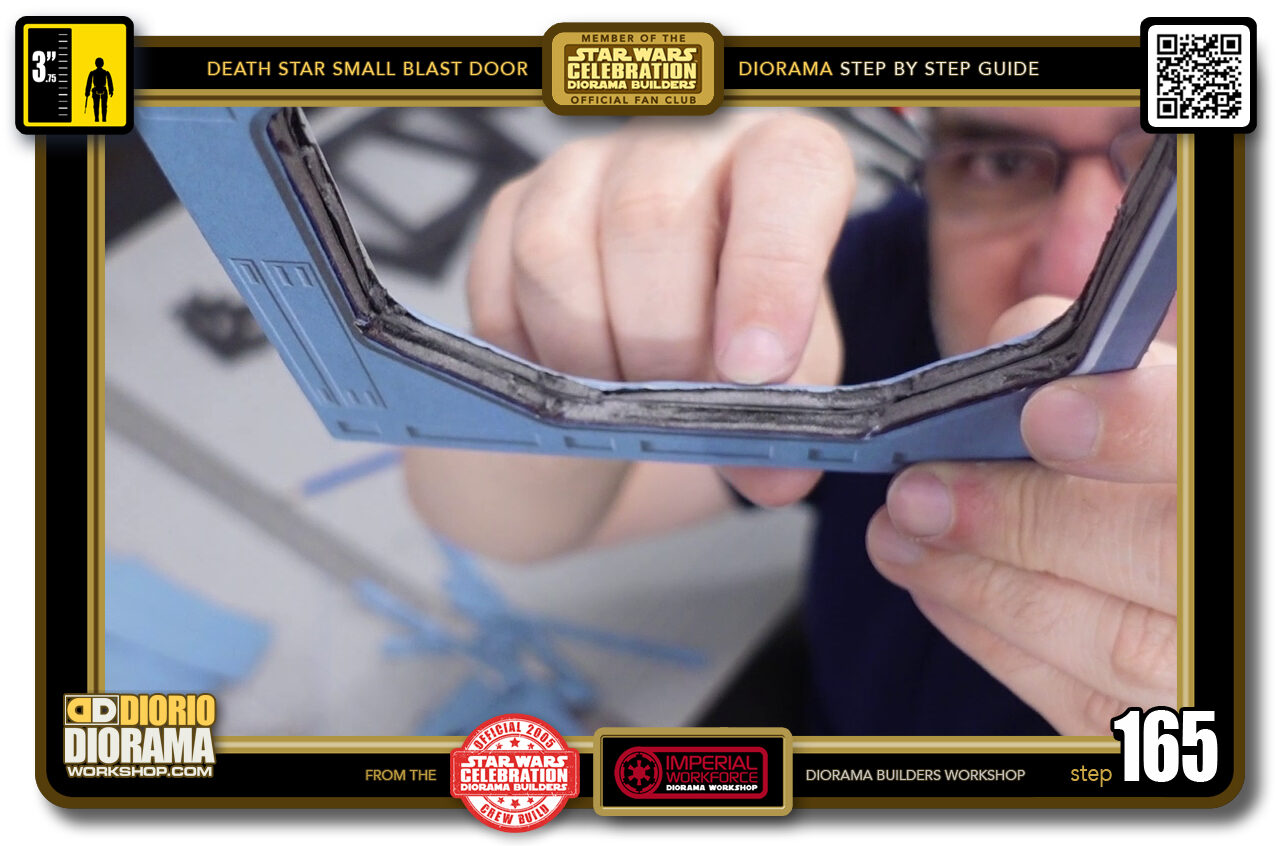
- STEP 165 > When you are done all the way around, you will have a cleaner contact point for the spine but also an extra overlapping texture (paper on paper) to attach the spine decal to.
-
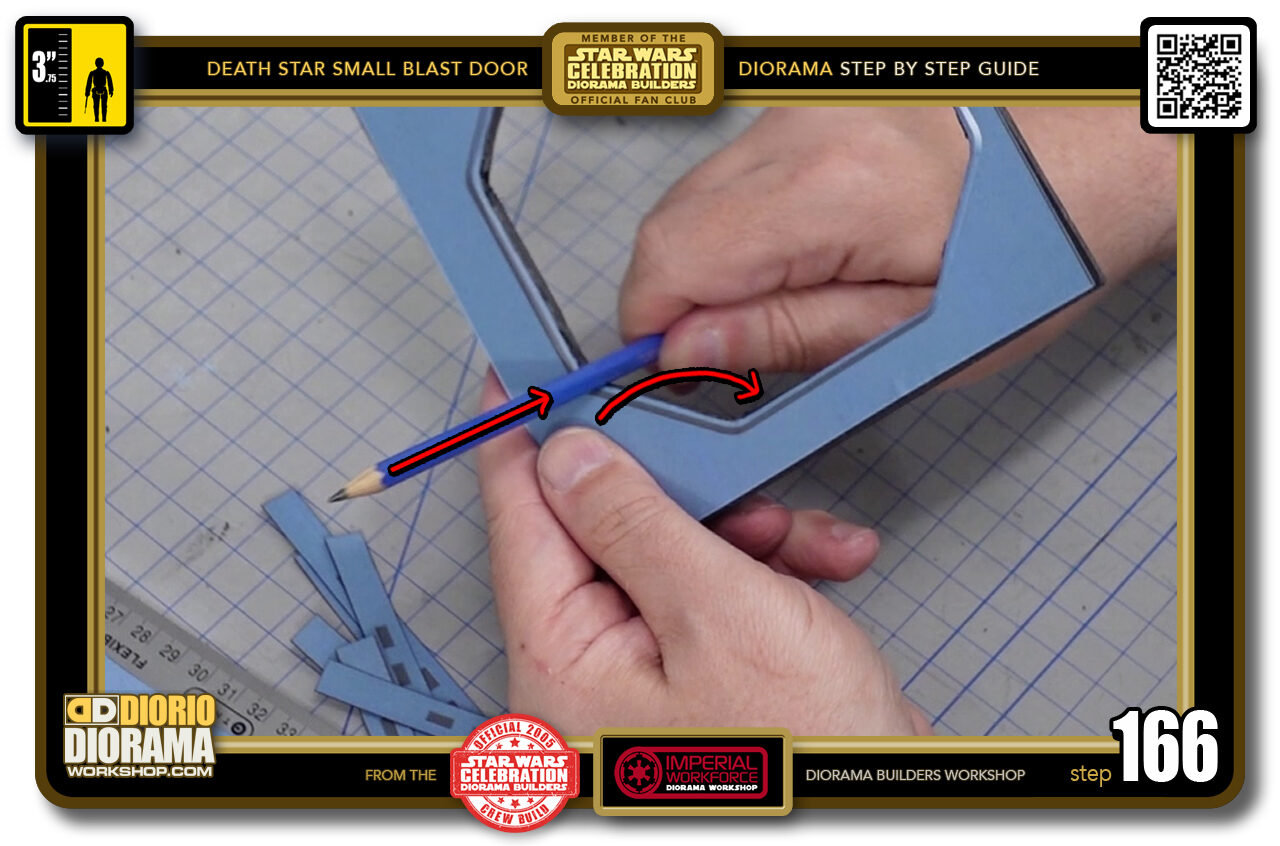
- STEP 166 > You can if you wish to make the corners smoother, return to your pencil technique since it is just the shape of the curved corner angles.
-
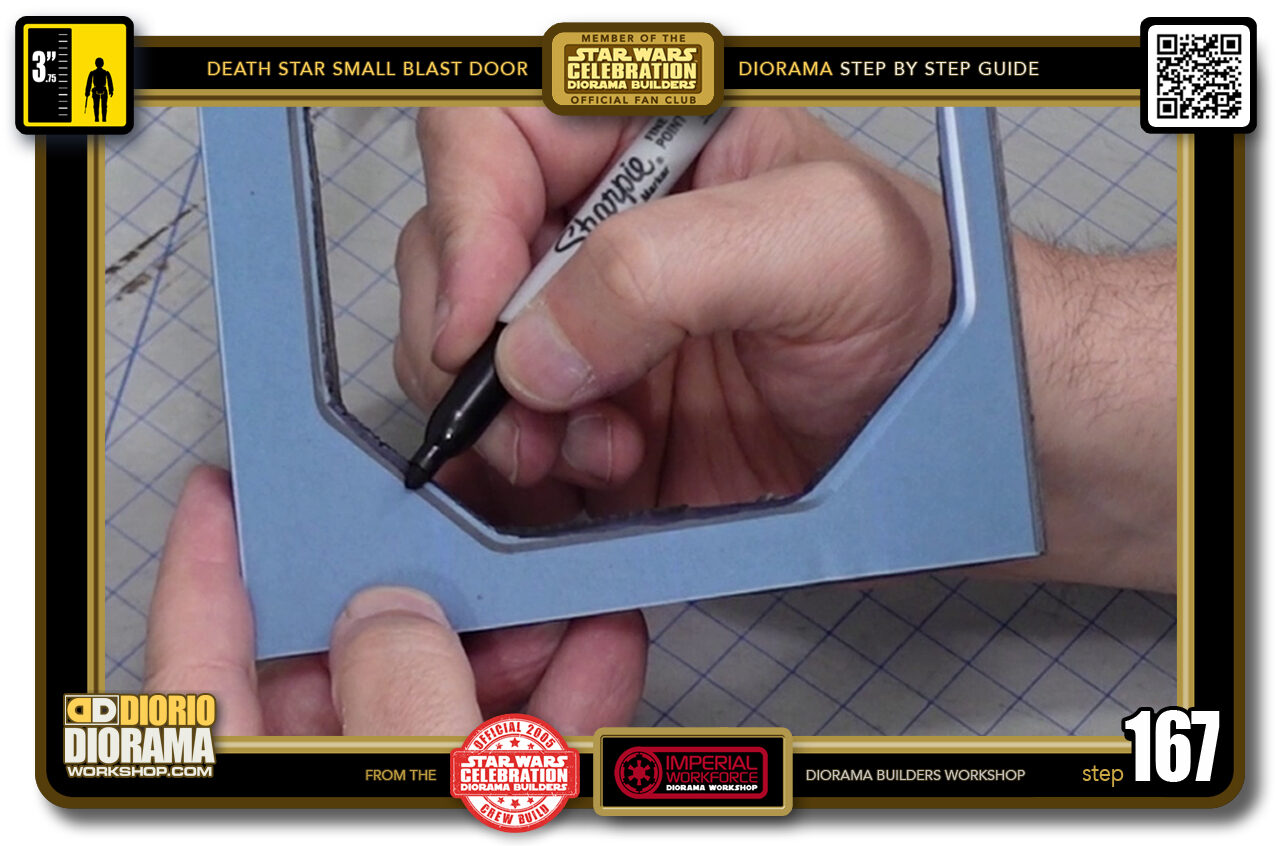
- STEP 167 > Once done, grab your black Sharpie pen and go around all of the edges. Use the SIDE of your pen to glide along, DON'T use the TIP like when you do colouring books. Follow along the decal inner frame shape all the way to the inside edges where the decal stops.
-
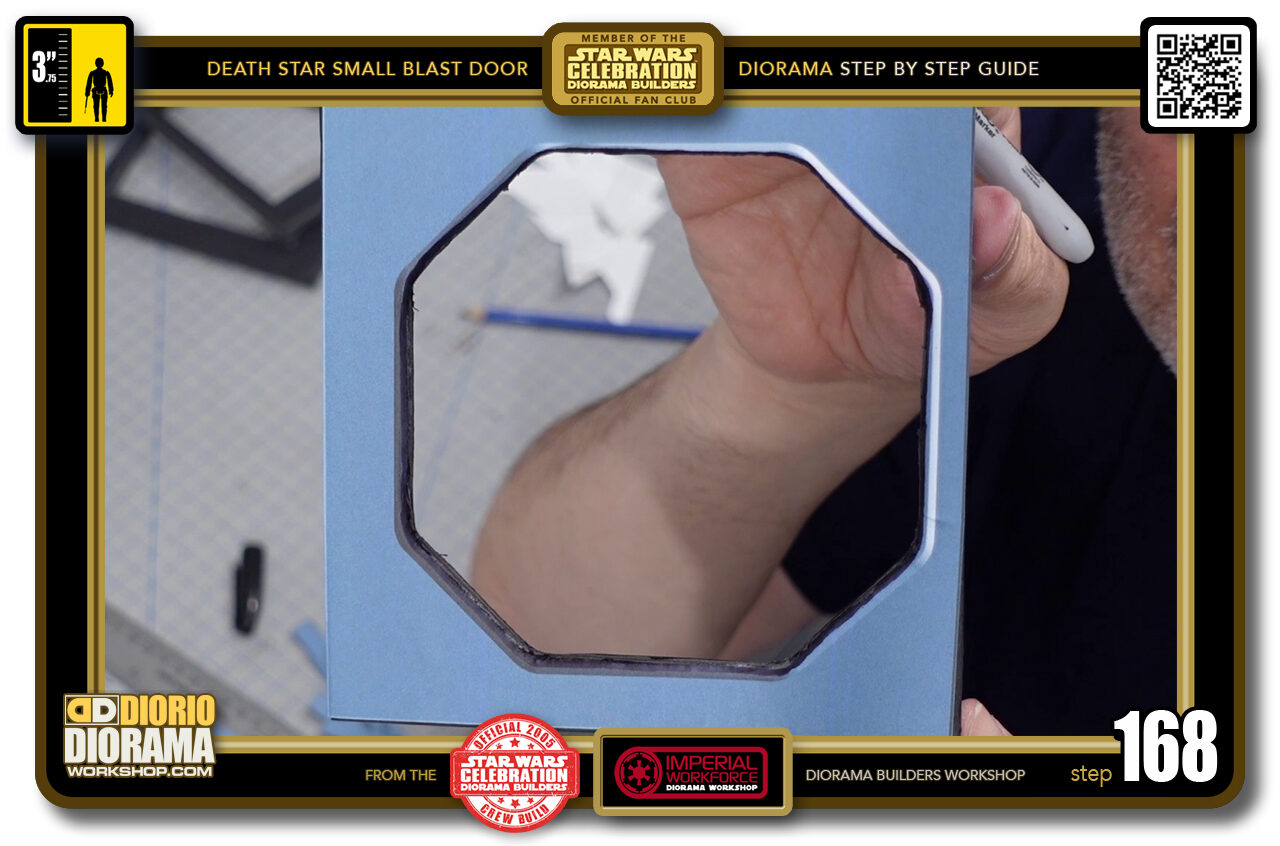
- STEP 168 > See how the pen hides all cutting imperfections and gives the illusion of a perfect octagon. Your first double thick diagonal rear skin is done and ready for the spine decals.
-
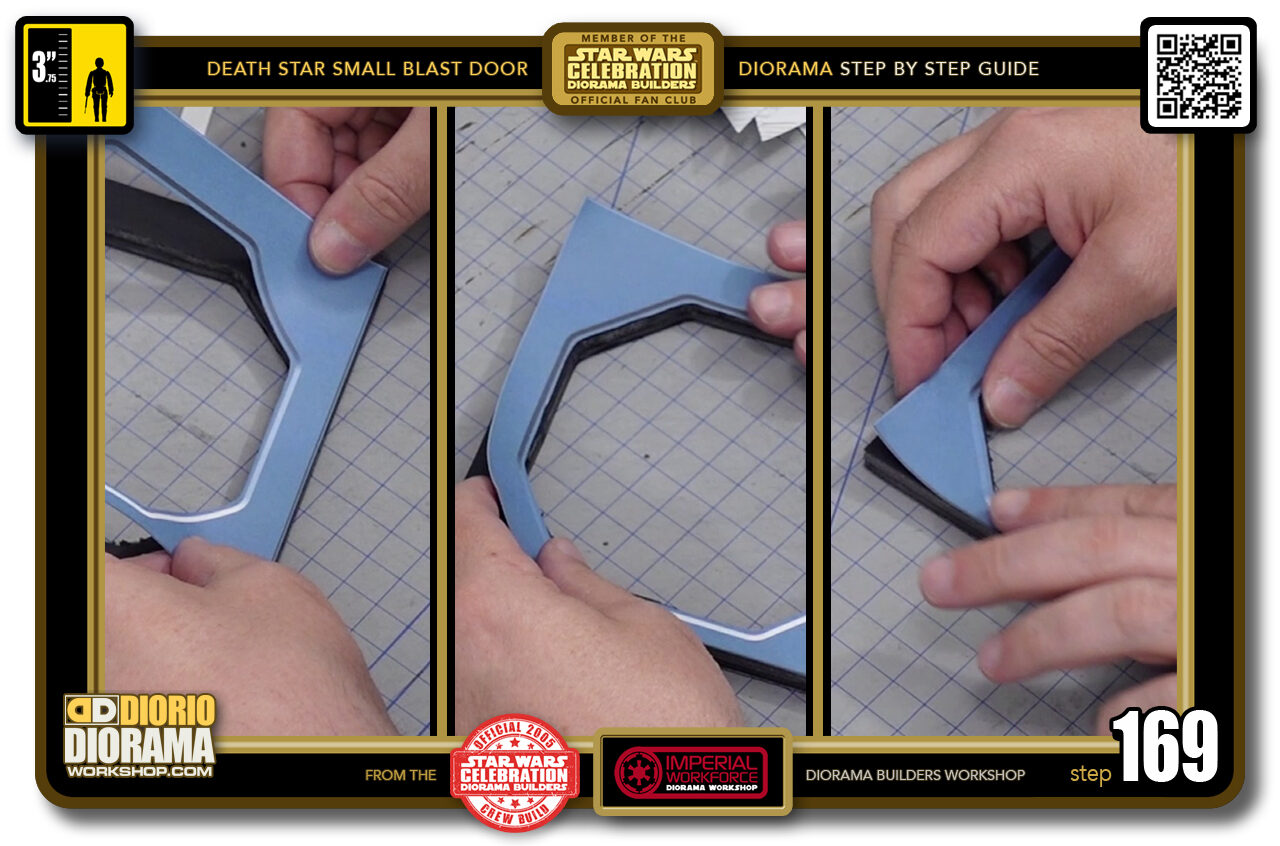
- STEP 169 > But first, repeat the same steps with your other double thick octagonal frame.
-
-
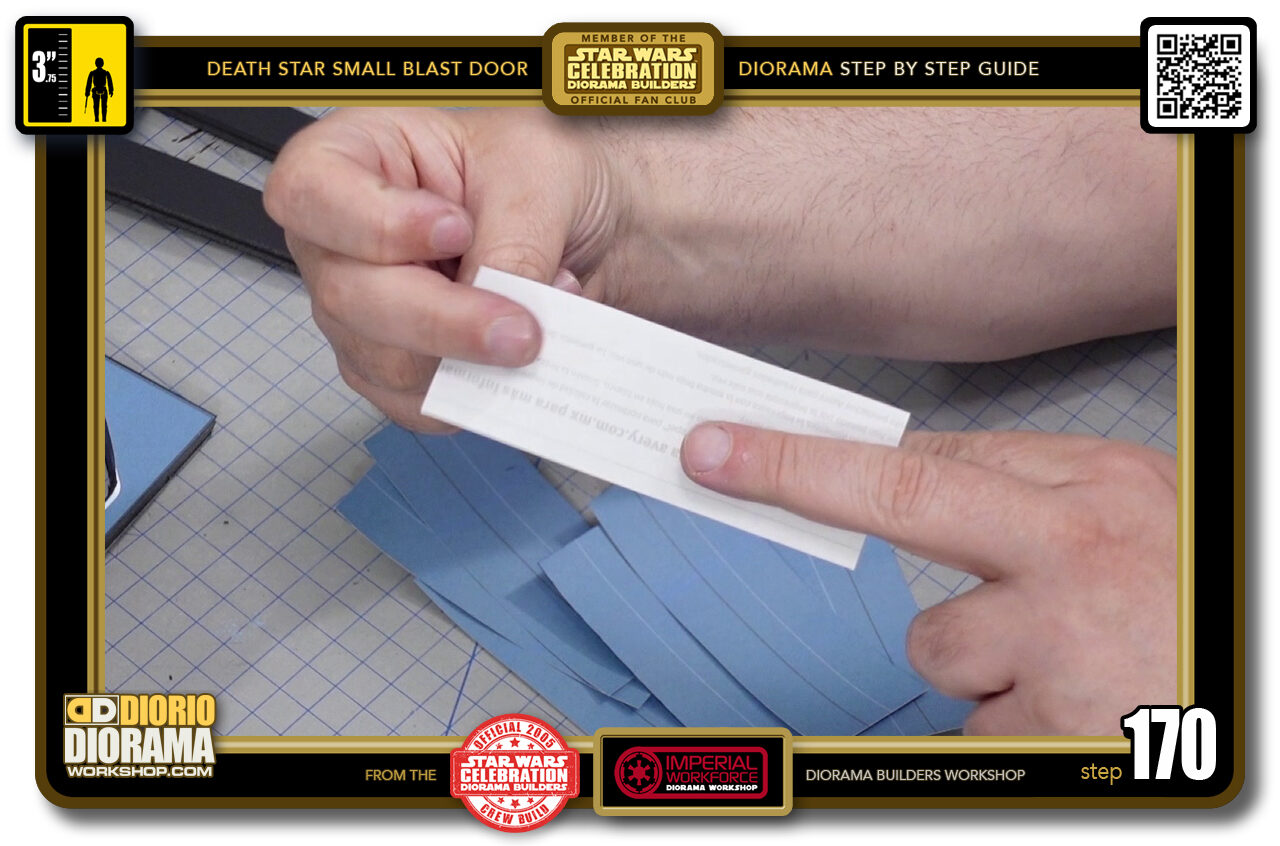
STEP 170 > Time to apply the spine decals to your frames. Let's start with the inner square frames first as they are the easiest.
We first need to fold all the skins before placing them onto the foamcore. Start by placing 2 fingers behind the decal like you see in the photo.
-
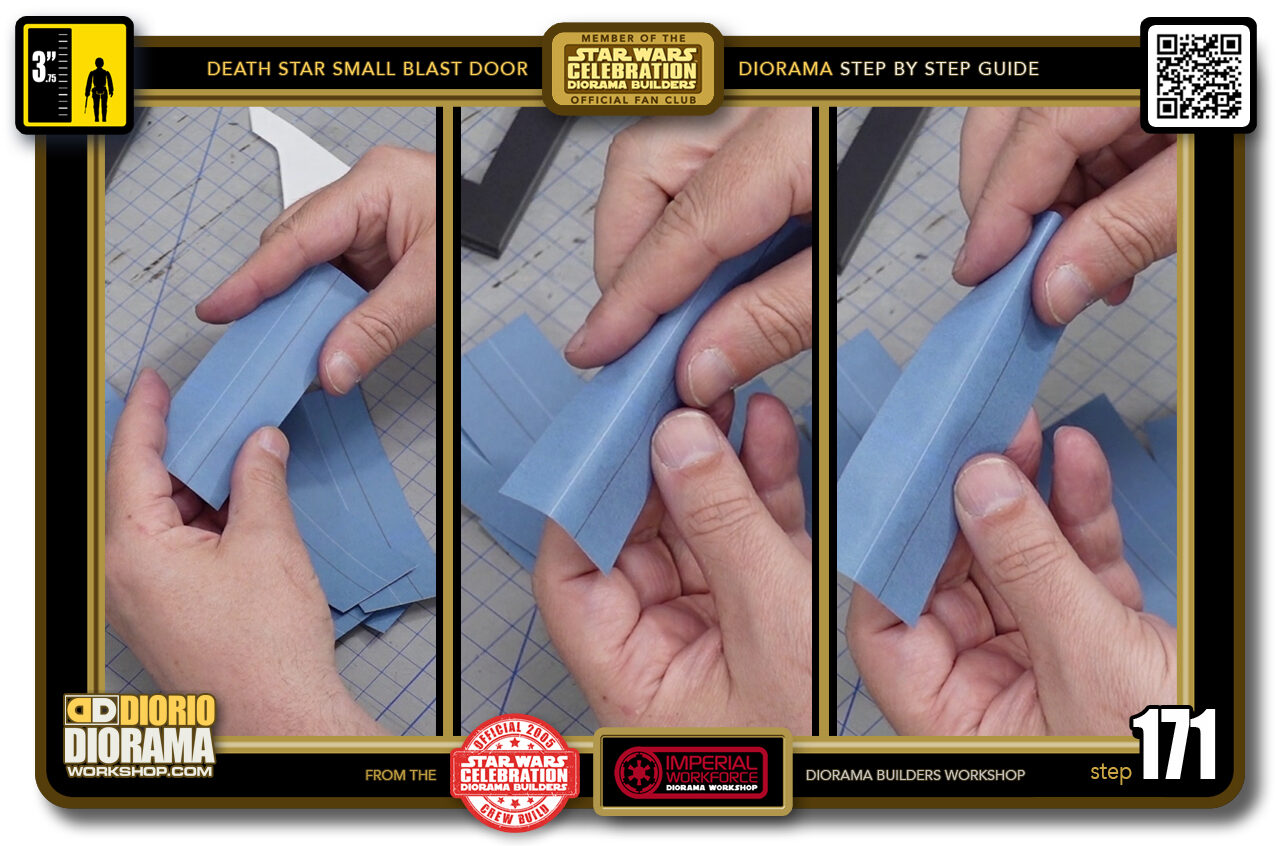
- STEP 171 > Now use your remaining fingers to bend the decal around the 2 rear fingers. You want to slowly create your folds so that they follow your printed folding lines. Start by bending and eventually move on with more and more bending until you can start getting a fold memory.
-

- STEP 172 > Once you get a 90 degree memory like this you can move on to applying more pressure and define your fold.
-
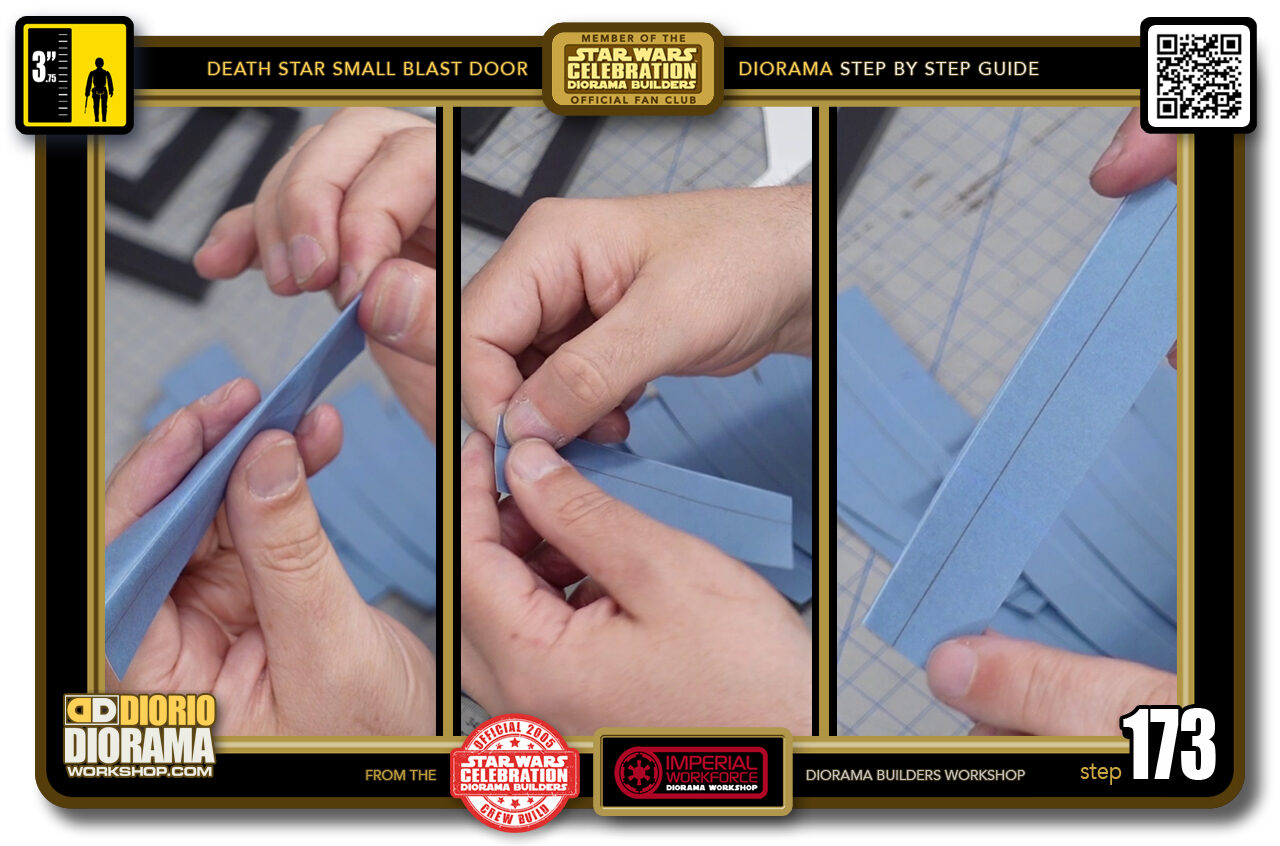
- STEP 173 > You can now start pinching tight along the printed centre line until you get a nice bend all across the printed line like this. Now repeat the steps on the other printed guide line until both lines are perfectly folded over.
-
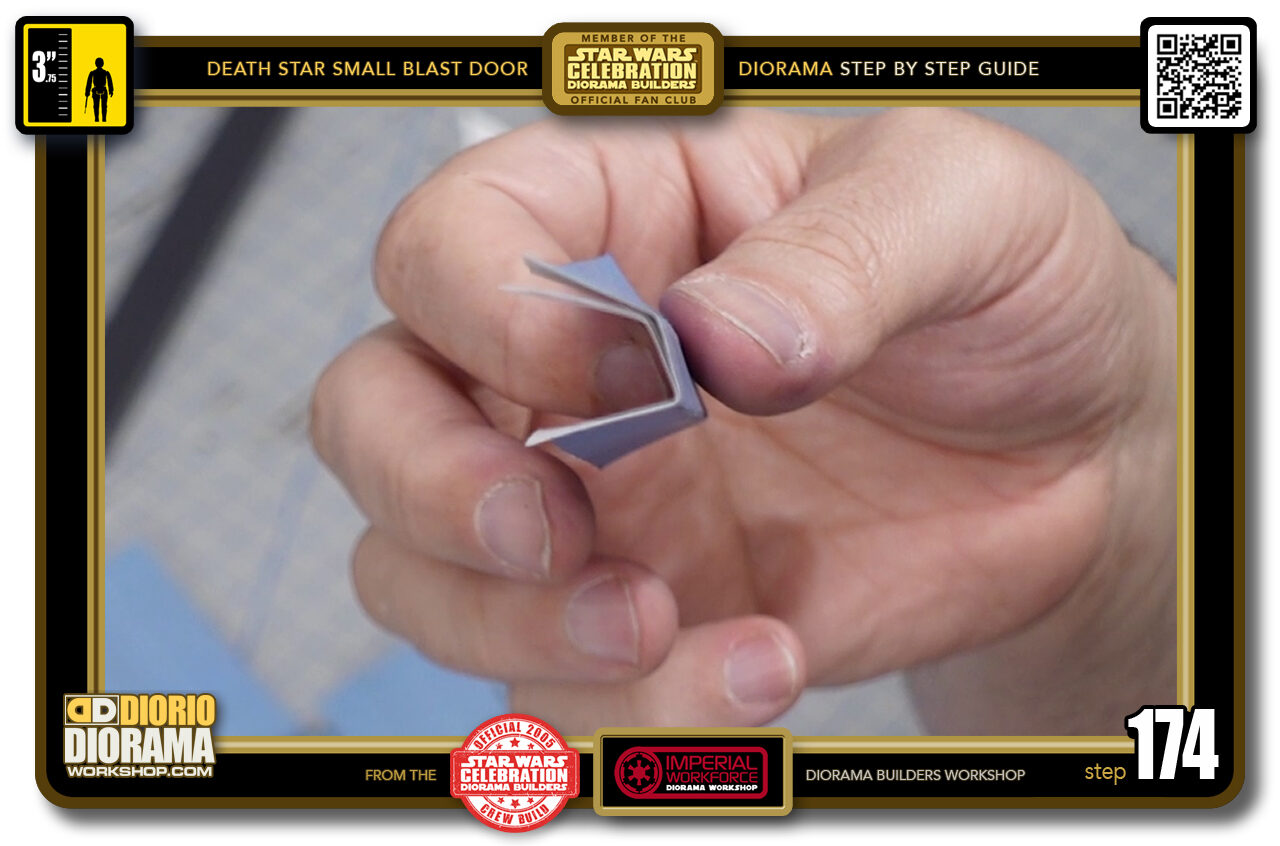
- STEP 174 > You should now have a clean memory set in on your decal that will allow you to easily place and wrap this around the foamcore centre nice and snug.
-
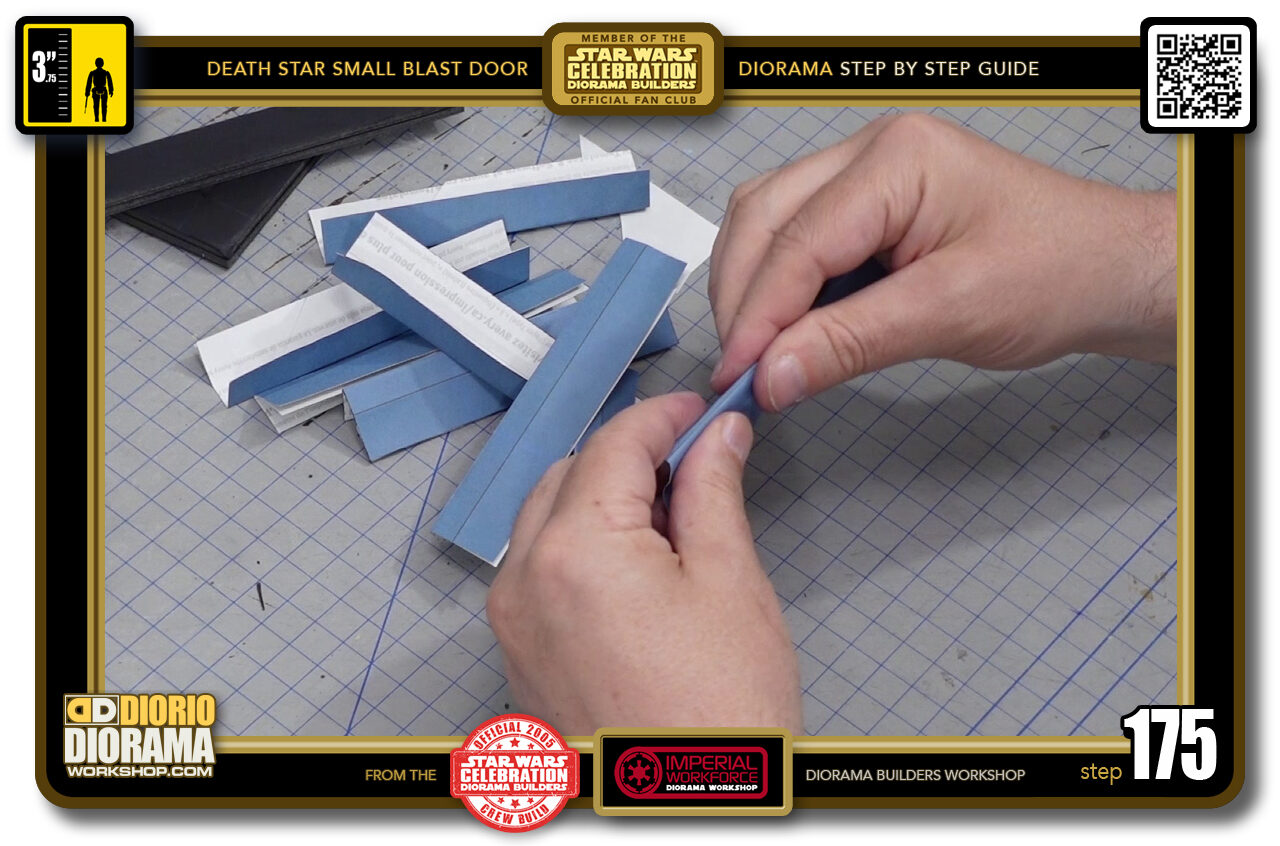
- STEP 175 > Continue the process on all your remaining inner frame spines.
-
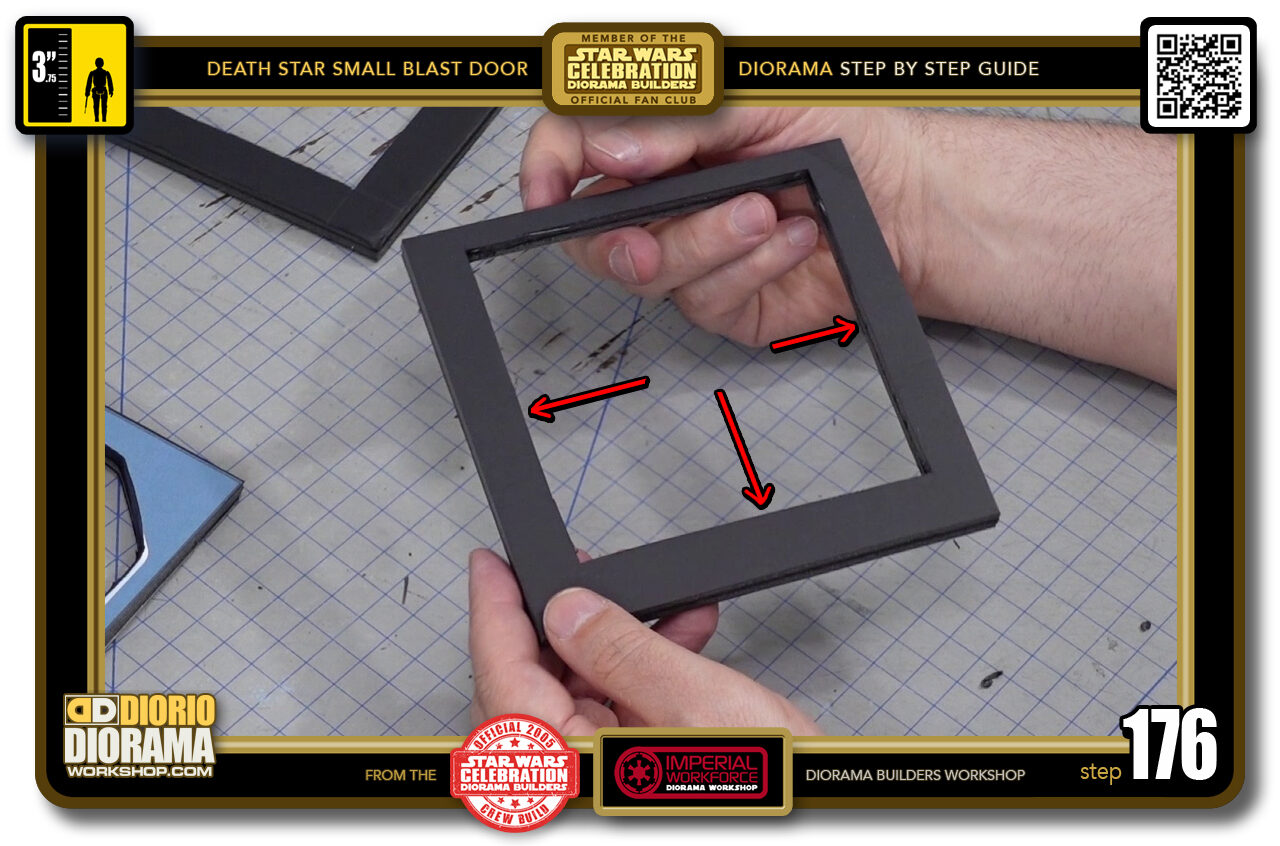
- STEP 176 > Now you will notice you have 3 identical sides and 1 smaller (bottom) 1cm side. You can start at any of the 3 equal sides. It doesn't really matter until you reach step 187.
-

- STEP 177 > Do a DRY RUN FIRST. You will notice that there should be a small overlap ( the red dotted lines show you where your frame ends) that prevents it to fit inside. This is on purpose to allow you to have the tightest best fits possible.
-
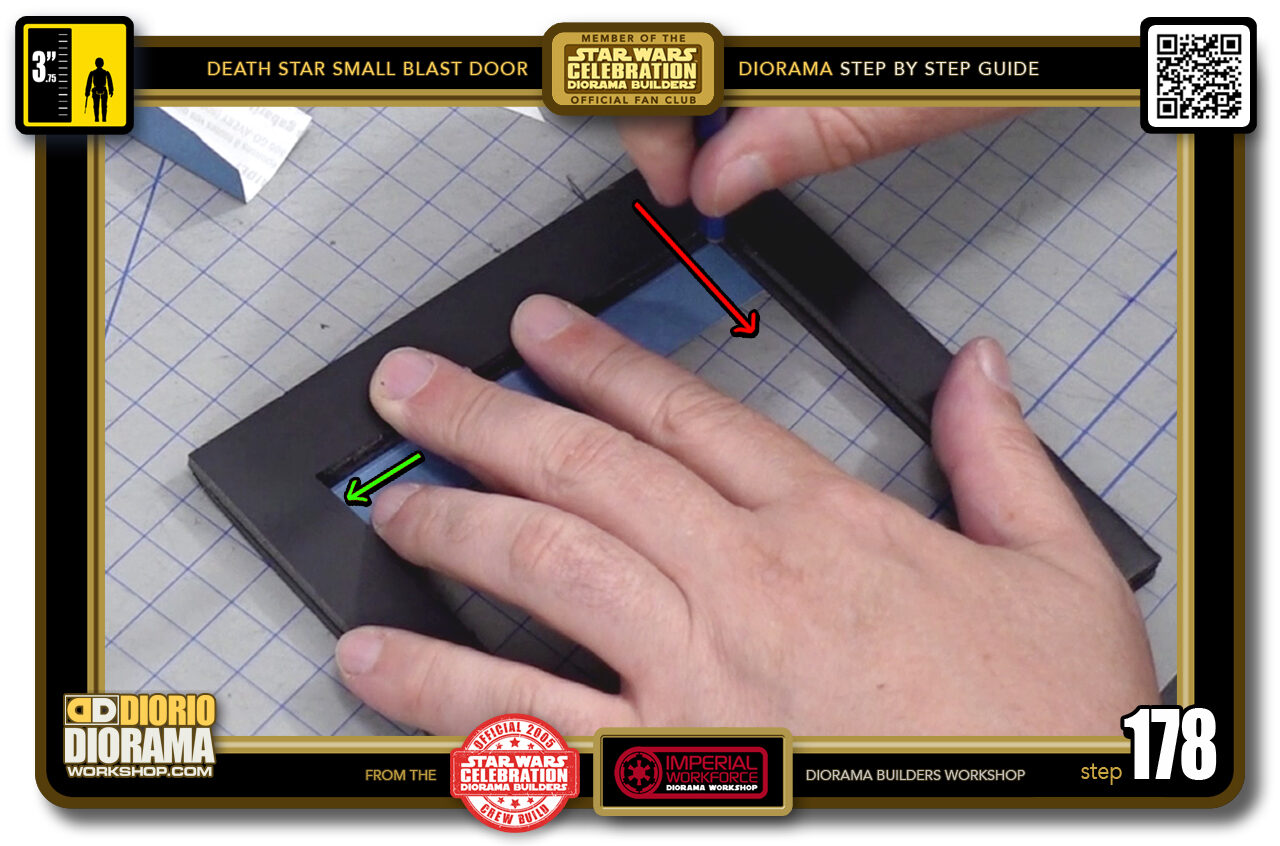
- STEP 178 > Lay the decal flat on the cutting mat pressed tight against one of the inner frame corners (green arrow) then with your pencil, draw a line against the opposite corner where the side touches the decal.
-

- STEP 179 > Now use your scissors to trim just outside that line. Better to cut TOO LITTLE than too much.
-
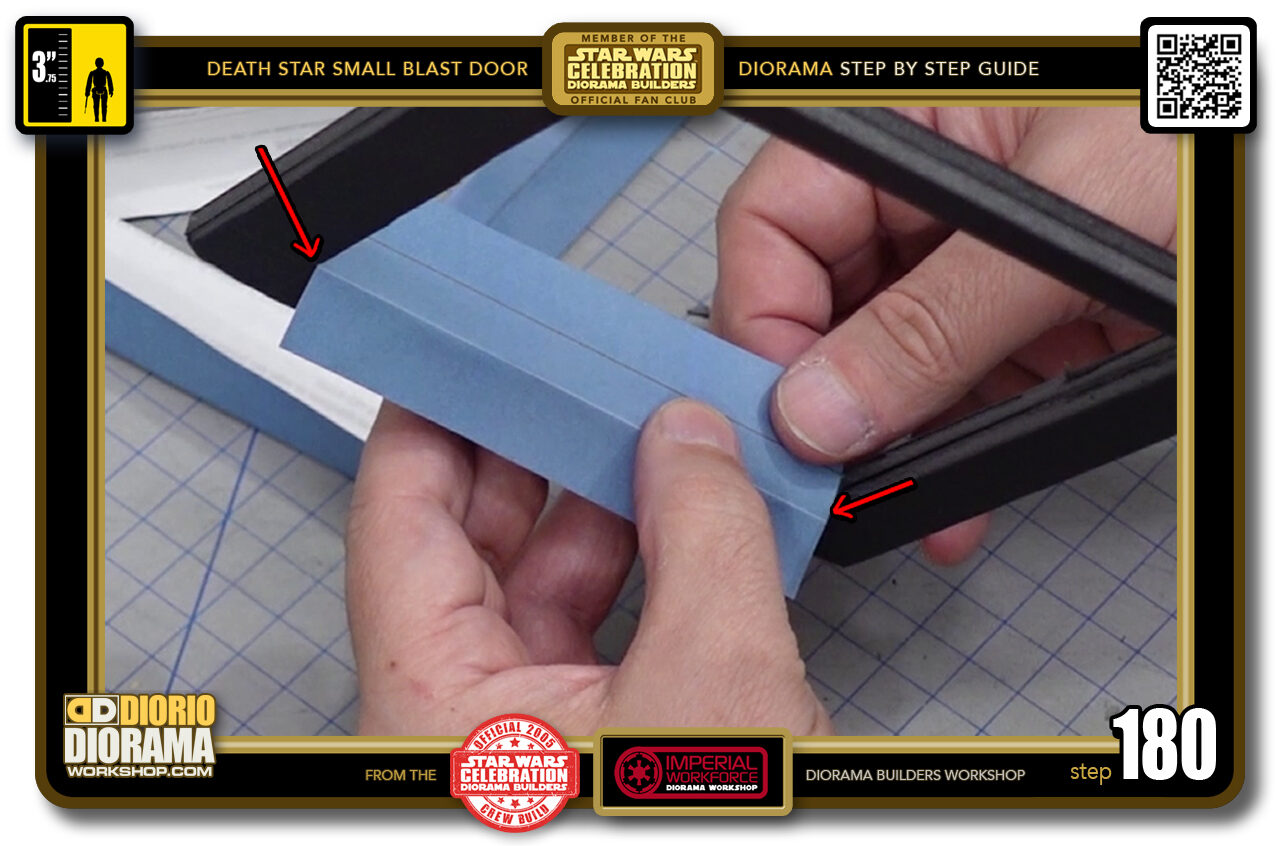
- STEP 180 > Do another DRY RUN to see if the decal now fits snug inbetween the 2 posts and IT DOES !!! If still too tight, cut off 1mm at a time until you get that perfect fit.

.
Did you already build this Diorama ? At home or at our Star Wars Celebration Diorama Builders workshop ? Would you like to show it in the site’s GALLERY VISITORS DIORAMAS section, YES ? That is Awesome !!! You can find out all the details on how to email me your photos on the VISITORS SUBMISSIONS INFO page … When I get your photos, I will create your very own page just like this one. You may not realize it but work does inspire others to join in the fun of making Action Figure Dioramas.
.
NOT FOR RESALE ALL Decals, tutorials and artwork are ©FrankDiorio (dioramaworkshop.com) and offered FOR FREE to the fans – that would be you ? so you can build and display my diorama designs in your very own home. I realize I cannot control what one does with my graphics once I place them on the web, I can only ask you as one fan to another, please respect the artist and do not be that jerk who uses my designs and tutorials to build a copy of my work only to sell it on EBAY or trade/sale groups and forums. Thank You. Frank.
.

.
.
If you have a facebook account, why not join the Official Diorama Builders Fan Club today, simply click the logo link below.
 .
.
Catch up with fellow visitors and exchange stories, read cool interviews with the crew, exchange photos, fun surprises and grab some FAN ONLY merchandise next year at actual future conventions ?
.
©2021 Frank Diorio DioramaWorkshop.Com
.
IF YOU LIKE WHAT YOU SEE, PLEASE SHARE WITH YOUR FRIENDS
USING THE SOCIAL MEDIA BUTTONS BELOW