


-
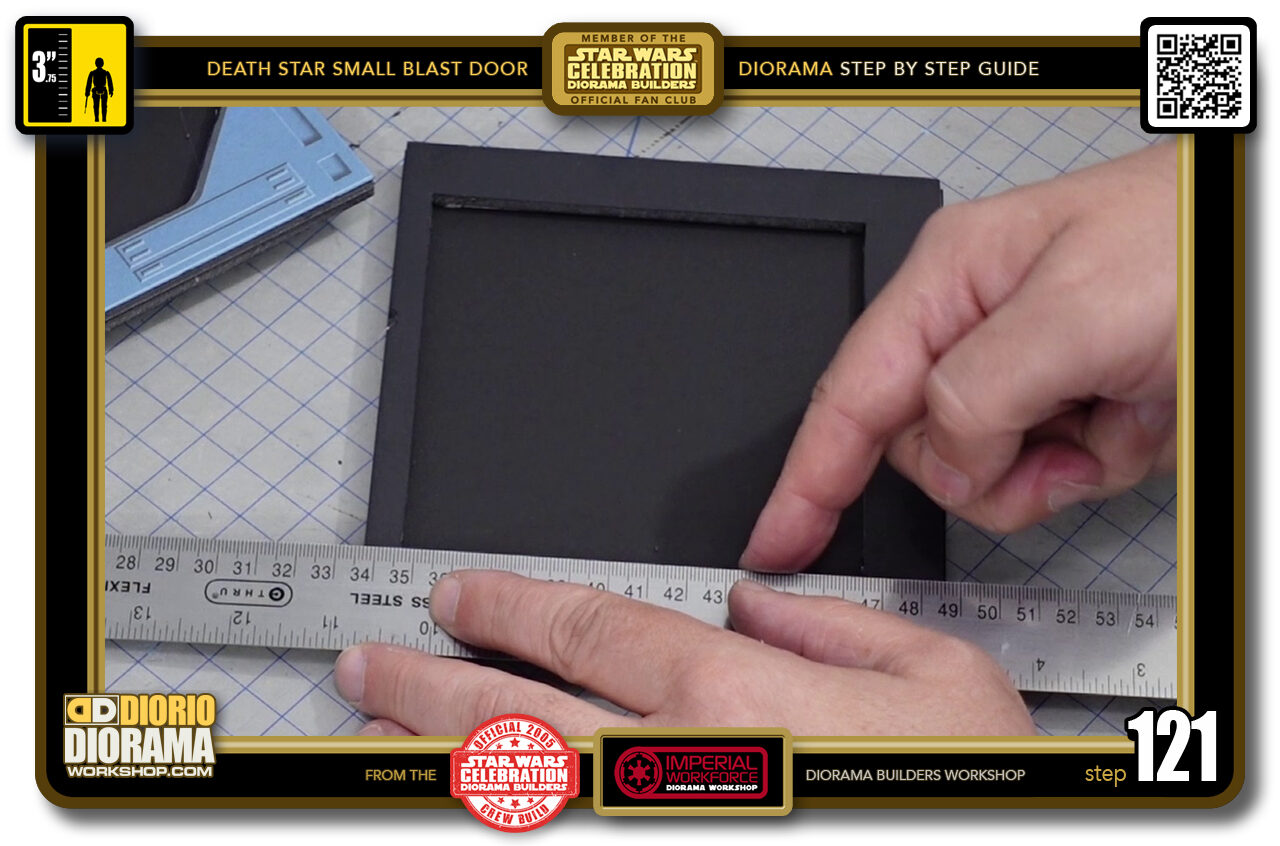
- STEP 121 > If you don't feel at ease cutting freehand you can still use a ruler here.
-
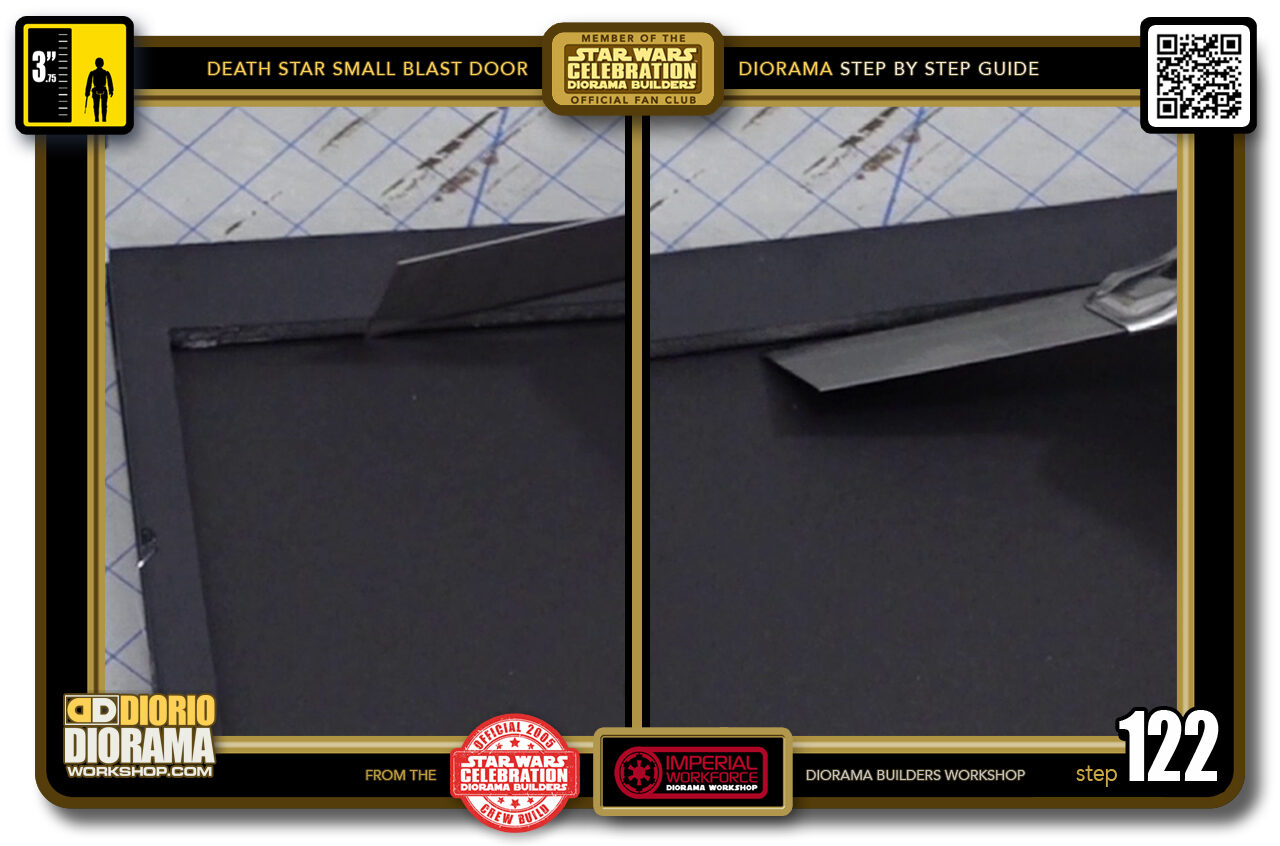
- STEP 122 > After lots of practice (2 dozen years for me) you can eventually allow the edge of the top layer to be your guide and do the cuts freehand. Just try and make sure you don't lean your blade to either side. You want to try keep a clean 90 degree angle cut.
-
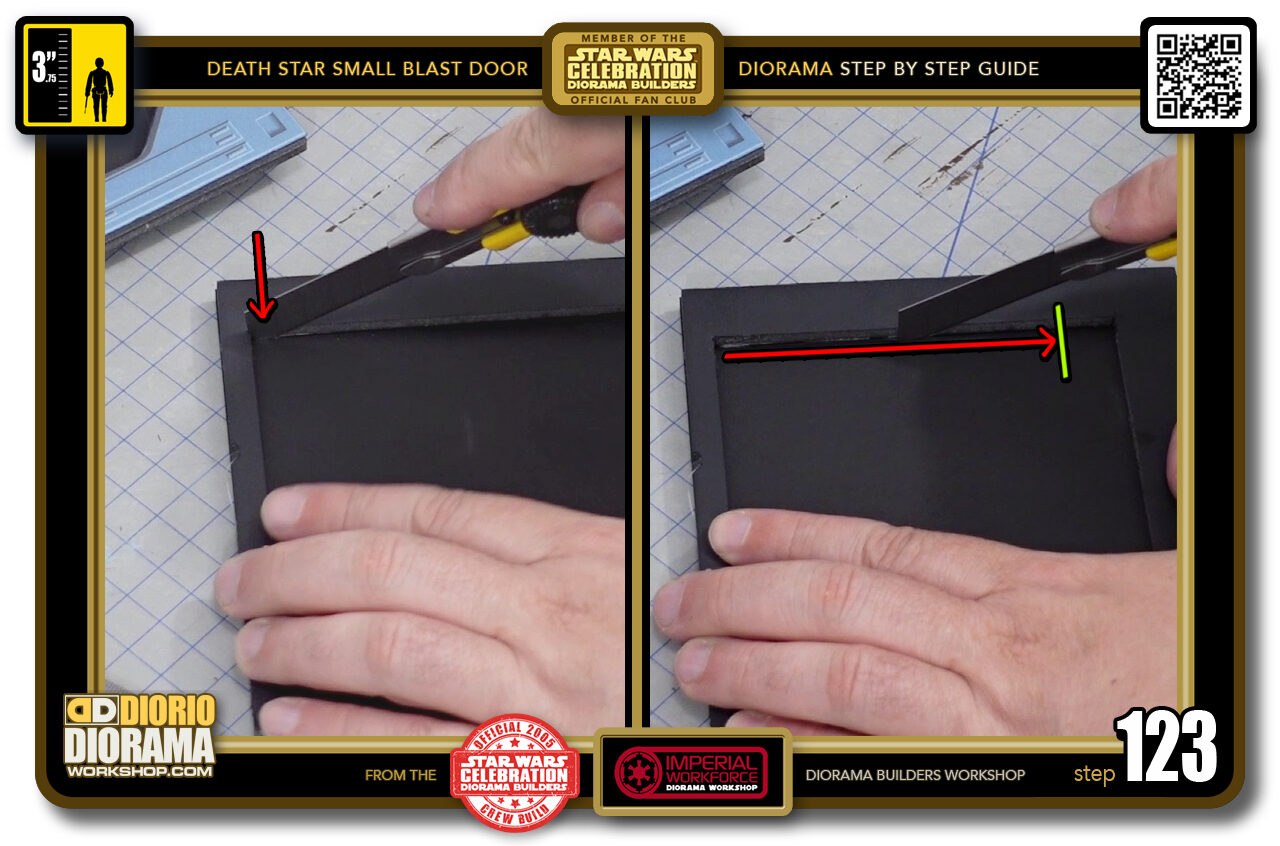
- STEP 123 > As we did for the first layer, poke down first with your handle at a higher angle to allow the front of your blade to give you that 90 degree piercing. Put your blade in the corner and press down until you hear a pop and feel the blade go through to touch the mat. Then lower your blade closer to the surface and slice stopping just shy of reaching the end and bumping (cutting) into the next corner.
-
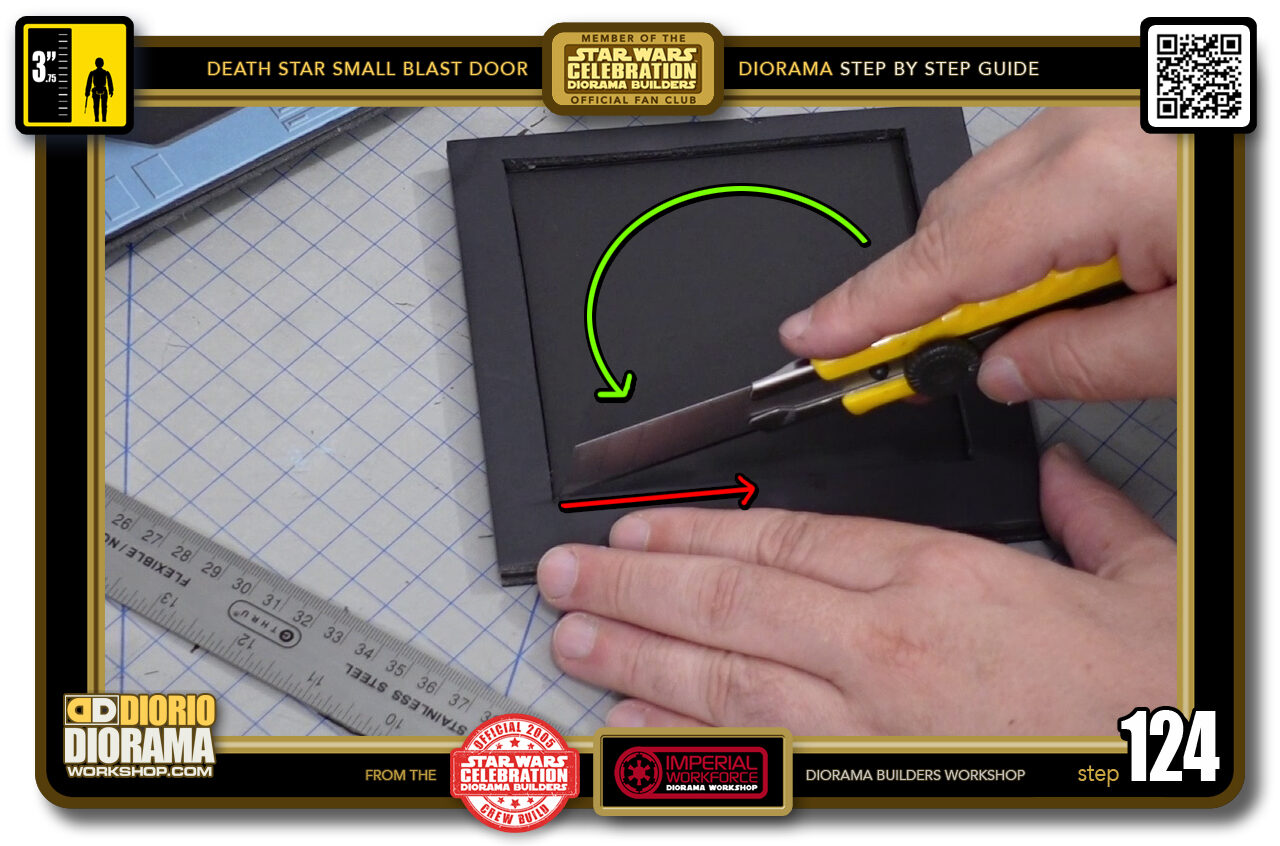
- STEP 124 > After doing your first 4 slices, rotate your frame (green arrow) 180 degrees and now cut in the opposite direction on all 4 sides (red arrow).
-

- STEP 125 > Flip your frame and examine the rear to see if you have any connection issues. If you don't have to "connect the dots" you are ready to...
-
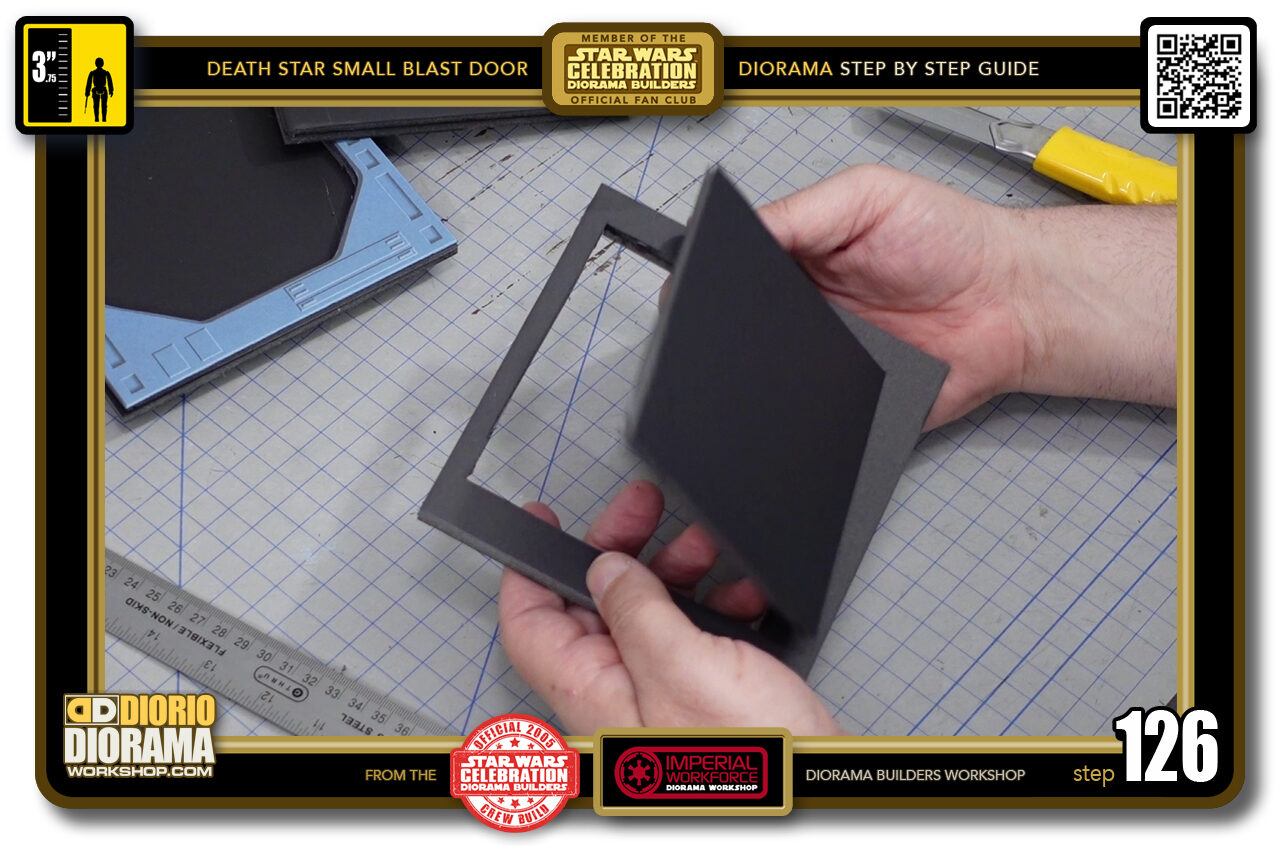
- STEP 126 > Pop the centre out just like this.
-
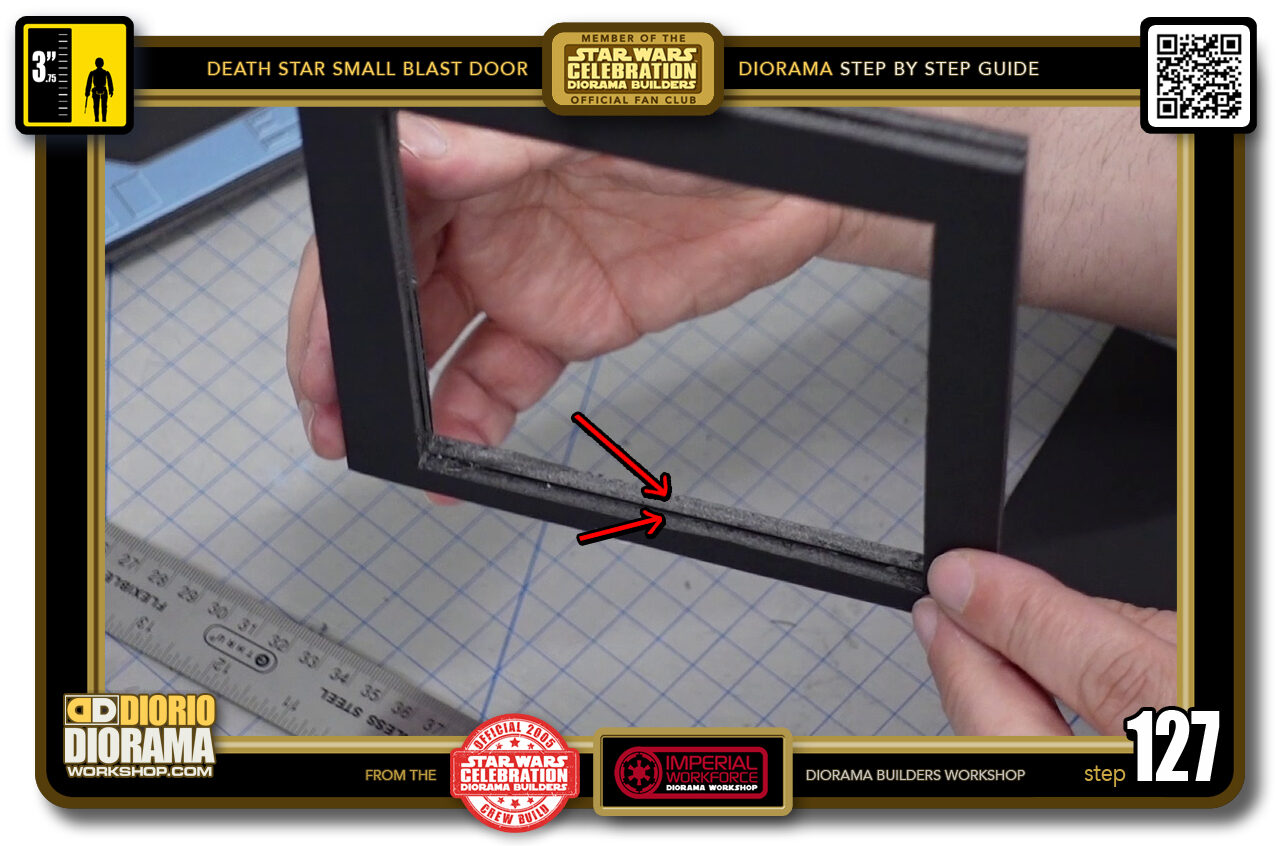
- STEP 127 > You now have your first DOUBLE THICKNESS inner frame.
-
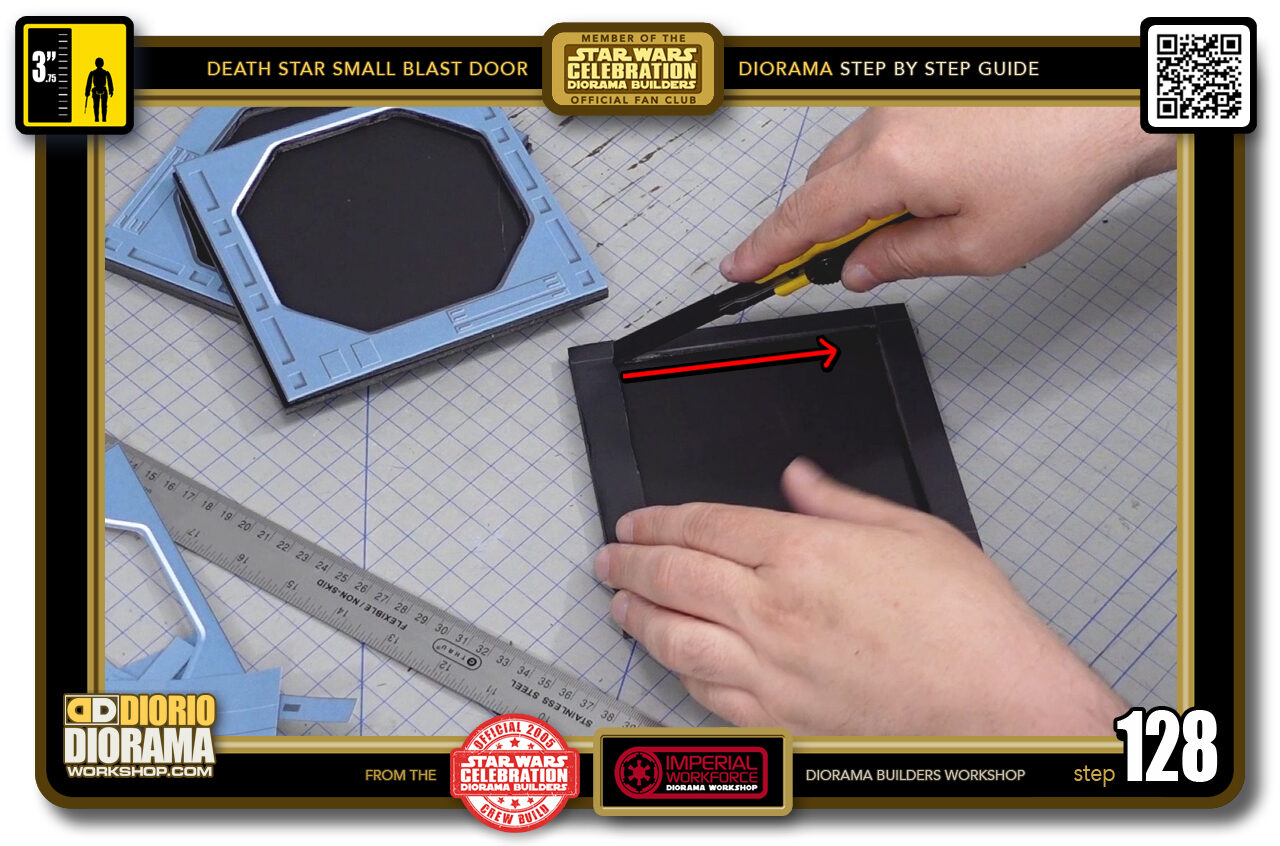
- STEP 128 > Repeat the same steps to cut and remove the inside of your 2nd piece.
-

- STEP 129 > You now should have 2 completed INNER DOUBLE THICK frames.
-

- STEP 130 > Time to cut out the centre of your octagonal pieces.
-
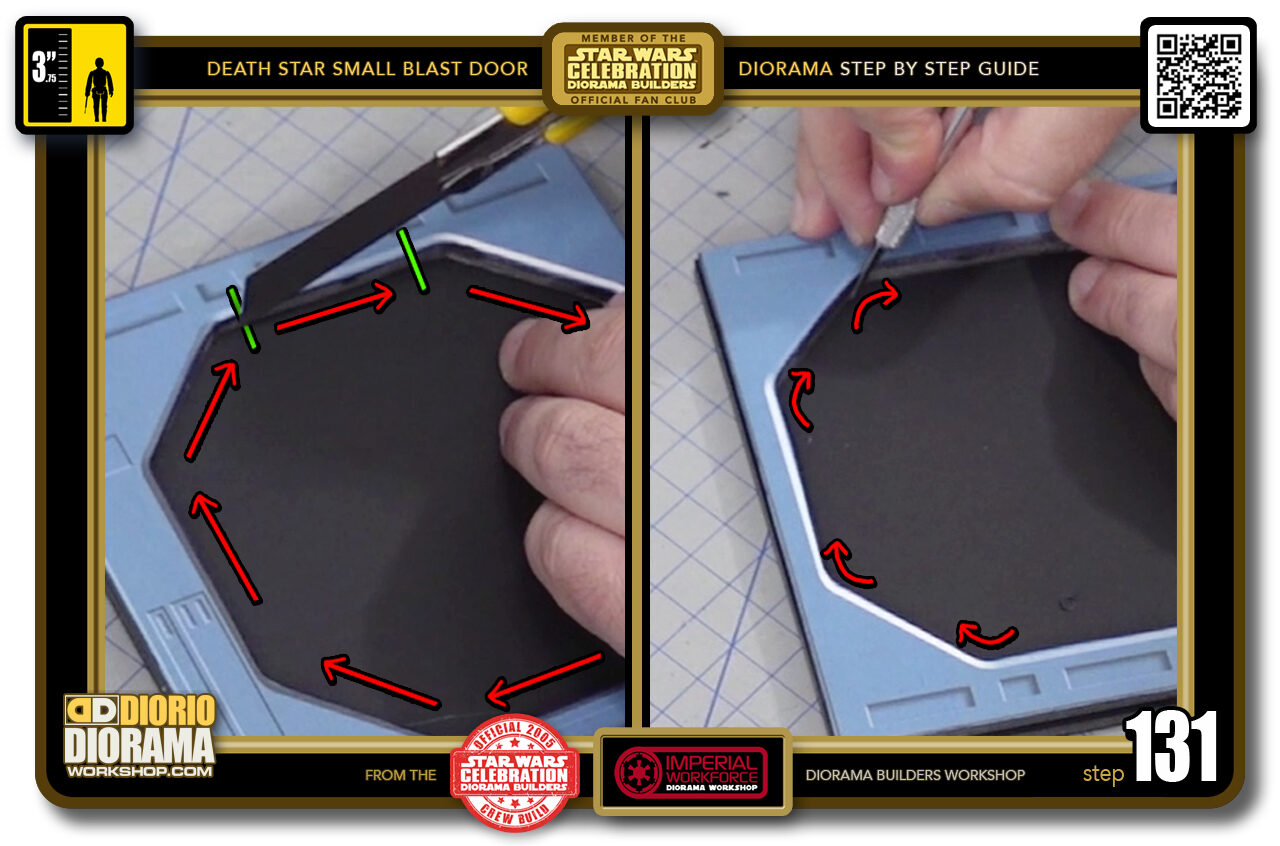
- STEP 131 > What you want to do here is first slice along all of your straight edges (starting and stopping between the green lines). Then you switch to your X-Acto Pen and go around the corner curves, connecting to all your previous straight cuts.
-
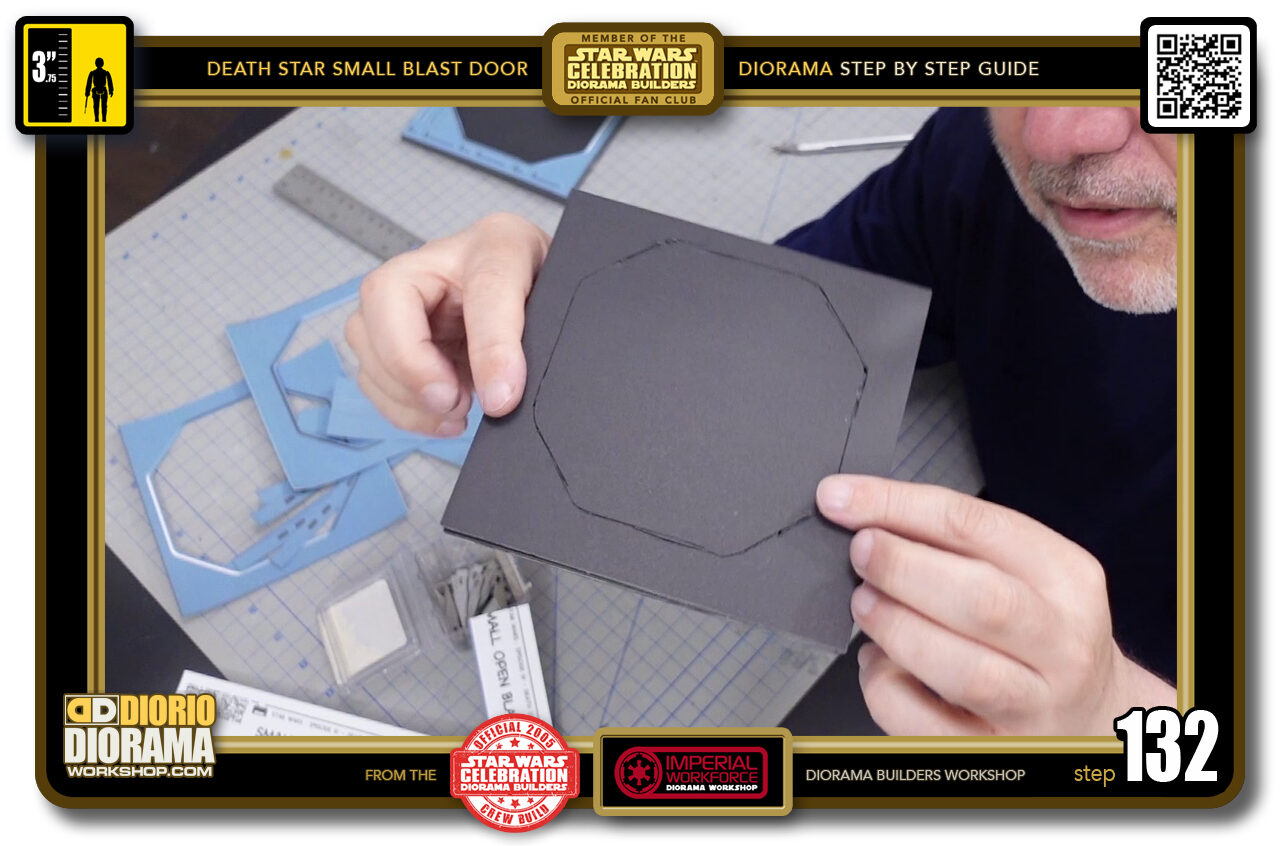
- STEP 132 > Flip your foamcore and examine to see if there are any missing connections. If so, just carefully join the lines and you should be good to go.
-
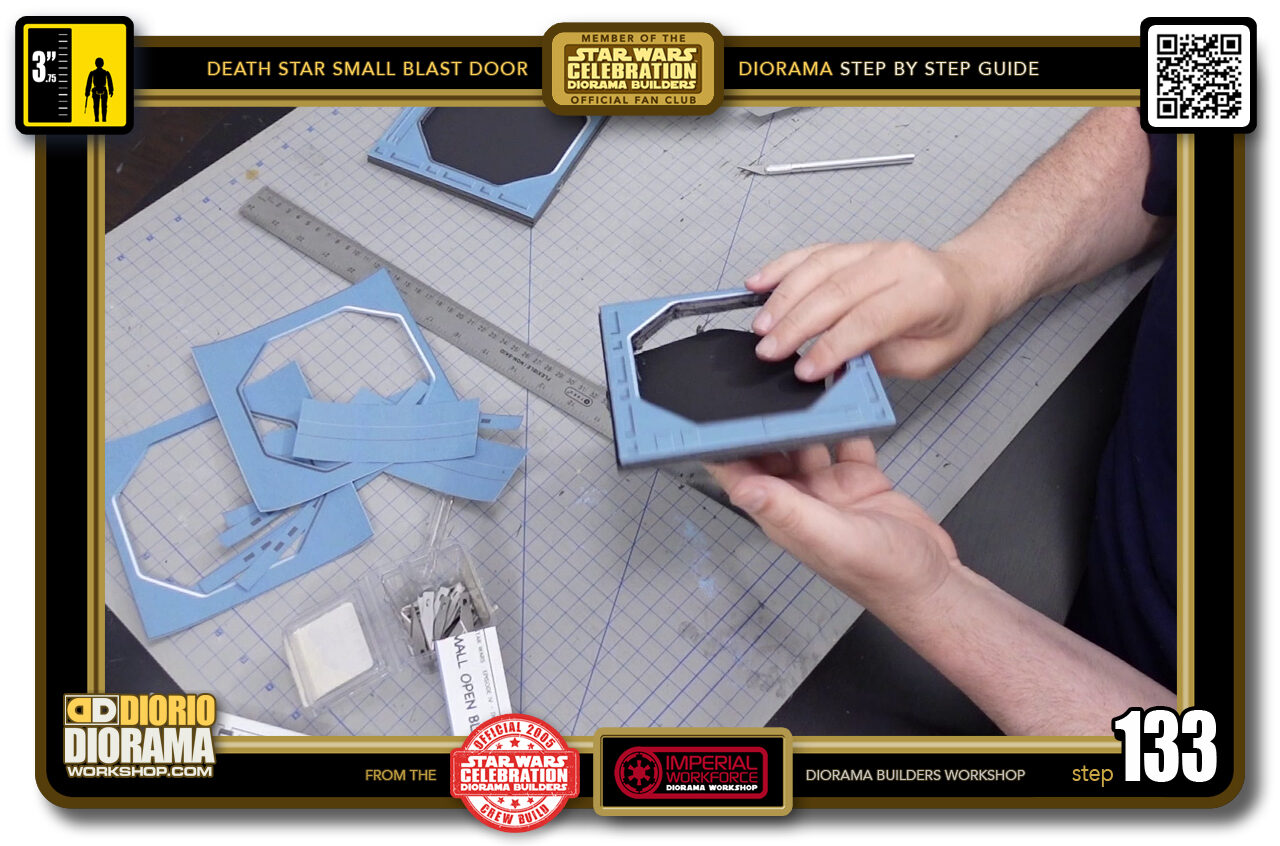
- STEP 133 > Now pop out your centre foamcore pice.
-
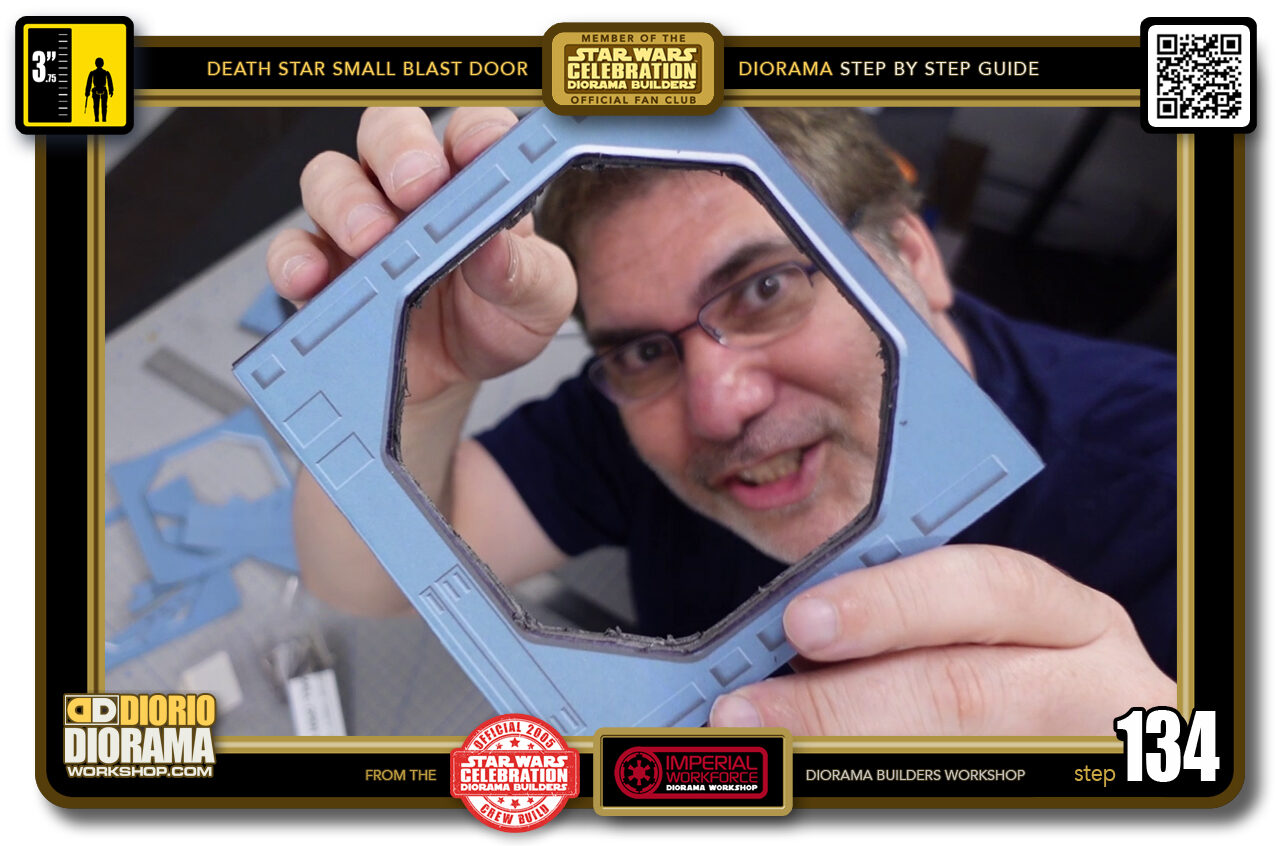
- STEP 134 > Your first DOUBLE THICK octagonal frame is done.
-
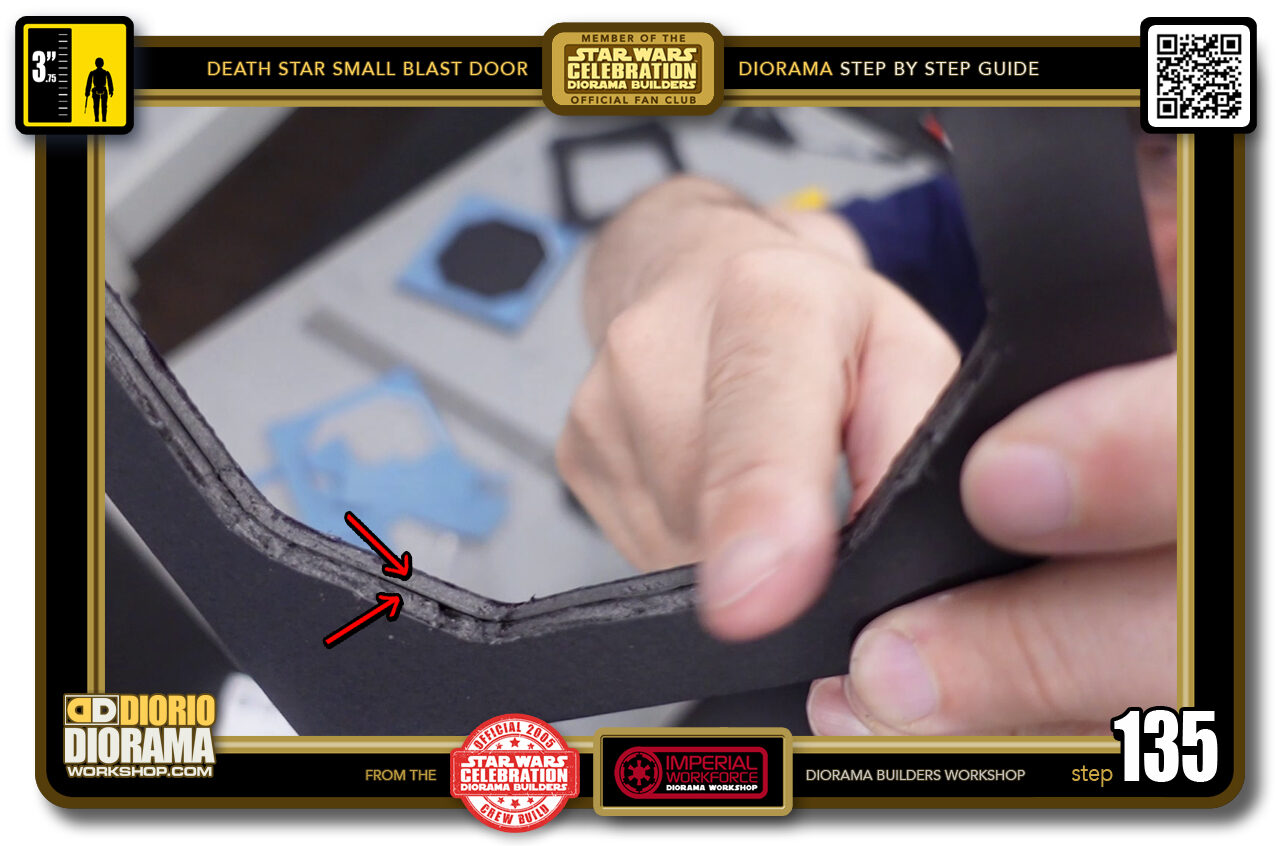
- STEP 135 > You can see here that by cutting this way, with the 2 pieces glued together first, aligns the edges much cleaner than if you would have cut them separately. If there is some loose torn pieces, rub your finger along the edge it should make them fall off and also, the decal spines will be hiding the seam and any imperfections.
-
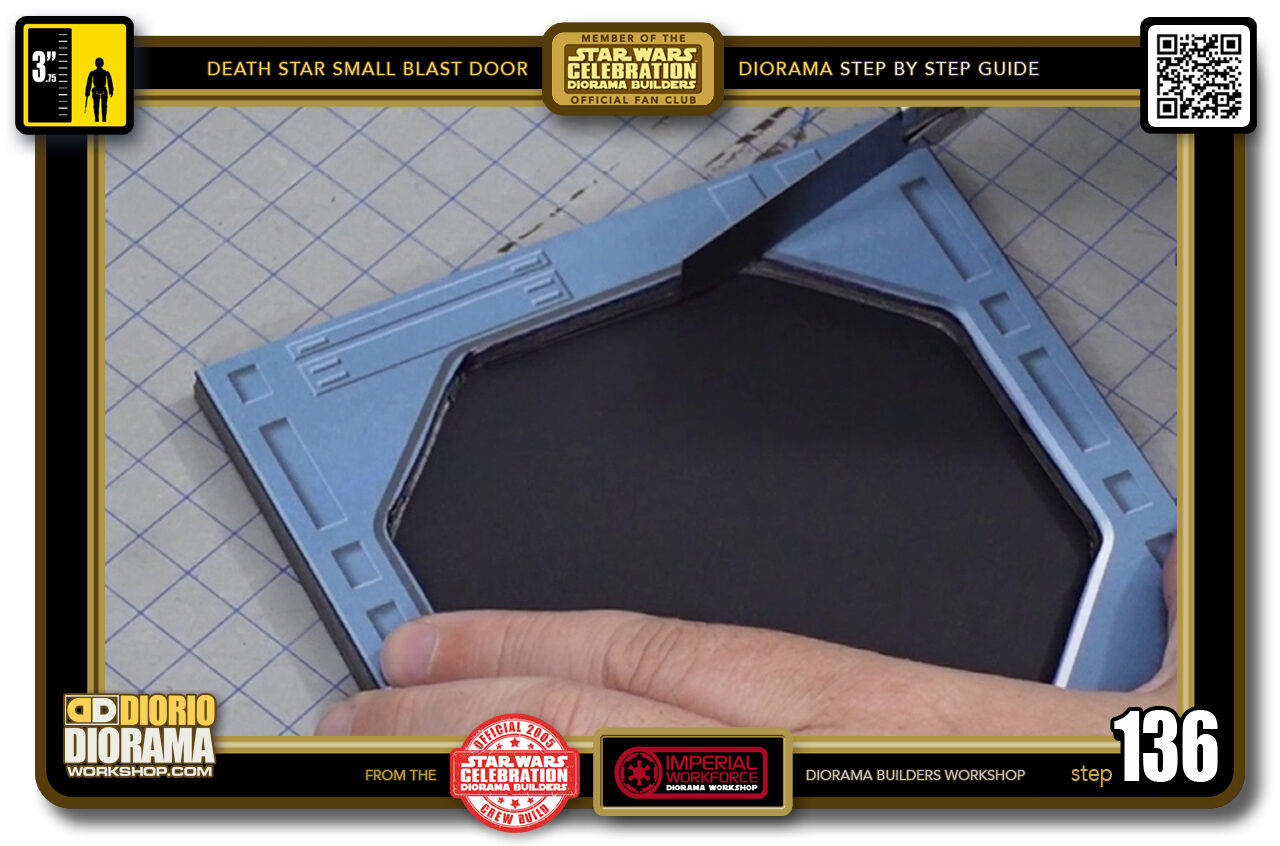
- STEP 136 > Repeat the same steps for your other octagonal frame.
-
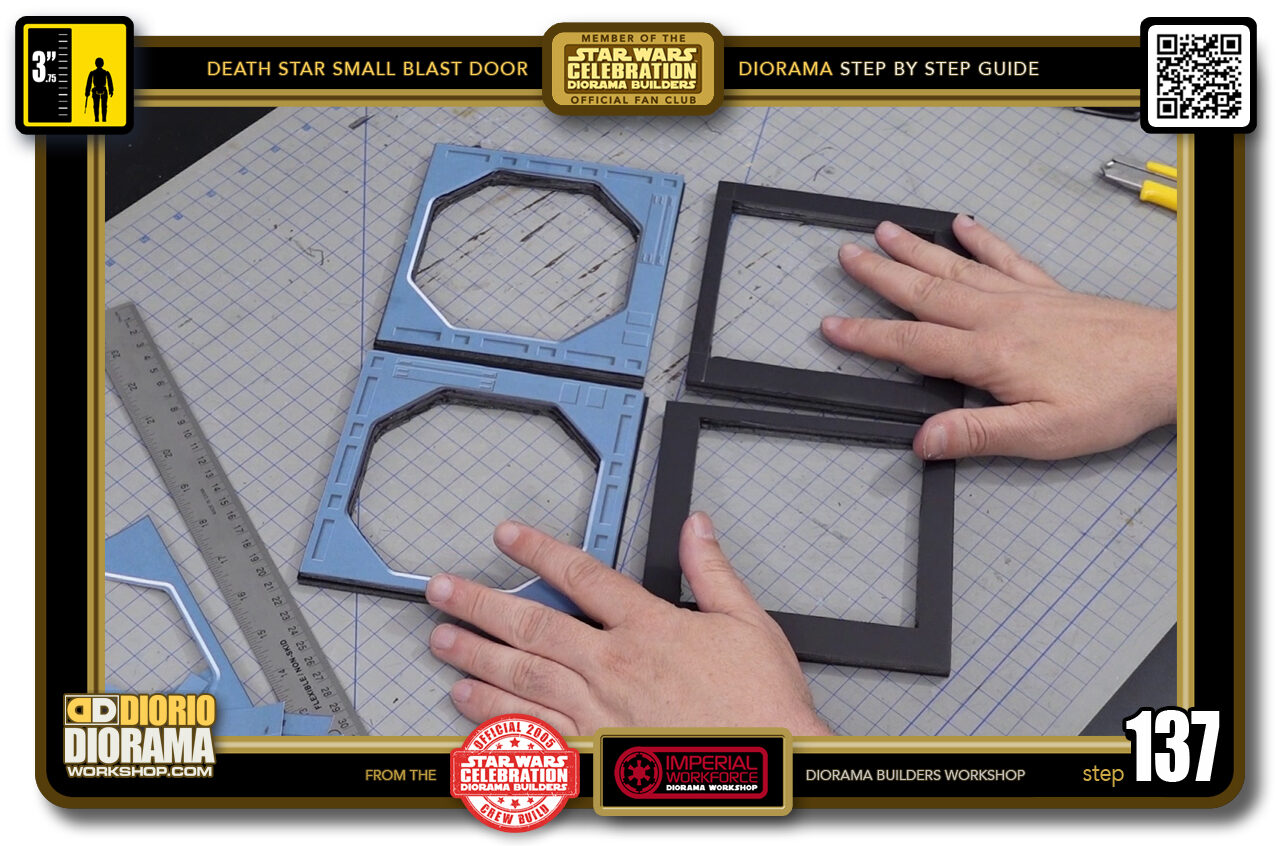
- STEP 137 > Your 4 frames are now DOUBLE THICK as needed and almost ready for the remaining decals.
-
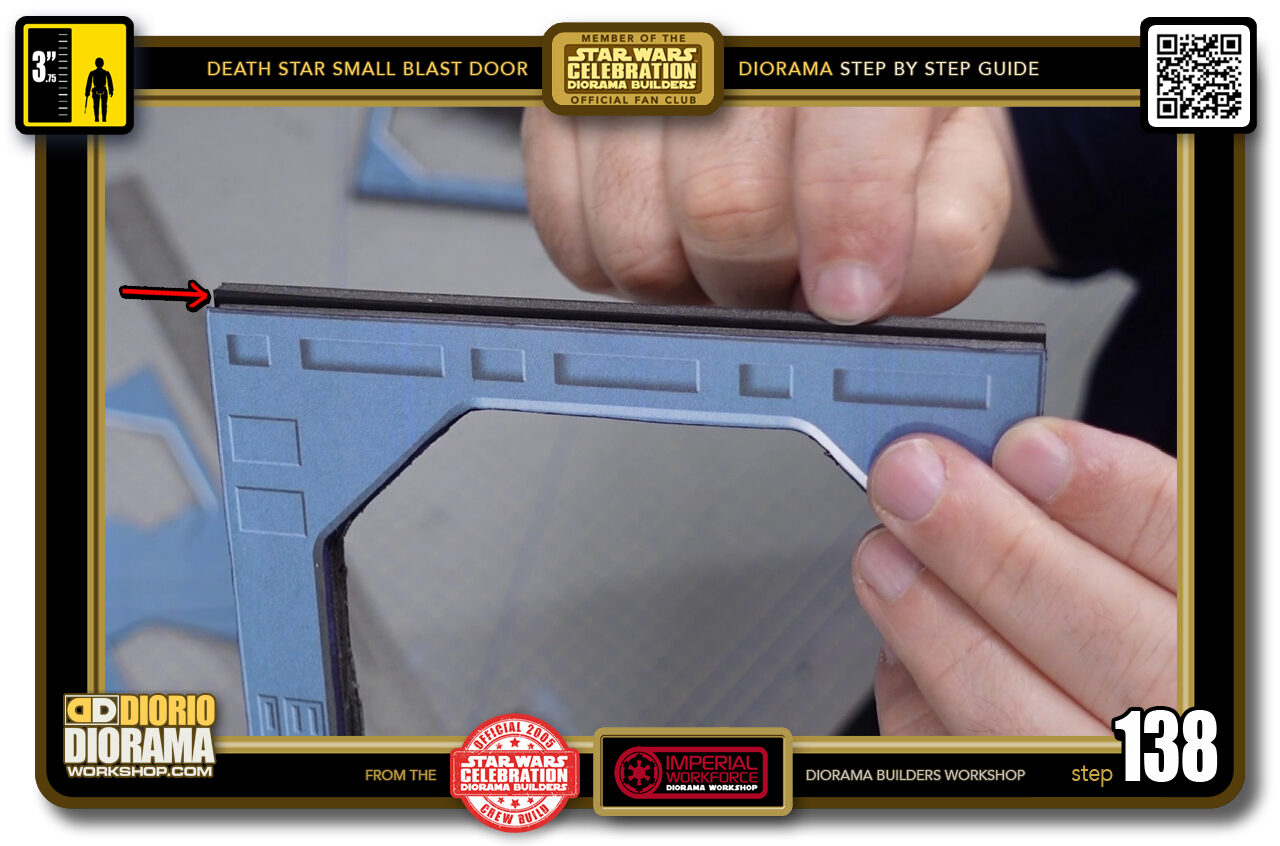
- STEP 138 > Before we move on to cutting the dorito foamcore shapes, examine the edges to see that all is aligned perfectly. If any stick out (decals or foamcore)...
-
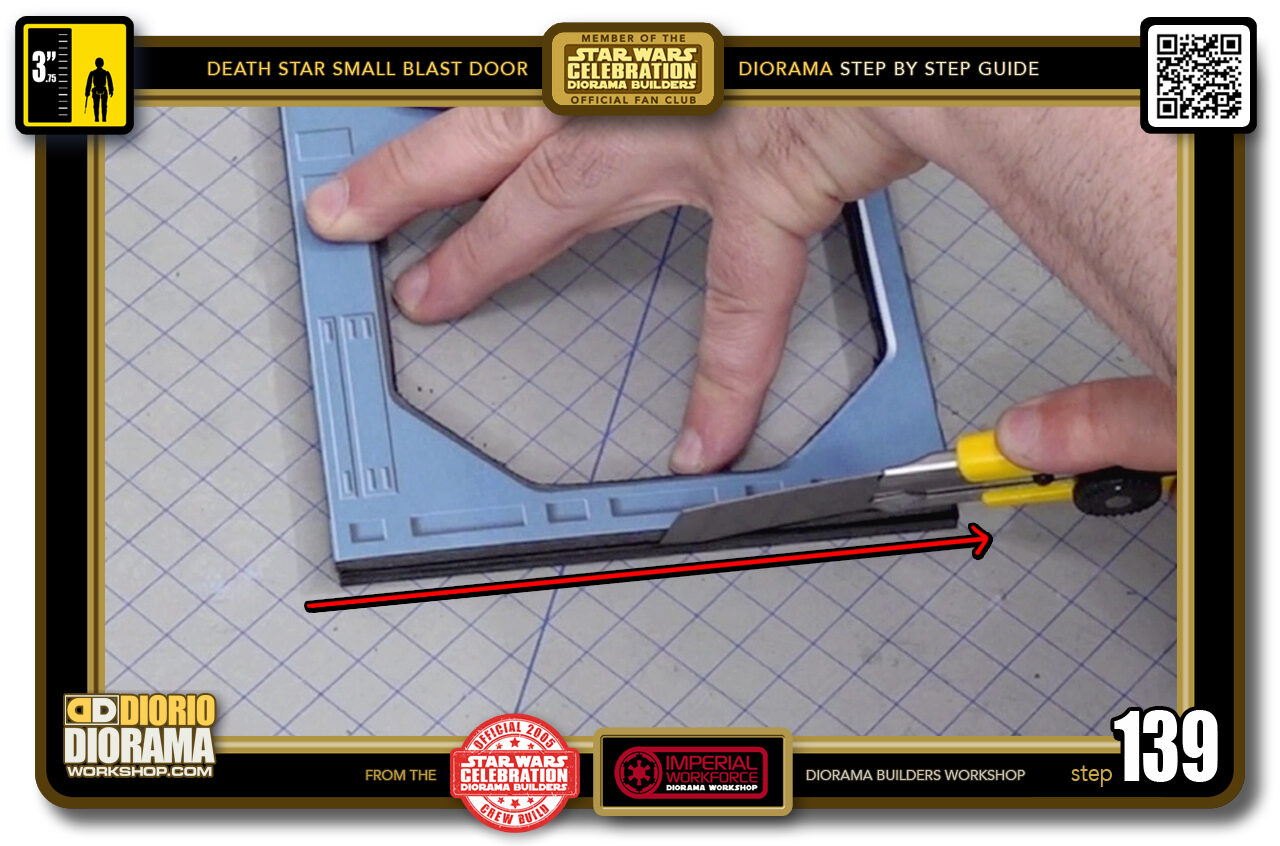
- STEP 139 > Simply carefully use your fully extended X-Acto knife blade to trim clean.
-
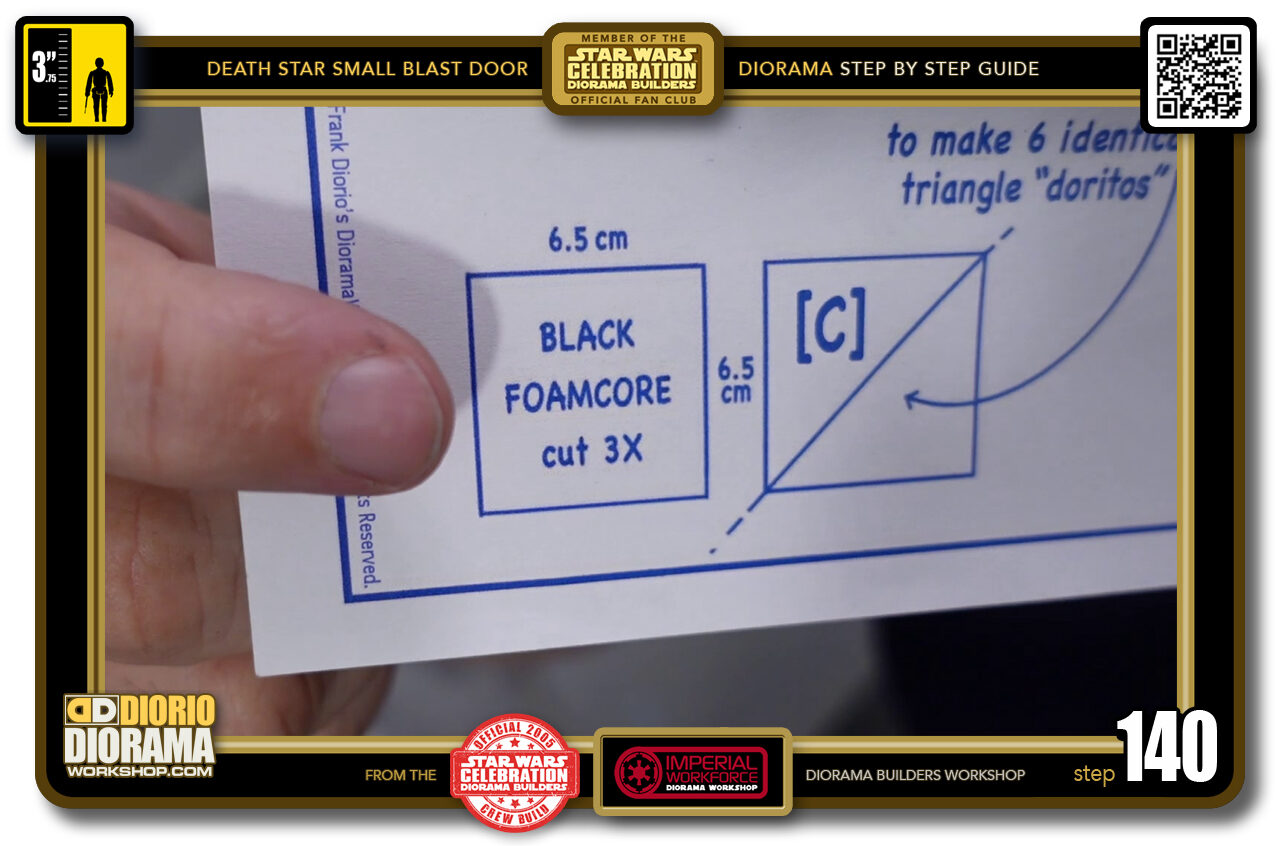
- STEP 140 > Now looking at the blueprints, we need to cut 3 squares that measure 6.5cm X 6.5cm and then slice those in half diagonally to create our 6 doritos.

.
Did you already build this Diorama ? At home or at our Star Wars Celebration Diorama Builders workshop ? Would you like to show it in the site’s GALLERY VISITORS DIORAMAS section, YES ? That is Awesome !!! You can find out all the details on how to email me your photos on the VISITORS SUBMISSIONS INFO page … When I get your photos, I will create your very own page just like this one. You may not realize it but work does inspire others to join in the fun of making Action Figure Dioramas.
.
NOT FOR RESALE ALL Decals, tutorials and artwork are ©FrankDiorio (dioramaworkshop.com) and offered FOR FREE to the fans – that would be you ? so you can build and display my diorama designs in your very own home. I realize I cannot control what one does with my graphics once I place them on the web, I can only ask you as one fan to another, please respect the artist and do not be that jerk who uses my designs and tutorials to build a copy of my work only to sell it on EBAY or trade/sale groups and forums. Thank You. Frank.
.

.
.
If you have a facebook account, why not join the Official Diorama Builders Fan Club today, simply click the logo link below.
 .
.
Catch up with fellow visitors and exchange stories, read cool interviews with the crew, exchange photos, fun surprises and grab some FAN ONLY merchandise next year at actual future conventions ?
.
©2021 Frank Diorio DioramaWorkshop.Com
.
IF YOU LIKE WHAT YOU SEE, PLEASE SHARE WITH YOUR FRIENDS
USING THE SOCIAL MEDIA BUTTONS BELOW