


-
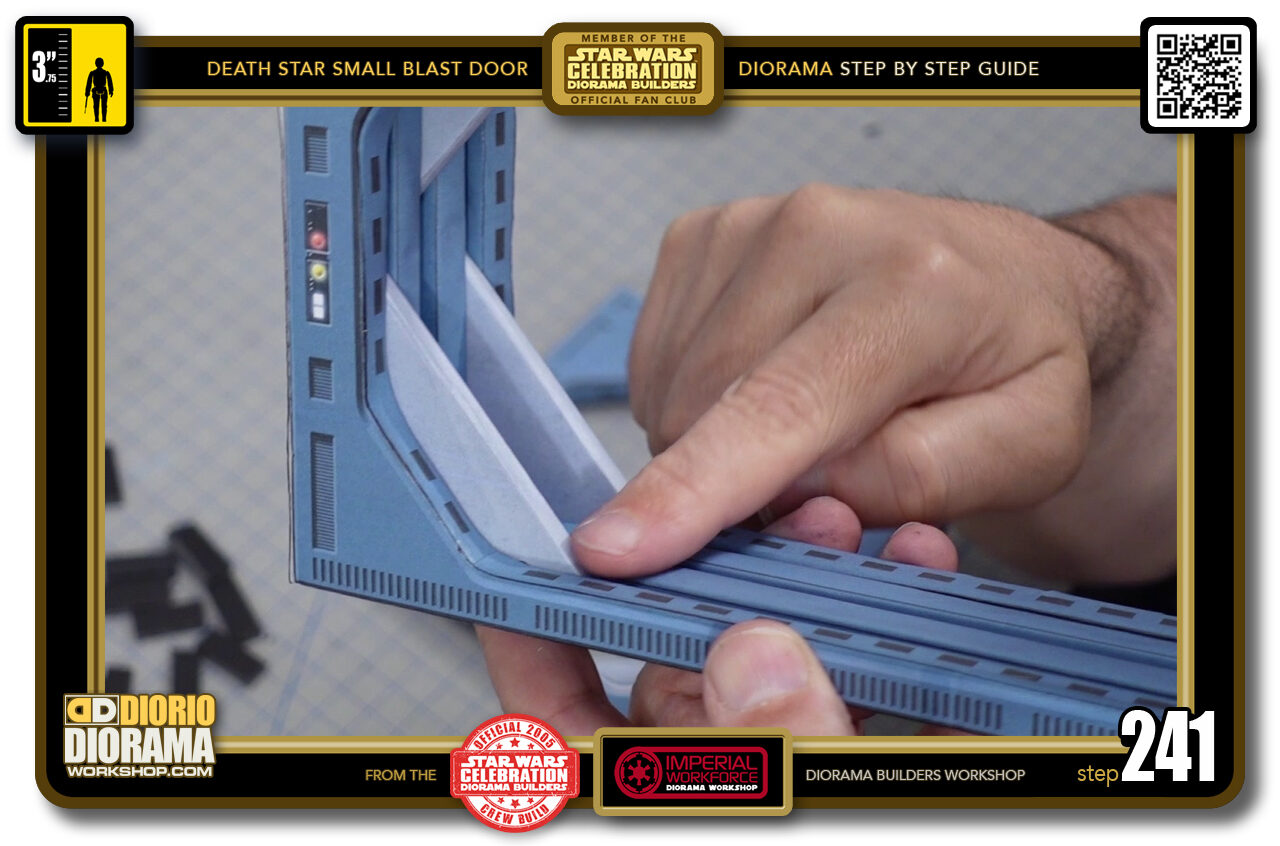
- STEP 241 > If you look at a finished Large Blast Door, you can see how we want the dorito door corners to look like at the end of our build. even though the Small Blast Doors are not as wide as the Large main hallway doors, the dorito shapes are the exact same sizes.
-
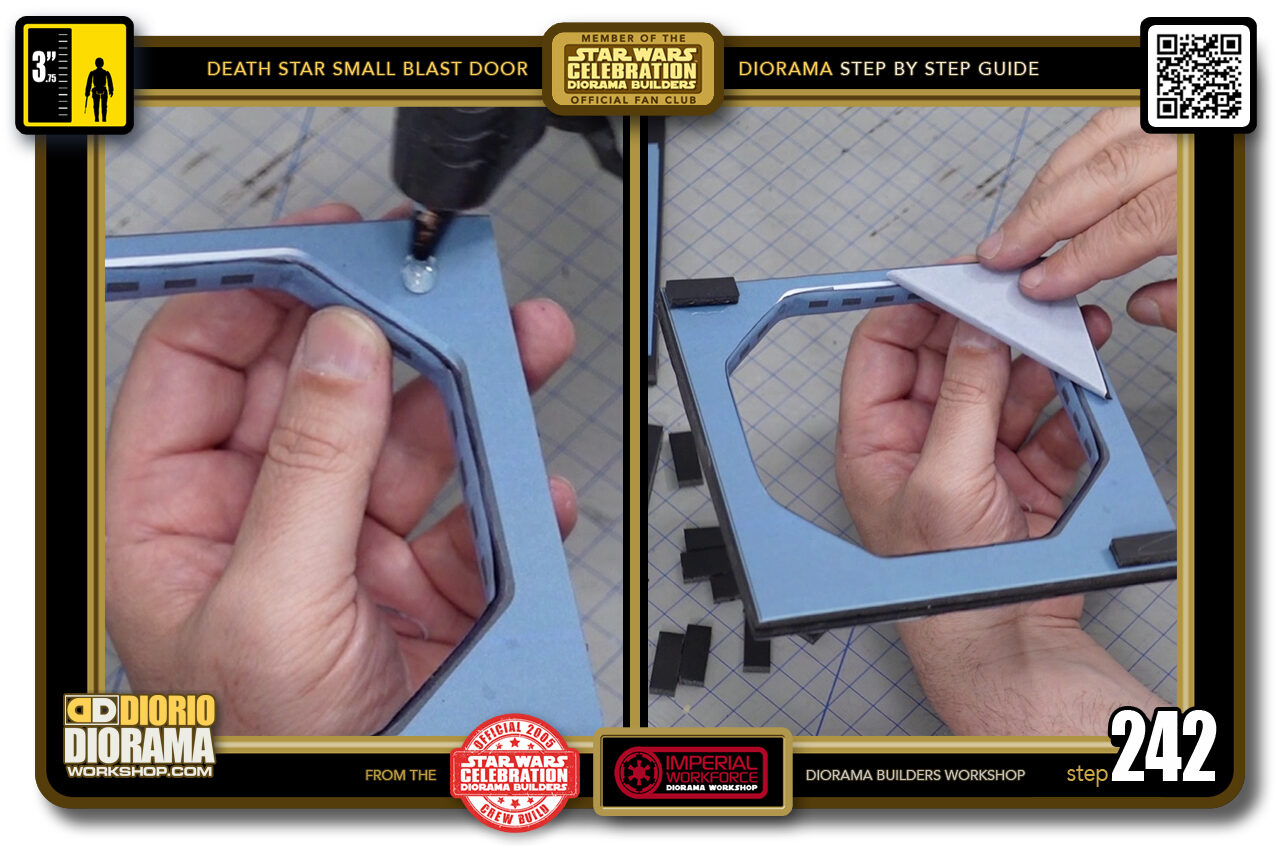
- STEP 242 > Grab your first frame place a dab of hot glue in the corner and press your dorito onto it. You want the LONG end facing the INSIDE of the frame.
-
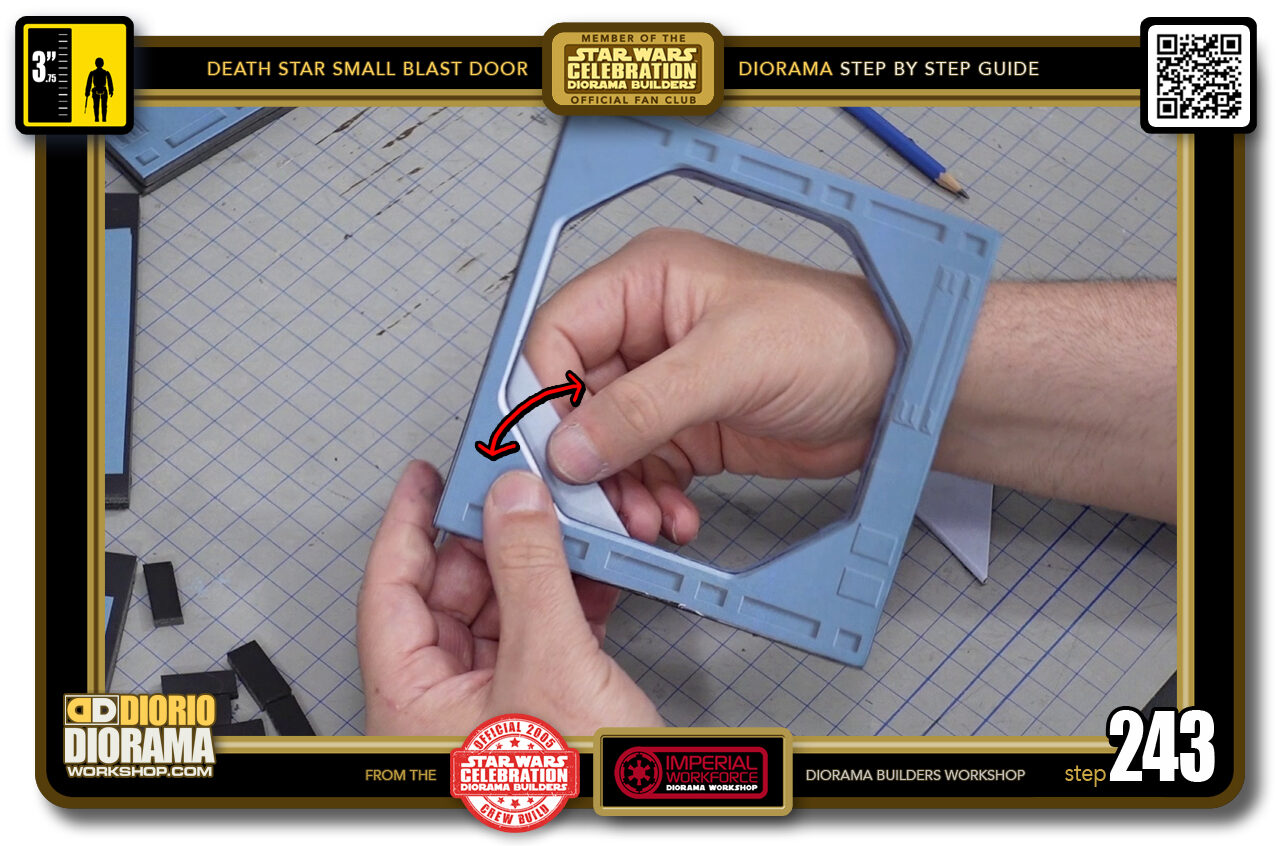
- STEP 243 > Now the amount you poke out your door is up to you, if you want it closer to the frames spine you can. You will just have to trim the outside excess later. The IMPORTANT things are again to make sure whatever distance you decide, it is equal on both ends and that the edge remains parallel with the angled frame edge.
-

- STEP 244 > Time for the 2nd dorito. It's all the same steps but in the opposite corner.
-
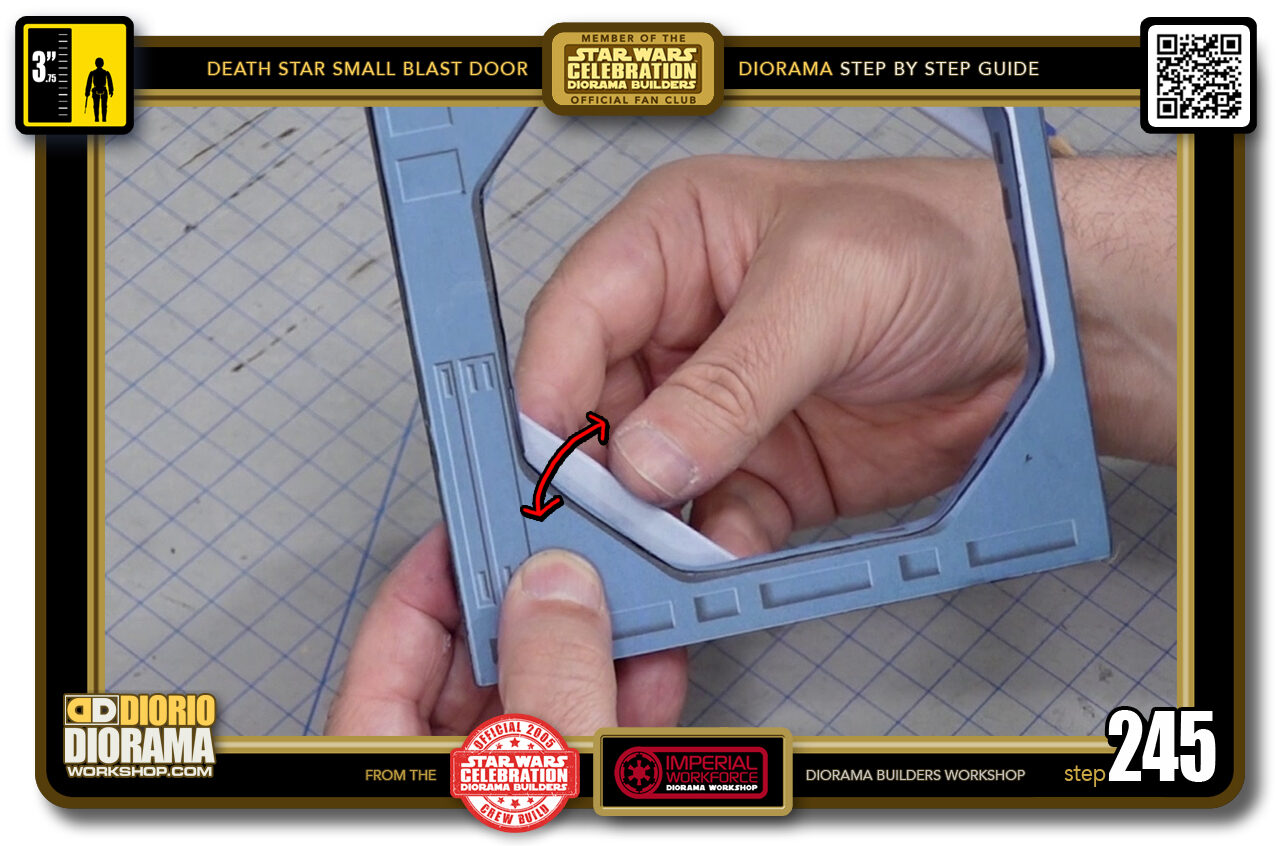
- STEP 245 > Flip your frame and align the dorito corner properly. Whatever you decided at extrusion for the first piece, all other pieces MUST MATCH moving forwards.
-
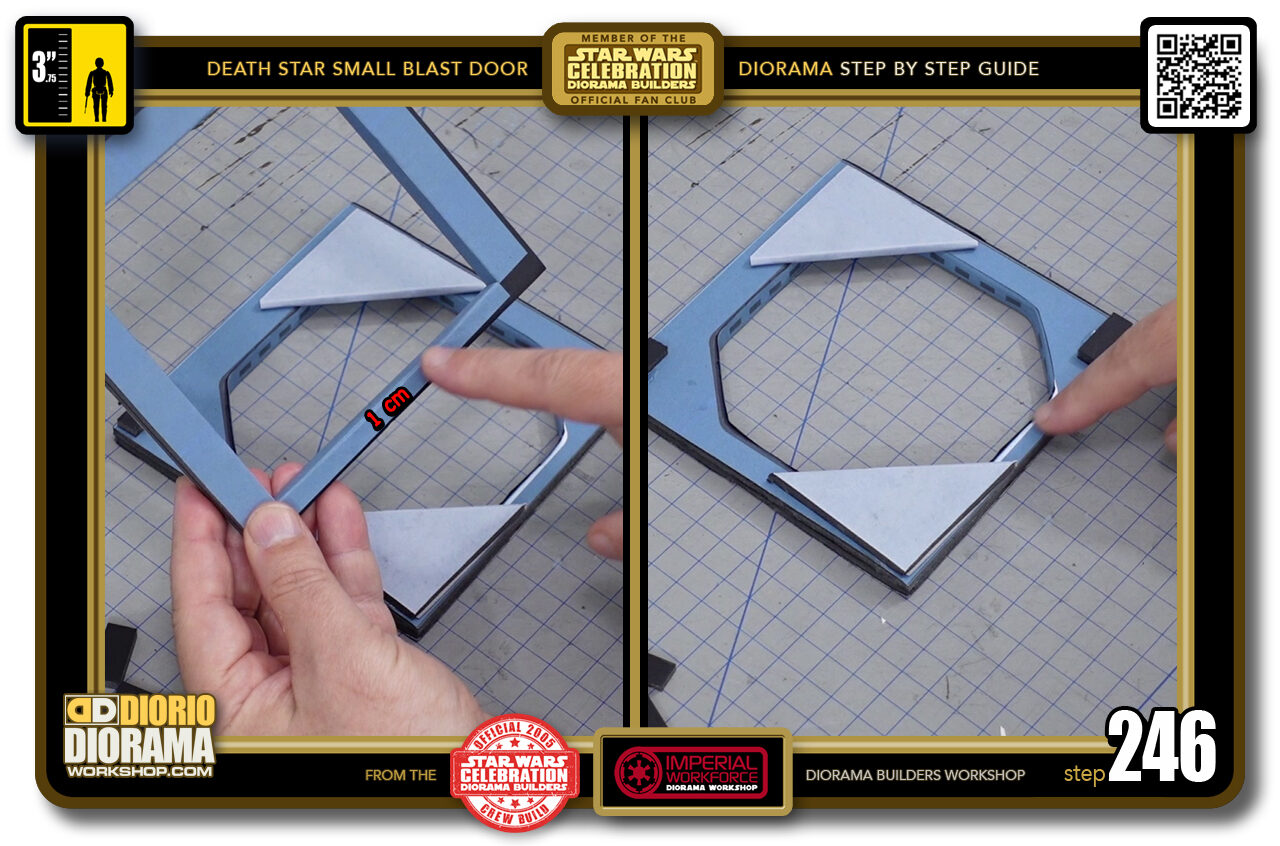
- STEP 246 > Now take one of your inner square frames, identify the bottom 1cm so it matches and aligns itself properly with your front frame.
-
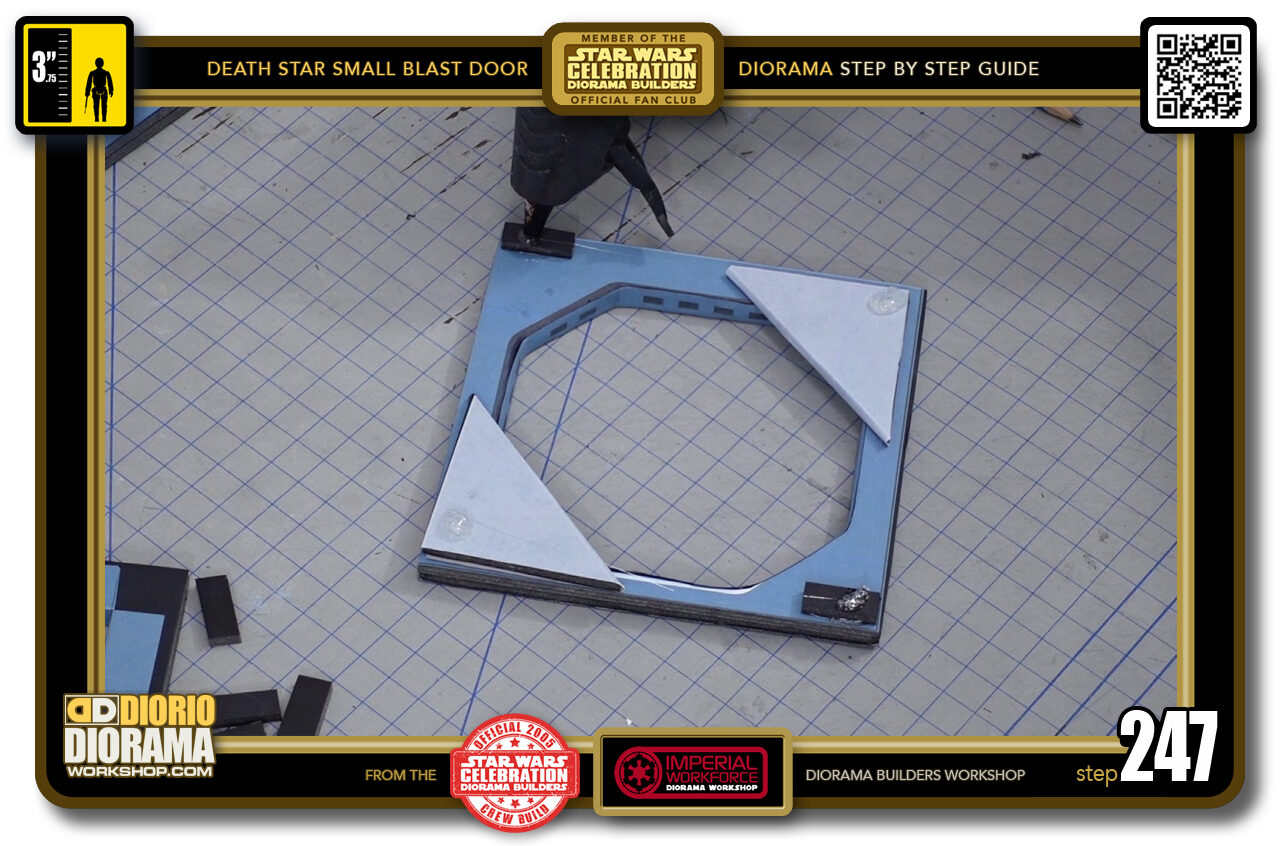
- STEP 247 > You want to put one small drop of hot glue on each of your most outside corners.
-
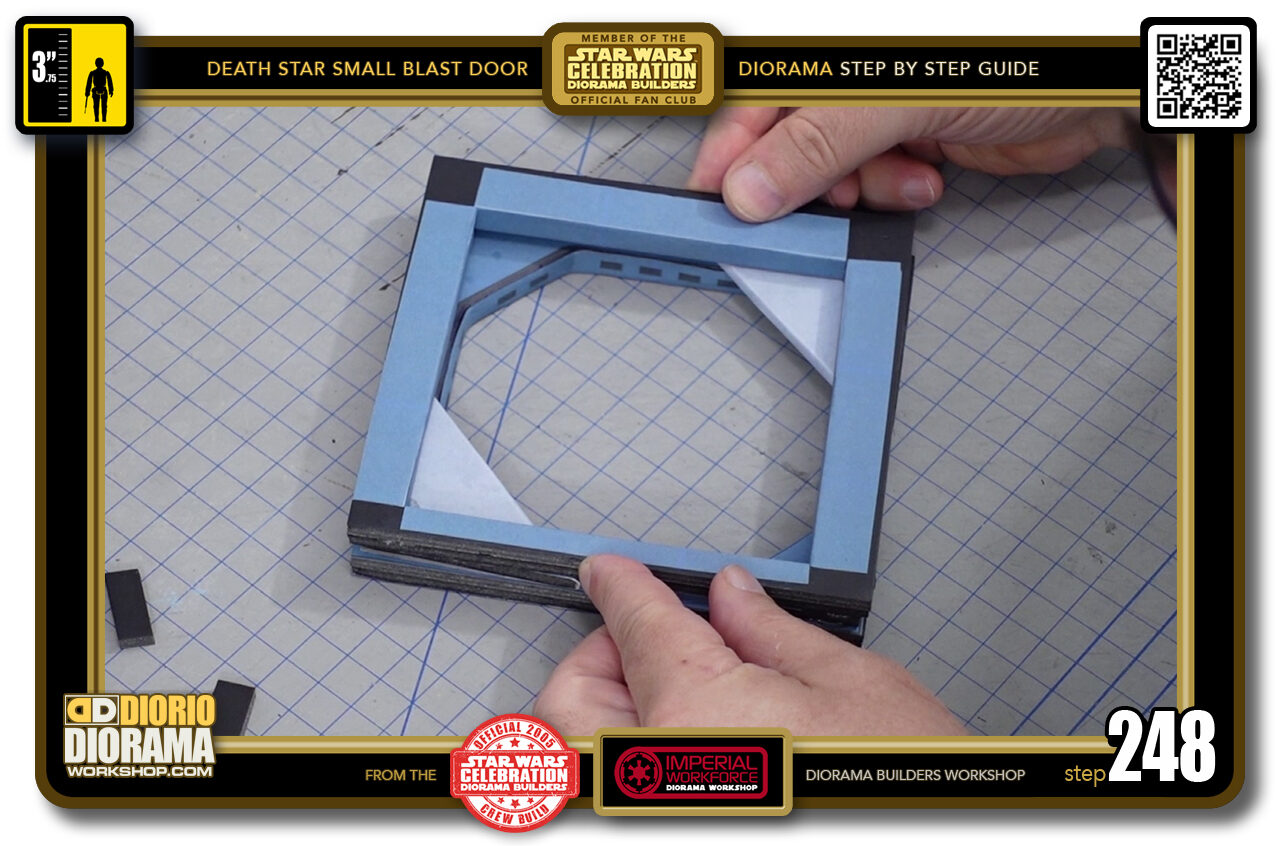
- STEP 248 > Carefull grab your inner frame and align it over the front frame and lay it down gently until they connect.
-
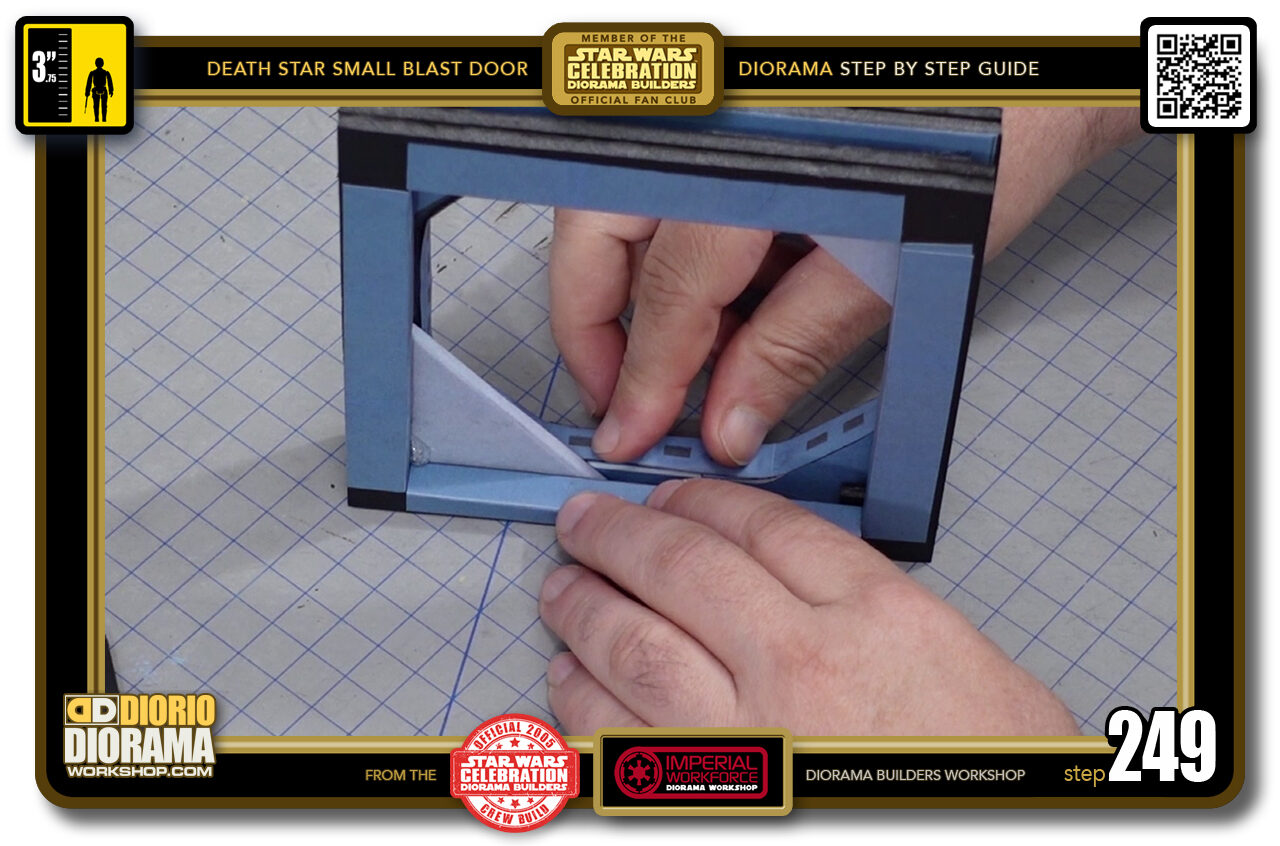
- STEP 249 > Now act fast here before the hot glue cools down and secures the 2 layers together forever. You want to place your 2 frames on a flat surface and PRESS DOWN. You want to make certain the fames are flush at the bottom as to not wobble when placed into your diorama.
-
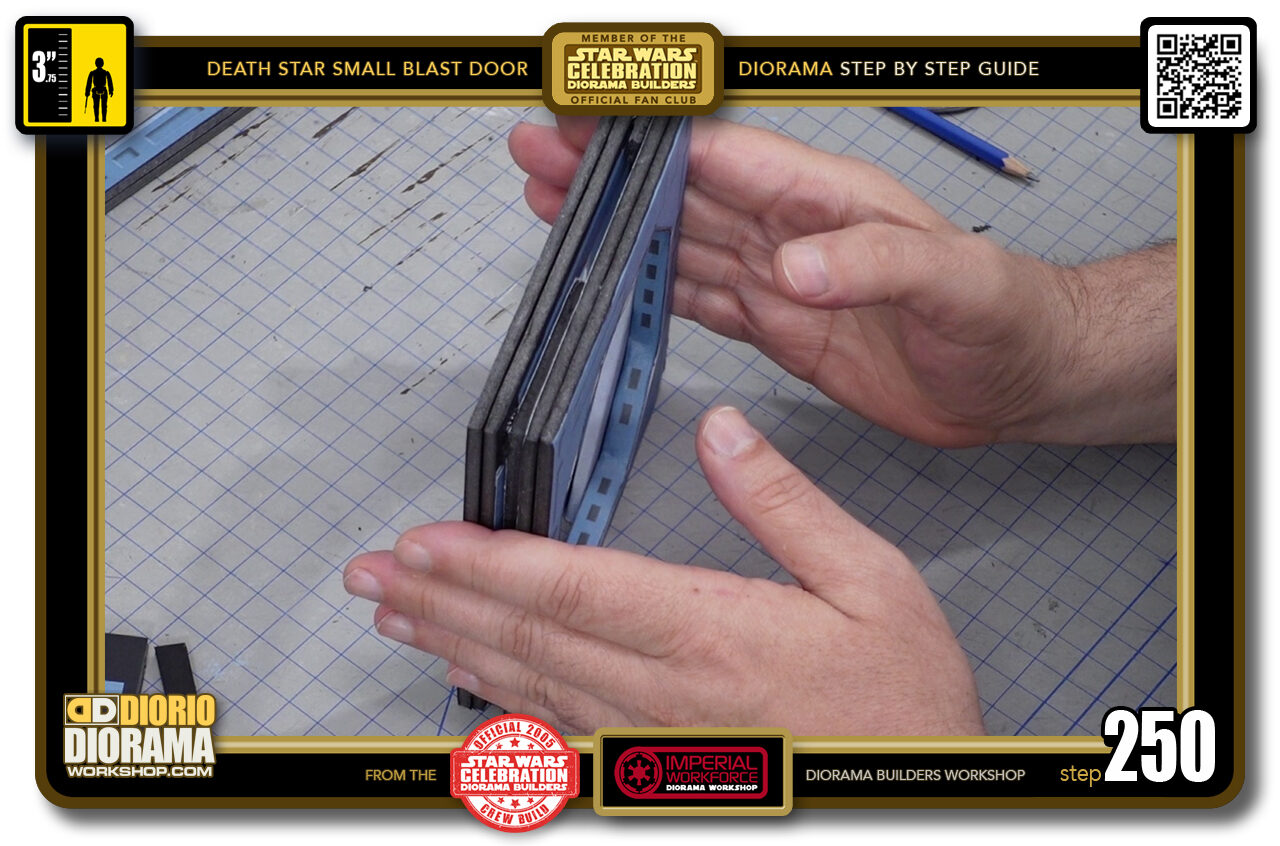
- STEP 250 > Also make sure you are as close to flush as you can on the sides as well.
-

- STEP 251 > Put your frames flat on the table again and press down for a few seconds until the hot glue starts to cool.
-
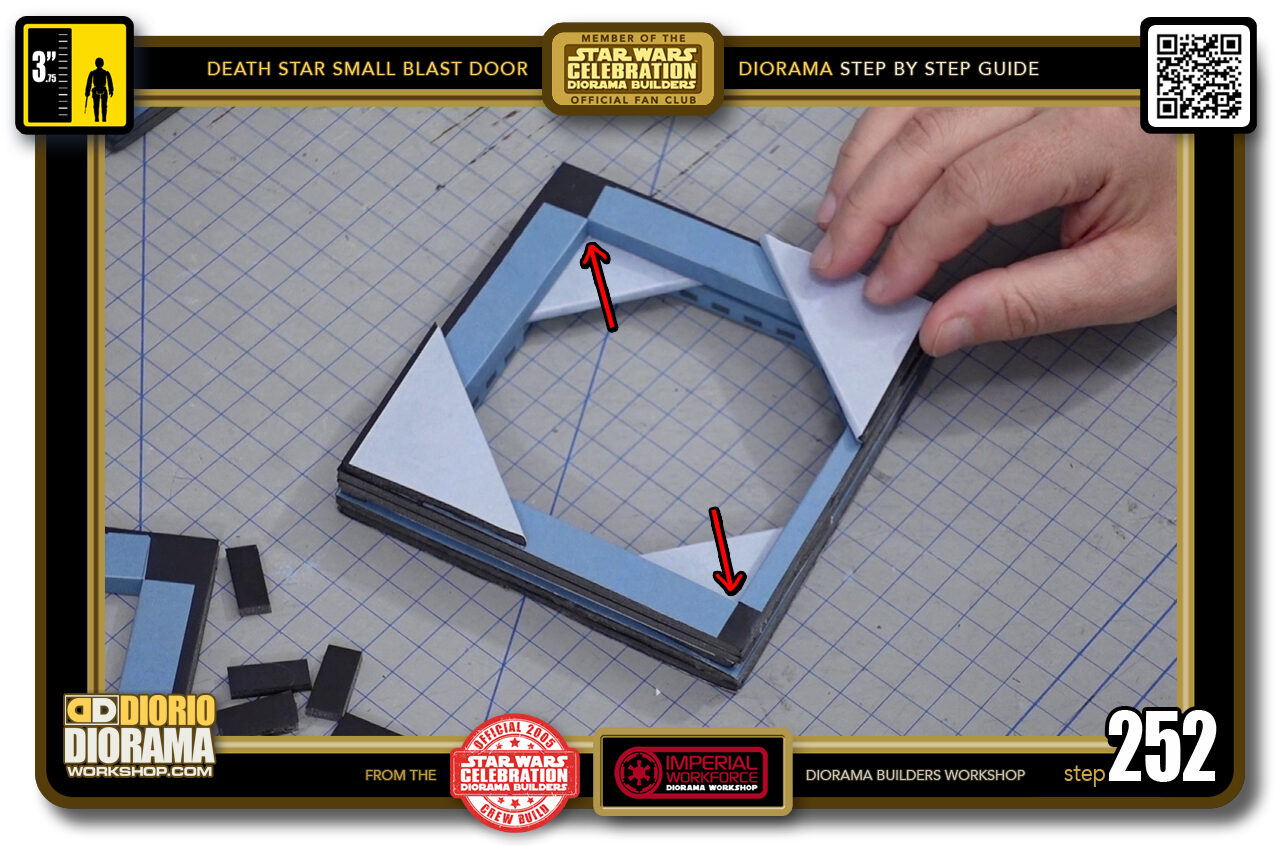
- STEP 252 > Now it is time for the next layer of spacers and doritos. What we want here is to have the doritos located in the OPPOSITE CORNERS as the first. You DON'T WANT THEM OVER EACH OTHER !!!
-

- STEP 253 > Start with your corner spacers to avoid confusion. Apply a small drop of hot glue to each side and press your spacers in place like you did before.
-

- STEP 254 > Now remove a dorito, put a drop of hot glue and press your 3rd dorito shape onto the foamcore.
-
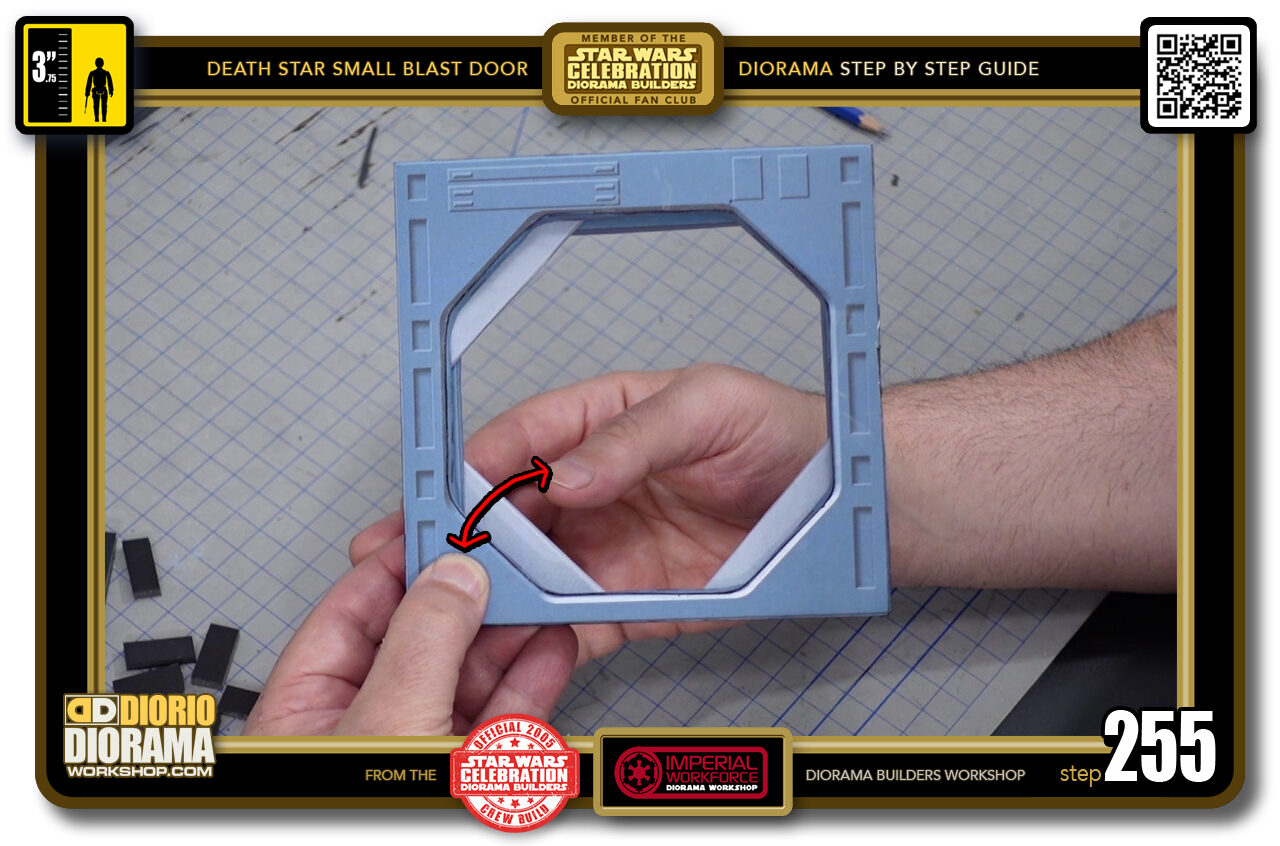
- STEP 255 > Flip your frame over and play with your dorito so that it matches the alignment, extrusion of your 2 other pieces. You must look at your frame straight on to see the proper comparisons.
-
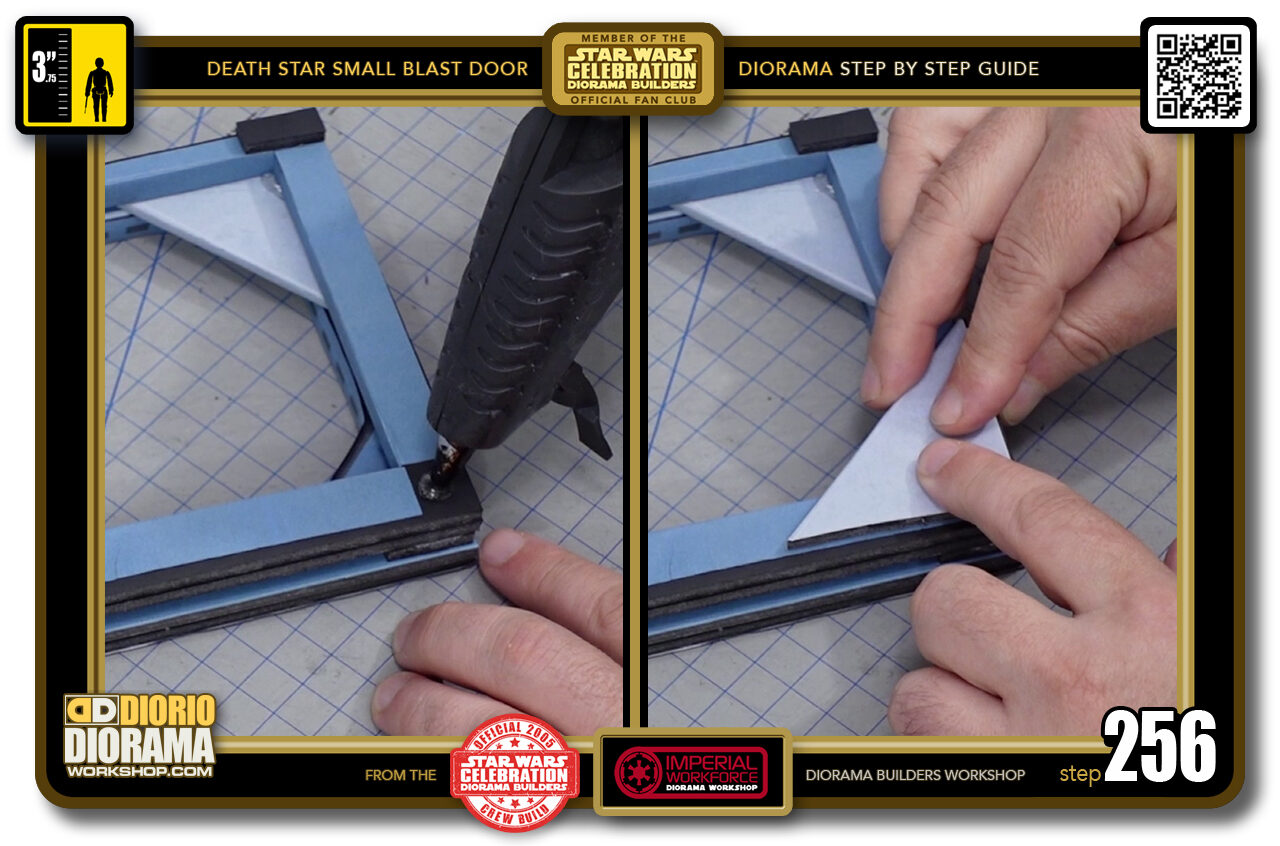
- STEP 256 > Once secure move onto dorito number 4. Drop of hot glue and press into place.
-
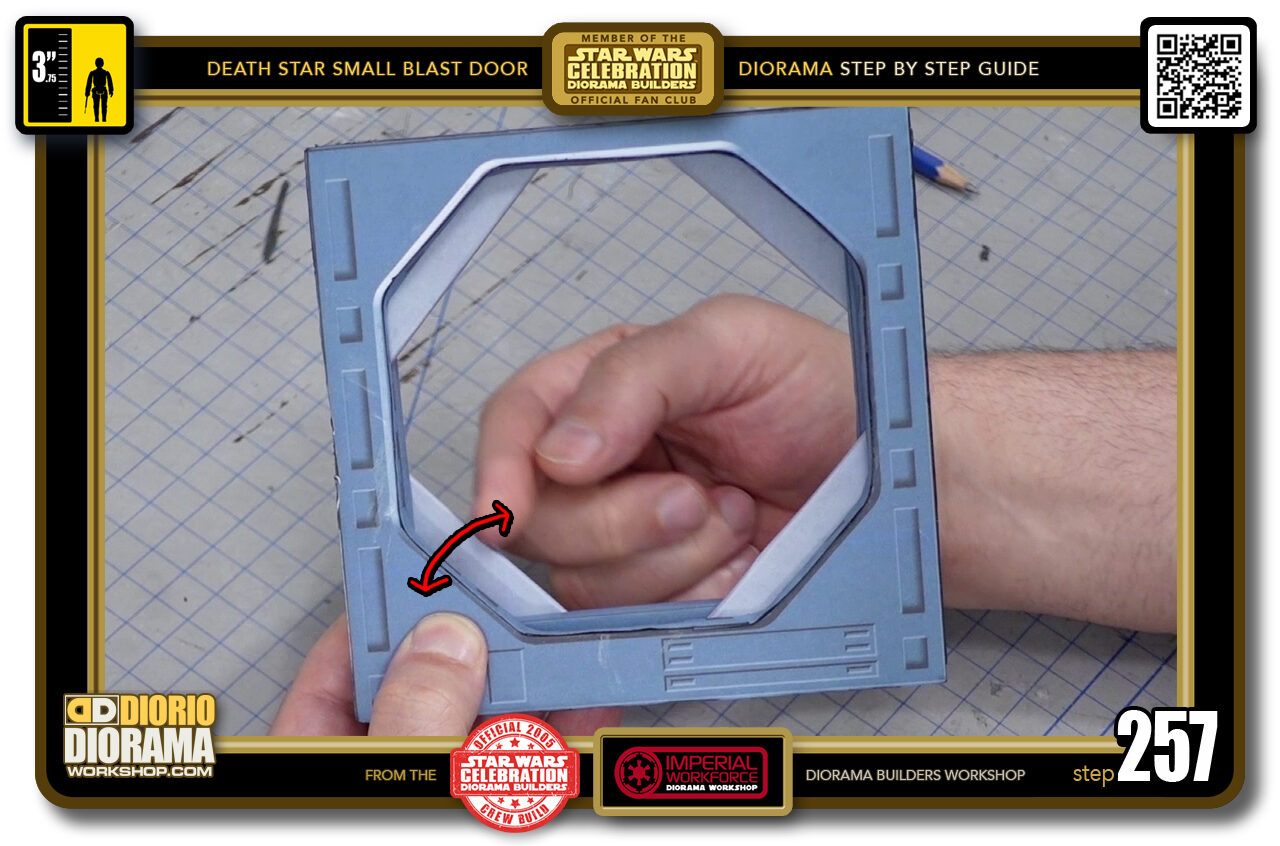
- STEP 257 > Again flip the frame and adjust. Let it cool off a little to make sure it doesn't wiggle out of place when placing your 2nd inner frame.
-
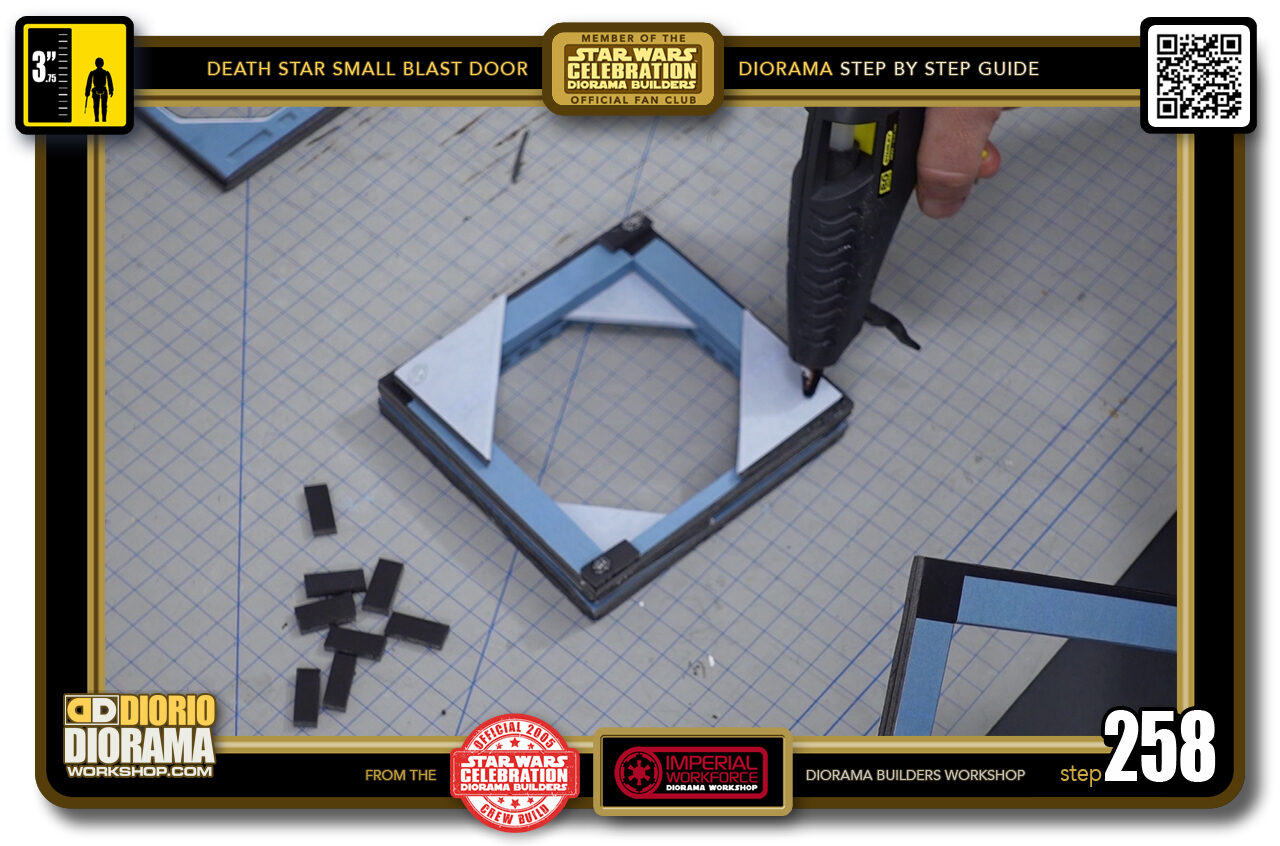
- STEP 258 > Time to put a drop on the most outside 4 corners.
-
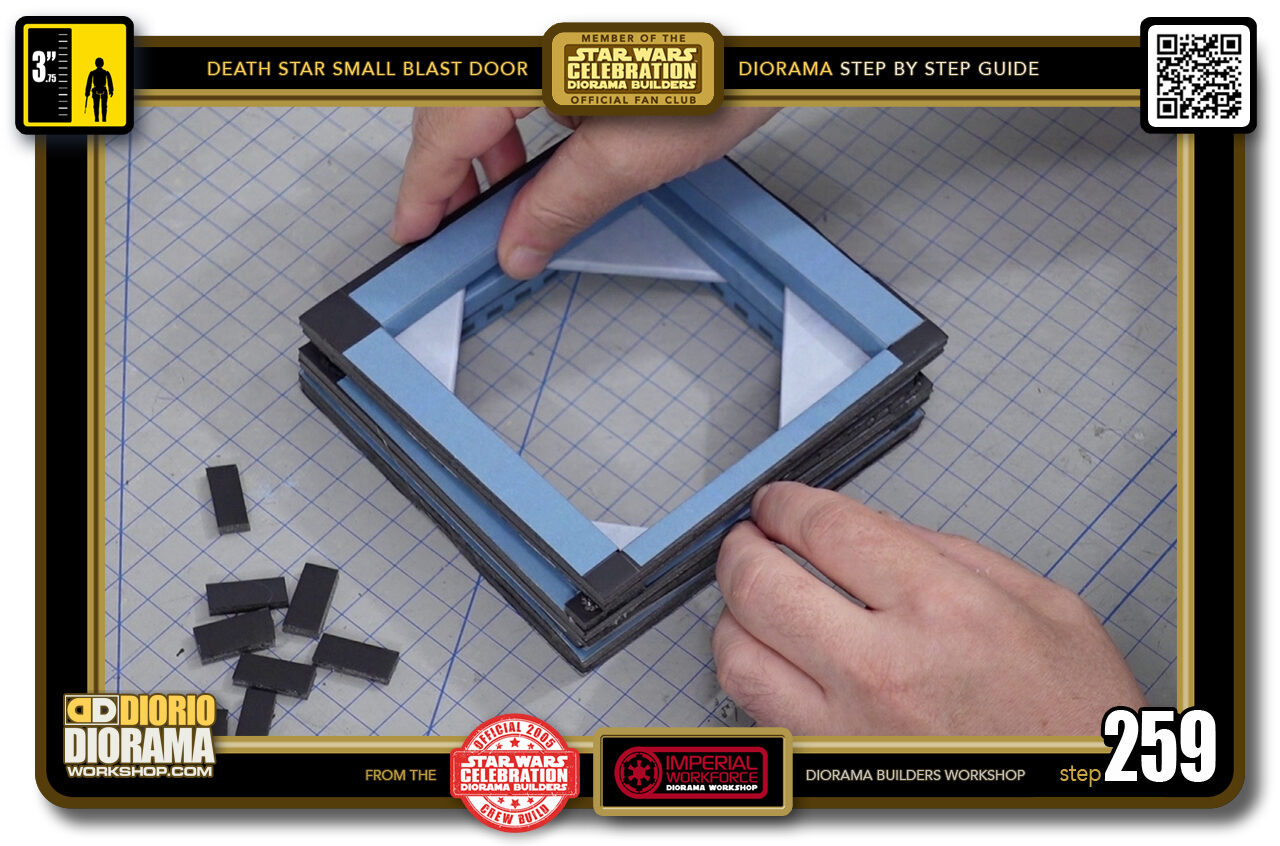
- STEP 259 > carefully lower your 2nd inner square frame into place. REMEMBER THE 1cm BOTTOMS.
-
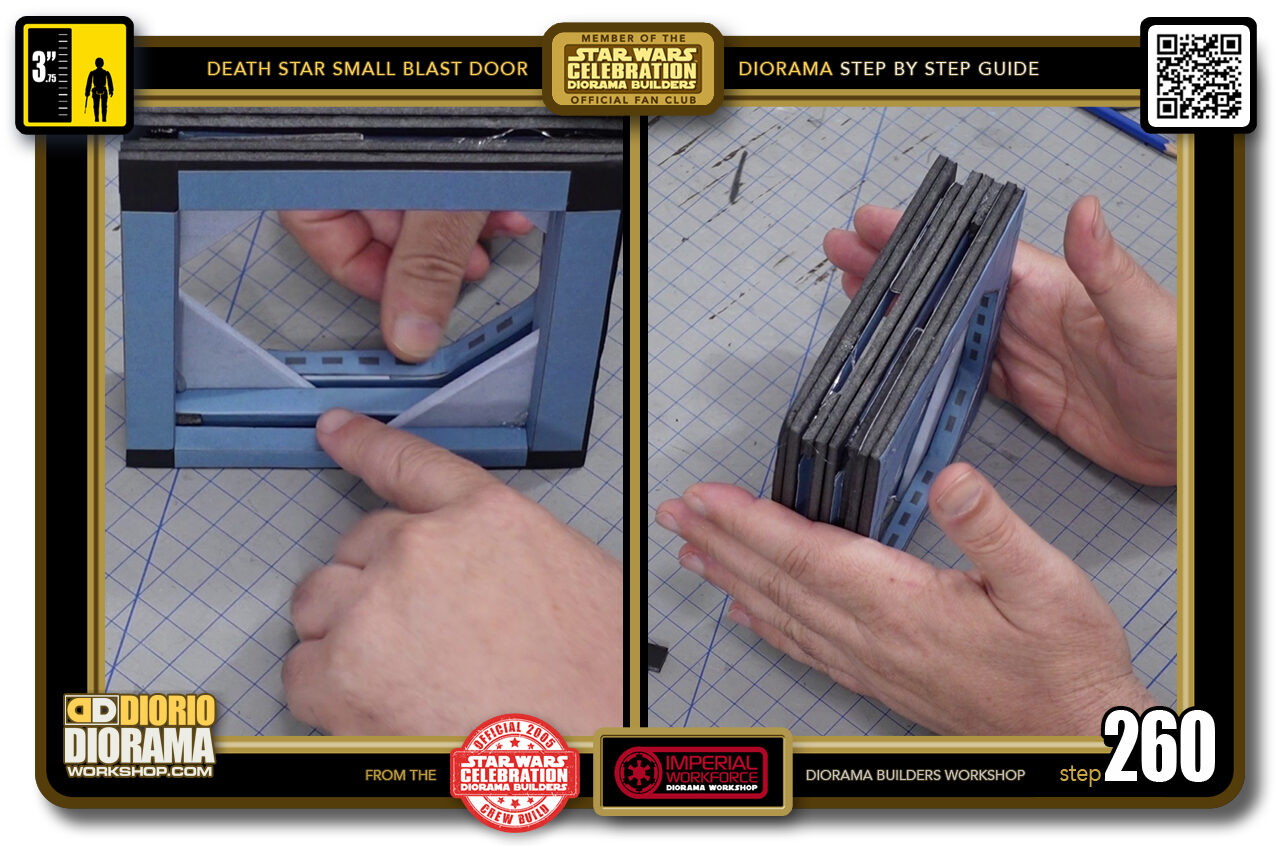
- STEP 260 > Place the bottom 1cm spine along your table top and press down to make sure layer 3 is flush with the first 2. Align on the sides as well.

.
Did you already build this Diorama ? At home or at our Star Wars Celebration Diorama Builders workshop ? Would you like to show it in the site’s GALLERY VISITORS DIORAMAS section, YES ? That is Awesome !!! You can find out all the details on how to email me your photos on the VISITORS SUBMISSIONS INFO page … When I get your photos, I will create your very own page just like this one. You may not realize it but work does inspire others to join in the fun of making Action Figure Dioramas.
.
NOT FOR RESALE ALL Decals, tutorials and artwork are ©FrankDiorio (dioramaworkshop.com) and offered FOR FREE to the fans – that would be you ? so you can build and display my diorama designs in your very own home. I realize I cannot control what one does with my graphics once I place them on the web, I can only ask you as one fan to another, please respect the artist and do not be that jerk who uses my designs and tutorials to build a copy of my work only to sell it on EBAY or trade/sale groups and forums. Thank You. Frank.
.

.
.
If you have a facebook account, why not join the Official Diorama Builders Fan Club today, simply click the logo link below.
 .
.
Catch up with fellow visitors and exchange stories, read cool interviews with the crew, exchange photos, fun surprises and grab some FAN ONLY merchandise next year at actual future conventions ?
.
©2021 Frank Diorio DioramaWorkshop.Com
.
IF YOU LIKE WHAT YOU SEE, PLEASE SHARE WITH YOUR FRIENDS
USING THE SOCIAL MEDIA BUTTONS BELOW