


-
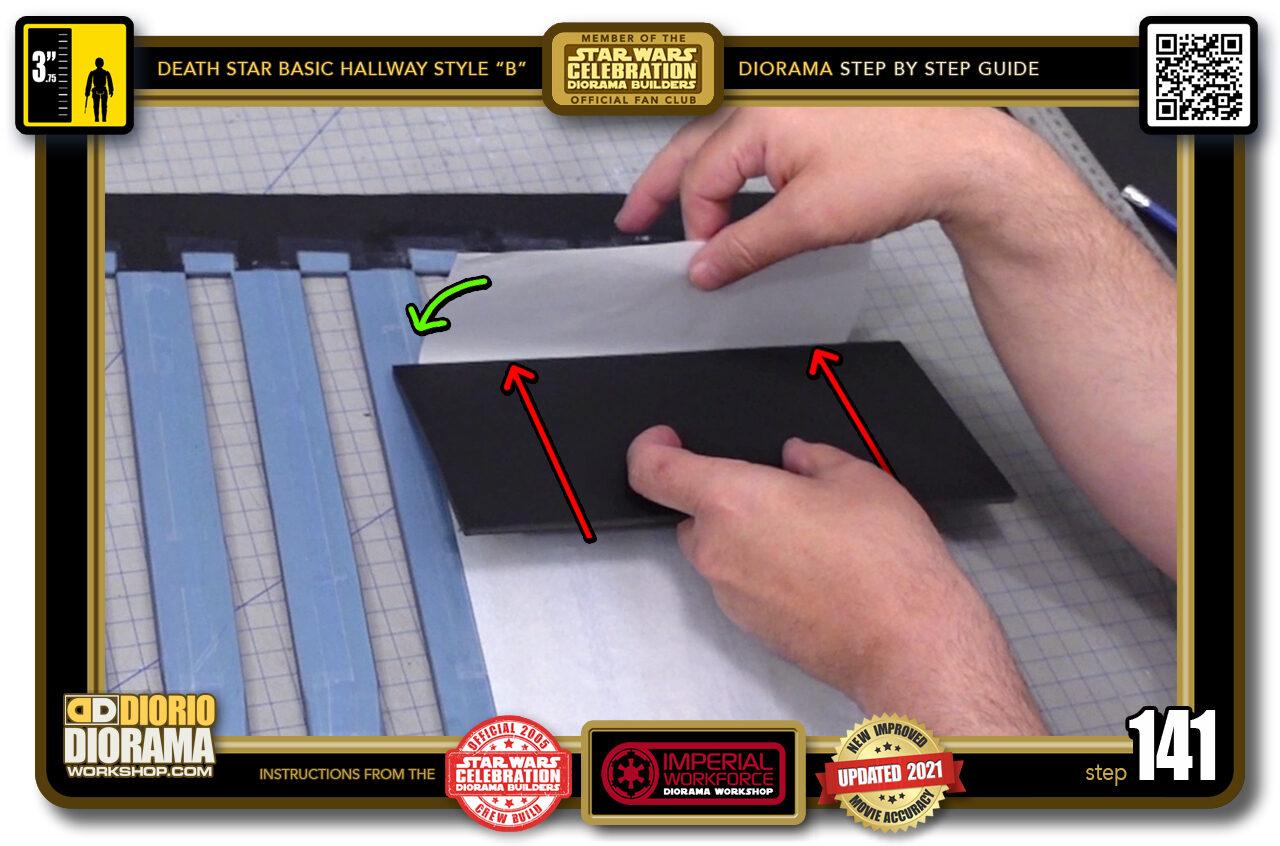
- STEP 141 > Now SLIDE the scrap forwards, SLOWLY move towards the rear. As the scrap moves, it will want to make you lower the paper onto the foamcore. Let your hand lower and have the scrap be your guide. Always press your scrap flat against the ceiling.
-
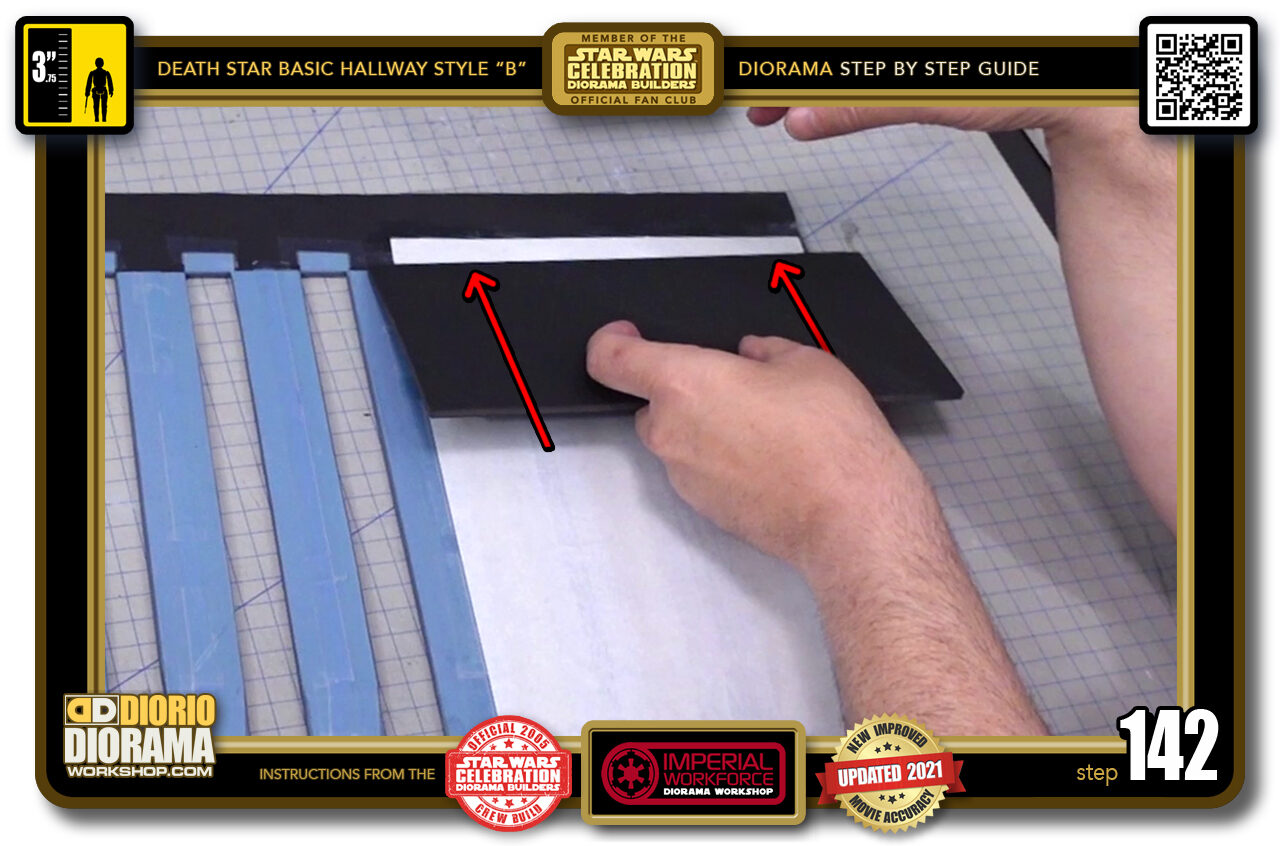
- STEP 142 > Continue this until you reach the end in which you can no longer hold the rear of the paper with your finger. Let it go and fall onto the ceiling and press over it like a steam roller 🙂
-
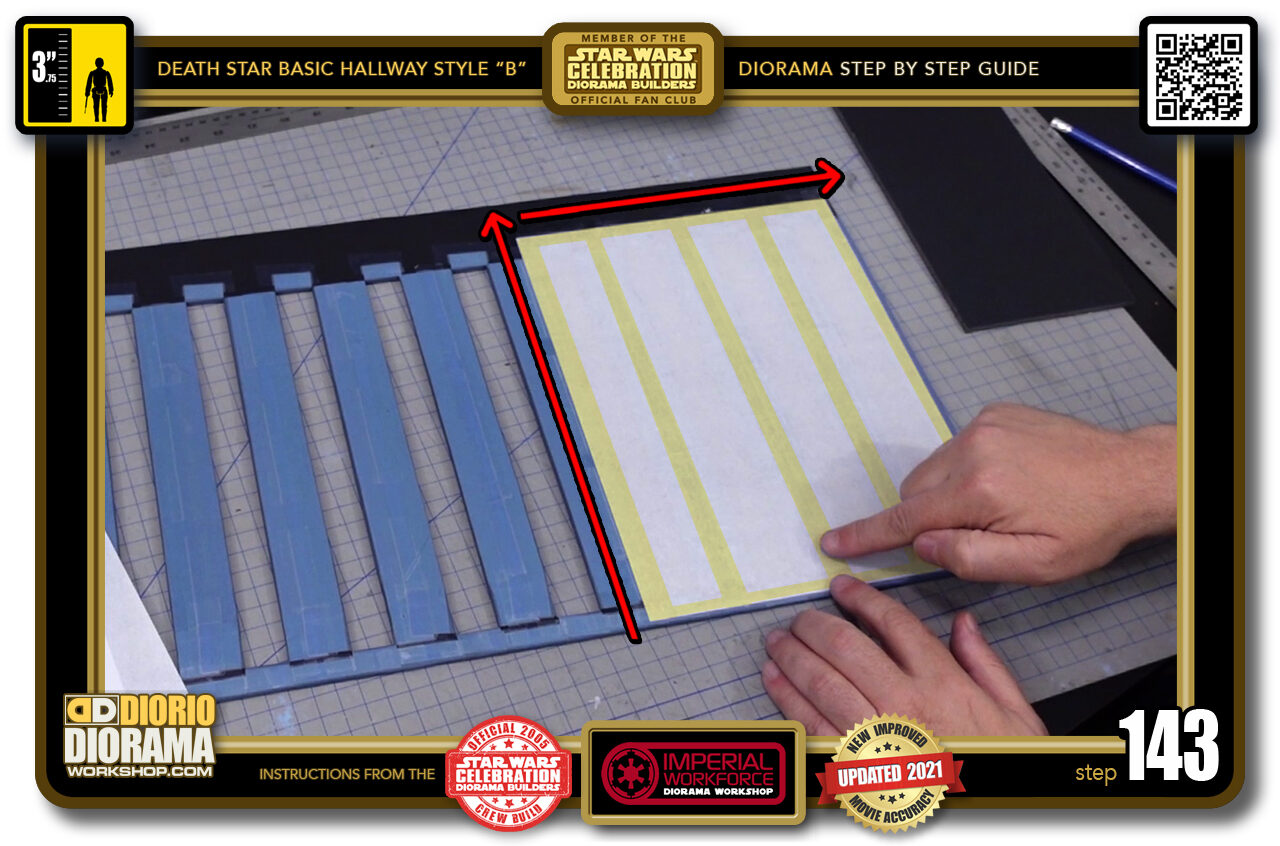
- STEP 143 > You now want to make sure there is perfect contact with the beams, you will see a slight discoloration as the glue soaks into the pores of the paper. Press ONLY along the beams (hilited yellow zones) after all this trouble you DON'T want to poke THROUGH the paper and have to start over.
-
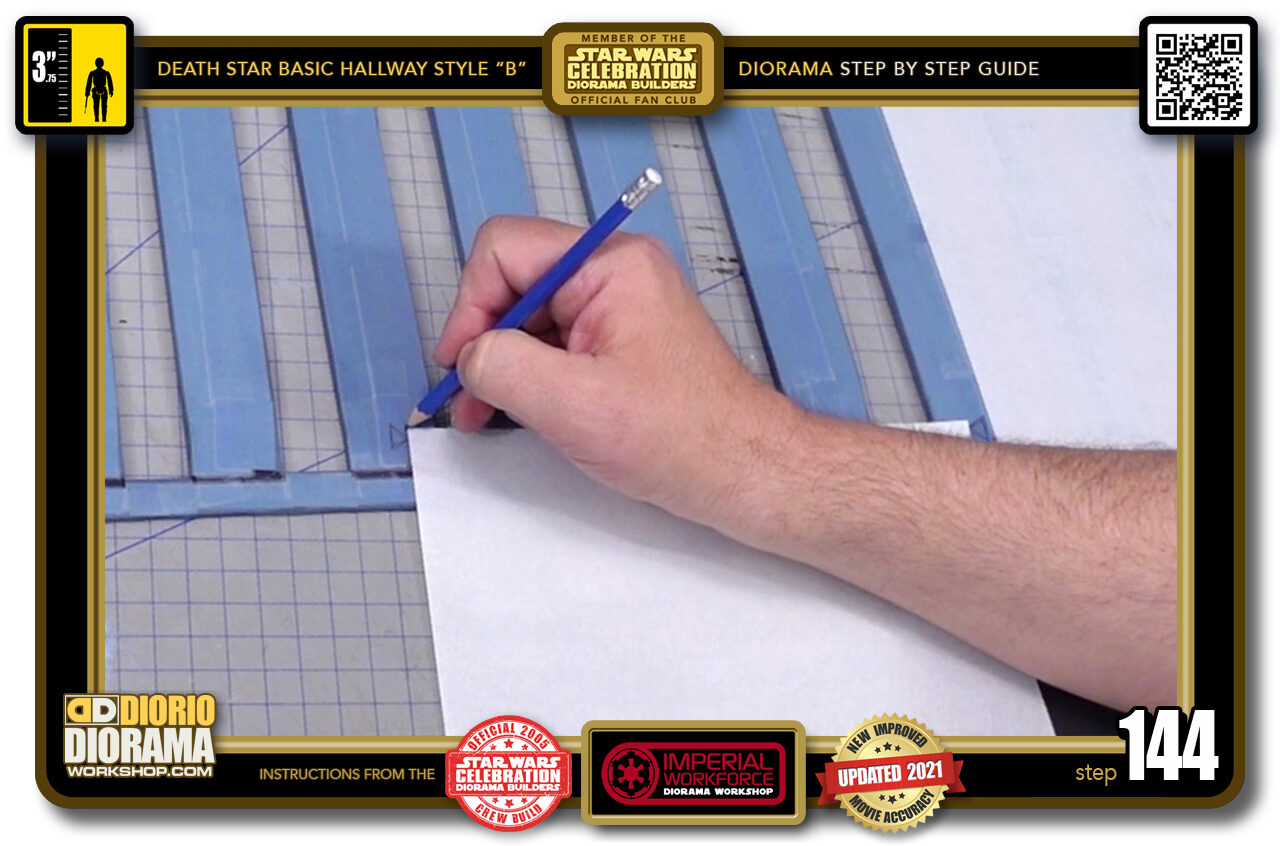
- STEP 144 > Now take another sheet, place it next to the first and place a pencil mark to know where it's edge is.
-
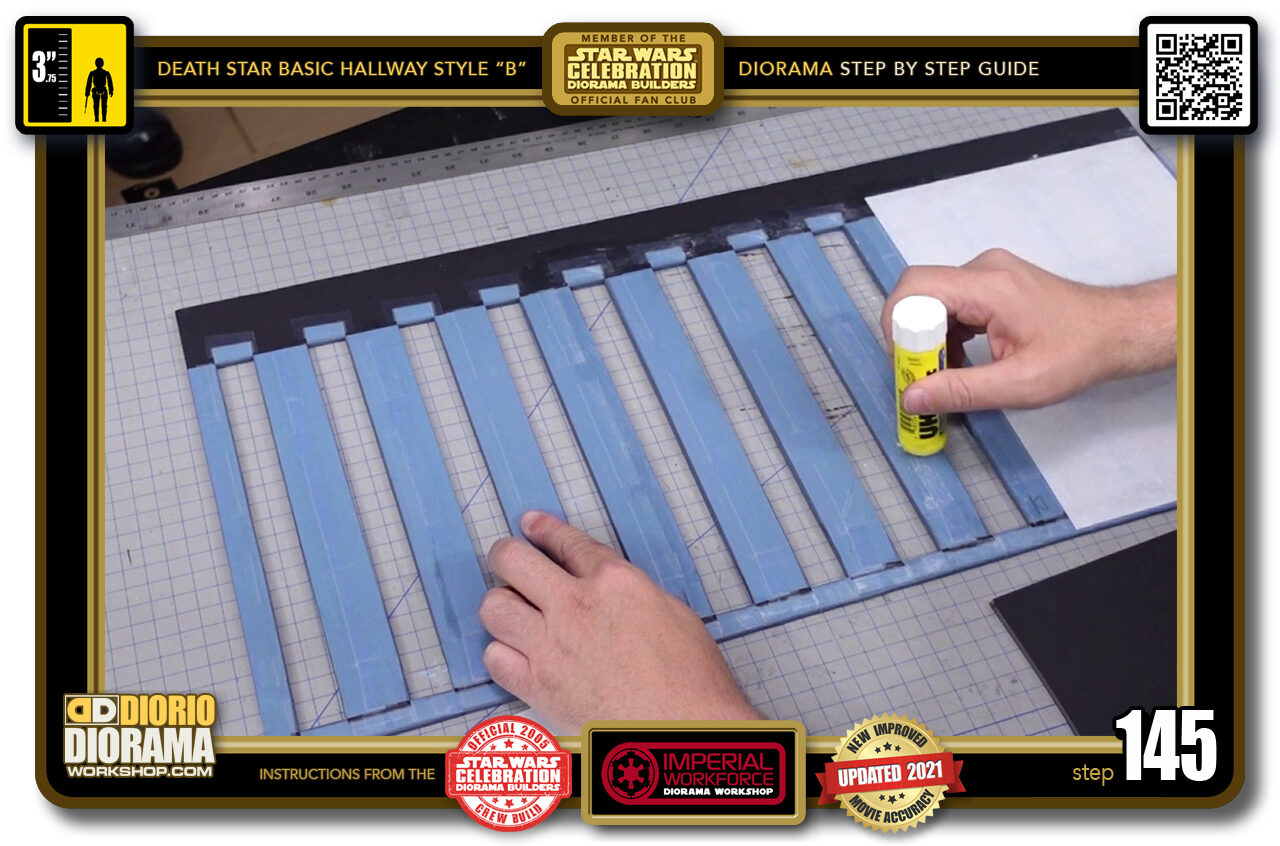
- STEP 145 > Now you know the area you need to apply gluestick in order to attach the next sheet.
-
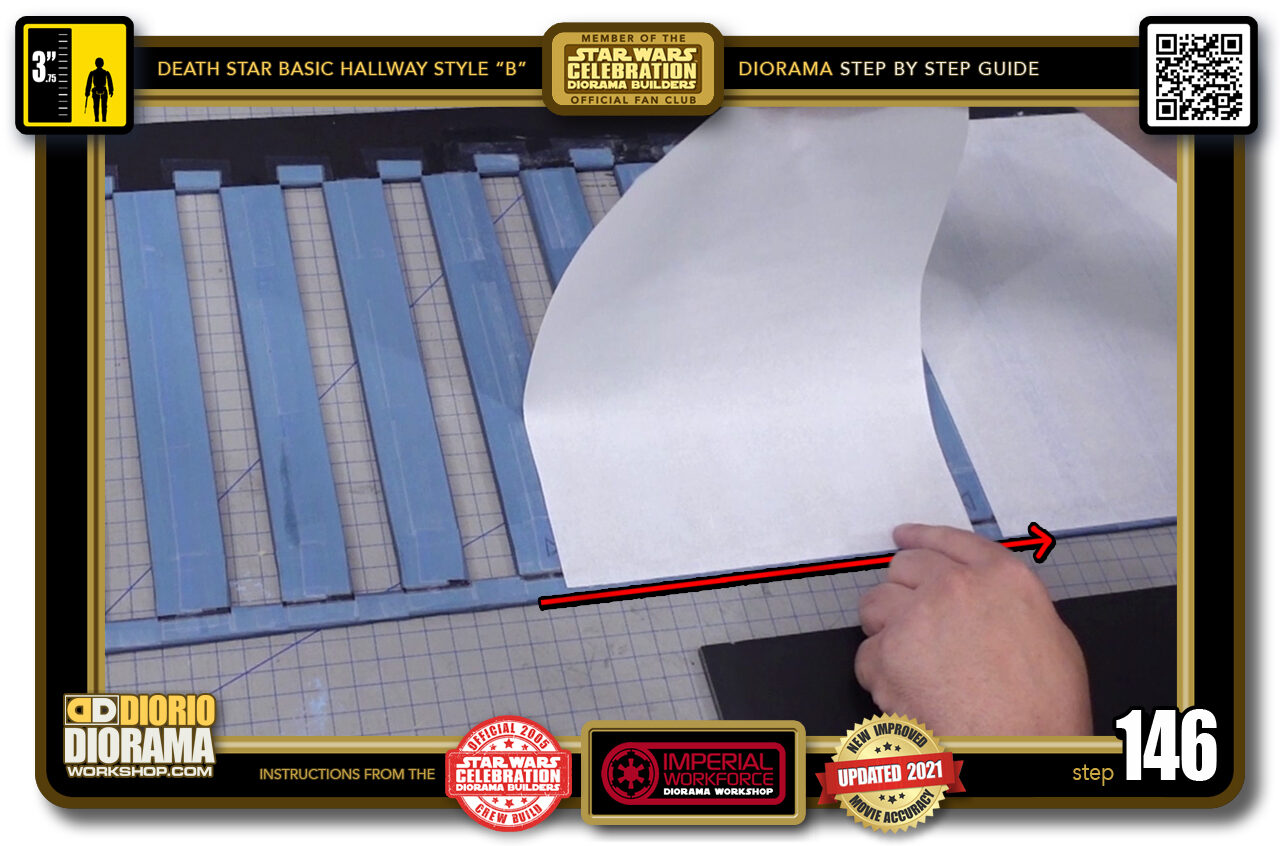
- STEP 146 > As we did before, start by aligning the front so it is parallel to the front, KEEP the rear of the sheet UP.
-
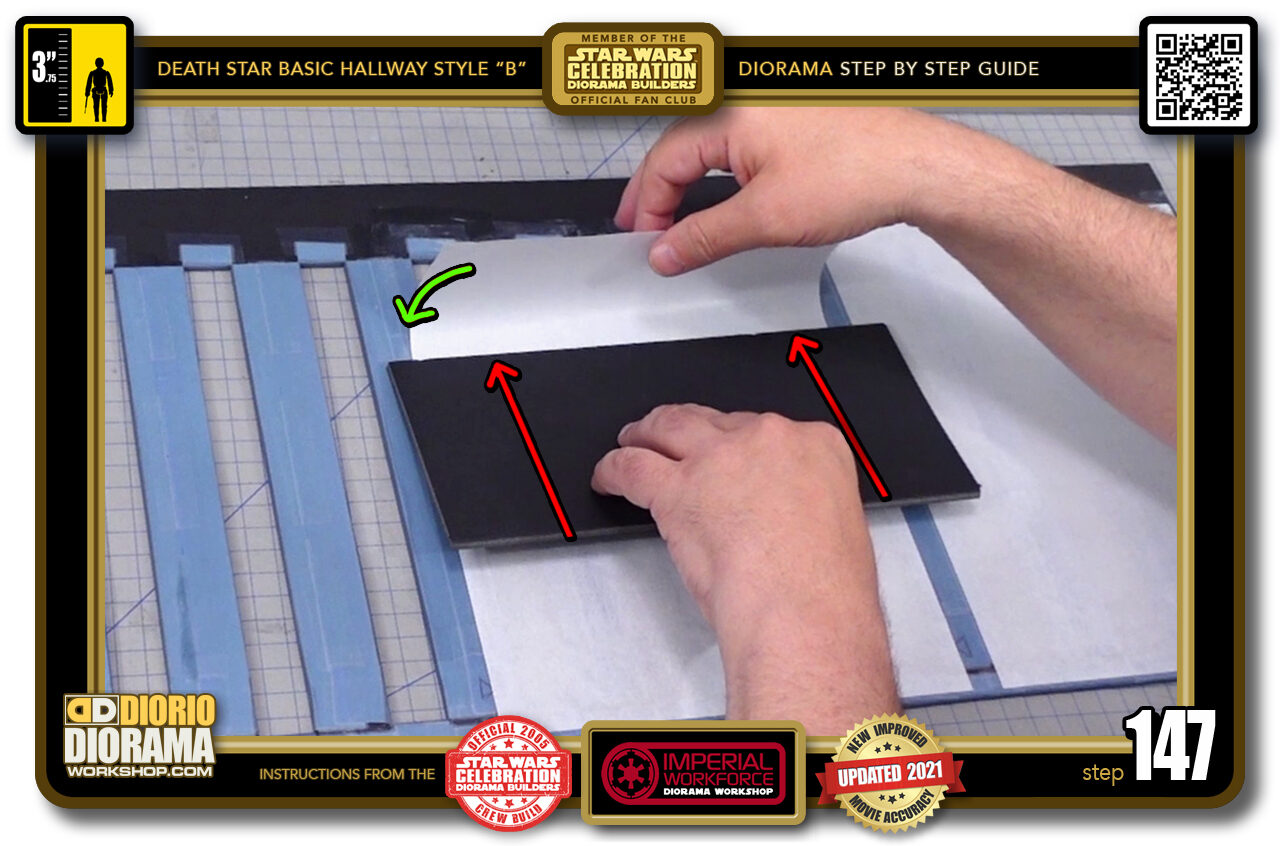
- STEP 147 > Repeat your scrap press down technique to avoid getting bubbles.
-
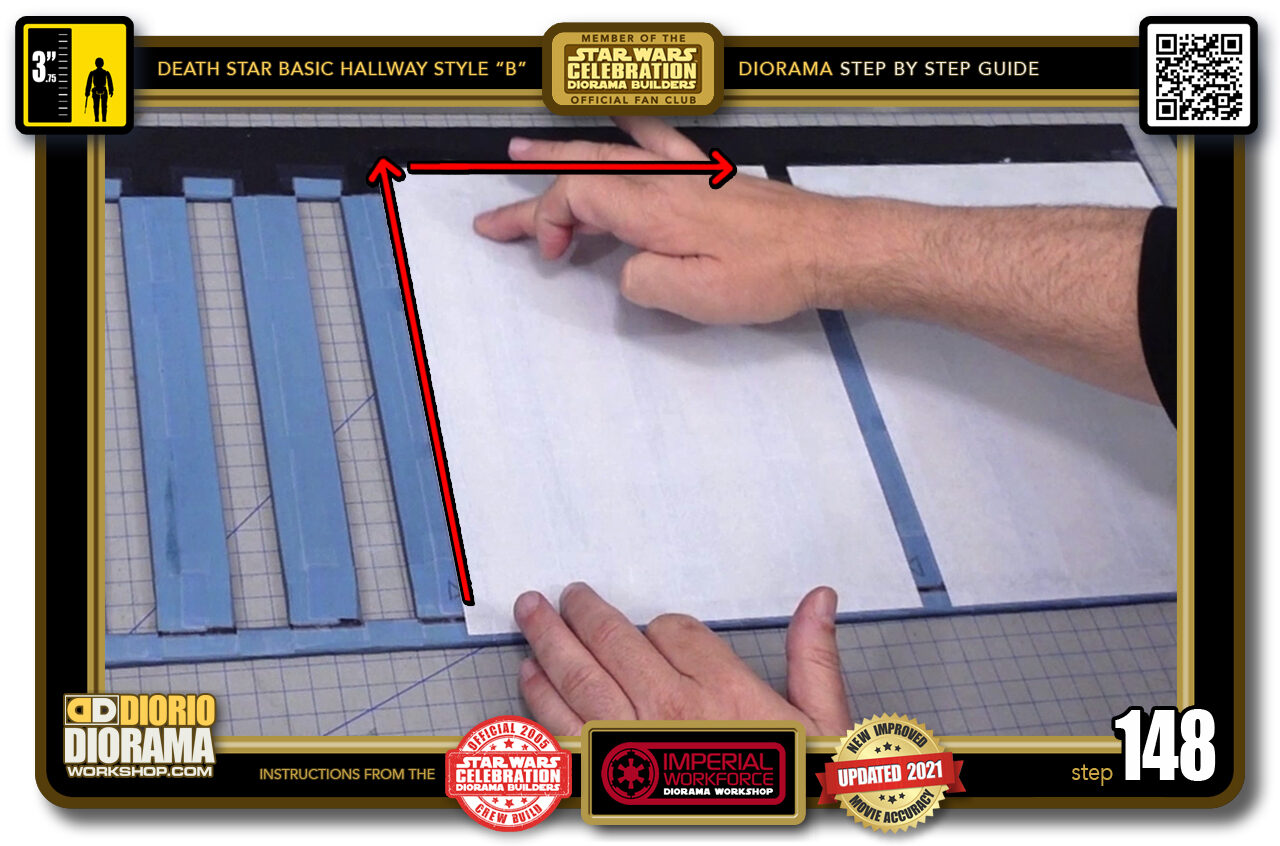
- STEP 148 > Press against the beams like you did in Step 143.
-
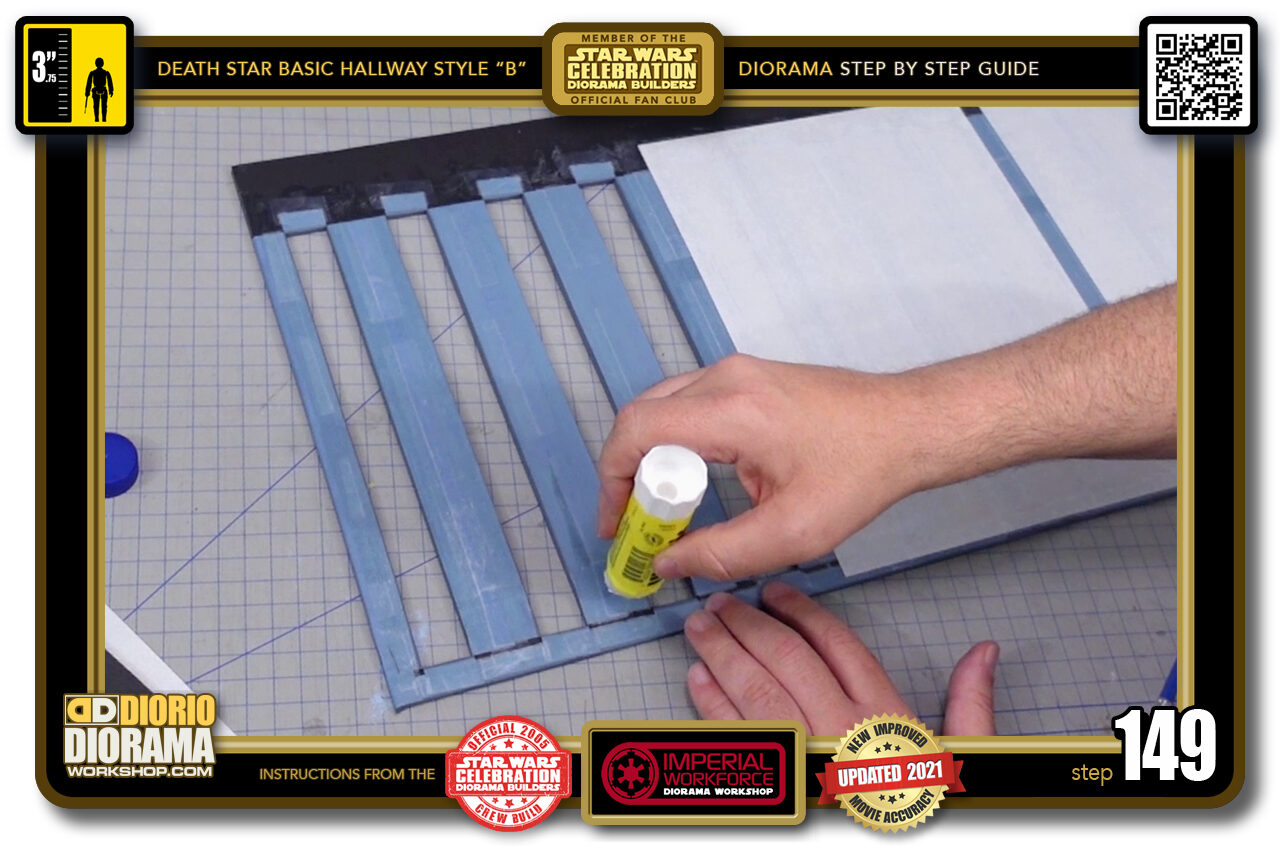
- STEP 149 > Time for the last sheet. Gluestick same as before.
-
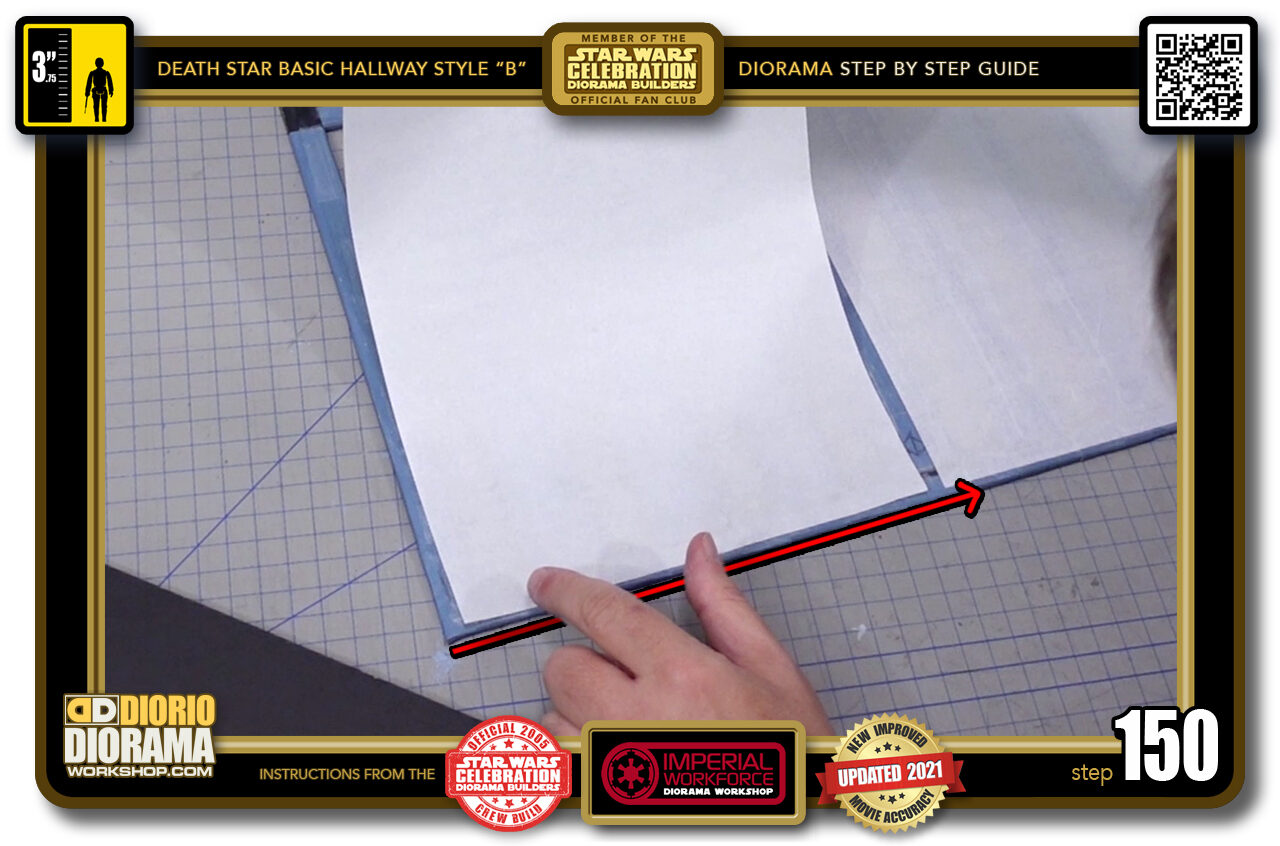
- STEP 150 > Align your last sheet and press along the bottom only.
-
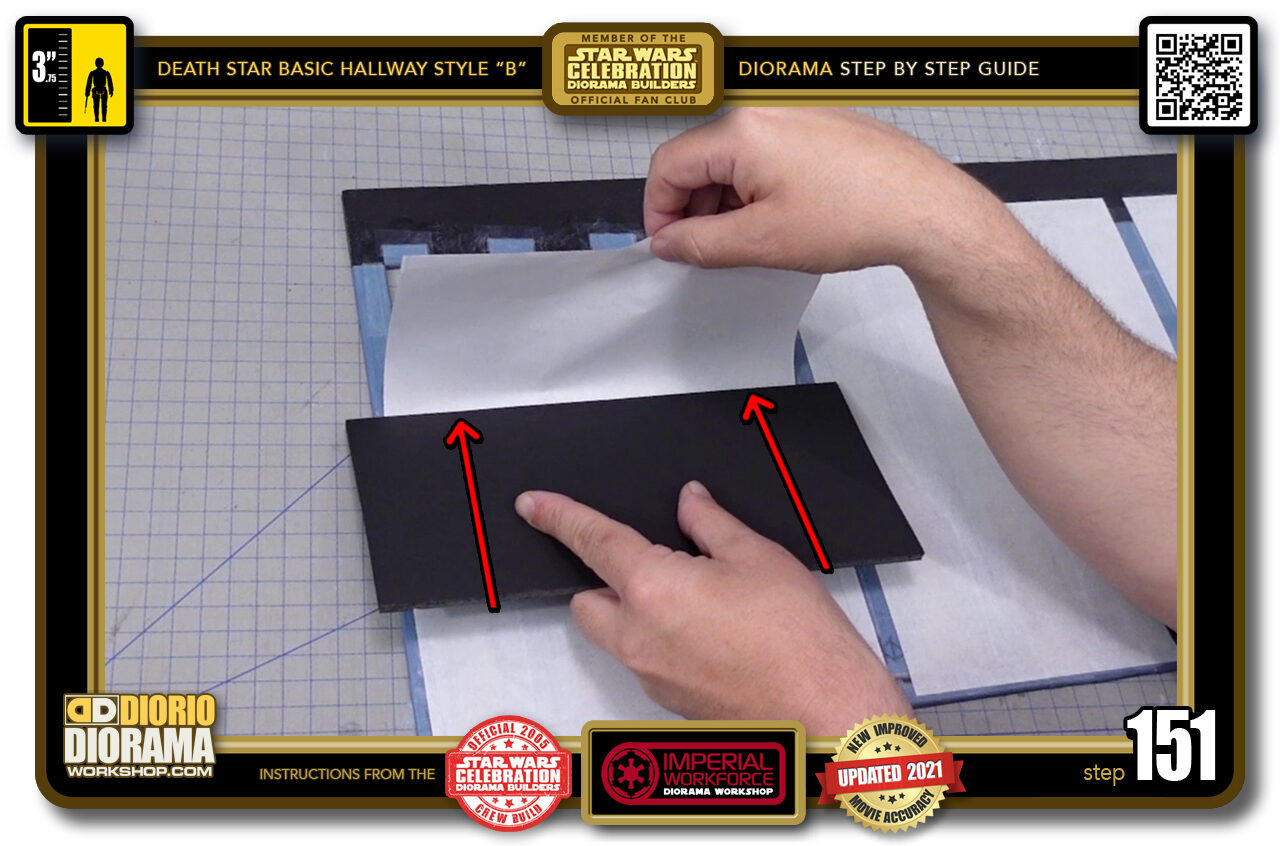
- STEP 151 > Grab your scrap and you know what to do.
-
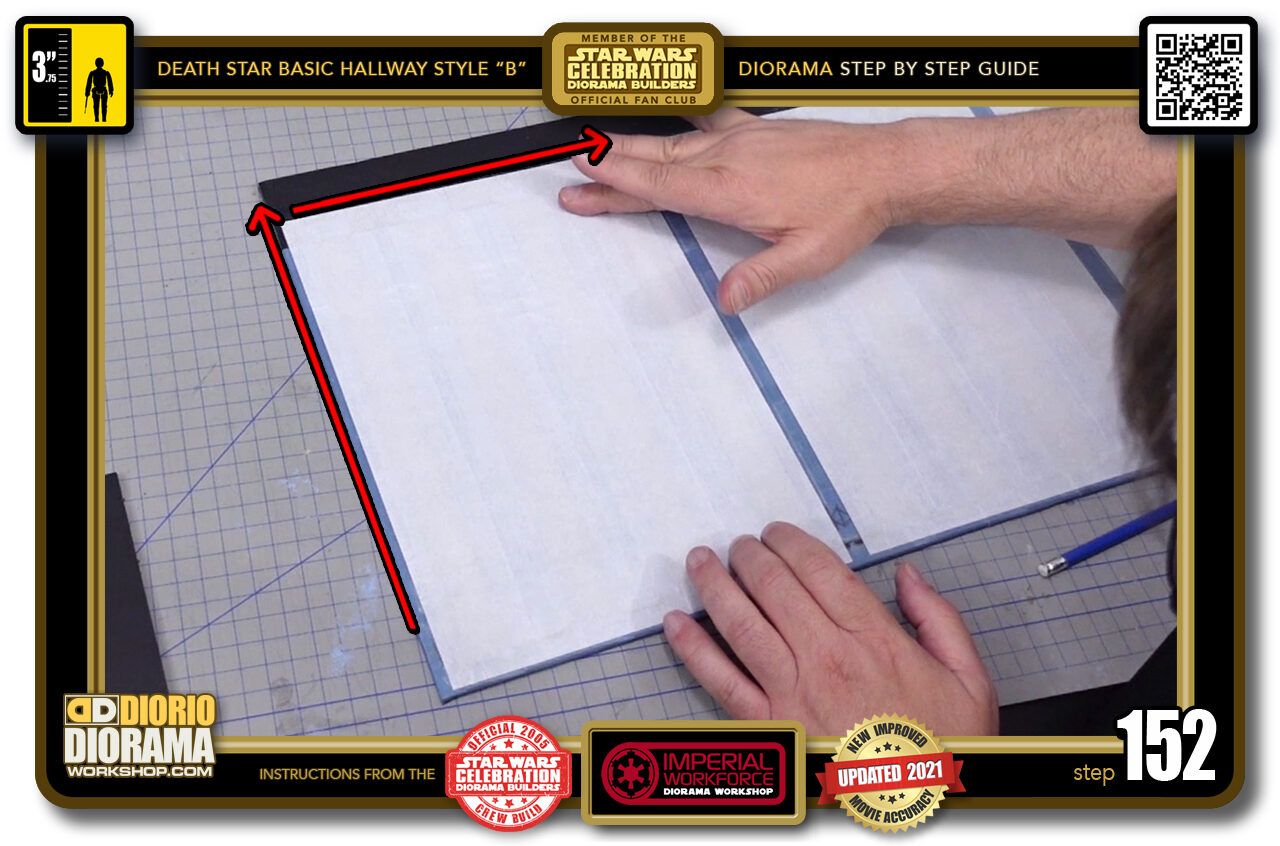
- STEP 152 > last finger press without poking any holes through the beam gaps.
-
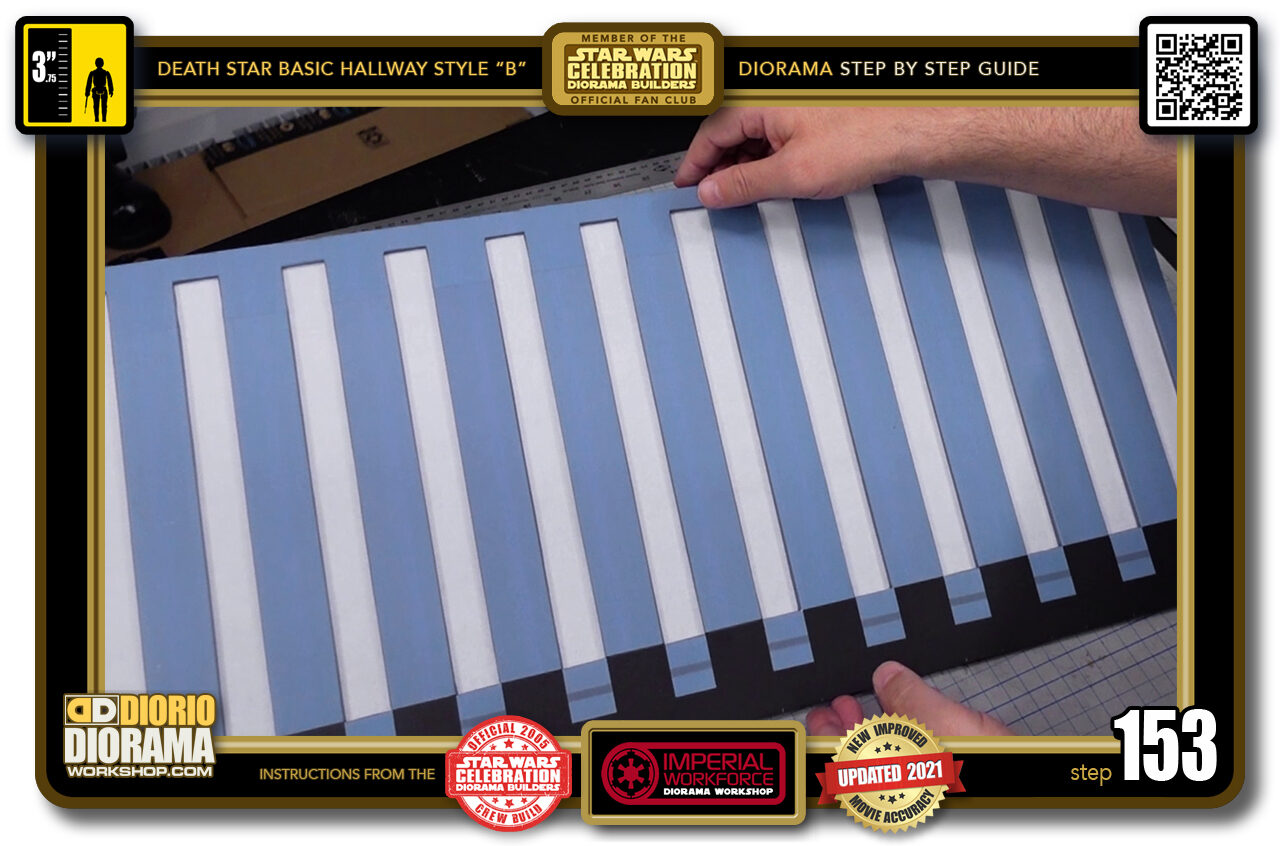
- STEP 153 > And there you go, your LED ceiling bottom sheet is done. VERY VERY FRAGILE, put it in a safe place for now.
-
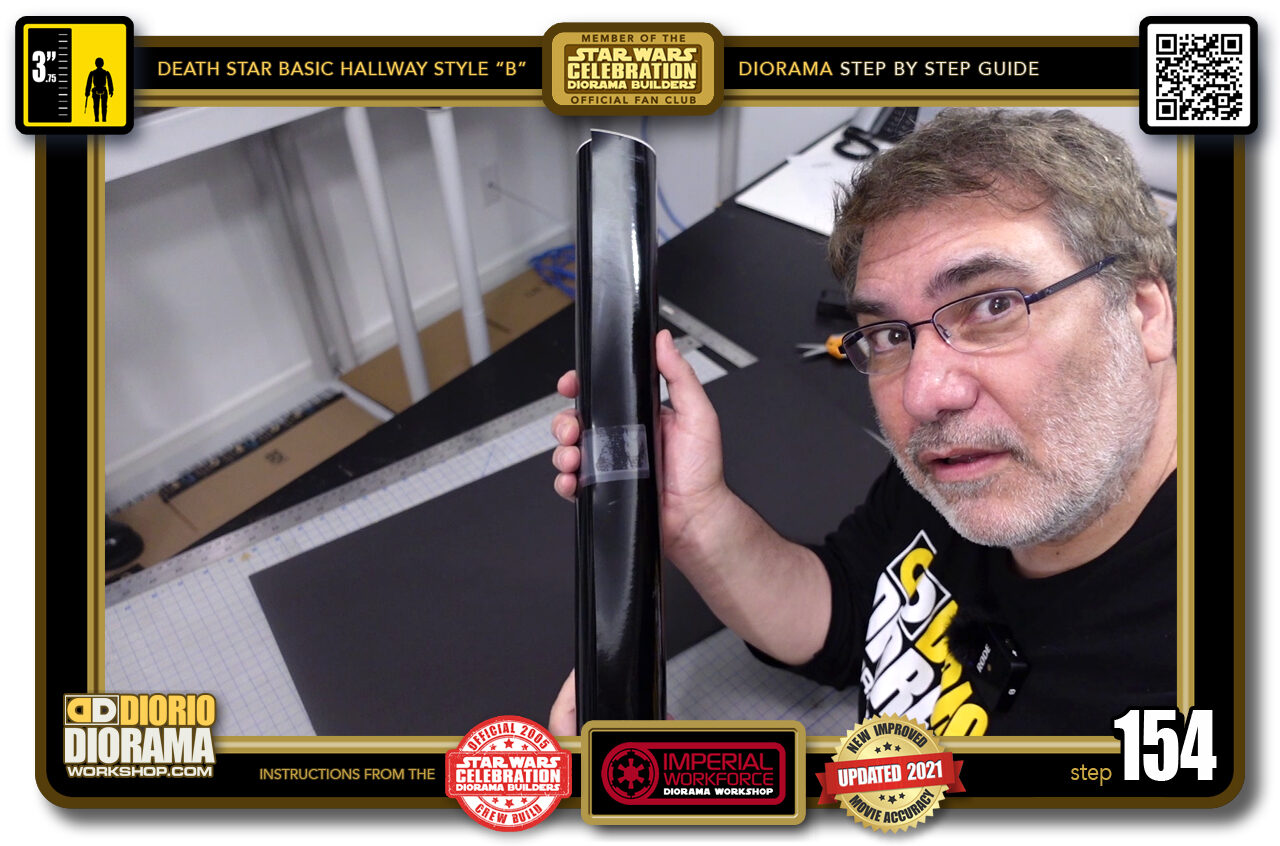
- STEP 154 > Grab your high gloss vinyl. Time to do the floor.
-
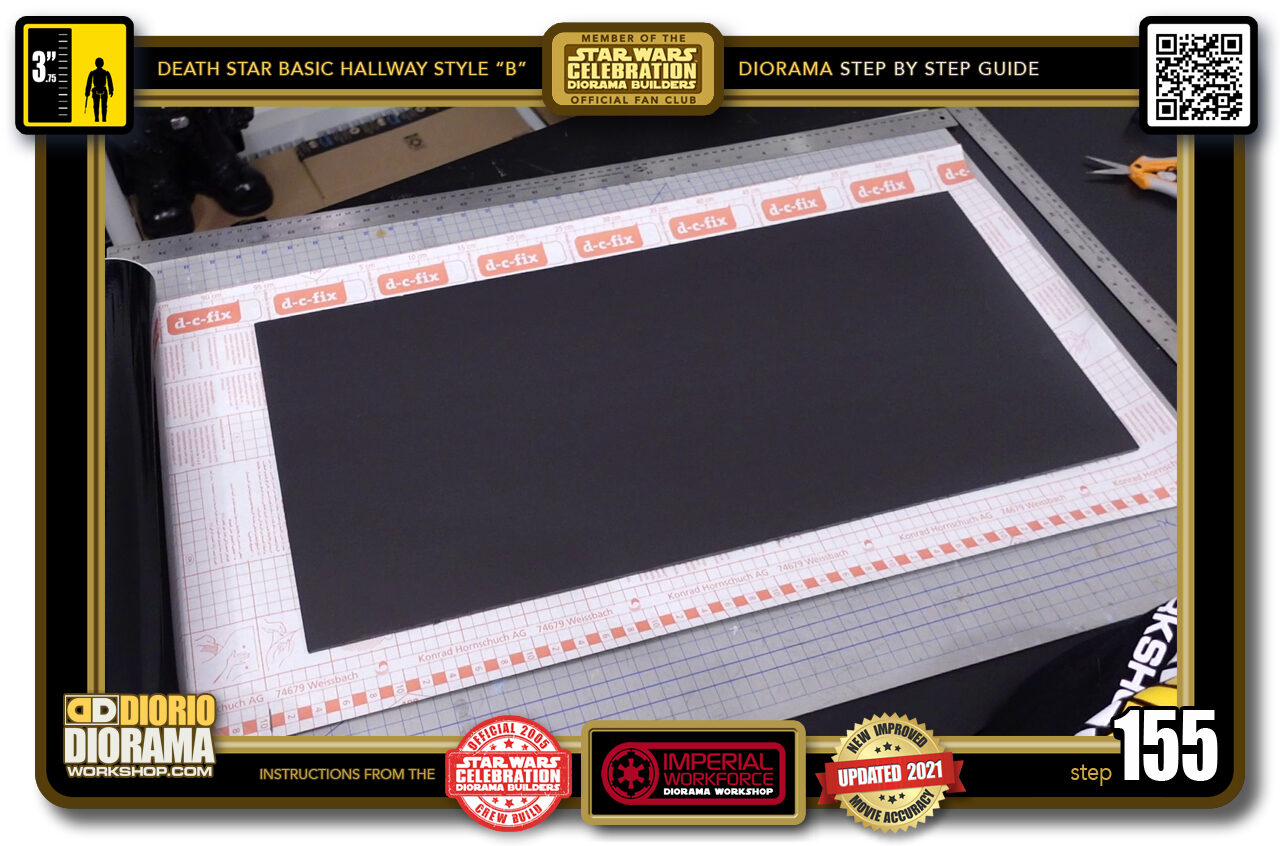
- STEP 155 > Make sure your vinyl sticks past your floor foamcore piece. Easier to trim after than try to fit perfectly when applying it.
-

- STEP 156 > Once you figure out the proper excess, make a cut and put away your roll for future use.
-
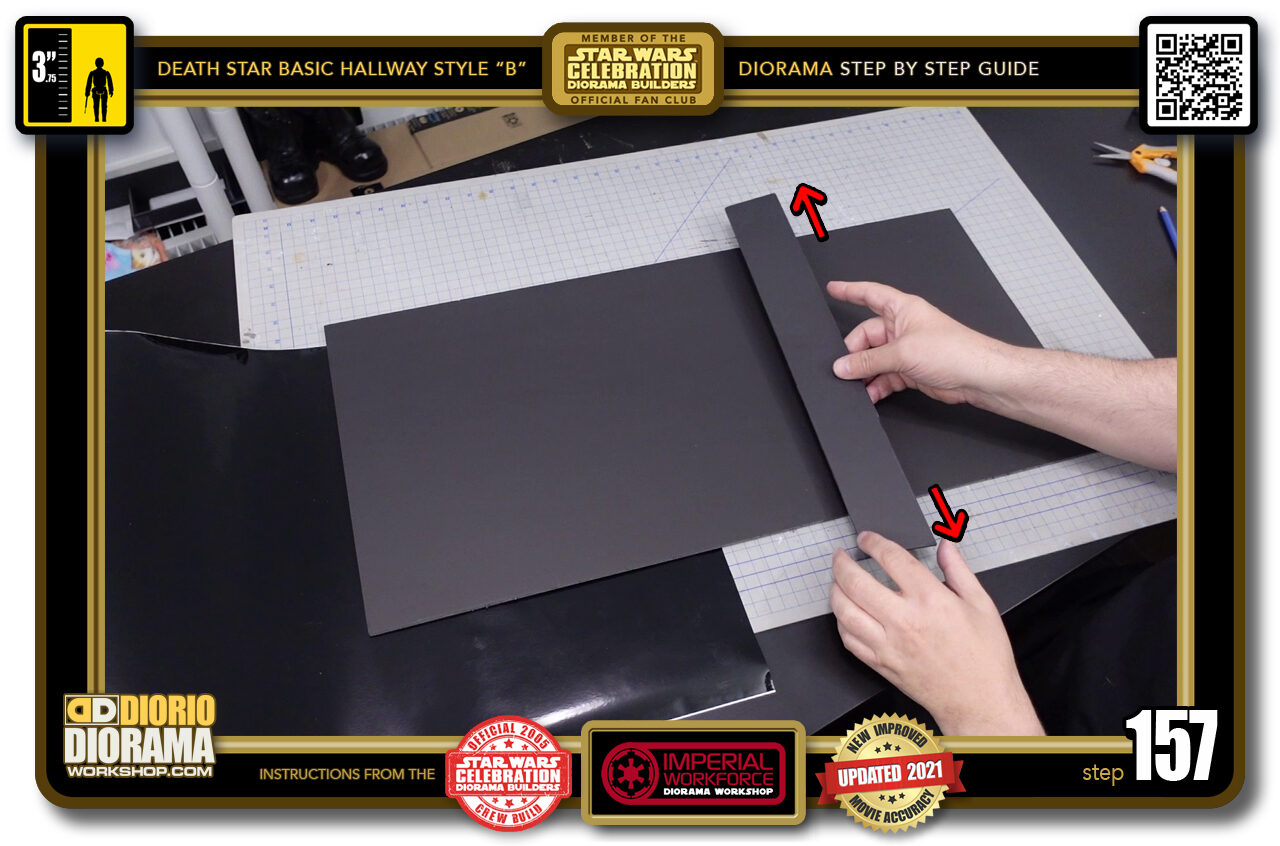
- STEP 157 > Like we did for the ceiling paper application, we want to find a scrap piece of foamcore that is a little WIDER than your floor surface.
-
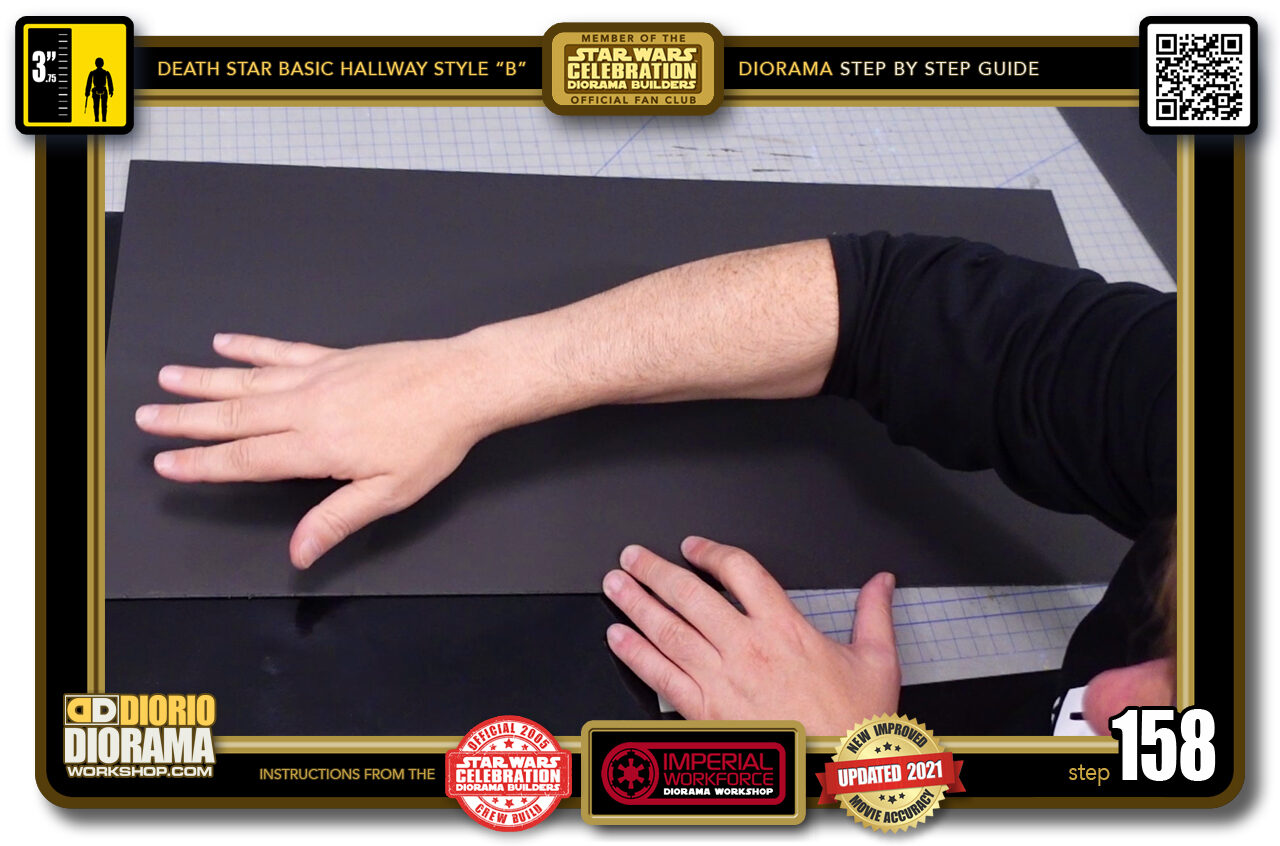
- STEP 158 > Make sure to wipe off the surface of your foamcore, you dont want dust to create bumps in your vinyl. With high gloss, imperfections become very obvious.
-
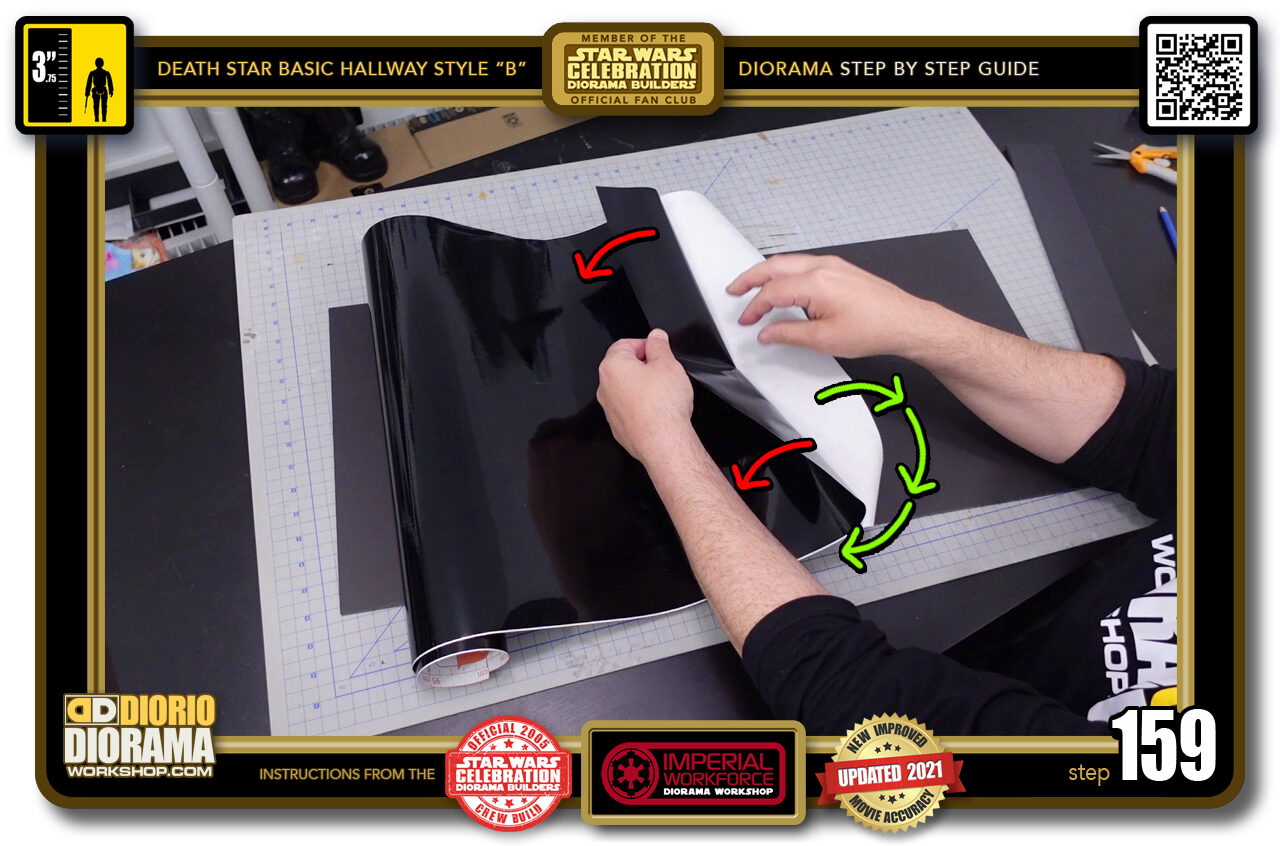
- STEP 159 > You want to start by peeling and exposing about 5cm of your vinyl. Tuck the wax backing under the fold.
-
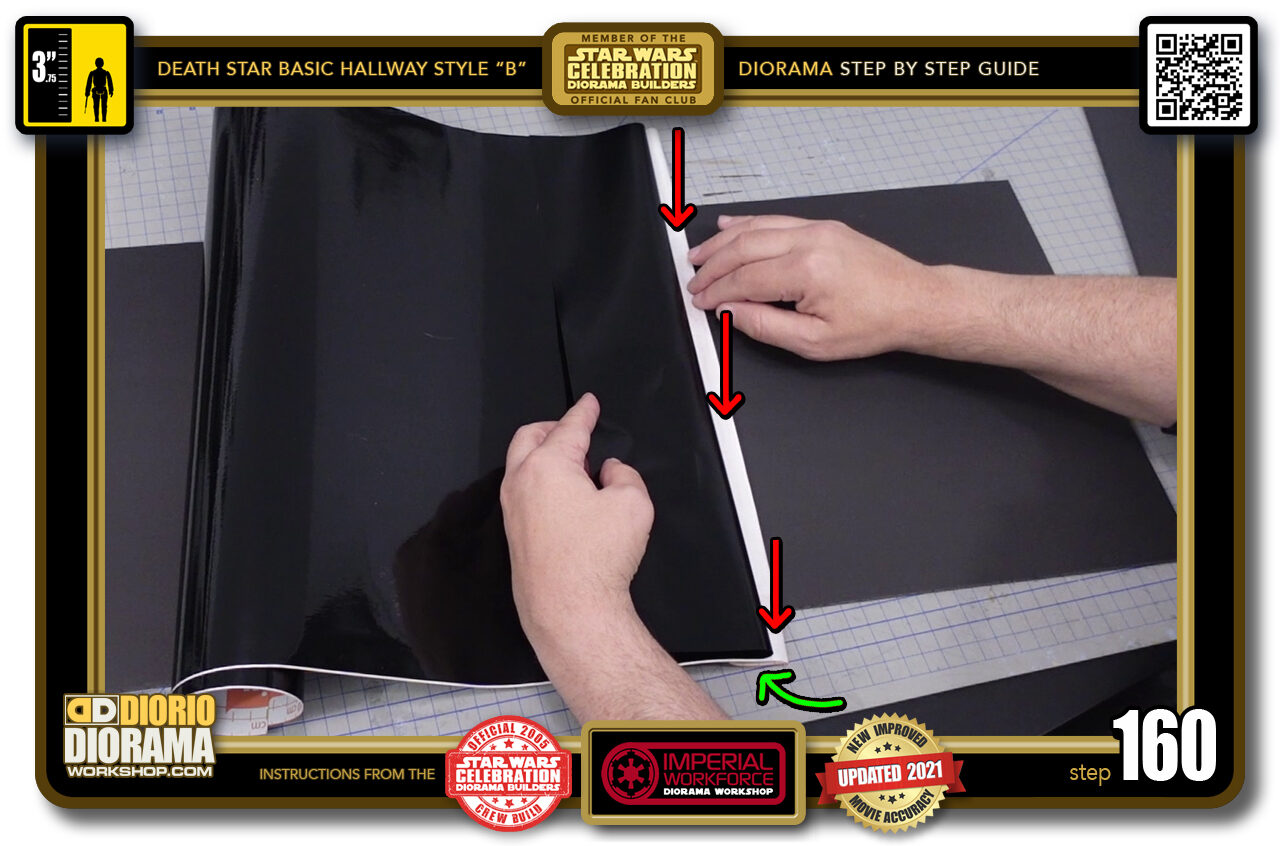
- STEP 160 > Press at the fold a little hard to make a cleaner straight flat line.
.
Did you already build this Diorama ? At home or at our Star Wars Celebration Diorama Builders workshop ? Would you like to show it in the site’s GALLERY VISITORS DIORAMAS section, YES ? That is Awesome !!! You can find out all the details on how to email me your photos on the VISITORS SUBMISSIONS INFO page … When I get your photos, I will create your very own page just like this one. You may not realize it but work does inspire others to join in the fun of making Action Figure Dioramas.
.
NOT FOR RESALE ALL Decals, tutorials and artwork are ©FrankDiorio (dioramaworkshop.com) and offered FOR FREE to the fans – that would be you ? so you can build and display my diorama designs in your very own home. I realize I cannot control what one does with my graphics once I place them on the web, I can only ask you as one fan to another, please respect the artist and do not be that jerk who uses my designs and tutorials to build a copy of my work only to sell it on EBAY or trade/sale groups and forums. Thank You. Frank.
.

.
.
If you have a facebook account, why not join the Official Diorama Builders Fan Club today, simply click the logo link below.
 .
.
Catch up with fellow visitors and exchange stories, read cool interviews with the crew, exchange photos, fun surprises and grab some FAN ONLY merchandise next year at actual future conventions ?
.
©2021 Frank Diorio DioramaWorkshop.Com
.
IF YOU LIKE WHAT YOU SEE, PLEASE SHARE WITH YOUR FRIENDS
USING THE SOCIAL MEDIA BUTTONS BELOW