


-
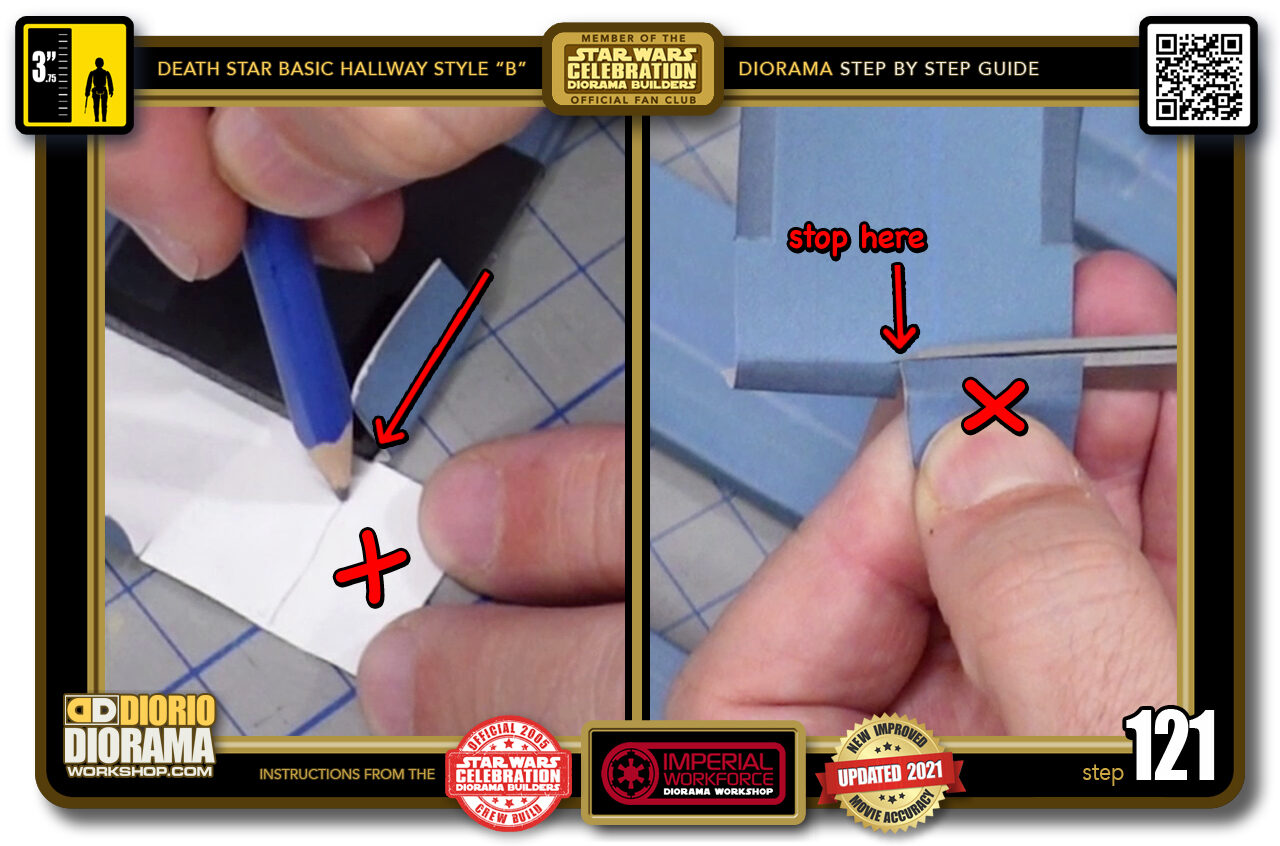
- STEP 121 > Now put back your decal against the corner beams, this time you want to draw a line that continues straight along the end of your foamcore front (left image) Place an X so you don't get confused when you go to cut off that excess flap above the DARK folding line and stopping where you did your B cut (right image).
-
-
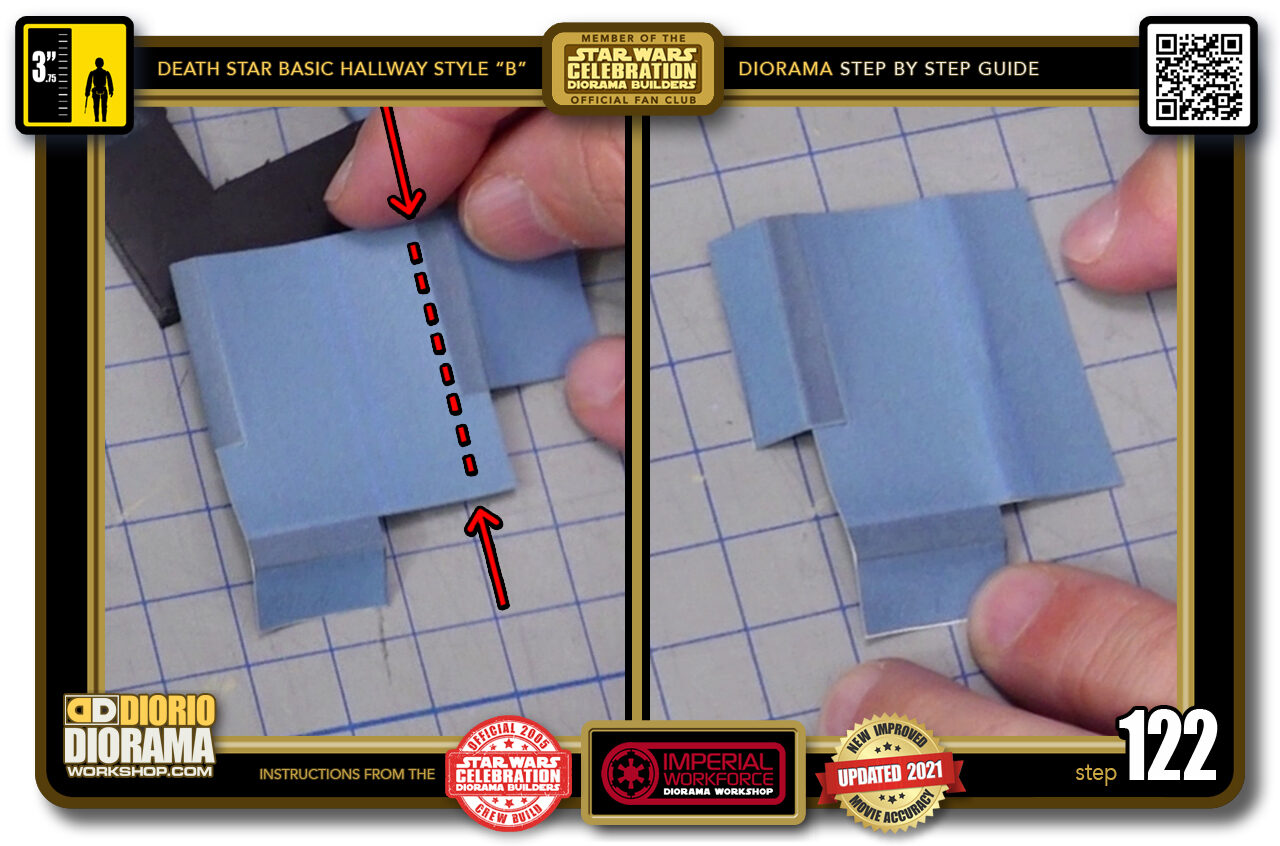
STEP 122 > Now lay your decal facing up and we need to cut the excess off following the red dotted line (left image) and your final corner decal looks like this (right image).
IMPORTANT: DO NOT CUT IDENTICAL for the other corner. It is not, it is a MIRROR version of this one. So you will have to place new pencil guide lines later on for that other corner.
-
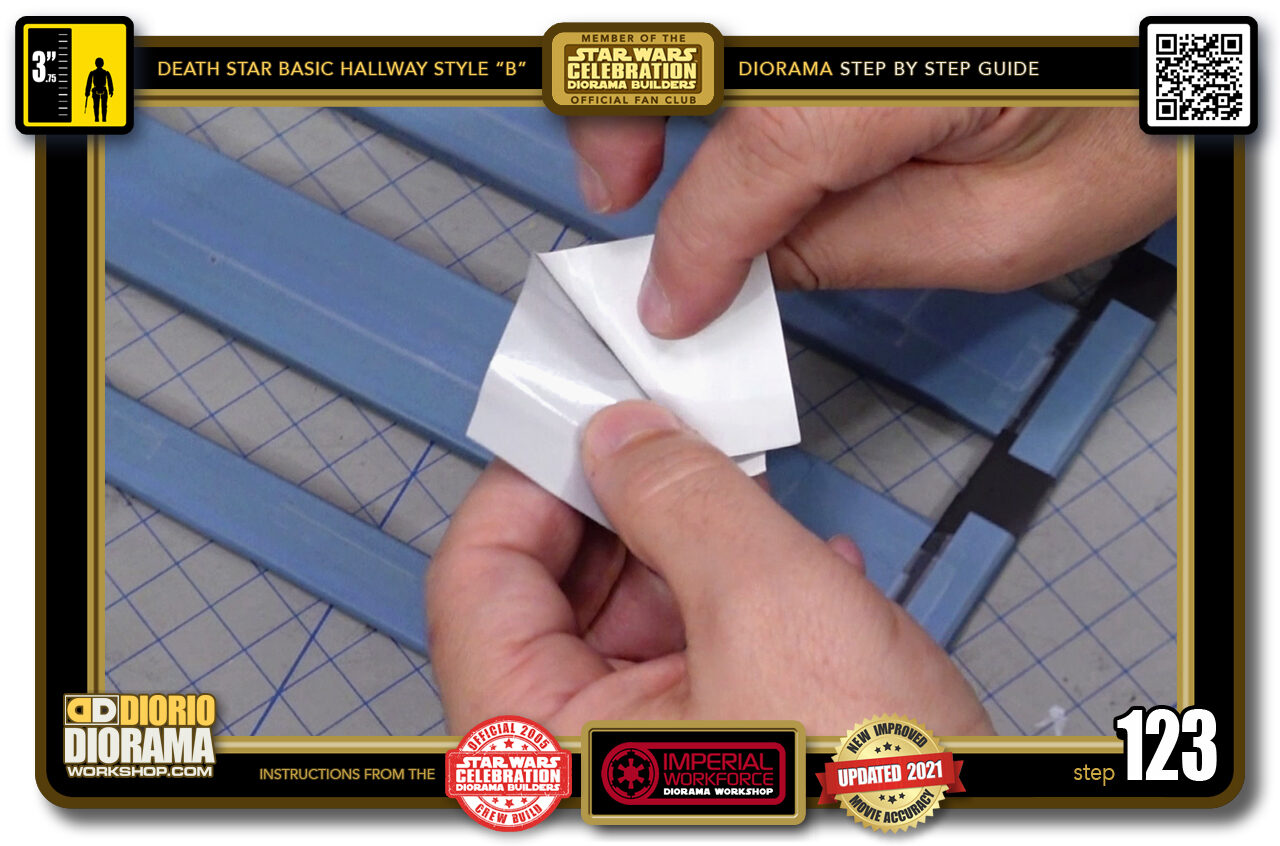
- STEP 123 > Now you can peel the modified decal skin.
-
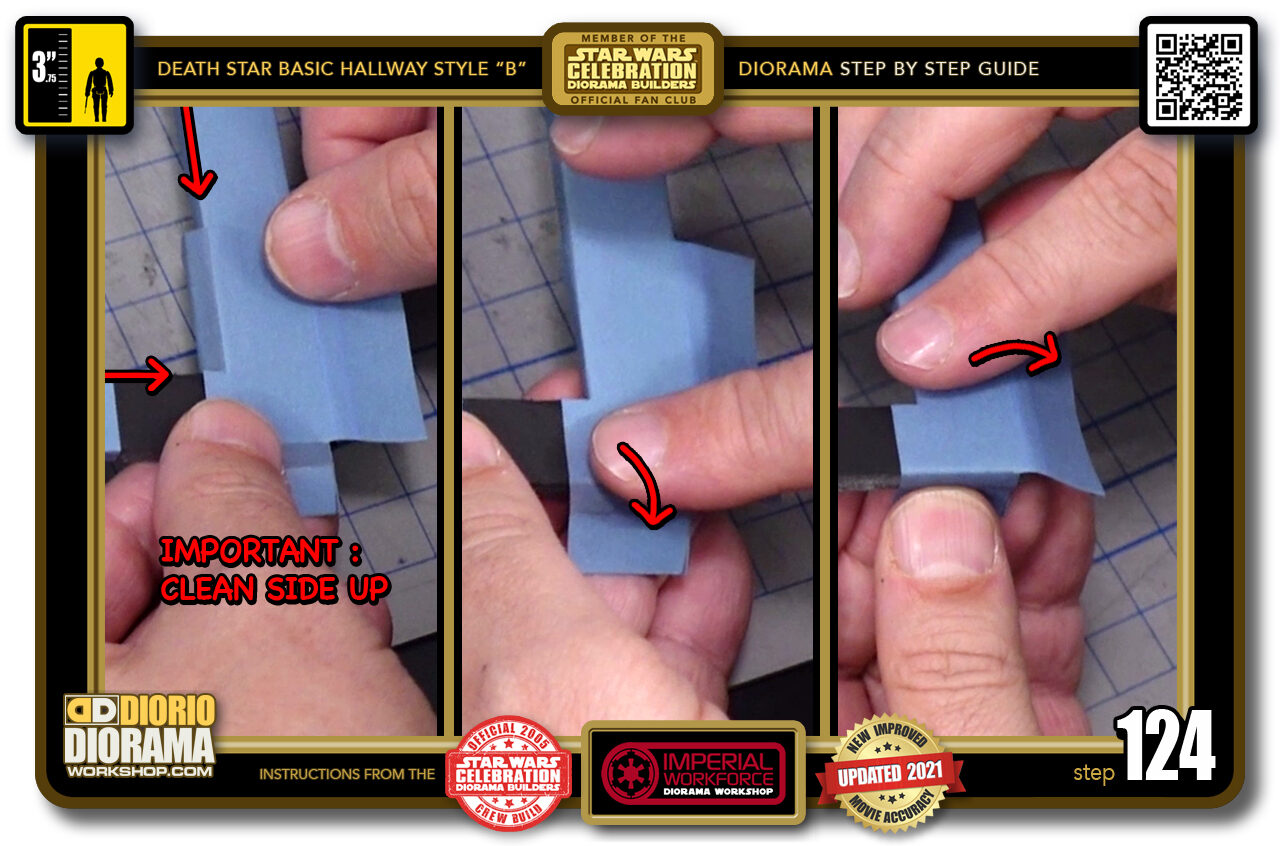
- STEP 124 > Make sure your ceiling frame is facing on top (clean decals not the scotch tape side) and align your decal flush against the corner (left image) Then carefully fold over the bottom flap (front of the diorama and middle image) then fold over the right side flap (right image)
-
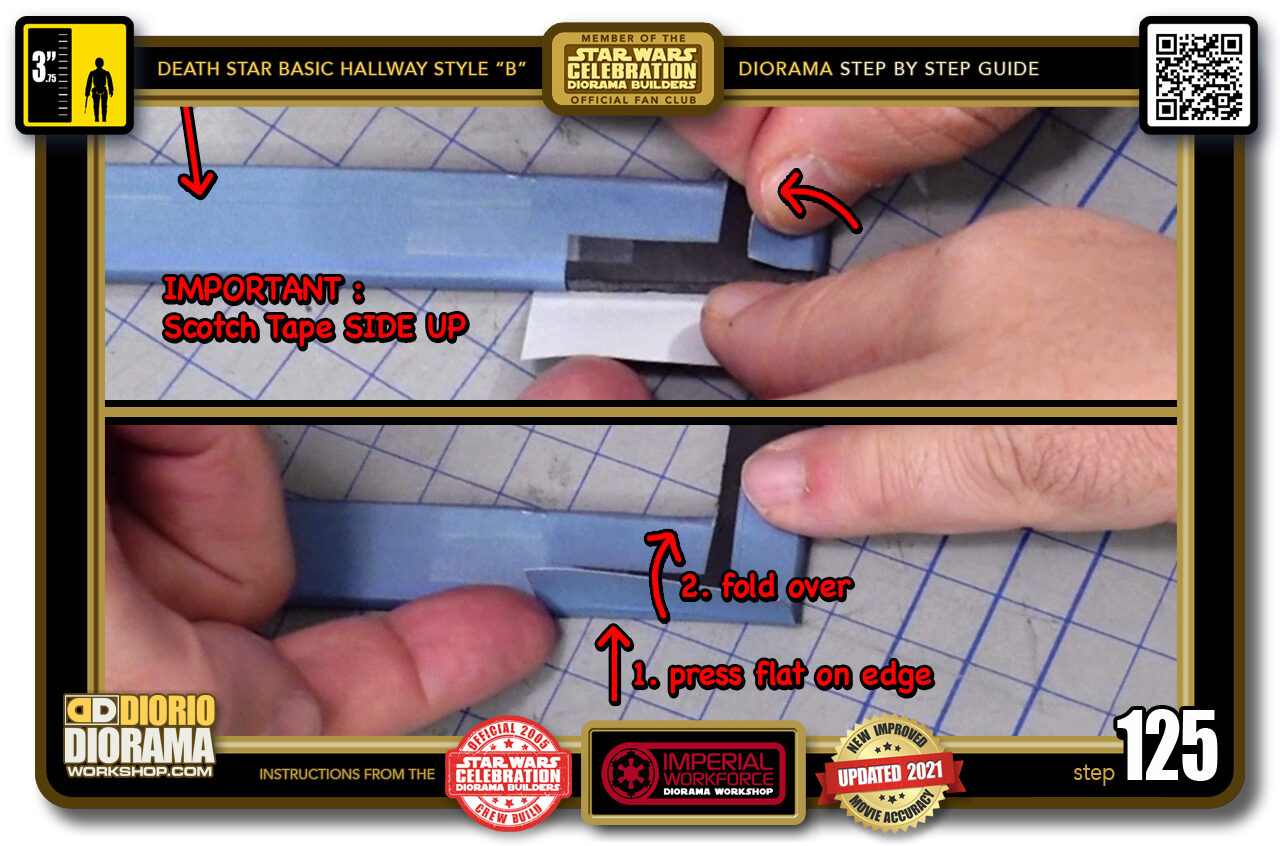
- STEP 125 > Gently flip the ceiling frame again to expose the scotch tape side and pull and fold the bottom (front of diorama) flap until it reaches the other side and press down onto the foamcore beam (top image) Then press along the side outer edge so you get a nice 90 degree ben and then pull and place onto the foamcore (bottom image).
-
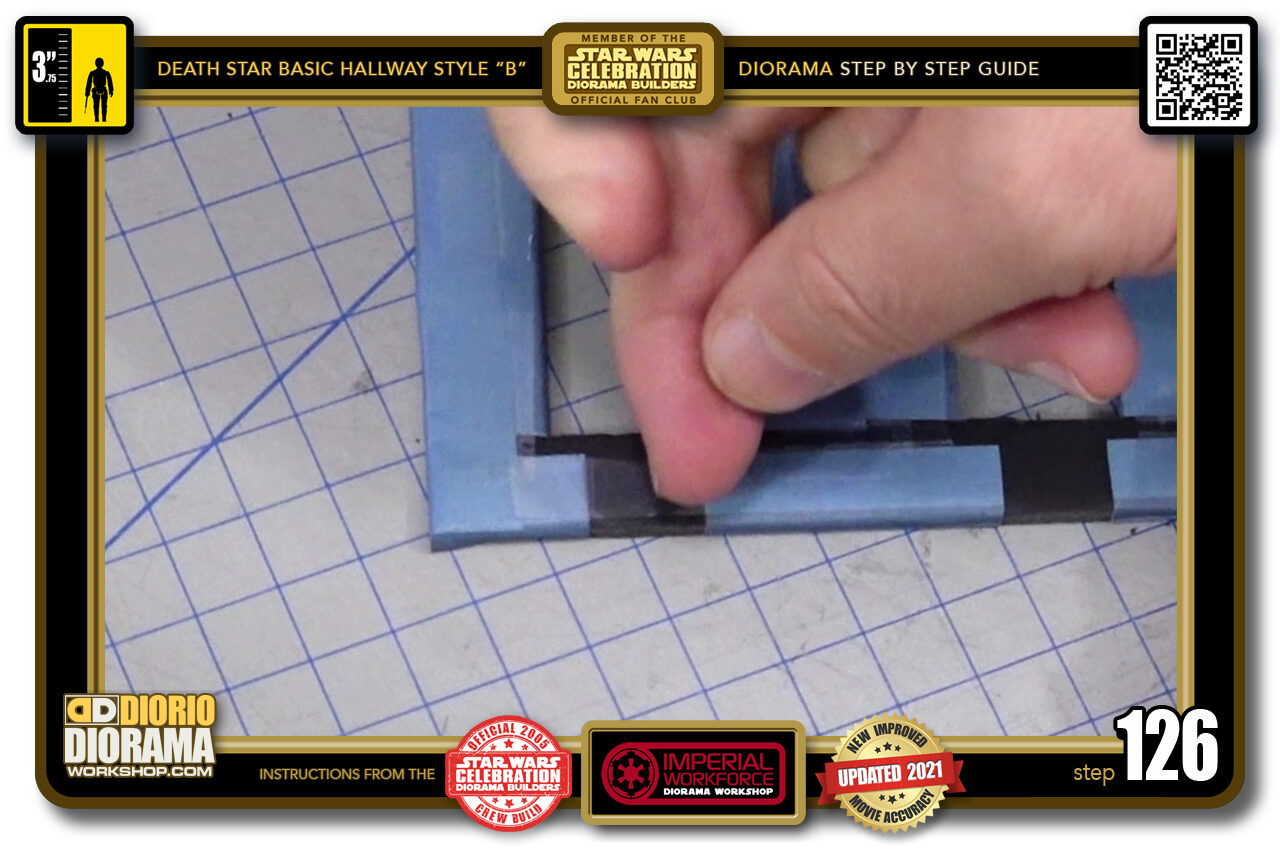
- STEP 126 > You can put a small piece of Scotch Tape to make sure the overlapping decals don't detach from each other.
-

- STEP 127 > See how it creates a crisp clean corner blend.
-
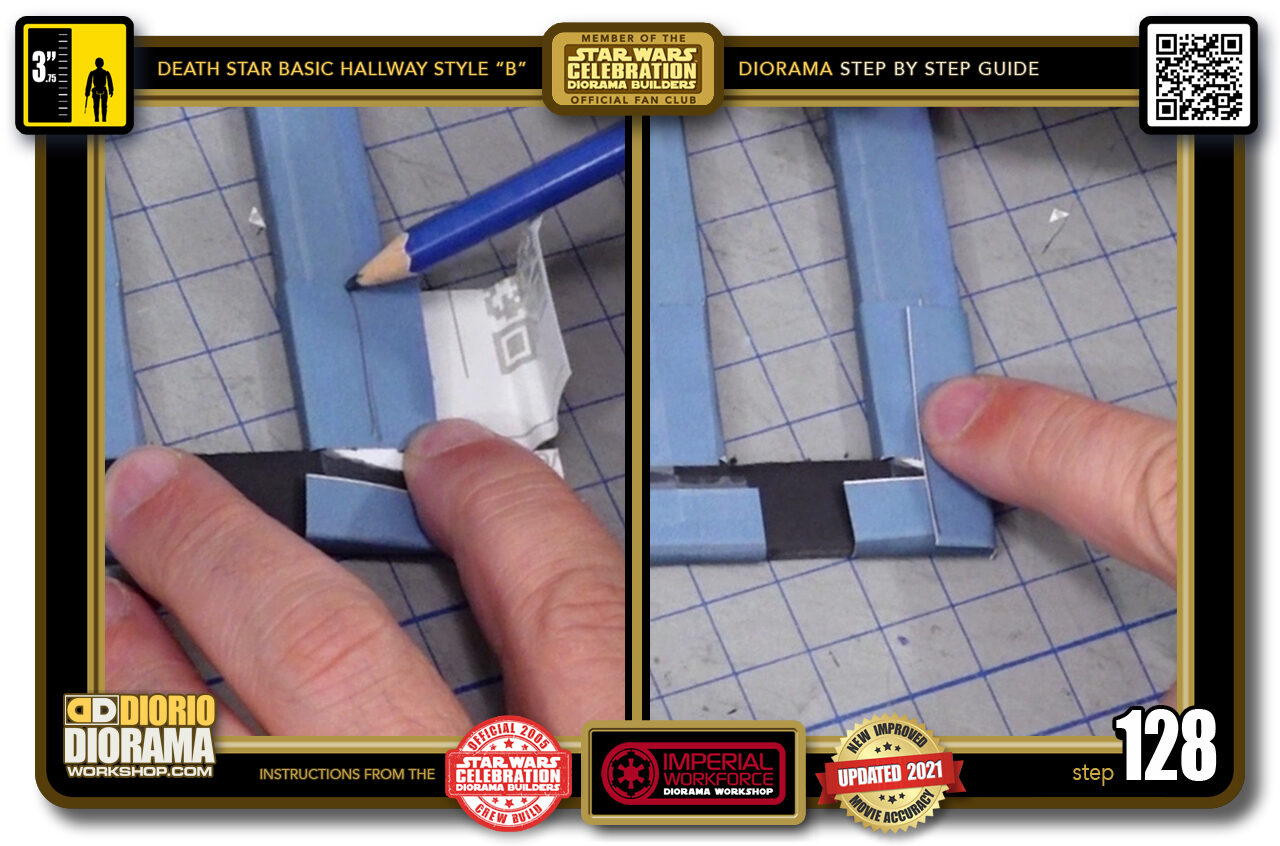
- STEP 128 > Now we repeat the same technique for the other side. Make a mark half way or so on the inside bend and fold the outside over and mark that around the centre as well (left photo) once both end excesses are trimmed off your piece looks like this folded over (right side)
-
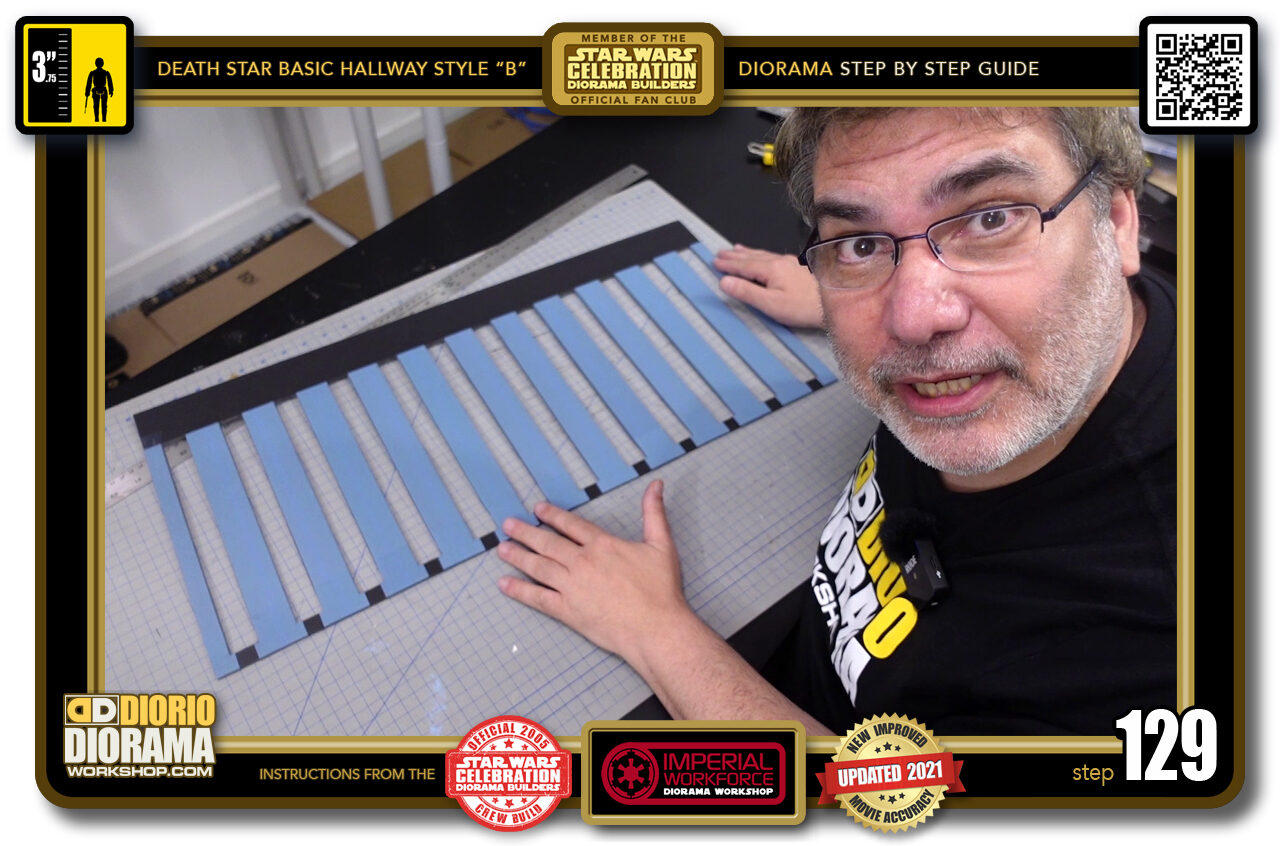
- STEP 129 > The front of the diorama beams is complete. Now we can move onto the rear of the beams.
-
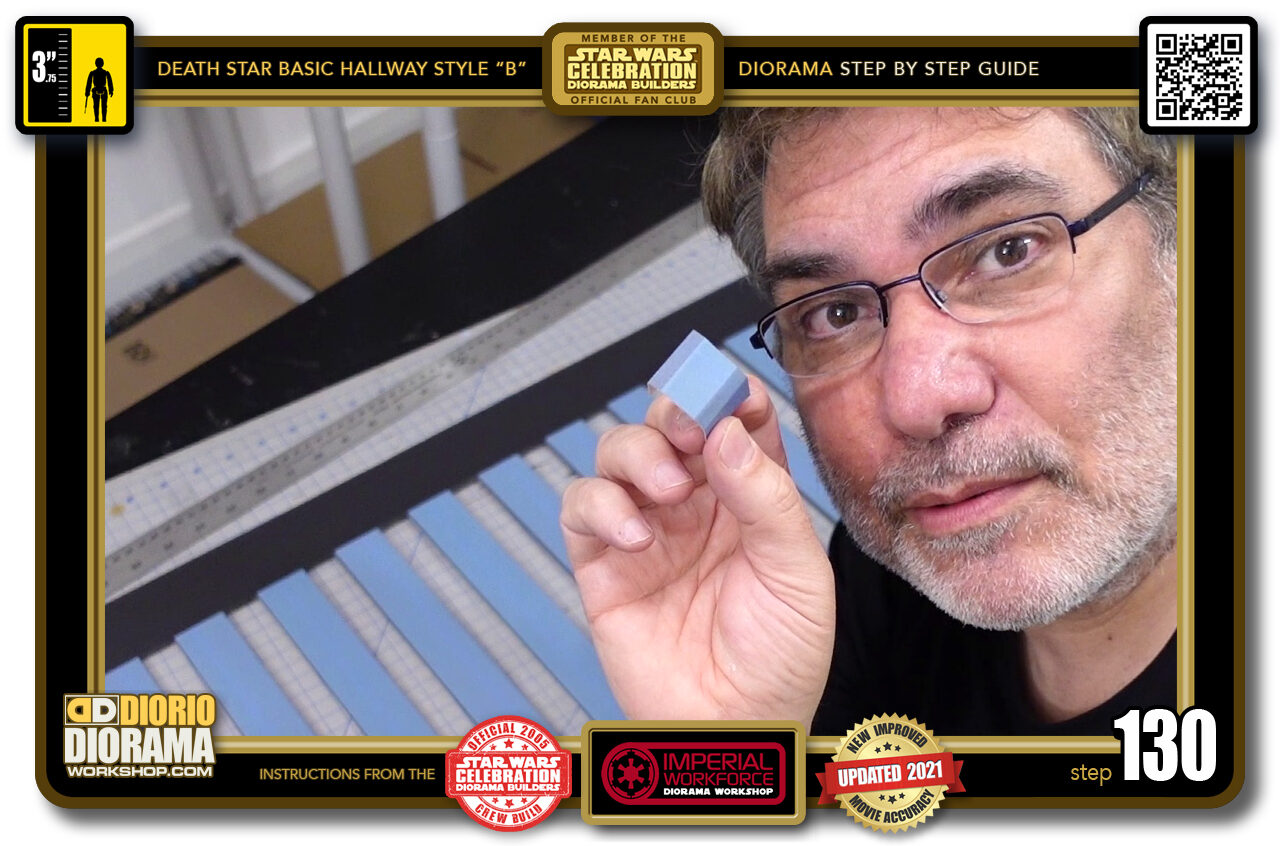
- STEP 130 > This is where your small decal skins come to play.
-

- STEP 131 > Do a DRY RUN to begin so you can make sure the decal fits snug between the 2 beams. If you need to, take scissors and do a slight trim to make it fit without forcing it so much you get folds (left image) Peel your decal (middle image) and align the DARK folding guides with the edges of the foamcore and fold over on each side (right image).
-
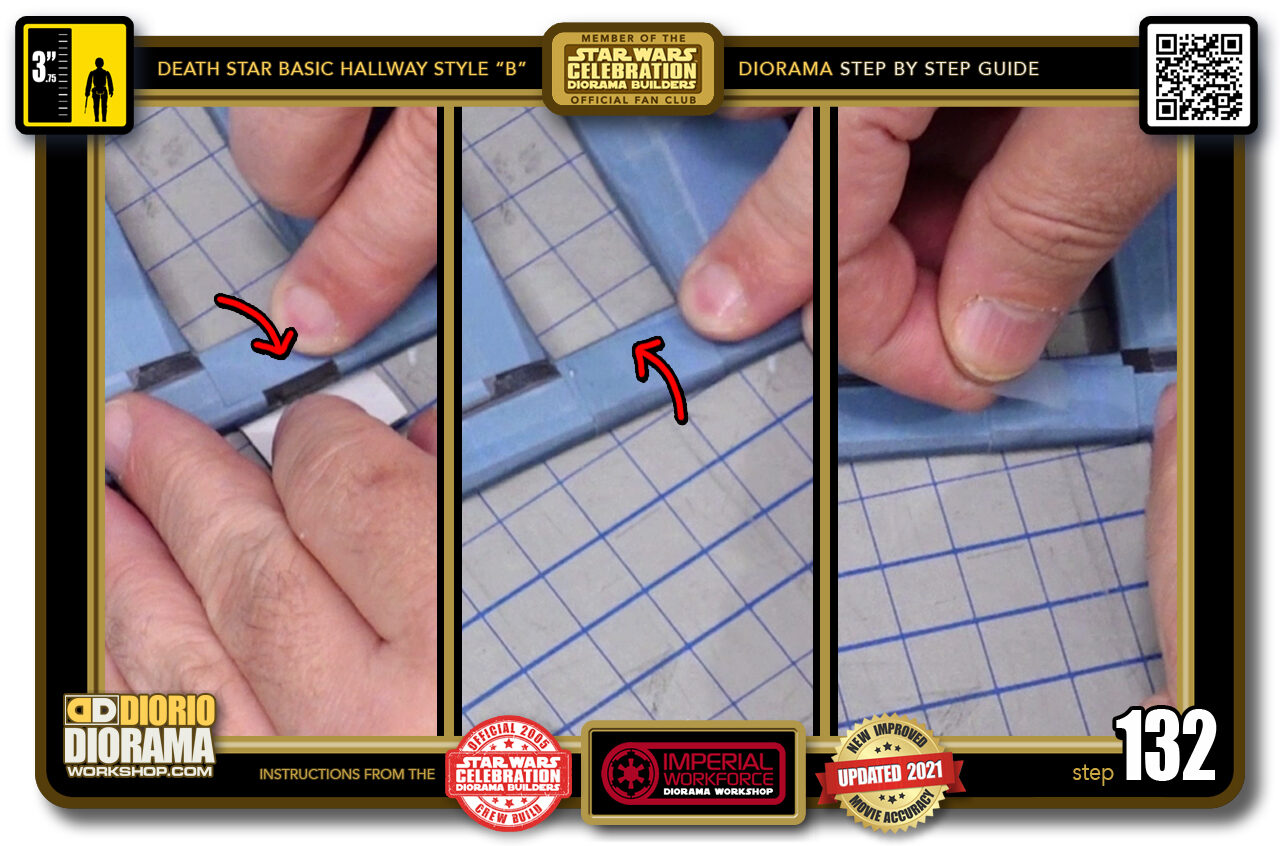
- STEP 132 > Gently flip the ceiling beack once again on it's front, pull and fold one flap onto the foamcore surface (left image) Pull and press down the other side on top of the first flap (centre image) Then place a small piece of Scotch Tape along the seam.
-
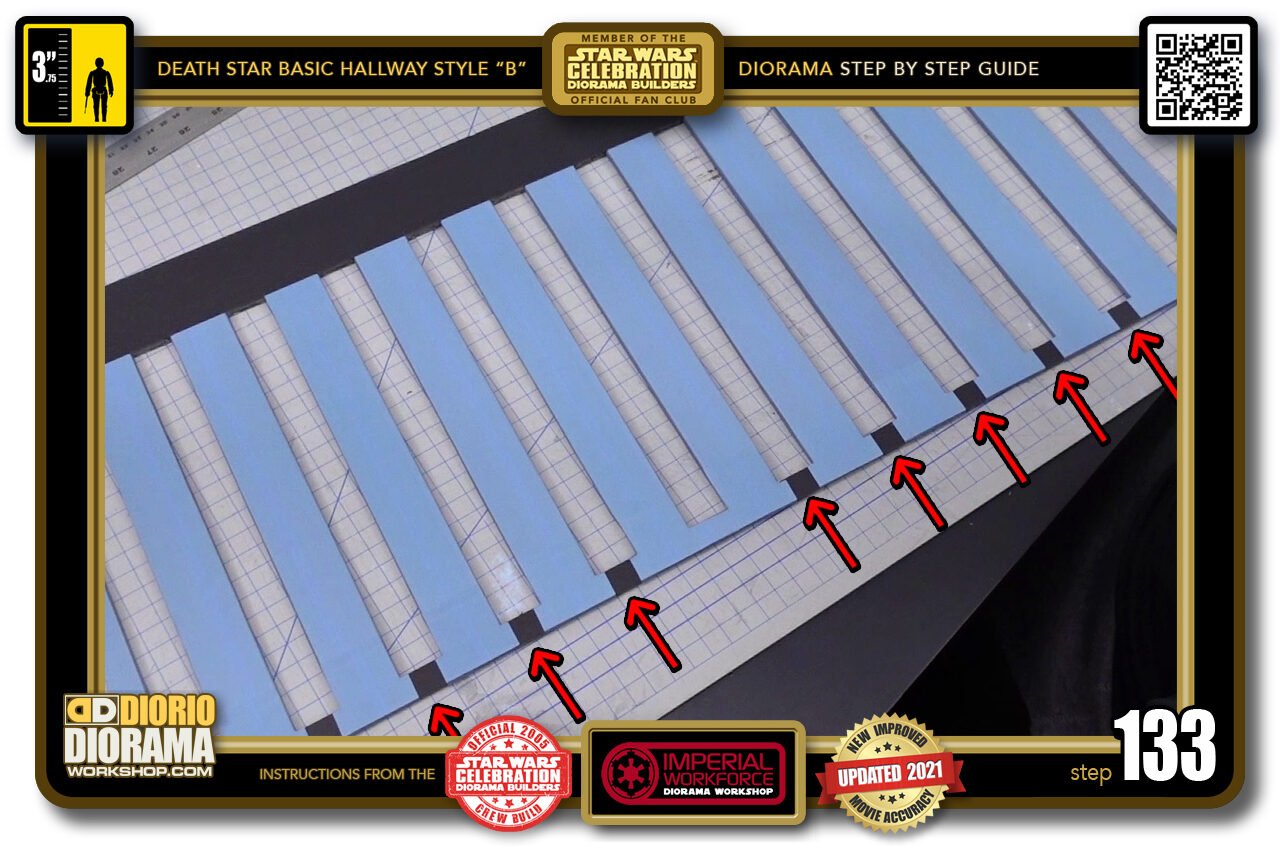
- STEP 133 > Now we just have to repeat on the other rear gaps so that they all hide the black foamcore.
-
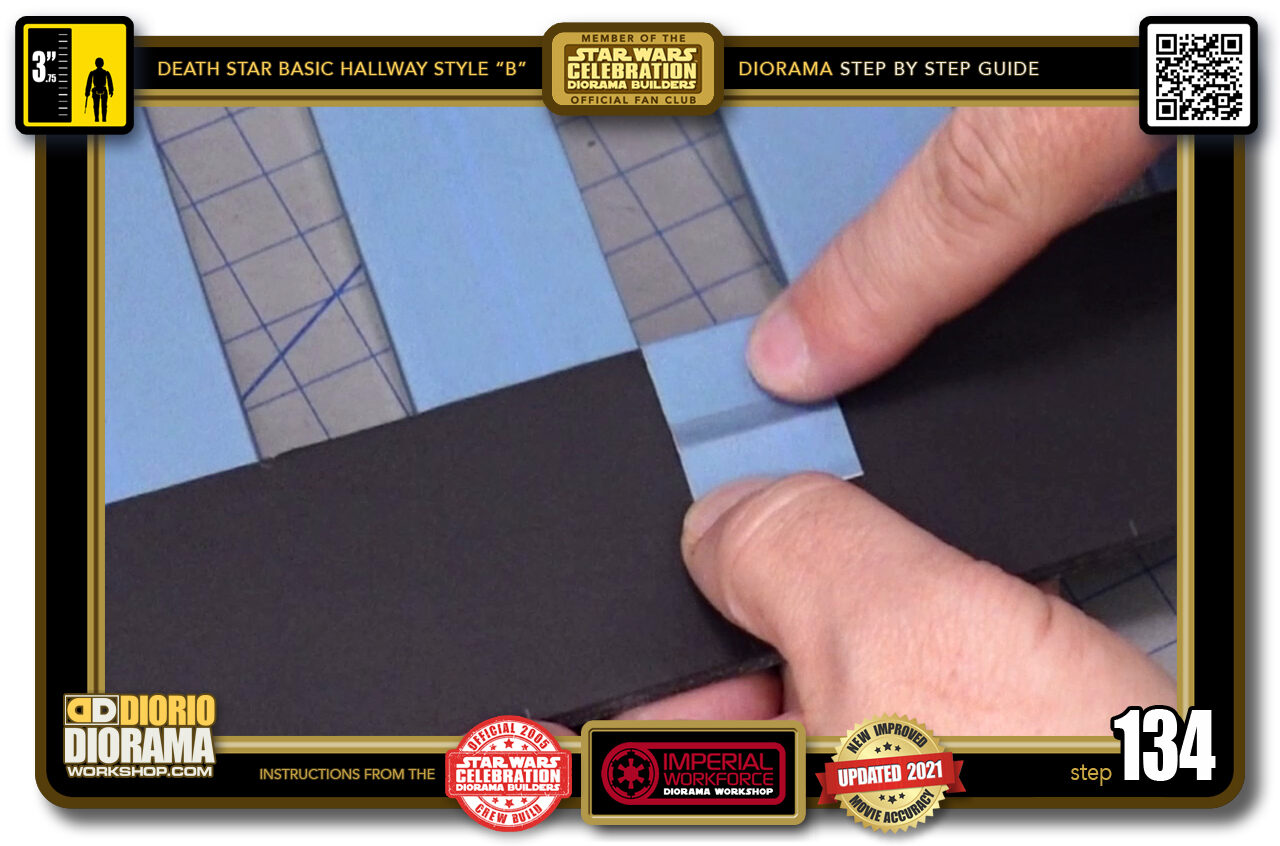
- STEP 134 > For the opposite end, the rear of the beam is too wide for the decal to wrap around on both sides like it did in the front. That's ok, The trick here is to Align in inner DARK folding guide with the inner gap and then fold over the other side flat along the surface like you see here. Gently flip the ceiling onto it fron and secure the inner flap to the rear of the ceiling as well as it's Scotch Tape like we did for the others.
-
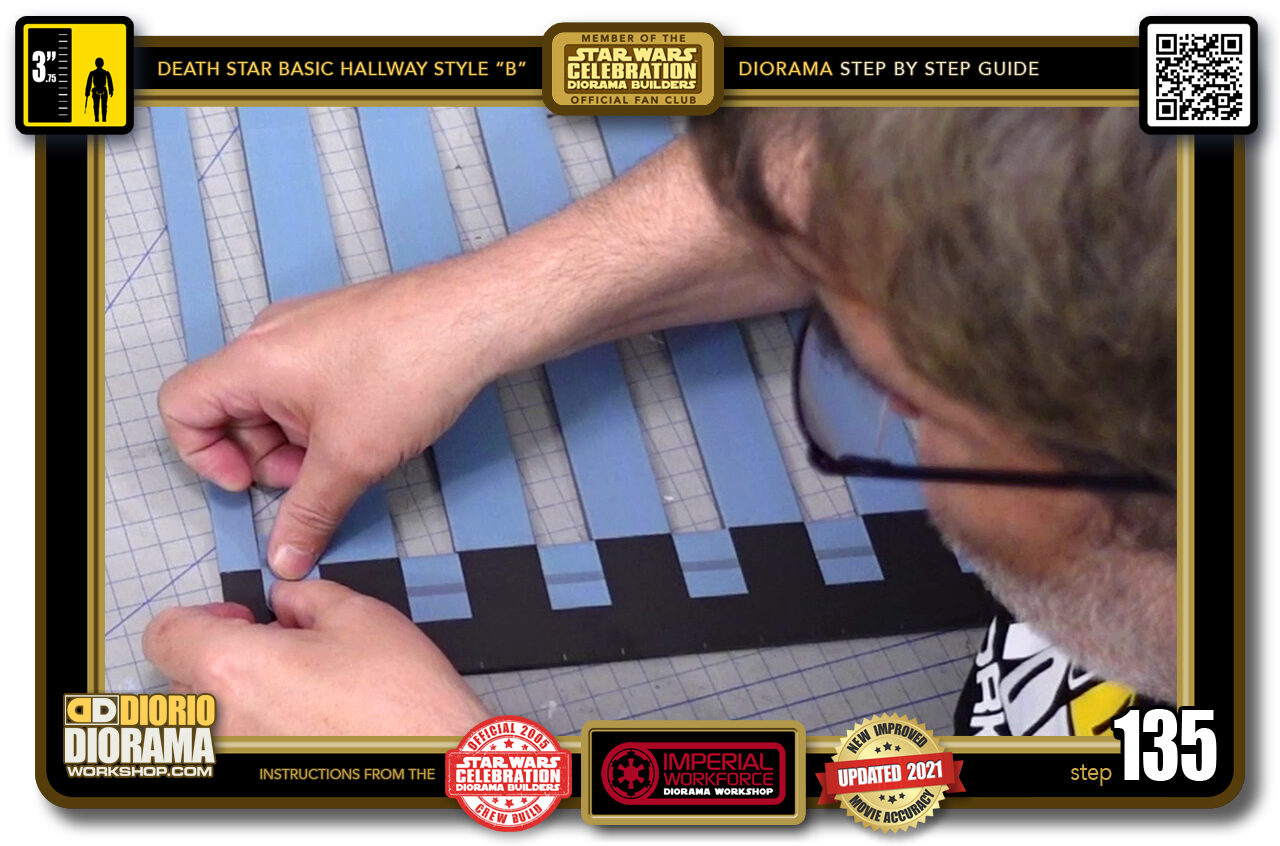
- STEP 135 > Repeat this on all other beams.
-
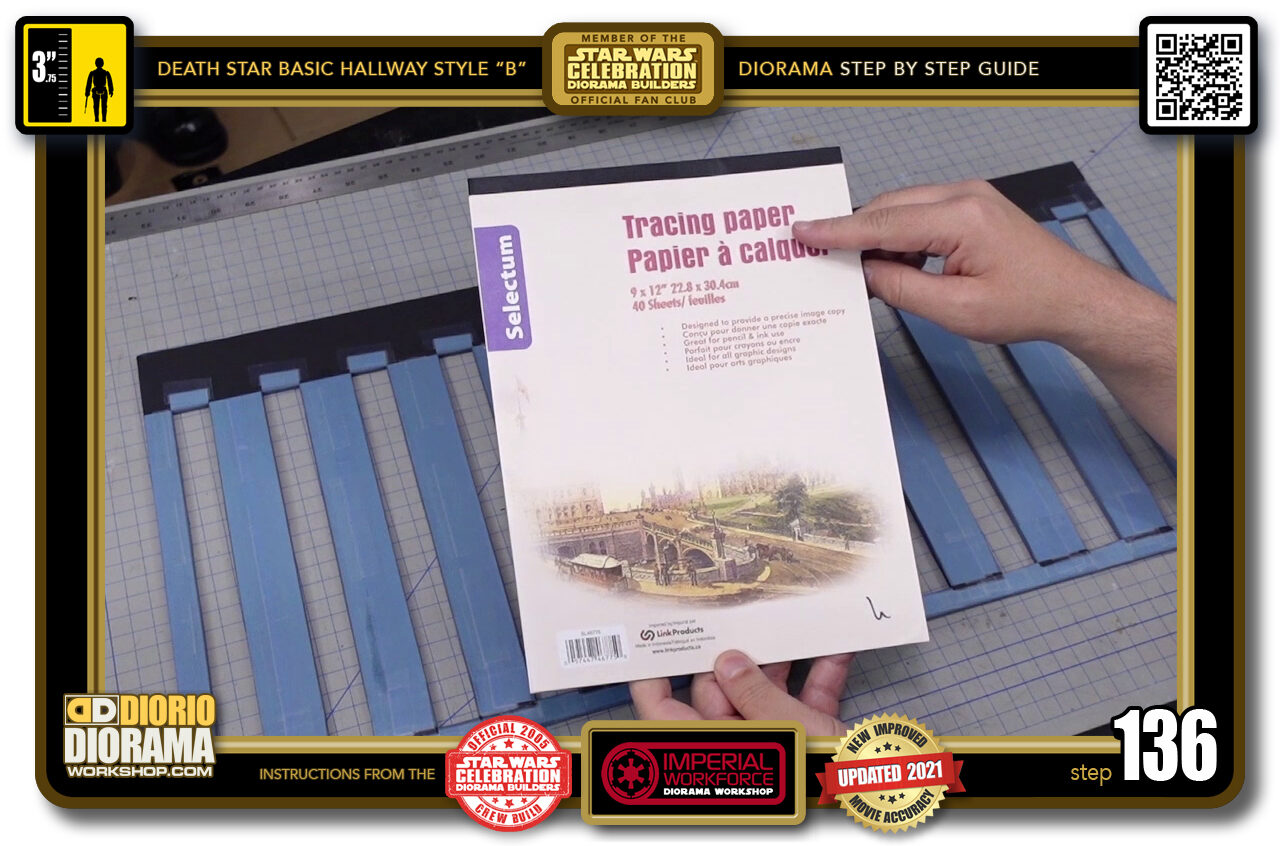
- STEP 136 > Time to apply the ceiling tracing paper sheets that will difuse the LED lights and make your diorama look exactly like the moovie set. Tracing paper is VERY FRAGILE so from this point on, take your time, you don't want to create a tear the paper.
-
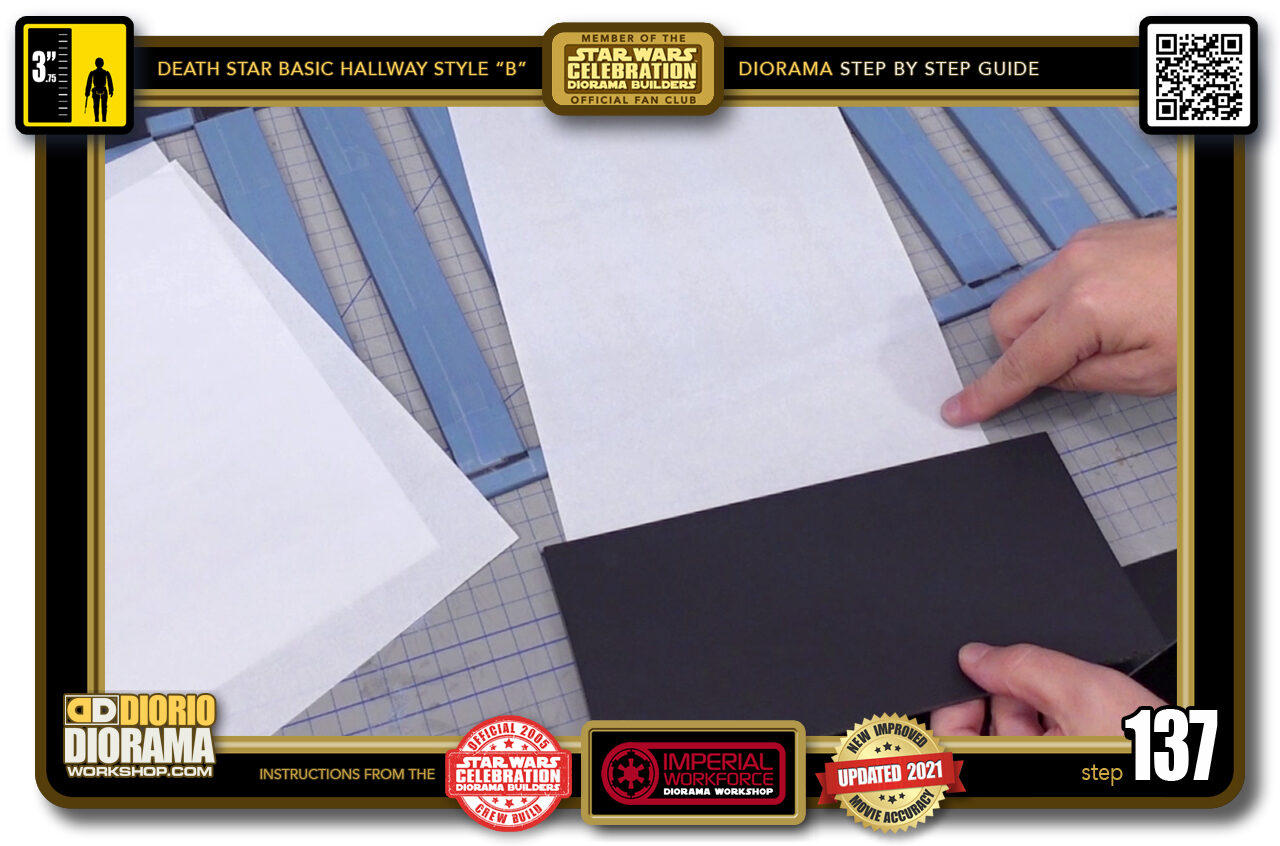
- STEP 137 > To apply it properly, you want to find a scrap of foamcore that is WIDER than the sheet of paper.
-
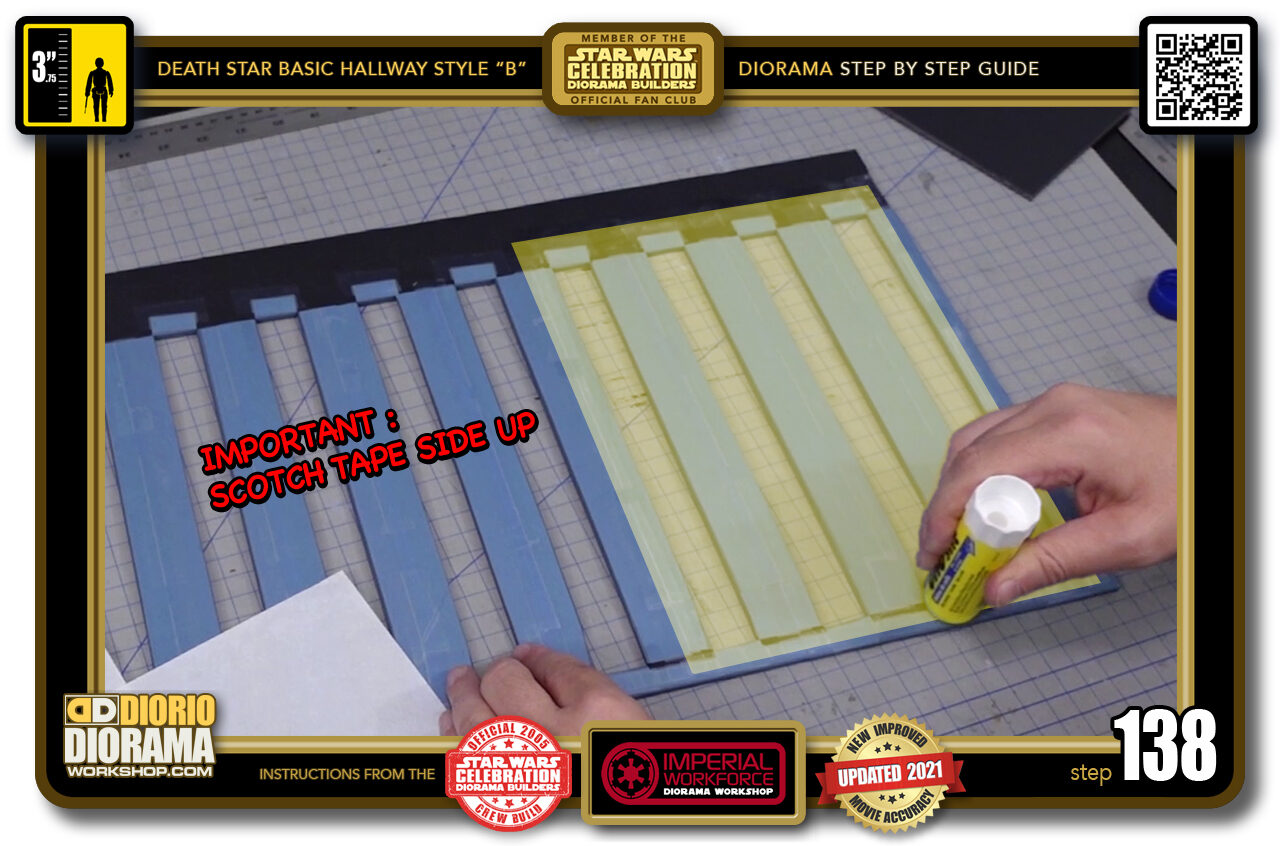
- STEP 138 > One sheet fits over the yellow zone seen here. Apply generous amounts of gluestick on the SCOTCH TAPE SIDE of the decals. NEVER EVER USE HOT GLUE for attaching these sheets.
-
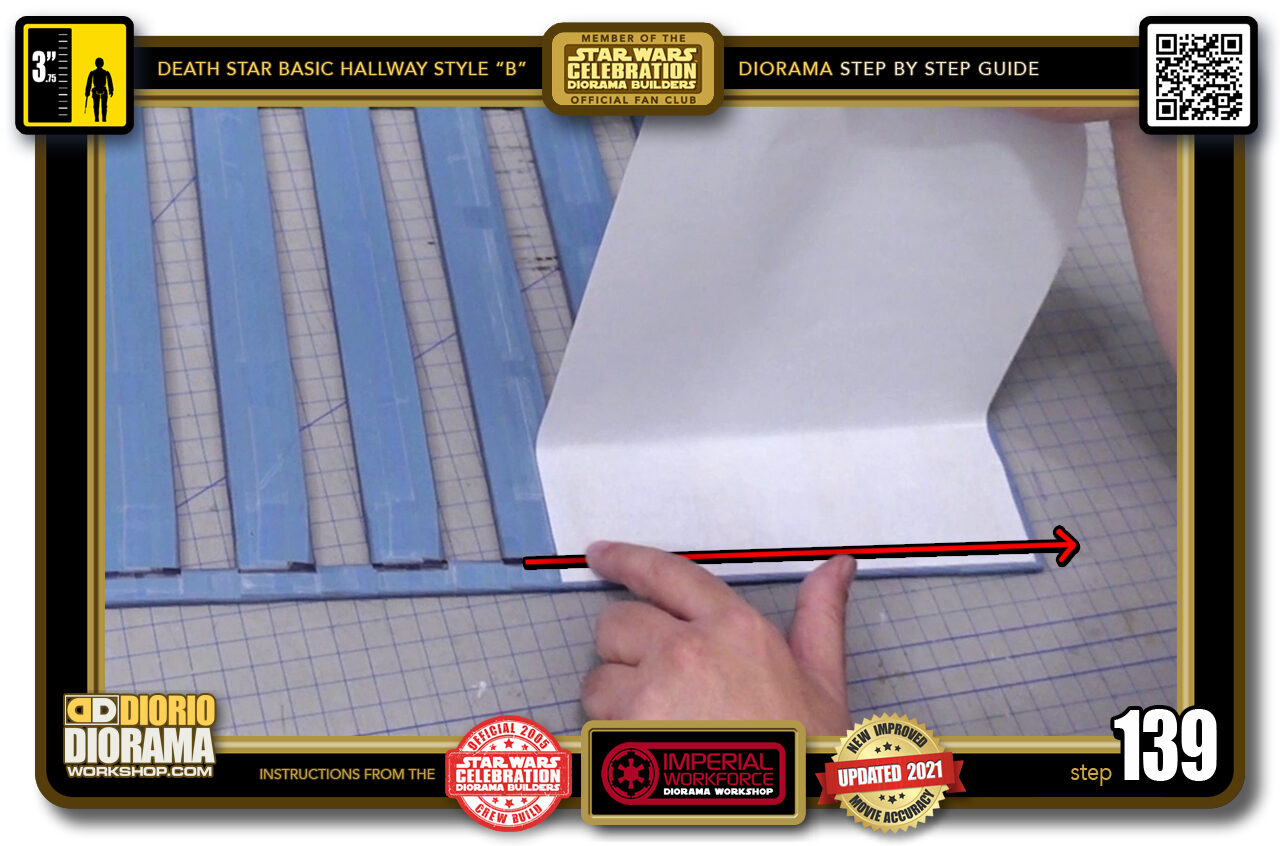
- STEP 139 > Now you want to hold the paper UP and lower it slowly at the front keeping it aligned flush with the foamcore beam. When happy, gently press your finger on left corner and swipe all the way to the right along the FRONT BEAM ONLY. This will keep the paper from losing it's alignment. KEEP THE REAR of the paper HIGH UP.
-
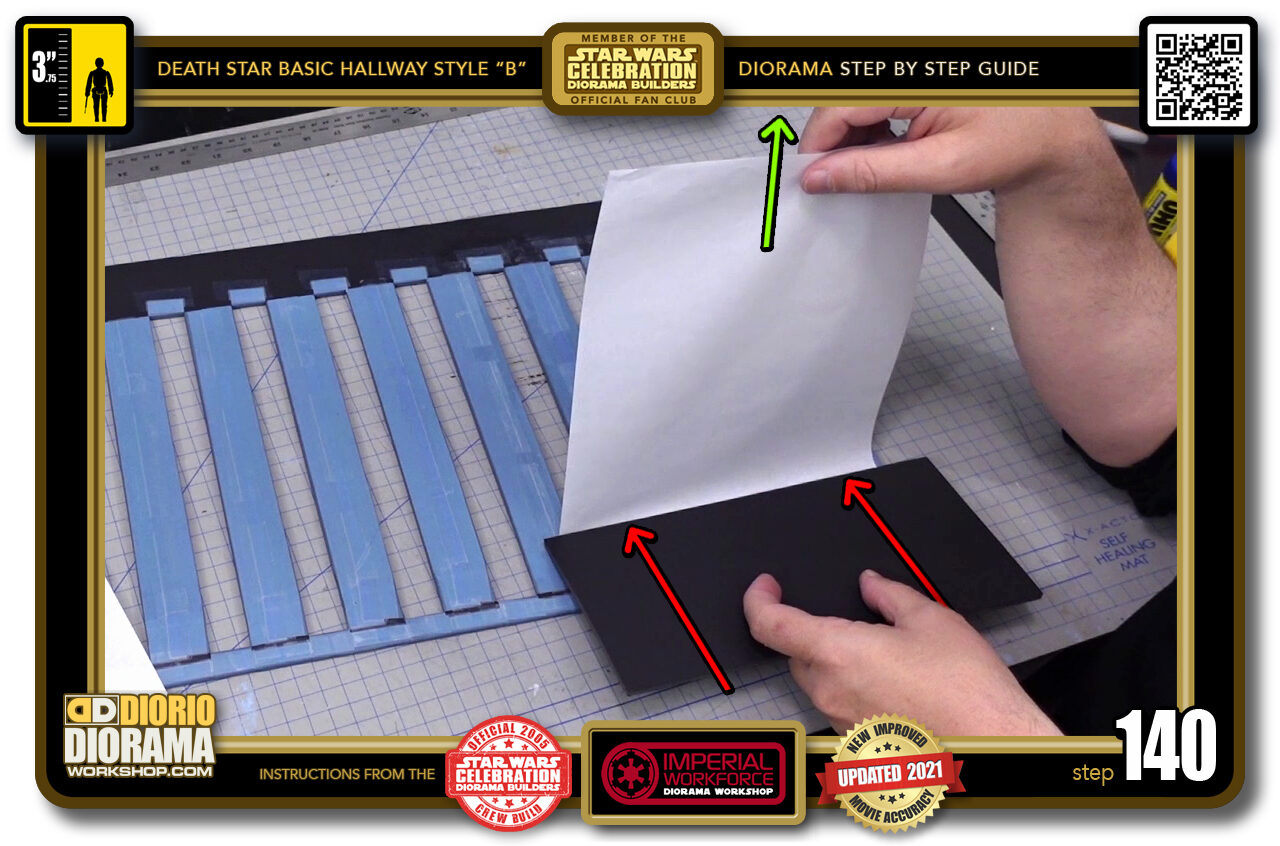
- STEP 140 > Now grab your scrap foamcore and place it at a slight angle against the area of the paper you just pressed into place. KEEP THE REAR of your sheet UP. You DON'T want it to touch the ceiling just yet.
.
Did you already build this Diorama ? At home or at our Star Wars Celebration Diorama Builders workshop ? Would you like to show it in the site’s GALLERY VISITORS DIORAMAS section, YES ? That is Awesome !!! You can find out all the details on how to email me your photos on the VISITORS SUBMISSIONS INFO page … When I get your photos, I will create your very own page just like this one. You may not realize it but work does inspire others to join in the fun of making Action Figure Dioramas.
.
NOT FOR RESALE ALL Decals, tutorials and artwork are ©FrankDiorio (dioramaworkshop.com) and offered FOR FREE to the fans – that would be you ? so you can build and display my diorama designs in your very own home. I realize I cannot control what one does with my graphics once I place them on the web, I can only ask you as one fan to another, please respect the artist and do not be that jerk who uses my designs and tutorials to build a copy of my work only to sell it on EBAY or trade/sale groups and forums. Thank You. Frank.
.

.
.
If you have a facebook account, why not join the Official Diorama Builders Fan Club today, simply click the logo link below.
 .
.
Catch up with fellow visitors and exchange stories, read cool interviews with the crew, exchange photos, fun surprises and grab some FAN ONLY merchandise next year at actual future conventions ?
.
©2021 Frank Diorio DioramaWorkshop.Com
.
IF YOU LIKE WHAT YOU SEE, PLEASE SHARE WITH YOUR FRIENDS
USING THE SOCIAL MEDIA BUTTONS BELOW