


-
-
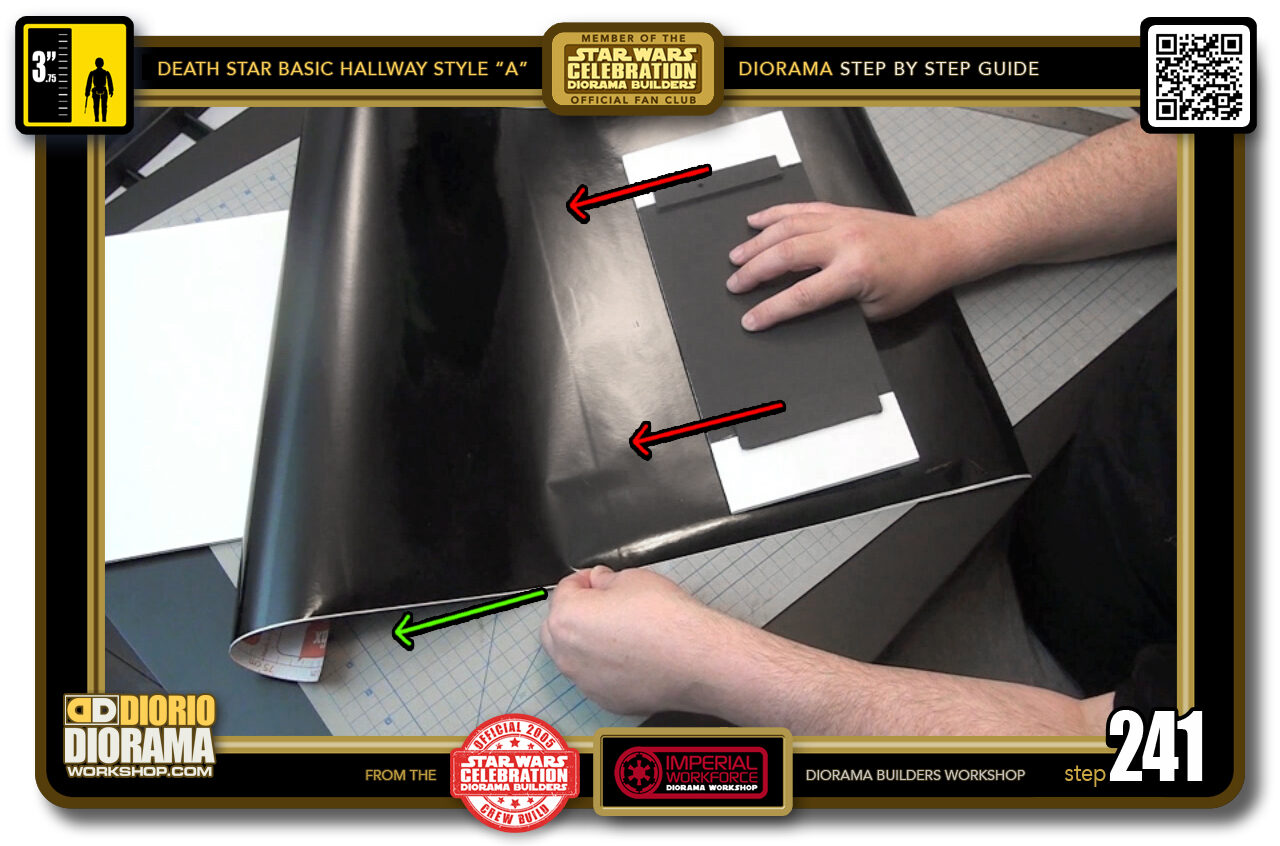
STEP 241 > What we will be doing is in small steps. You are going to PULL/PEEL the wax backing paper 7-8 inches and then move the foamcore scrap piece UP pressing down on the floor until it reaches where you stopped pealing. the wax backing will act as a stopper and block the scrap from moving past it. Then Peal, move, peal, move.
IMPORTANT : you need to have a CLEAN STRAIGHT CUT on your scrap and try to push it as level with the bottom floor ends. Parallel that is.
-

-
STEP 242 > TAKE YOUR TIME on the application, once the vinyl touches the foamcore you won't be able to peel it off easily if you made a mistake. Plus doing so will add tons of creases and folds and ruin the perfect shiny floor we need to make it look like the movie.
Begin by peeling back 4-5 inches all the way across.
-

- STEP 243 > This step is CRITICAL so TAKE YOUR TIME. Start by lifting the vinyl high enough not to touch the foamcore surface and start pulling it over the floor's end (left box) almost like pulling a blanket at night going to bed. Now lower it carefully and gently so that if you do need to wiggle it, contact is still at a minimal. Try to make sure the vinyl end is lined up parallel with the floor end (green dotted line in the centre box). When you are satisfied it is placed correctly, press down with your hand from the centre outwards, back to centre and out to the opposite side (right box).
-
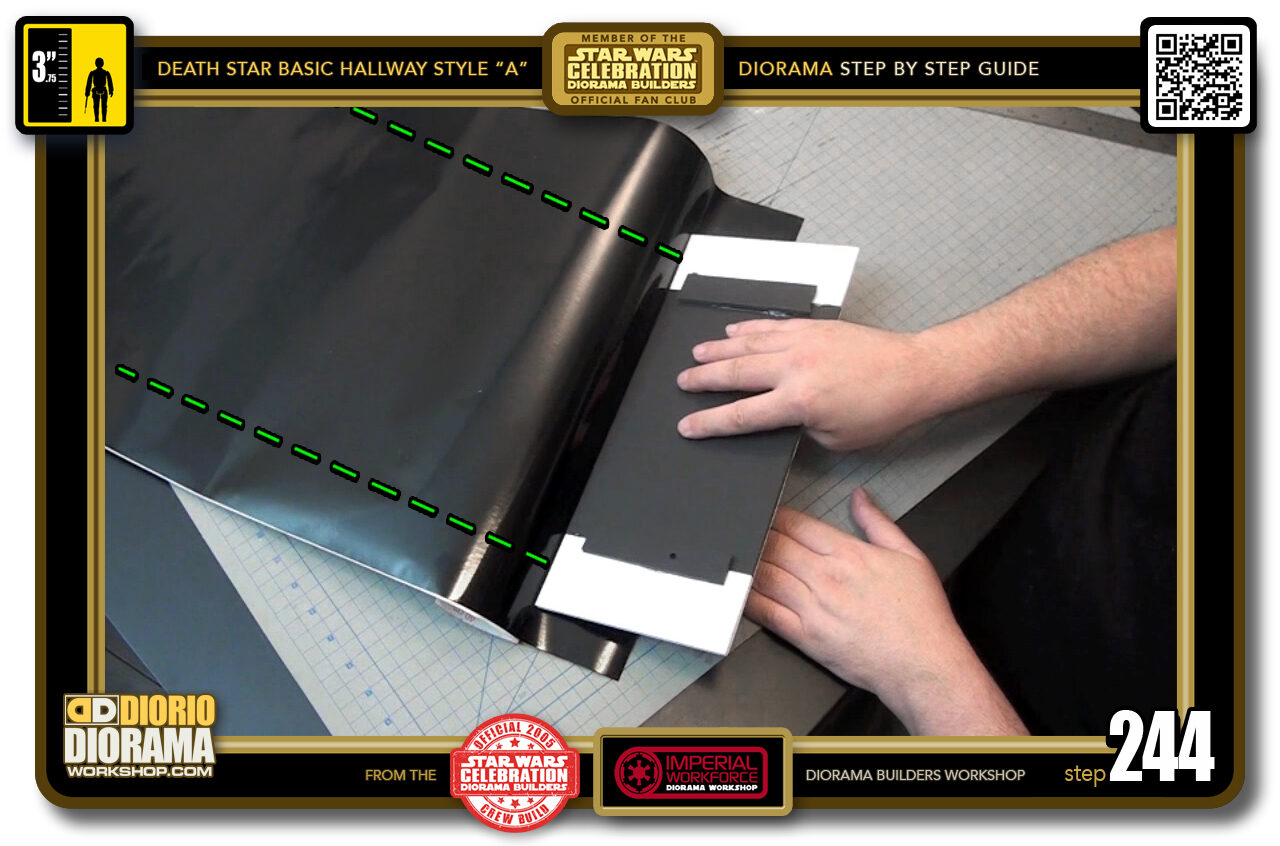
- STEP 244 > Now is the time to grab your scrap foamcore pusher. I don't really know what to call it LOL. Press down from the start of your floor and move your way UP until it stops automatically when you reach the end of where you peeled the wax backing. The green dotted lines represent the width of the floor itself. We want to stay in this lane and avoid the vinyl to steer off of it.
-

- STEP 245 > After this first push, you can lift your scrap if you want to examine that the vinyl is as flat and clean as can be. Here I discovered a BUMP caused by DIRT 🙁
-
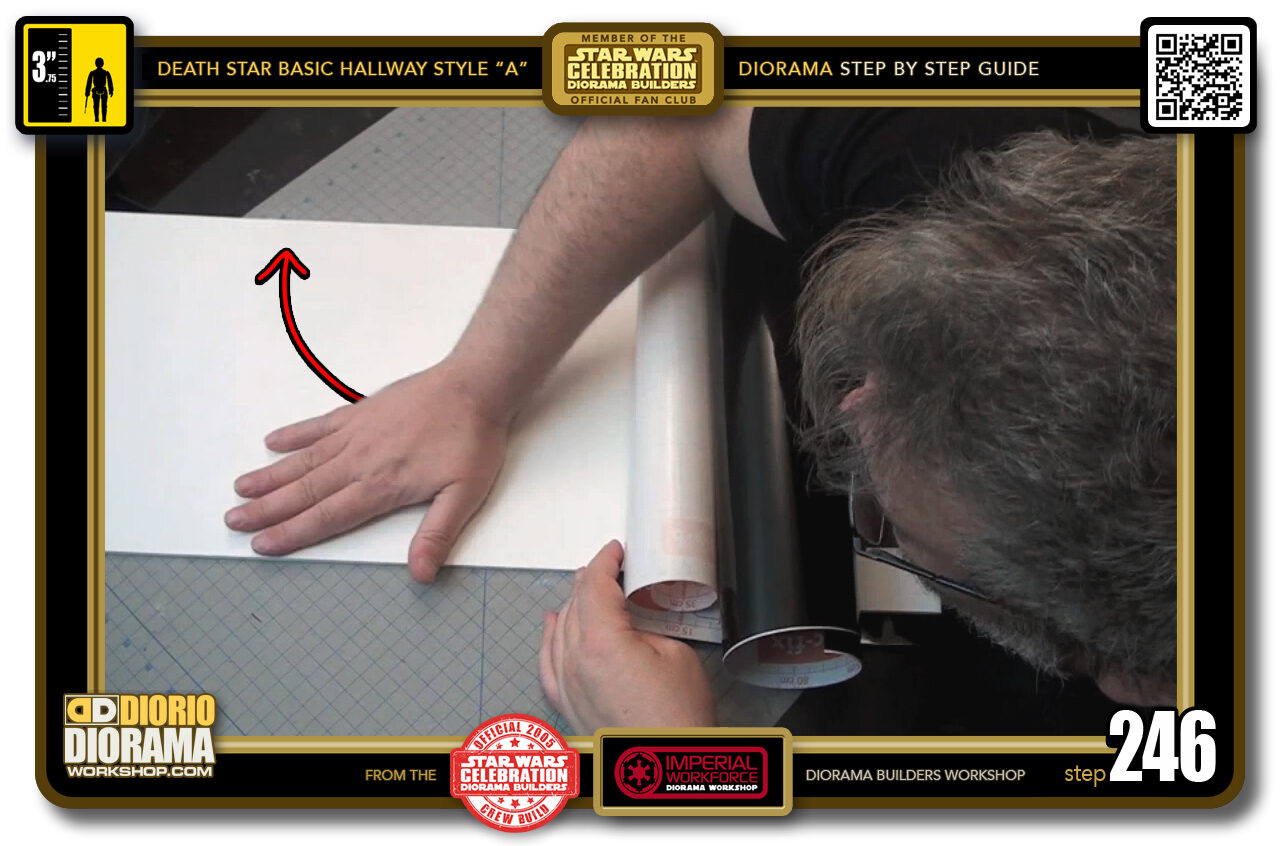
- STEP 246 > Make sure your floor surface is TOTALLY CLEAN before you apply your vinyl or you risk making the same stupid mistake I did. I will have to place a mouse droid over the bump to hide it 😛
-
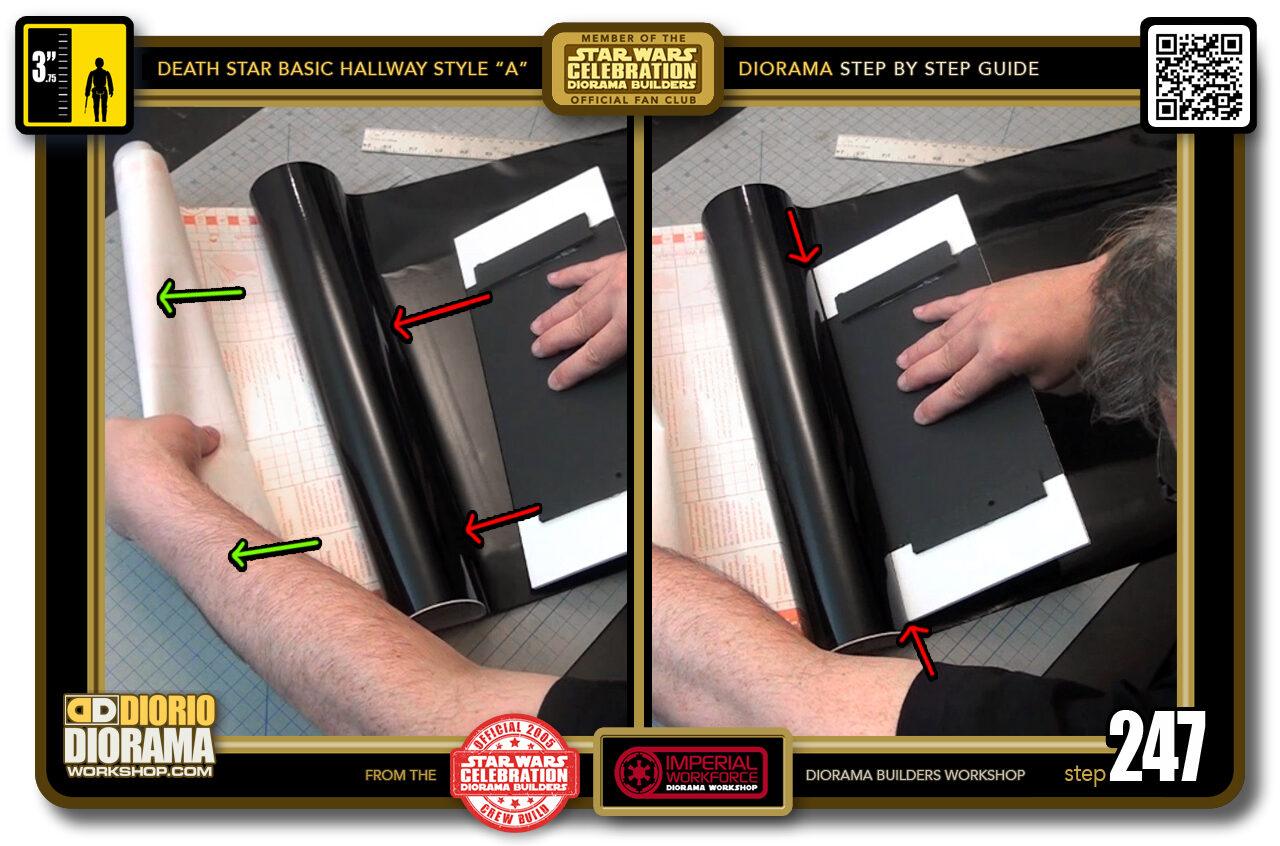
- STEP 247 > All the dust removed it is safe to continue. Peel a few inches, push the scrap up until it stops, peel some more, push and stop again. Continue this until you completely peel the wax backing and your scrap falls off the edge of the end of your floor.
-
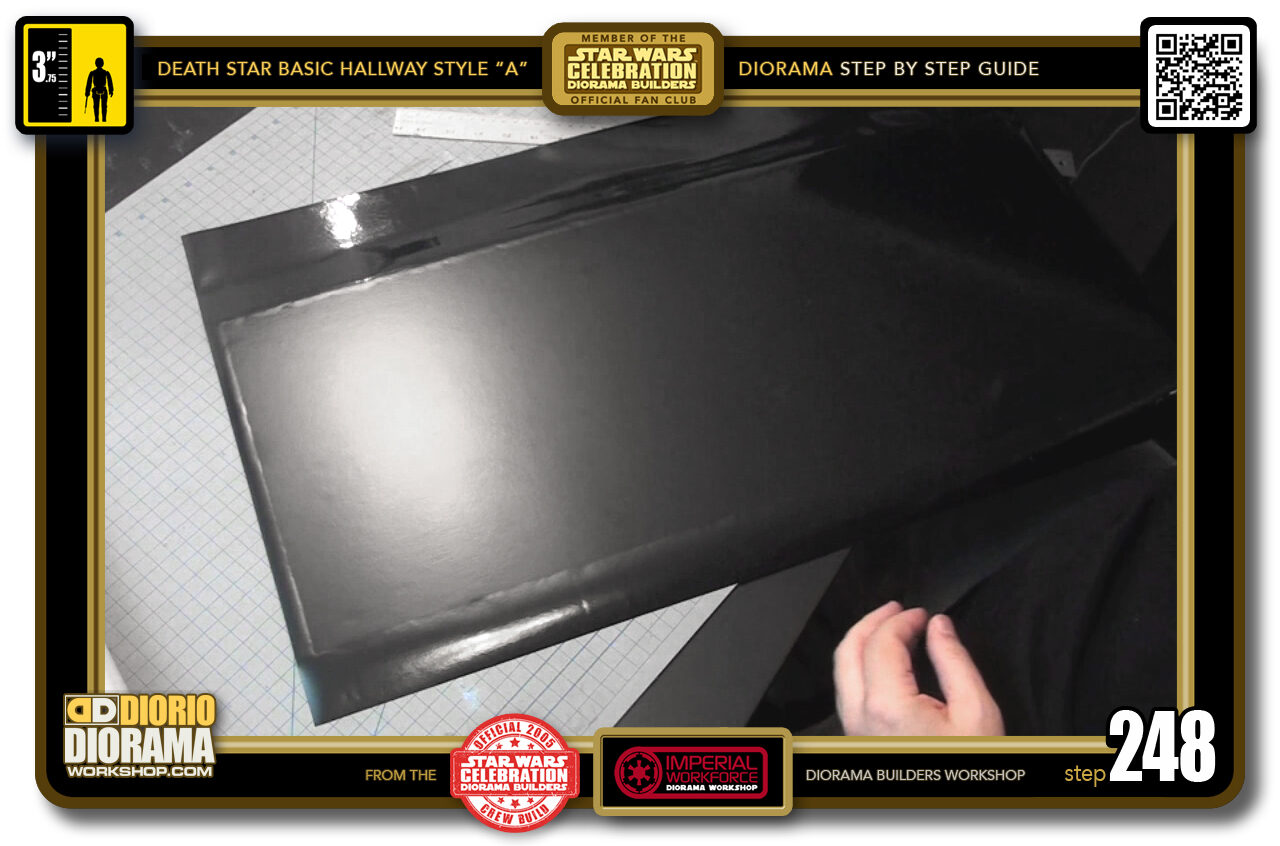
- STEP 248 > We have a nice clean floor clear of bumps and creases. Time to trim off the excess.
-
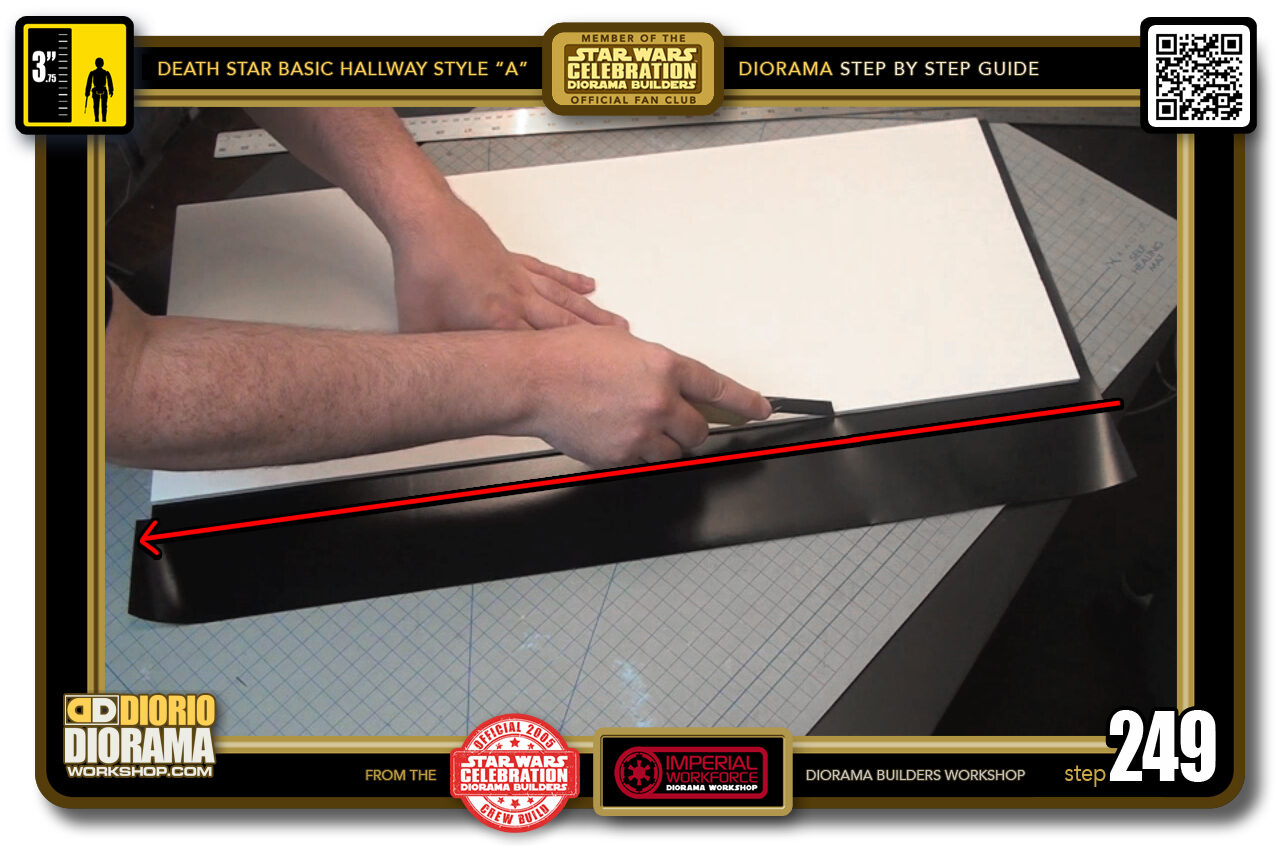
- STEP 249 > Flip your floor to expose it's underside which will have the sticky vinyl excess now facing the top. Grab your X-Acto knife, Now is a good time for a fresh blade, and trim around all 4 sides. Let the floor foamcore edge guide your blade. If you feel more at ease placing a ruler to guide you, you can do that as well.
-
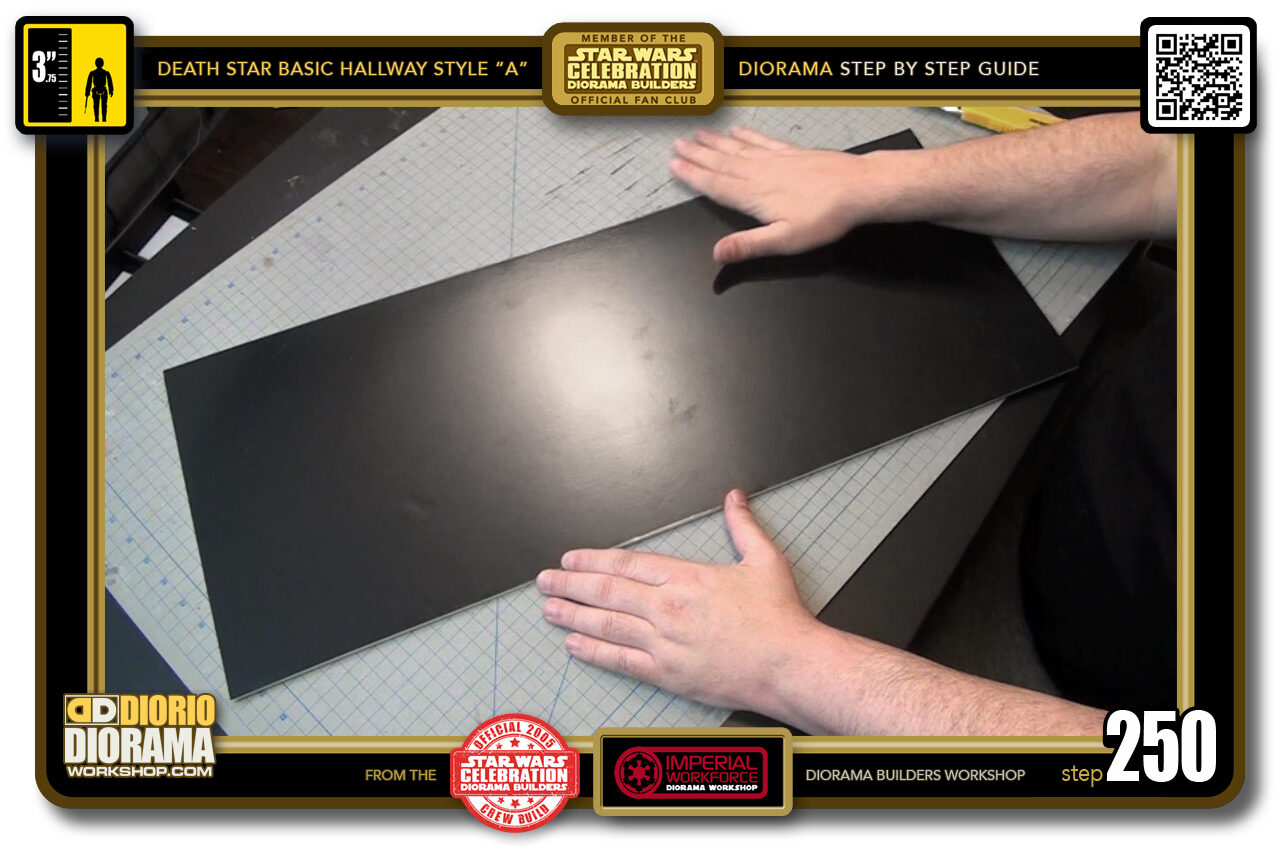
- STEP 250 > Our floor is all trimed and looking SWEET 🙂
-
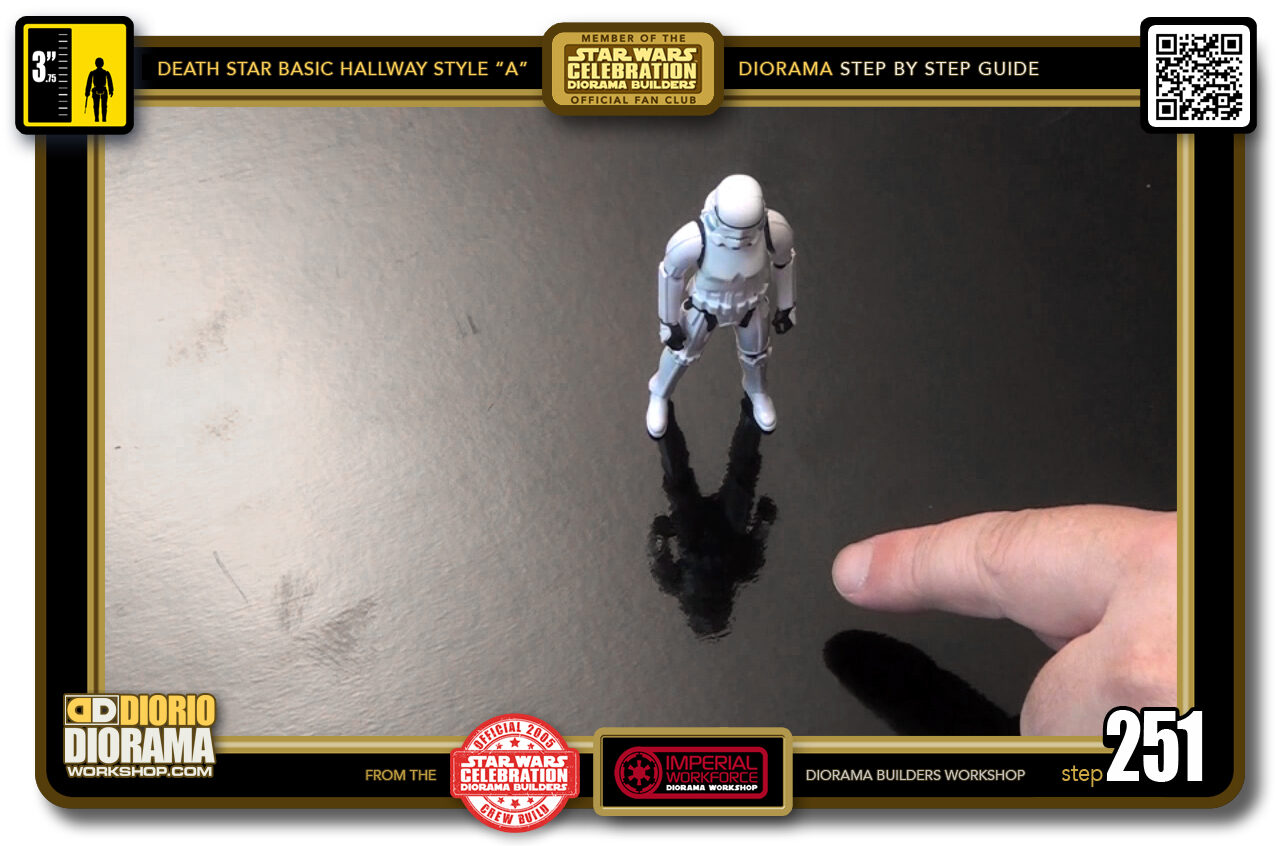
- STEP 251 > Just look at that super black gloss reflection 🙂 Just like in the movie. Put your floor aside for now, it's time to make the rear wall.
-

- STEP 252 > Grab your rear wall 15 cm x 72 cm foamcore. Your width could be different if you had to change it for your smaller shelf.
-
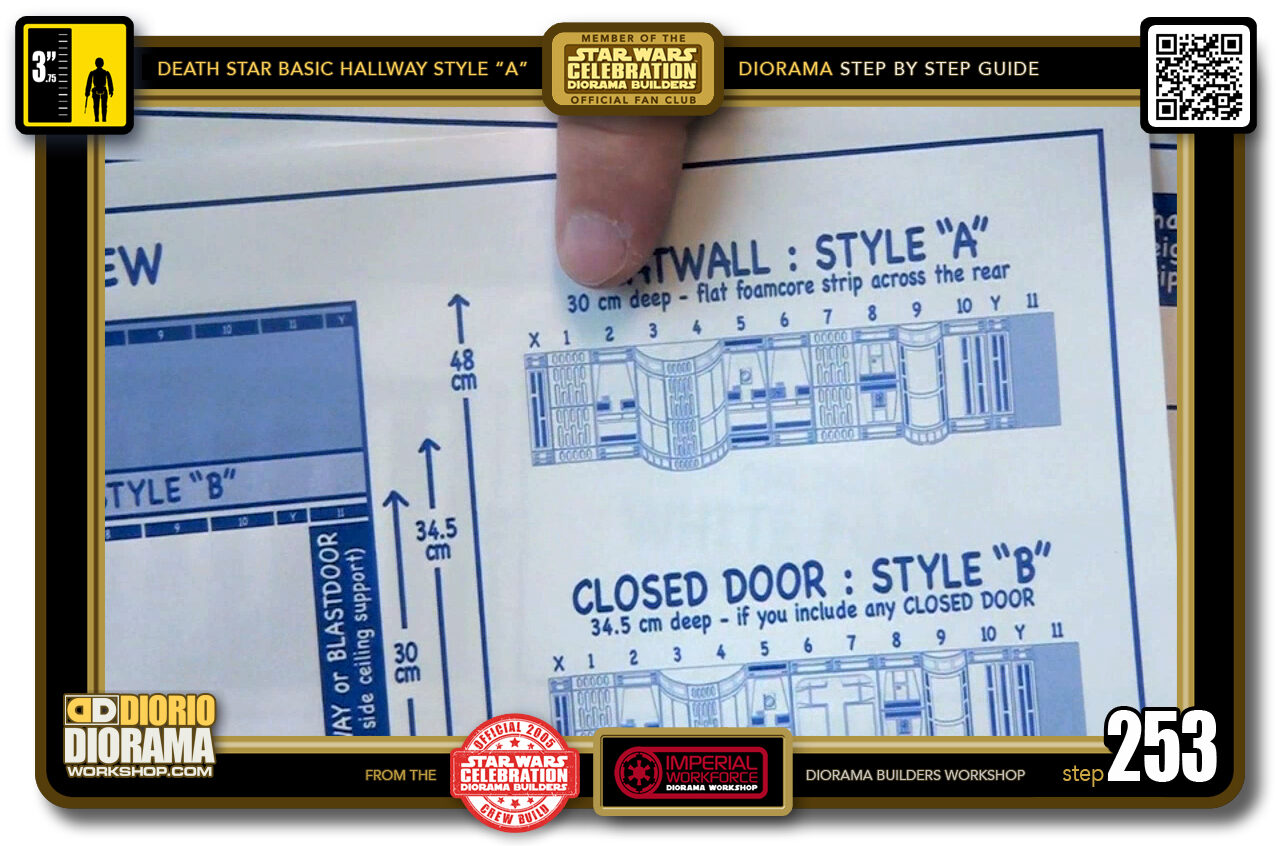
- STEP 253 > We are doing Style "A" so I will be following this guide for what decals to use and where to place them. The most important thing you will notice, is that the first wall panel is a HALF panel. This is VERY IMPORTANT.
-
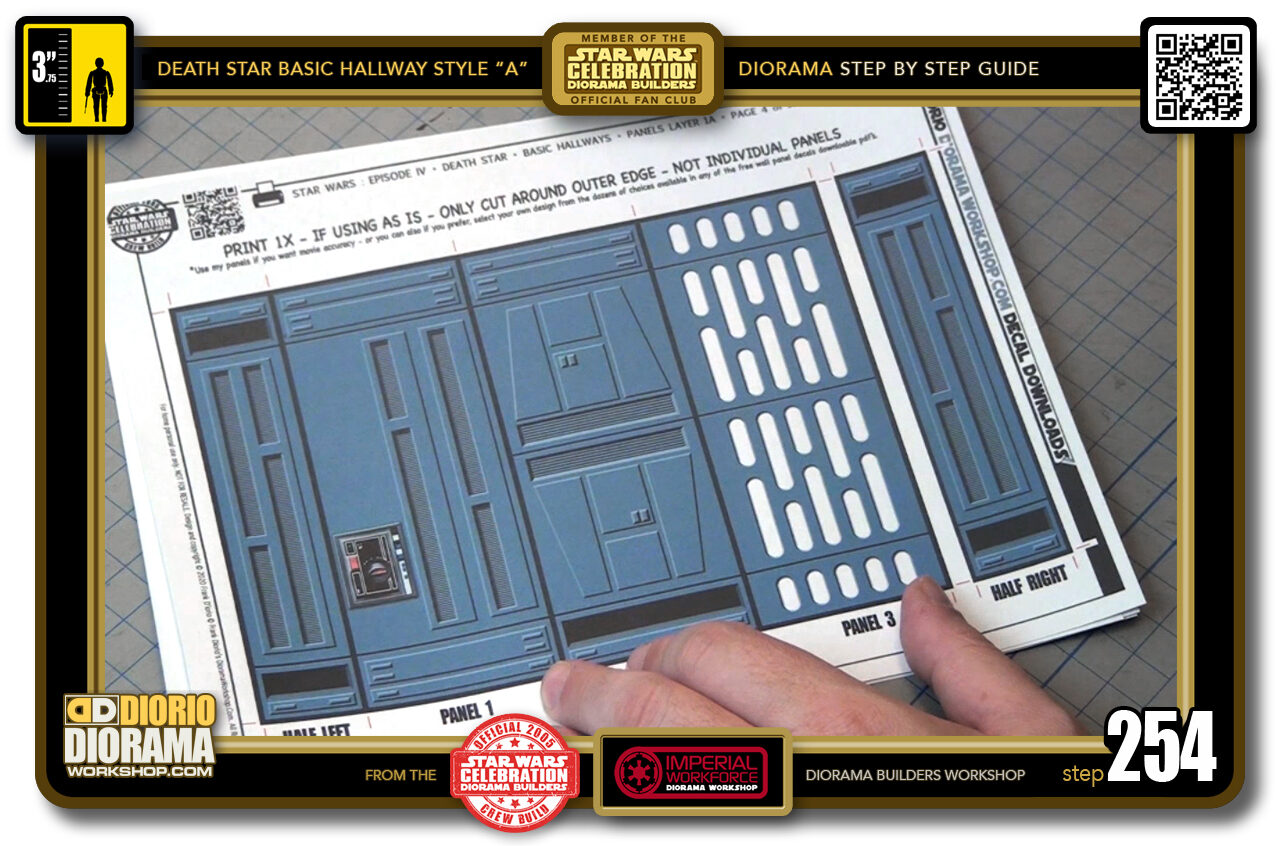
- STEP 254 > On my sheet the half wall panel is already in it's proper position. The half panel on the right of the decal sheet will need to be cut out and placed at the far end of your wall later on.
-
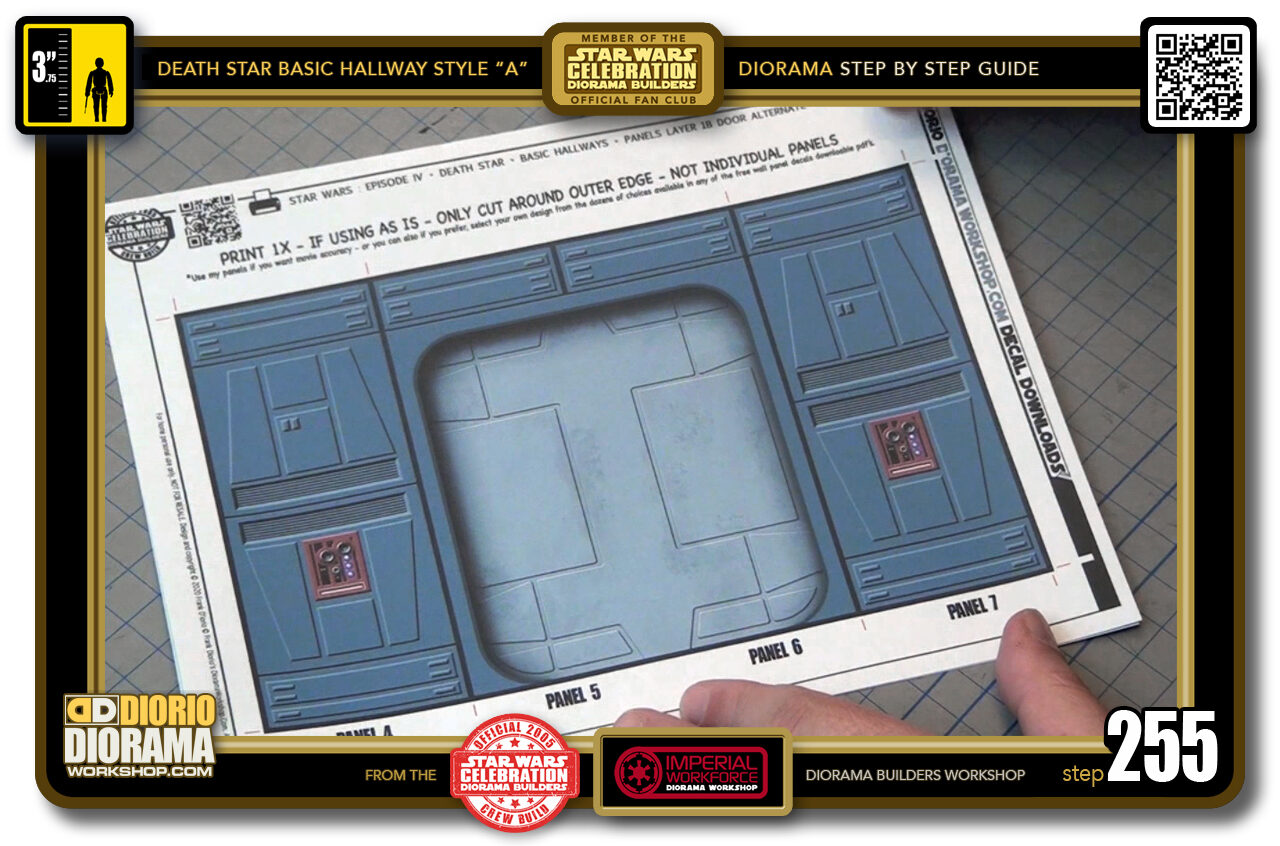
- STEP 255 > I decided to place a door in my diorama. I could use a real 3 dimensional Basic Door - instructions available in a separate making of - if building the Style "B" or "C" basic hallway but since we are doing the Style "A" hallway, which is the simplest of the 3 with just a flat rear wall, I will use my decal version that gives the illusion of being 3D but remaining flat against the wall like the other wall panel decals.
-
-
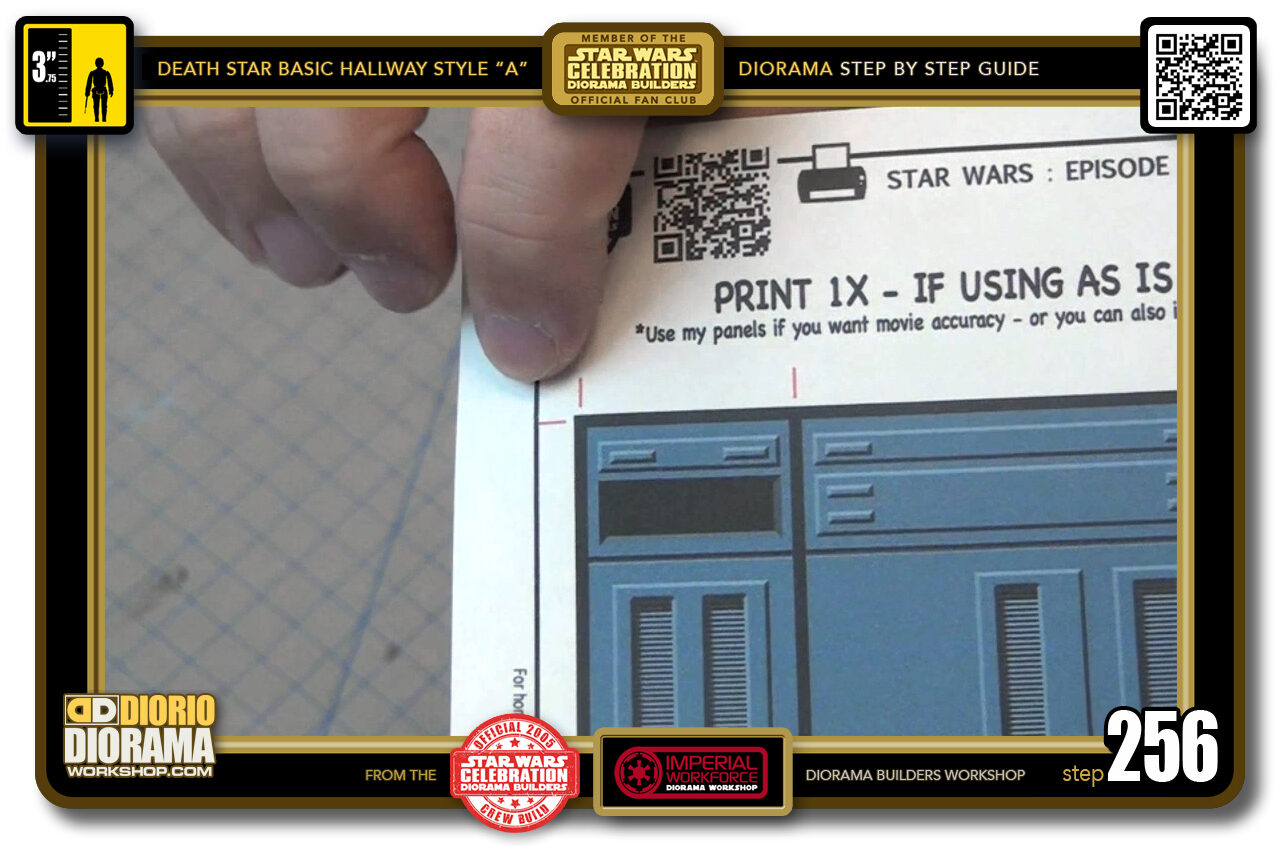
STEP 256 > As in most of my decals, you will notice red cutting guides to help you cut perfectly in the decals bleed.
FRANK'S NOTE : If you aren't familiar with what a bleed is, its a colour excess that goes beyond where your shape, or panel in this case, ends so that when cut, you have a nice lolour edge instead of white line from the paper itself.
-
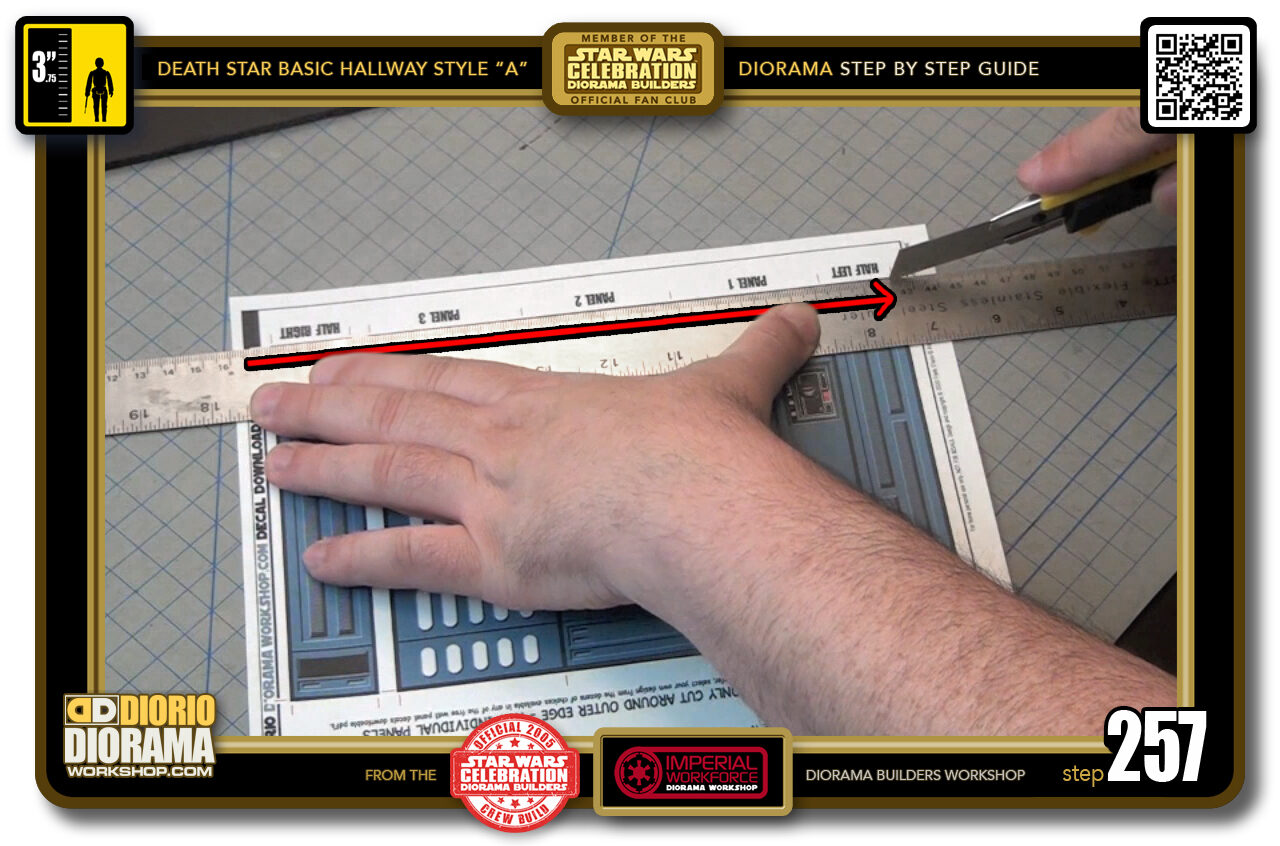
- STEP 257 > Start with your horizontal cuts. You DON'T want to cut ALL the way across the paper as you will loose your side guides. Start just before the panel begins and stop just after it ends. Do this for the top and bottom.
-
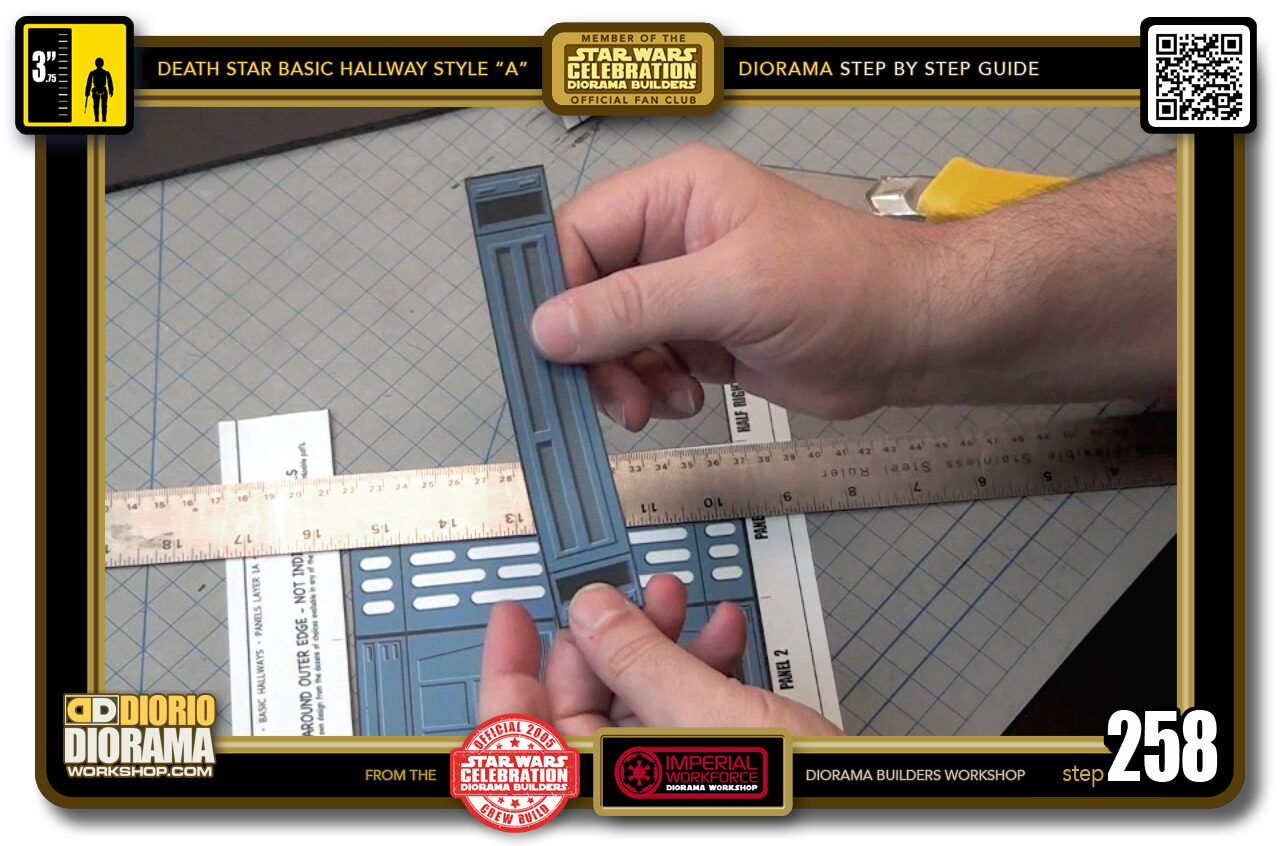
- STEP 258 > This half panel on the right needs to be cut all around since we have to position it apart from the others later on.
-
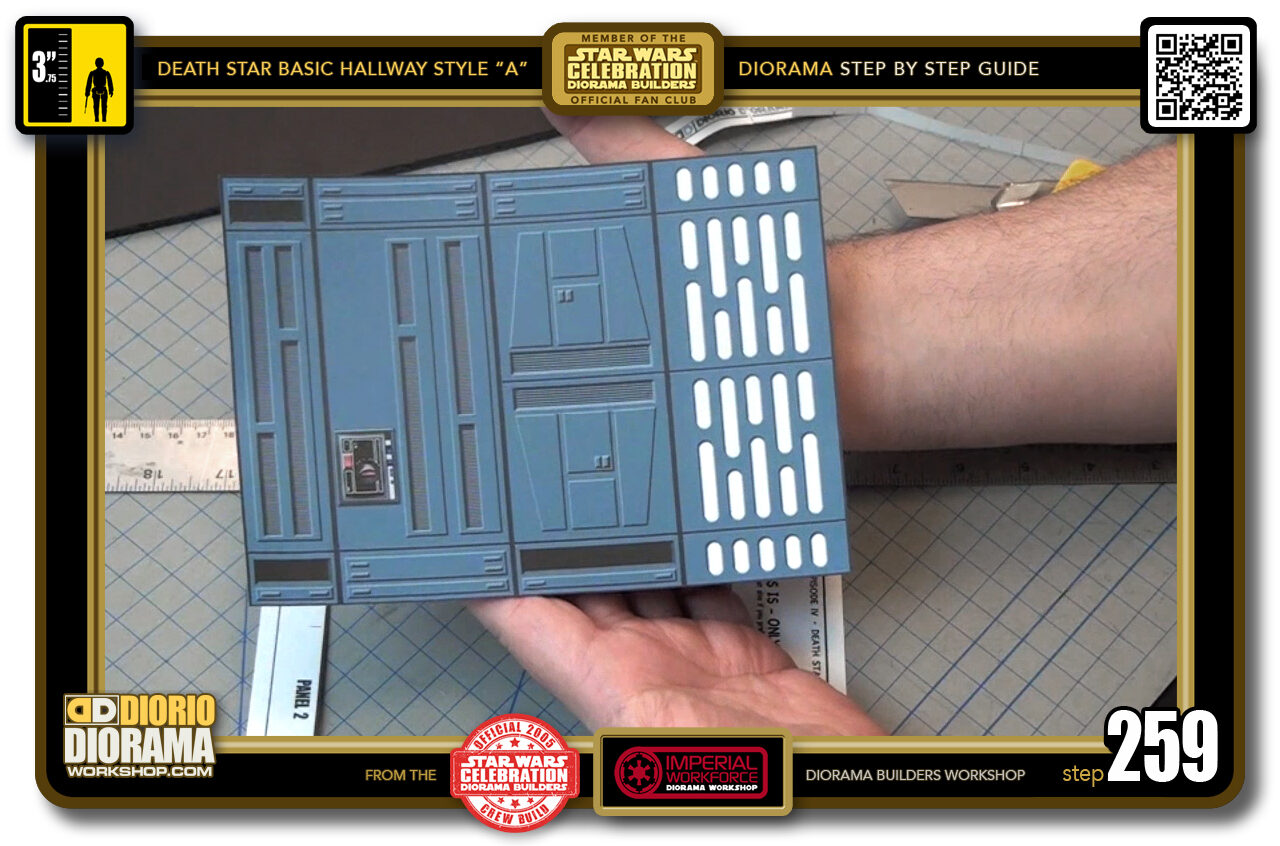
- STEP 259 > Since I am following my exact design, I don't need to cut out each panel, I can just leave them grouped together like this. Of course if you want to select your own choices from the dozens of variations available in the various decal pdf downloads, you can do so, that is what is cool about my Death Star design. It's all up to you if you want movie accuracy or use your own imagination.
-
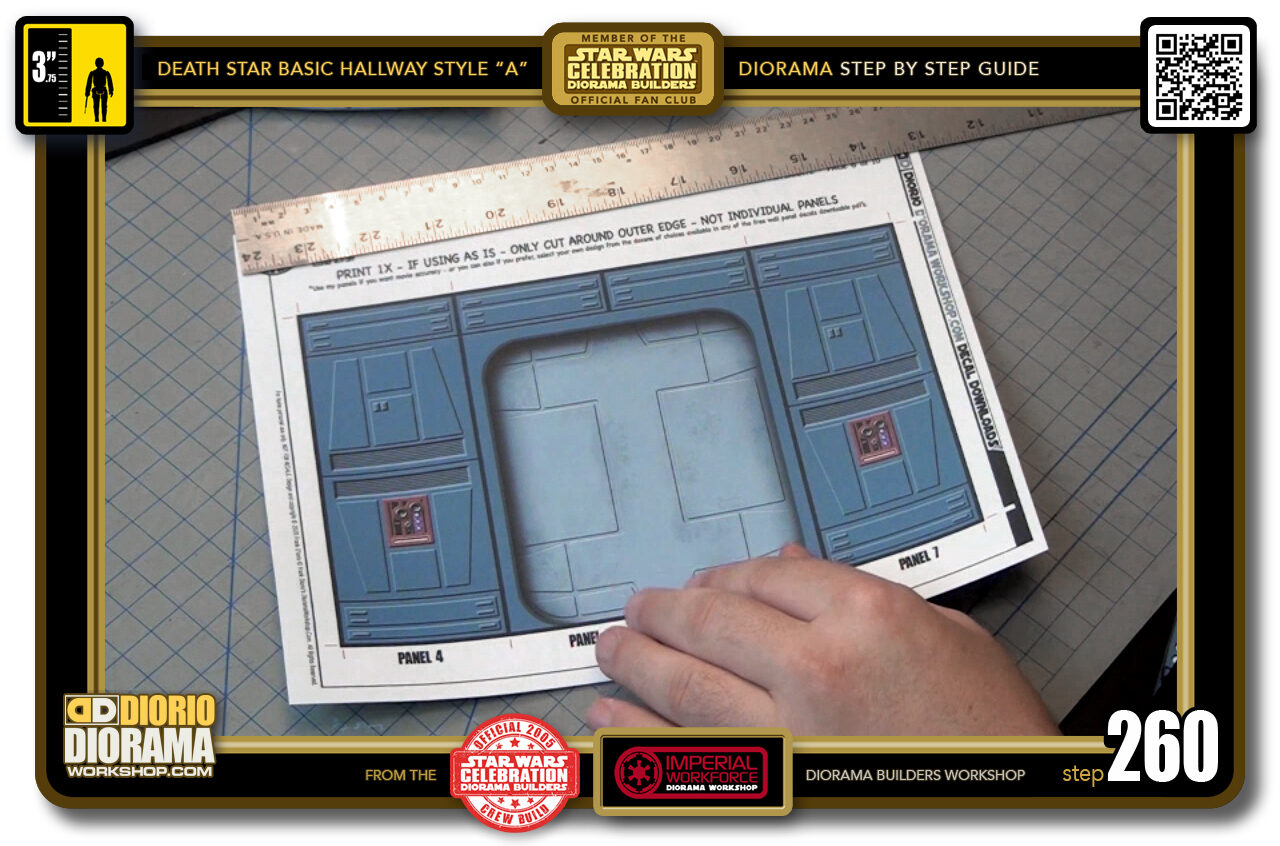
- STEP 260 > For the door decal page it is the same, since I am using my design as is, I just need to cut all around the four sides only.

.
Did you already build this Diorama ? At home or at our Star Wars Celebration Diorama Builders workshop ? Would you like to show it in the site’s GALLERY VISITORS DIORAMAS section, YES ? That is Awesome !!! You can find out all the details on how to email me your photos on the VISITORS SUBMISSIONS INFO page … When I get your photos, I will create your very own page just like this one. You may not realize it but work does inspire others to join in the fun of making Action Figure Dioramas.
.
NOT FOR RESALE ALL Decals, tutorials and artwork are ©FrankDiorio (dioramaworkshop.com) and offered FOR FREE to the fans – that would be you ? so you can build and display my diorama designs in your very own home. I realize I cannot control what one does with my graphics once I place them on the web, I can only ask you as one fan to another, please respect the artist and do not be that jerk who uses my designs and tutorials to build a copy of my work only to sell it on EBAY or trade/sale groups and forums. Thank You. Frank.
.
.
If you have a facebook account, why not join the Official Diorama Builders Fan Club today, simply click the logo link below.
 .
.
Catch up with fellow visitors and exchange stories, read cool interviews with the crew, exchange photos, fun surprises and grab some FAN ONLY merchandise next year at actual future conventions ?
.
©2018 Frank Diorio DioramaWorkshop.Com
.
IF YOU LIKE WHAT YOU SEE, PLEASE SHARE WITH YOUR FRIENDS
USING THE SOCIAL MEDIA BUTTONS BELOW