


-

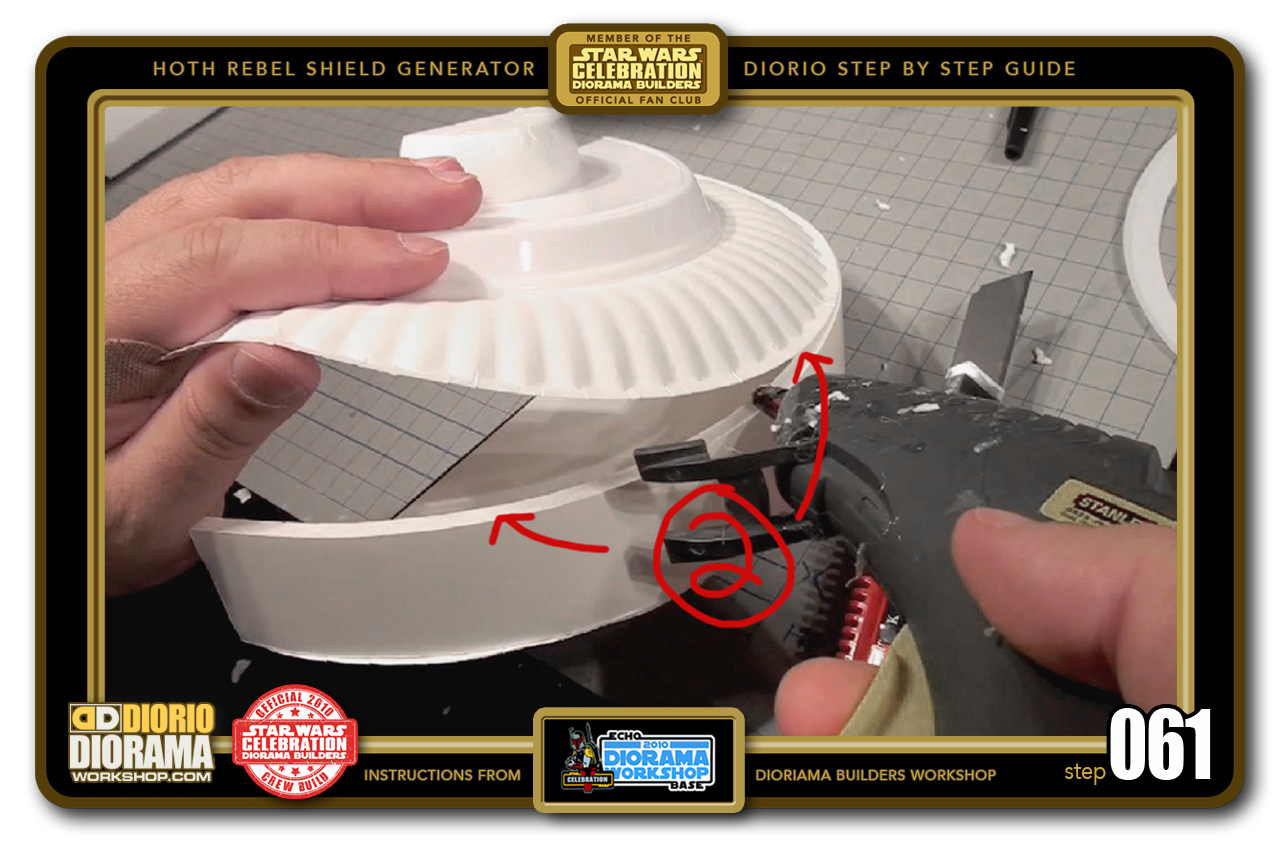
- STEP 061 > Getting a little tricky as we have to lay the shape on the table and lift the large paper plate to allow a gab for the hot glue gun to squirt a line of glue in the center part of the strip (2).
-
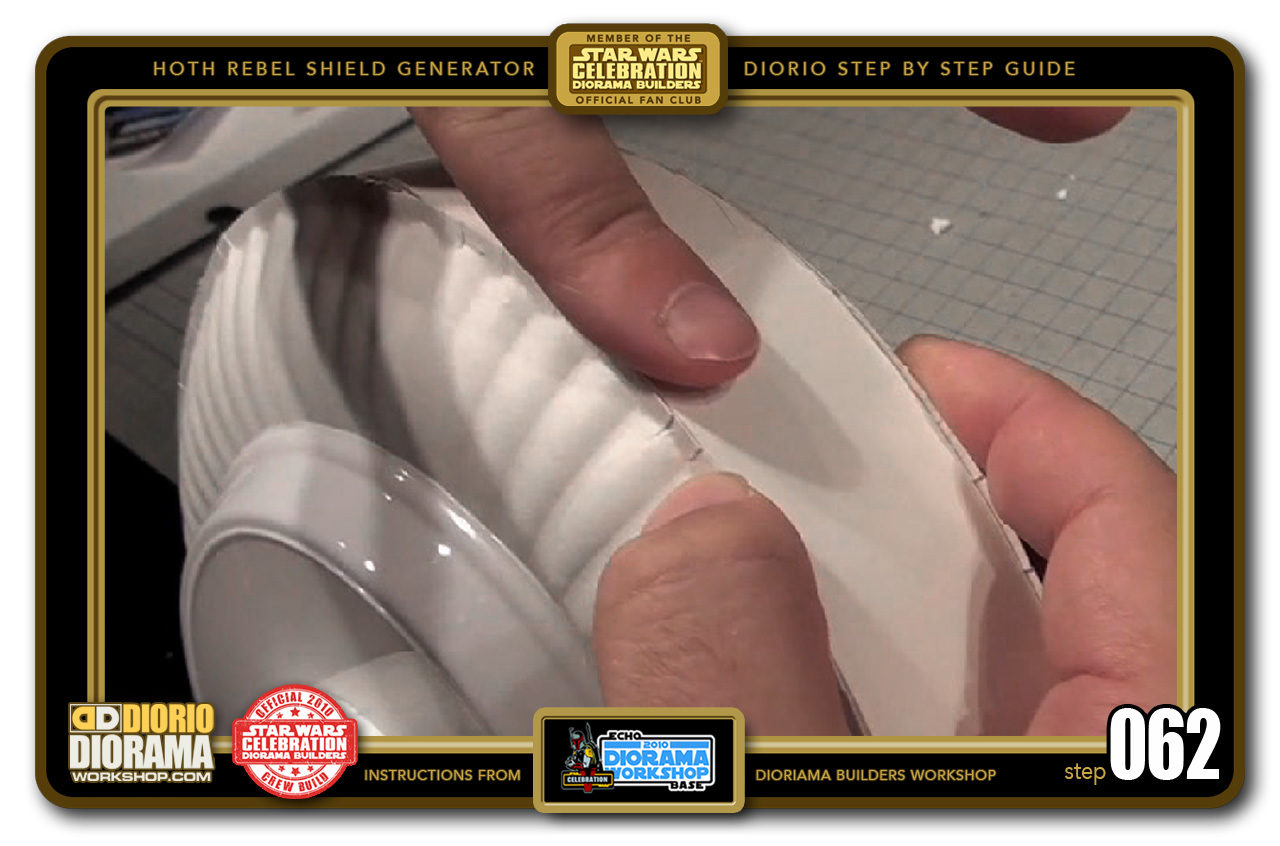
- STEP 062 > Let the center of the large paper plate fall back down onto the strip. Make sure the edge of your plate is flush with the top of your strip and hold together for a few seconds until the hot glue cools down.

-

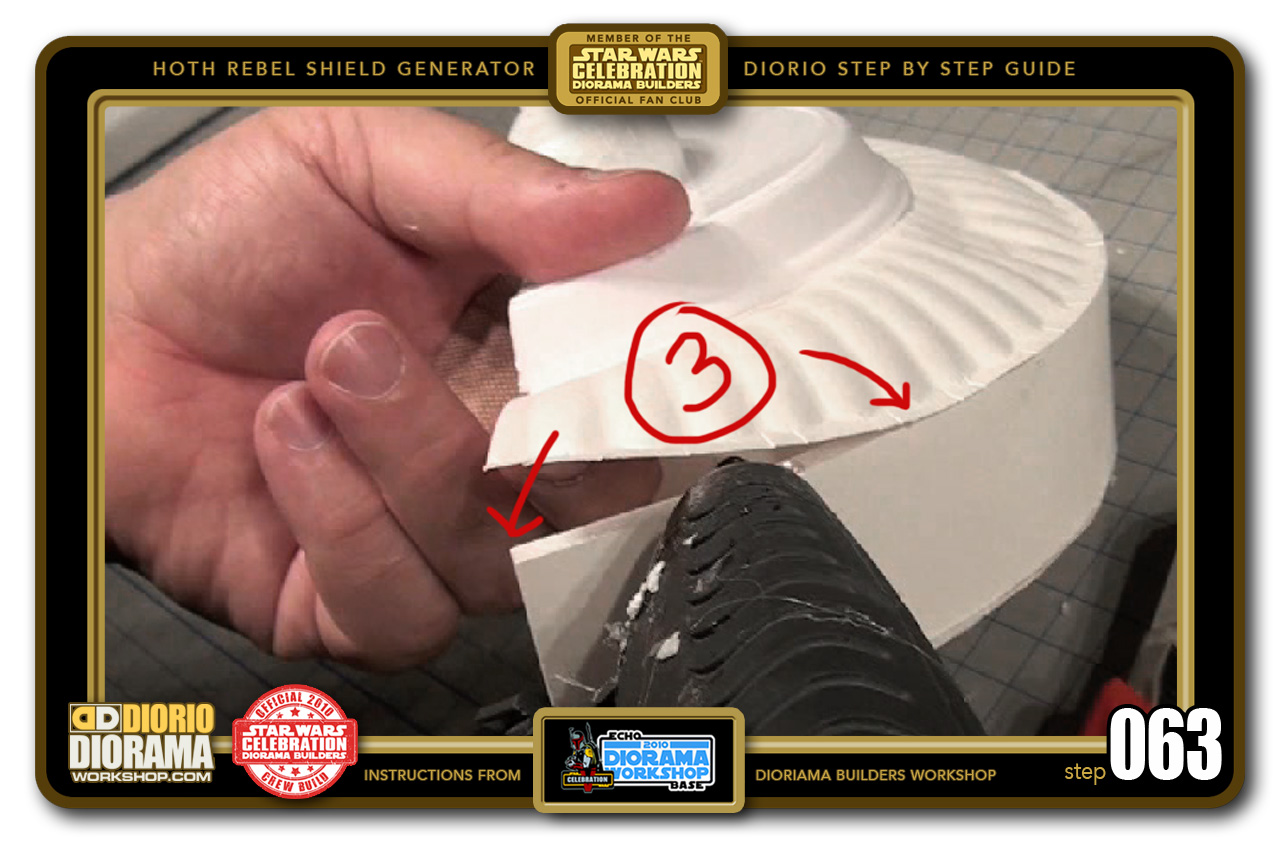
- STEP 063 > Last part (3) lift your large paper plate corner enough to allow the hot glue gun to apply a line of glue to the end of your strip.
-

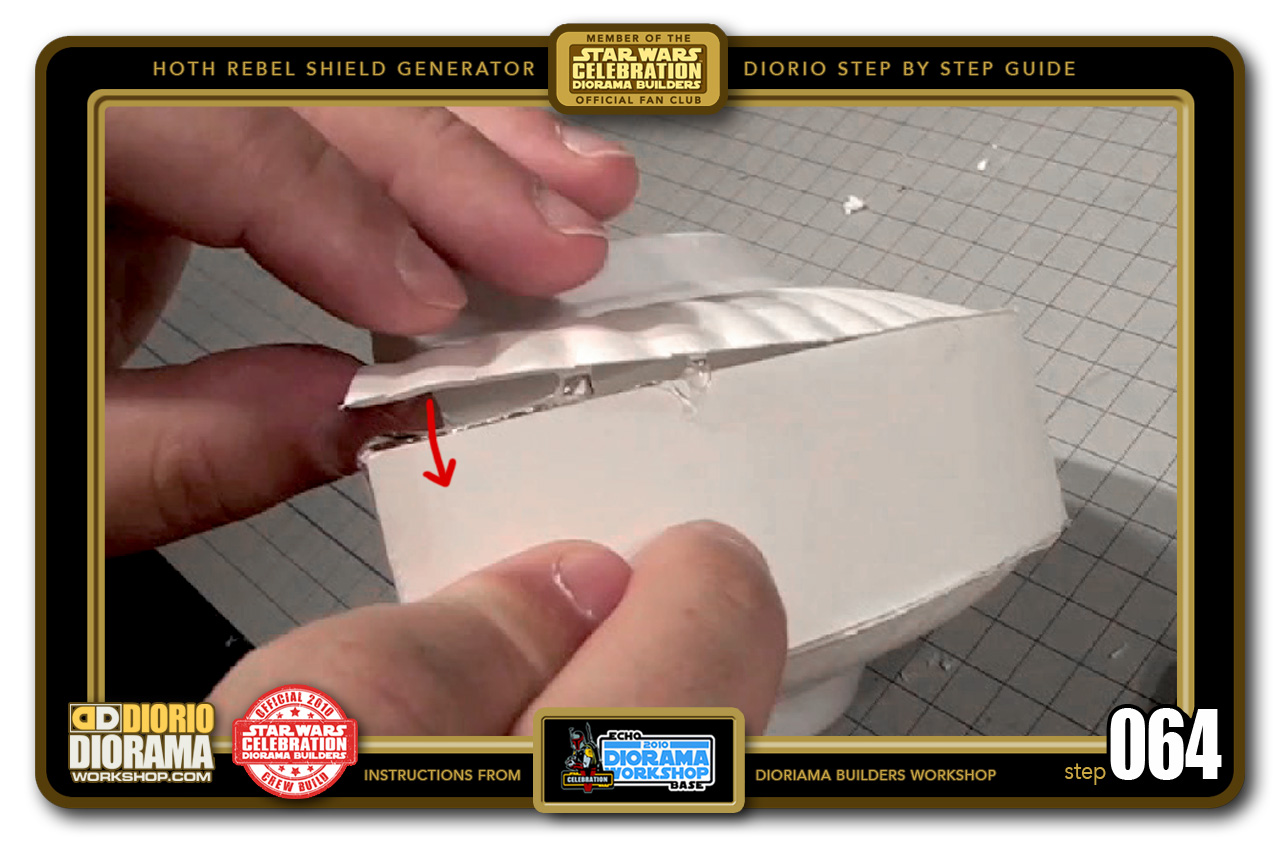
- STEP 064 > Let the large paper plate fall down onto the strip and carefully press the 2 pieces together, make sure they are flush and do NOT burn your fingers 🙂
-
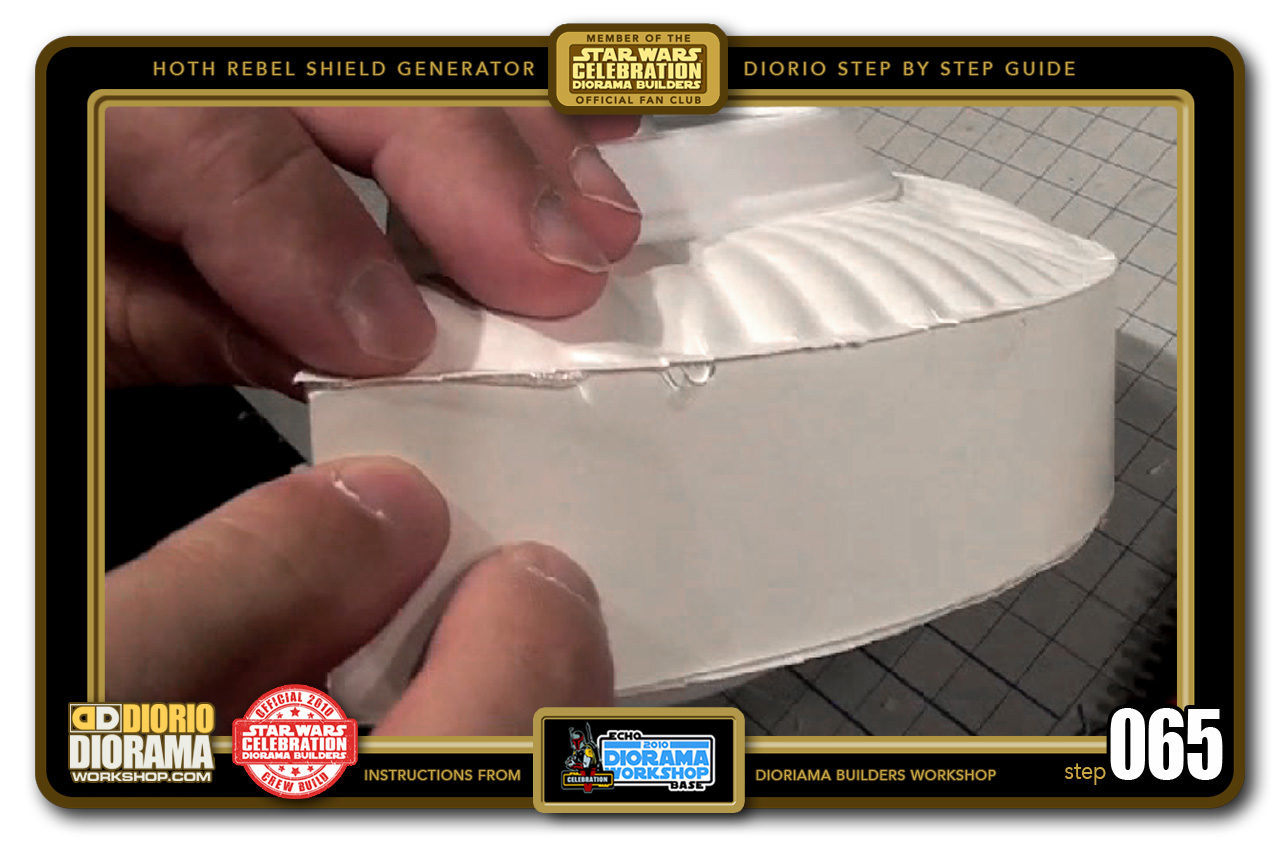
- STEP 065 > Hold on a few seconds until the glue cools down.

-

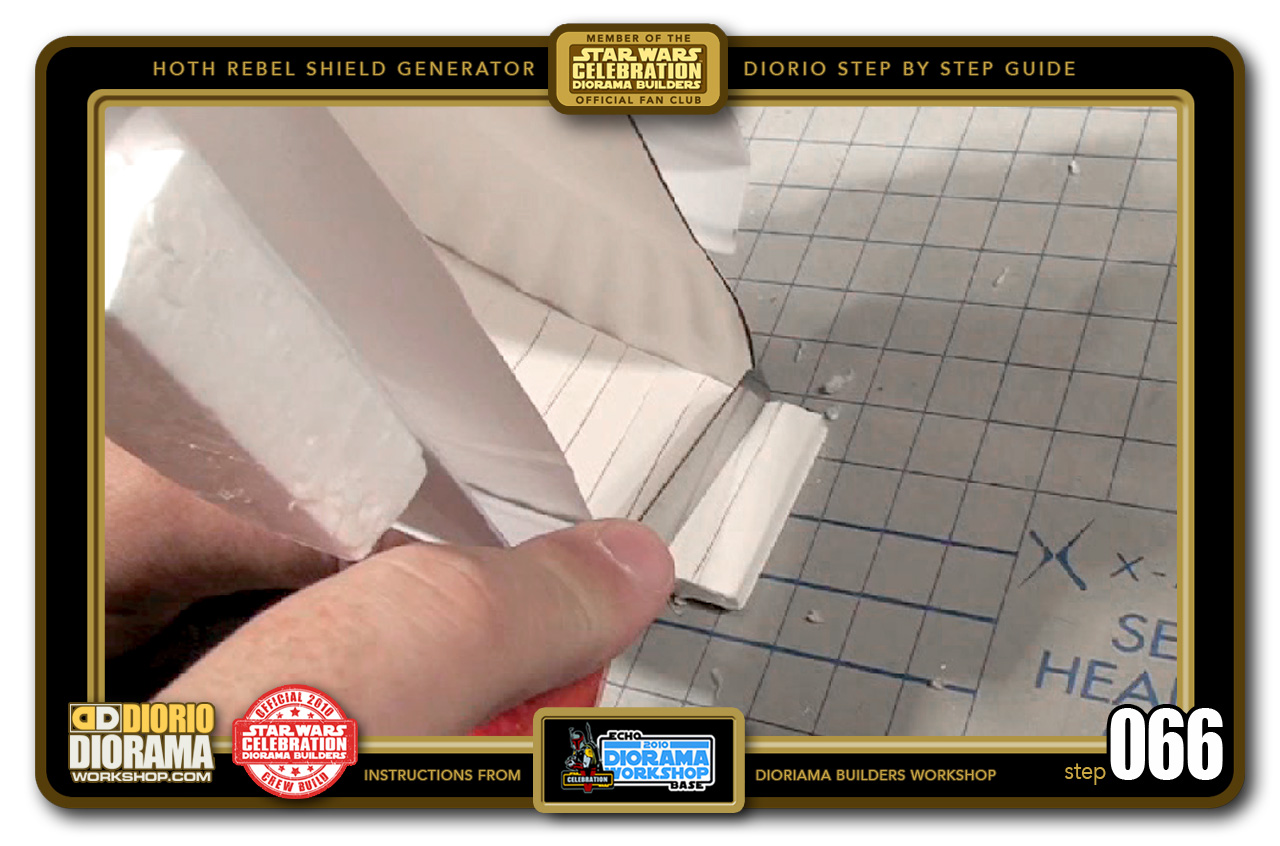
- STEP 066 > Time to trim the excess strip. Flip your shield generator shape upside down, and Slice with yur Xacto blade from one end to the other. You can eyeball this, no need for a ruler.
-
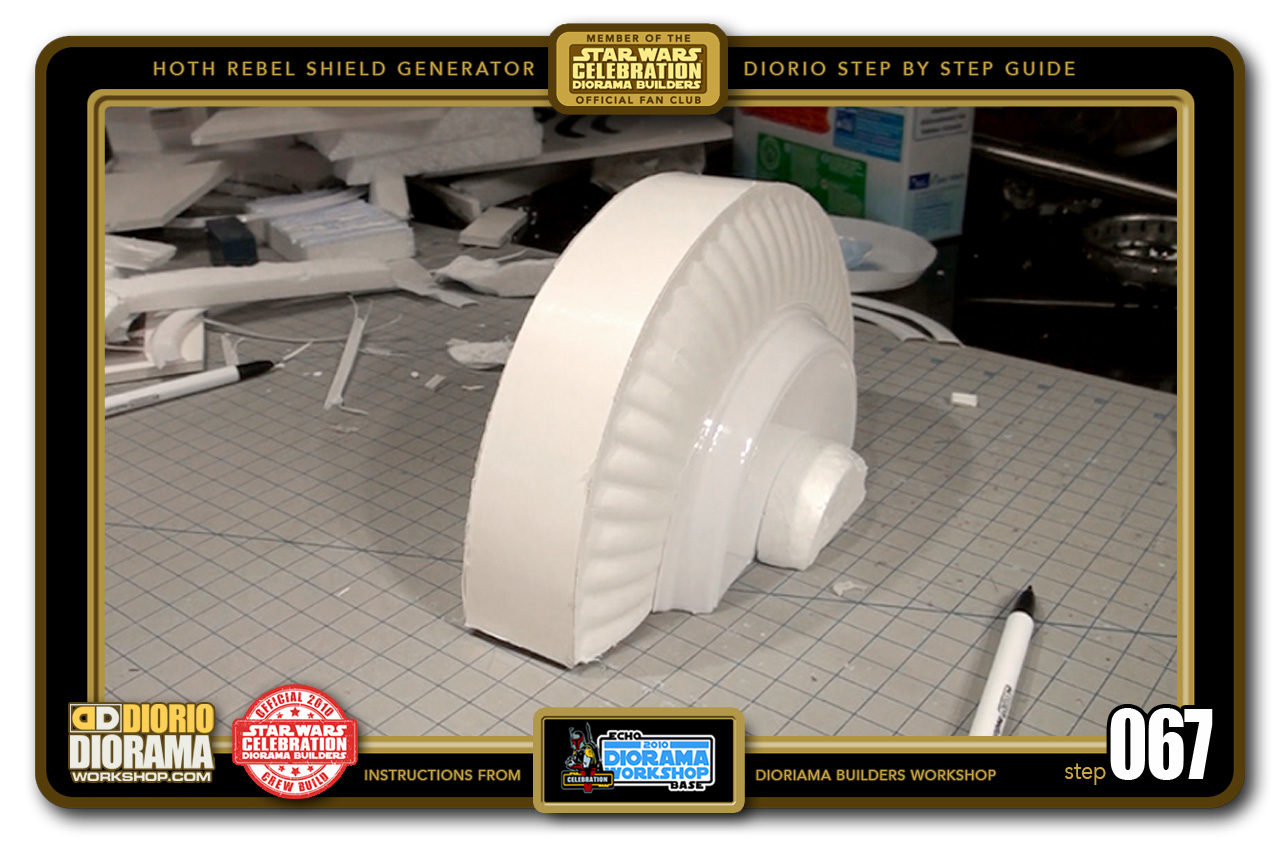
- STEP 067 > You now have a completed shield generator section. You will need 3 more, as there are 4 sections for ONE generator.

-
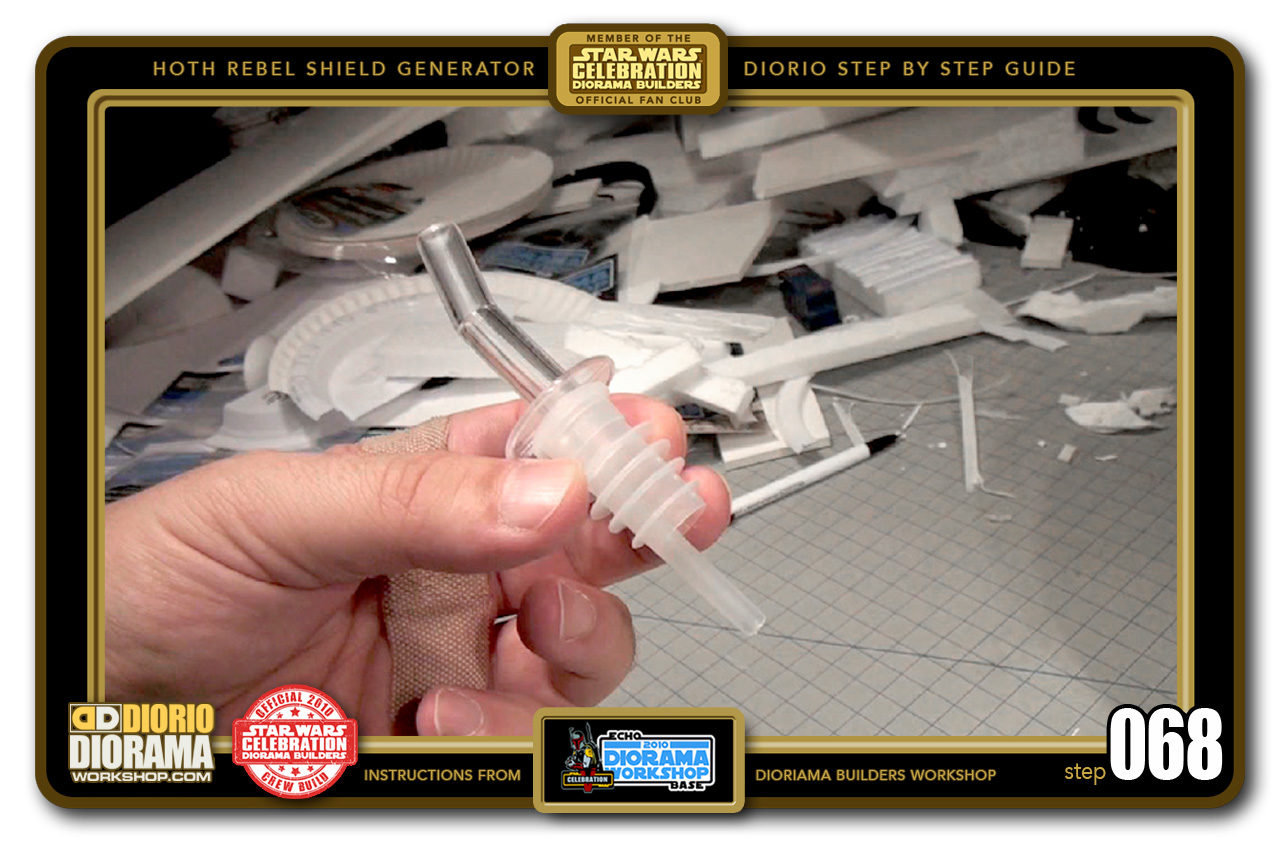
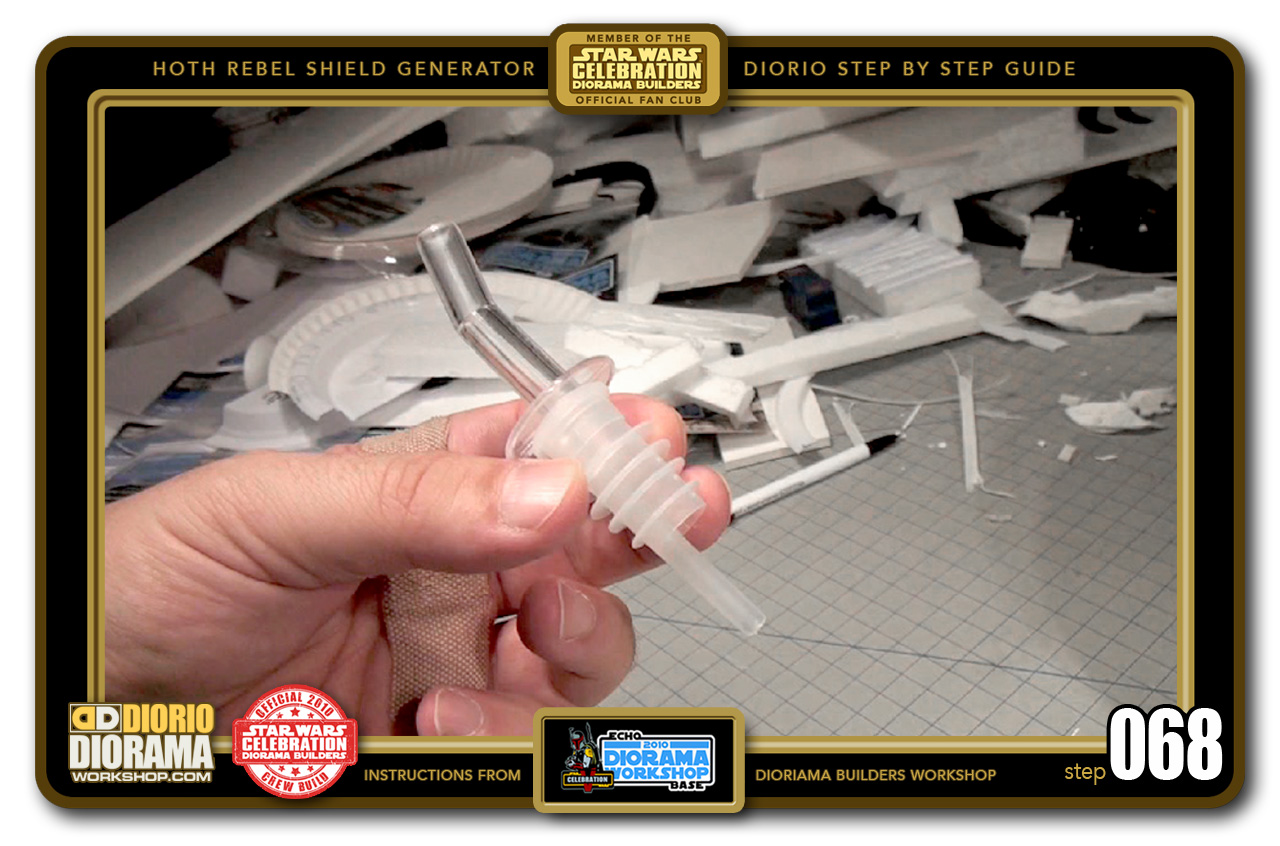
- STEP 068 > You can find these little plastic bar bottle caps at your local dollar store. I got these cause I liked the ringed texture and thought they would look cool between each of the shield generator sections.
-
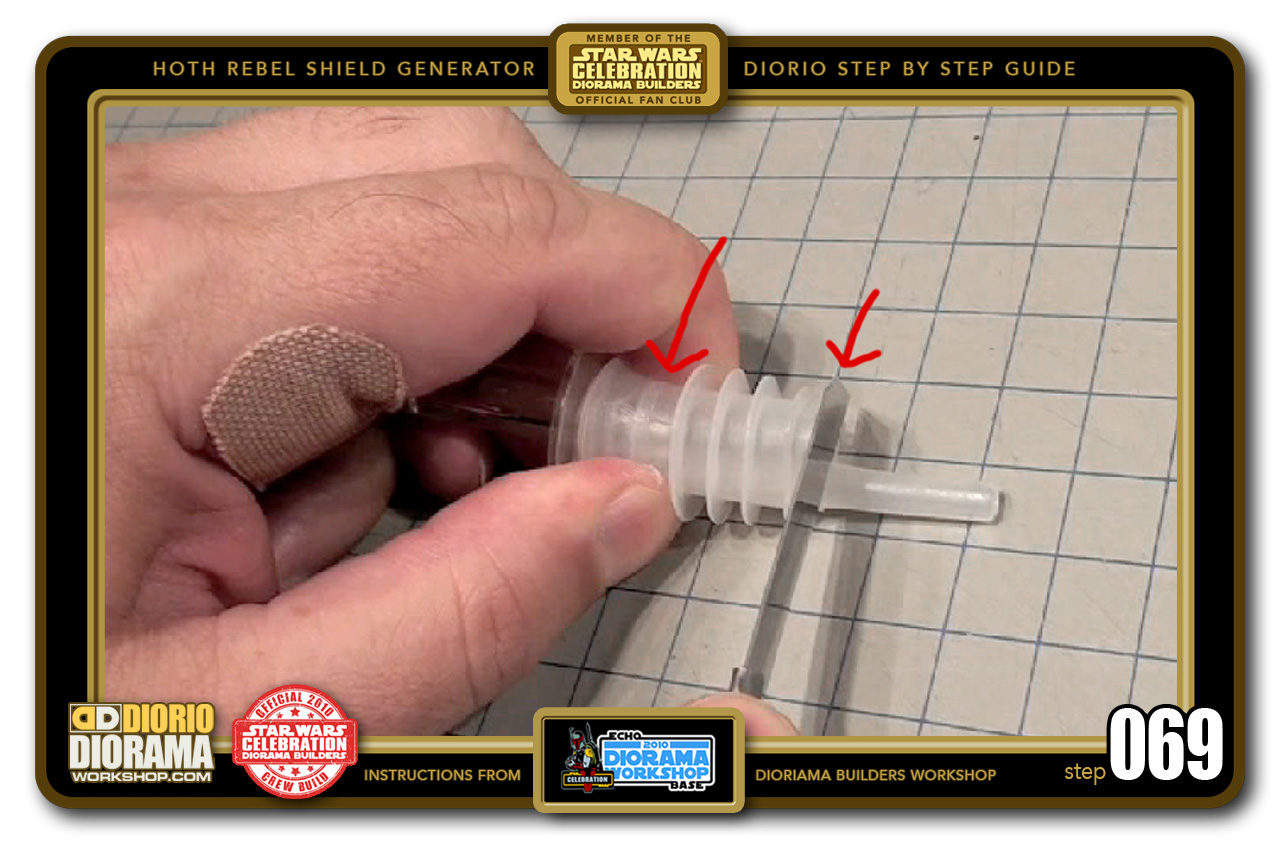
- STEP 069 > We do not need the tips, so we can cut these off (red arrows) and discard for greeblies in another build later.

-

- STEP 070 > We now have this cool looking shape.

-
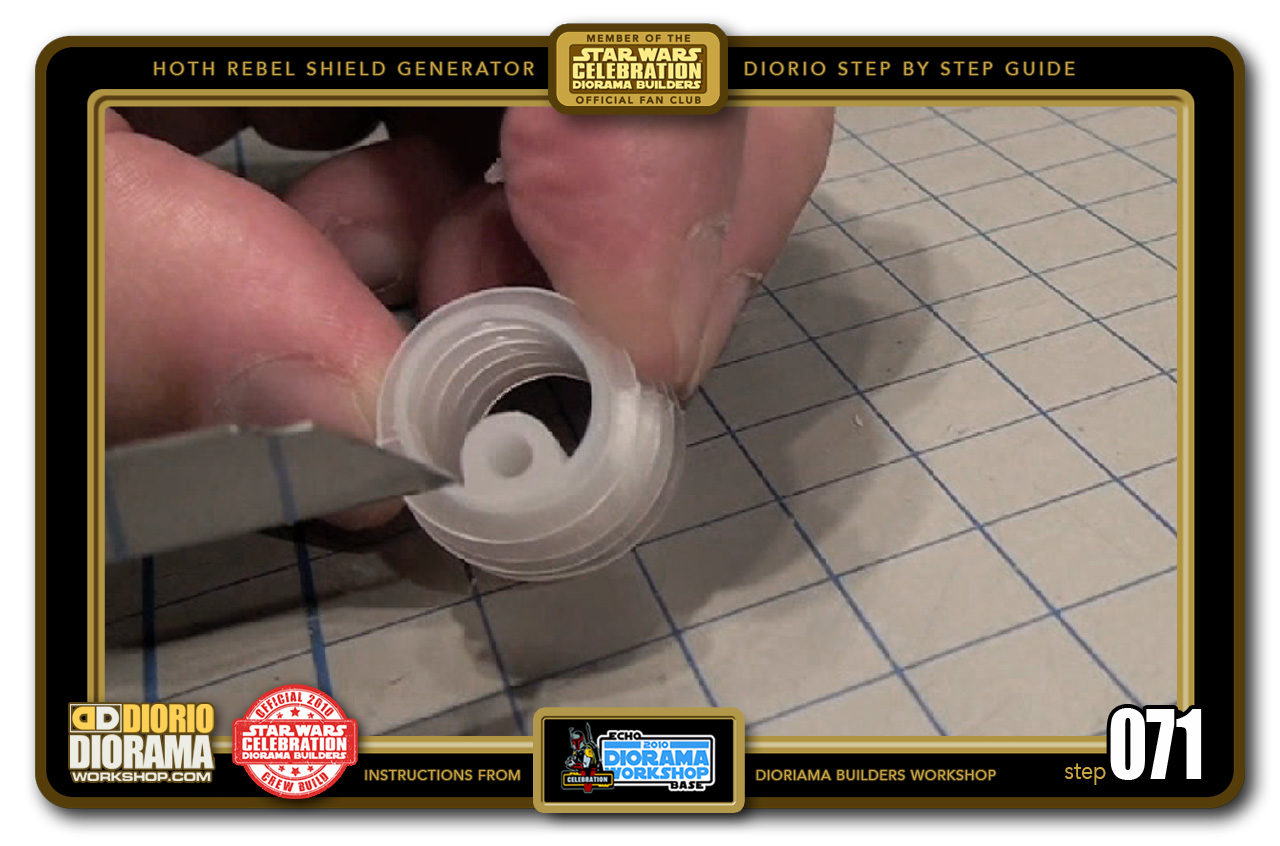
- STEP 071 > I used this center nozzle as a guide to where to slice this in half.

-
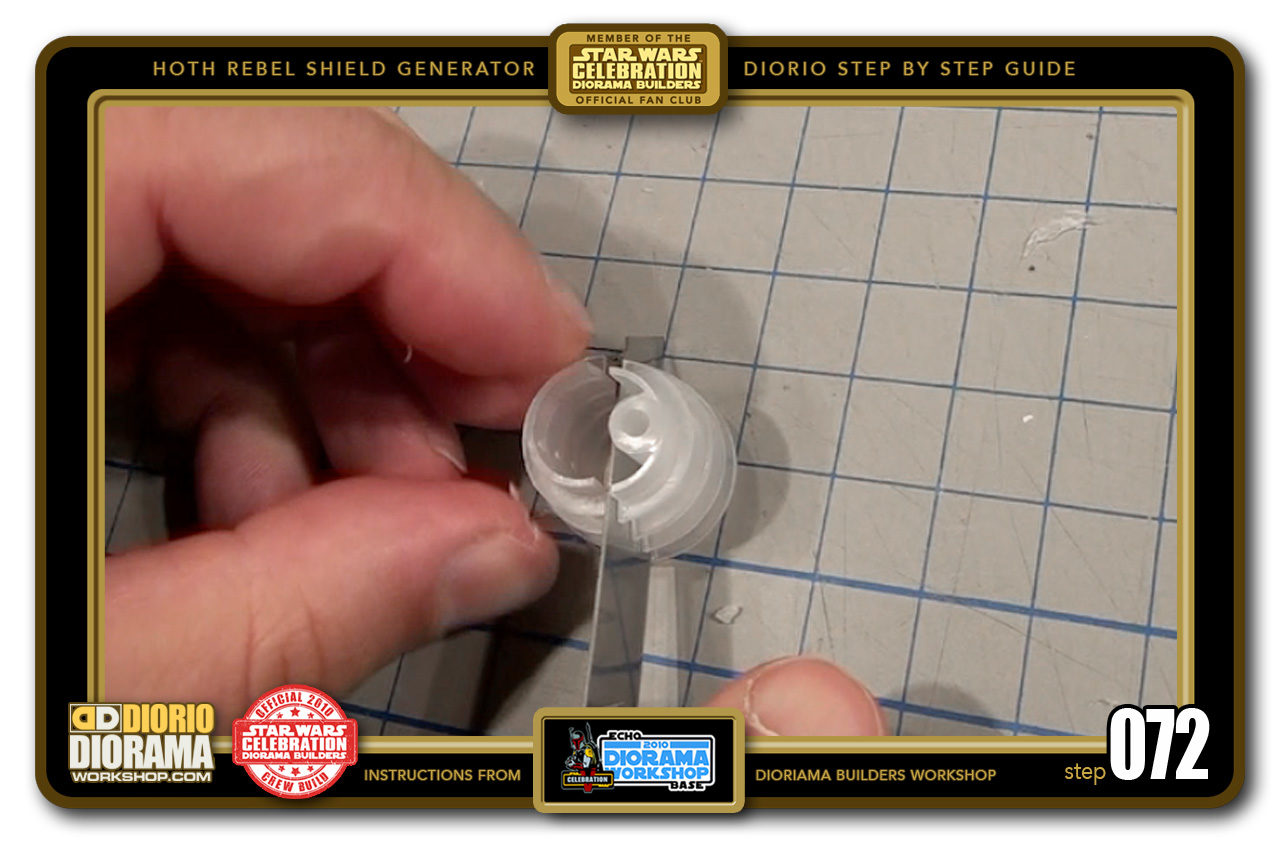
- STEP 072 > With a sharp blade you can go right down the center of the plastic.

-
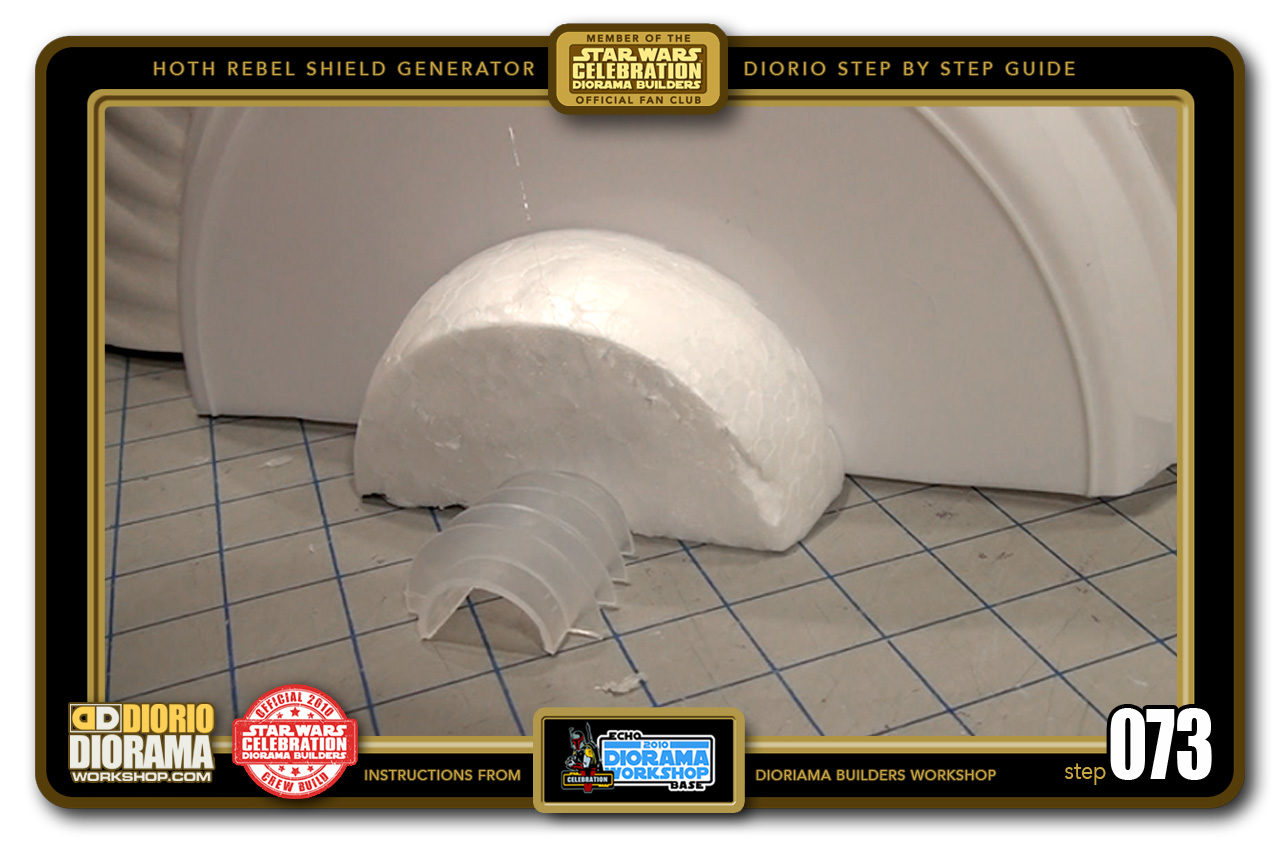
- STEP 073 > Here you can see where the cap half will fit. A good height with the styrofoam and will look great when painted.

-
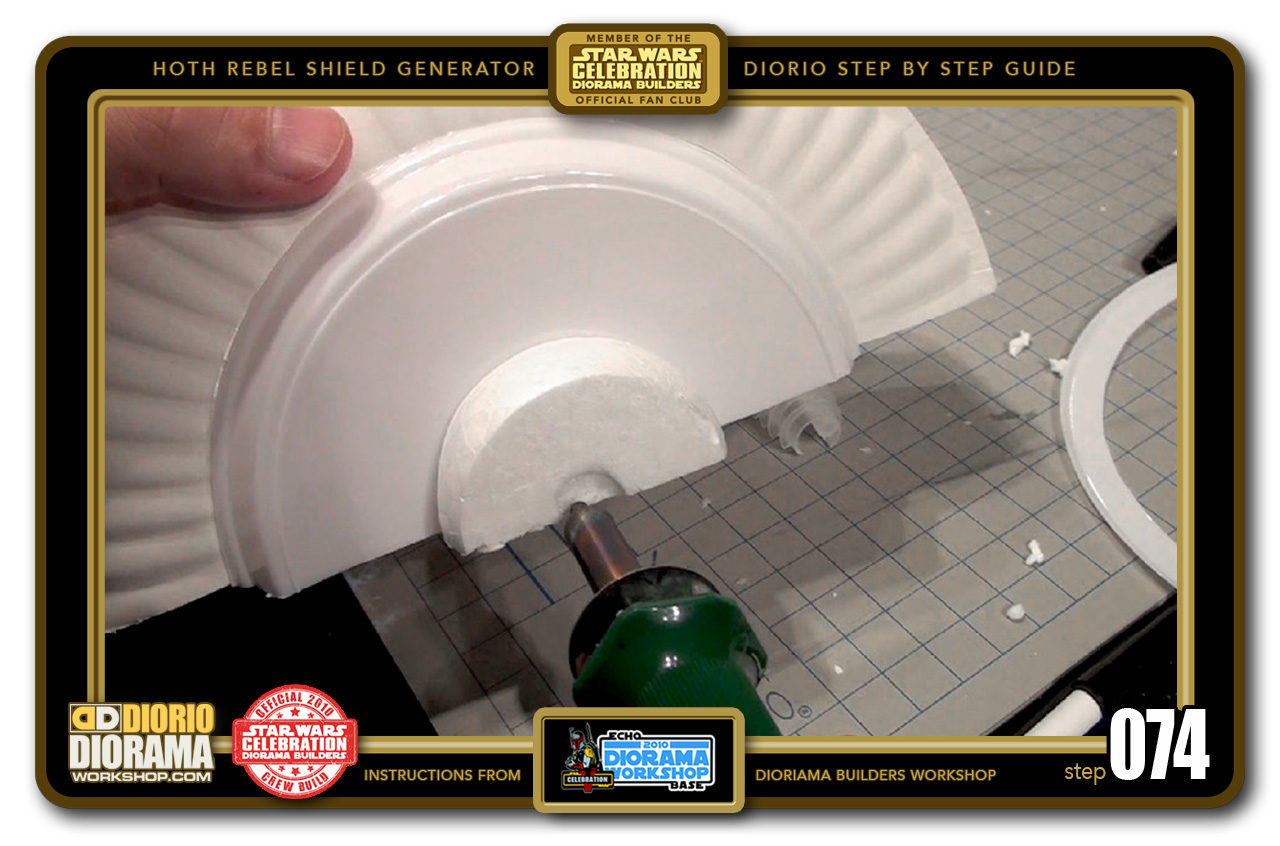
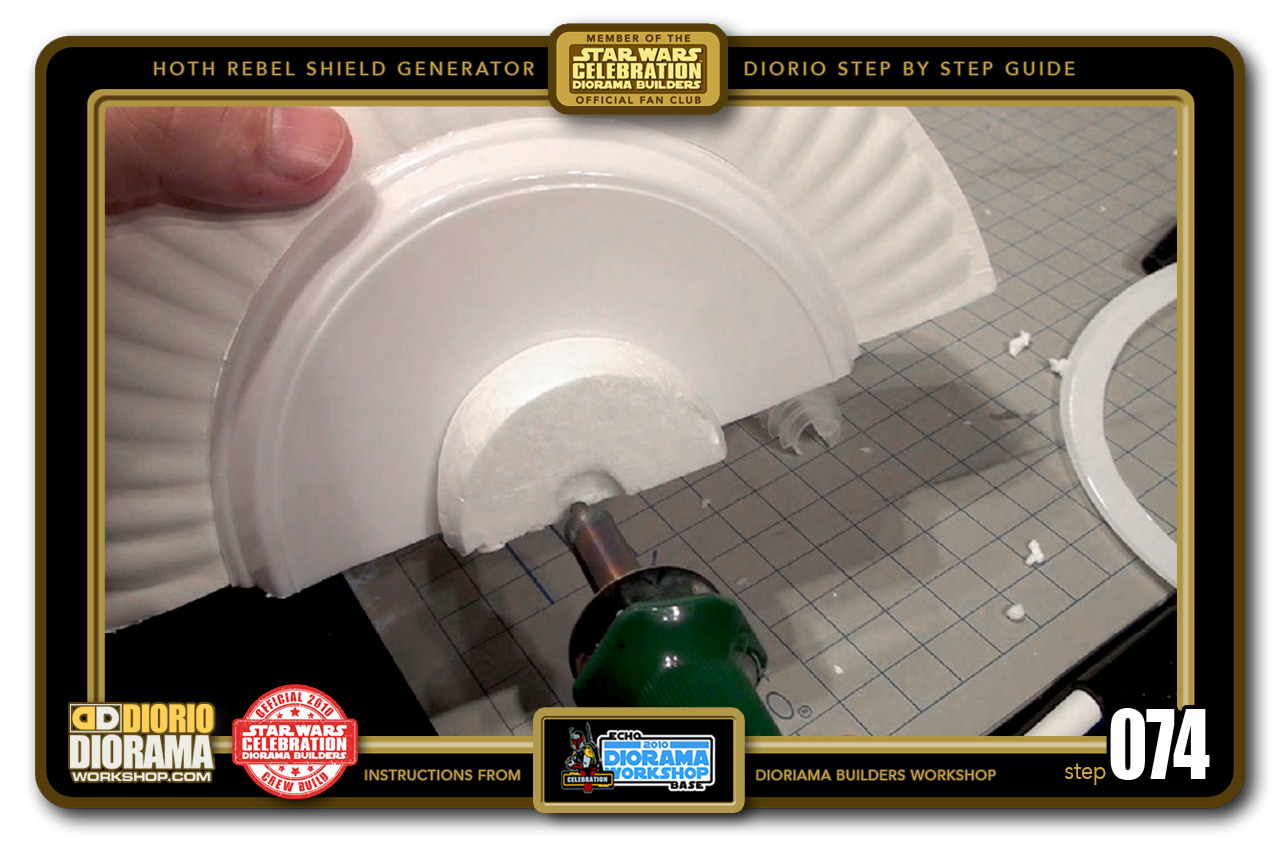
- STEP 074 > First we need to melt a hole in the styrofoam ball bottom center. If you do not have a heat pen, you can use a pencil or Xacto blade to make your hole.
-

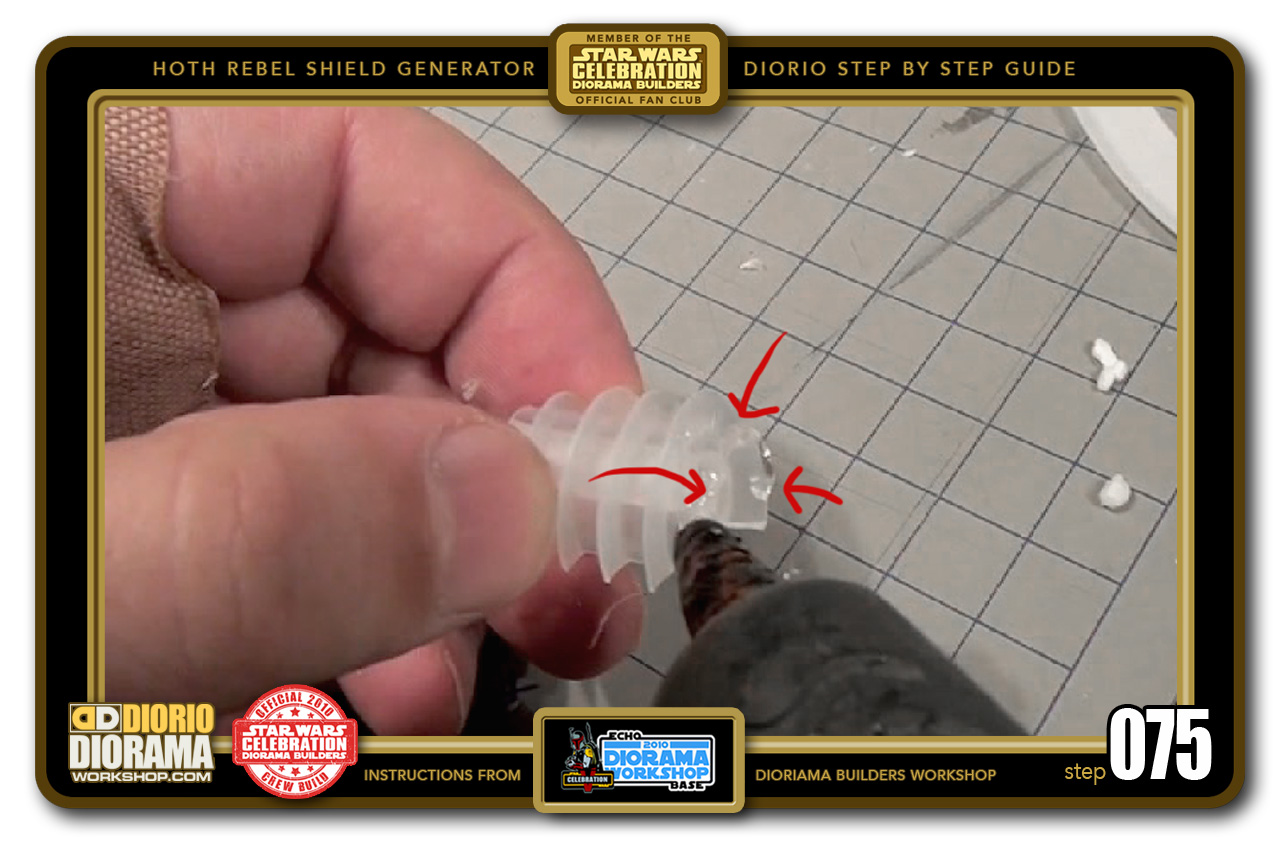
- STEP 075 > Dab a little hot glue onto the end of your plastic cap.
-

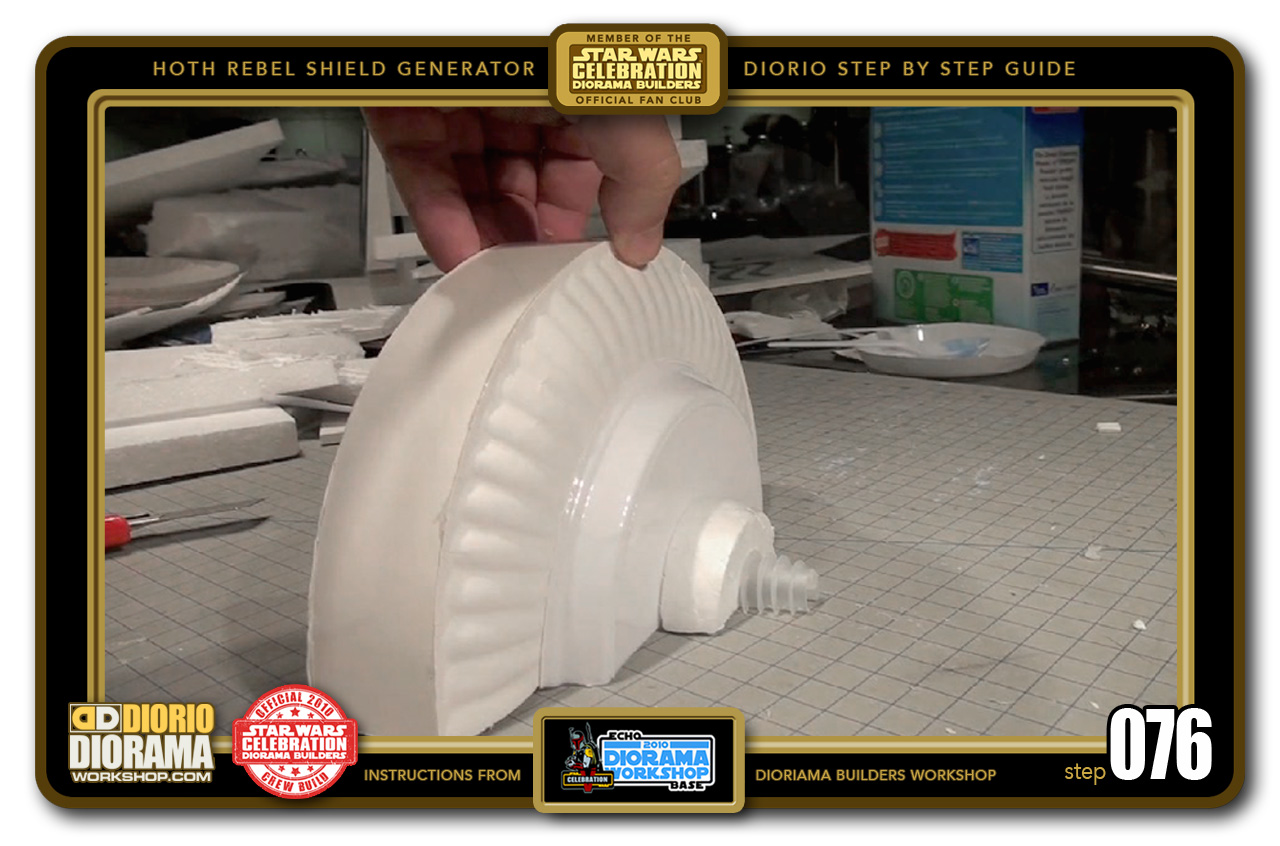
- STEP 076 > Now place the plastic cap half into the styrofoam ball hole and let that cool off. I like to place it on a flat surface to cool down so that I am certain it will lay flat on the diorama table.
-
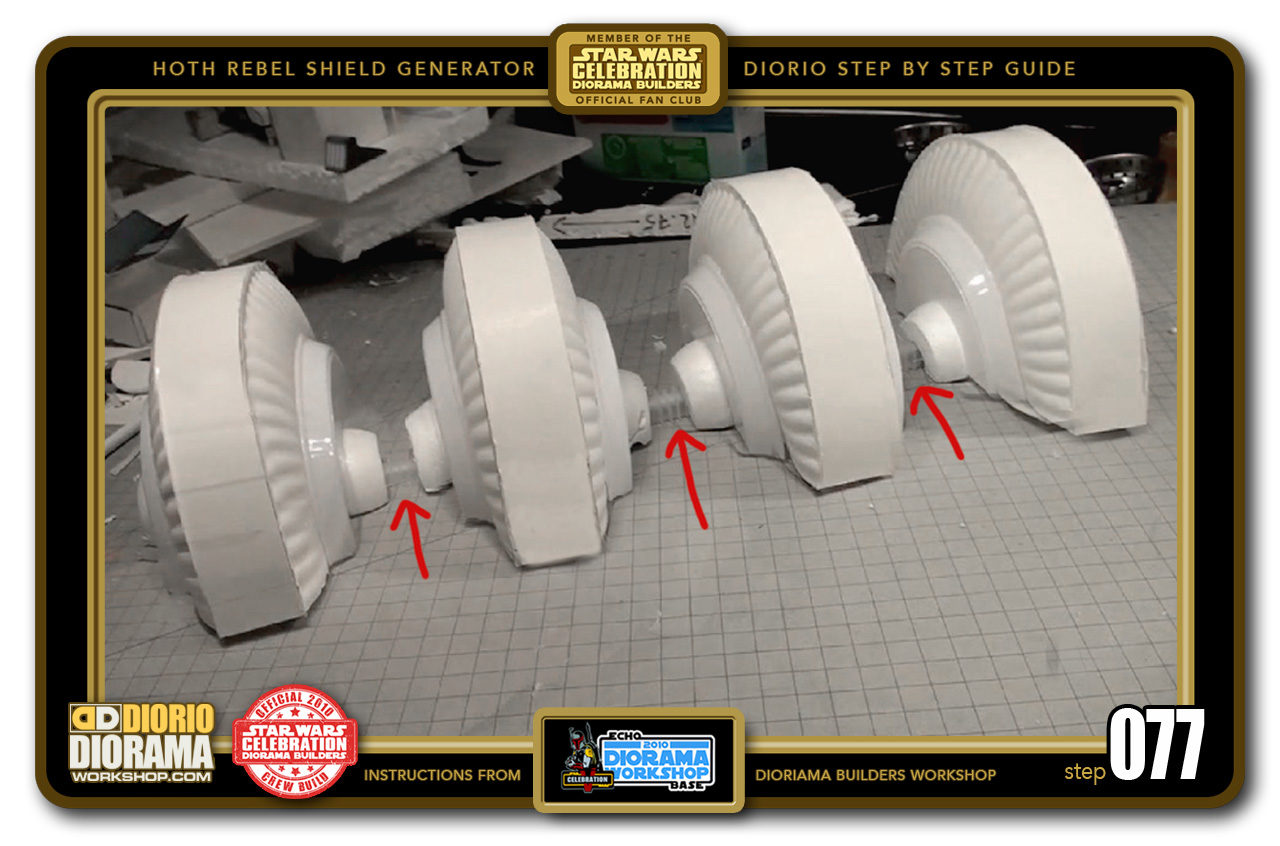
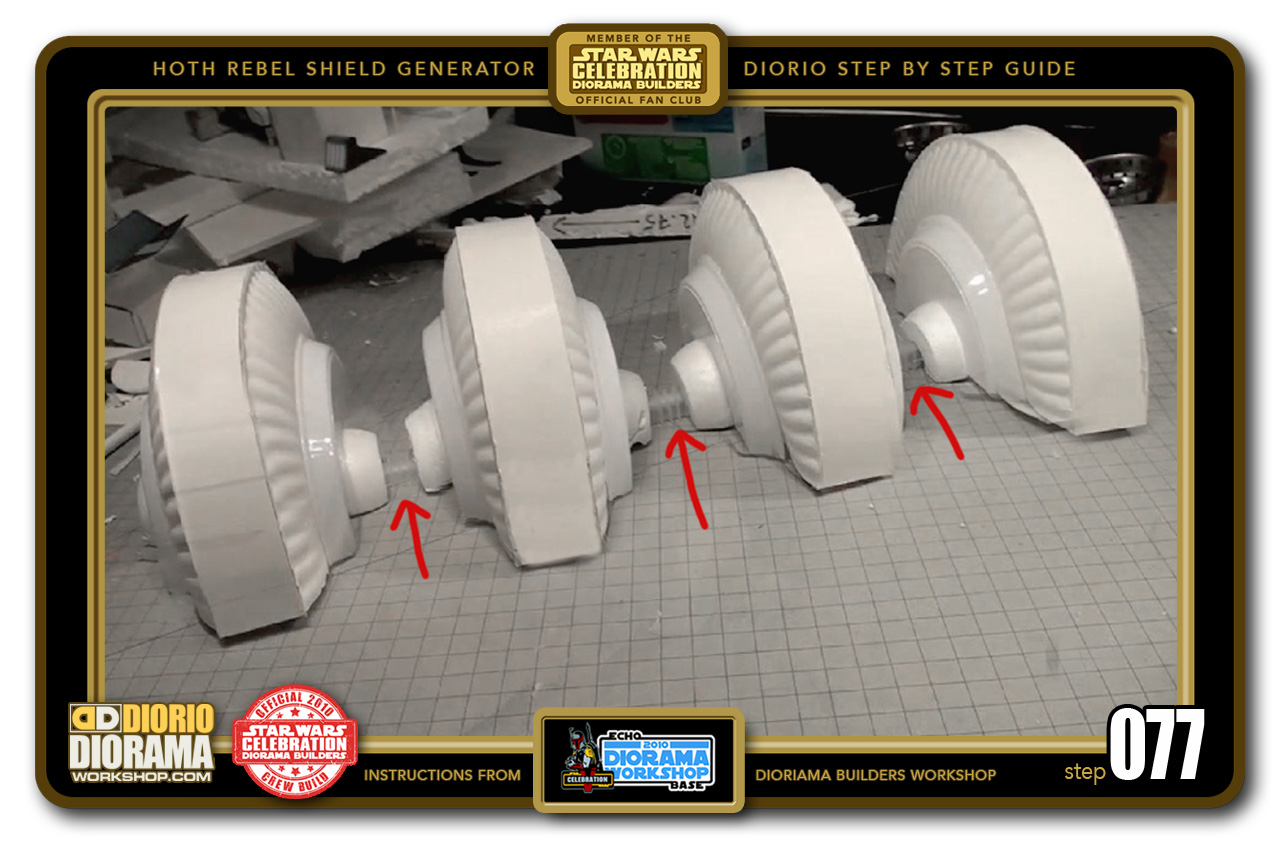
- STEP 077 > Once you have completed the 4 shield generator sections, and cut and placed 3 plastic cap halves in their styrofoam ball holes, your shield generator is ready for painting 🙂
-
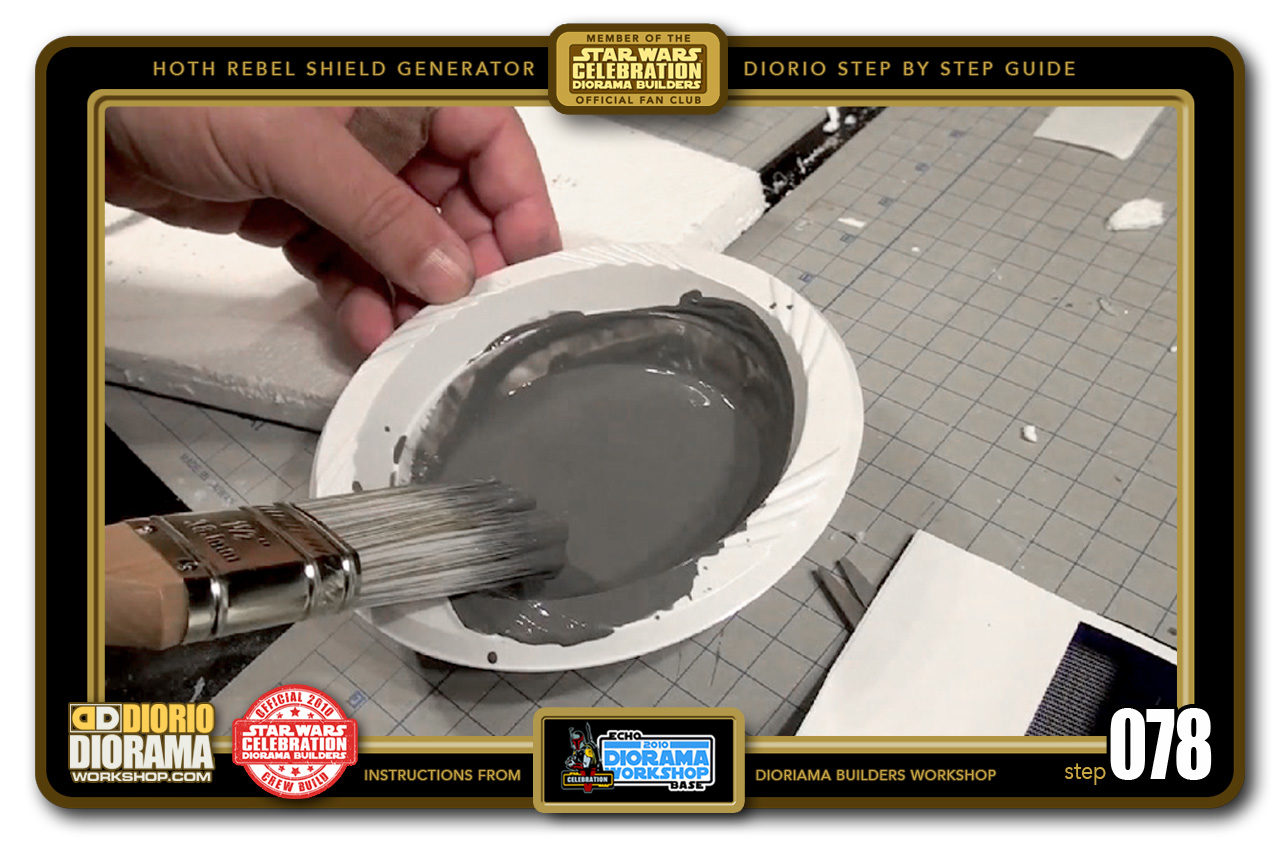
- STEP 078 > Grab some grey latex paint - the same you use for home walls, and add some water to make it less thick. Not to mention save you money and have more paint for more builds 🙂

-
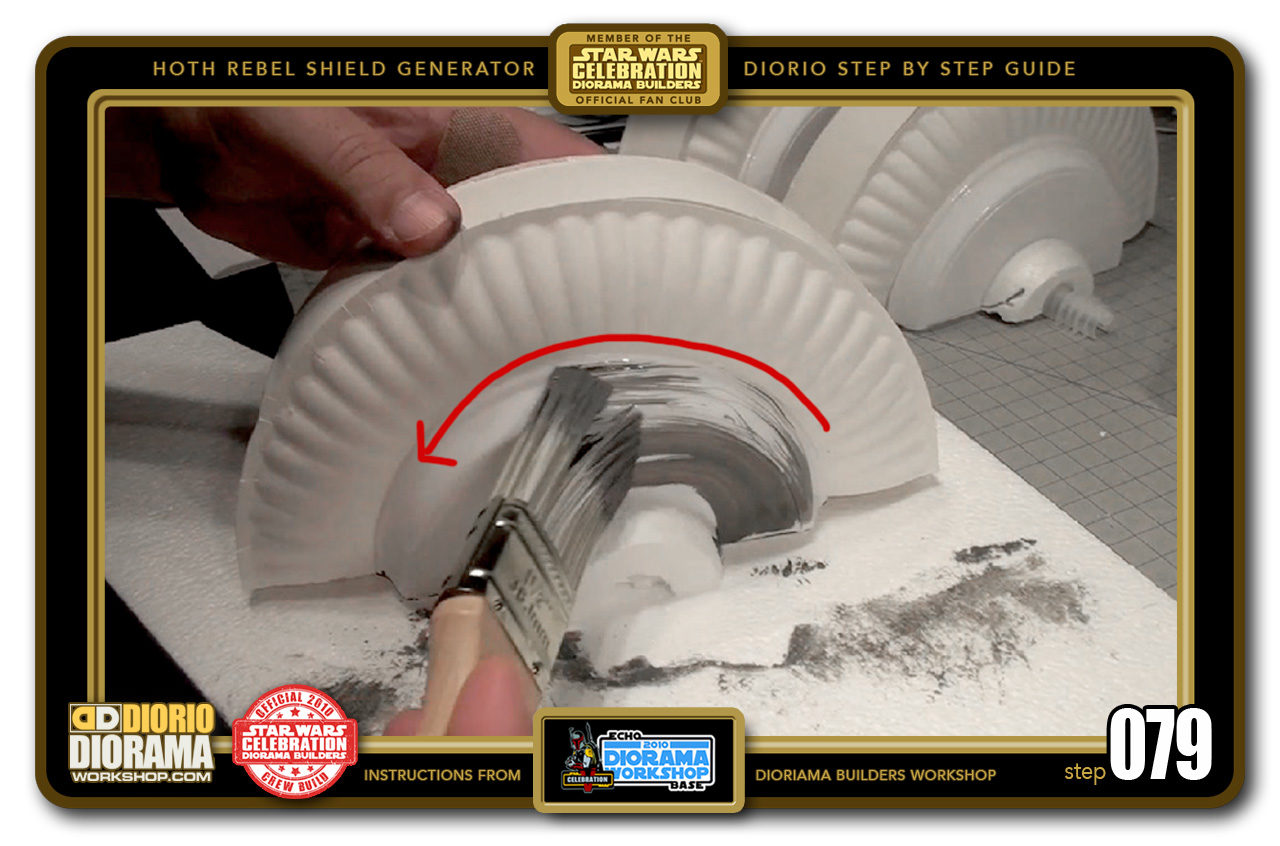
- STEP 079 > Grab a 2" brush and apply it to your surface in ONE direction. DO NOT go back and forth as you wisk putting too much paint at the same time and get the cardboard, paper plates all soggy.

-
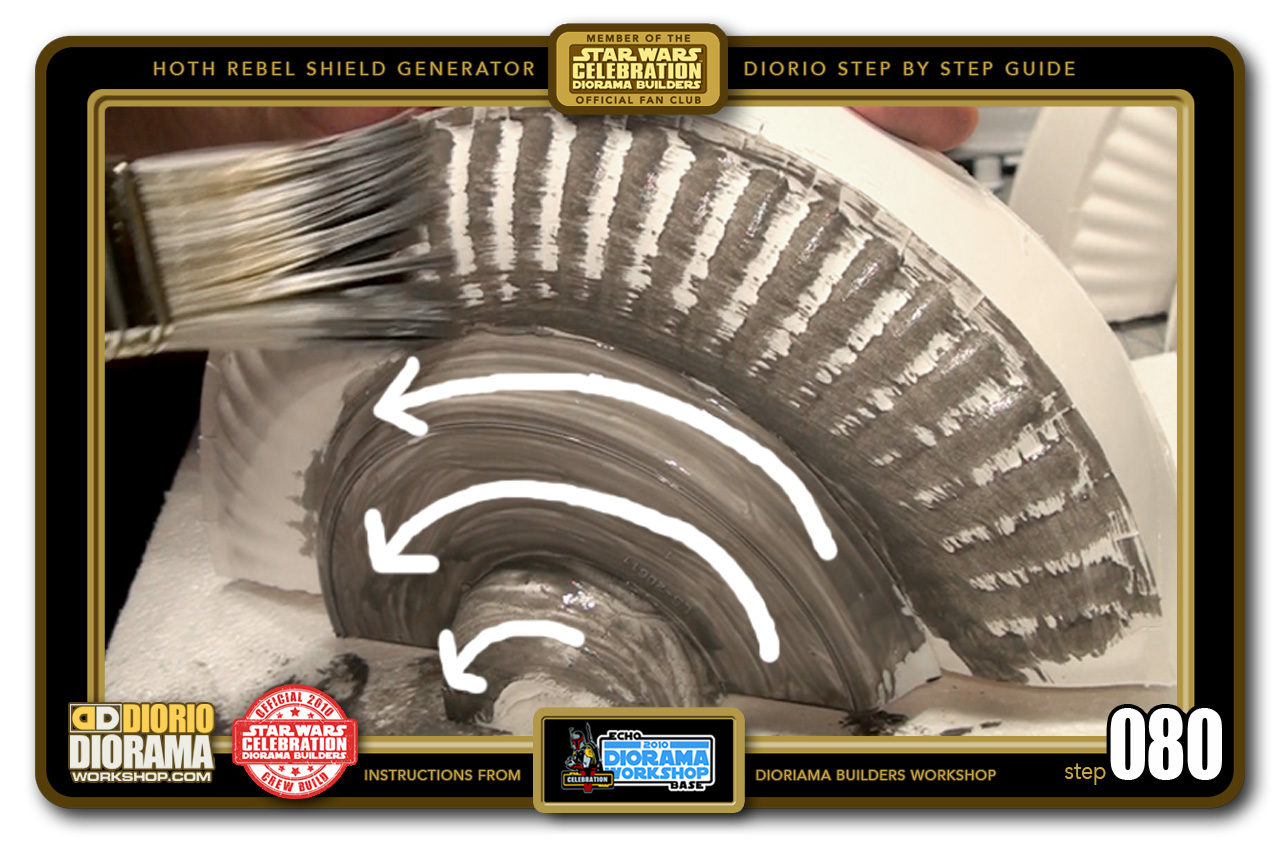
- STEP 080 > Keeping the brush rotating with the circular shape also give you a nice circular patern in the paint and not just all over the place brush strokes.


.
Did you already build this Diorama ? At home or at our Star Wars Celebration Diorama Builders workshop ? Would you like to show it in the site’s GALLERY VISITORS DIORAMAS section, YES ? That is Awesome !!! You can find out all the details on how to email me your photos on the VISITORS SUBMISSIONS INFO page … When I get your photos, I will create your very own page just like this one. You may not realize it but work does inspire others to join in the fun of making Action Figure Dioramas.
.
NOT FOR RESALE ALL Decals, tutorials and artwork are ©FrankDiorio (dioramaworkshop.com) and offered FOR FREE to the fans – that would be you ? so you can build and display my diorama designs in your very own home. I realize I cannot control what one does with my graphics once I place them on the web, I can only ask you as one fan to another, please respect the artist and do not be that jerk who uses my designs and tutorials to build a copy of my work only to sell it on EBAY or trade/sale groups and forums. Thank You. Frank.
.
.
If you have a facebook account, why not join the Official Diorama Builders Fan Club today, simply click the logo link below.
 .
.
Catch up with fellow visitors and exchange stories, read cool interviews with the crew, exchange photos, fun surprises and grab some FAN ONLY merchandise next year at actual future conventions ?
.
©2018 Frank Diorio DioramaWorkshop.Com
.
IF YOU LIKE WHAT YOU SEE, PLEASE SHARE WITH YOUR FRIENDS
USING THE SOCIAL MEDIA BUTTONS BELOW