


-
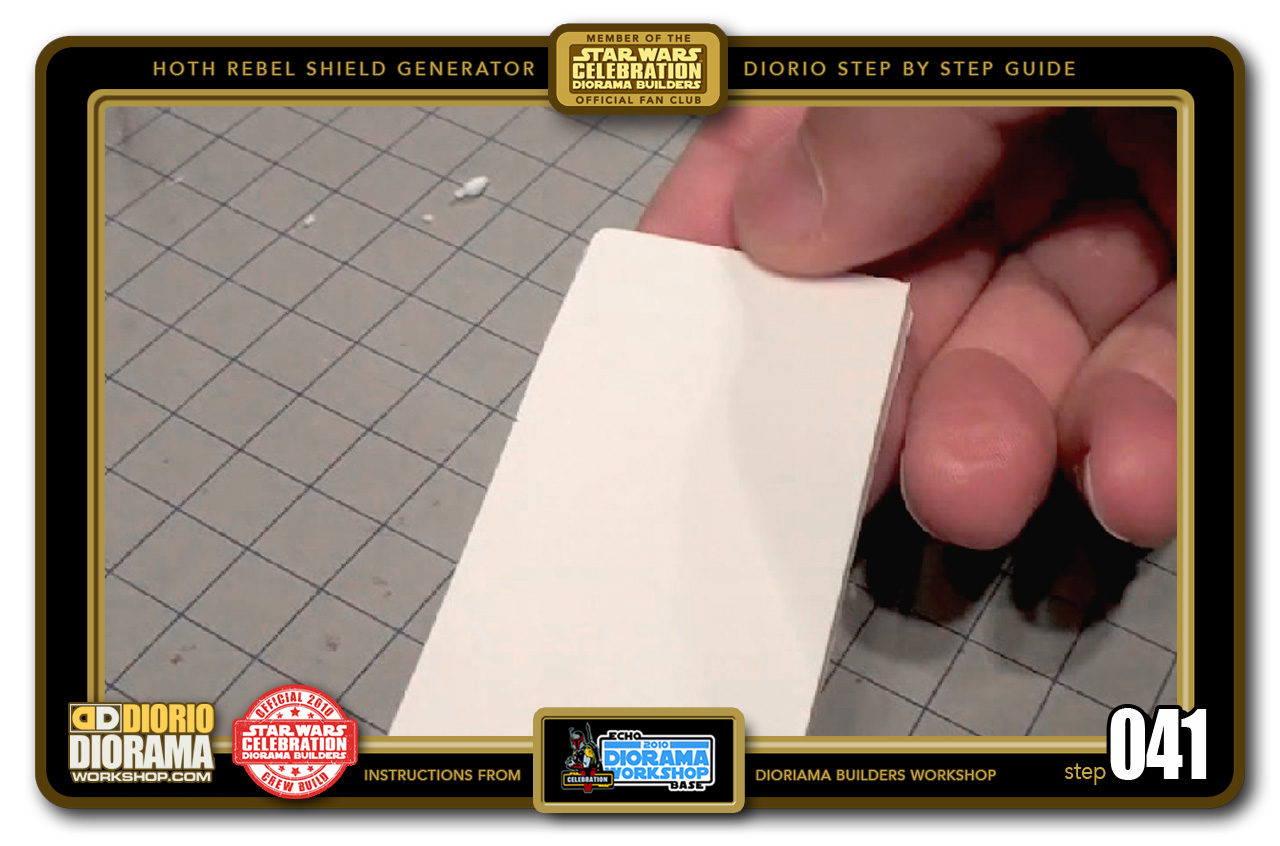
- STEP 041 > If you are successful, the back side of your foamcore strip will look like this, as if no slices were made.

-

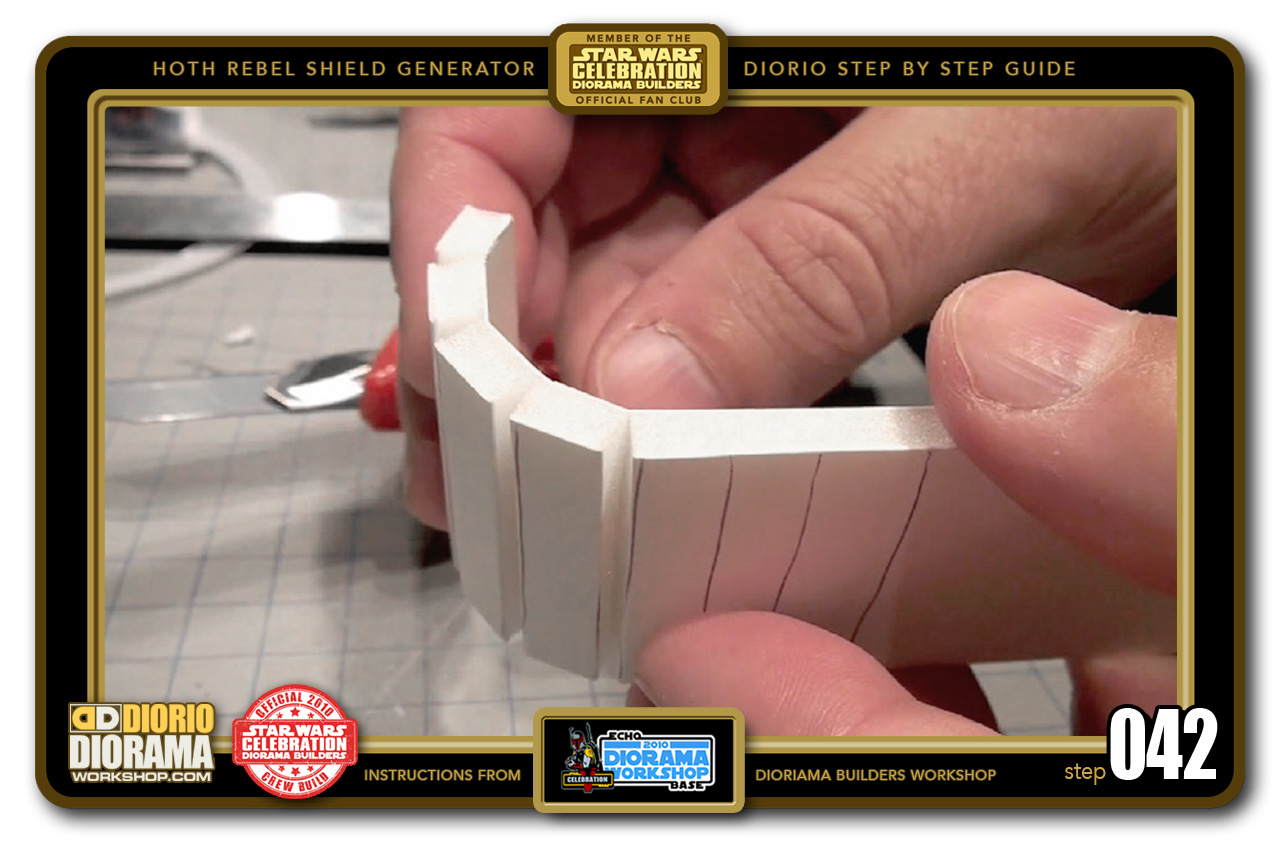
- STEP 042 > However, when you look at the other side, you will see your cuts. The more your bend (and hear a snapping sound) you will start to see your gaps expose themselves and stop at the other sides paper that was not cut. Carefully and slowly bend from one end of your strip to the other.
-

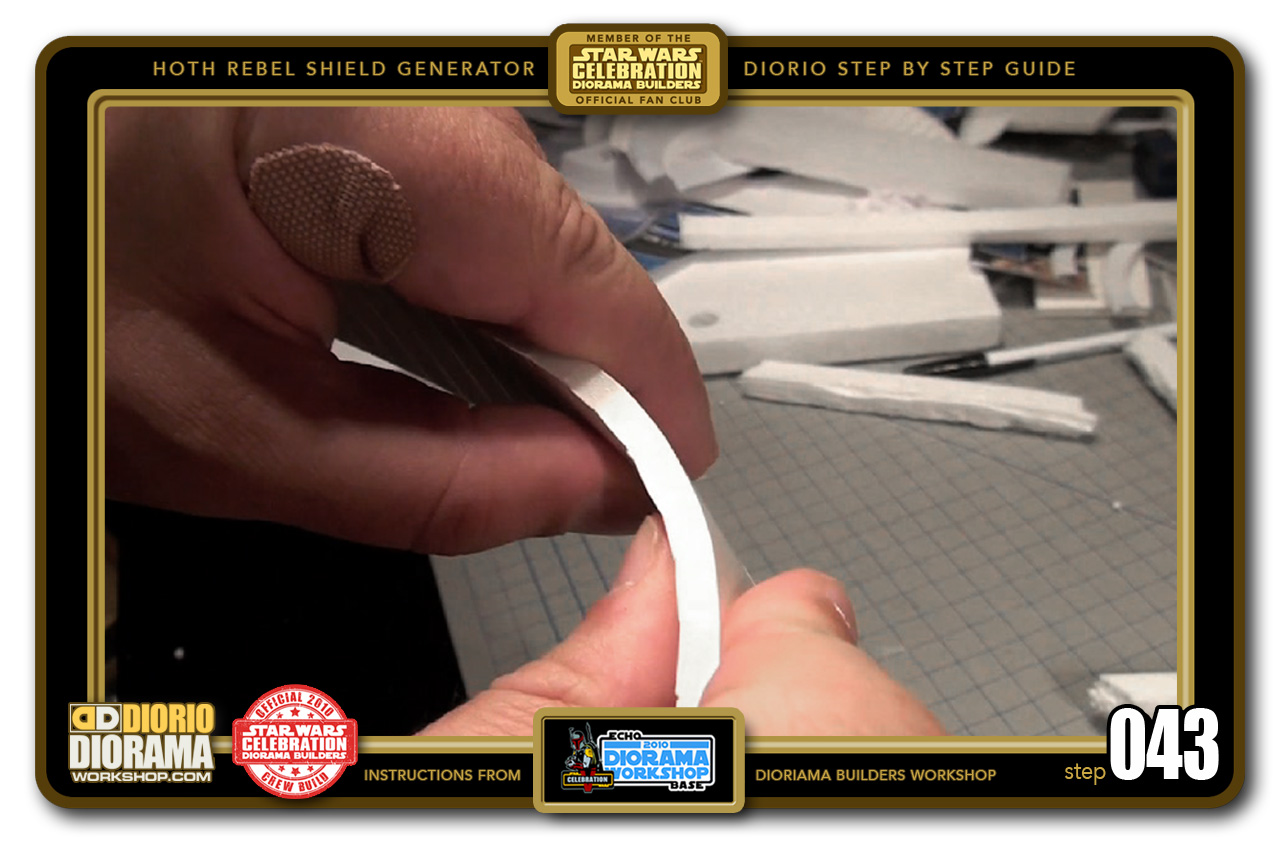
- STEP 043 > Now when you slowly bend from the back side, you can see the foamcore starts to have a curved effect.
-
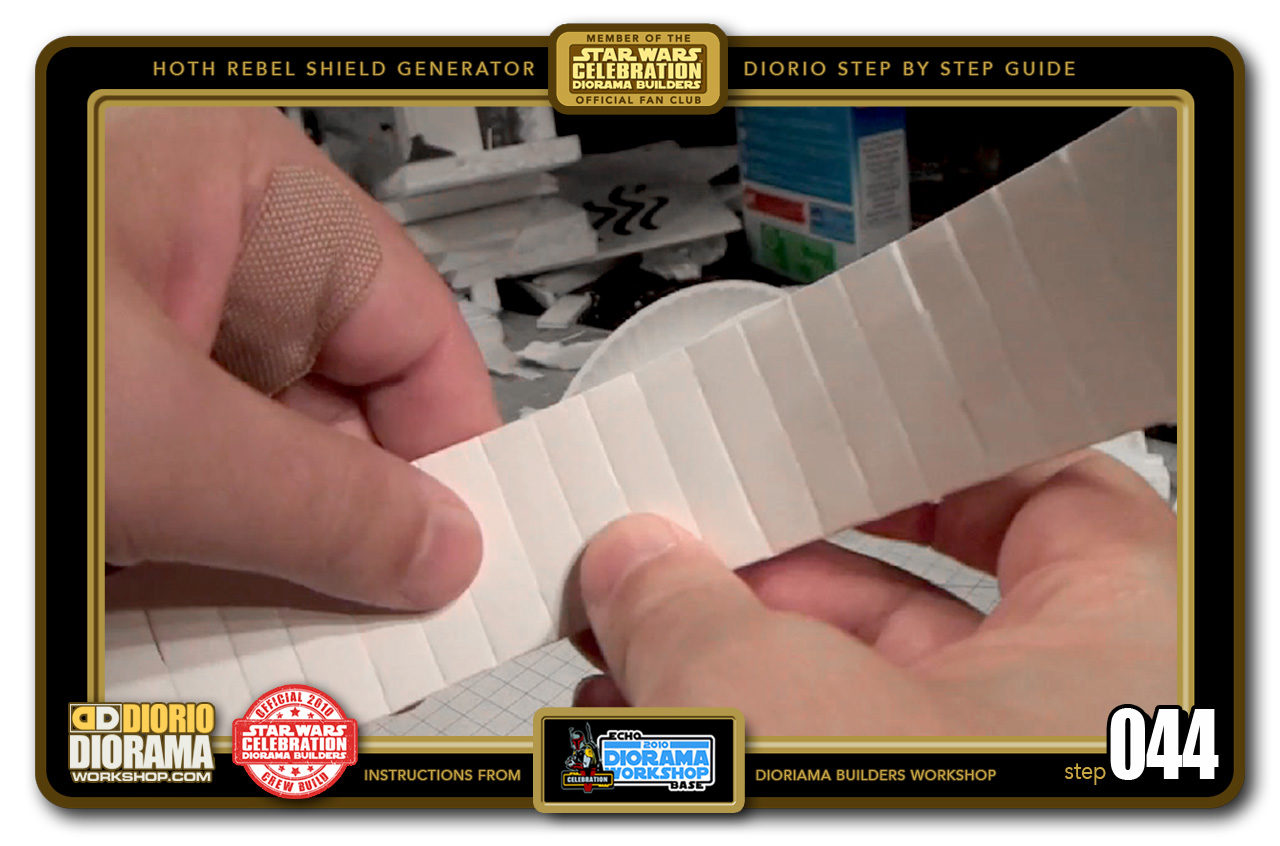
- STEP 044 > The trick here is to take your time, and bend the pieces close together with a firm grip. But not too firm that you will rip your strip in half 🙂

-
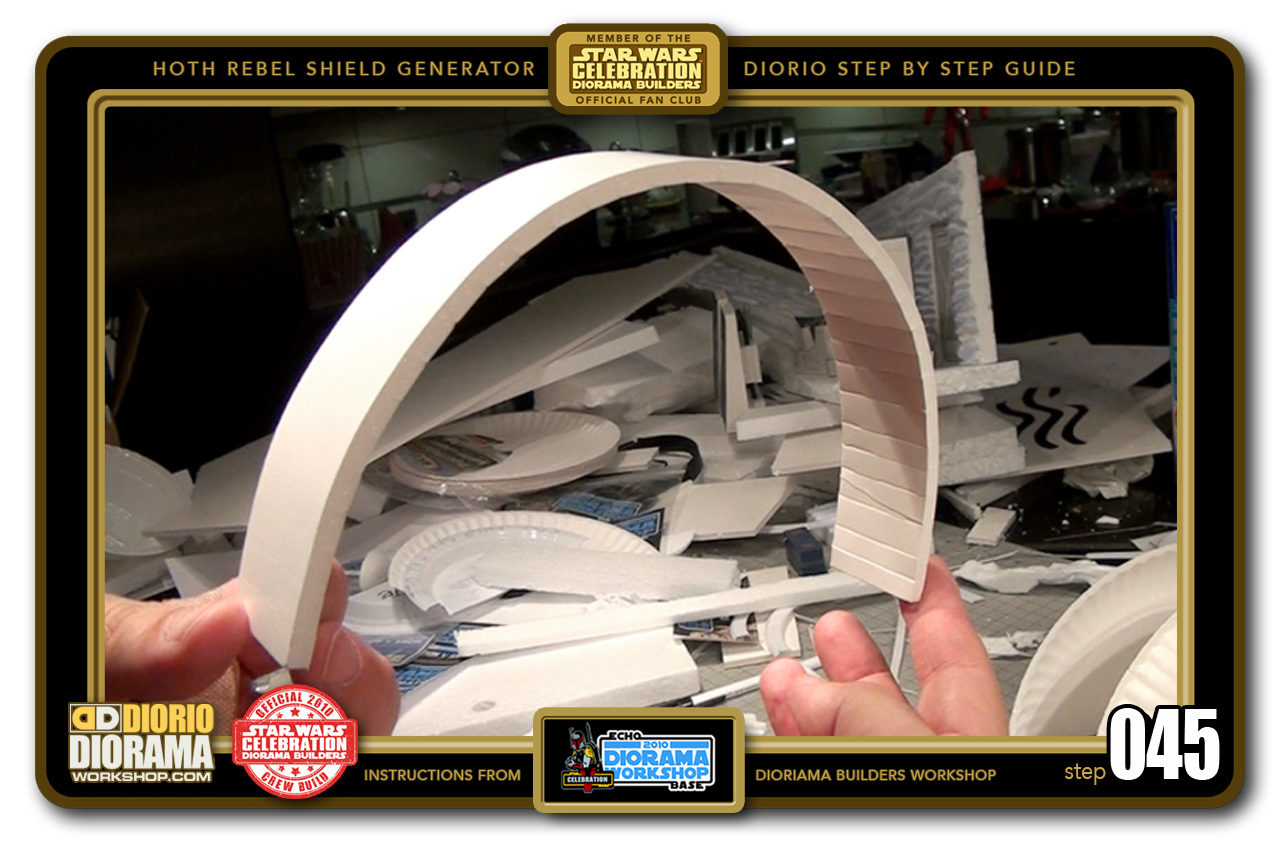
- STEP 045 > After a few minutes, you will see that your strip can now bend into a half circle shape.

-
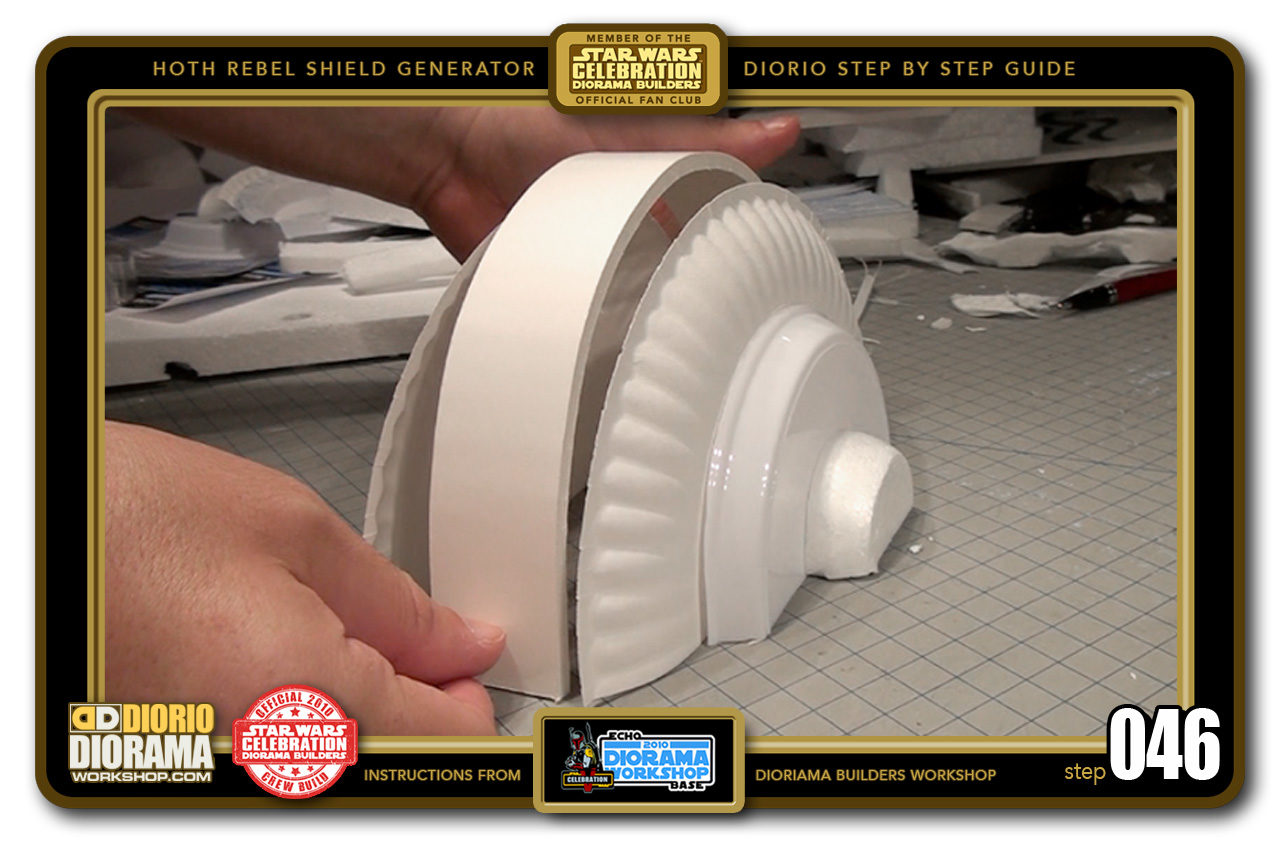
- STEP 046 > Your strip can now bend around and fit along the edges of your large paper plates. Time to glue the 2 halves together...

-

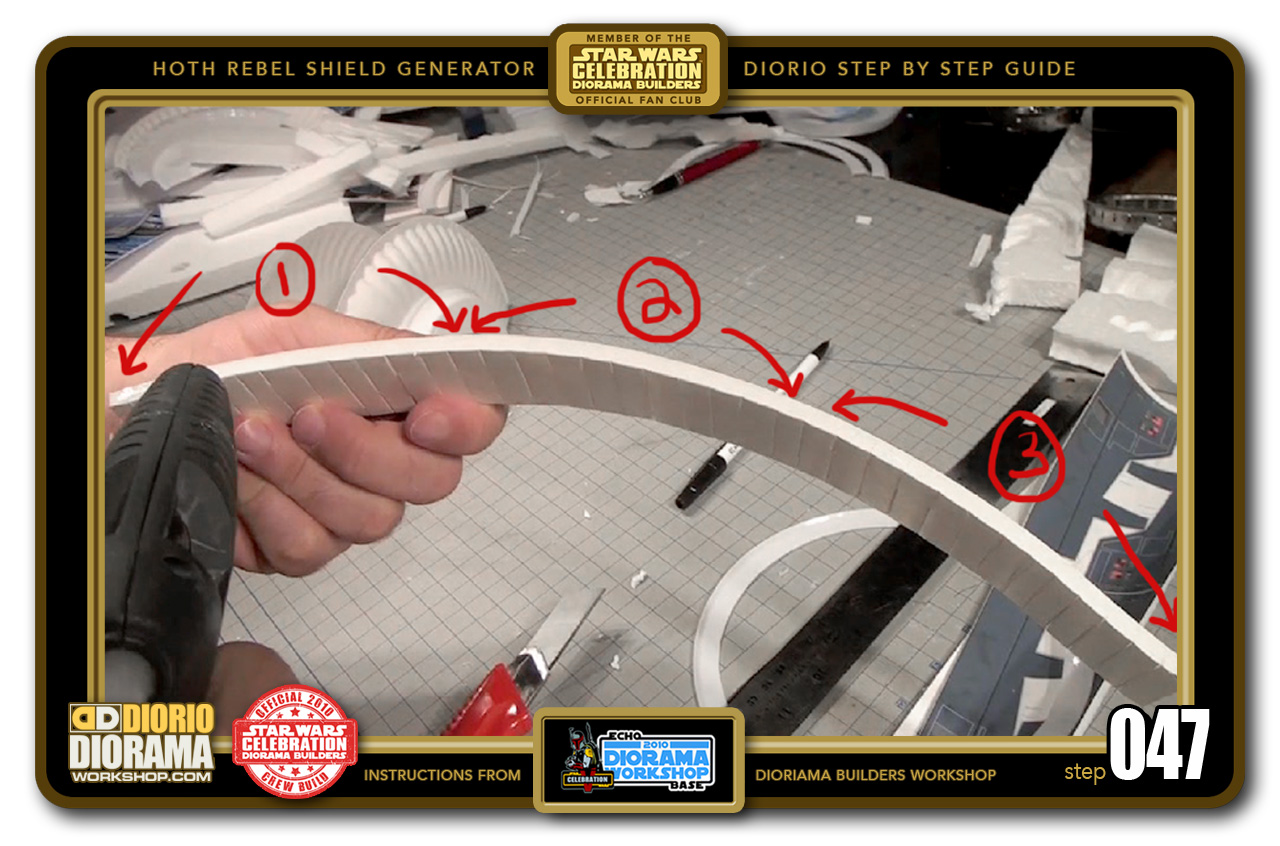
- STEP 047 > You cannot hot glue the entire strip in one sitting, as the hot glue will cool down before you get the chance to finish wrapping the entire half circle. You want to glue using 3 steps. Start with a line (1) of hot glue on one side of your strip.
-
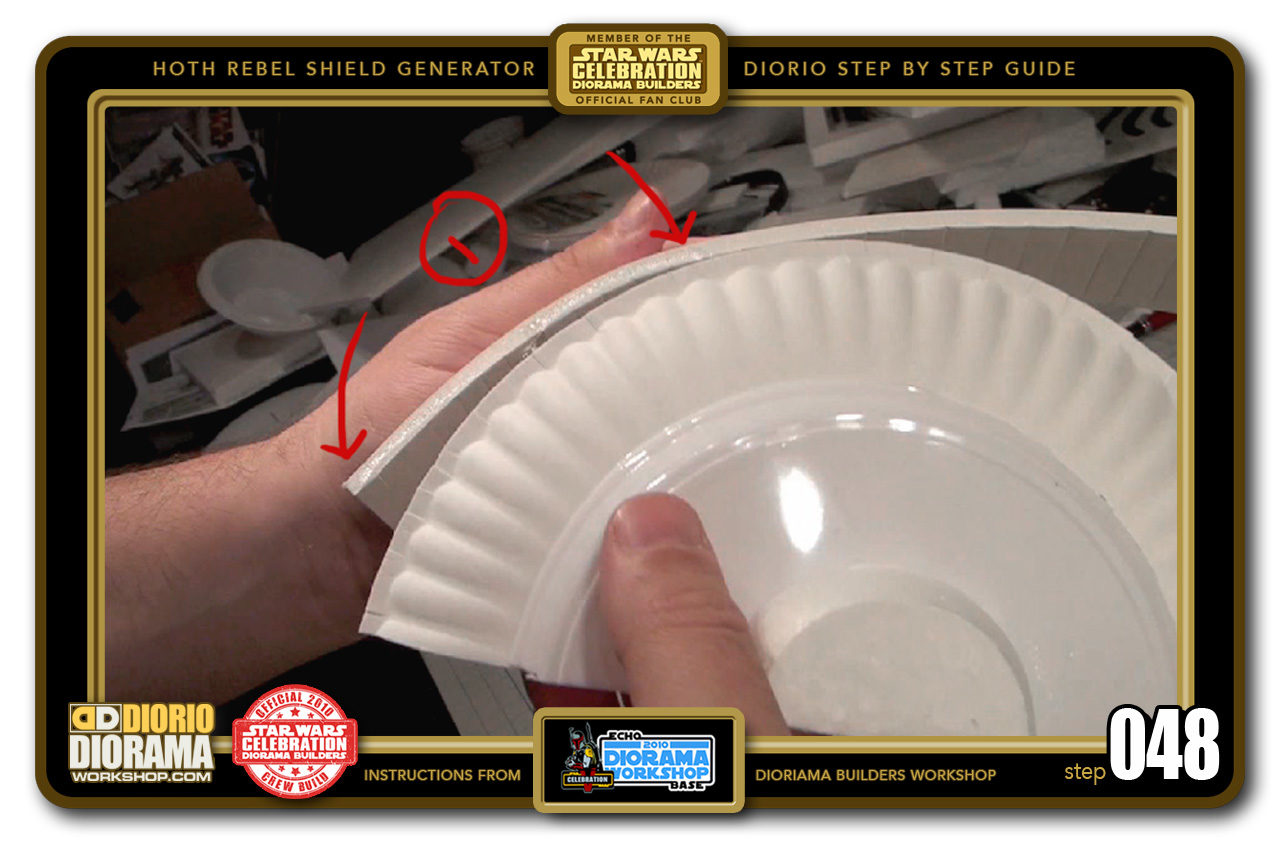
- STEP 048 > Grab one of your large paper plate halfves and align it with the end tip of your strip. Carefully curve your strip to follow the shape of your large paper plate and press the 2 pieces together.

-
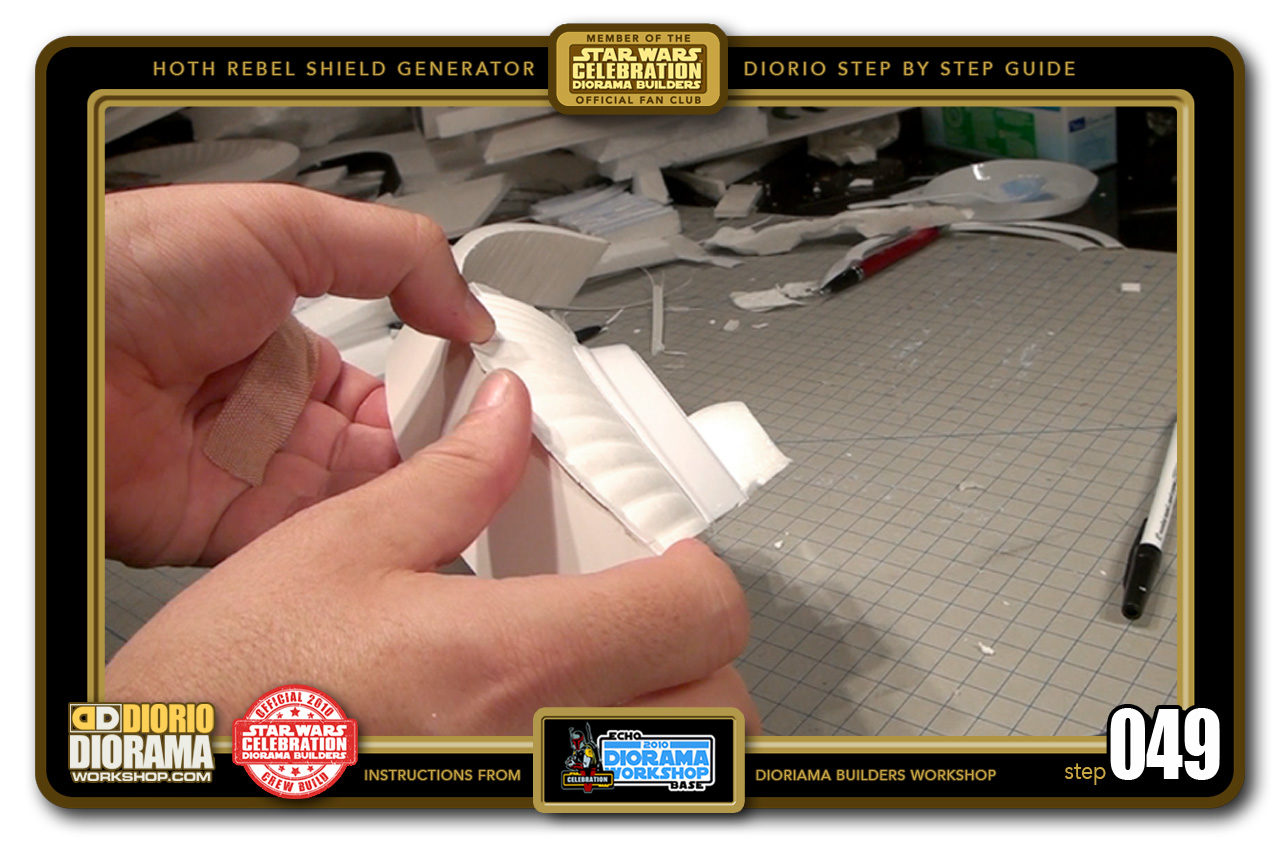
- STEP 049 > Keep light pressure with your hands for a few seconds to let the hot glue cool down so that it doesn't pop apart with the next steps.

-

- STEP 050 > Test your strips curve along the large paper plate to make sure it wraps properly.

-
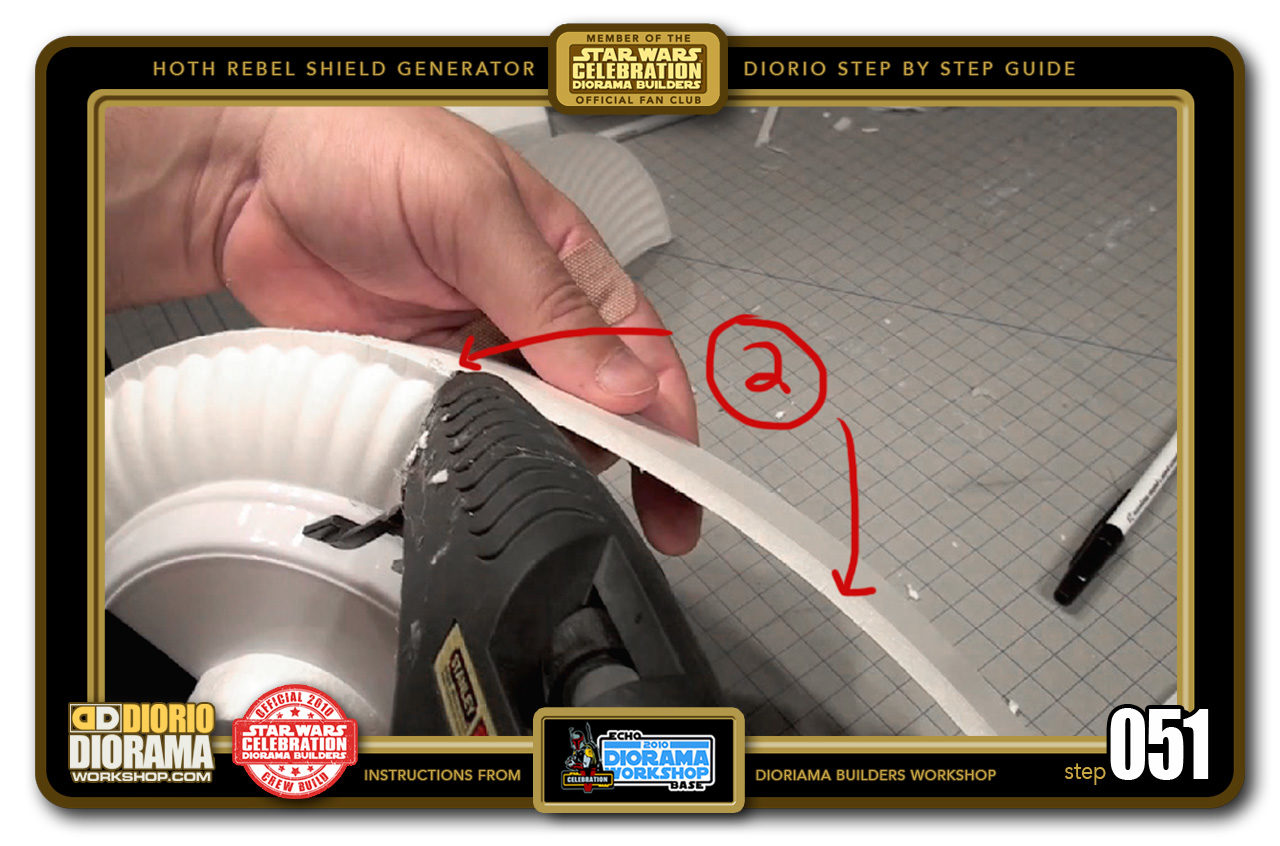
- STEP 051 > Now place a line of hot glue along the middle of the strip (2) making sure you only apply 5-6" DO NOT GO ALL THE WAY TO THE END.

-
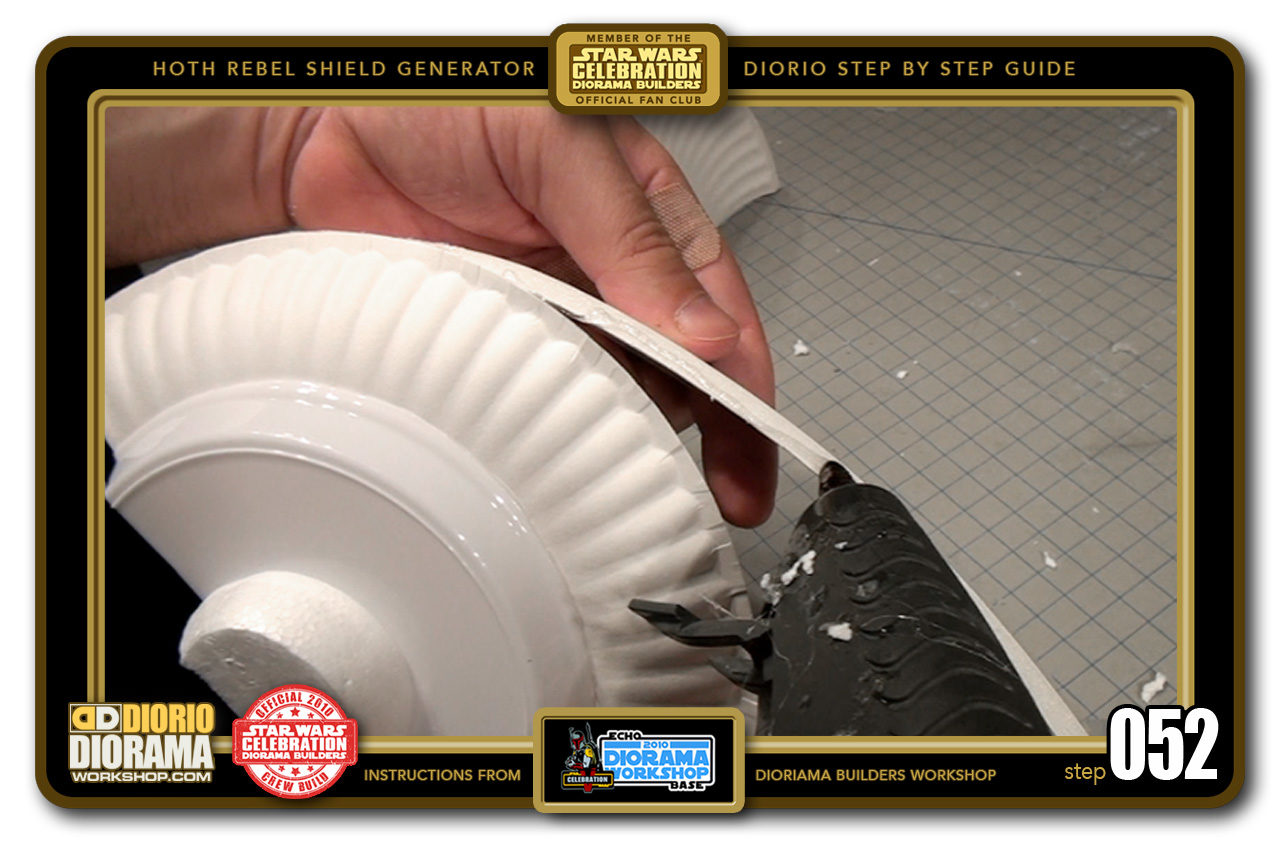
- STEP 052 > This better shows you where to stop your line of hot glue.

-

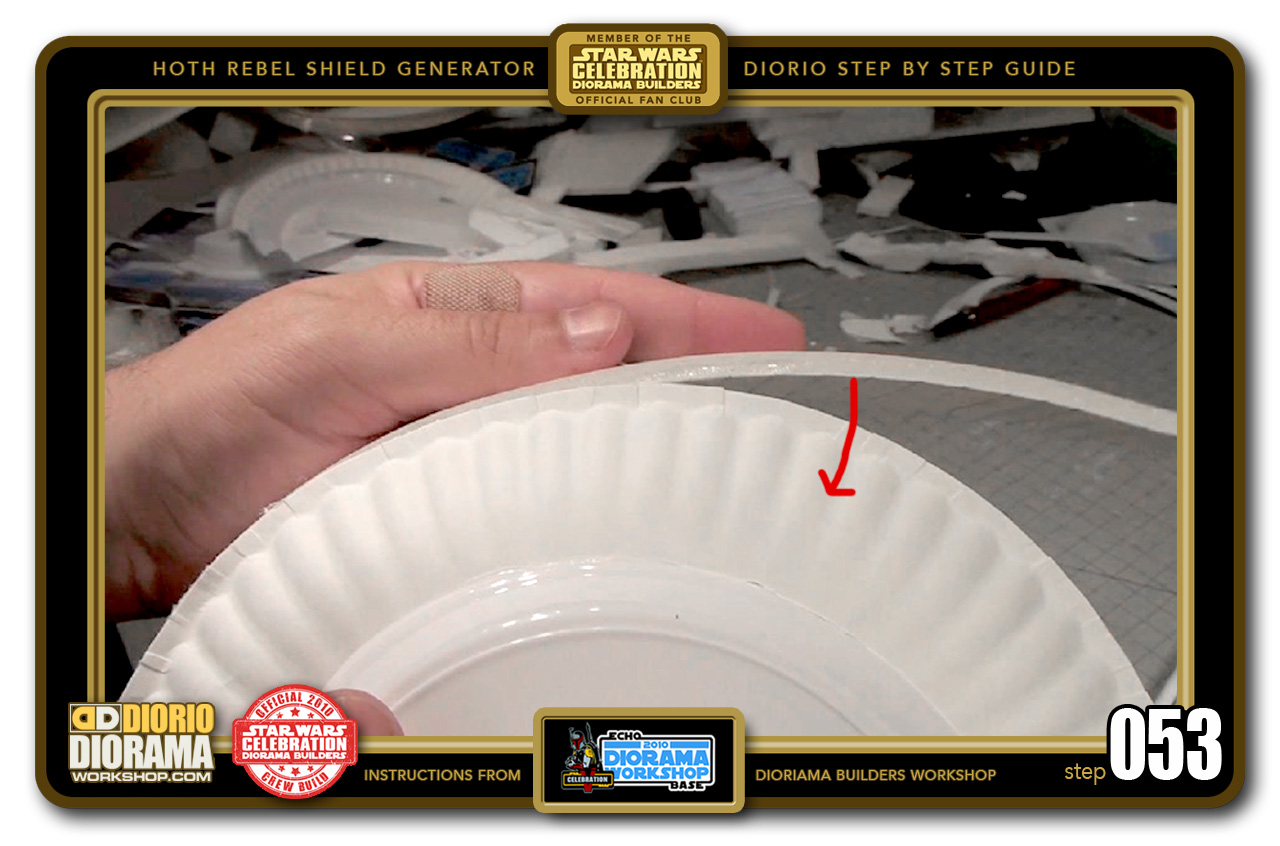
- STEP 053 > Now carefully as before, bend your strip to match the curve of your large paper plate, and then gently press the 2 pieces together.
-

- STEP 054 > Gently keep pressure on the center part, until the hot glue cools down. Make sure that when you align the 2 pieces, the plate edges are FLUSH with the TOP of your strip.

-
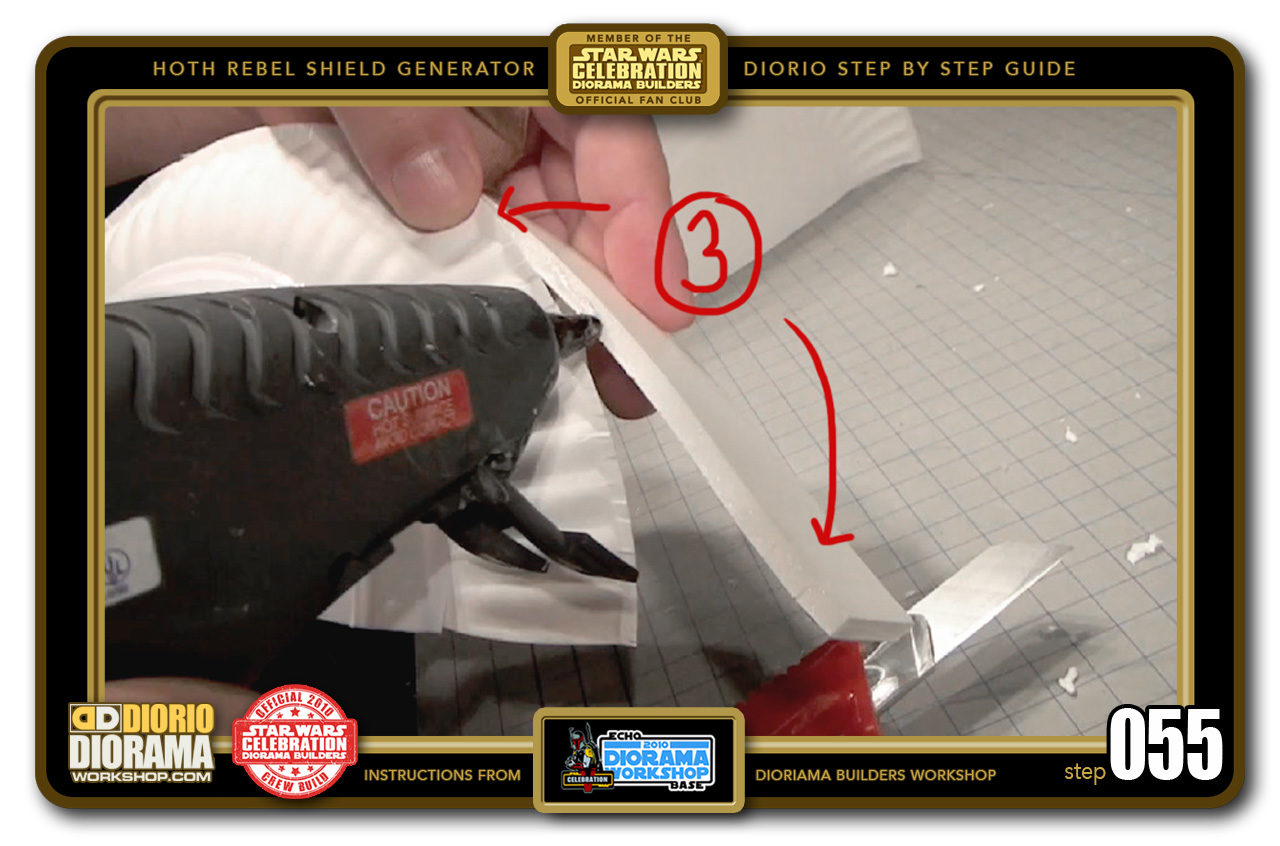
- STEP 055 > Last but not least, place a line of hot glue along the rest of your strip (3).

-

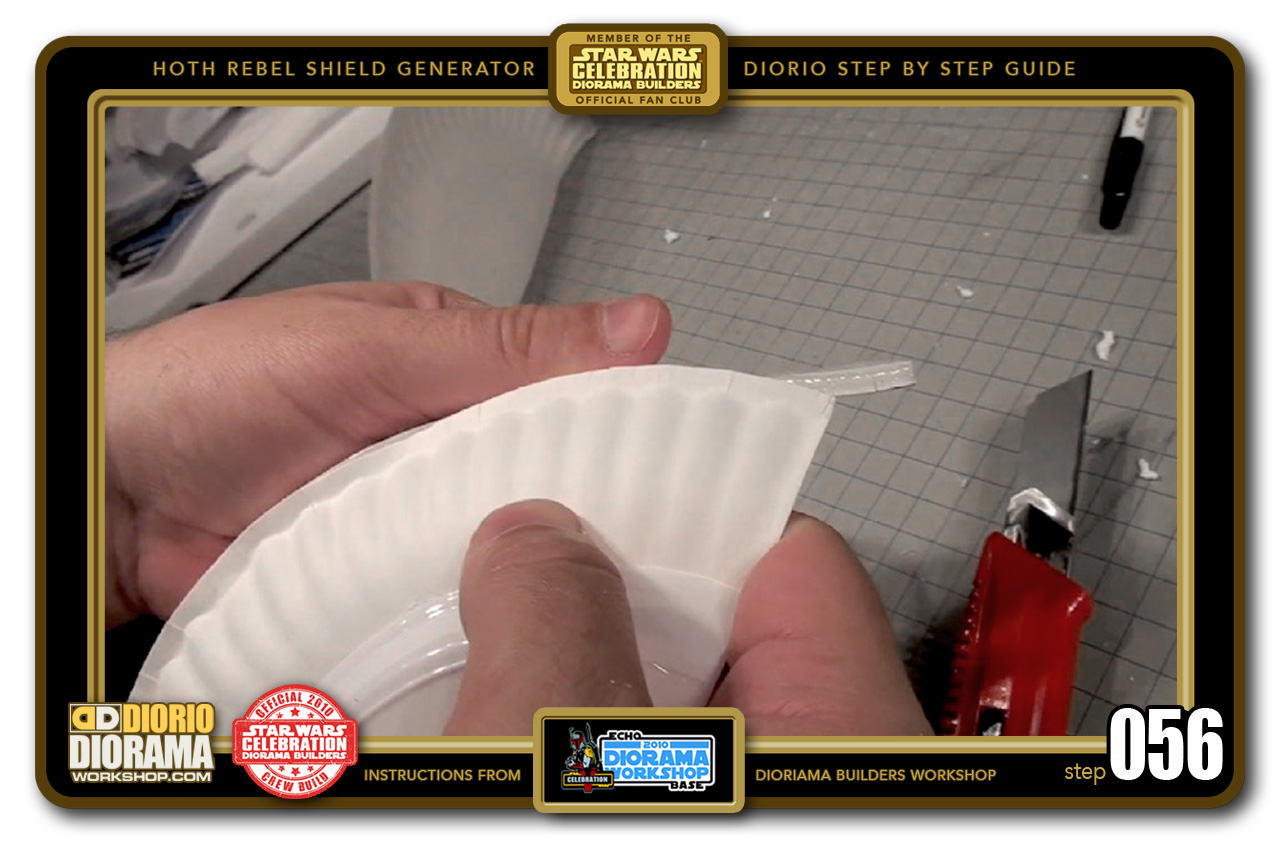
- STEP 051 > Align and press the 2 halves together as before. Do not worry if the strip goes past the plate, this is done on purpose to give a clean end and avoid a gap when placed on the ground.
-
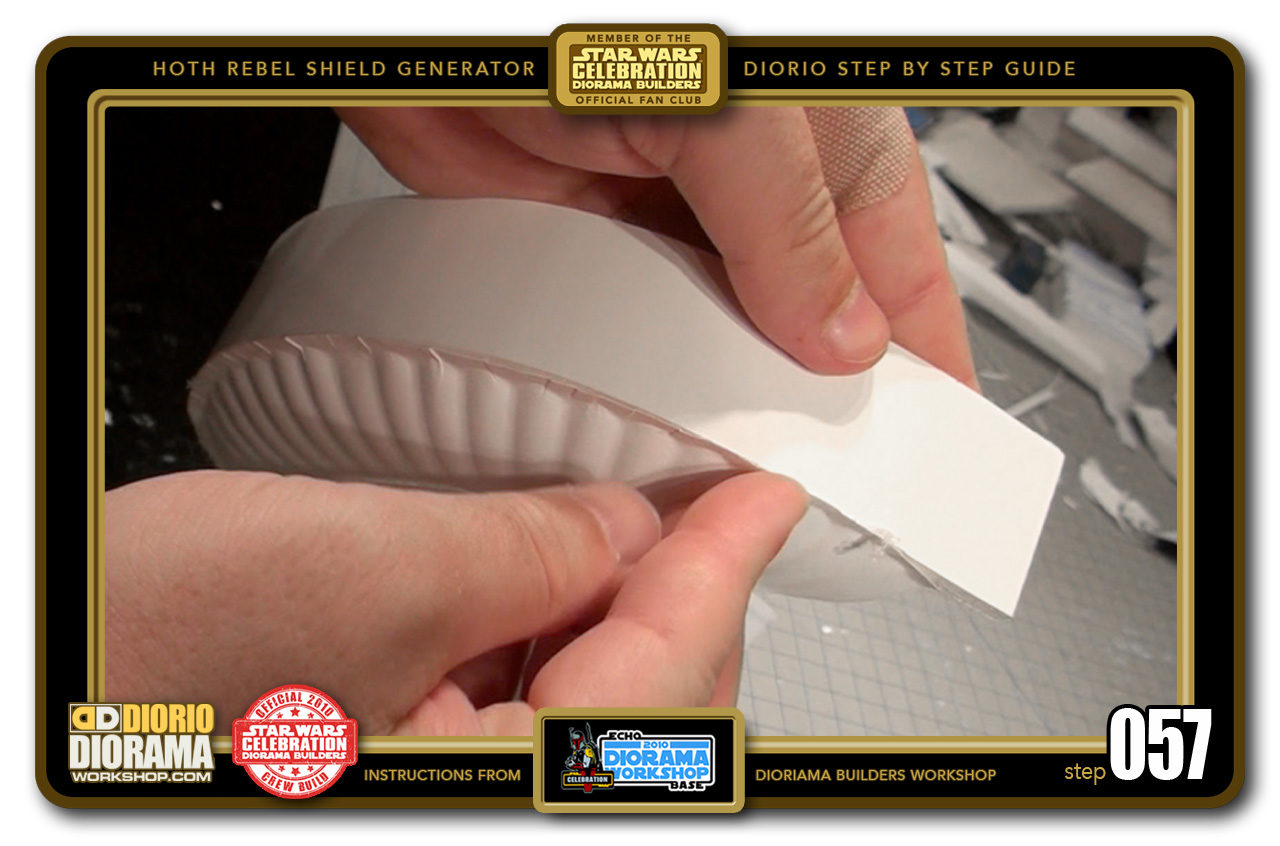
- STEP 057 > Gently press with your fingers as before until the hot glue cools down.

-

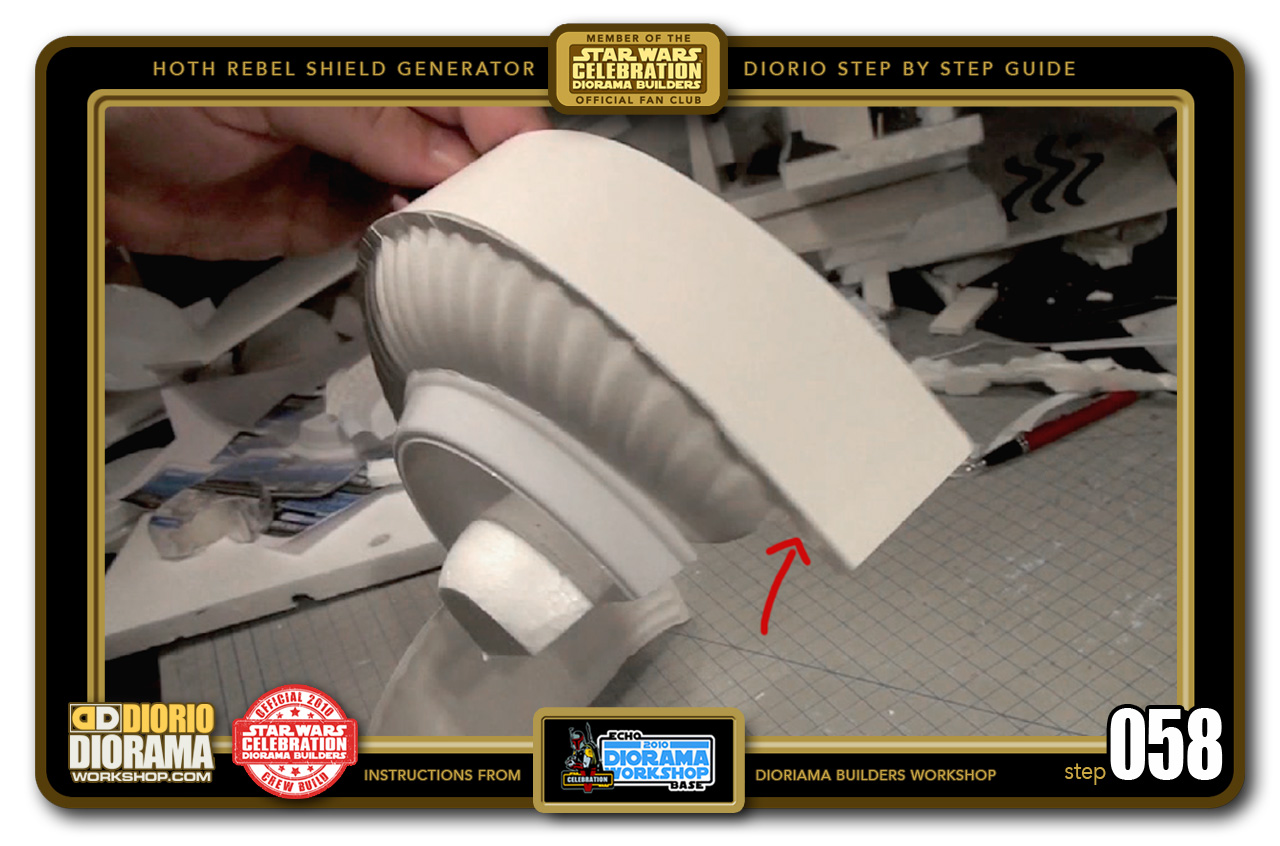
- STEP 058 > Here is a better view of the excess strip that peeks past the plate's bottom corner. We will slice this off later in Step 066.
-

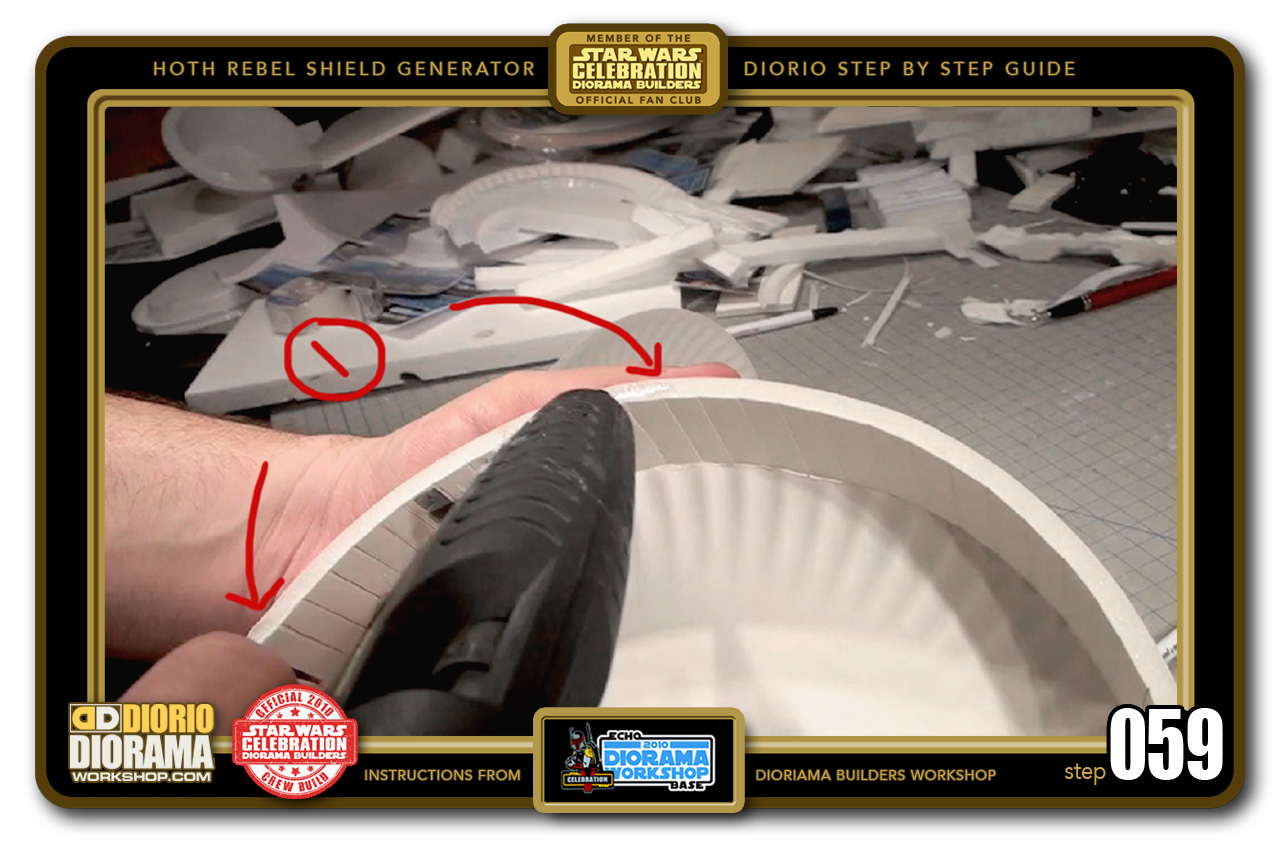
- STEP 059 > Time to start the other side of your shield generator section. As before, hot glue only along the first 1/3 of your strip (1)
-
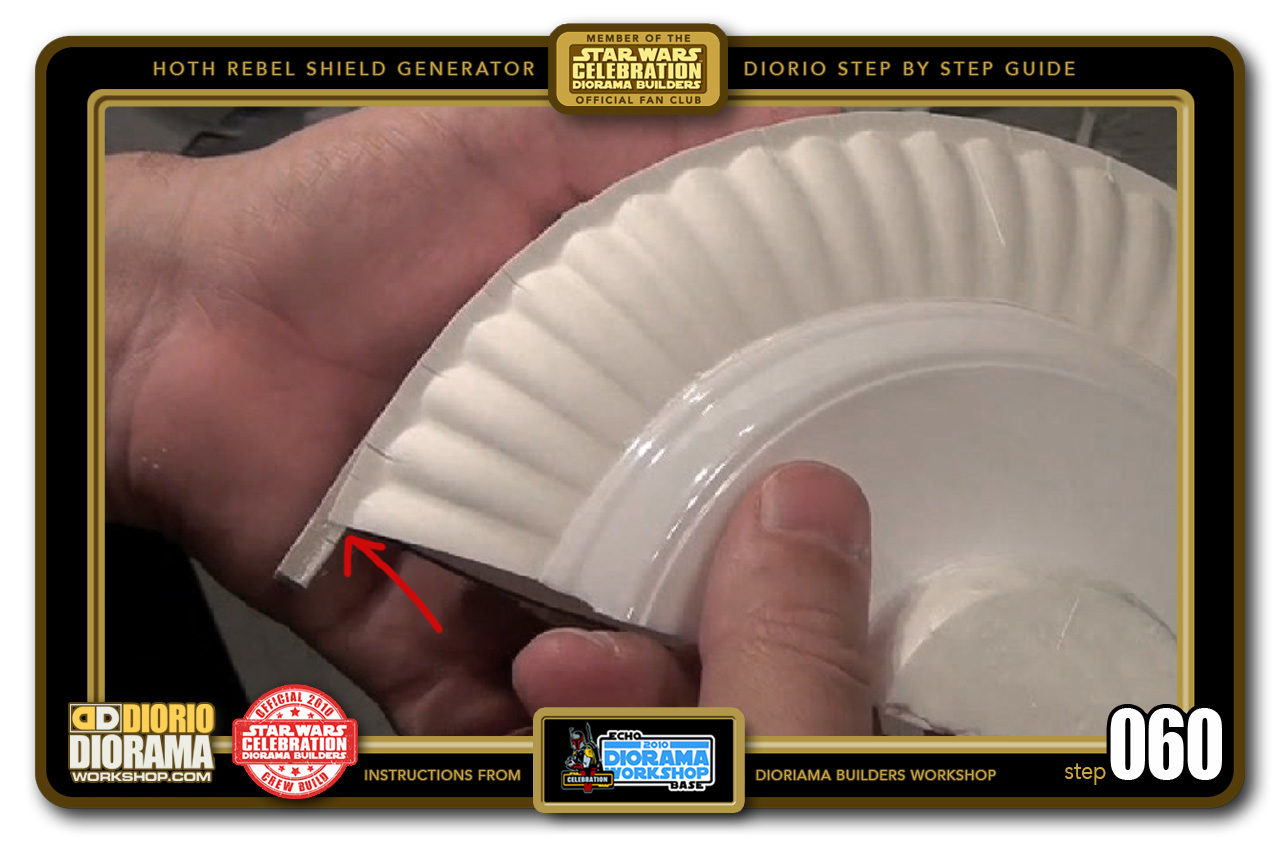
- STEP 060 > Place your 2nd large paper plate half along the strip edge. Now if you start at the corner where the strip is longer, make sure to compensate the starting point of your plate (red arrow) as this will be sliced off. We don't want to cut into the plate itself.


.
Did you already build this Diorama ? At home or at our Star Wars Celebration Diorama Builders workshop ? Would you like to show it in the site’s GALLERY VISITORS DIORAMAS section, YES ? That is Awesome !!! You can find out all the details on how to email me your photos on the VISITORS SUBMISSIONS INFO page … When I get your photos, I will create your very own page just like this one. You may not realize it but work does inspire others to join in the fun of making Action Figure Dioramas.
.
NOT FOR RESALE ALL Decals, tutorials and artwork are ©FrankDiorio (dioramaworkshop.com) and offered FOR FREE to the fans – that would be you ? so you can build and display my diorama designs in your very own home. I realize I cannot control what one does with my graphics once I place them on the web, I can only ask you as one fan to another, please respect the artist and do not be that jerk who uses my designs and tutorials to build a copy of my work only to sell it on EBAY or trade/sale groups and forums. Thank You. Frank.
.
.
If you have a facebook account, why not join the Official Diorama Builders Fan Club today, simply click the logo link below.
 .
.
Catch up with fellow visitors and exchange stories, read cool interviews with the crew, exchange photos, fun surprises and grab some FAN ONLY merchandise next year at actual future conventions ?
.
©2018 Frank Diorio DioramaWorkshop.Com
.
IF YOU LIKE WHAT YOU SEE, PLEASE SHARE WITH YOUR FRIENDS
USING THE SOCIAL MEDIA BUTTONS BELOW