


-

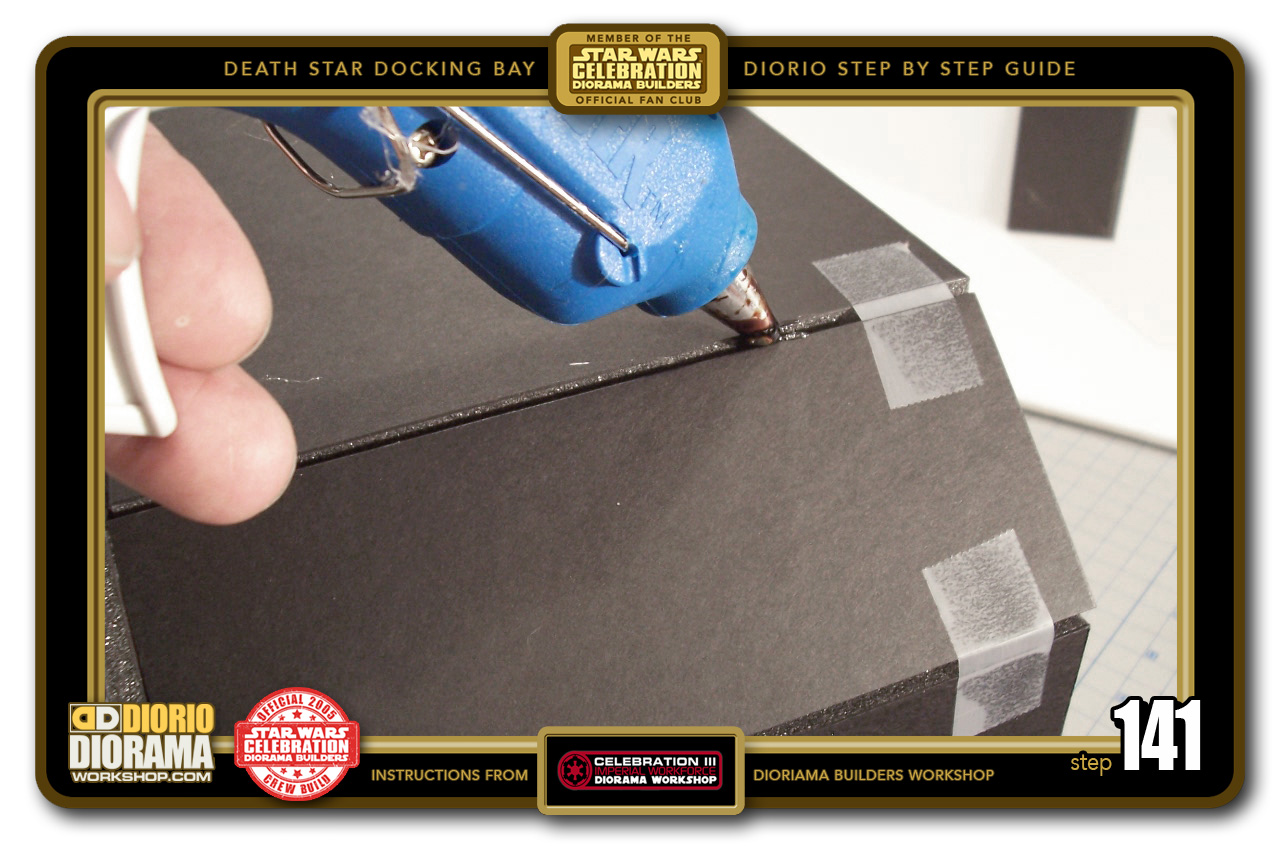
- STEP 141 > Take the Hot Glue Gun and squeeze some glue into each of the joints. Like putting mustard on a hot dog 🙂 Wait a minute or two until the hot glue cools down before spinning the Elevator to the other side. Now fill in the remaining joints and let those cool.
-

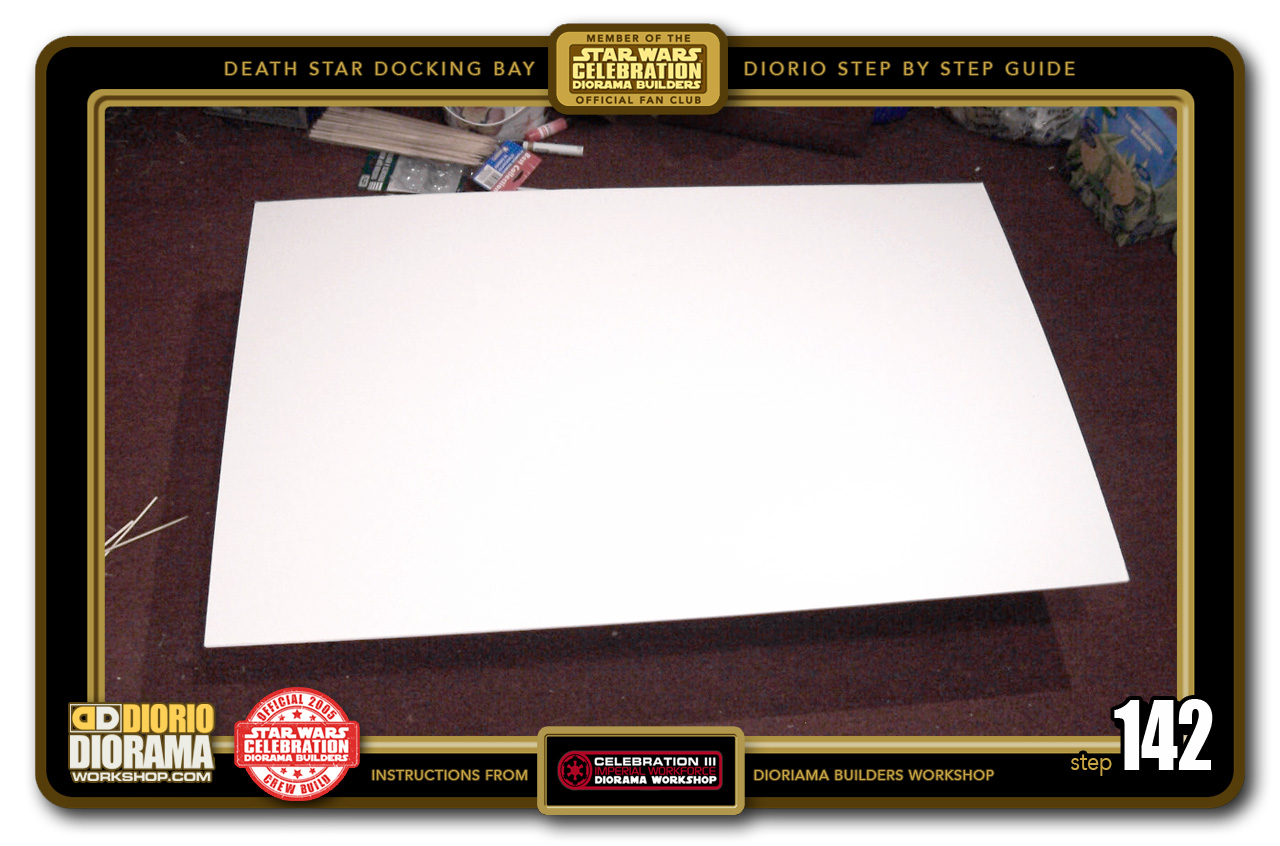
- STEP 142 > Grab your floor base sheet of foamcore. This size can be modified to fit your display space at home. Not everyone has room to make it exactly this huge.
-
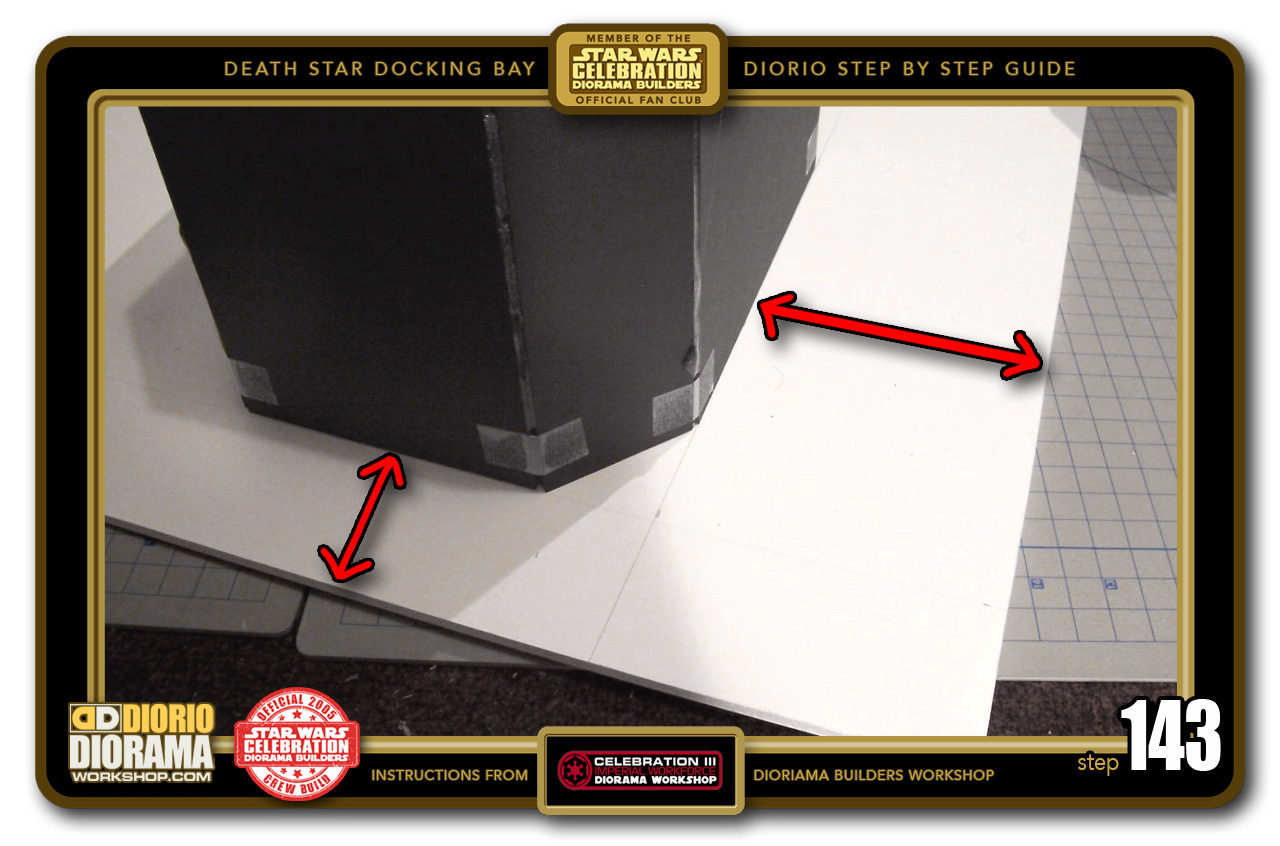
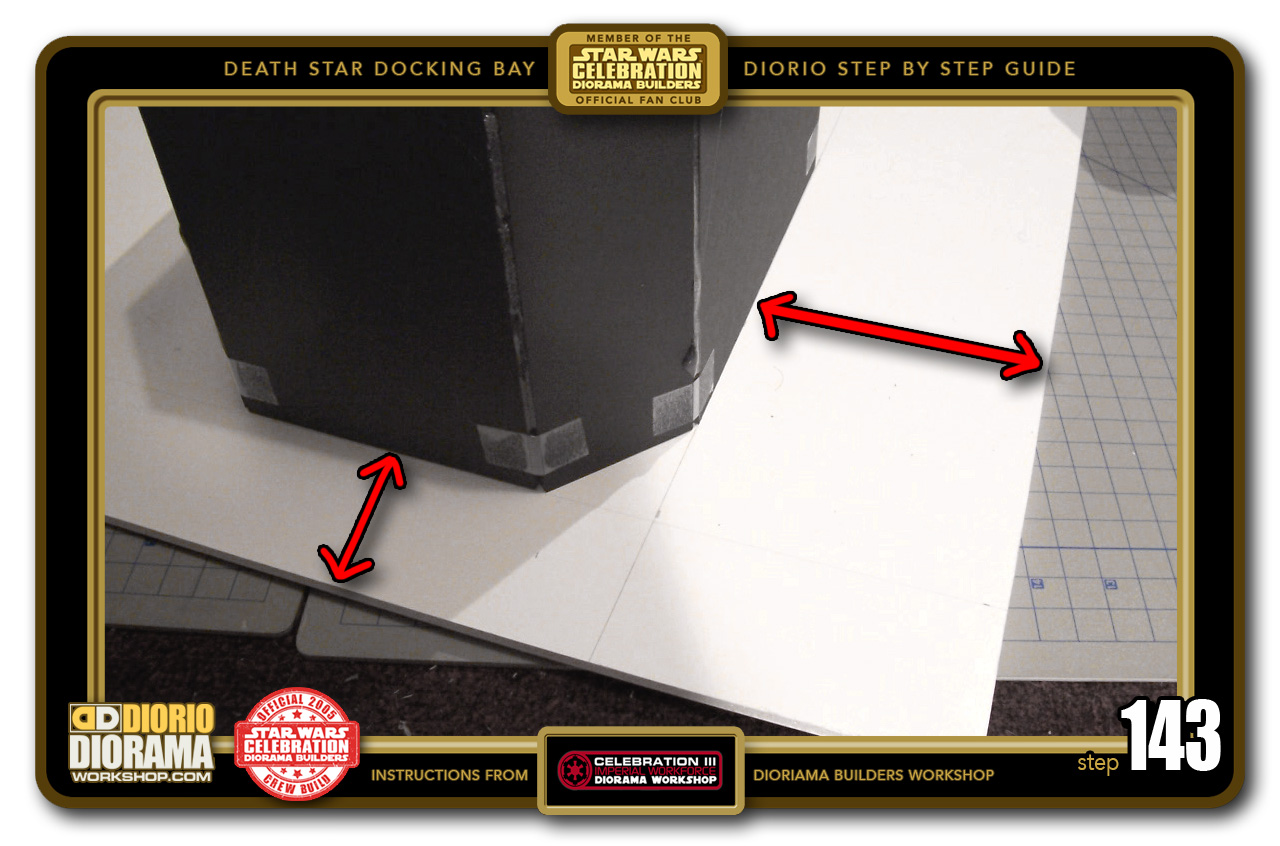
- STEP 143 > Turn the elevator upside down. Place it in a distance that you like. Make sure that the side is at least double of the front to allow more room for the placement of the underneath connection braces (that hold the 2 floor pieces level together). Use a pencil and trace all the way around the Elevator Base.
-

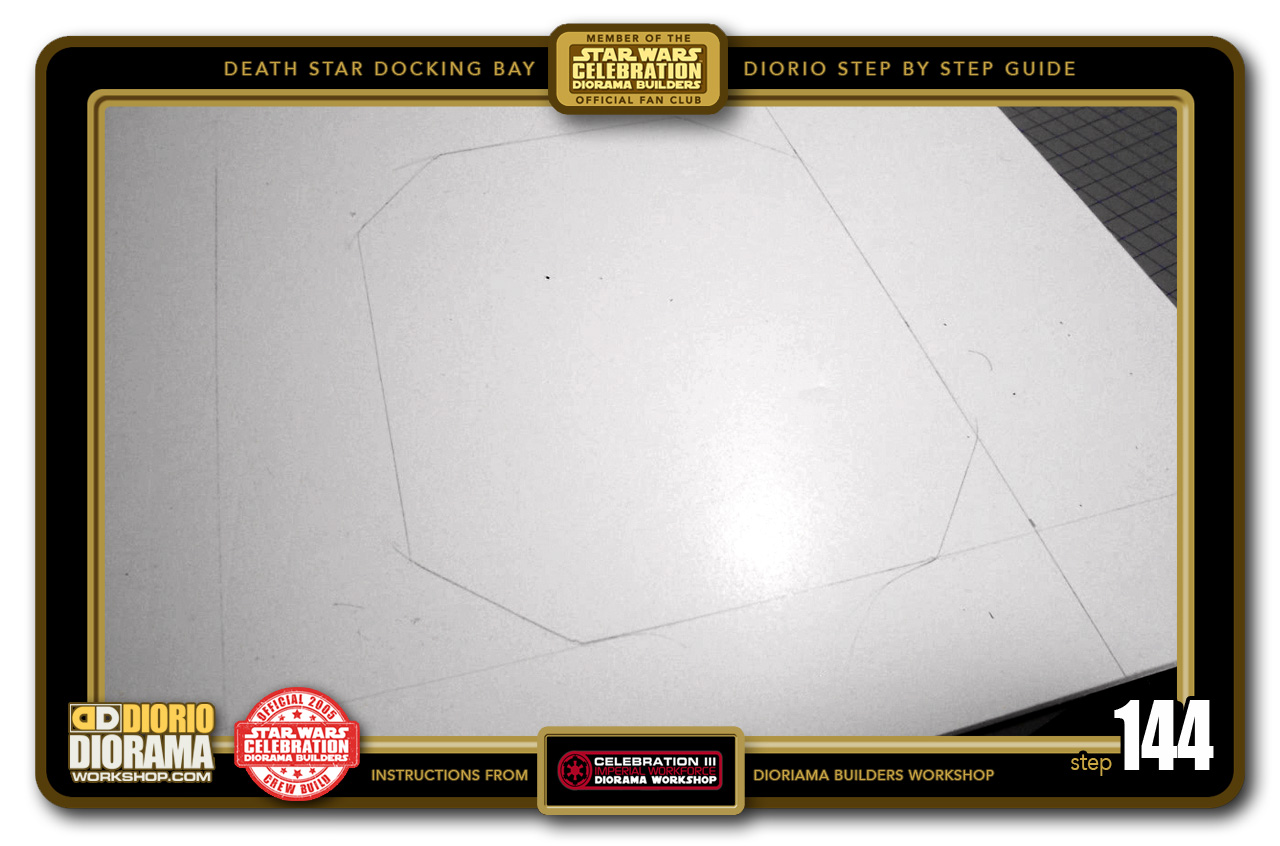
- STEP 144 > Once you have traced your elevator shape, you need to substract the wall thickness before you cut.
-

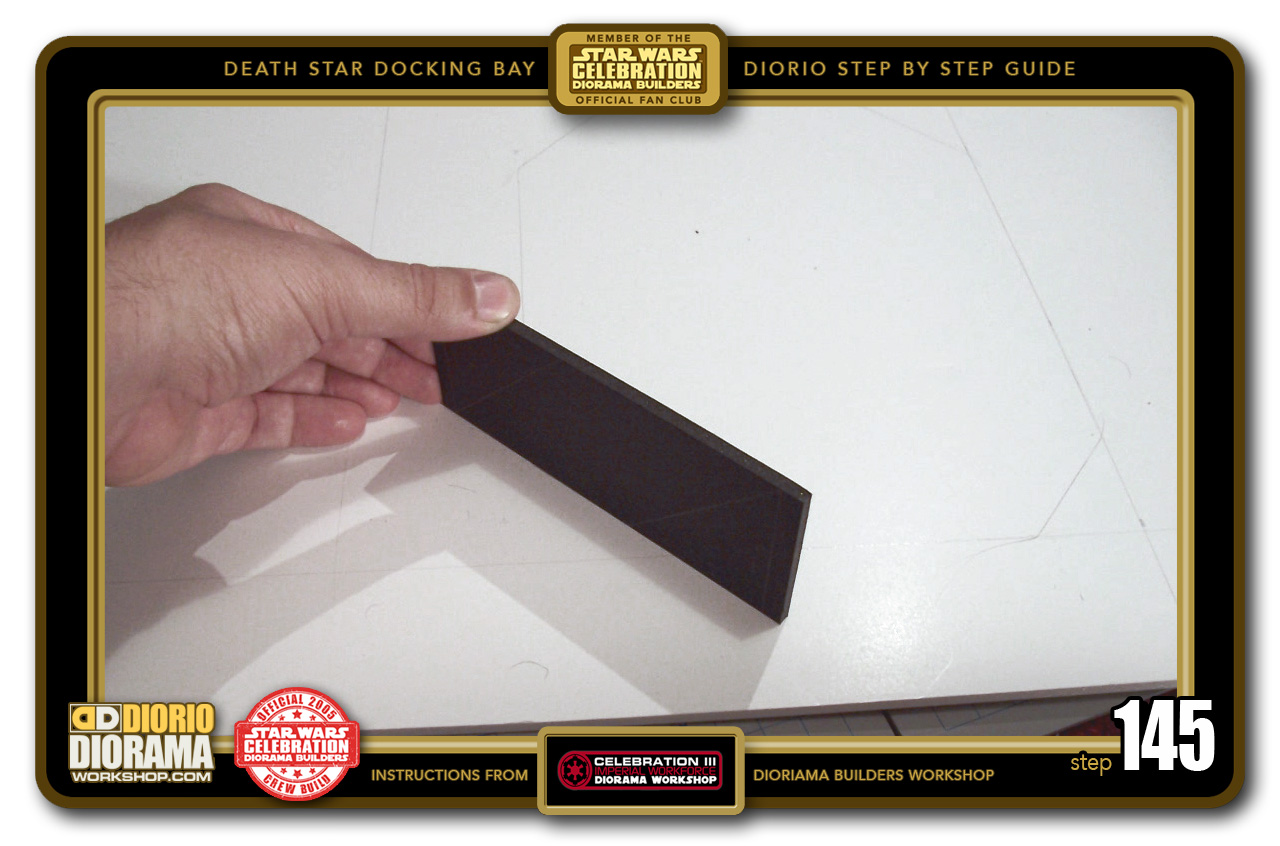
- STEP 145 > In order to do this, take a piece of scrap foamcore and place the back of it along your traced line. Then trace a line with your pencil on the front side of the Foamcore scrap which is the side that faces the center of the elevator shape.
-

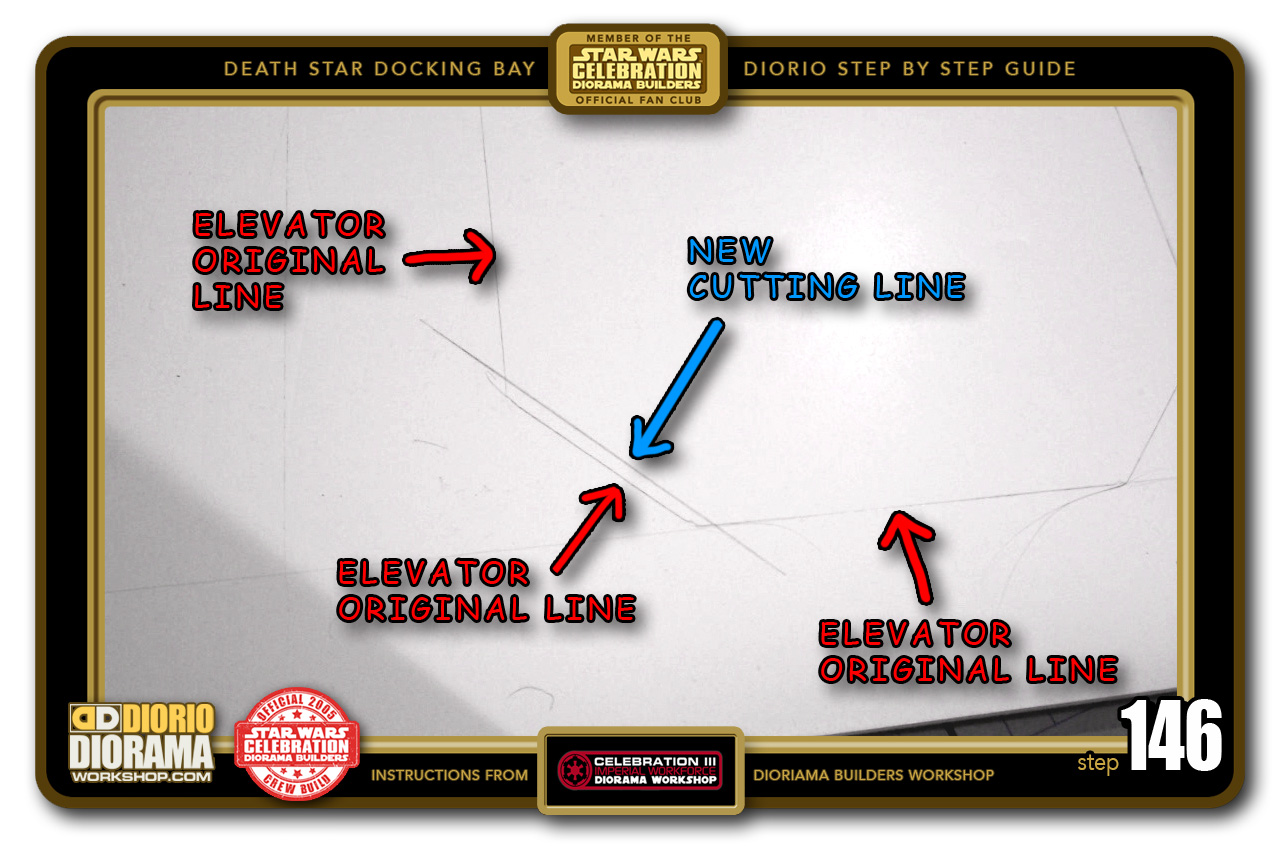
- STEP 146 > This shows you the exact thickness of your Elevator wall. This thickness is where you will put the hot glue and where the elevator will connect with the floor in a perfect FLUSH angle that will allow you to properly apply your decals later.
-
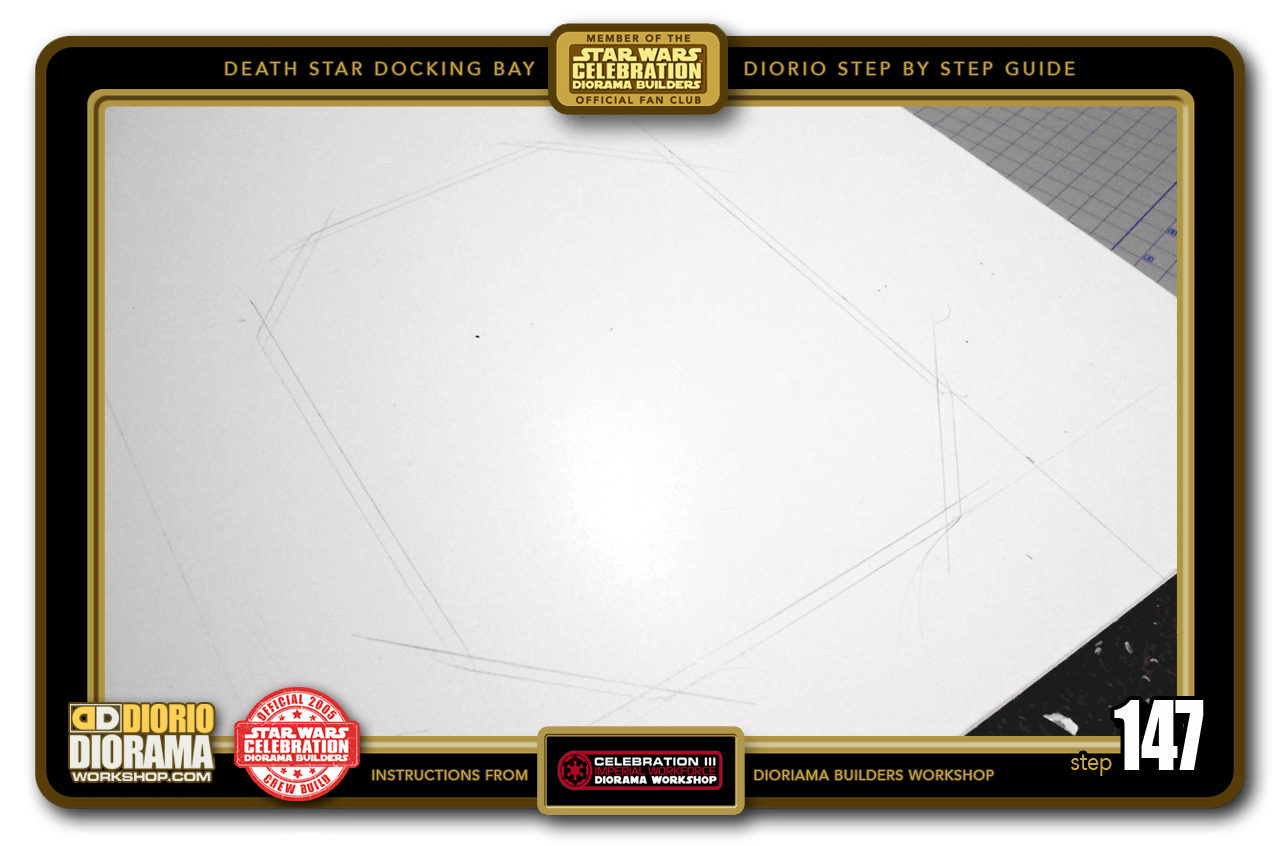
- STEP 147 > Repeat this technique for all sides of your elevator making sure you see a new connected shape inside the original shape you traced in Step 143. We are ready to cut.

-

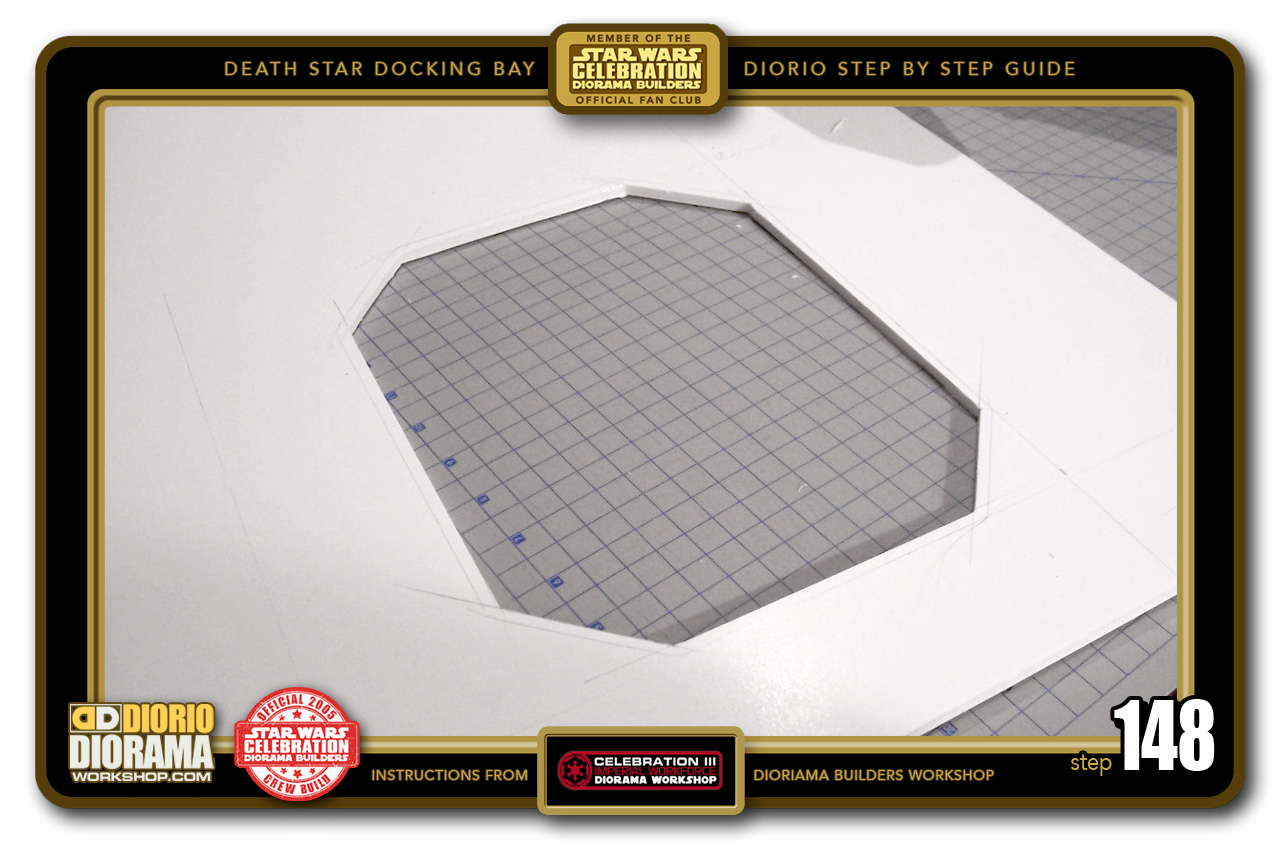
- STEP 148 > WARNING... Make sure to CUT ALONG THE INSIDE LINE !!!! If you cut the original outside Line, your Elevator Box will simply fall right through the hole. We DON'T want THAT 🙂 IMPORTANT: KEEP THE CENTER POP OUT for use in Step 162.
-

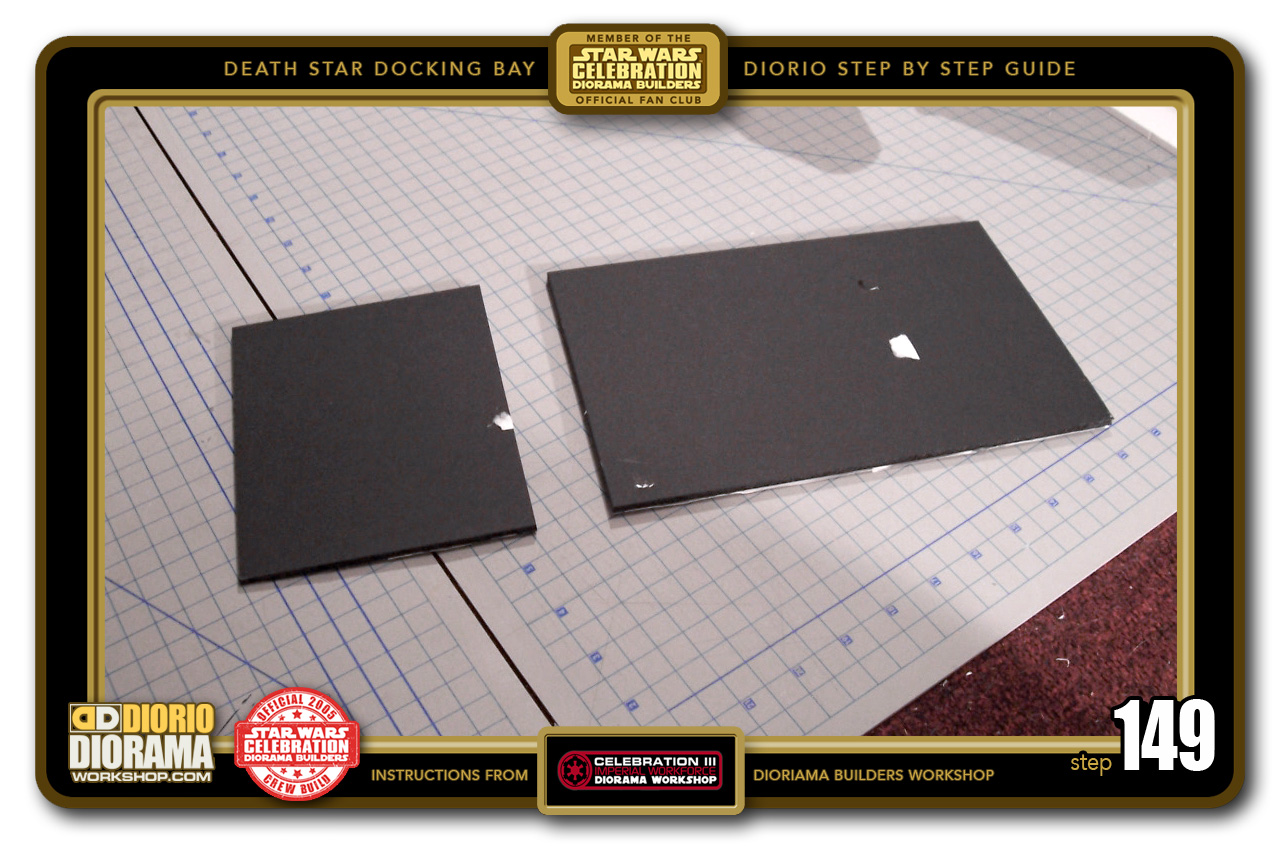
- STEP 149 > The diorama floor needs to be raised evenly to the same height as your elevator unless you want to saw a hole in your display table 🙂 Since all this will be hidden from view, you can save some money and use some Scrap pieces. The width doesn't matter as long as the height is 15cm you are fine.
-
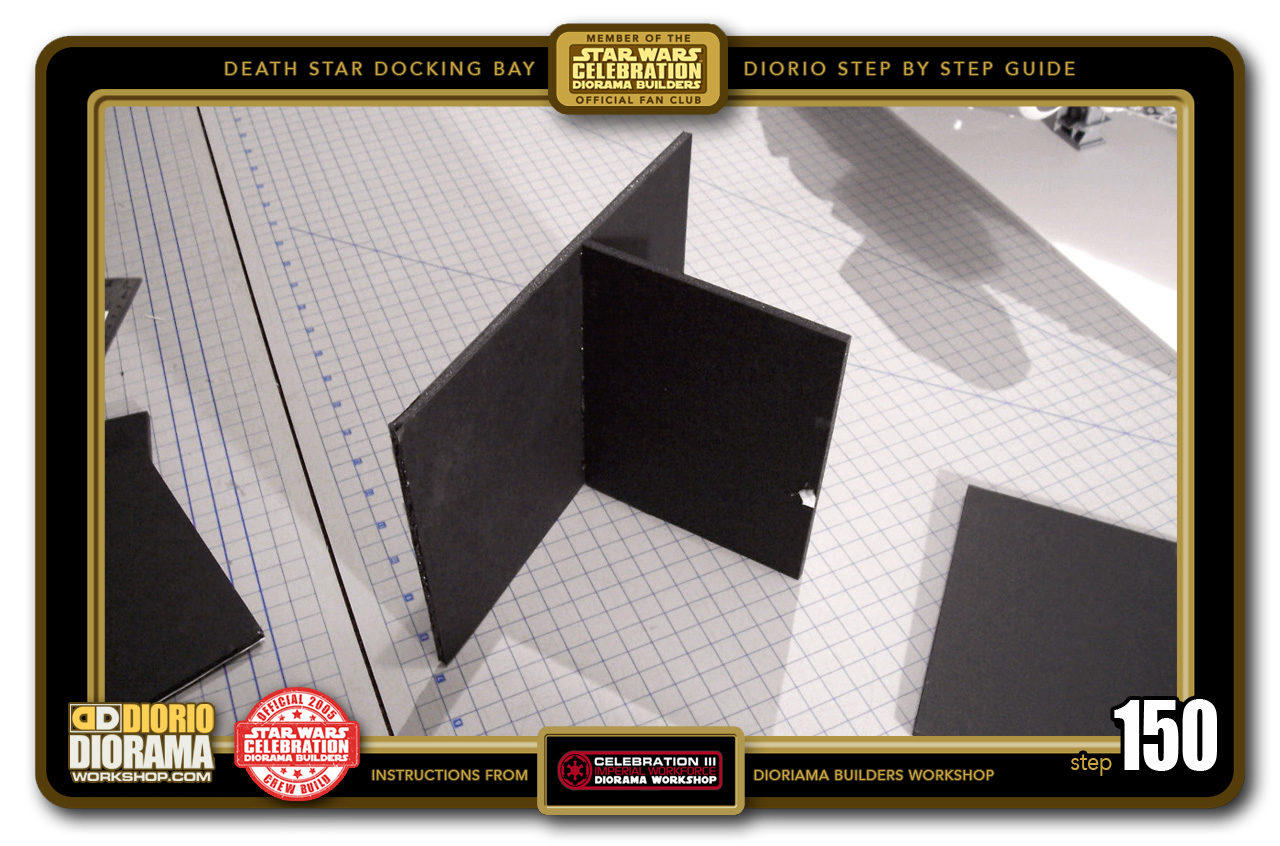
- STEP 150 > You are making table support legs of sorts, so you just need to hot glue any 2 pieces into a T shape and let it cool down. Make 4 of these.

-
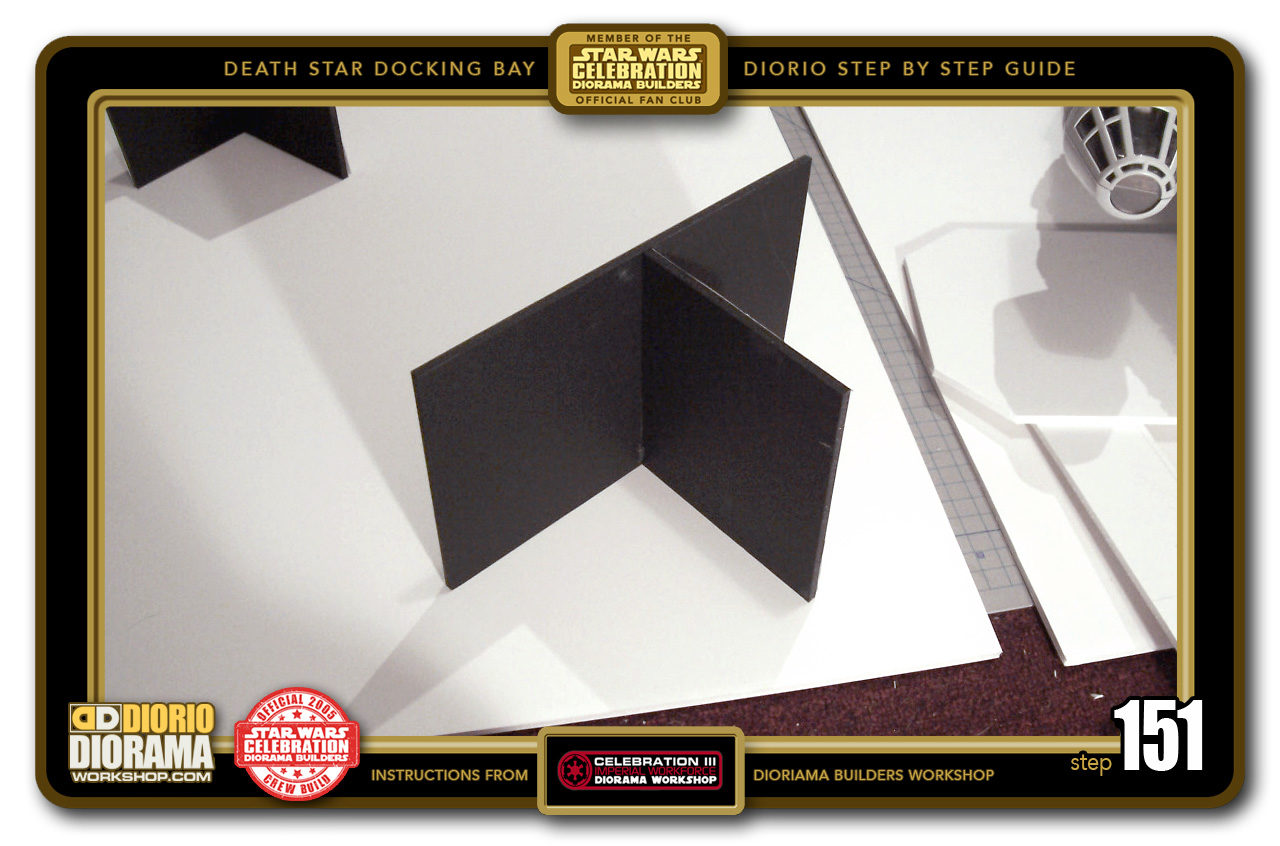
- STEP 151 > Put hot glue along the top of one of your first T supports, flip it over and place it at one of the corners of your floor base. IMPORTANT: Make sure it's on the SAME SIDE that your elevator is glued to.

-
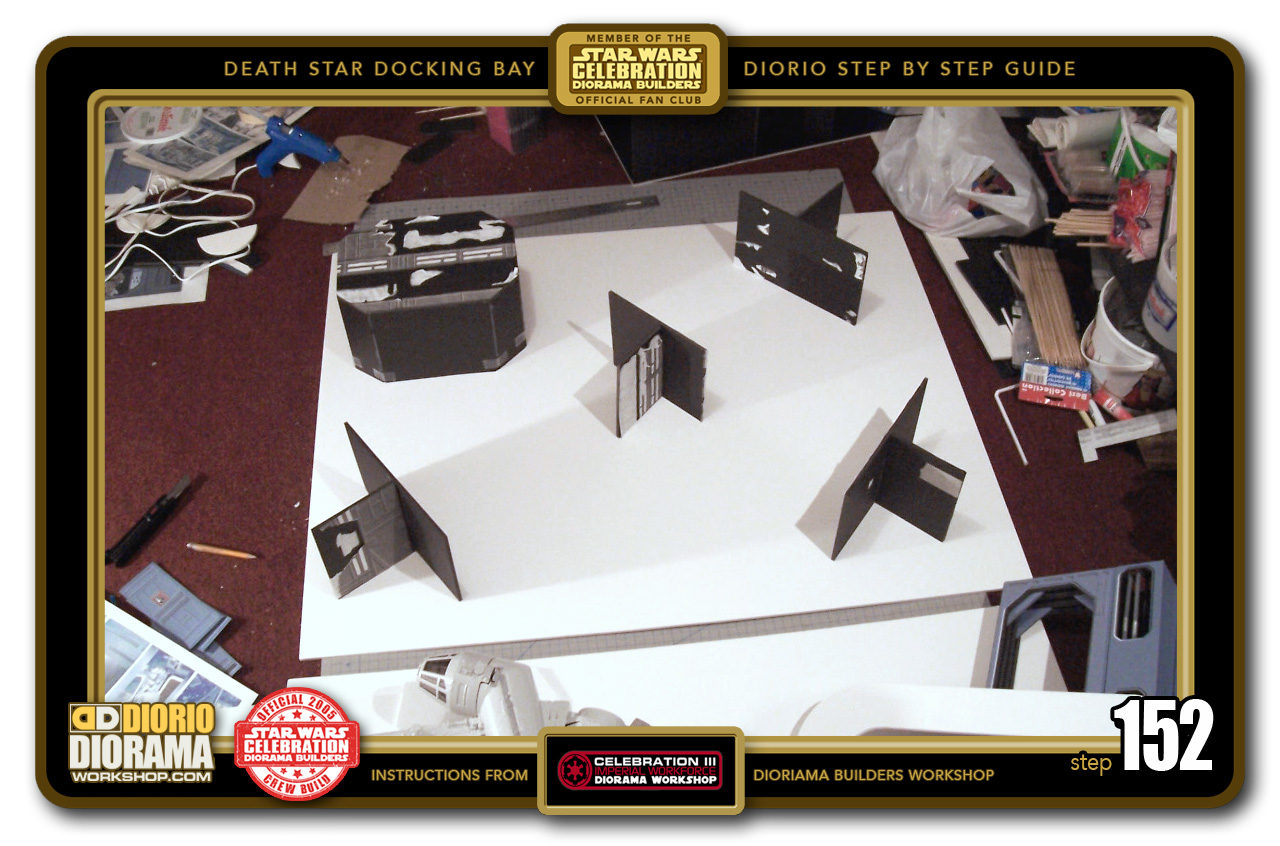
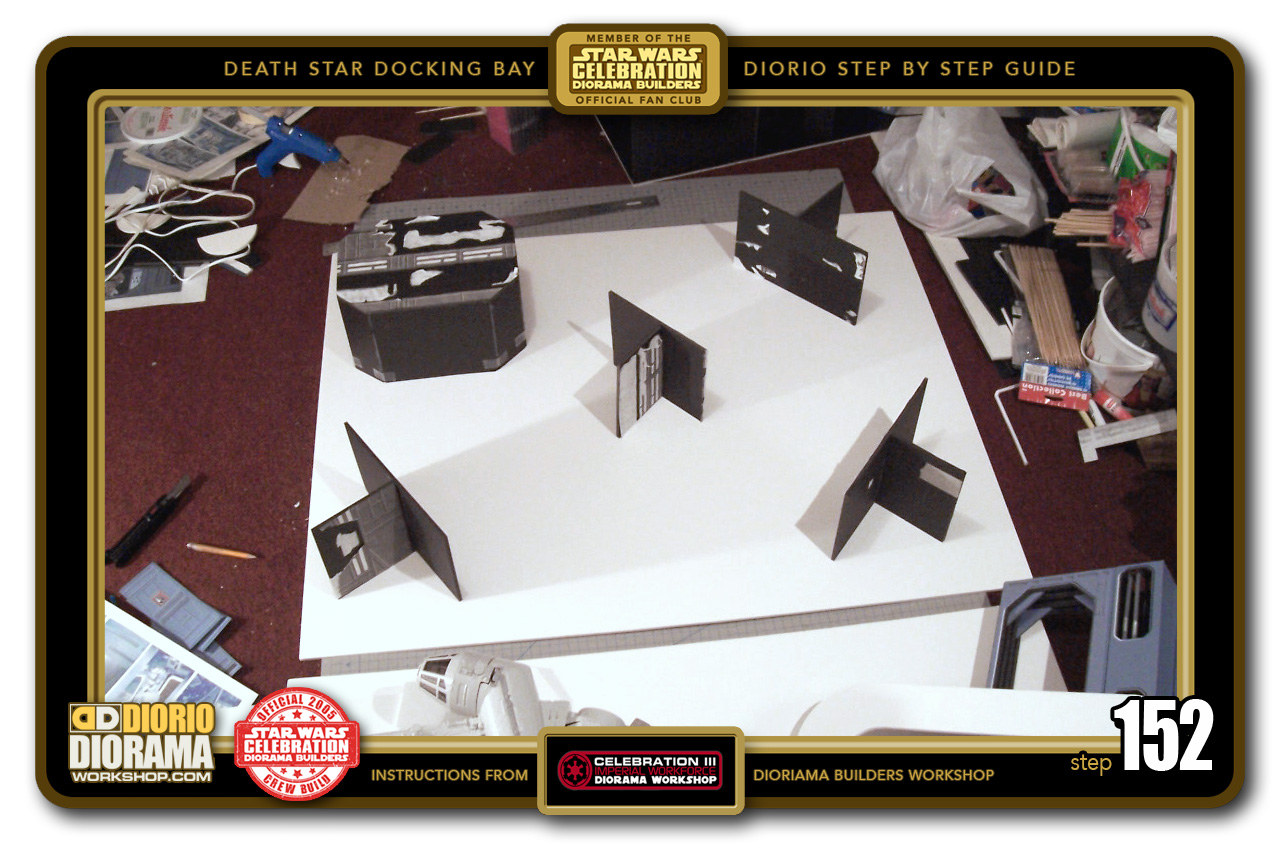
- STEP 152 > Your elevator is in one corner, 3 T supports consist the remaining corners and the 4th T right in the center to support the falcon's weight.
-

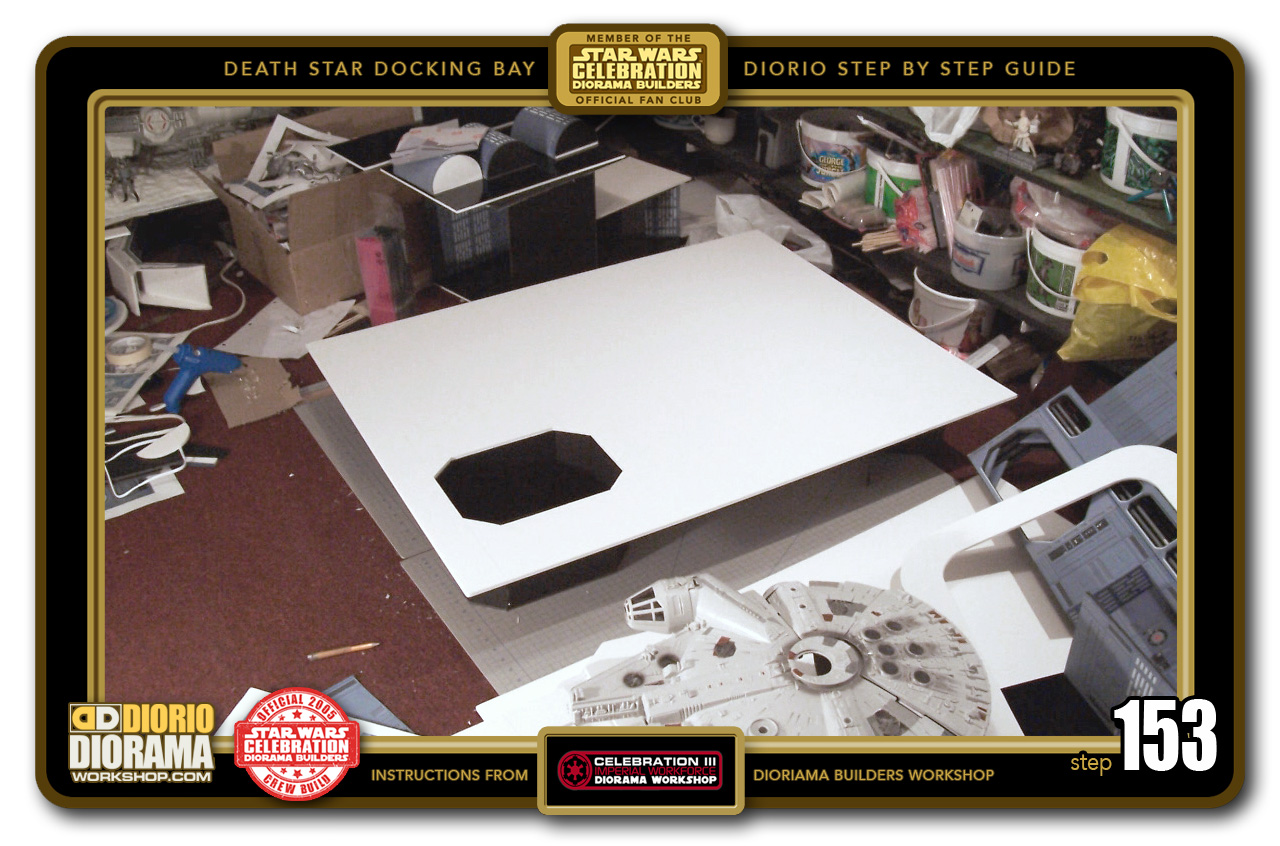
- STEP 153 > Now flip the floor 180 back onto it's new supports. We are ready for the polished floor.
-

- STEP 154 > This movie set look is accomplished by covering the entire surface with MacTac or D-C-FIX. It is a vinyl plastic sold in a roll used mostly for inside your kitchen cupboards and sold in many UGLY patterns LOL. The GLOSS BLACK however looks EXACTLY like the movie set. Peel the back and apply it to the floor surface.

-
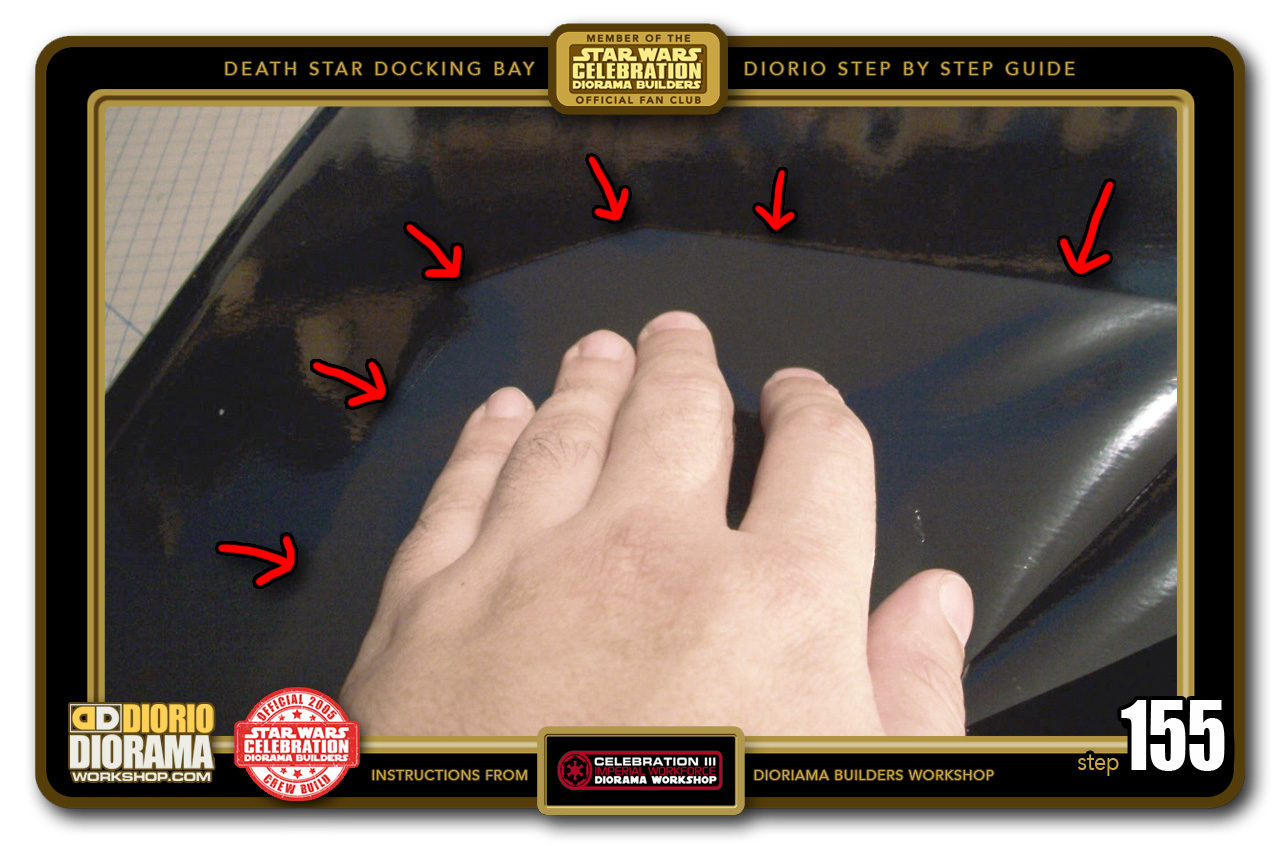
- STEP 155 > We need to find the elevator in order to bring back the shaft for the decal application. Gently press down on the D-C-Fix Vinyl to cause creases and let you see where your Elevator walls are located.

-
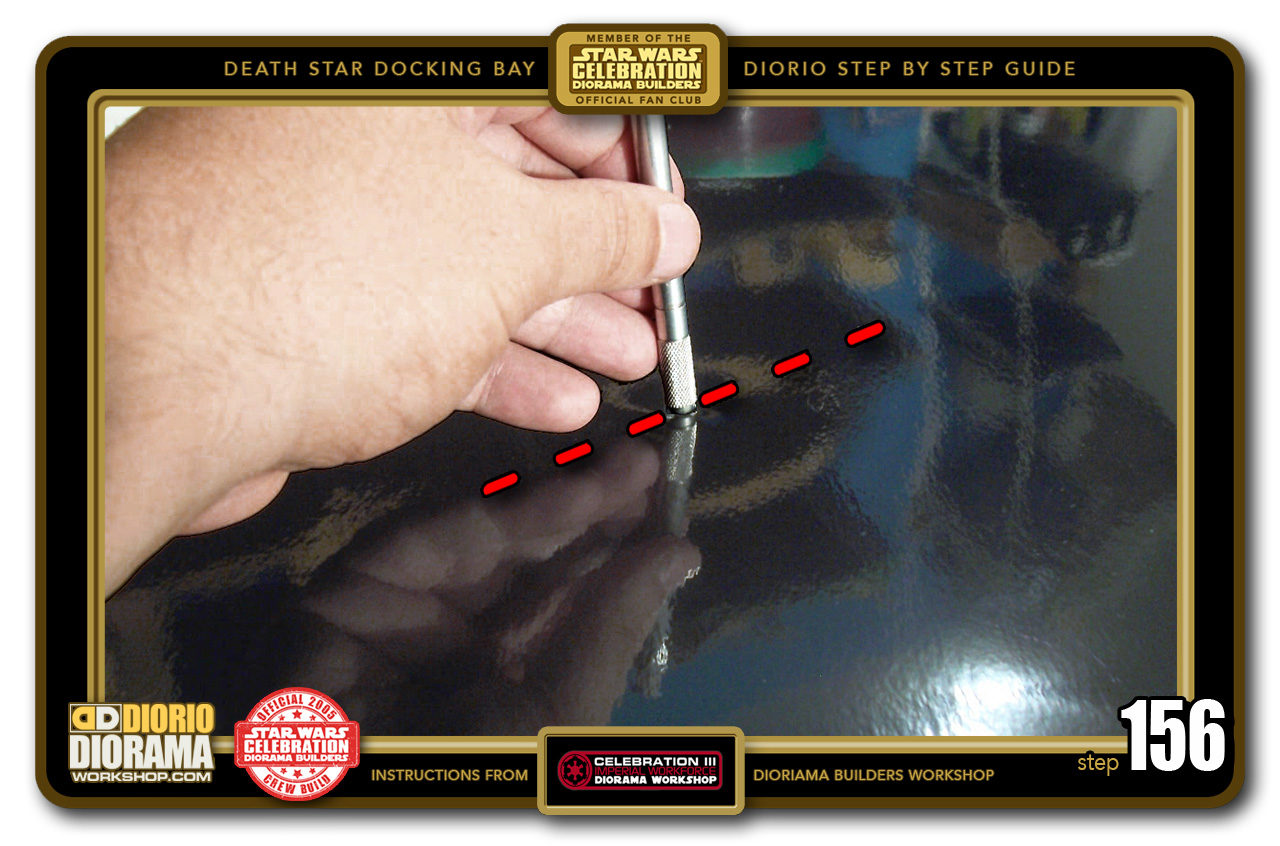
- STEP 156 > Once you located the outline, pretend you are doing a heart transplant operation by using your X-Acto pen or knife to slowly cut a line through the CENTER of the Elevator membrane. DO NOT start right at the edge of the crease, leave a 3 inch gap at the top and bottom of your cut.

-

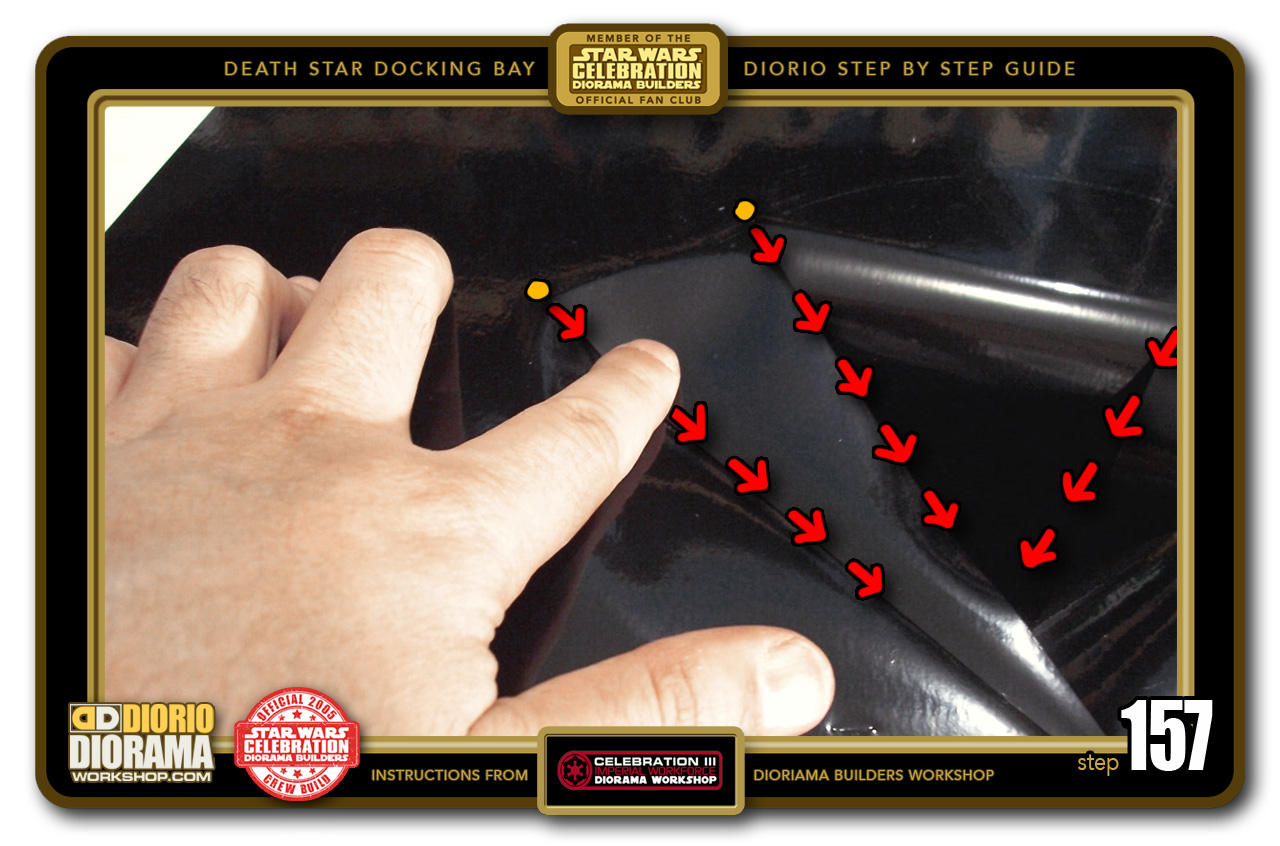
- STEP 157 > Now find 2 corners (I placed yellow dots to better show you) and CUT TOWARDS the CENTER slit of Step 156. This time you start the cut right at the edge of the shaft. Angle sightly to create PIZZA SLICE shapes.
-
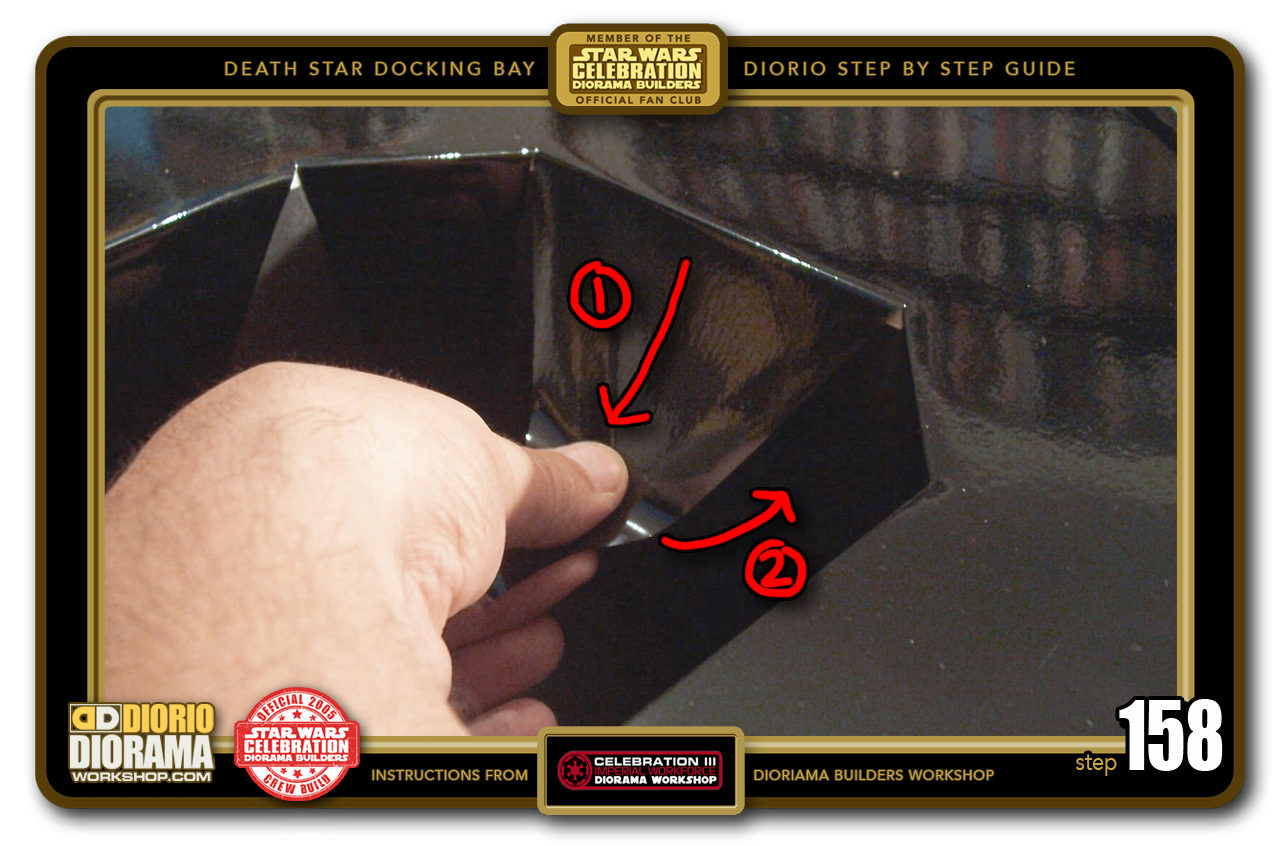
- STEP 158 > Time to press the DC Fix to the shaft walls. Start by grabbing a slice tip at an angle and PULL the vinyl TIGHT and slowly bring it closer and closer towards the wall while keeping it tight. Once it is on the wall, then use your fingers to apply pressure from top to bottom and center to sides until it is all flush against the shaft wall.

-
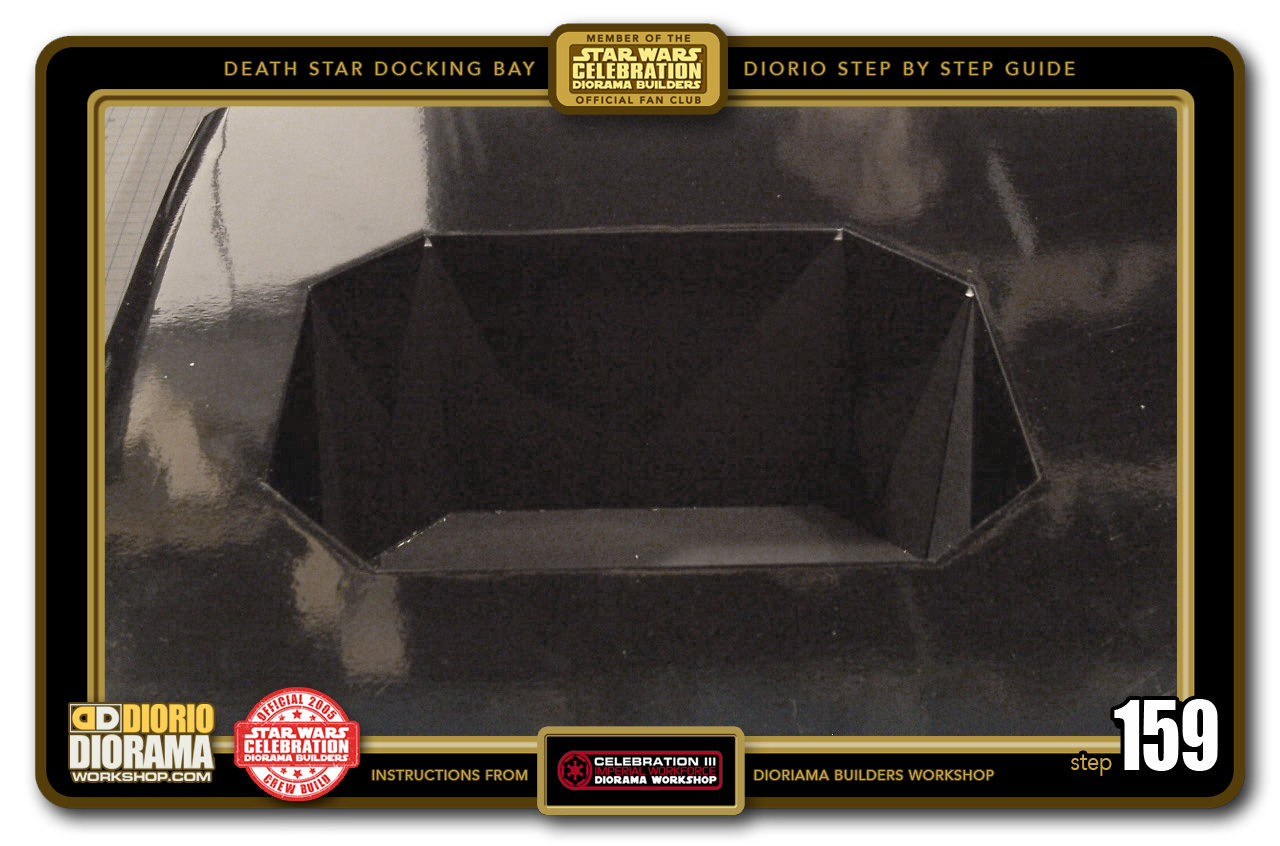
- STEP 159 > Do that all the way around until all the vinyl is flat against all elevator shafts walls and looks like this.

-
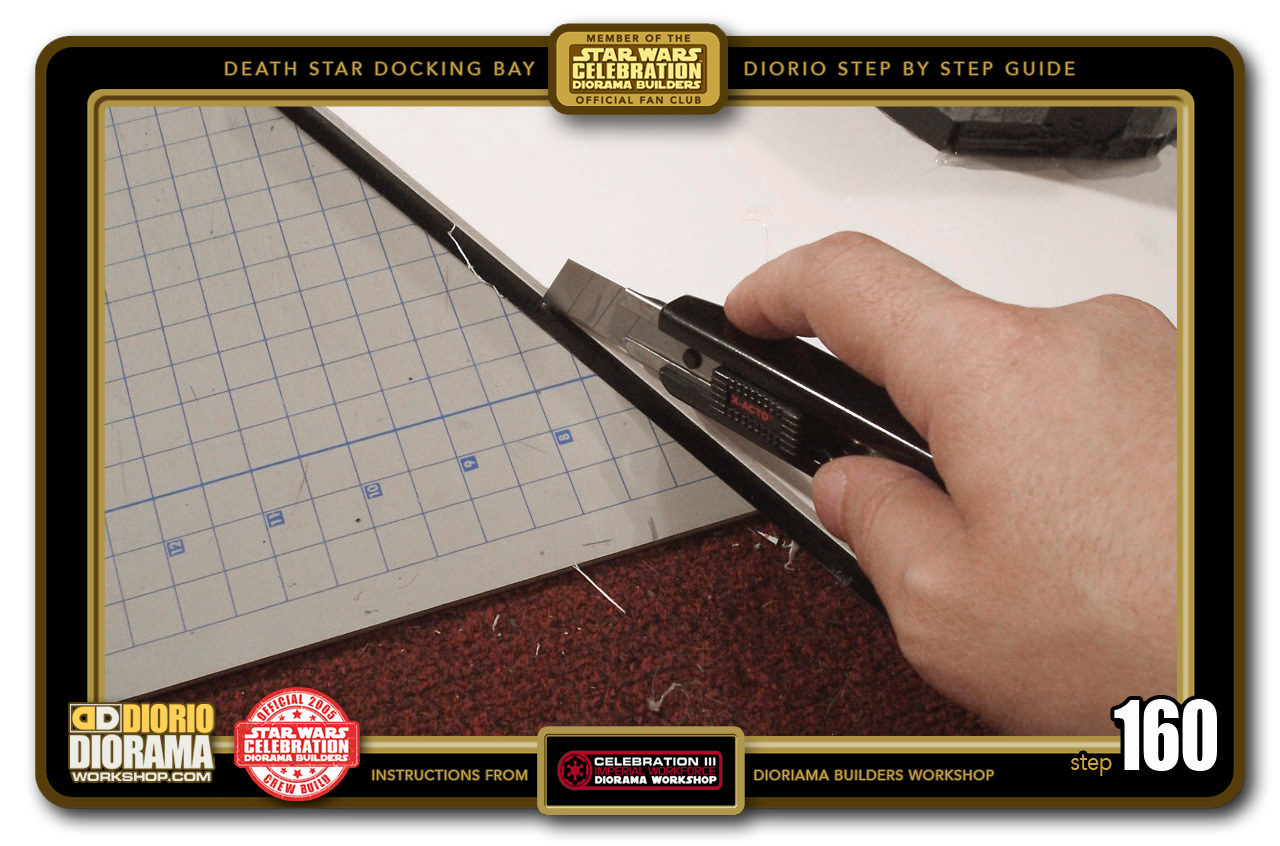
- STEP 160 > Turn the floor upside down once again. You should see some excess vinyl all around the edges. Carefully trim the Excess D-C-Fix Vinyl using a NEW sharp X-Acto blade.


.
Did you already build this Diorama ? At home or at our Star Wars Celebration Diorama Builders workshop ? Would you like to show it in the site’s GALLERY VISITORS DIORAMAS section, YES ? That is Awesome !!! You can find out all the details on how to email me your photos on the VISITORS SUBMISSIONS INFO page … When I get your photos, I will create your very own page just like this one. You may not realize it but work does inspire others to join in the fun of making Action Figure Dioramas.
.
NOT FOR RESALE ALL Decals, tutorials and artwork are ©FrankDiorio (dioramaworkshop.com) and offered FOR FREE to the fans – that would be you ? so you can build and display my diorama designs in your very own home. I realize I cannot control what one does with my graphics once I place them on the web, I can only ask you as one fan to another, please respect the artist and do not be that jerk who uses my designs and tutorials to build a copy of my work only to sell it on EBAY or trade/sale groups and forums. Thank You. Frank.
![]() Catch up with fellow visitors and exchange stories, read cool interviews with the crew, exchange photos, fun surprises and grab some FAN ONLY merchandise next year at actual future conventions ?
Catch up with fellow visitors and exchange stories, read cool interviews with the crew, exchange photos, fun surprises and grab some FAN ONLY merchandise next year at actual future conventions ?
.
©2018 Frank Diorio DioramaWorkshop.Com
.
IF YOU LIKE WHAT YOU SEE, PLEASE SHARE WITH YOUR FRIENDS
USING THE SOCIAL MEDIA BUTTONS BELOW