


-
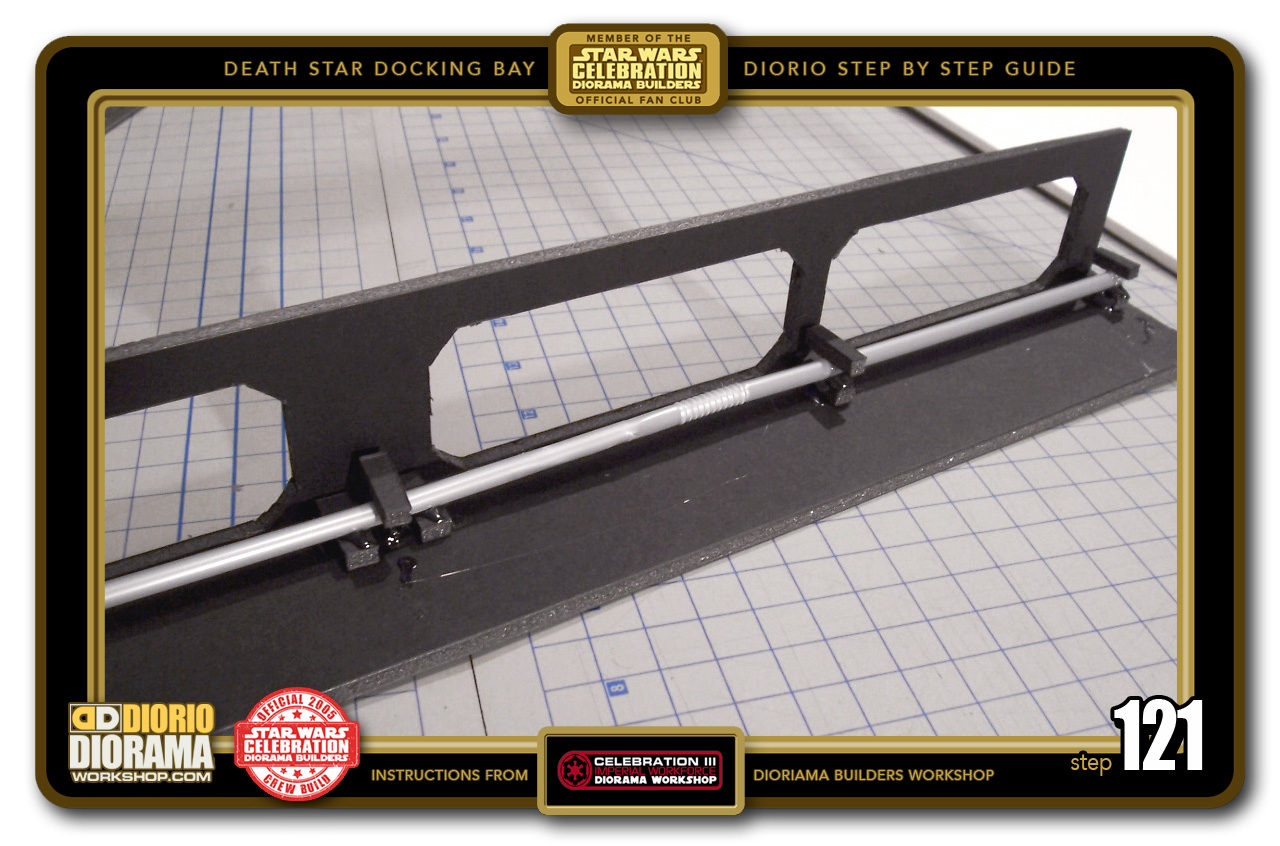
- STEP 121 > glue some 5 more supports on top of your first grey straw. Try to keep the position of your scraps above where you placed the first bottom layer. Also remember to try to not let them droop at an angle, try to keep your scrap pieces aligned parallel with the floor.

-

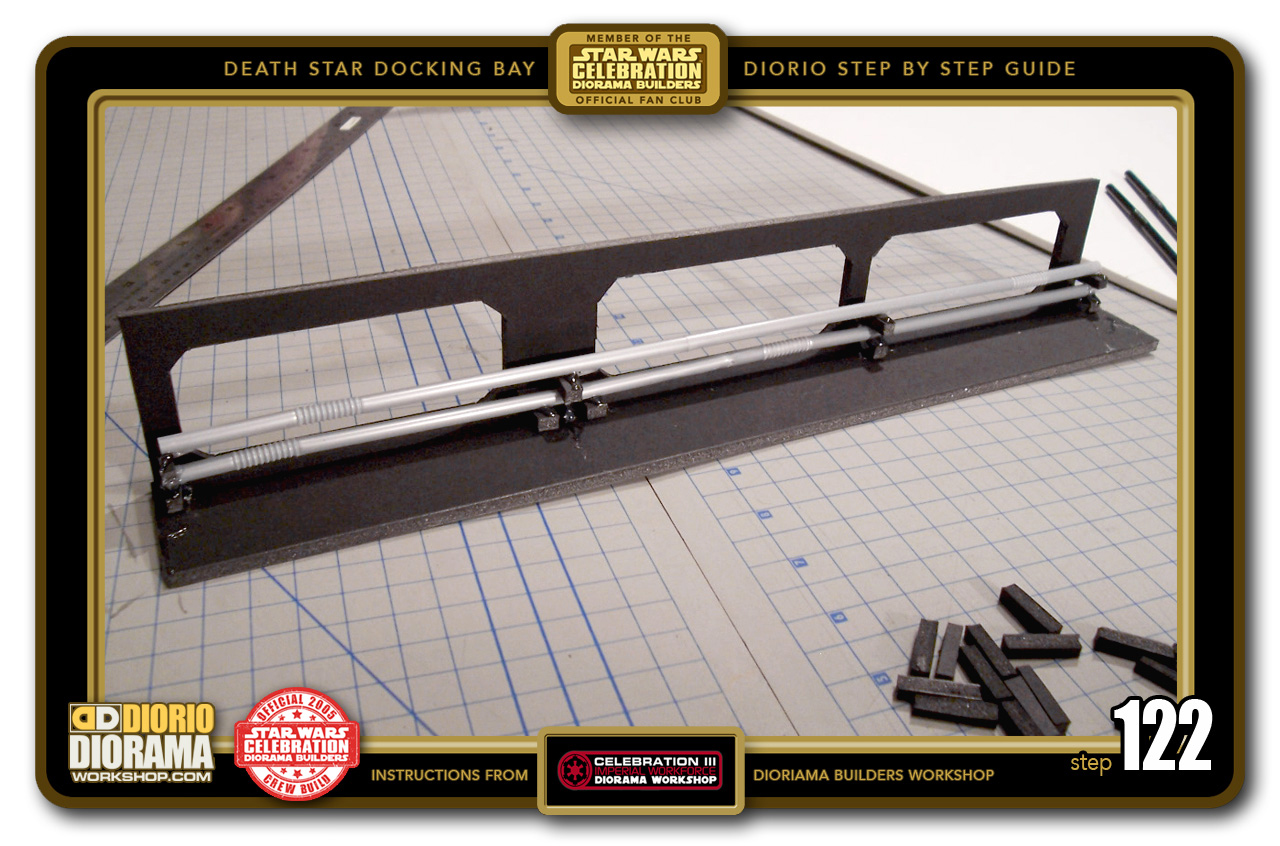
- STEP 122 > Then attach the next Grey Straw on top of those supports. Look straight down from above and align the straw with the first one. You want to try and block the bottom one from being seen.
-

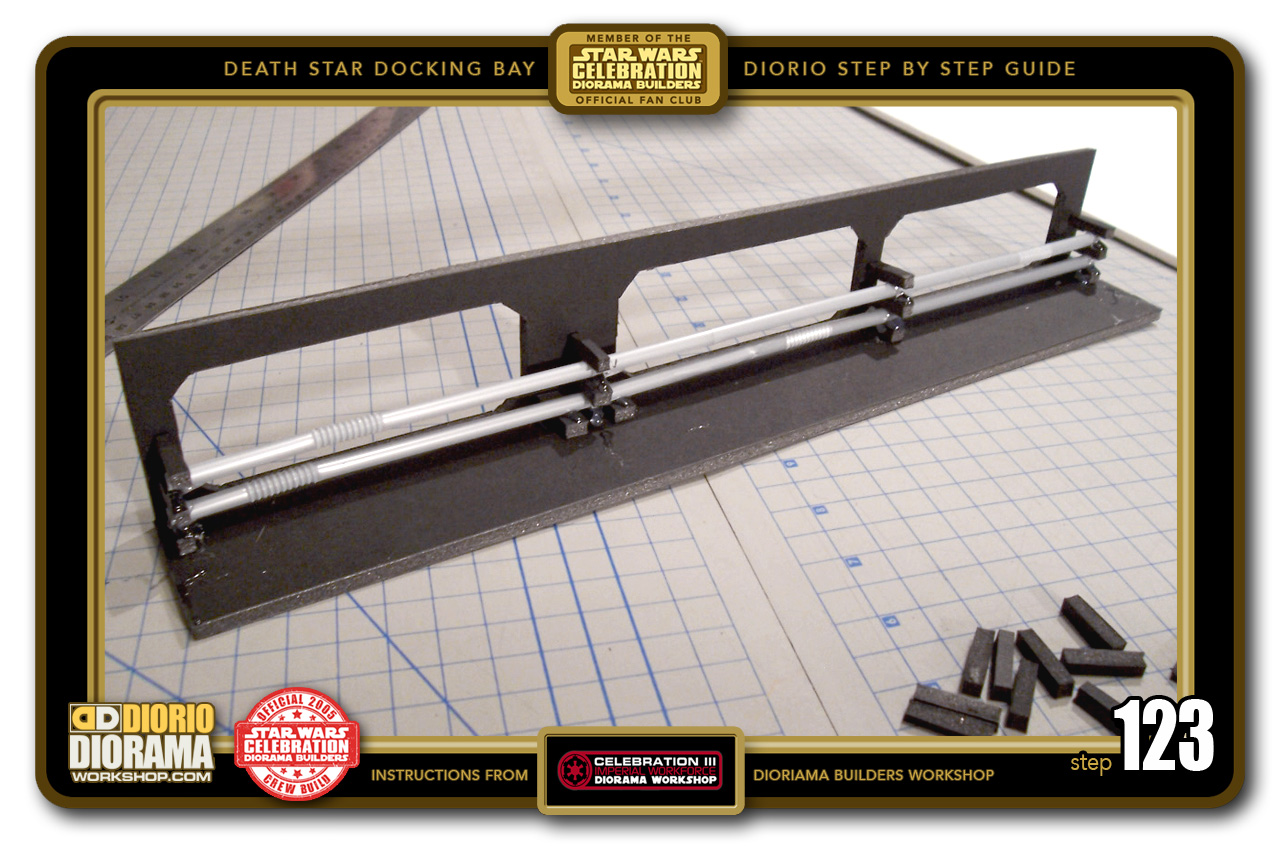
- STEP 123 > Repeat the process again with another layer of scraps.
-
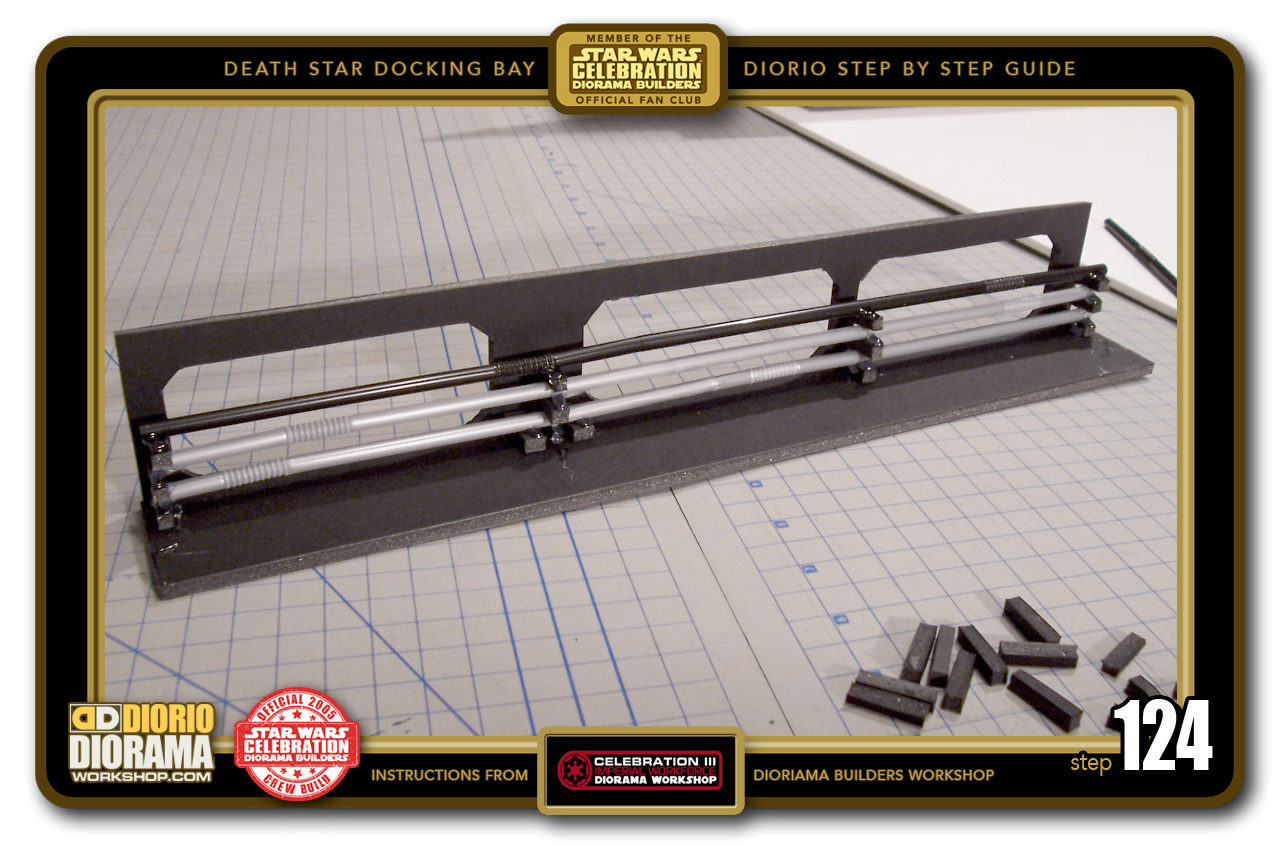
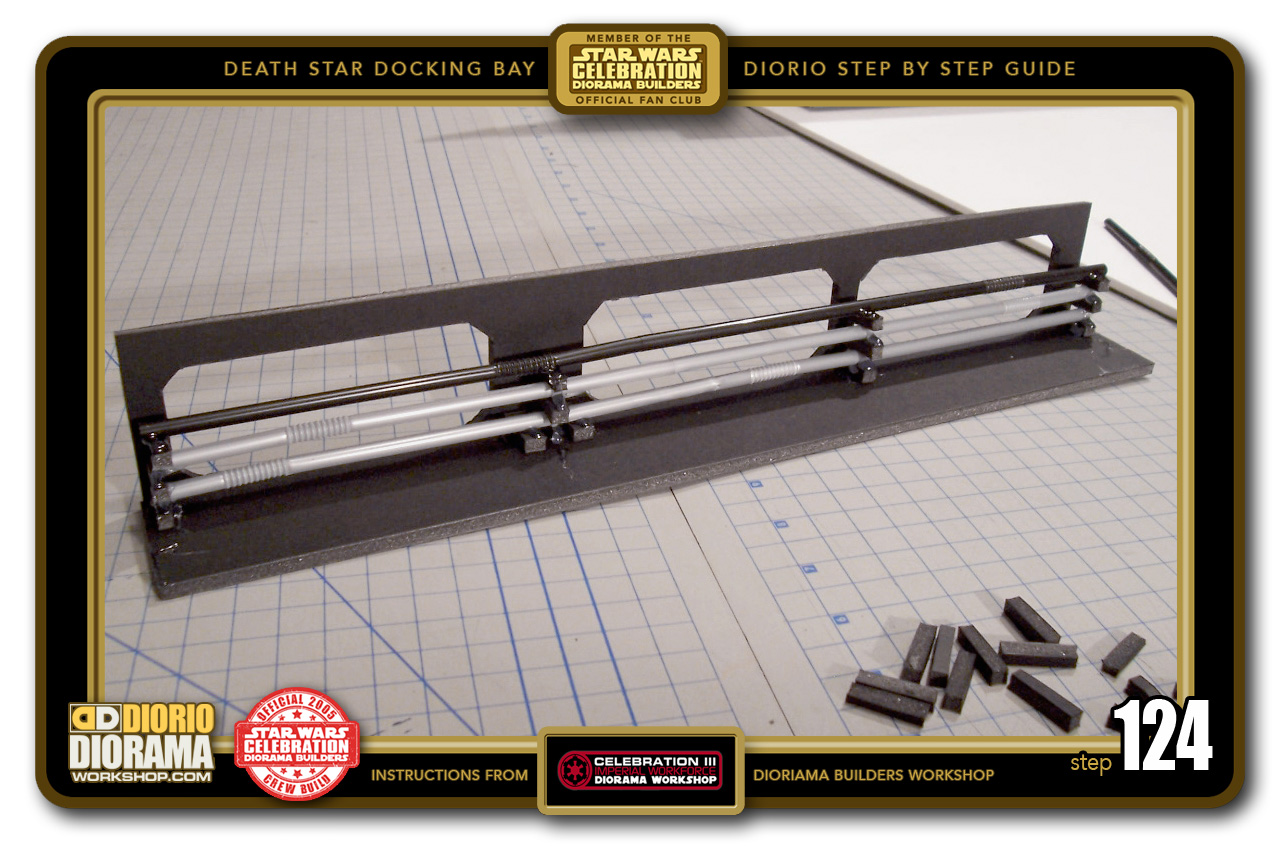
- STEP 124 > First black Straw gets hot glued next. Again, align with the other 2.
-
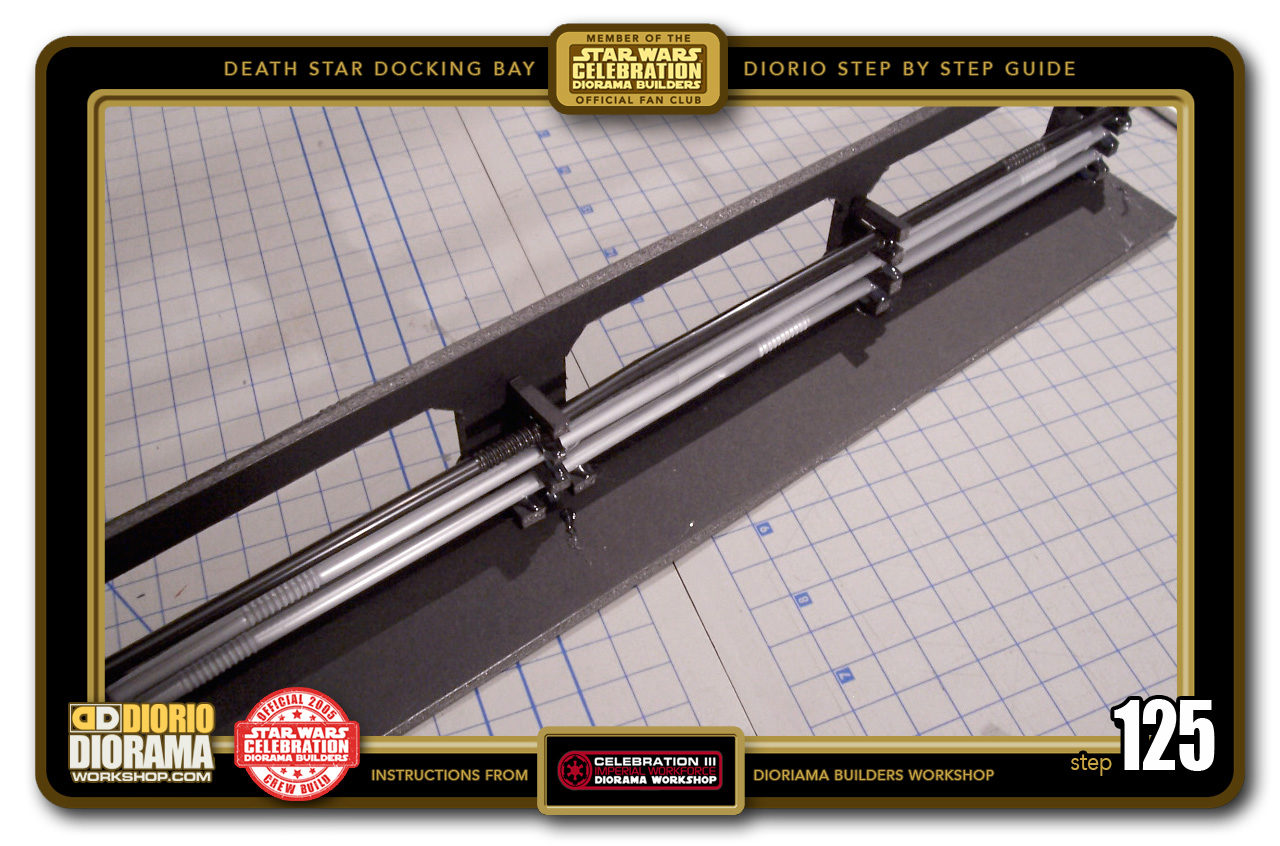
- STEP 125 > One last row of Scraps.

-

- STEP 126 > And we are ready for the final black straw. Hot glue it and let it cool down.

-
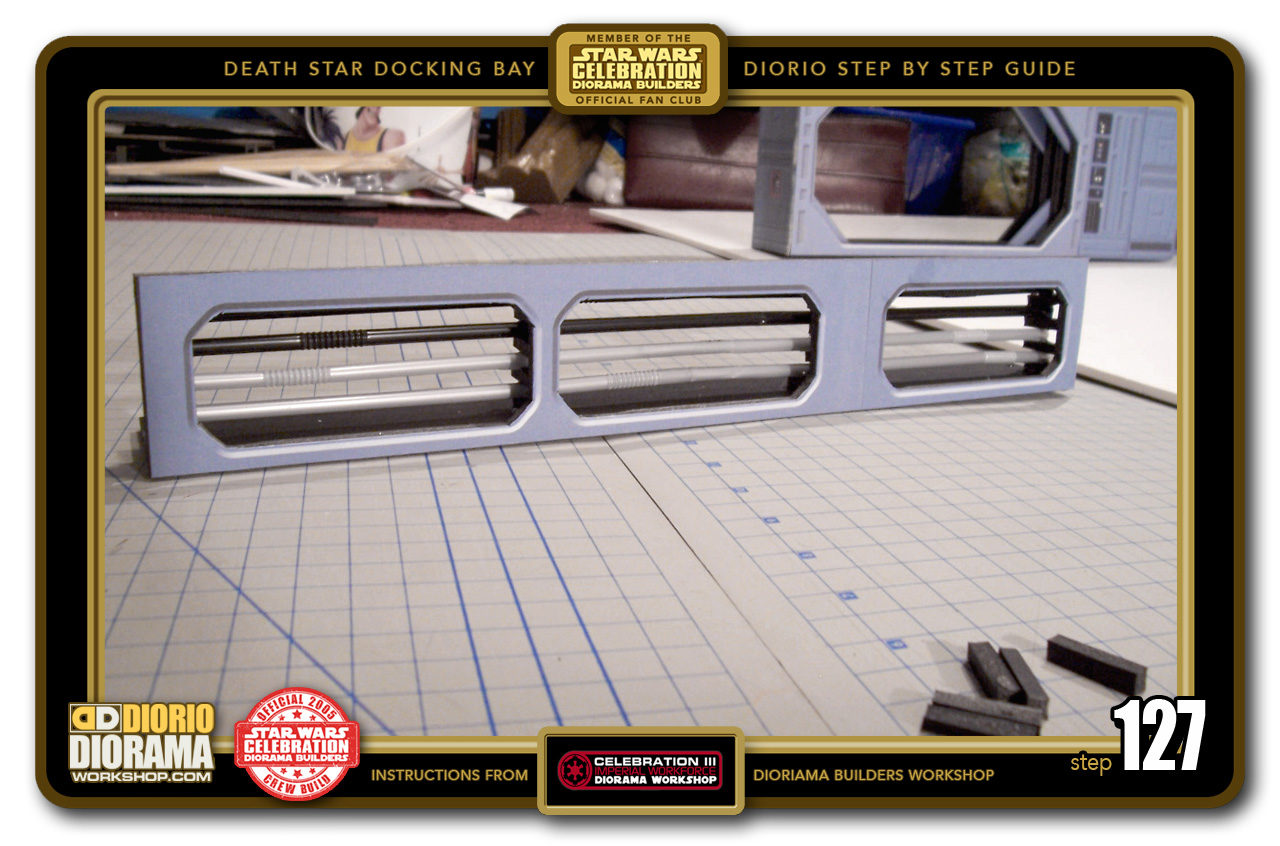
- STEP 127 > Ahh, looking sweet 🙂 Let's close it up so we can place it on top of the small blastdoor wall.

-
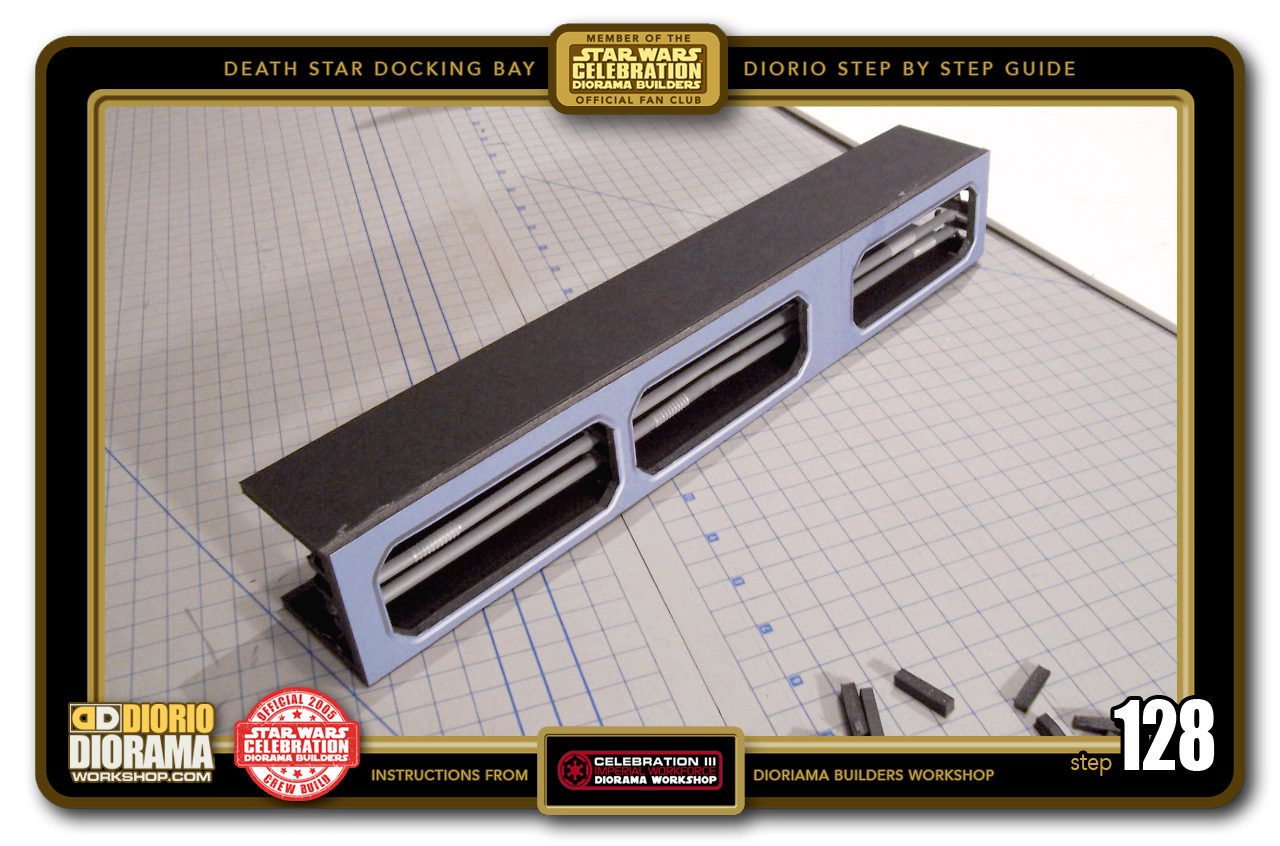
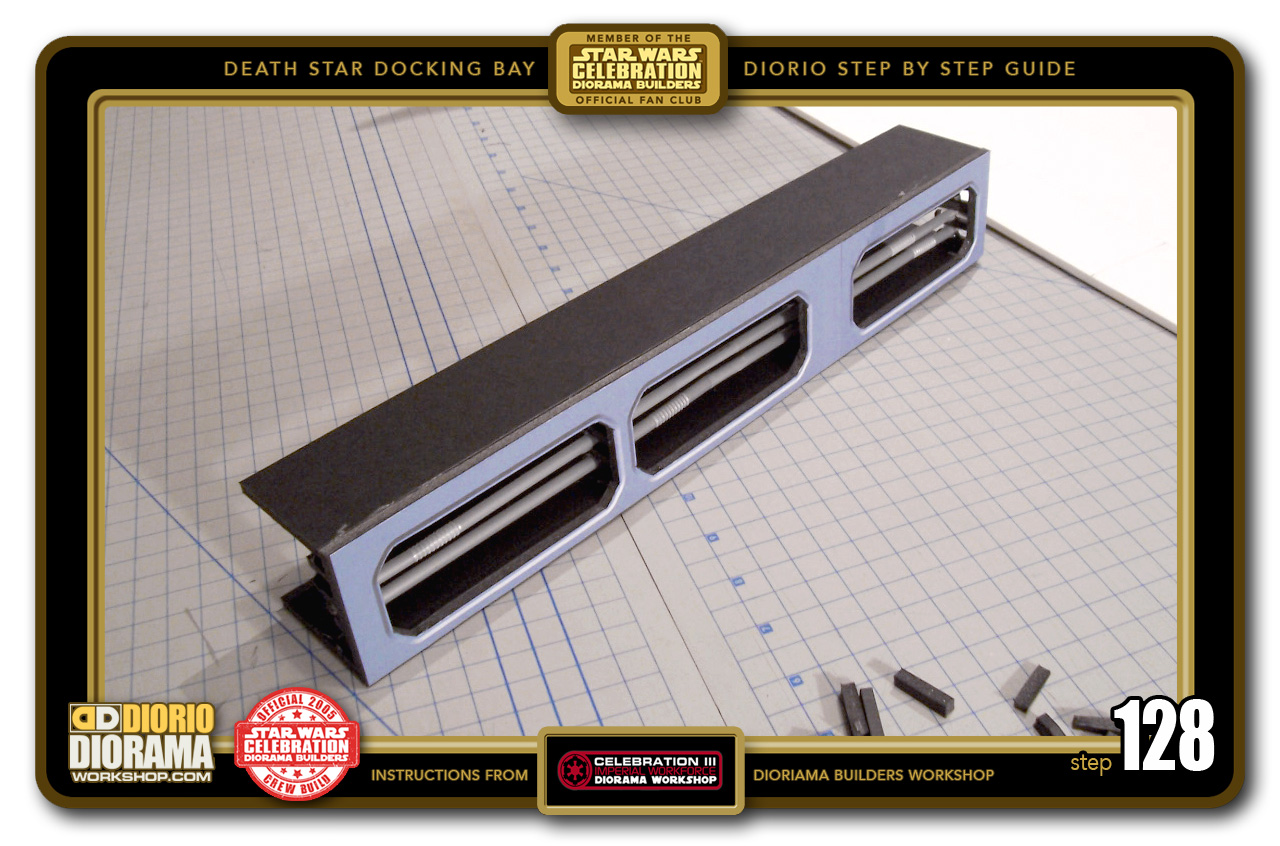
- STEP 128 > Take the other 5cm top ventilation strip - IMPORTANT: DO NOT use the remaining 6cm wide strip - and hot glue it to the top of the ventilation shaft front wall.
-
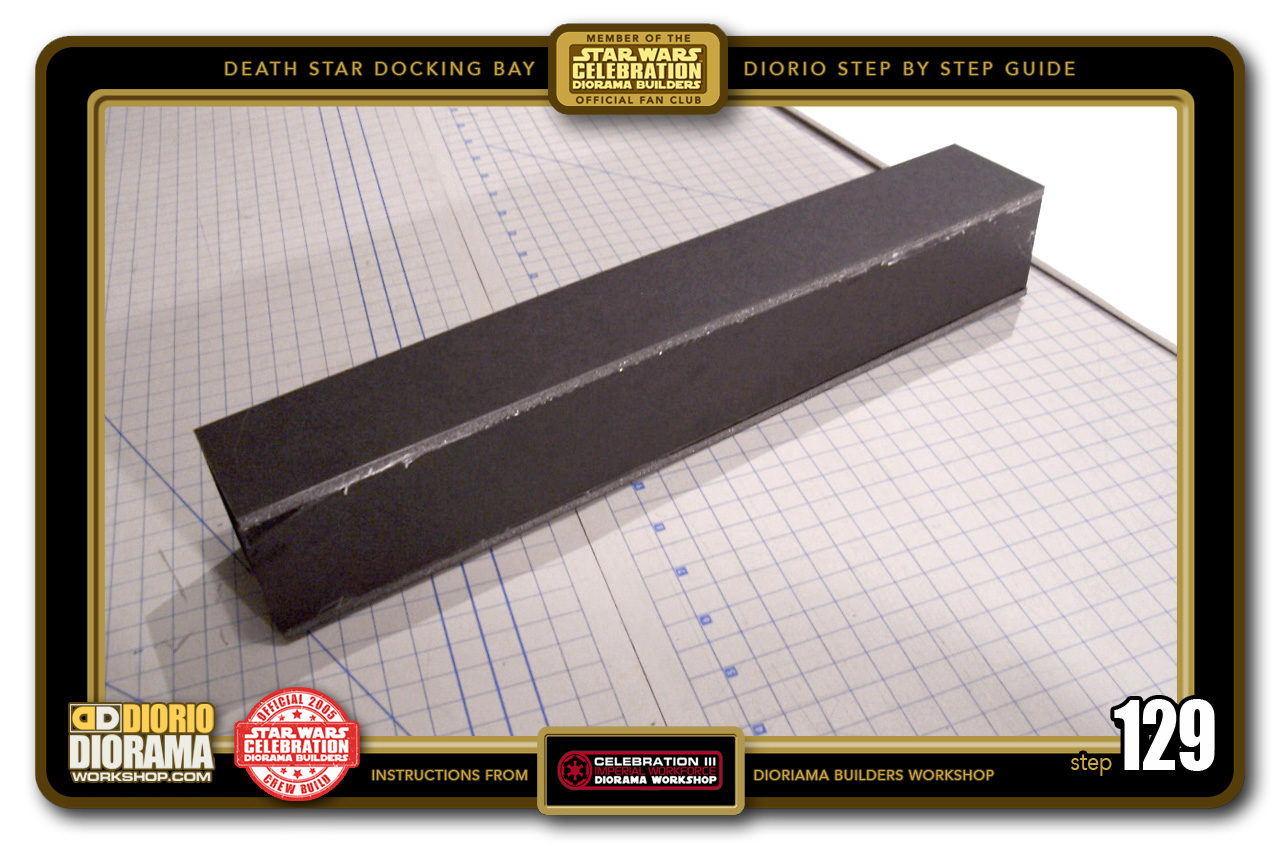
- STEP 129> Close up the rear with the final 6cm wide strip.

-

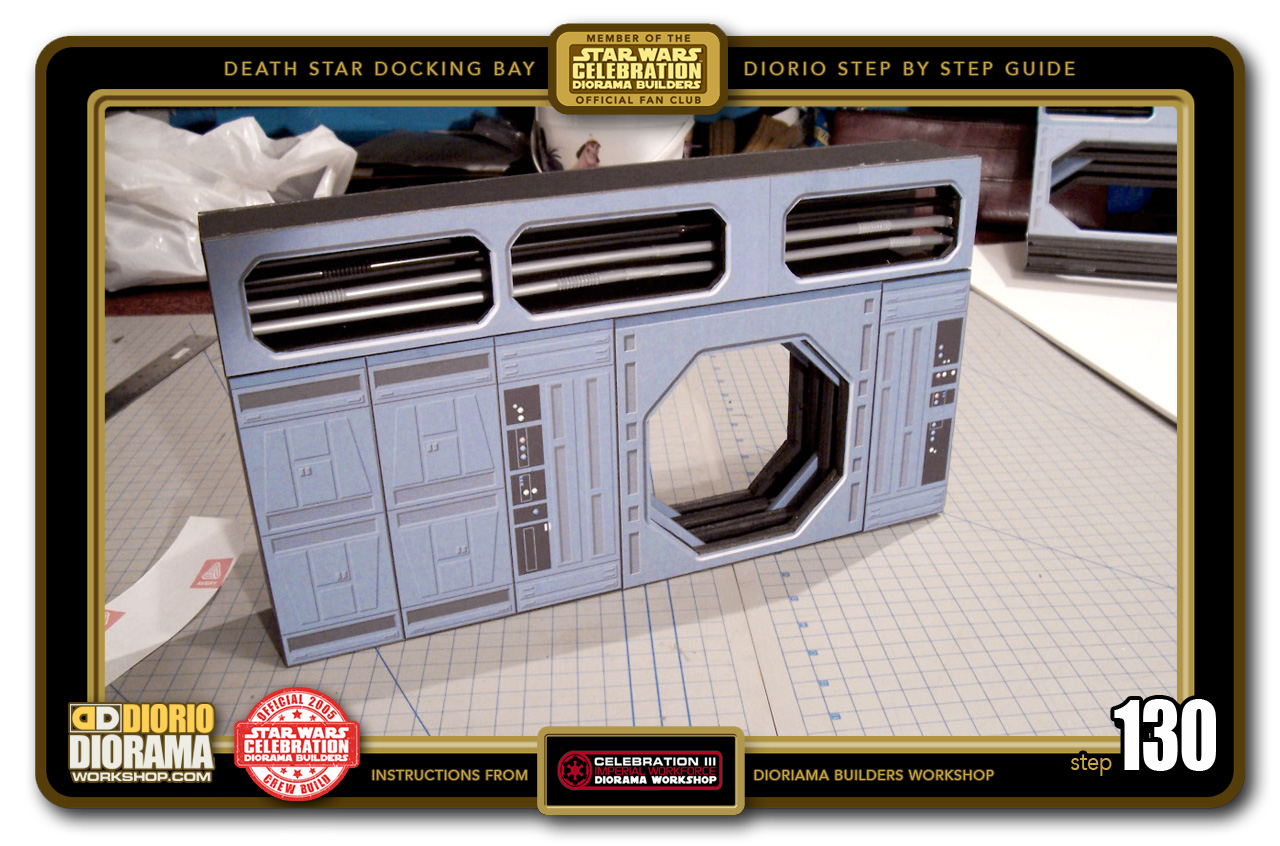
- STEP 130 > And now simply hot glue the ventilation bottom to the top of the small blastdoor wall.
-

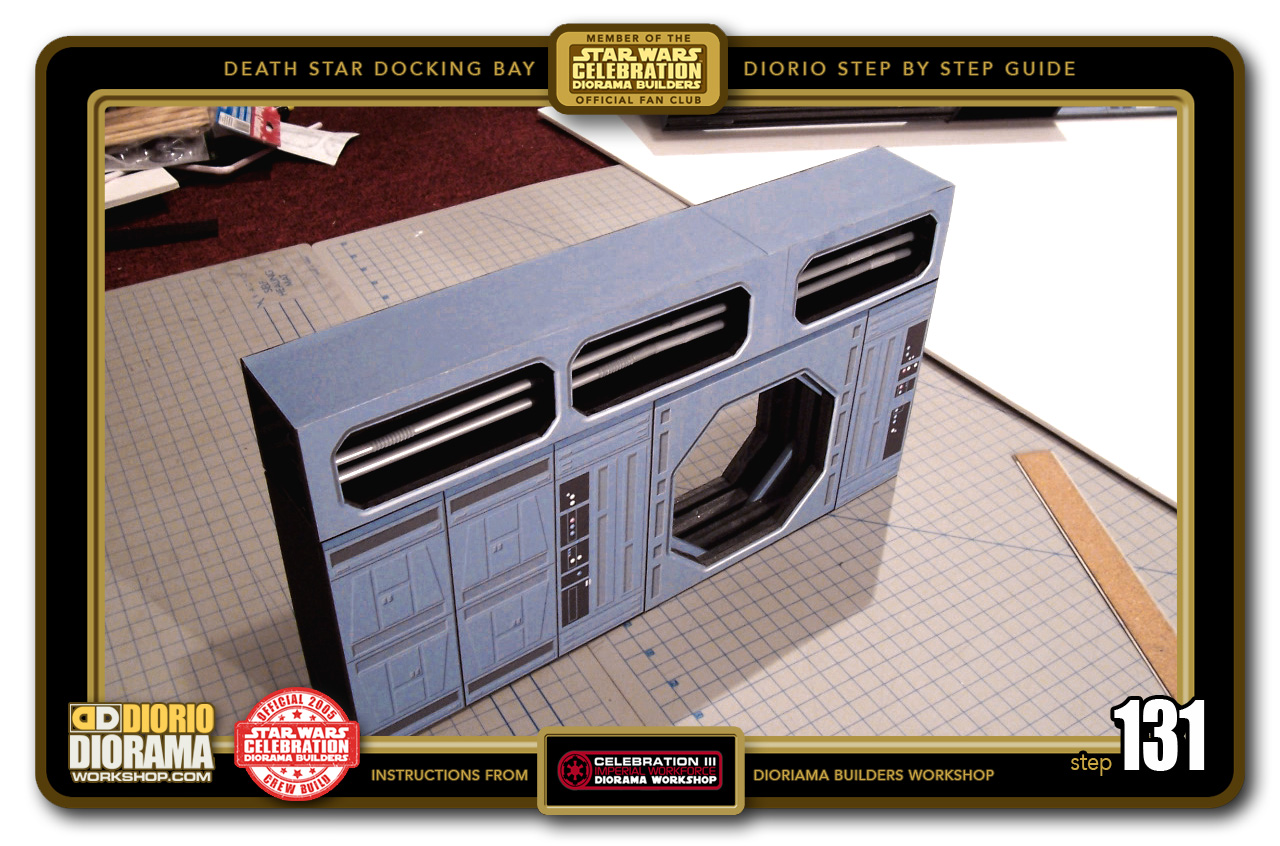
- STEP 131 > The final touches are to gluestick your vent padding strip decals on the tops of both the small blastdoor wall and the alcove/large blastdoor wall. Look how clean it looks when looking down at them.
-

- STEP 132 > Here you can see how these 2 pieces fit together side by side to form the left side of the docking bay.

-

- STEP 133 > Let's move onto some floor detail. We need to make an elevator shaft. Start with cutting a 26.5cm X 20.5cm rectangle. Measure 4.25cm from each corner. Connect these corner markings and you should get your 45 degree angles measuring 6cm wide. Cut those ends off. The end pieces should now measure 12cm and the sides 18 cm

-

- STEP 134 > Cut 2 rectangles measuring 15cm X 12cm, 4 pieces 15cm X 6cm and 2 pieces 15cm X 18cm. Hot glue the first 12cm wide piece to the floor base and then a 6cm wide corner piece on each side. Make sure they all connect and no gaps at the base.

-

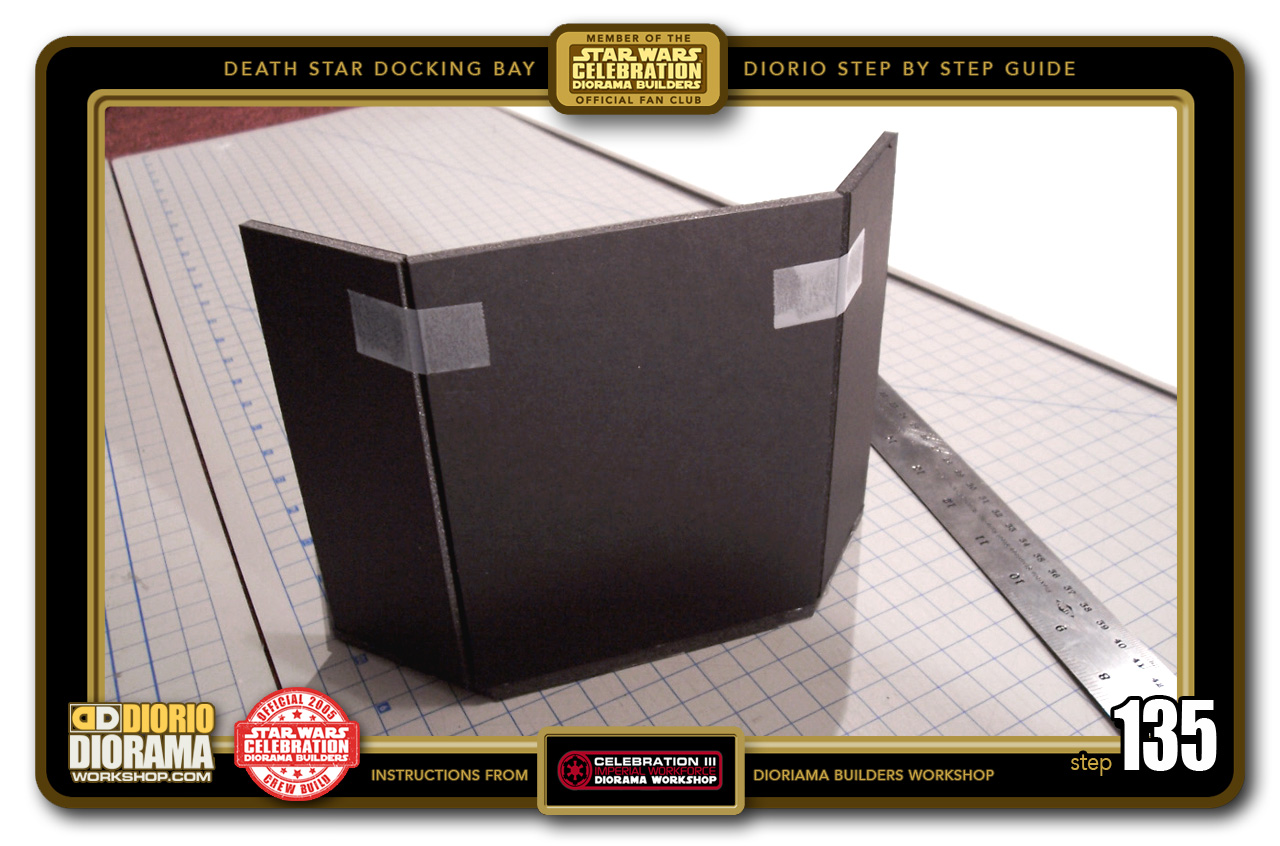
- STEP 135 > Use some tape to keep the walls temporarelly in place. We will hot glue them secure once all floor connections are done.
-

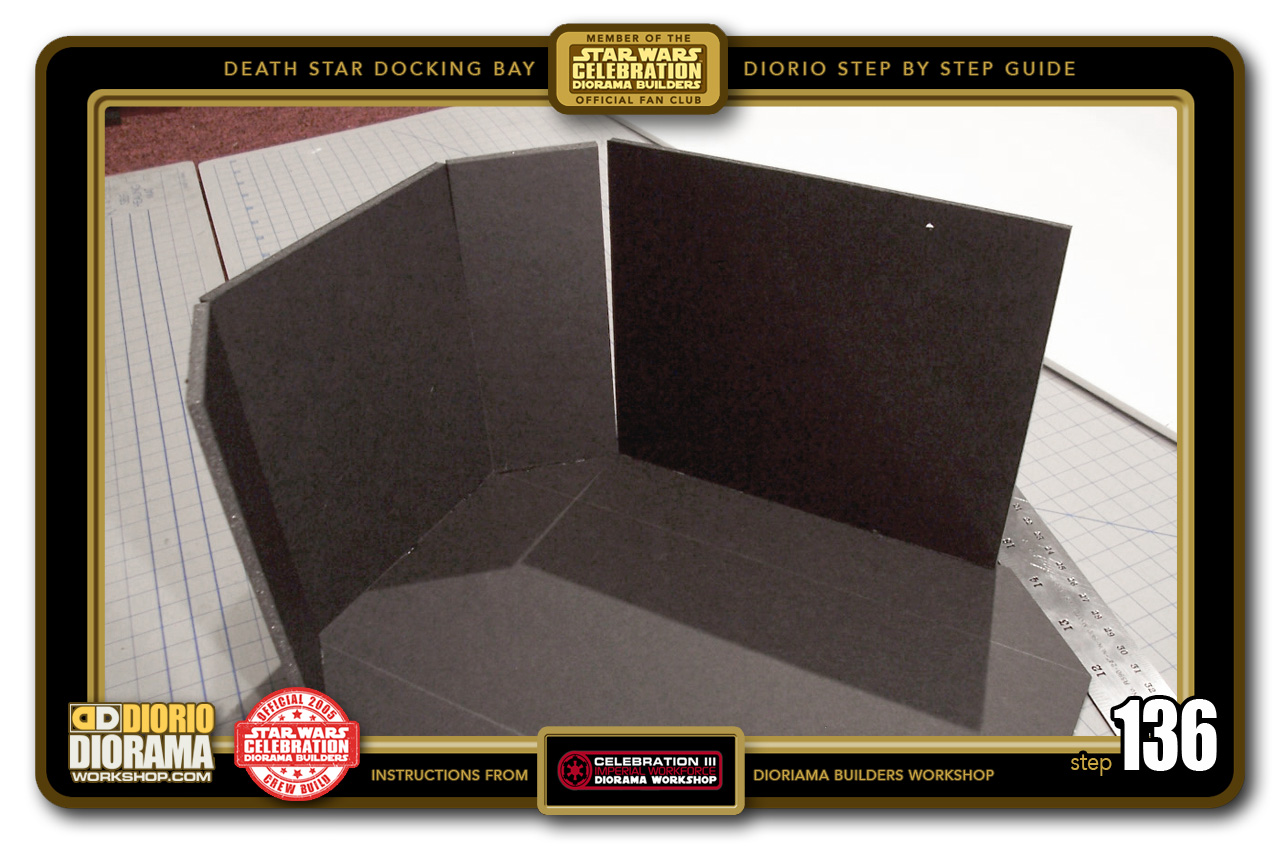
- STEP 136 > Hot Glue a 18cm wide piece to the floor leaning tight against one of the 6cm wide angled corners.
-

- STEP 137 > Repeat on the other side with the 2nd 18cm wall piece.

-

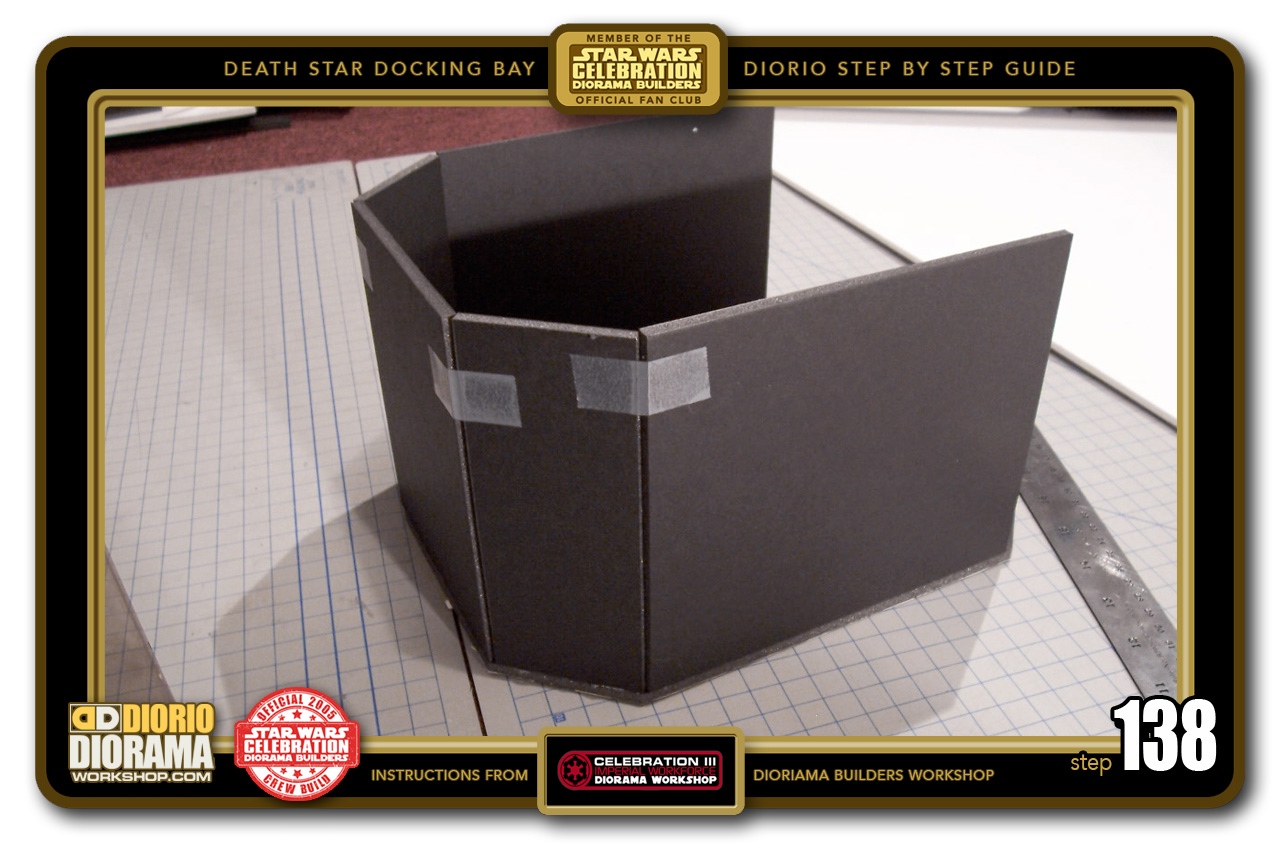
- STEP 138 > Some more tape at the top corners to hold it secure for now to the corner walls.
-

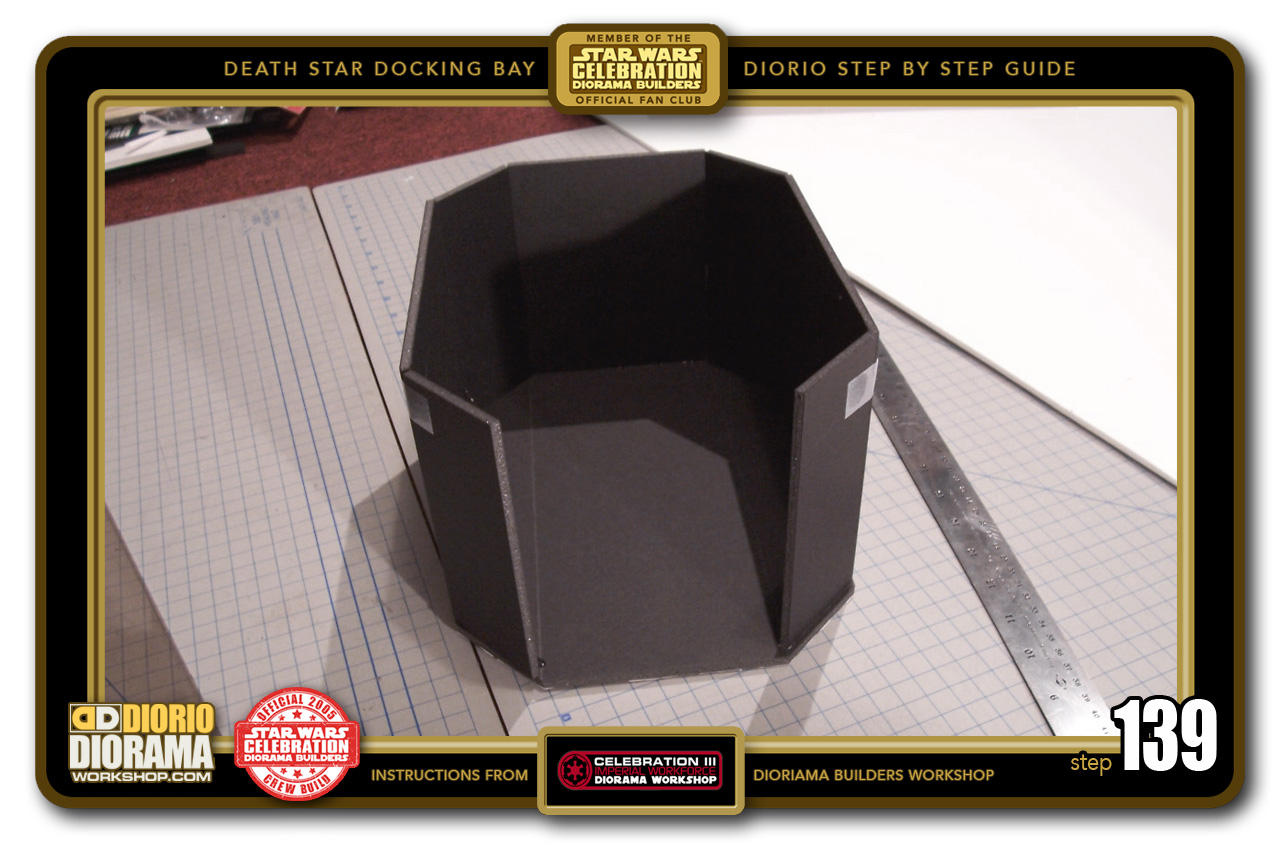
- STEP 139 > Hot glue the 2 remaining corner walls to the floor. Again make sure the bottoms of the corner walls are tight against the side walls. All that is missing is the last 12cm piece.
-
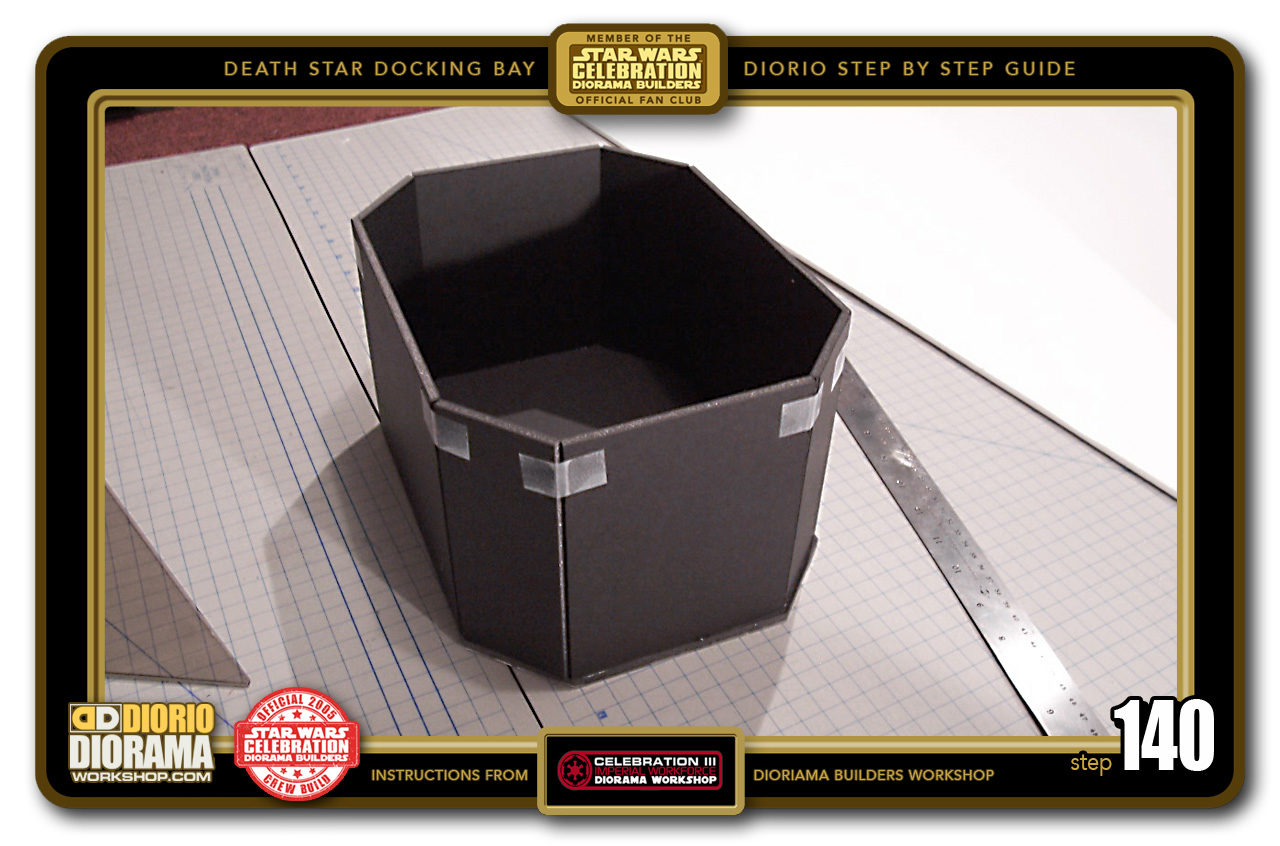
- STEP 140 > Hot Glue the last one to the floor and attach 2 pieces of Tape at the top of each side. We are now ready to hot glue everything into one solid elevator shaft.


.
Did you already build this Diorama ? At home or at our Star Wars Celebration Diorama Builders workshop ? Would you like to show it in the site’s GALLERY VISITORS DIORAMAS section, YES ? That is Awesome !!! You can find out all the details on how to email me your photos on the VISITORS SUBMISSIONS INFO page … When I get your photos, I will create your very own page just like this one. You may not realize it but work does inspire others to join in the fun of making Action Figure Dioramas.
.
NOT FOR RESALE ALL Decals, tutorials and artwork are ©FrankDiorio (dioramaworkshop.com) and offered FOR FREE to the fans – that would be you ? so you can build and display my diorama designs in your very own home. I realize I cannot control what one does with my graphics once I place them on the web, I can only ask you as one fan to another, please respect the artist and do not be that jerk who uses my designs and tutorials to build a copy of my work only to sell it on EBAY or trade/sale groups and forums. Thank You. Frank.
![]() Catch up with fellow visitors and exchange stories, read cool interviews with the crew, exchange photos, fun surprises and grab some FAN ONLY merchandise next year at actual future conventions ?
Catch up with fellow visitors and exchange stories, read cool interviews with the crew, exchange photos, fun surprises and grab some FAN ONLY merchandise next year at actual future conventions ?
.
©2018 Frank Diorio DioramaWorkshop.Com
.
IF YOU LIKE WHAT YOU SEE, PLEASE SHARE WITH YOUR FRIENDS
USING THE SOCIAL MEDIA BUTTONS BELOW