


-

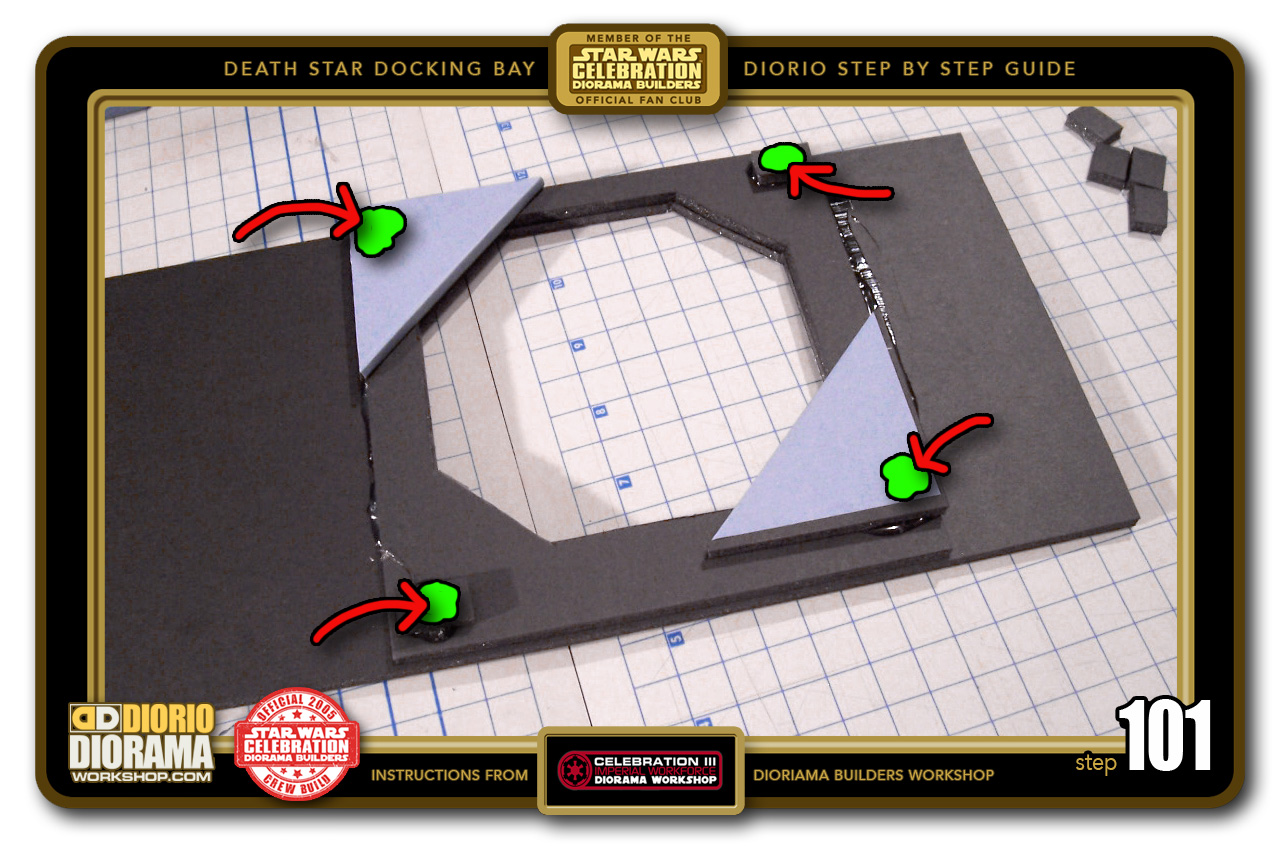
- STEP 101 > Time to stack the blastdoor frames like a wedding cake 🙂 Start by hot gluing 2 of your door corner triangles on opposite corners from each other. IMPORTANT: Make sure to put glue ONLY on the GREEN ZONES and that they stick out slightly past the frame edge to simulate the open door effect. See Step 102 photo to better understand. Then hot glue the first 2 scrap pieces on each of the remaining frame corners.
-

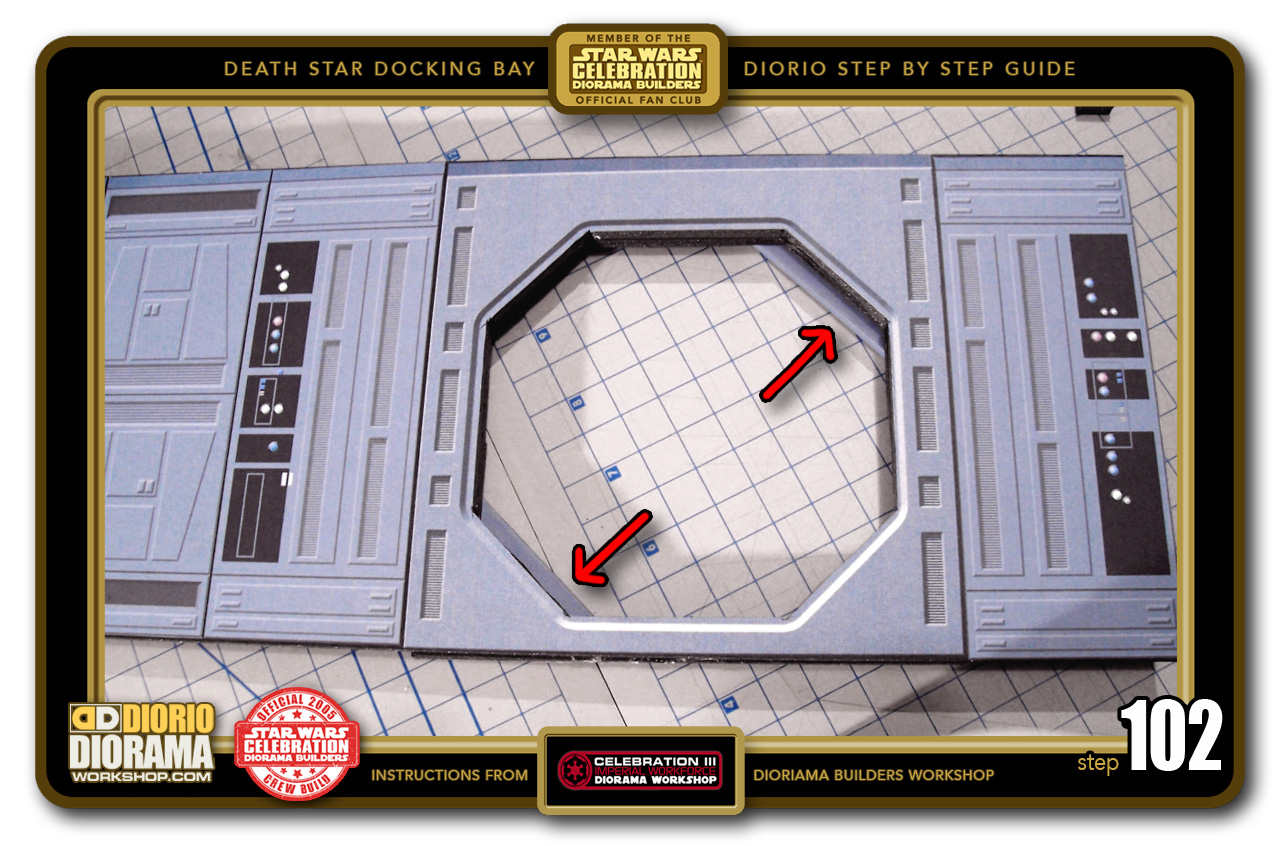
- STEP 102 > From the front view, you can better see what I was explaining about the peeking out simulating the open Blast Door.
-

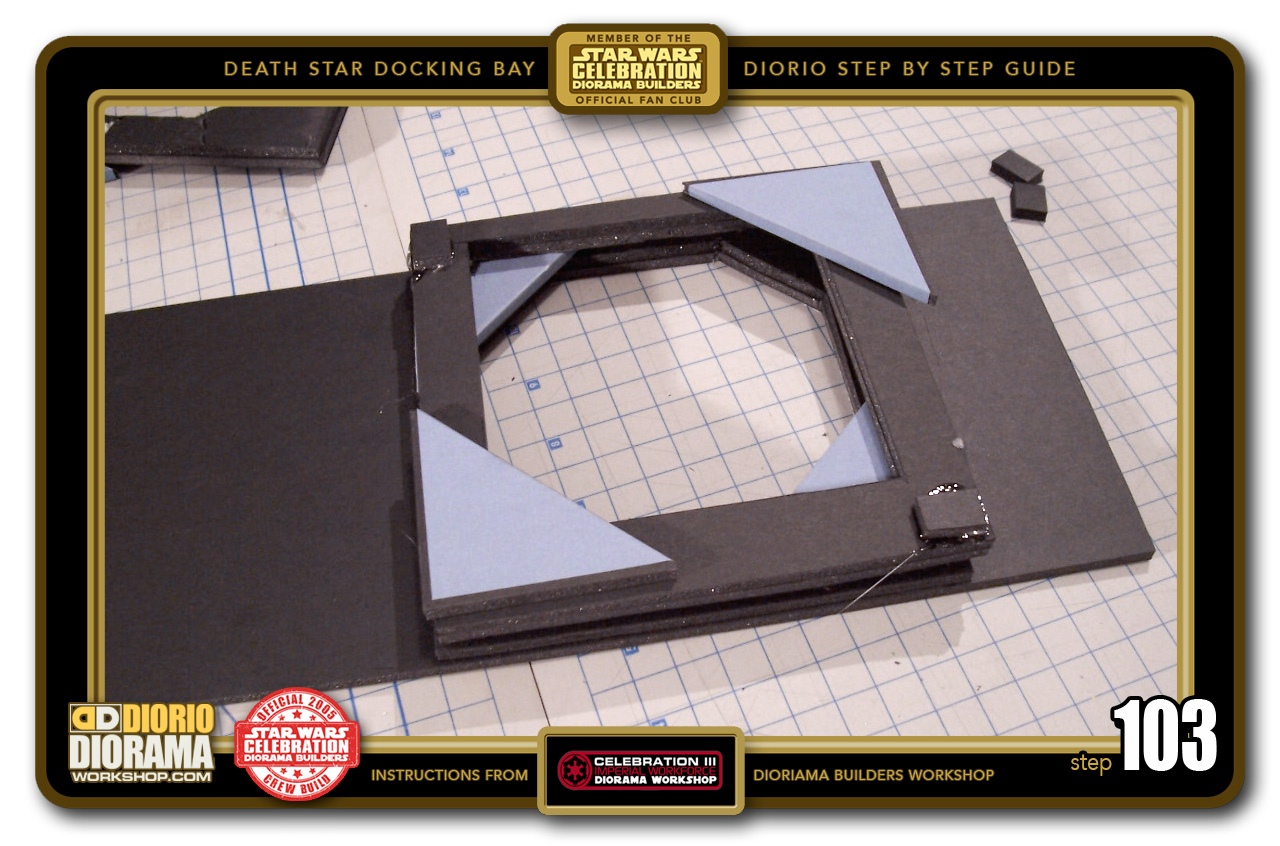
- STEP 103 > Now put a small glob of hot glue on top of each corner scrap and blastdoor corners GREEN ZONES (See Step 101). Quickly grab a double thick square frame and place it on top making sure to align it as close as possible to the first blastdoor opening. Now hot glue 2 more corners but this time on the OPPOSITE corners of the first. Hot glue the 2 scraps on the opposite ends above where your first layer of blastdoor corner were attached.
-

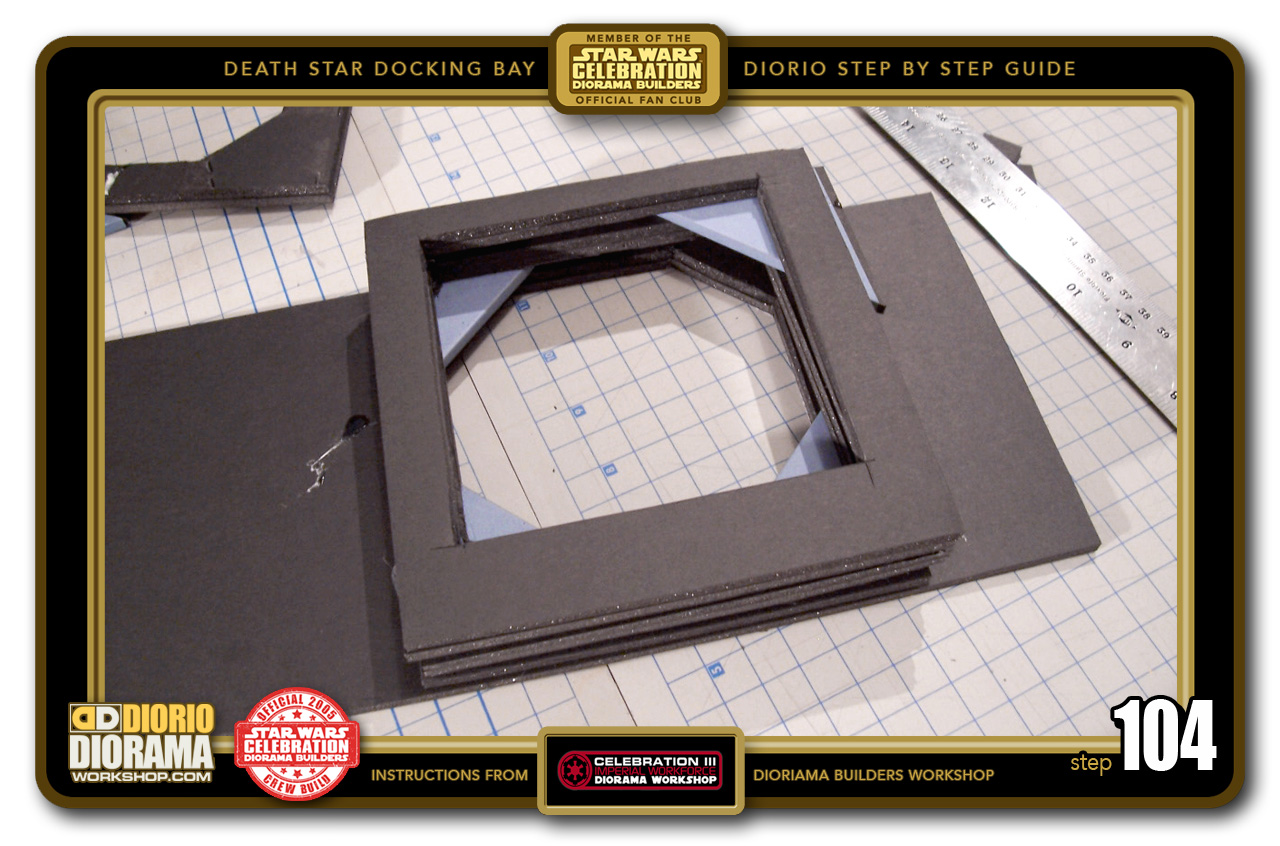
- STEP 104 > Now it's just a question of repeating the steps. Hot glue globs in the green zones and place the second square frame on top of the glue and align it FLUSH with the first frame before the glue cools down. Almost done.
-

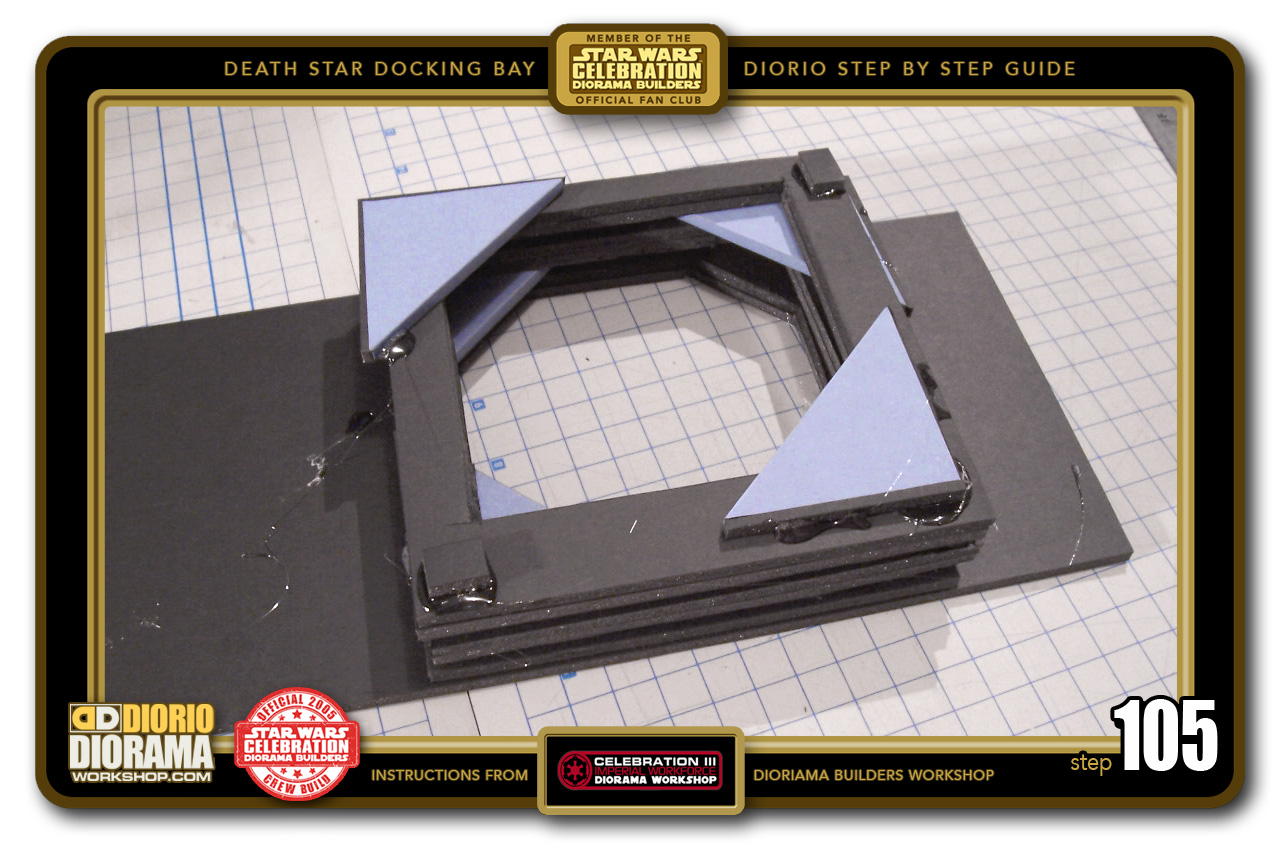
- STEP 105 > Now hot glue globs (in the green zones) to the last 2 door corners and press them at the same sides you did for the FIRST corner. Hot glue the 2 last little scraps on the opposite corners.
-

- STEP 106 > Some globs of hot glue in the green zones of your layer 3 blastdoor corner and scraps and finish by placing the Octagonal Frame on top of the glue. Remember to wiggle it FLUSH against the other edges so that it lays flat on the table surface.

-

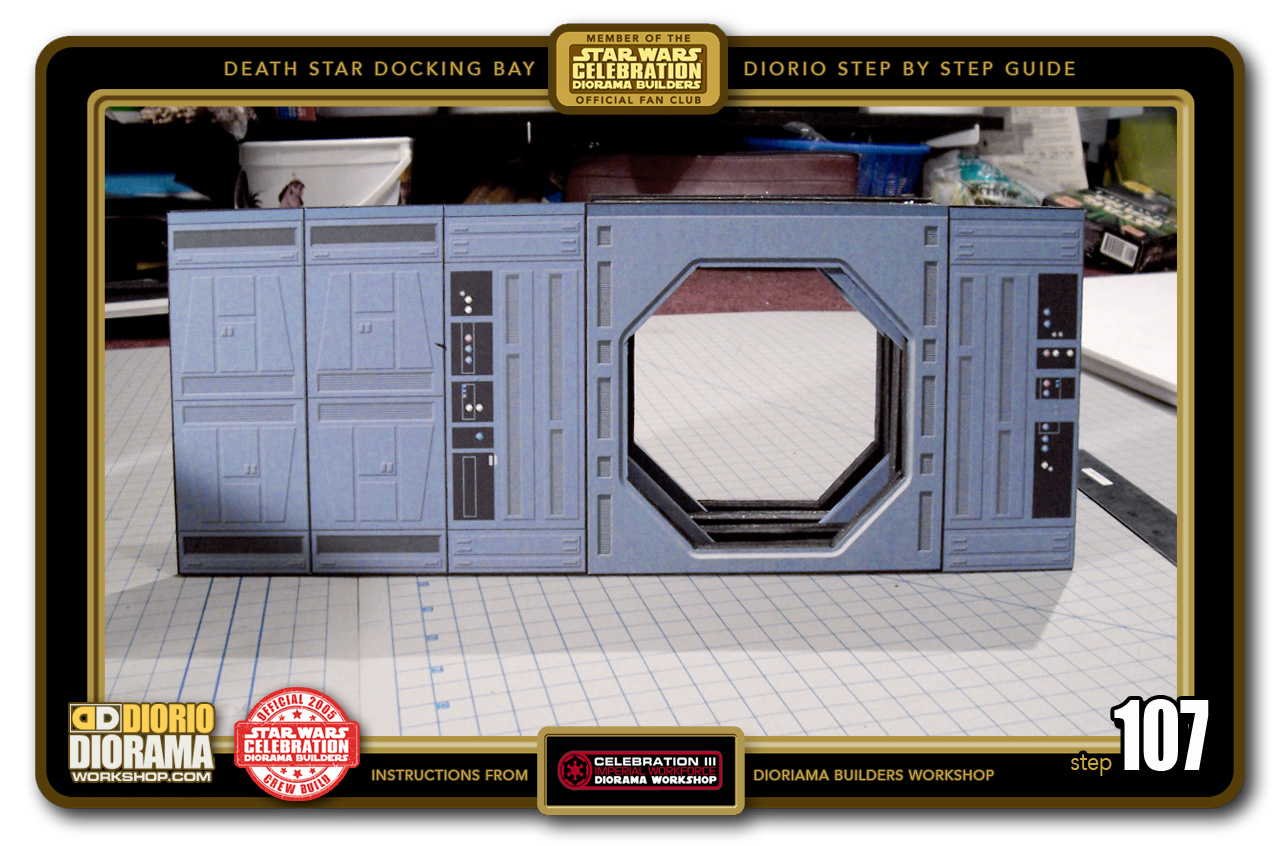
- STEP 107 > Our small blastdoor wall is now completed. I love it !!! I just smile every time I look at this photo 🙂
-

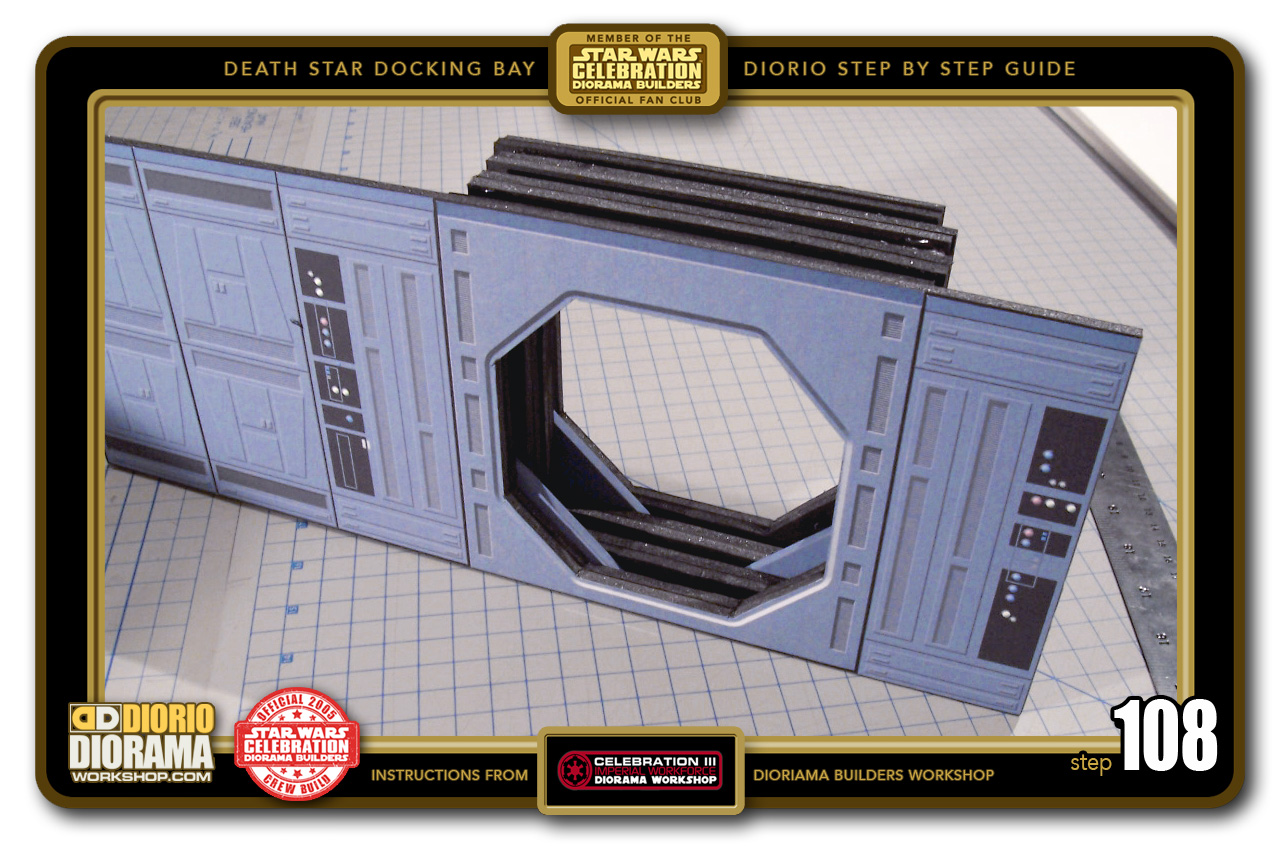
- STEP 108 > A better view of the various layers so you can see how the corner triangles give the illusion that the open doors could actually close like in the movie. You could modify the design to do that, by creating SLIT tracks at the bottom and full doors instead of corners.
-

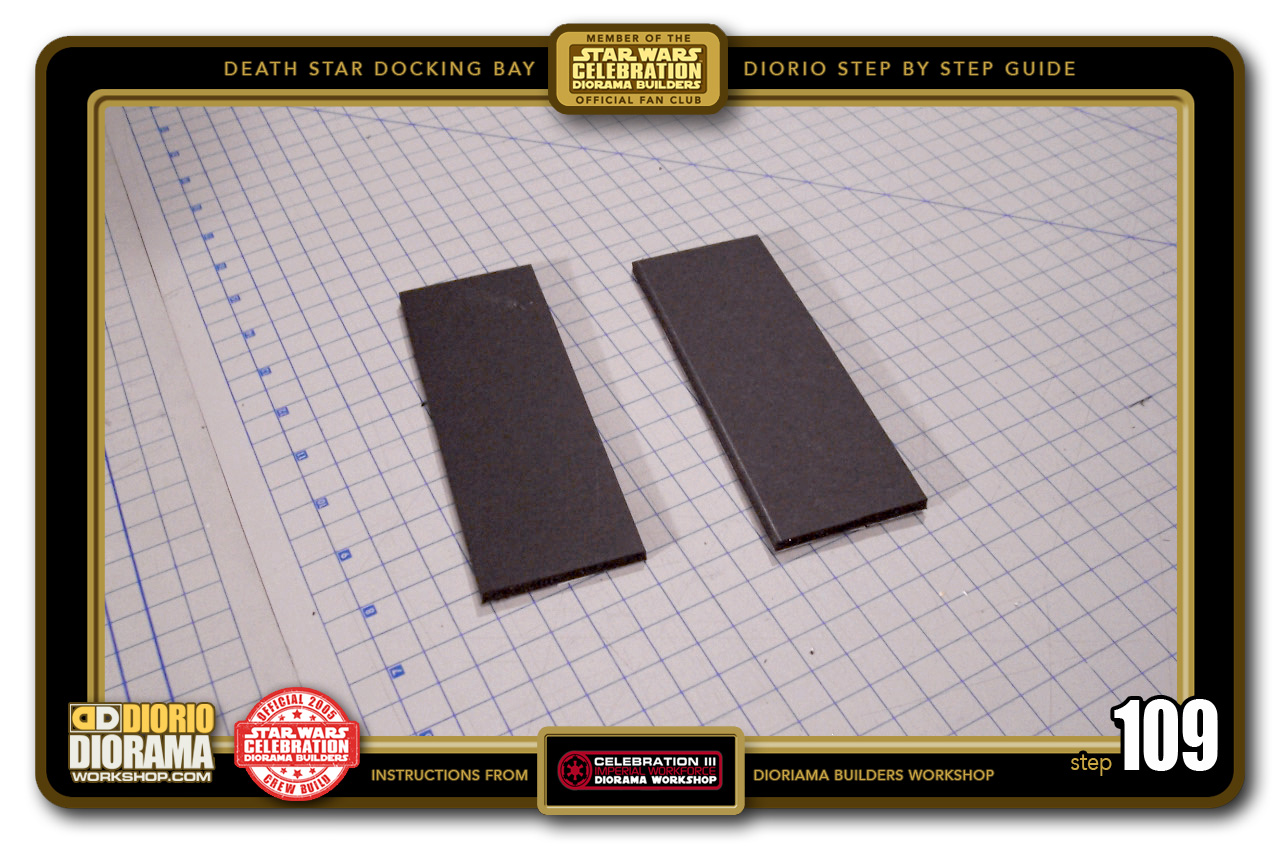
- STEP 109 > We need some end supports to prevent the wall from falling over so get some foamcore and cut out 2 equal pieces measuring 5.5cm X 15.5cm.
-

- STEP 110 > Hot glue the first piece to the Right side of the wall. Make sure the bottom edge is FLUSH with the bottom wall so that it stays up straight and doesn't wobble.

-

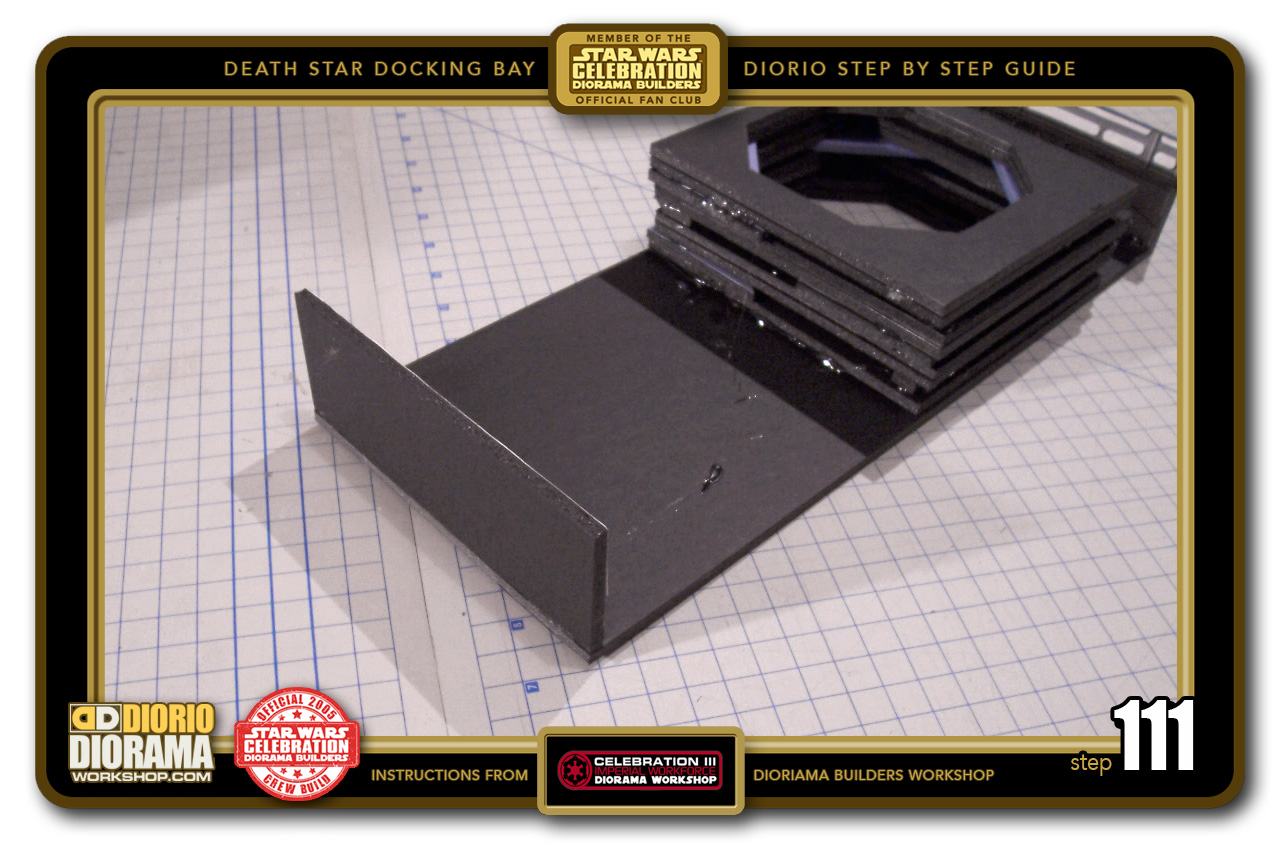
- STEP 111 > Now do the same for the other side of the wall. Remember your FLUSH alignment !!! 🙂
-

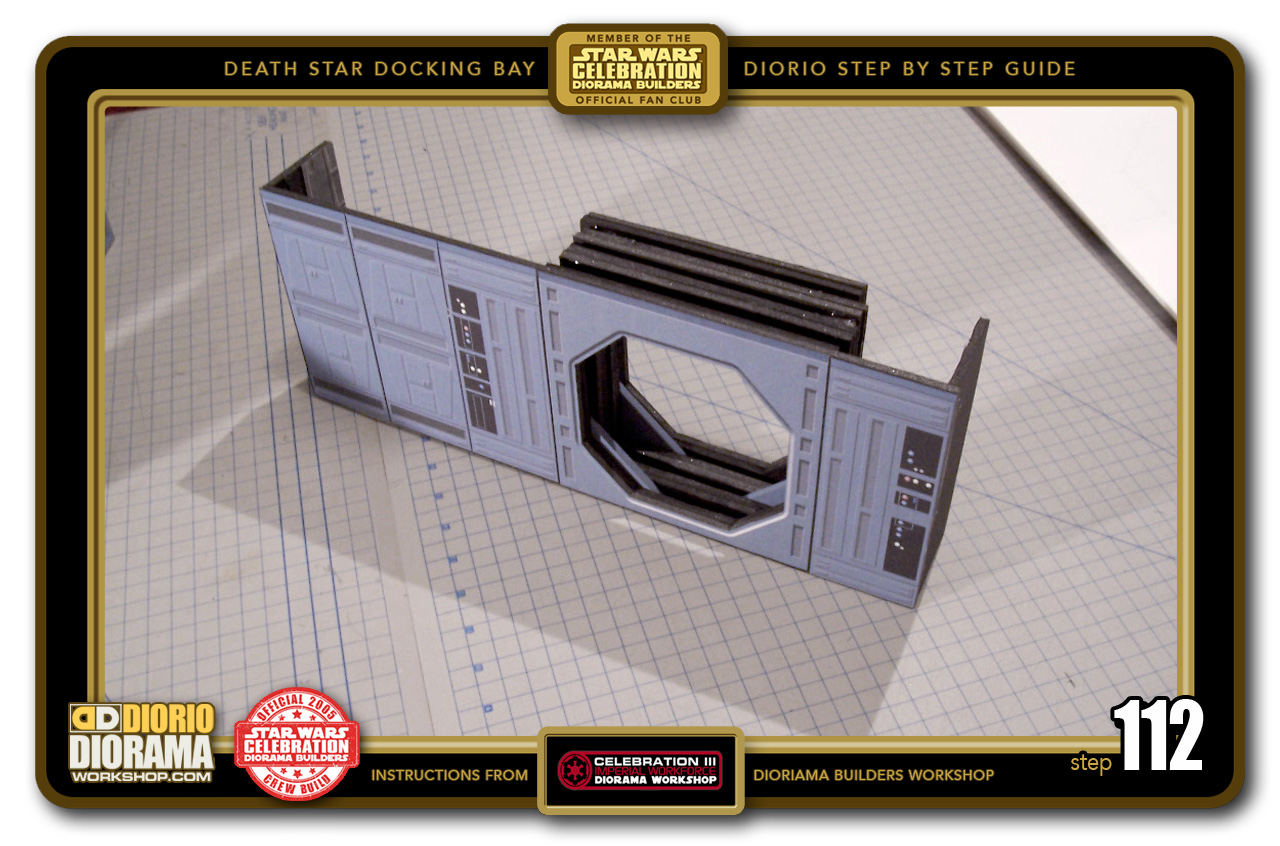
- STEP 112 > And there we go. The wall is complete, however, like the alcove and large blastdoor wall, we need to put a ventilation Shaft on top but not as long as the first we made.
-

- STEP 113 > This time you only need 3 openings. 1 double window and 1 single window. Cut 2 foamcore strips measuring 39.5cm X 6cm and 2 measuring 39.5cm X 5cm. Place your Decals onto the strip that is 39.5cm X 6cm IMPORTANT: NOT the 5cm wide strip. Start with the double window aligned to the right edge, then the single window aligned with the left edge. Add a piece of vent padding strip to cover the black gap in between the 2 windows.

-

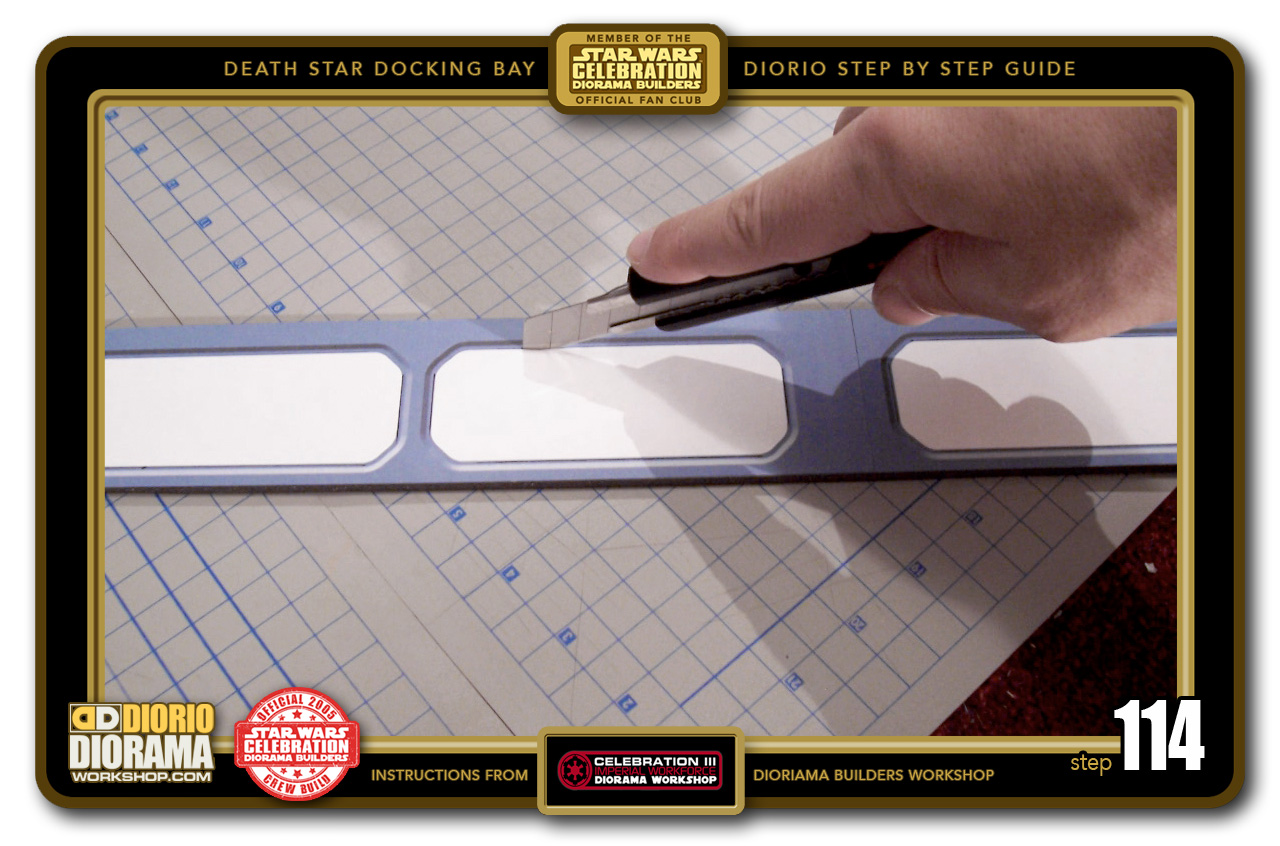
- STEP 114 > You should remember how this part goes, just cut along the embossed edges of the decals vents like you did in Step 047. We want to pop out the white part of the decal.
-

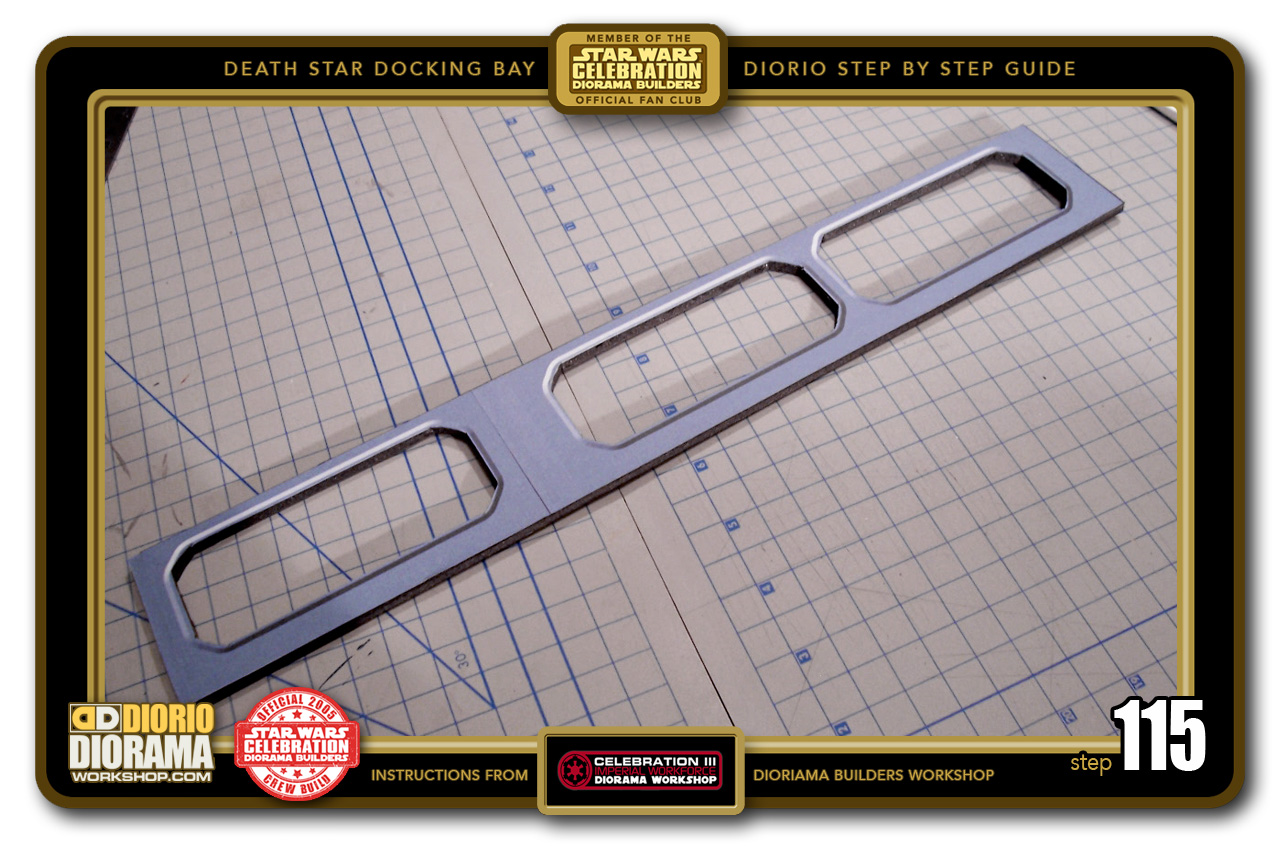
- STEP 115 > You now have your small blastdoor's front ventilation wall complete.
-

- STEP 116 > Use the hot glue to attach a 5cm floor piece to the front wall's bottom edge. IMPORTANT: DO NOT glue to the 2nd 6cm wide strip.

-

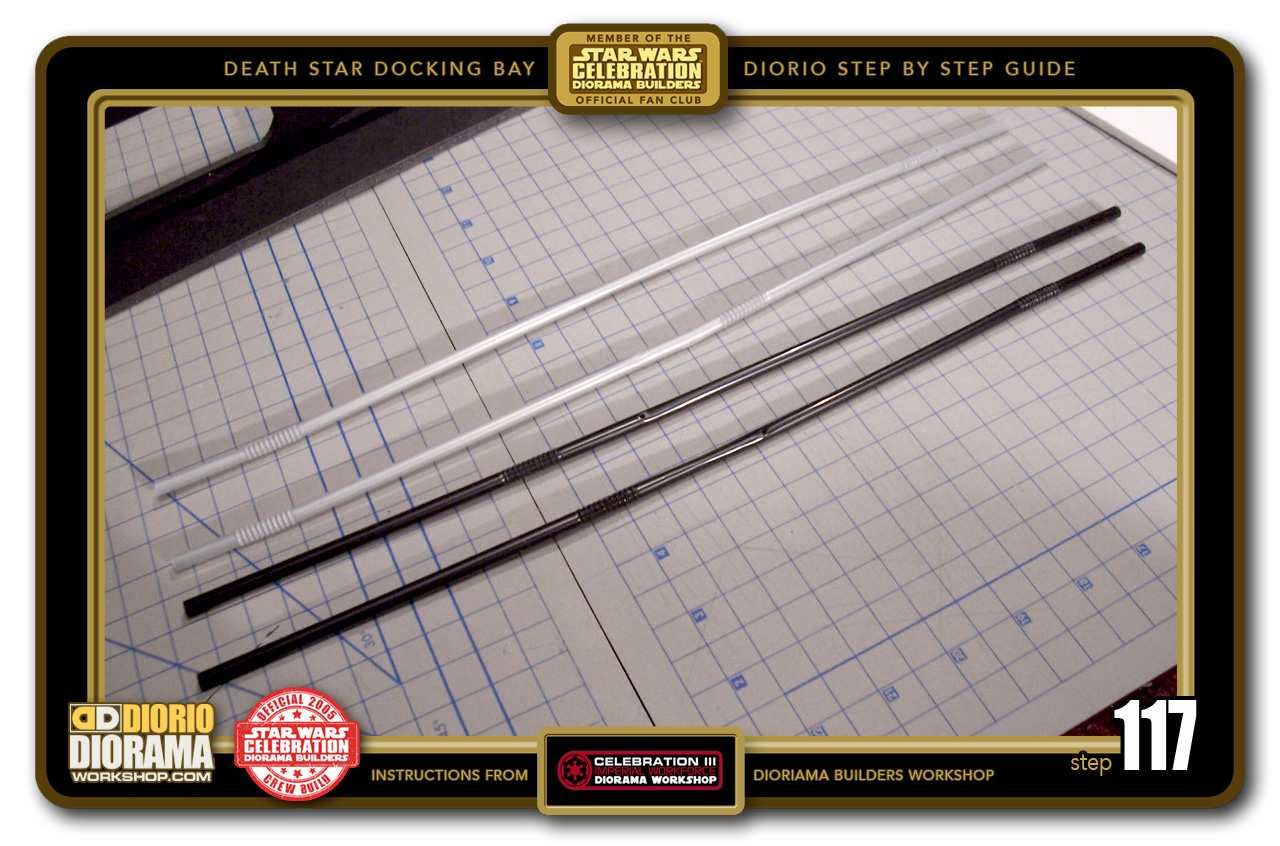
- STEP 117 > As before use the pinching technique to insert your straws into each other until they are wide enough to cover the length of the entire vents. You need 2 sets of Grey straws and 2 sets of Black.
-

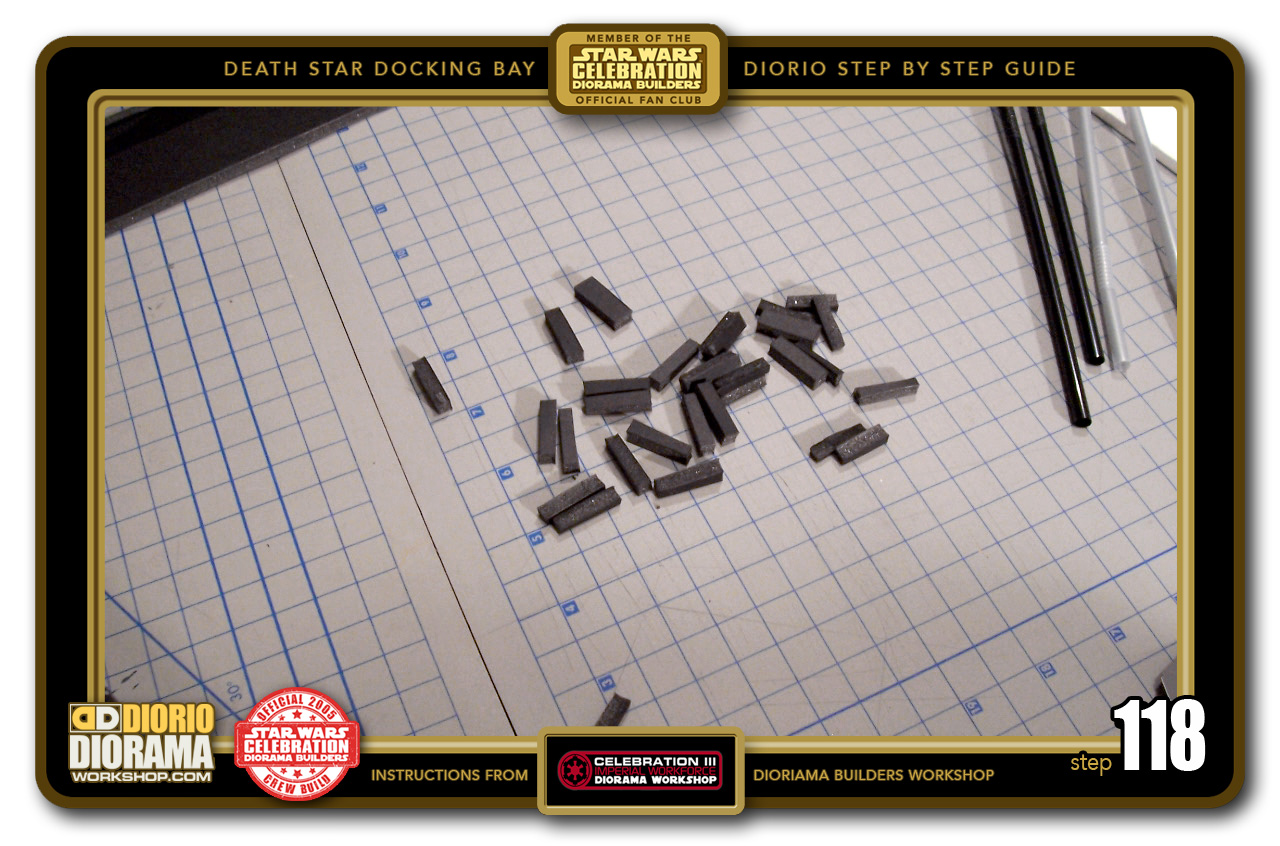
- STEP 118 > Take some of your remaining little scrap strips. See Step 051 if you ran out and forgot how to make these.
-

- STEP 119 > We are basically repeating all of the same steps we did with the wider alcove/large blastdoor ventilation. So I won't go into super detailed explanations again for this vent. Just hot glue the first 5 supports behind each beam of the front wall.

-

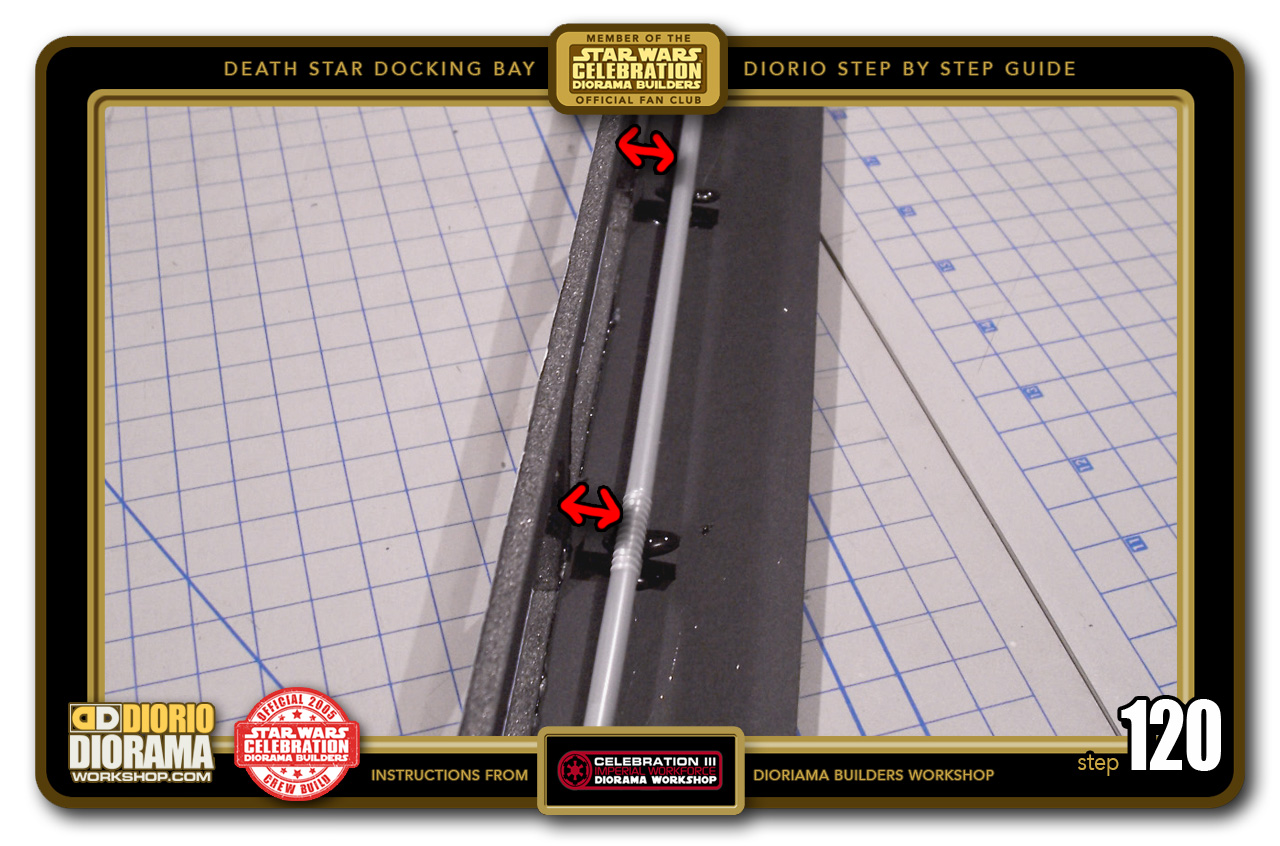
- STEP 120 > Then put dab of hot glue on the scrap tops and lay your straw on top until the glue cools off. REMEMBER to leave a slight gap between your straw and the window opening.

.
Did you already build this Diorama ? At home or at our Star Wars Celebration Diorama Builders workshop ? Would you like to show it in the site’s GALLERY VISITORS DIORAMAS section, YES ? That is Awesome !!! You can find out all the details on how to email me your photos on the VISITORS SUBMISSIONS INFO page … When I get your photos, I will create your very own page just like this one. You may not realize it but work does inspire others to join in the fun of making Action Figure Dioramas.
.
NOT FOR RESALE ALL Decals, tutorials and artwork are ©FrankDiorio (dioramaworkshop.com) and offered FOR FREE to the fans – that would be you ? so you can build and display my diorama designs in your very own home. I realize I cannot control what one does with my graphics once I place them on the web, I can only ask you as one fan to another, please respect the artist and do not be that jerk who uses my designs and tutorials to build a copy of my work only to sell it on EBAY or trade/sale groups and forums. Thank You. Frank.
![]() Catch up with fellow visitors and exchange stories, read cool interviews with the crew, exchange photos, fun surprises and grab some FAN ONLY merchandise next year at actual future conventions ?
Catch up with fellow visitors and exchange stories, read cool interviews with the crew, exchange photos, fun surprises and grab some FAN ONLY merchandise next year at actual future conventions ?
.
©2018 Frank Diorio DioramaWorkshop.Com
.
IF YOU LIKE WHAT YOU SEE, PLEASE SHARE WITH YOUR FRIENDS
USING THE SOCIAL MEDIA BUTTONS BELOW