


-

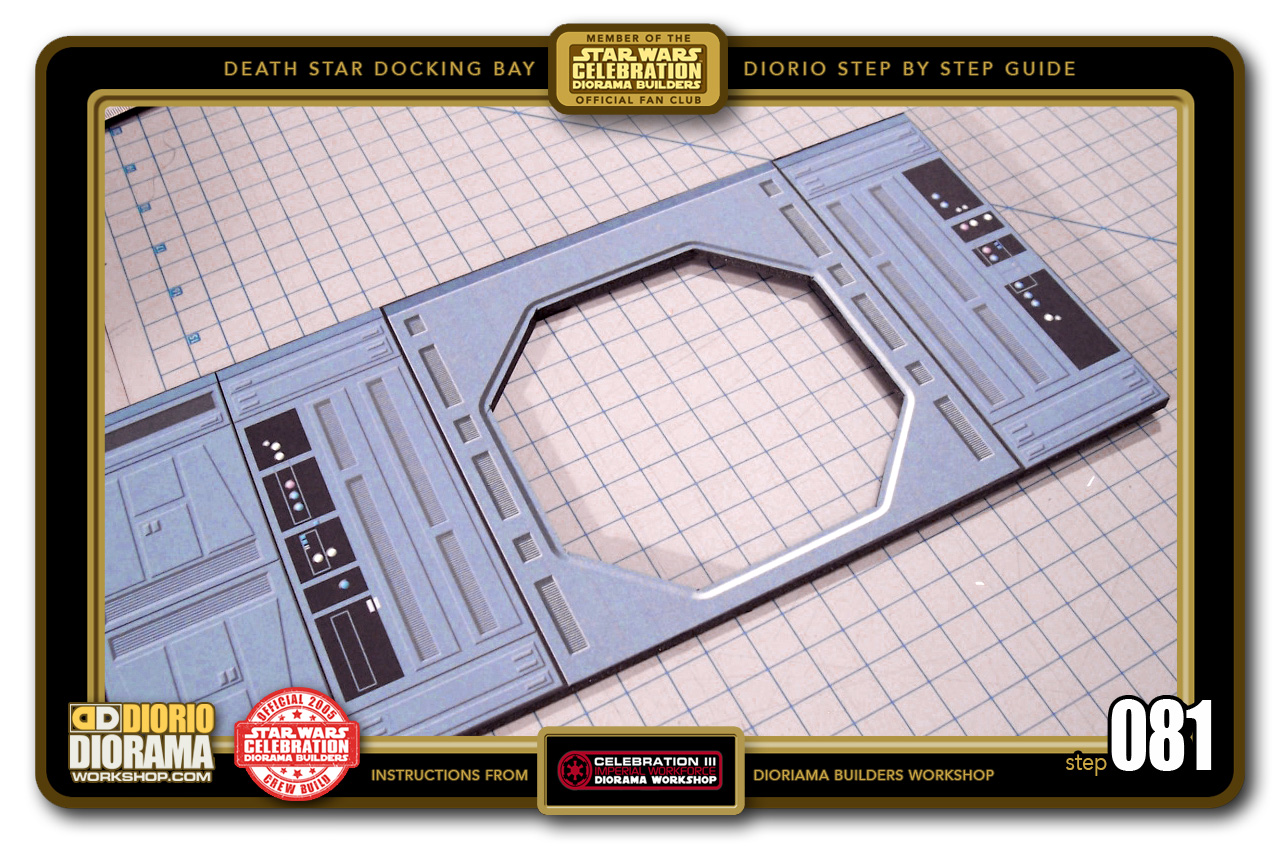
- STEP 081 > Once the front of the small blastdoor is cut out we are ready for the next step... making our templates.
-

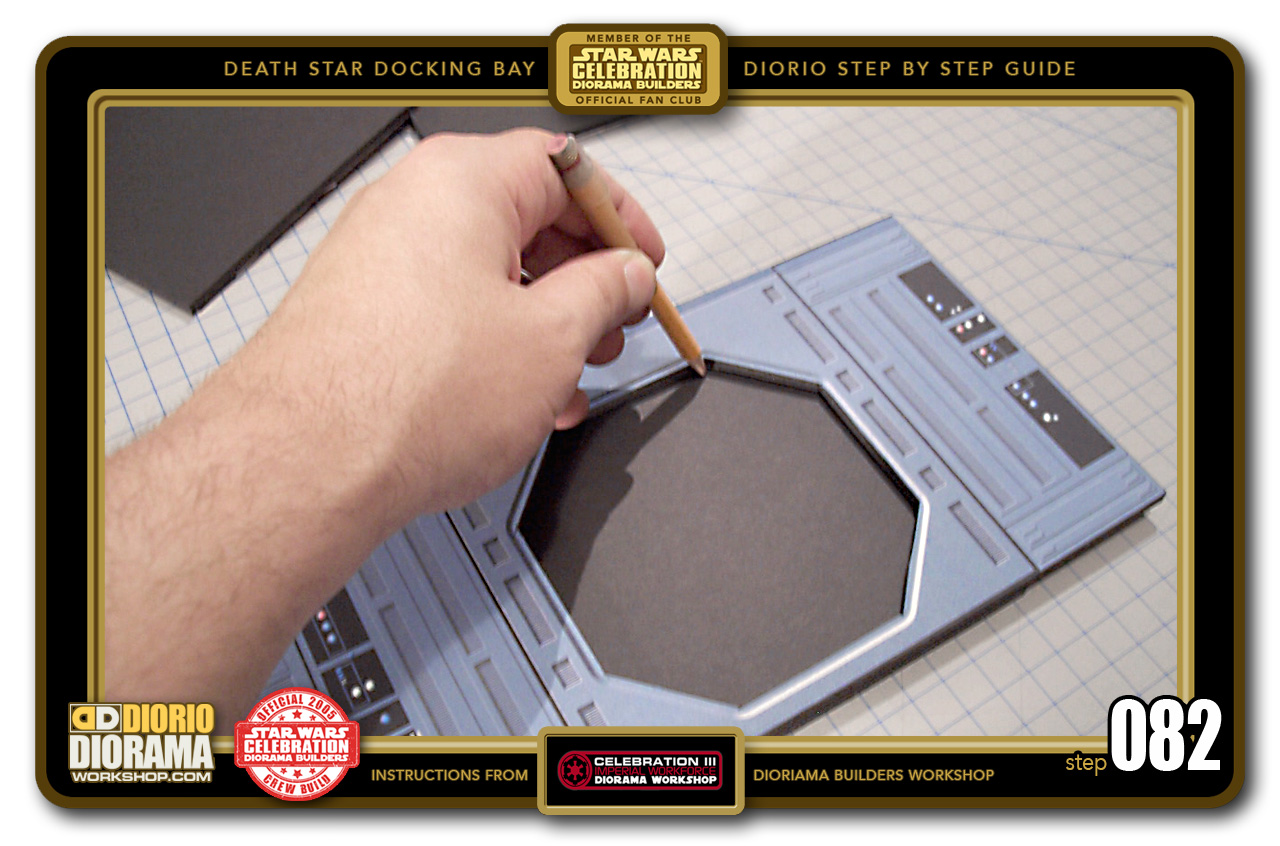
- STEP 082 > Cut out 7 pieces of 15.5cm X 15.5cm foamcore. Grab one of them and place it under your small blastdoor front and align it with the top and bottom and try centering for equal gaps each side of the door opening. Now take your pencil and trace all along the octagonal hole.
-

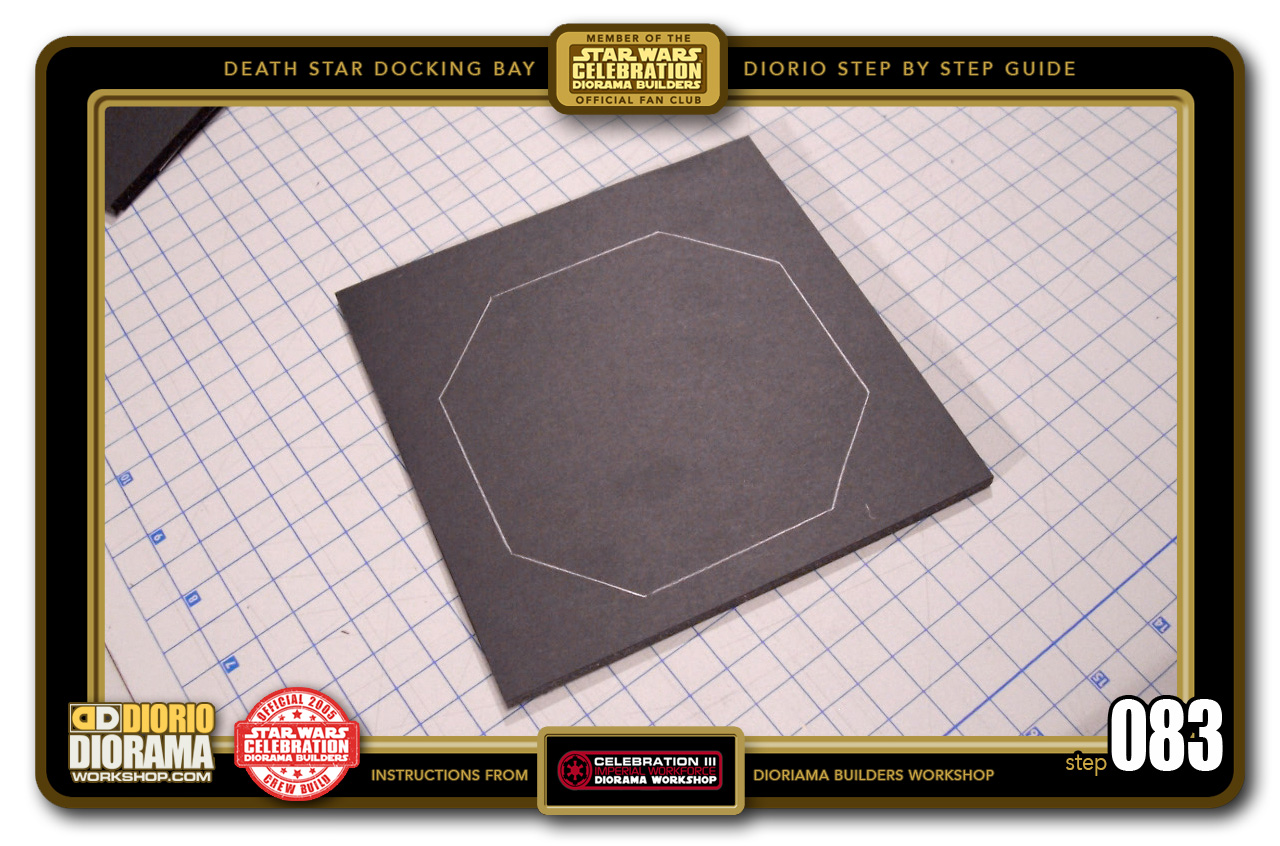
- STEP 083 > If you aligned all your sides properly, your tracing should look like this.
-

- STEP 084 > Now carefully cut out along the pencil lines as you did for the front wall opening.

-

- STEP 085 > Now take this new cut piece, place it over one of your squares making sure to align all 4 sides and trace another octagon shape.

-
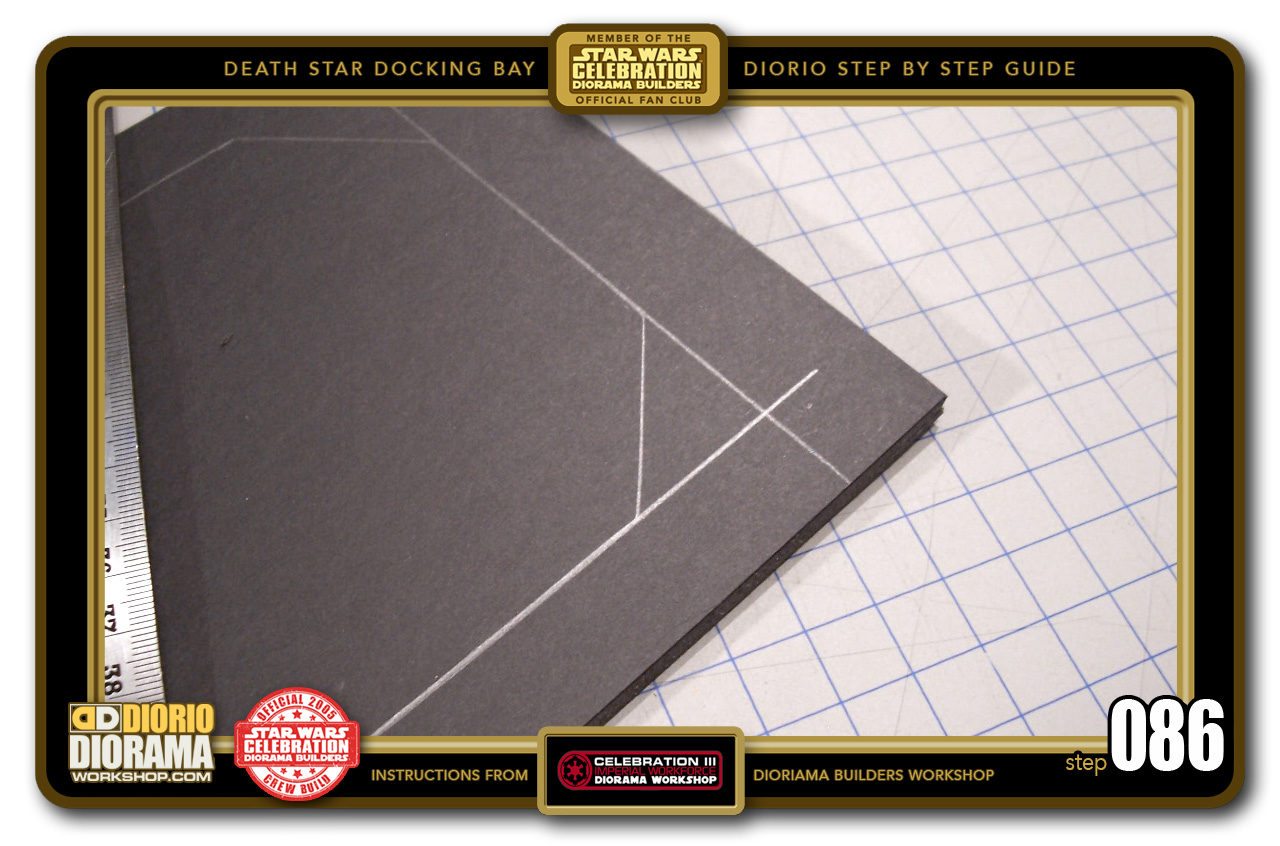
- STEP 086 > Take a ruler and extend the top and side lines from the ogtagon tracing. This will give you 90 degree angles where the lines connect and your NEW cutting guides.

-

- STEP 087 > Use your Xacto pen or knife to cut out along those extended lines. You should get this shape when you pop out the center scrap piece.

-

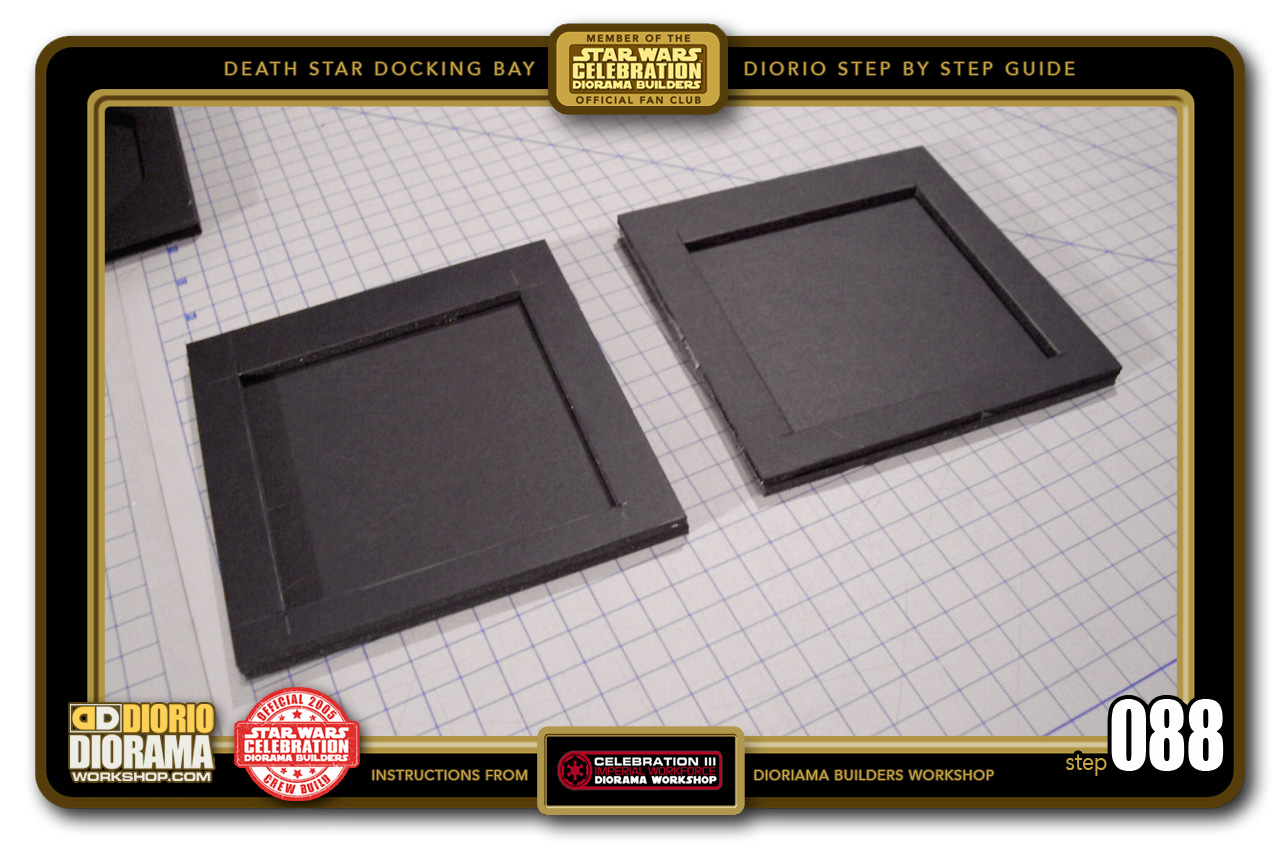
- STEP 088 > Cut out a 2nd frame shape like you just did in Step 87. Then grab 2 more of your square shapes. Put hot glue around one of the frames and press it to one of the squares. Make sure to align the sides FLUSH as you can. Repeat with the other frame and square so that you get these 2 double thick shapes.
-

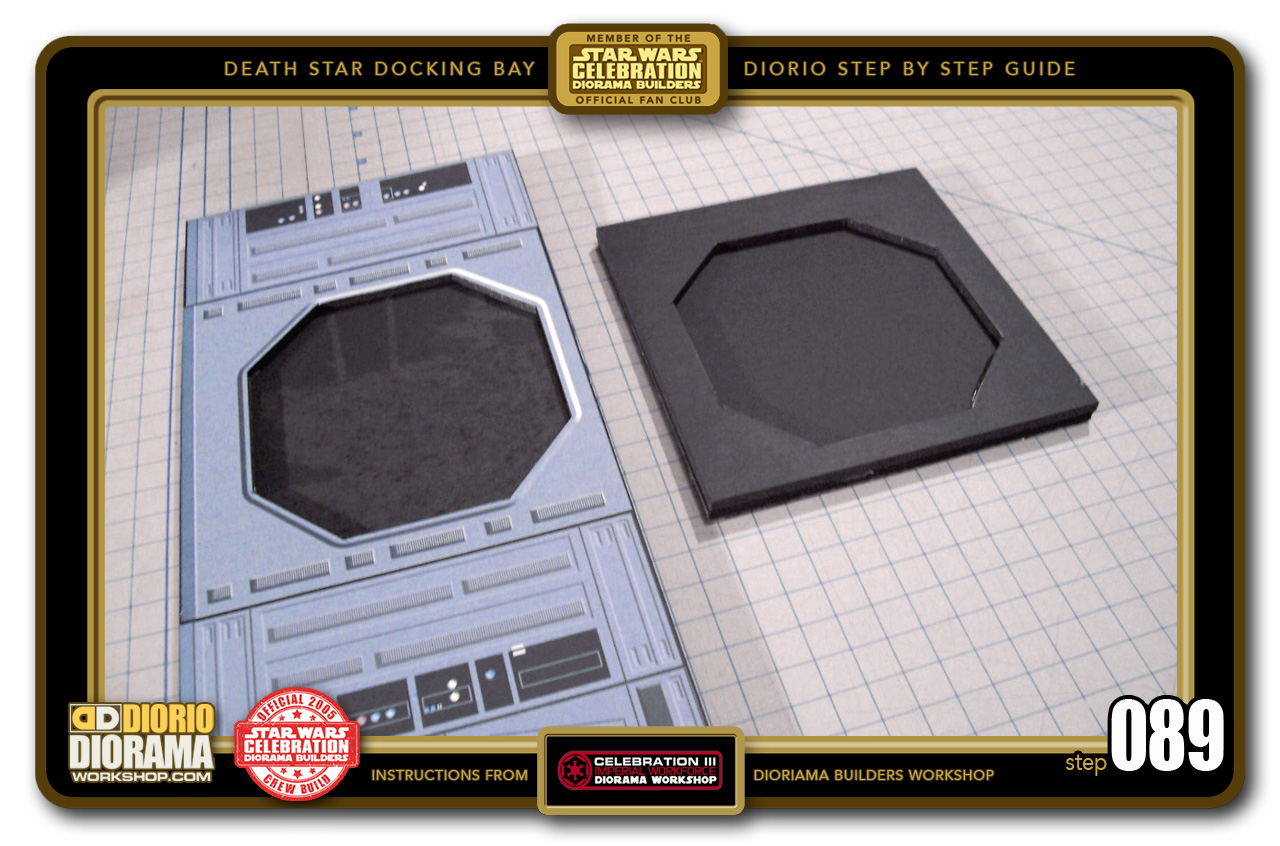
- STEP 089 > You also need to hot glue your octagonal frames to the 2 remaining 15.5cm X 15.5cm squares. One at a time, put hot glue on a frame and press against the square. Remember to align the 4 sides FLUSH. In the case of the blastdoor front wall, align the top and bottom and equal gaps on each side like you did for the tracing of Step 82.
-

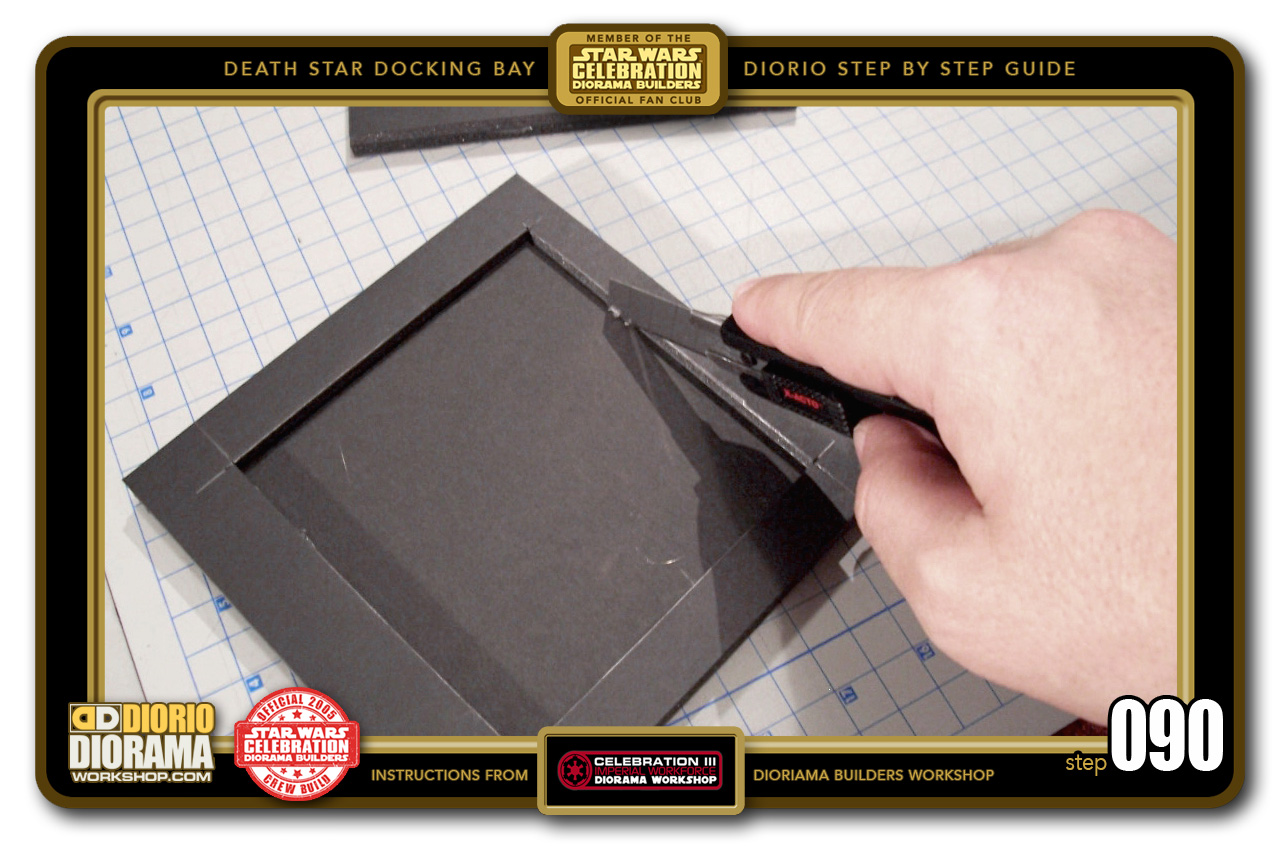
- STEP 090 > Once the hot glue cools down and hardens, use the edges of the top layers as your guides to cut through the bottom layer of your Door frames. Cut carefully and as precise as you can.
-
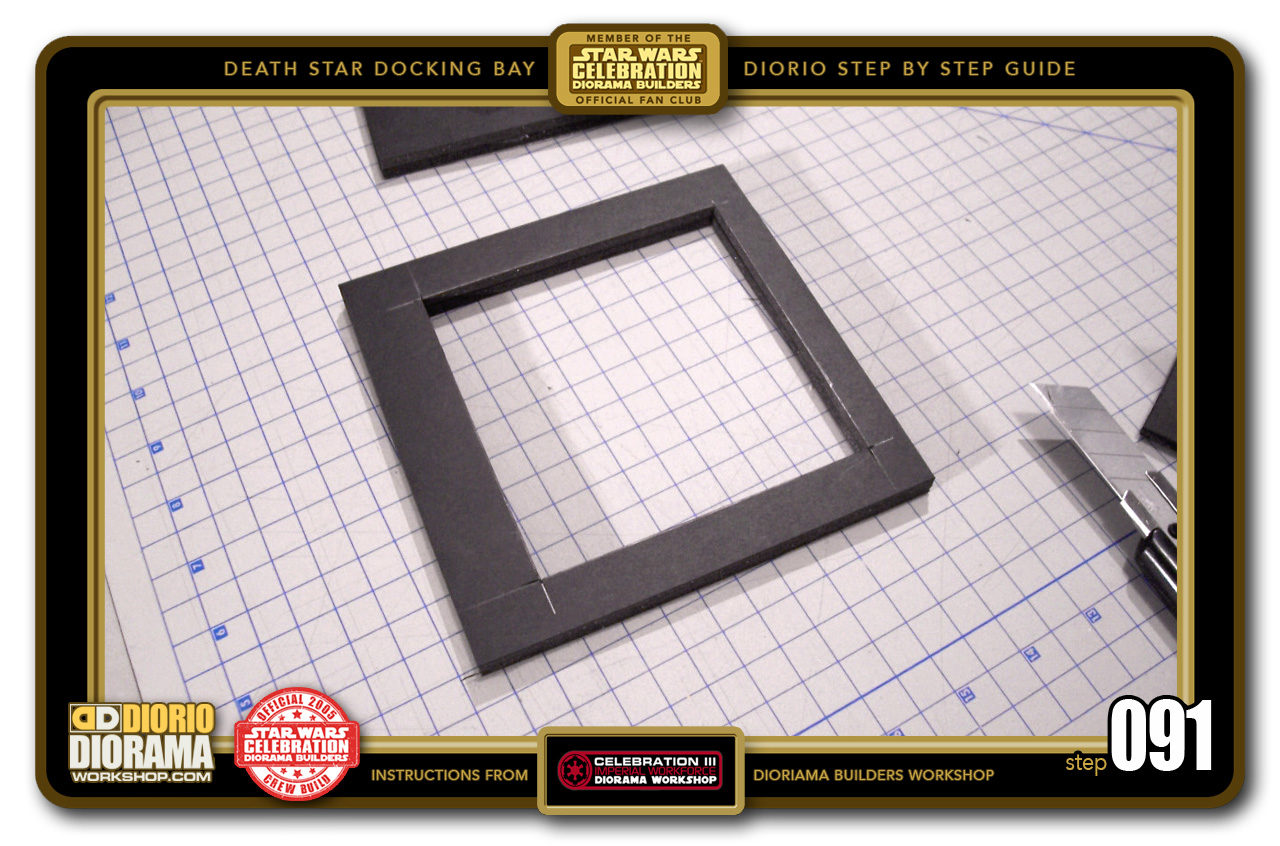
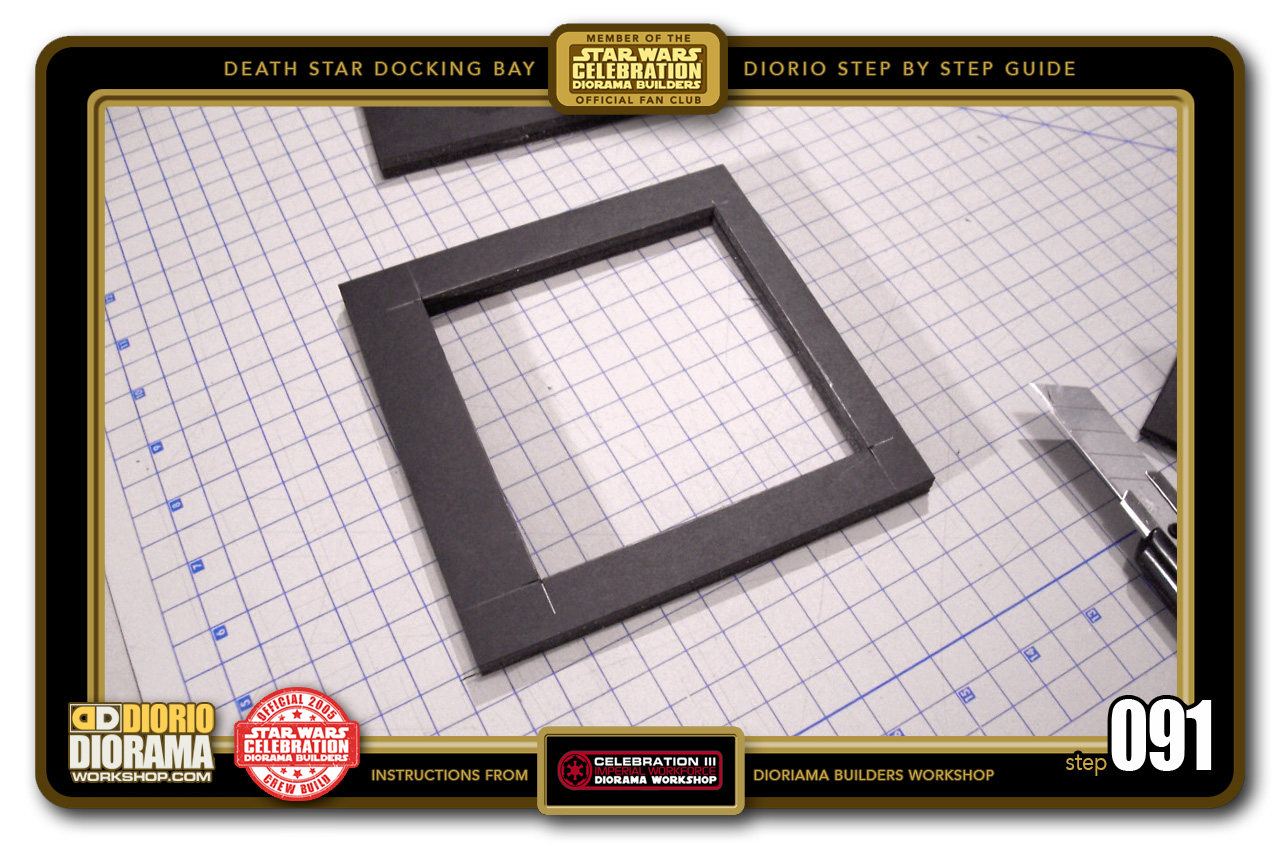
- STEP 091 > Now when you are all the way through, you should be able to pop out the center scrap piece and have a perfect 2 thickness square door frame.
-

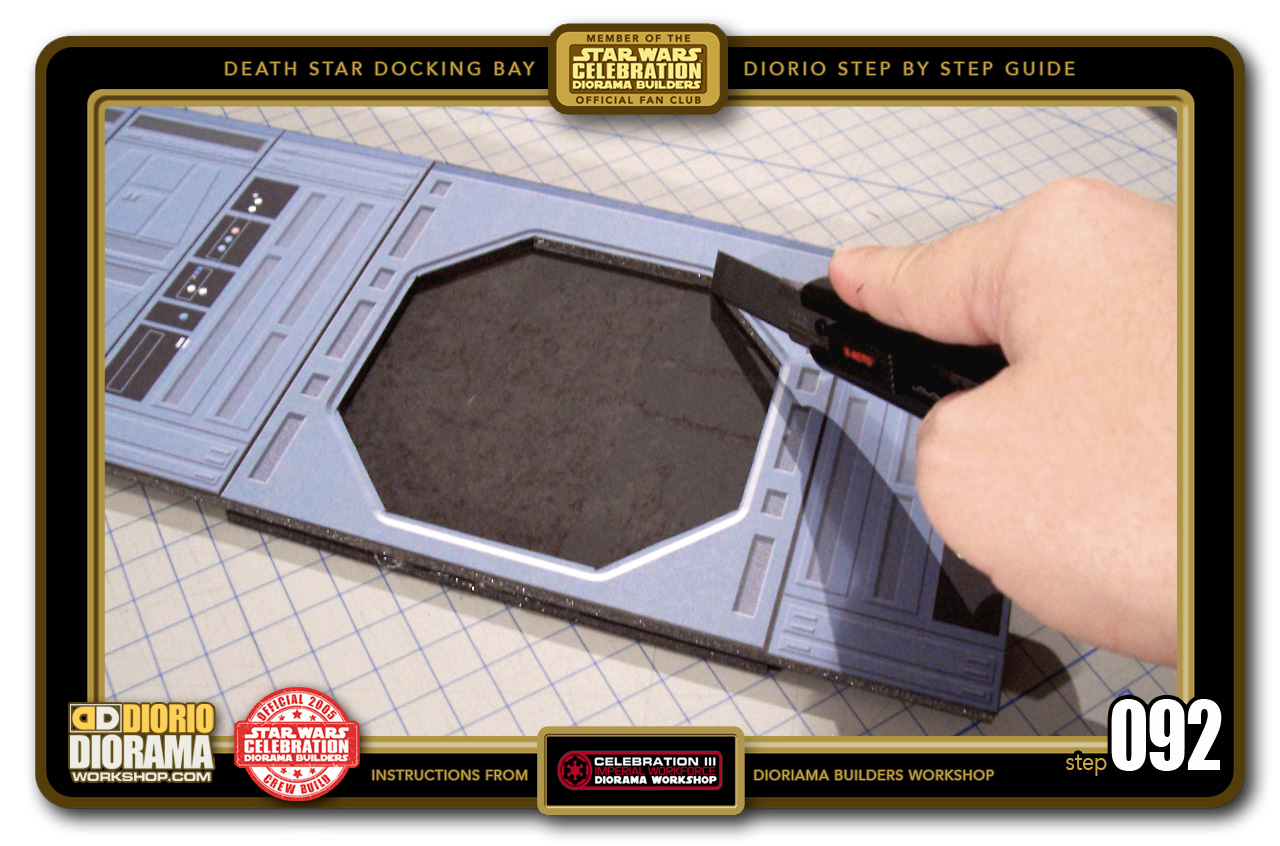
- STEP 092 > A little more tricky, cut out the bottom layers of your octagonal small blastdoor frames. Take your time, you want to avoid cutting the decal.
-

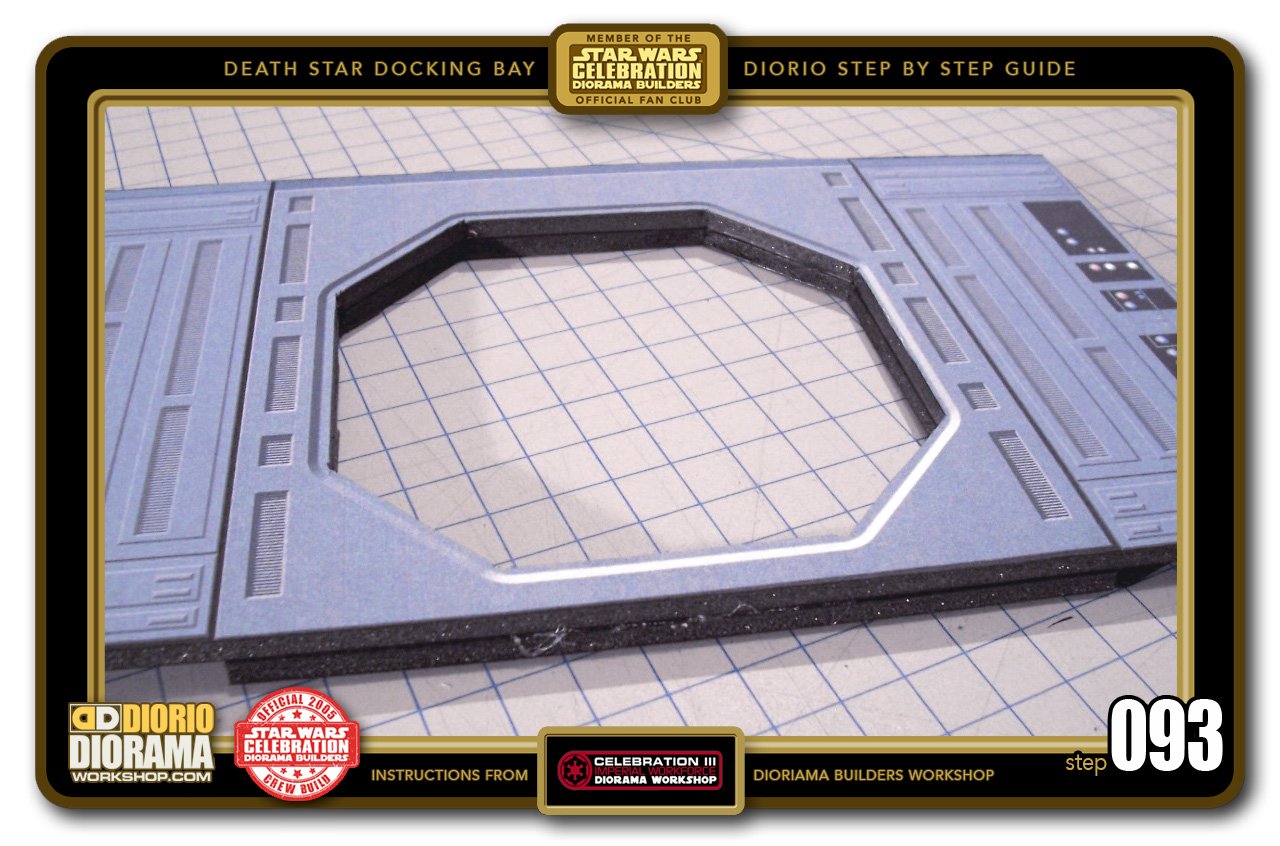
- STEP 093 > Because you cut the bottom layer after it was glued onto the top frame, you usually get perfect fit every time 🙂 If you cut out the 2 shapes first and placed them one on top of the other, high chances you would not get 100% matching edges.
-

- STEP 094 > You now have your 2 octagonal blastdoor frames, one for the front and the other for the rear view. If your diorama design has this side exposed with a connected basic hallway, you can add a decal skin to the blastdoor.

-
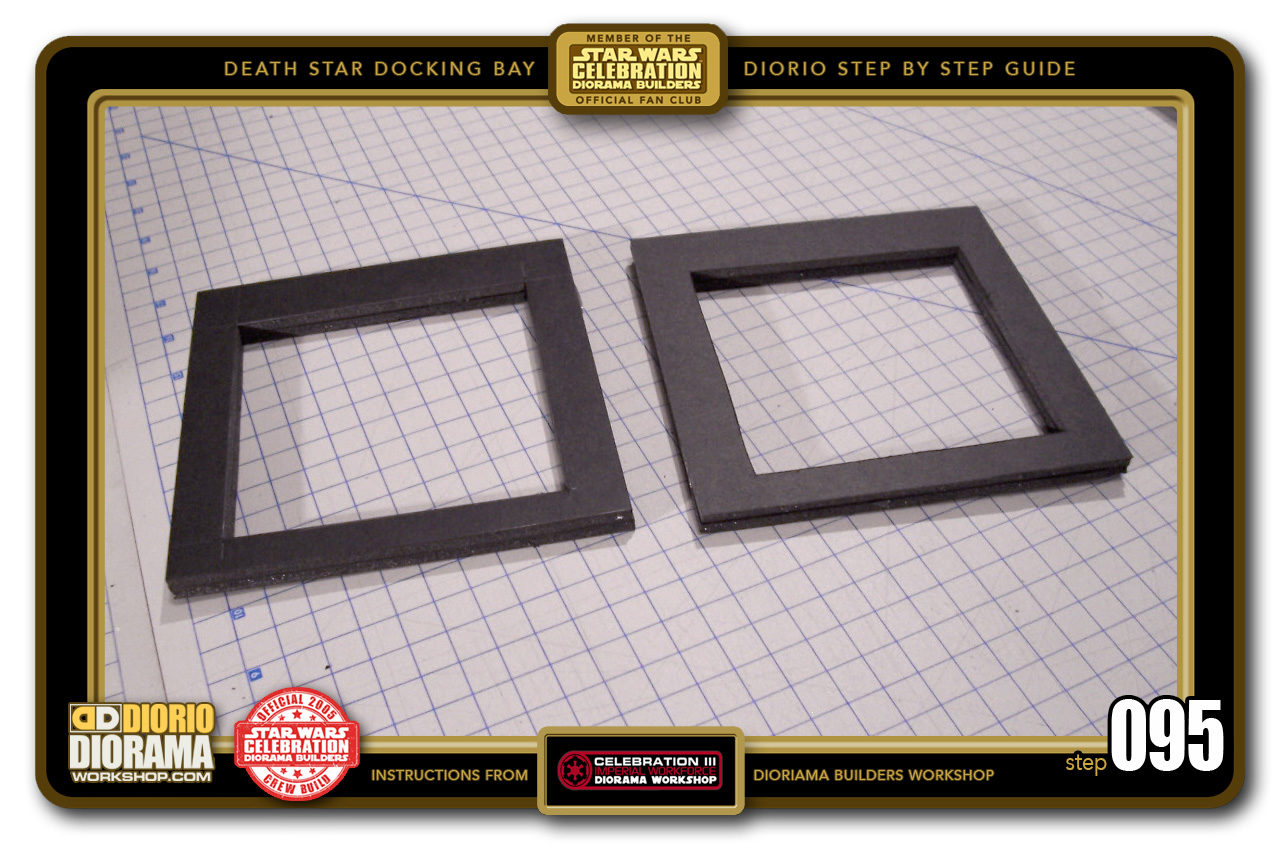
- STEP 095 > And now move onto your 2 center frames. Cut out the bottom layers using the tops as your guide giving your 2 perfect double thickness square frames.

-
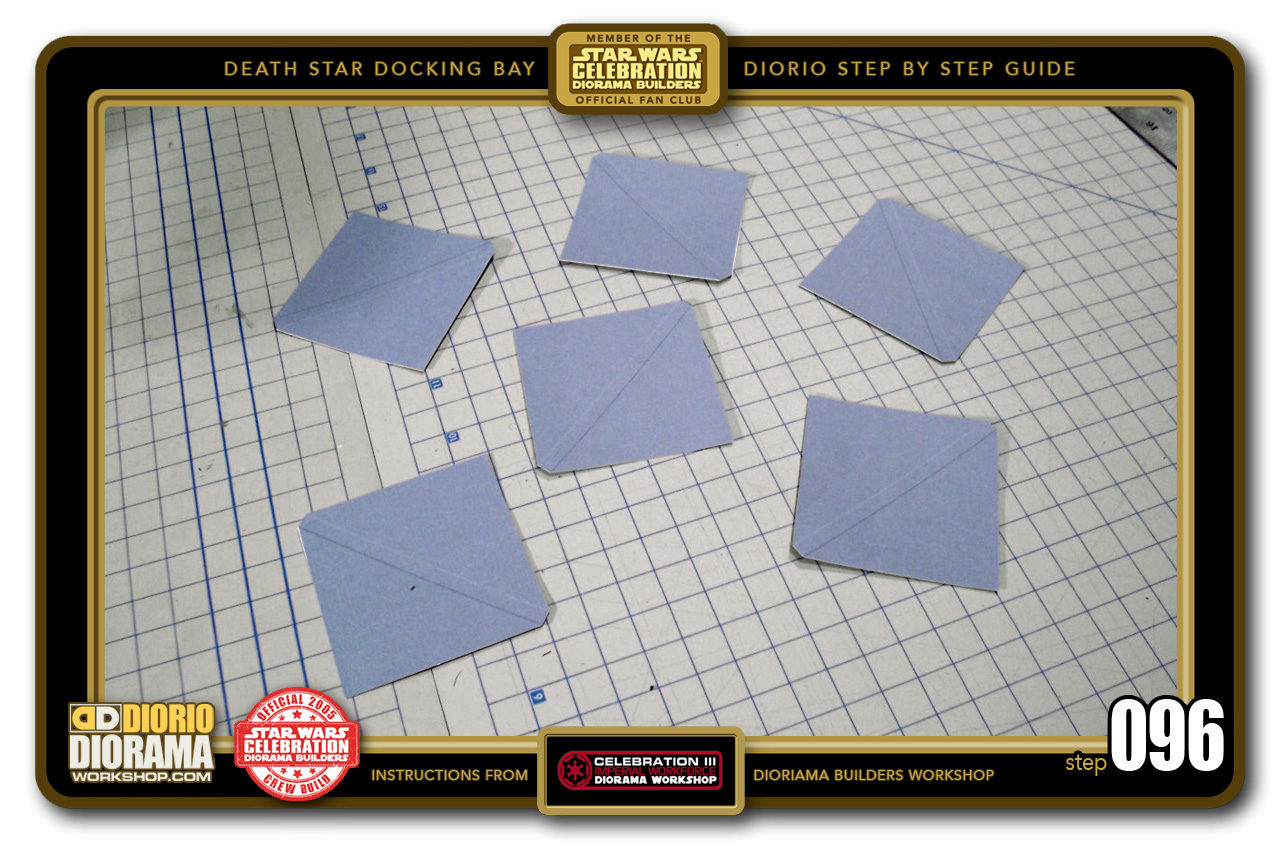
- STEP 096 > Time to grab your page 10 blastdoor corner insert decals. Follow the guides and cut out the excess until you get 6 perfect squares like this.

-

- STEP 097 > You need to cut out 6 Doritos 🙂 measure 3 squares of 6.5cm X 6.5cm and slice them in half. They should be about the size of half your blastdoor corner decal. If you don't use full size label sheets that peel and stick, you will need to apply gluestick to these to stick your decal print in Step 098.

-

- STEP 098 > Start by placing the Decal 's center spine along the long edge of your triangle piece. Then carefully put pressure with your finger along the center causing the decal to bend and make fold marks. Now fully bend and press the decal onto one side of the triangle shape. Then repeat on the other side.

-

- STEP 099 > Once all folded, you get 6 beautiful blue grey Doritos 🙂 I mean, blastdoor corners 🙂

-
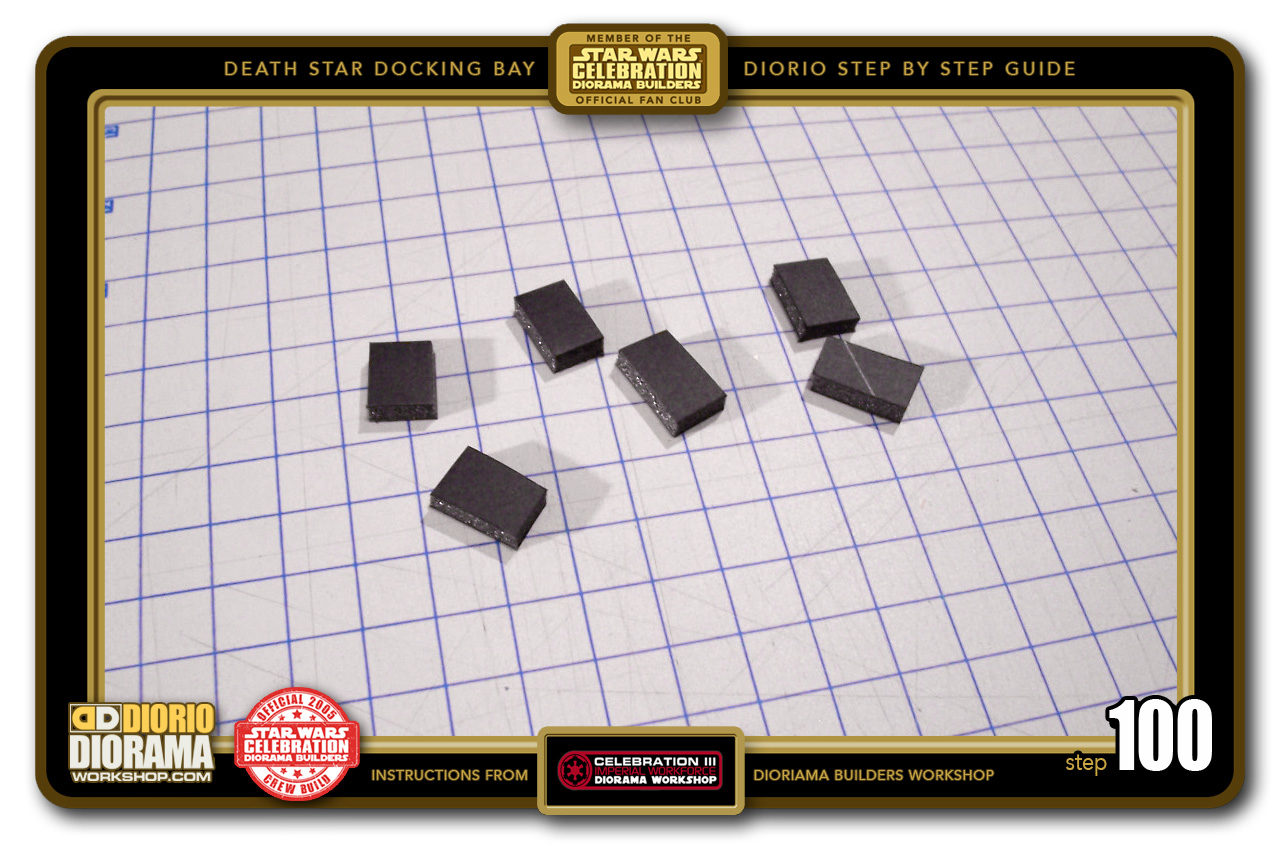
- STEP 100 > You need to make 6 tiny scrap foamcore pieces for corner supports. 1cm squares should work fine.


.
Did you already build this Diorama ? At home or at our Star Wars Celebration Diorama Builders workshop ? Would you like to show it in the site’s GALLERY VISITORS DIORAMAS section, YES ? That is Awesome !!! You can find out all the details on how to email me your photos on the VISITORS SUBMISSIONS INFO page … When I get your photos, I will create your very own page just like this one. You may not realize it but work does inspire others to join in the fun of making Action Figure Dioramas.
.
NOT FOR RESALE ALL Decals, tutorials and artwork are ©FrankDiorio (dioramaworkshop.com) and offered FOR FREE to the fans – that would be you ? so you can build and display my diorama designs in your very own home. I realize I cannot control what one does with my graphics once I place them on the web, I can only ask you as one fan to another, please respect the artist and do not be that jerk who uses my designs and tutorials to build a copy of my work only to sell it on EBAY or trade/sale groups and forums. Thank You. Frank.
![]() Catch up with fellow visitors and exchange stories, read cool interviews with the crew, exchange photos, fun surprises and grab some FAN ONLY merchandise next year at actual future conventions ?
Catch up with fellow visitors and exchange stories, read cool interviews with the crew, exchange photos, fun surprises and grab some FAN ONLY merchandise next year at actual future conventions ?
.
©2018 Frank Diorio DioramaWorkshop.Com
.
IF YOU LIKE WHAT YOU SEE, PLEASE SHARE WITH YOUR FRIENDS
USING THE SOCIAL MEDIA BUTTONS BELOW