


-

- STEP 061 >Now drip a dab (say that fast 5 times LOL) of hot glue onto all supports and then gently rest one of the GREY straw pipes onto the glue, wiggle and align it straight before it hardens.

-
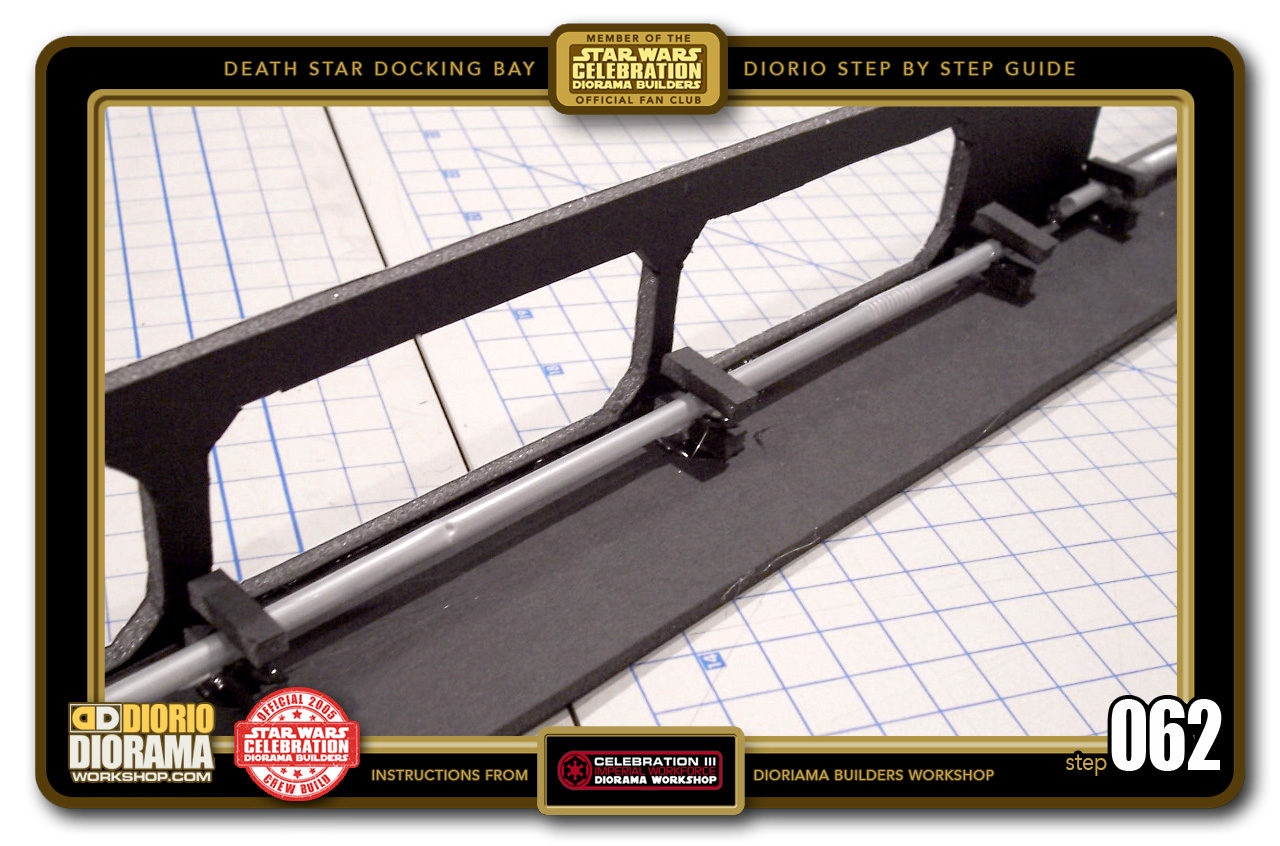
- STEP 062 >Now its just a matter of layering the straws, like a wedding cake. Place some hot glue onto your next 7 supports - one at a time - a little dab of glue is enough, and place it on the straw just above the first one. Try to align them as much as possible to keep it neat looking. And try to make sure they are NOT angled, but parallel to the floor.

-
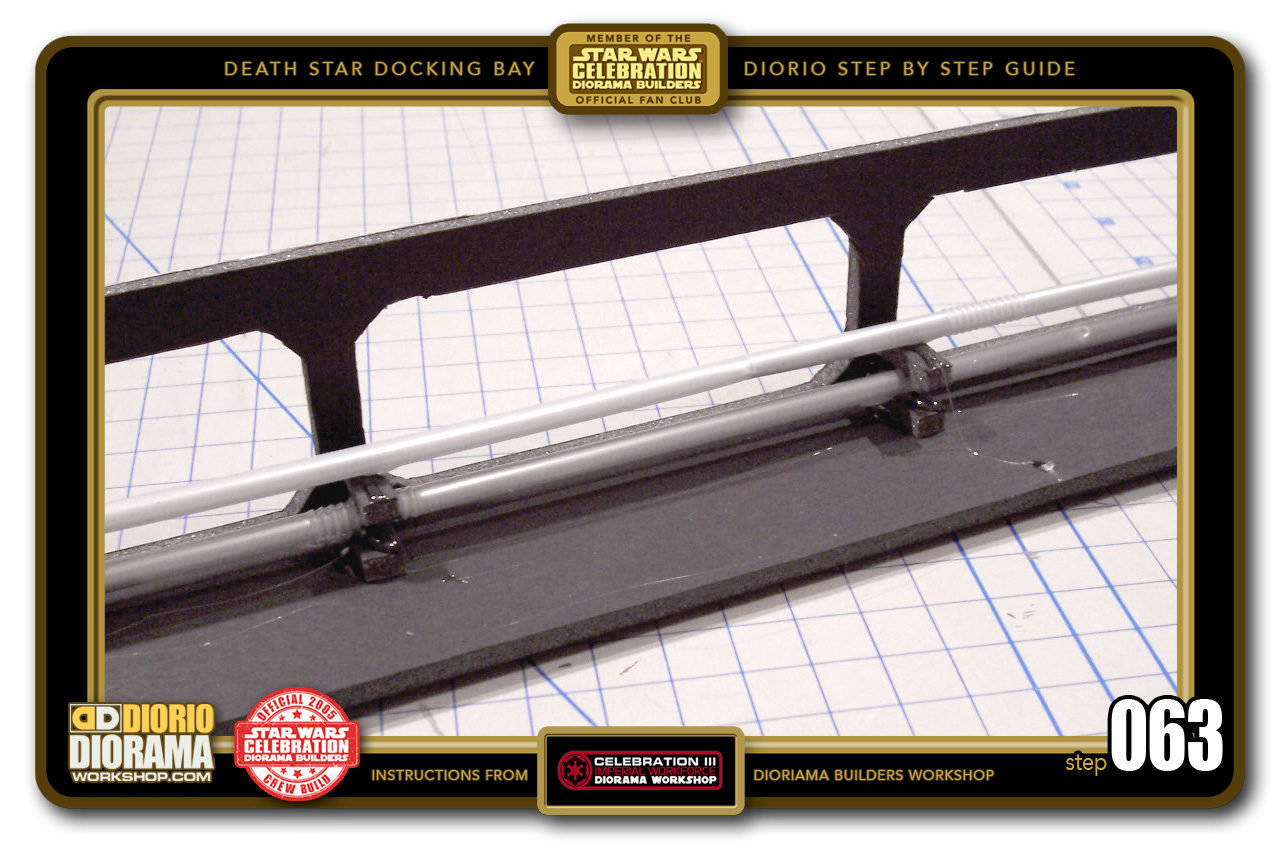
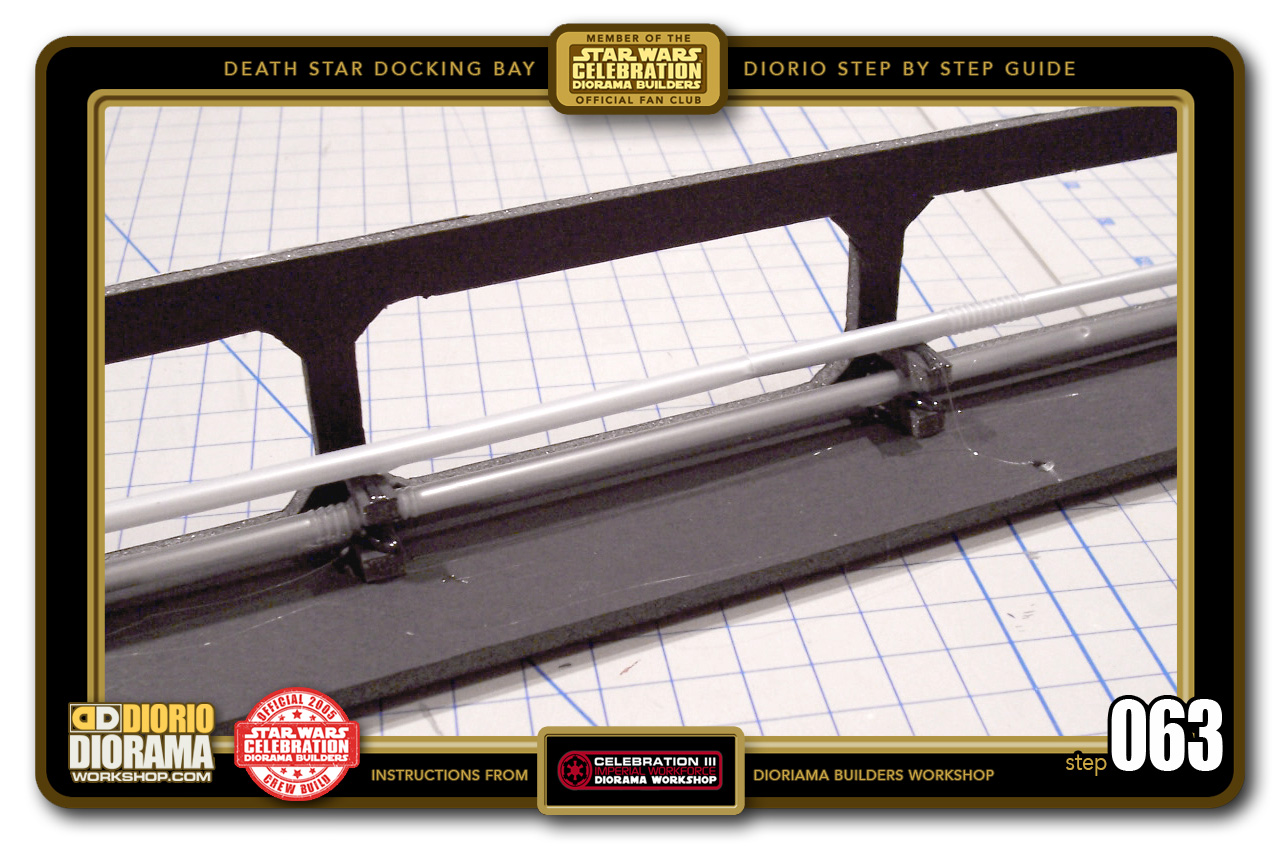
- STEP 0063 >Now take the 2nd Grey Straw and repeat. Dab some hot glue globs on layer 2's support tops and quickly put your straw in place before the glue cools down and the straw won't stick. Remember to try allign as closely as possible with straw number 1 when you look directly down from above the ventilation shaft. You want to try and hide the first straw from view.
-
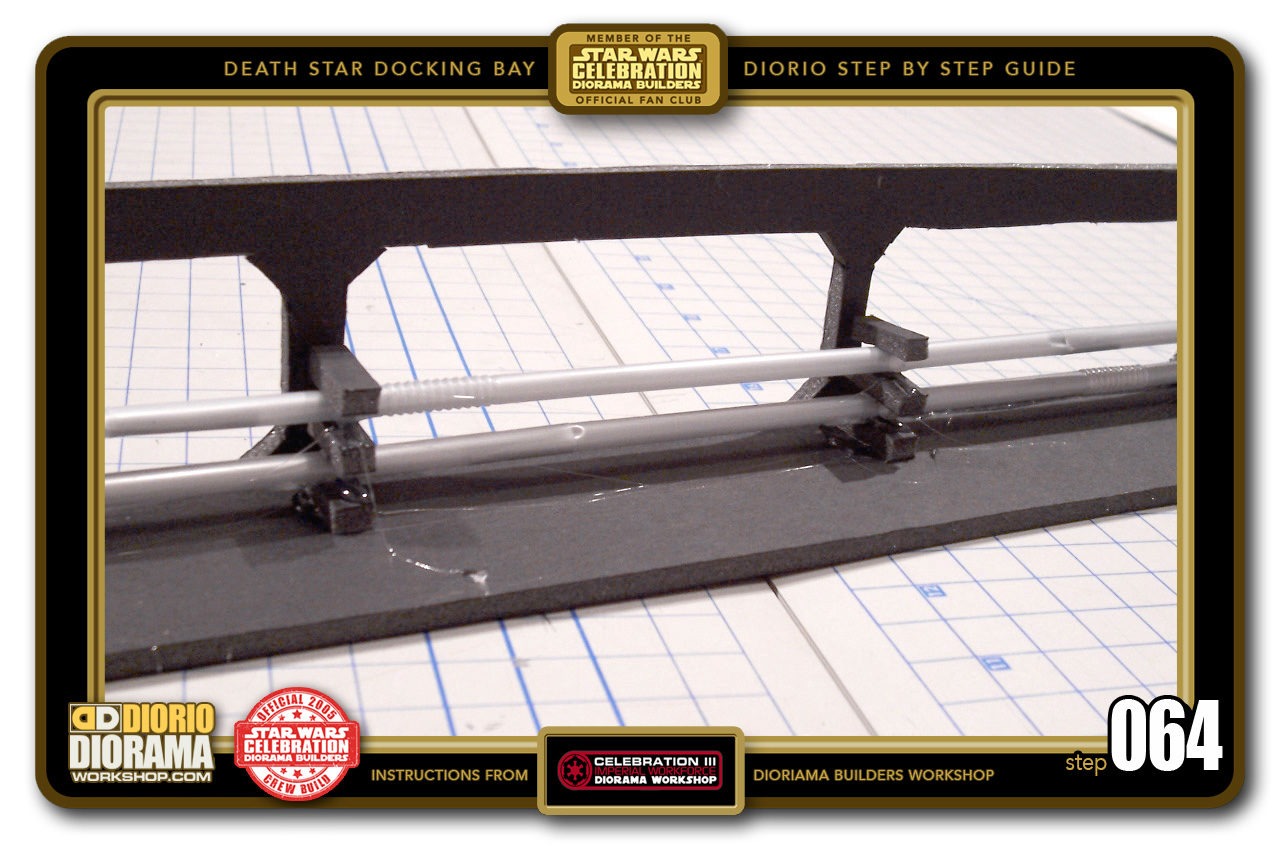
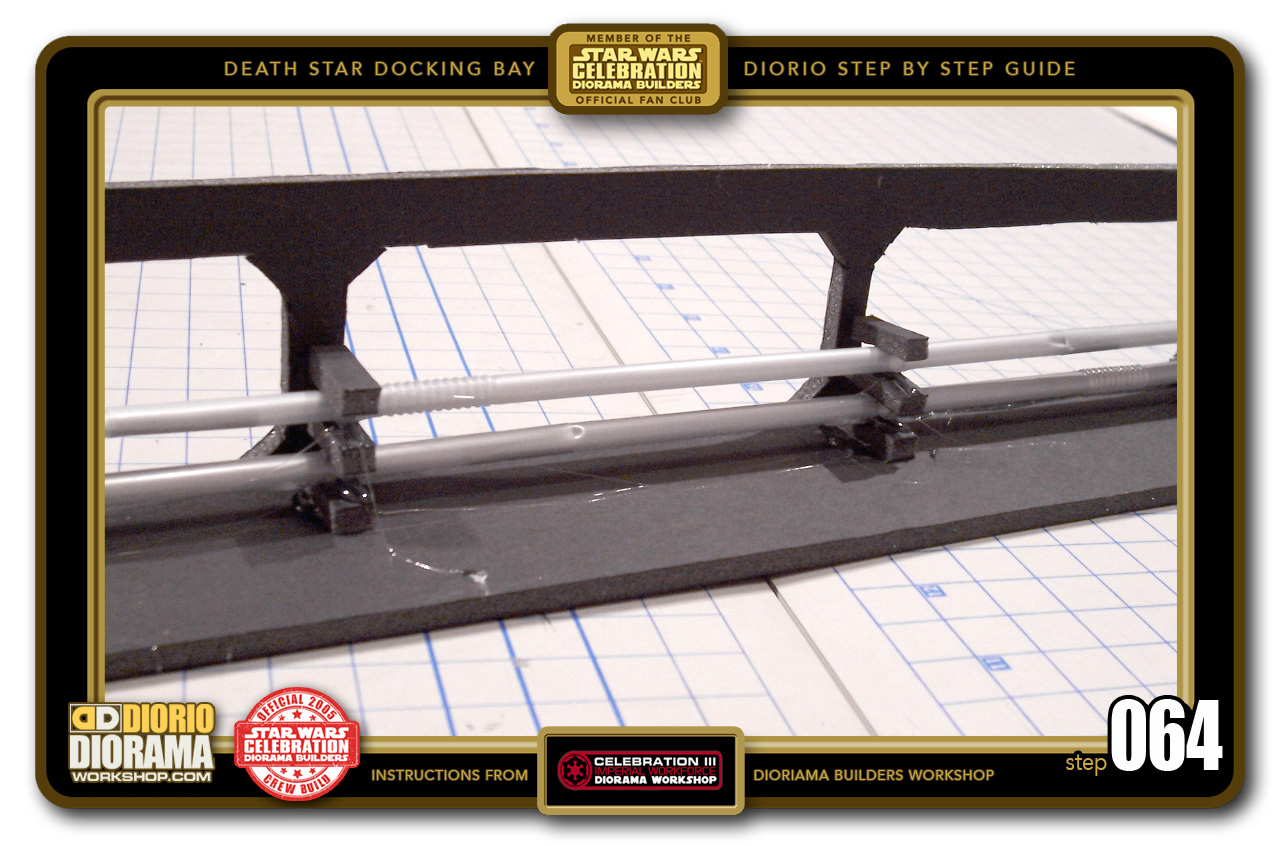
- STEP 064 >Time for layer 3 - 7 more supports to hot glue to the top of straw #2. Keep things neat and align as much as possible with the bottom layers.
-

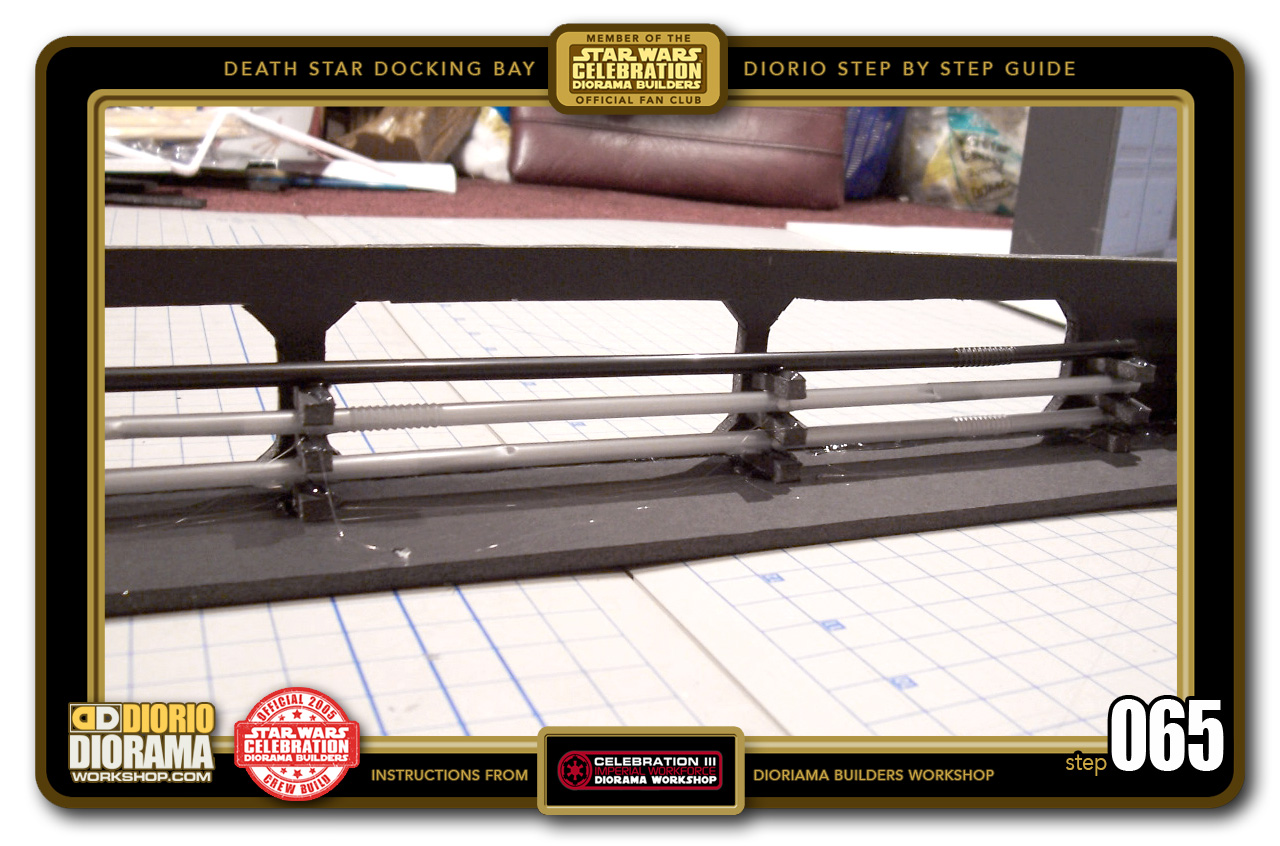
- STEP 065 >Now for a black straw. You know what to do by now. Take your time to keep all aligned as much as possible.
-
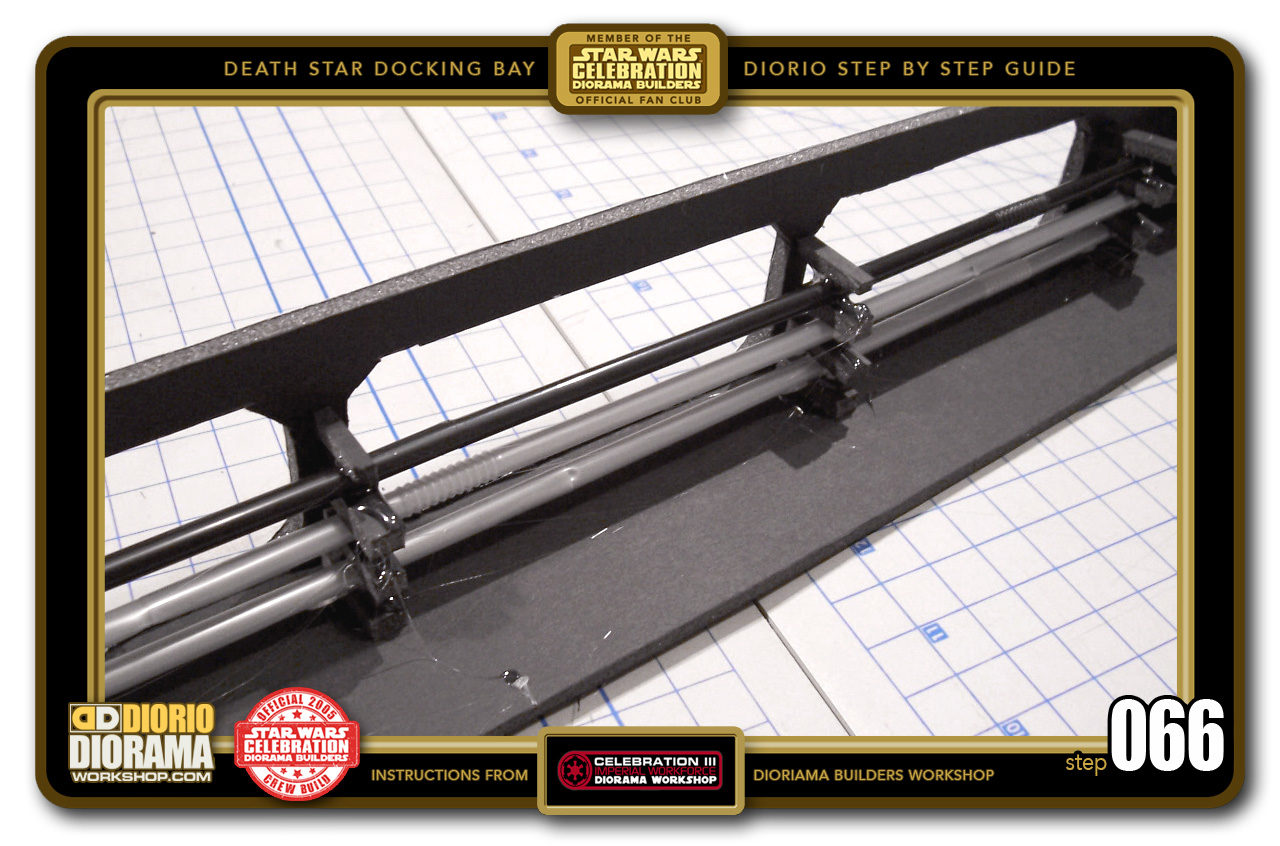
- STEP 066 >Last set of 7 straw supports. You know the drill 🙂 I know it's repetitive but we are almost done.

-

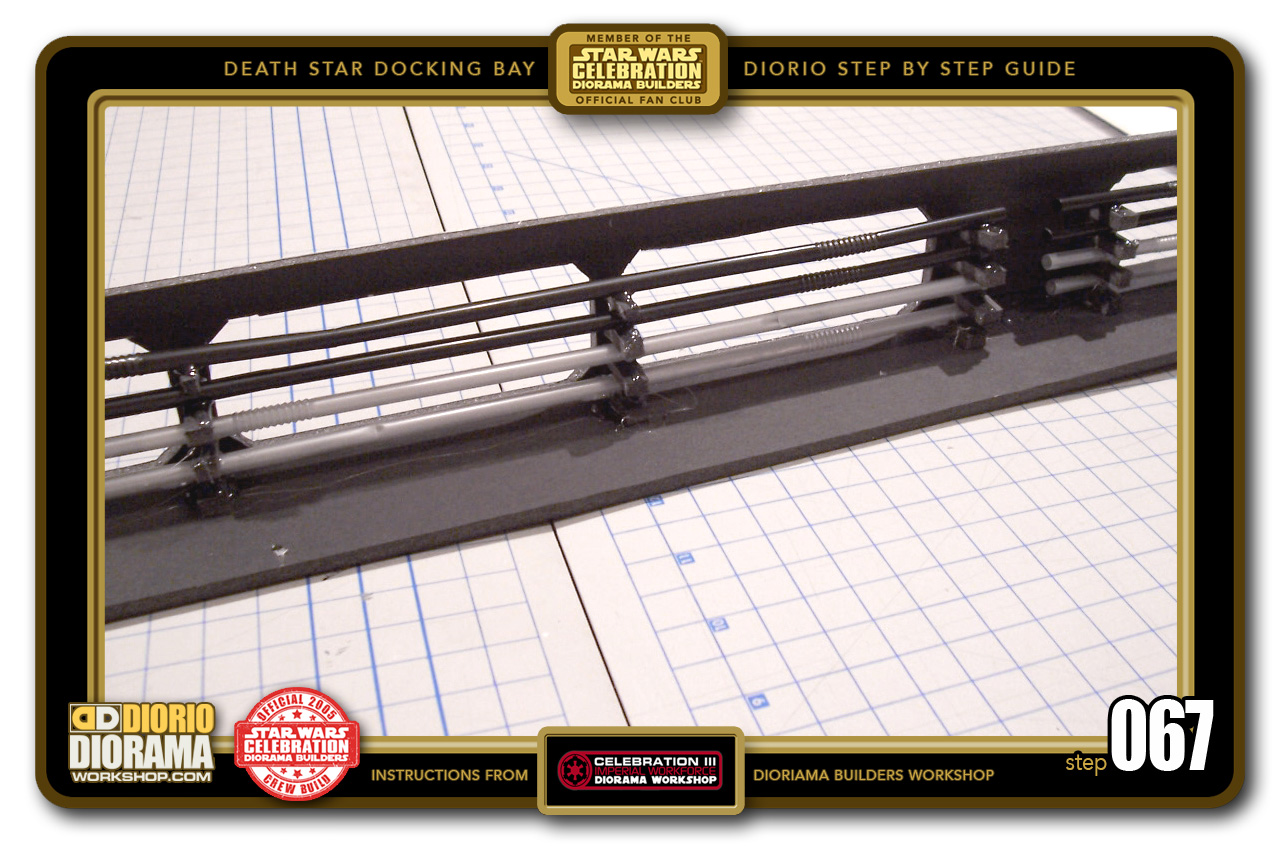
- STEP 067 >Last but not least, the final black straw is glued on top of the supports. Your pipes are completed.
-
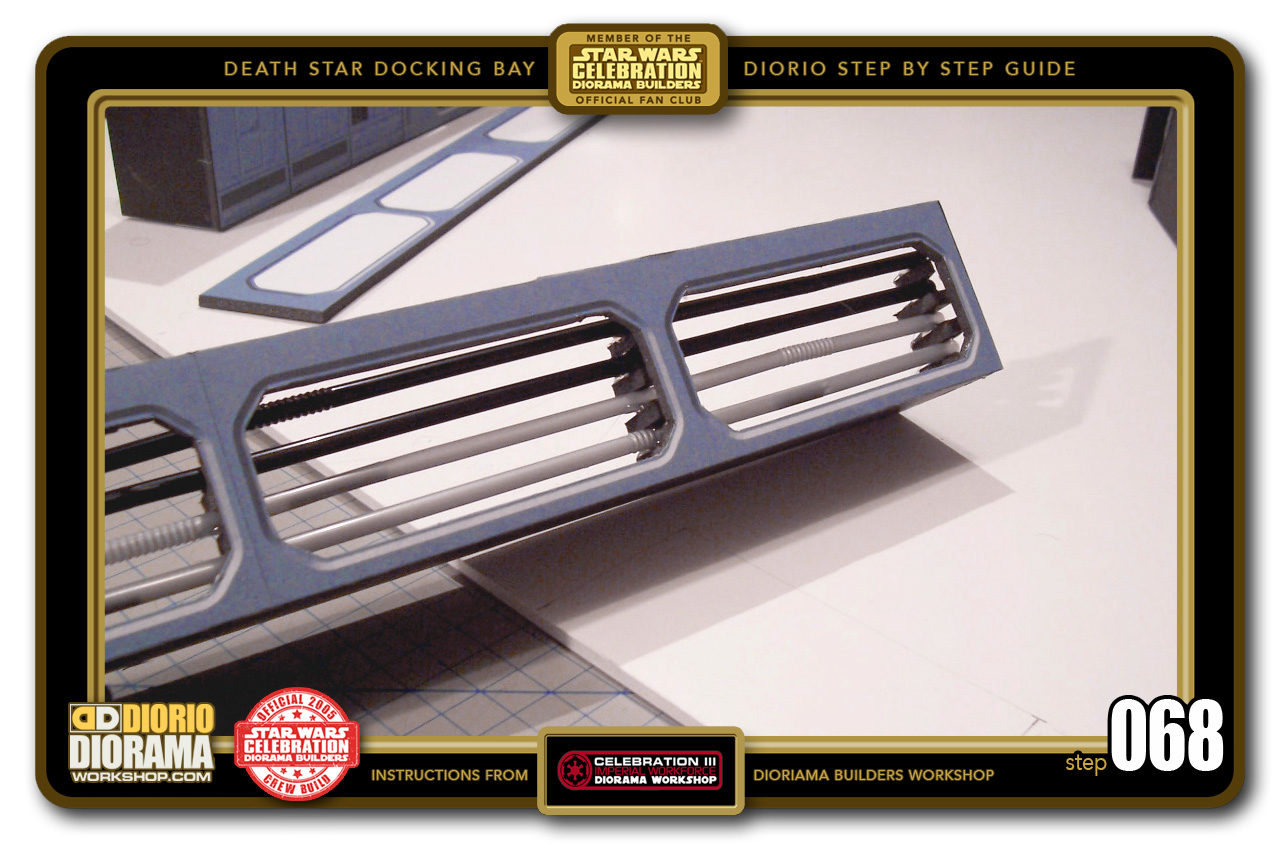
- STEP 068 >And just look how cool this looks from the front 🙂 It's the little movie accurate details that truly bring your scene to life.

-
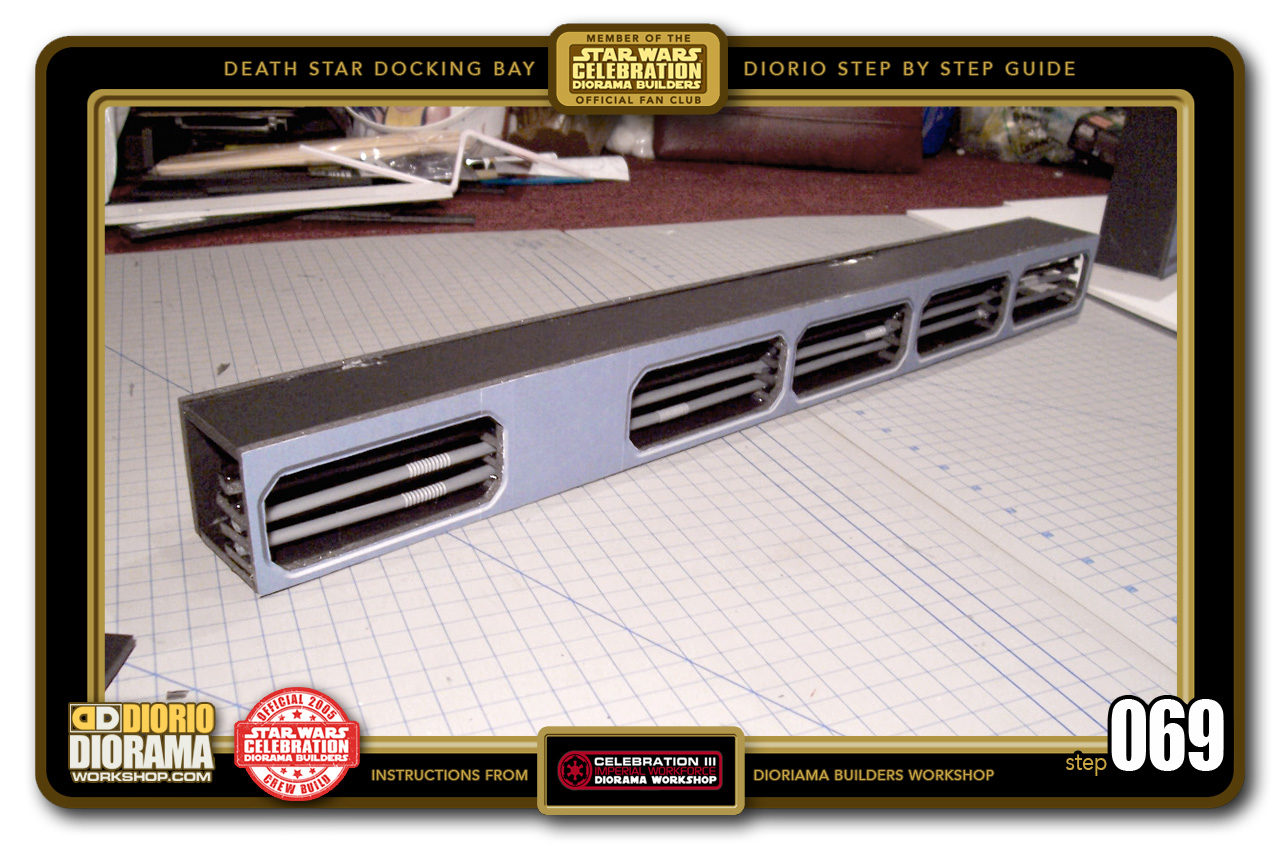
- STEP 069 >Now glue the top 5cm ventilation strip (IMPORTANT: NOT the remaining 6cm strip) to the top of the window wall. Make sure to align it FLUSH with the top edge so that the ceiling decal will not be all bumpy. After glue cools down and secure, hot glue the remaining 6cm strip to the top and bottom edges to create the back wall and give you an enclosed box.

-

- STEP 070 >Before this step you need to build a LARGE BLAST DOOR (instructions & decals available in the Tutorials Star Wars menu) When completed, place it next to your alcove. Put hot glue to the bottom ventilation shaft and attach it to the tops of your alcove and large blast doors. Starting to really look fantastic !

-
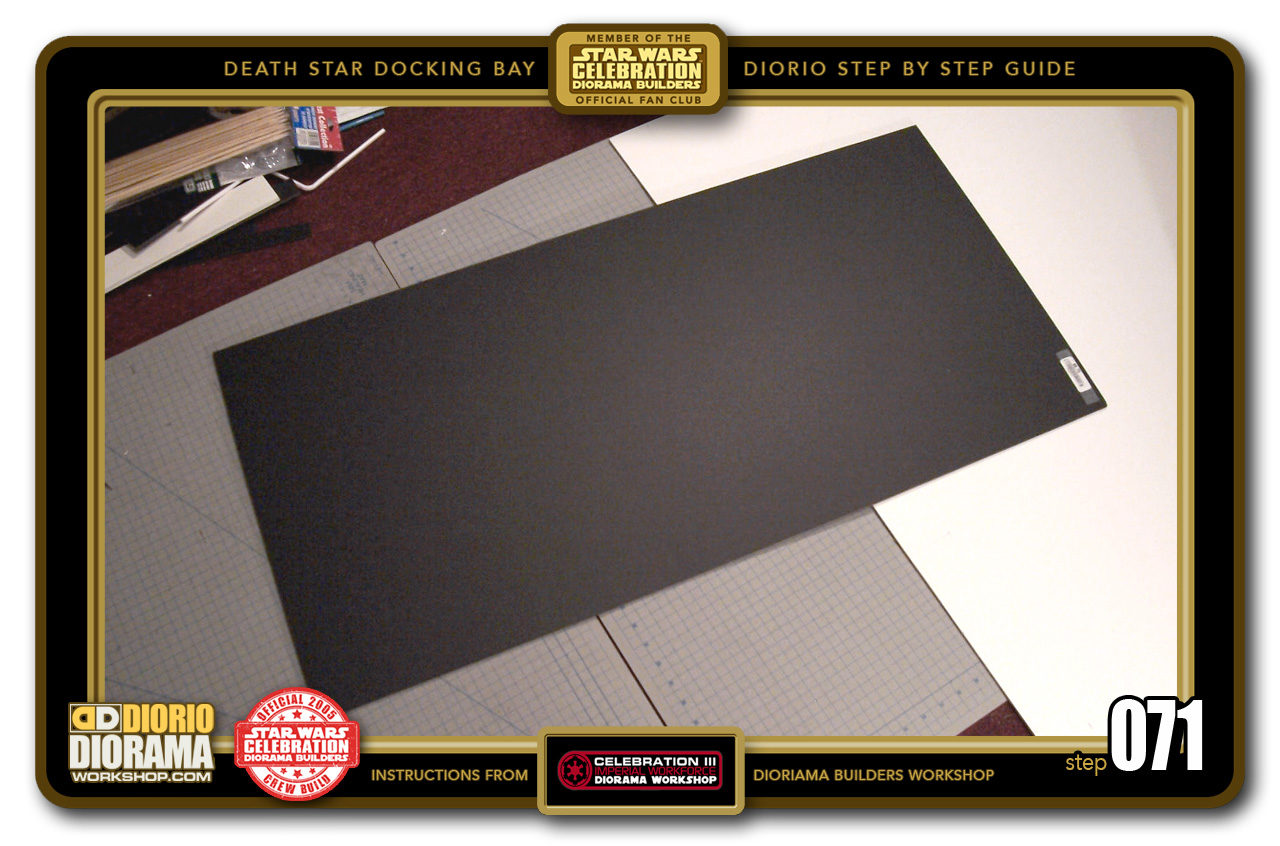
- STEP 071 >Let's build and attach the alcove/large blastdoor rear wall of the death star docking bay. We need to cut out a 49.5cm X 102cm rectangle. This will give us a 3 story tall wall.

-
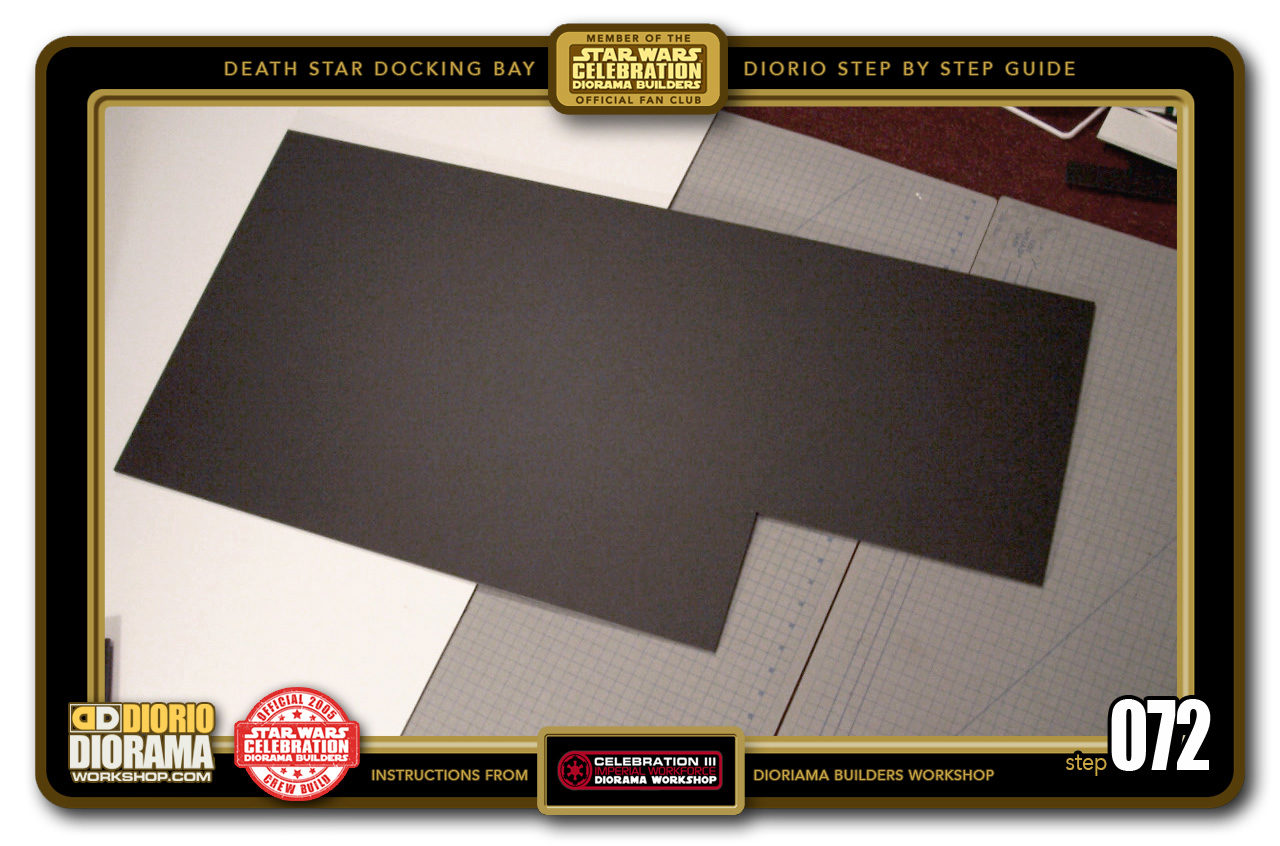
- STEP 072 >We don't want to block the entrance to the blastdoors so we need to cut out a hole big enough to wrap around it. From the bottom right of your foamcore rectangle, measure 30cm wide by 15.5cm tall and cut that piece out.

-

- STEP 073 >The wall now fits perfectly around the blastdoor. Apply hot glue to the rear of your alcove rear wall, align the blastdoor and the bottom walls to the rear wall bottom and press the 2 pieces together. Once the glue coold down, you will have one solid alcove/blastdoor rear wall.

-
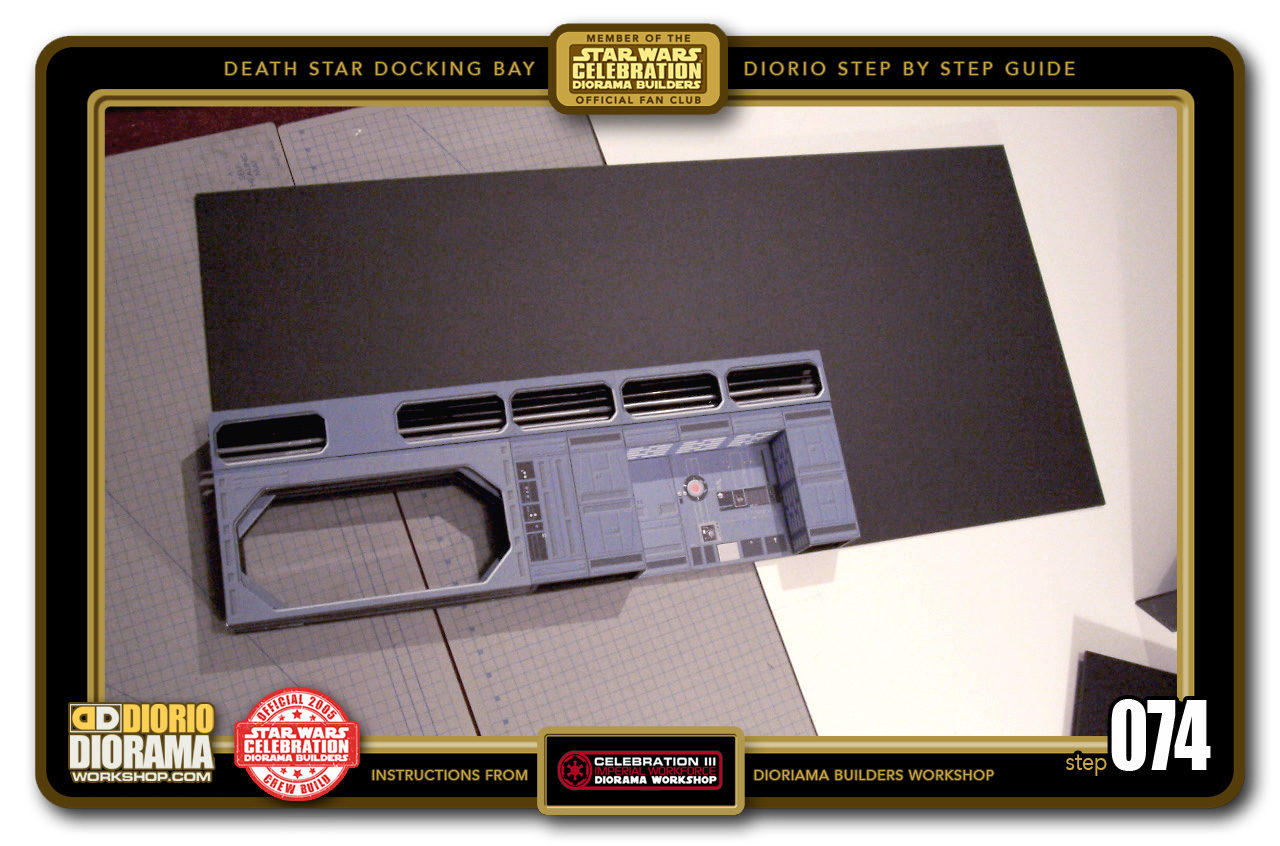
- STEP 074 >In the front view, We see how the Blast Door can now lead us into the Death Star Hallway of your choice. Building options are available in the Tutorials Star Wars menu. Your imagination is the only limit how small or big you want your complete Death Star playset.

-

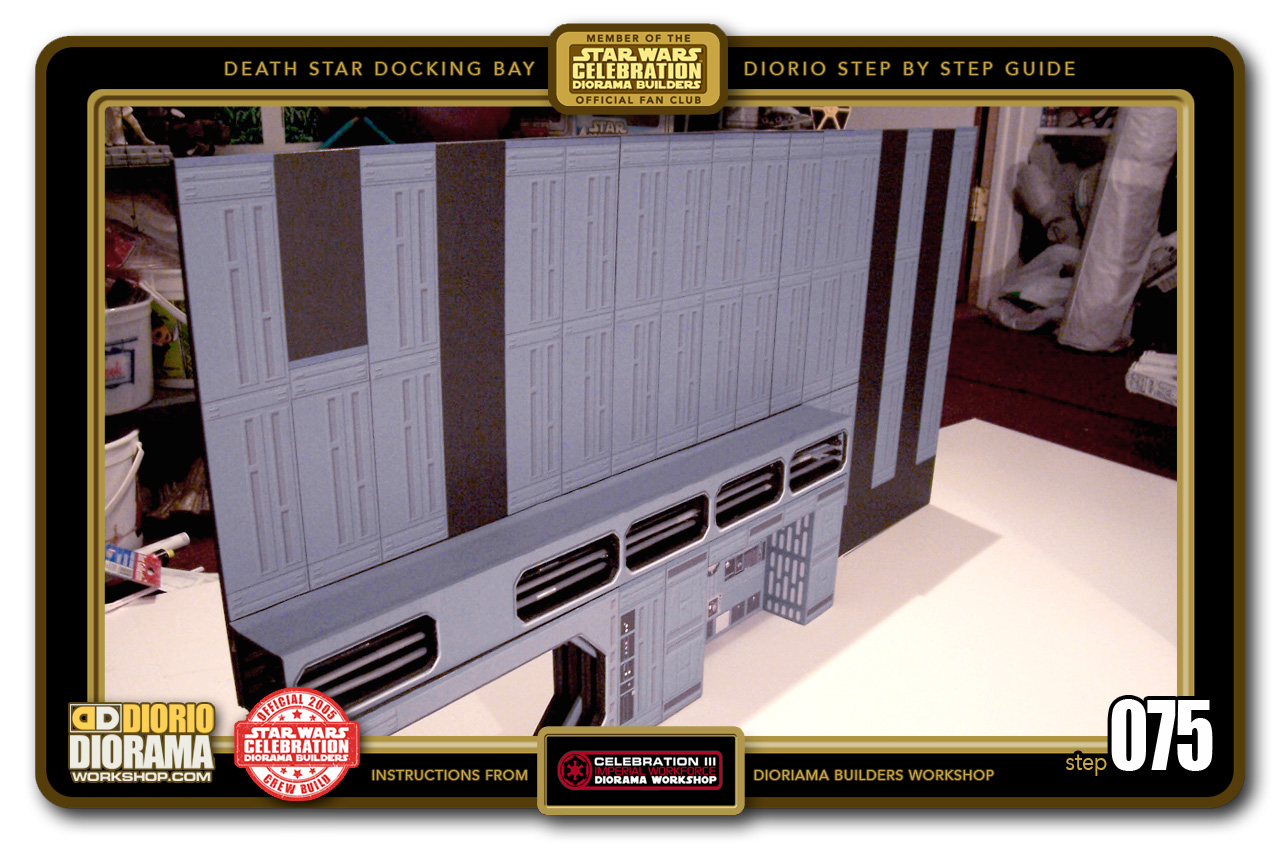
- STEP 075 >A few BASIC HALLWAY Decals brings us a long way 🙂 I decided to base my design on the original 1977 Docking Bay, NOT the Special Edition version. If you want that version, use the instructions from the Palpatine's Arrival Making Of instructions. I paused my Laserdisc to make this layout movie accurate 🙂 The black strips are for the rounded walls you make at Step 178.
-
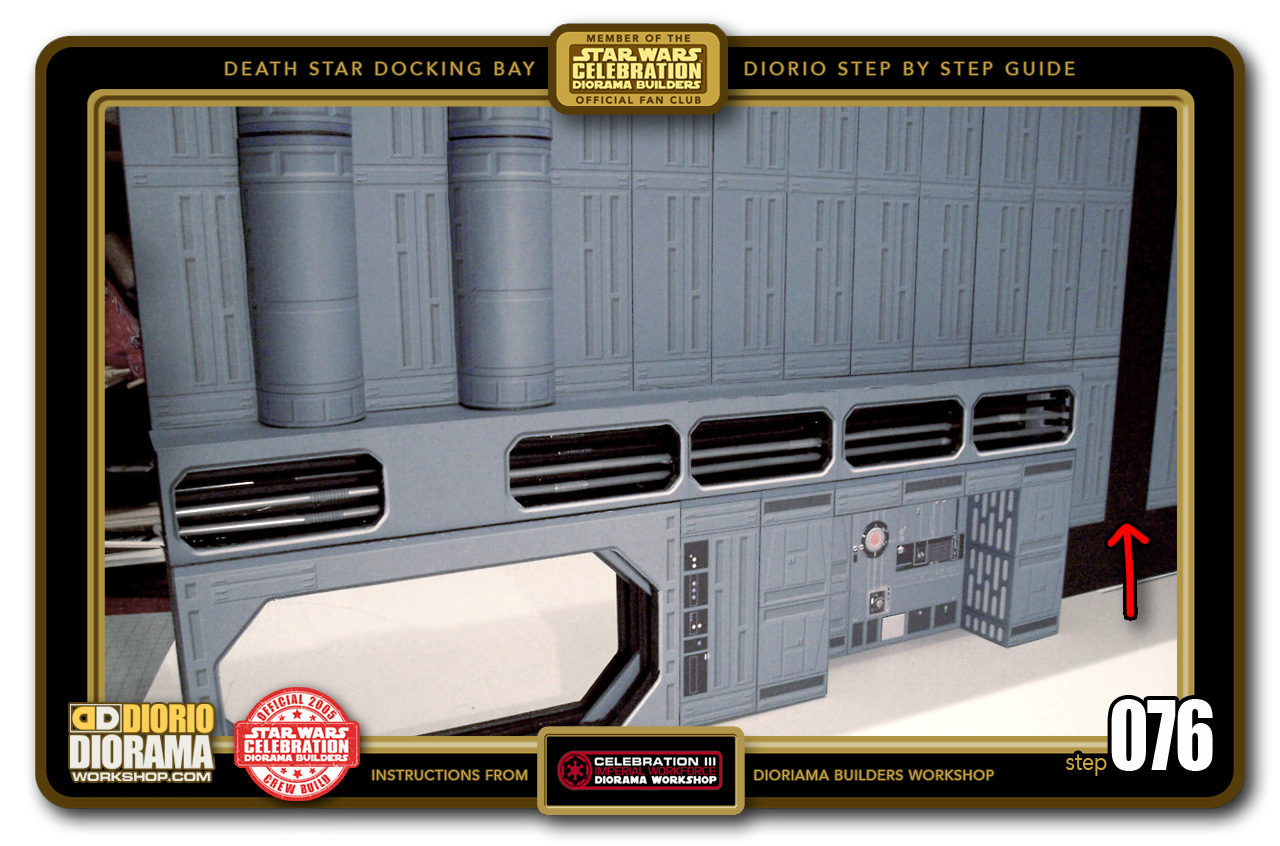
- STEP 076 >Here is an advanced peak ahead of that step. Not only are these like in the film, but will add added support for a ceiling if you decide to stack rooms on top and make a fully Modular Death Star.

-

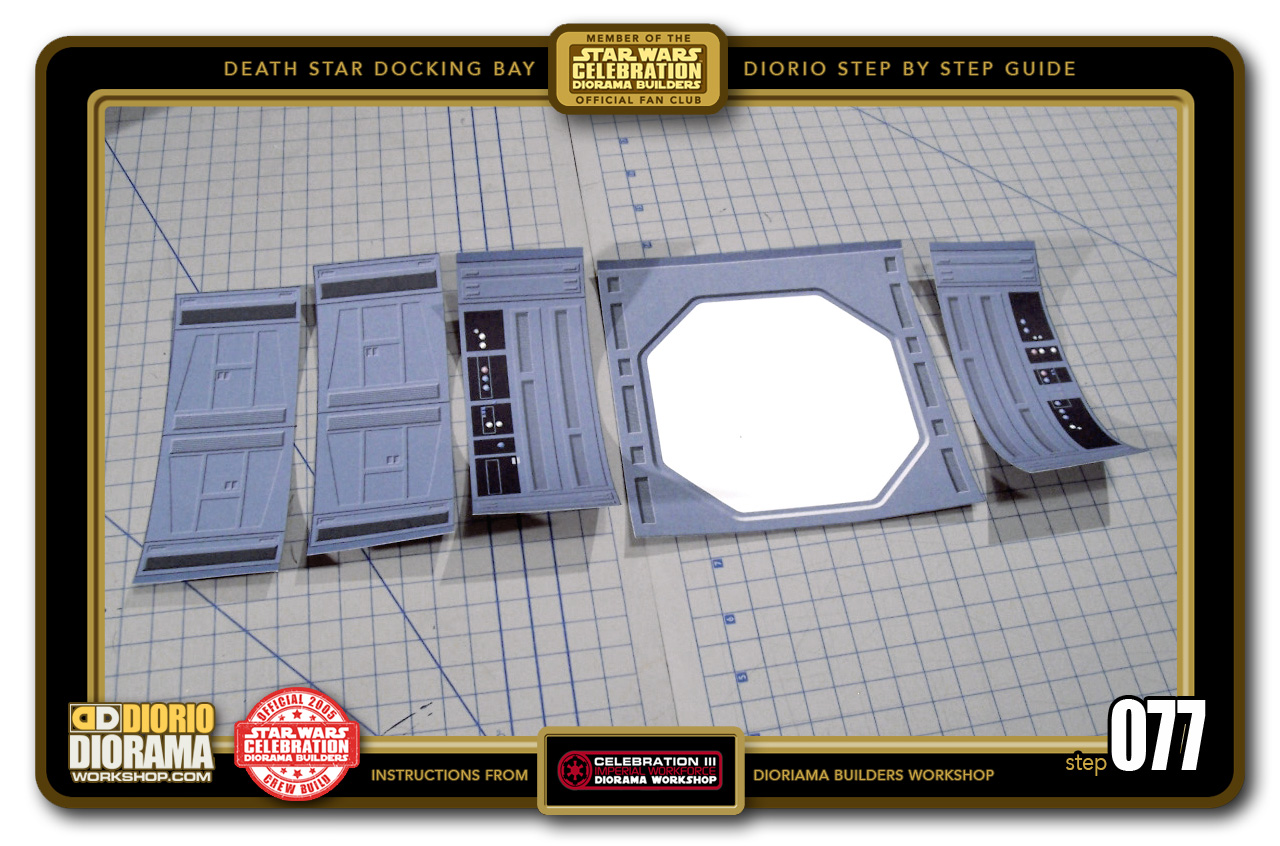
- STEP 077 >Time for Wall #2 which is basically the small blastdoor. This is where Luke, Han, Chewie and Leia enter the Docking Bay just as Vader is in full duel with Obi-Wan.
-
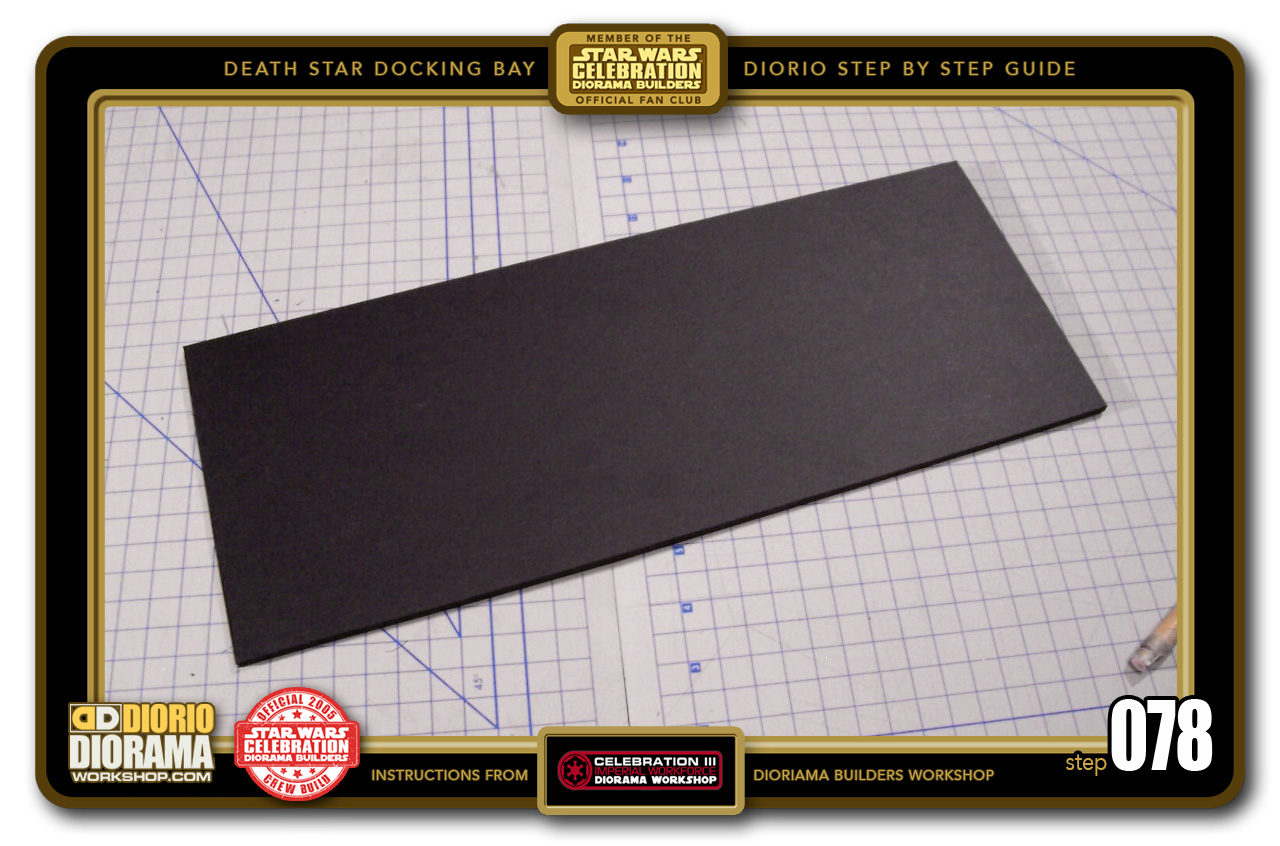
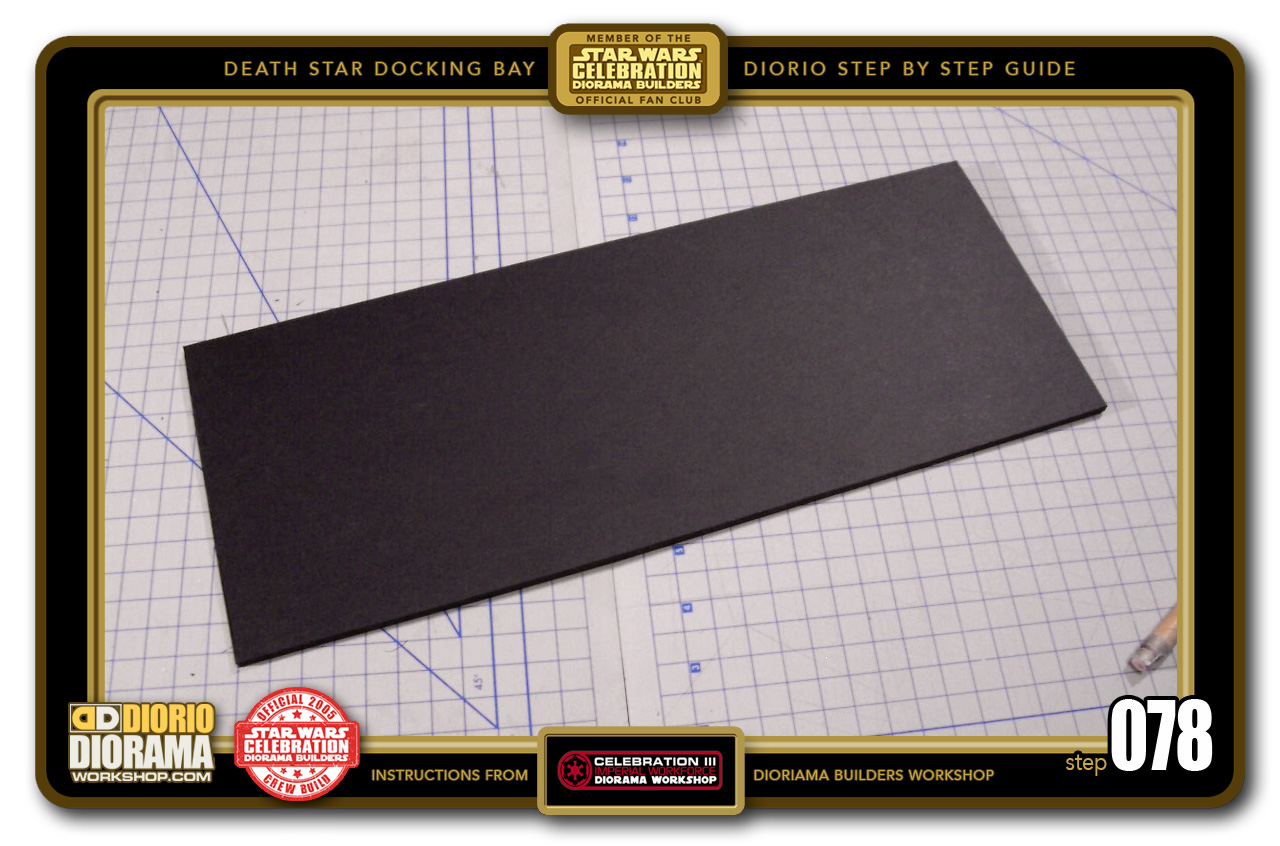
- STEP 078 > Let's start with a 39.5cm X 15.5cm rectangle piece of foamcore.
-

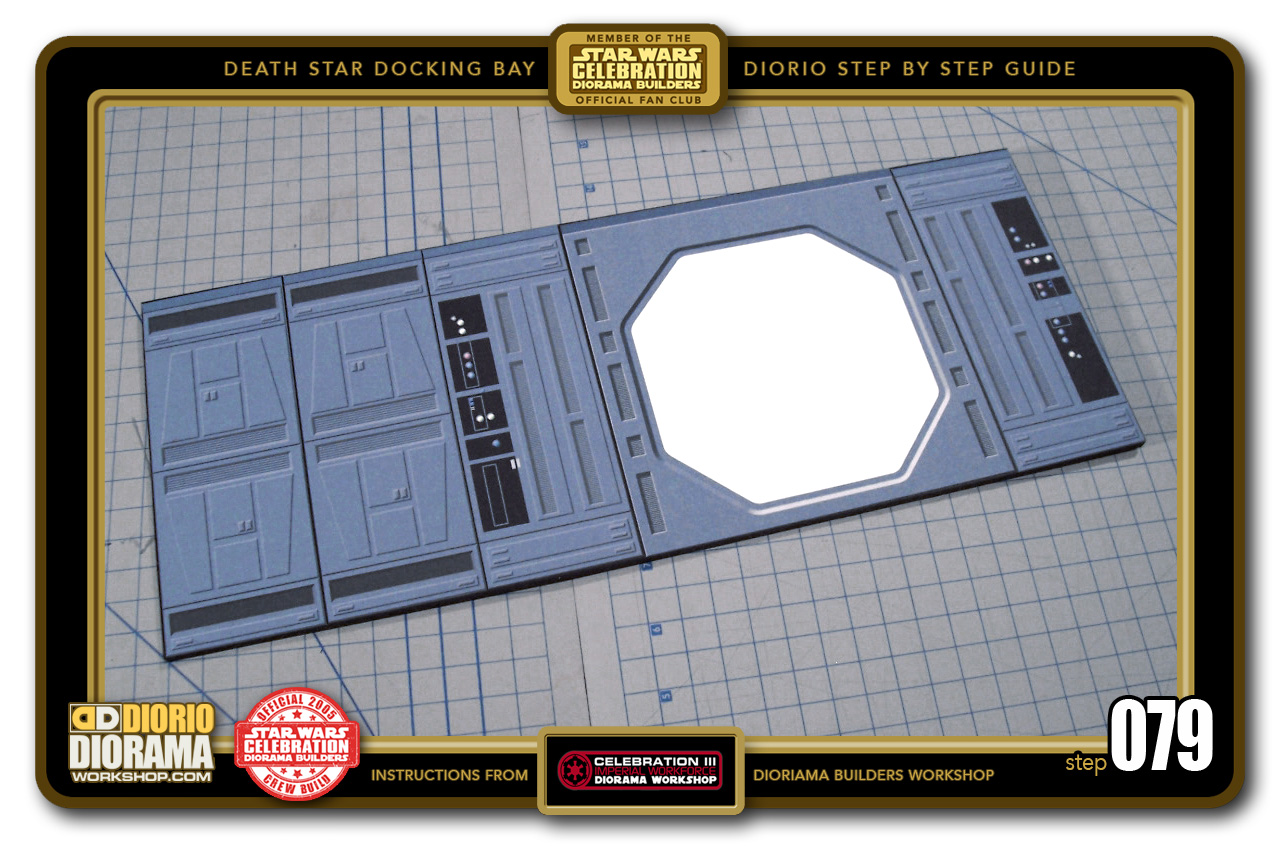
- STEP 079 > Peel your decals and attach them onto what will become your small blastdoor front wall. Follow my photo if you want to be movie accurate. You can use any of the BASIC HALLWAY panels if you prefer to add your own unique design.
-
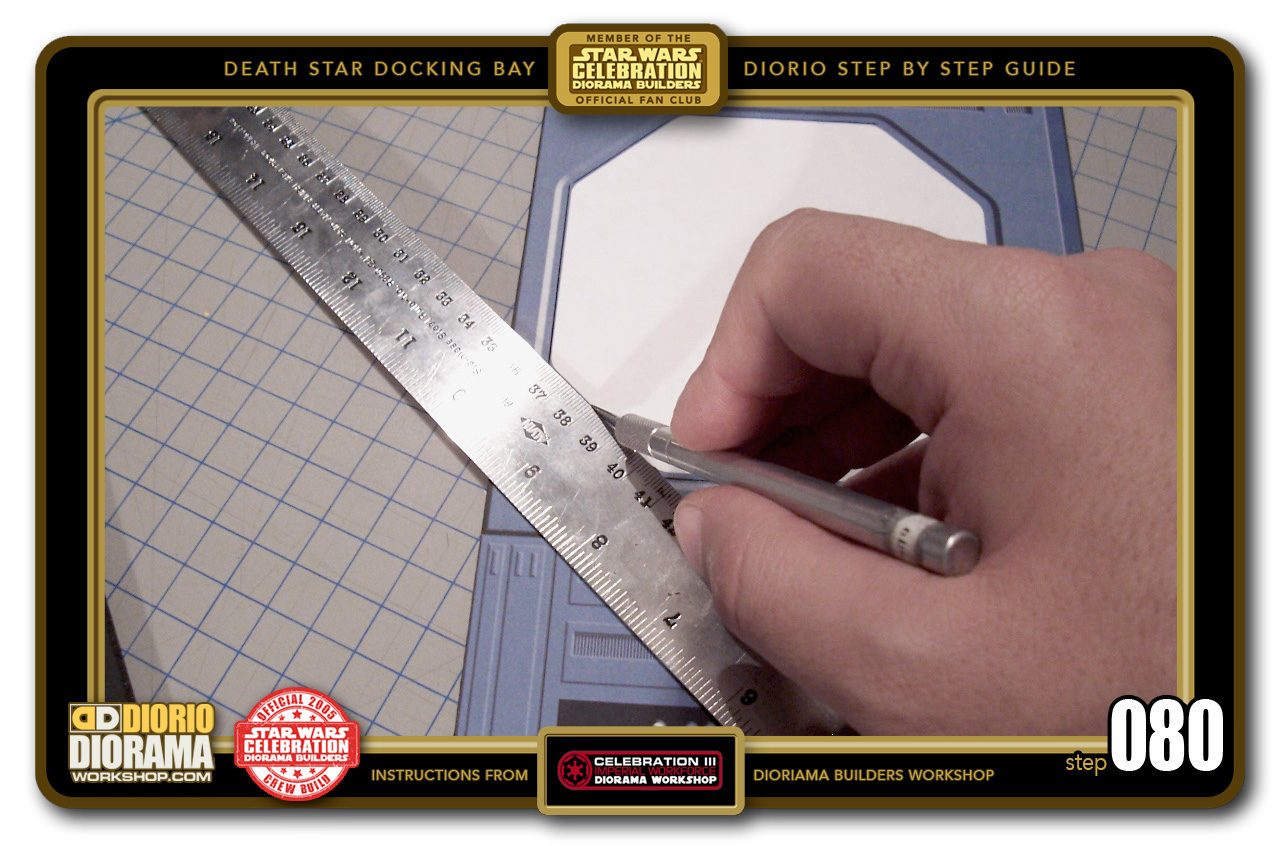
- STEP 080 > As we did for the ventilation and large blastdoor, use your Xacto pen to carefully and precisely cut around the embossed edges of the decal leaving only the white color for scrap.


.
Did you already build this Diorama ? At home or at our Star Wars Celebration Diorama Builders workshop ? Would you like to show it in the site’s GALLERY VISITORS DIORAMAS section, YES ? That is Awesome !!! You can find out all the details on how to email me your photos on the VISITORS SUBMISSIONS INFO page … When I get your photos, I will create your very own page just like this one. You may not realize it but work does inspire others to join in the fun of making Action Figure Dioramas.
.
NOT FOR RESALE ALL Decals, tutorials and artwork are ©FrankDiorio (dioramaworkshop.com) and offered FOR FREE to the fans – that would be you ? so you can build and display my diorama designs in your very own home. I realize I cannot control what one does with my graphics once I place them on the web, I can only ask you as one fan to another, please respect the artist and do not be that jerk who uses my designs and tutorials to build a copy of my work only to sell it on EBAY or trade/sale groups and forums. Thank You. Frank.
![]() Catch up with fellow visitors and exchange stories, read cool interviews with the crew, exchange photos, fun surprises and grab some FAN ONLY merchandise next year at actual future conventions ?
Catch up with fellow visitors and exchange stories, read cool interviews with the crew, exchange photos, fun surprises and grab some FAN ONLY merchandise next year at actual future conventions ?
.
©2018 Frank Diorio DioramaWorkshop.Com
.
IF YOU LIKE WHAT YOU SEE, PLEASE SHARE WITH YOUR FRIENDS
USING THE SOCIAL MEDIA BUTTONS BELOW