


-
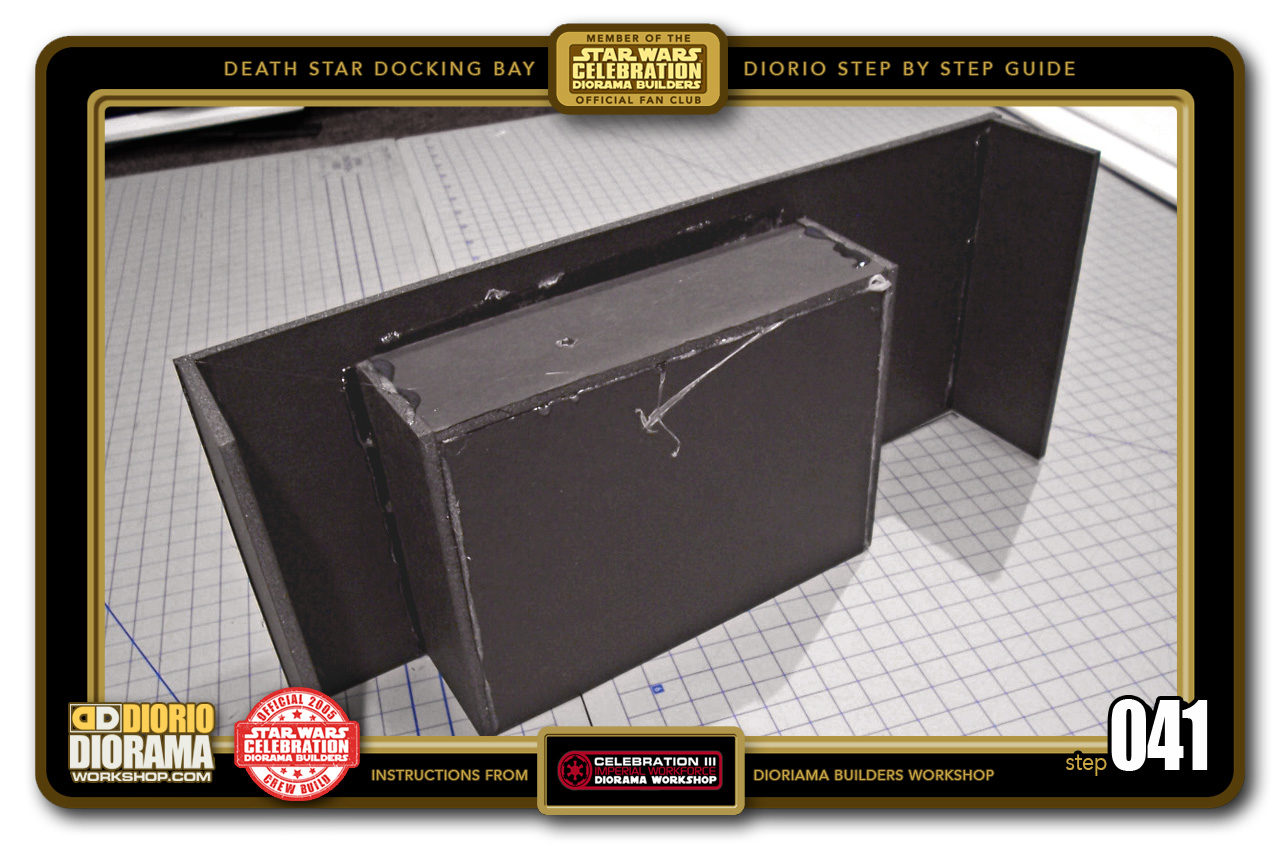
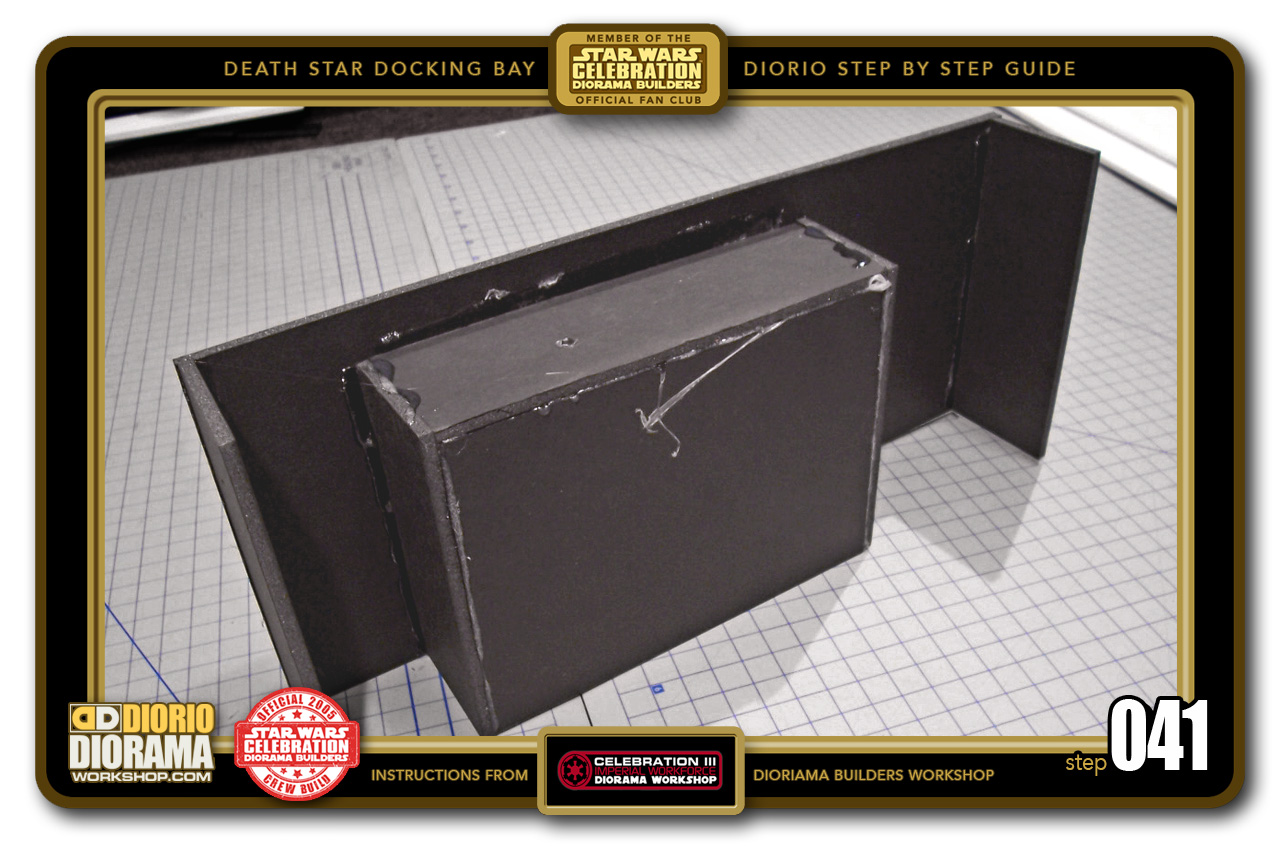
- STEP 041 >Once the hot glue cools off your alcove wall unit is complete ... ALMOST 🙂
-
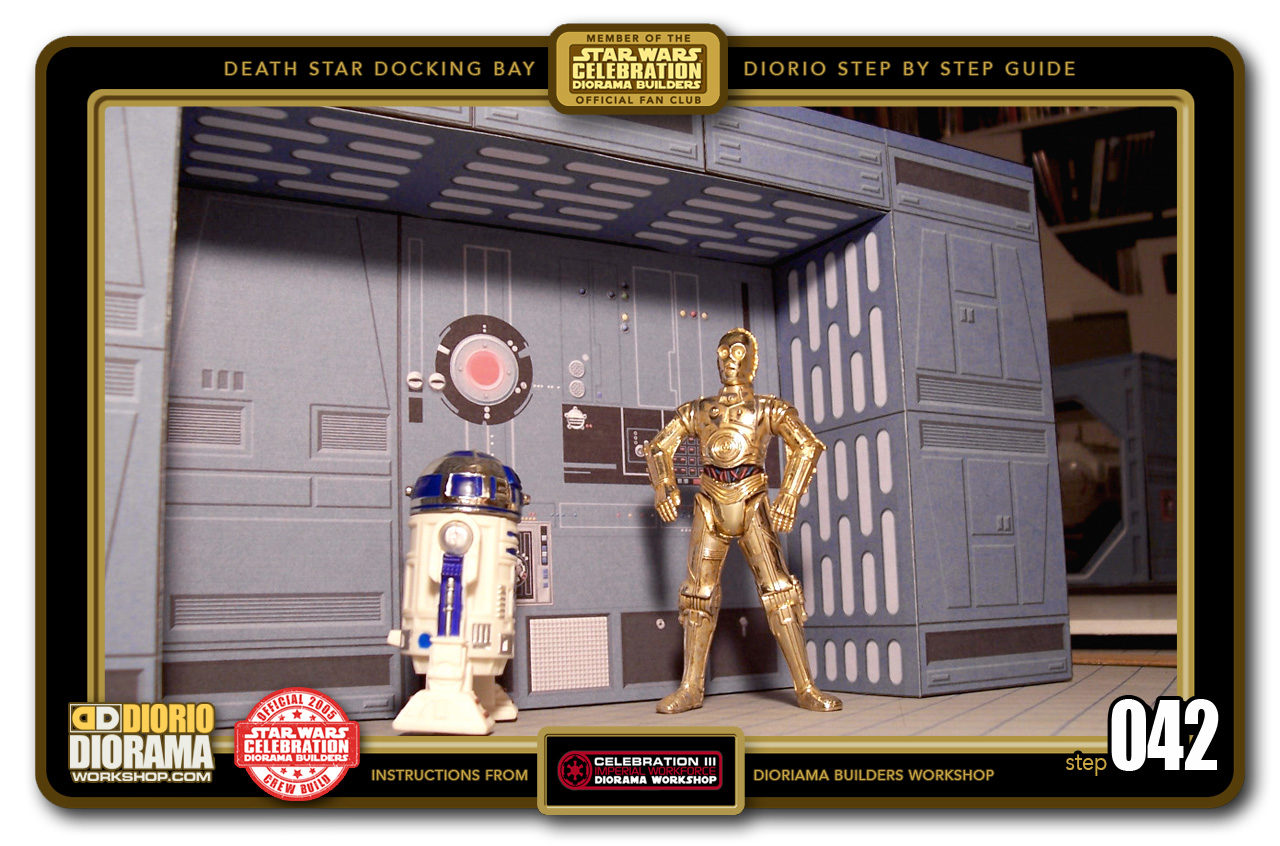
- STEP 042 >Doesn't this look cool ? Do you recognize it now ? If you poke a hole out into the Computer Outlet with a nail, Your R2 Datalink figure accessory should fit right into it like in the film.

-
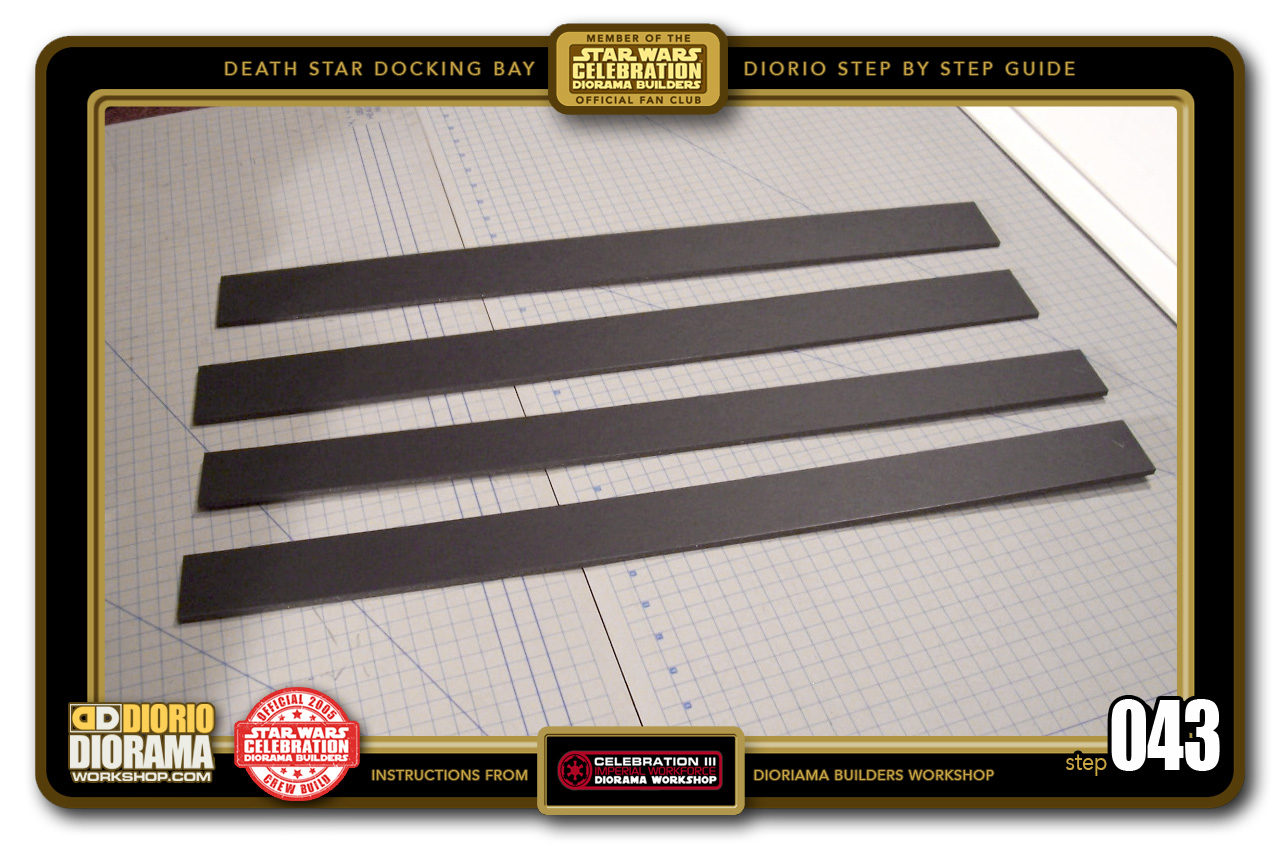
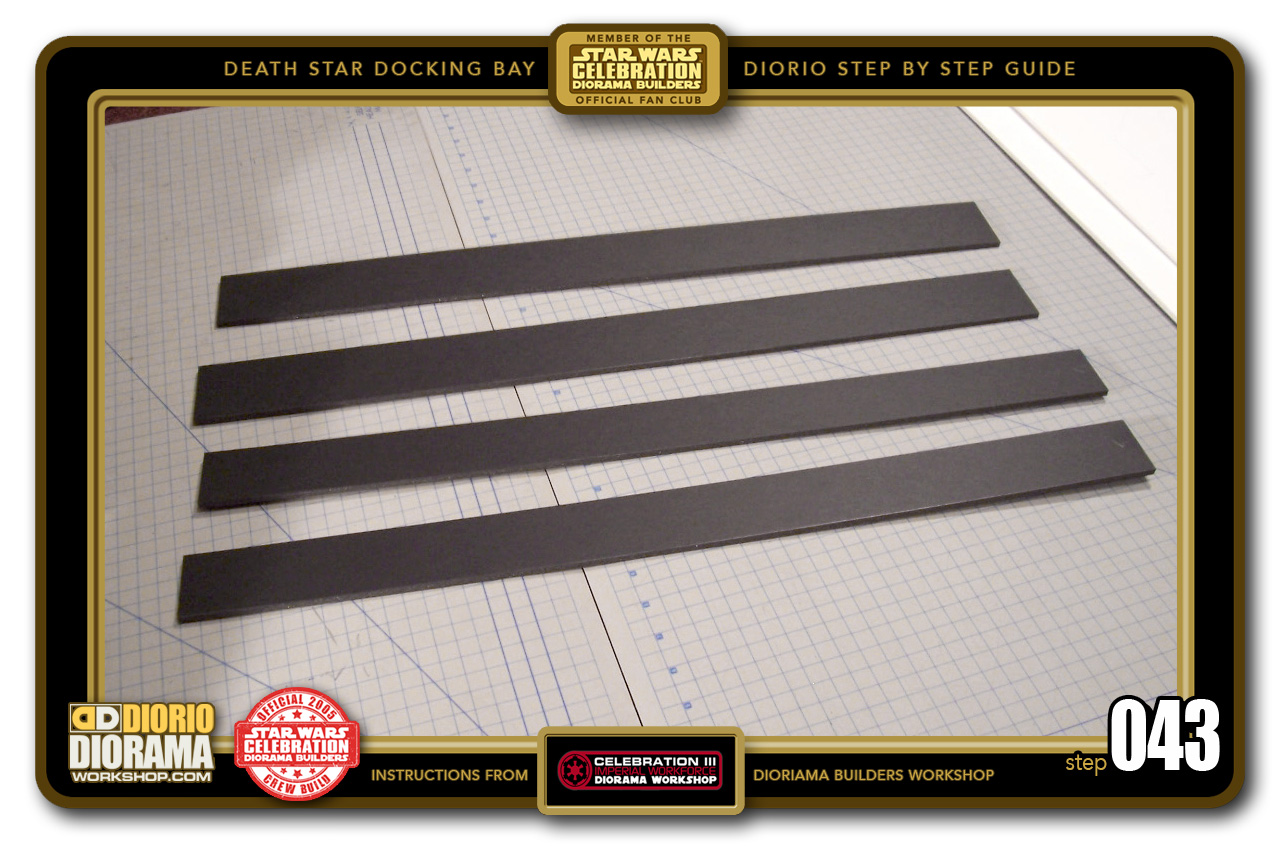
- STEP 043 >If you watch the movie, you can see there are some sort of ventilation tubing that goes all the way around the Docking Bay. Let's build this next. You need to cut out 2 pieces measuring 66cm X 6cm and 2 pieces measuring 66cm X 5cm.
-
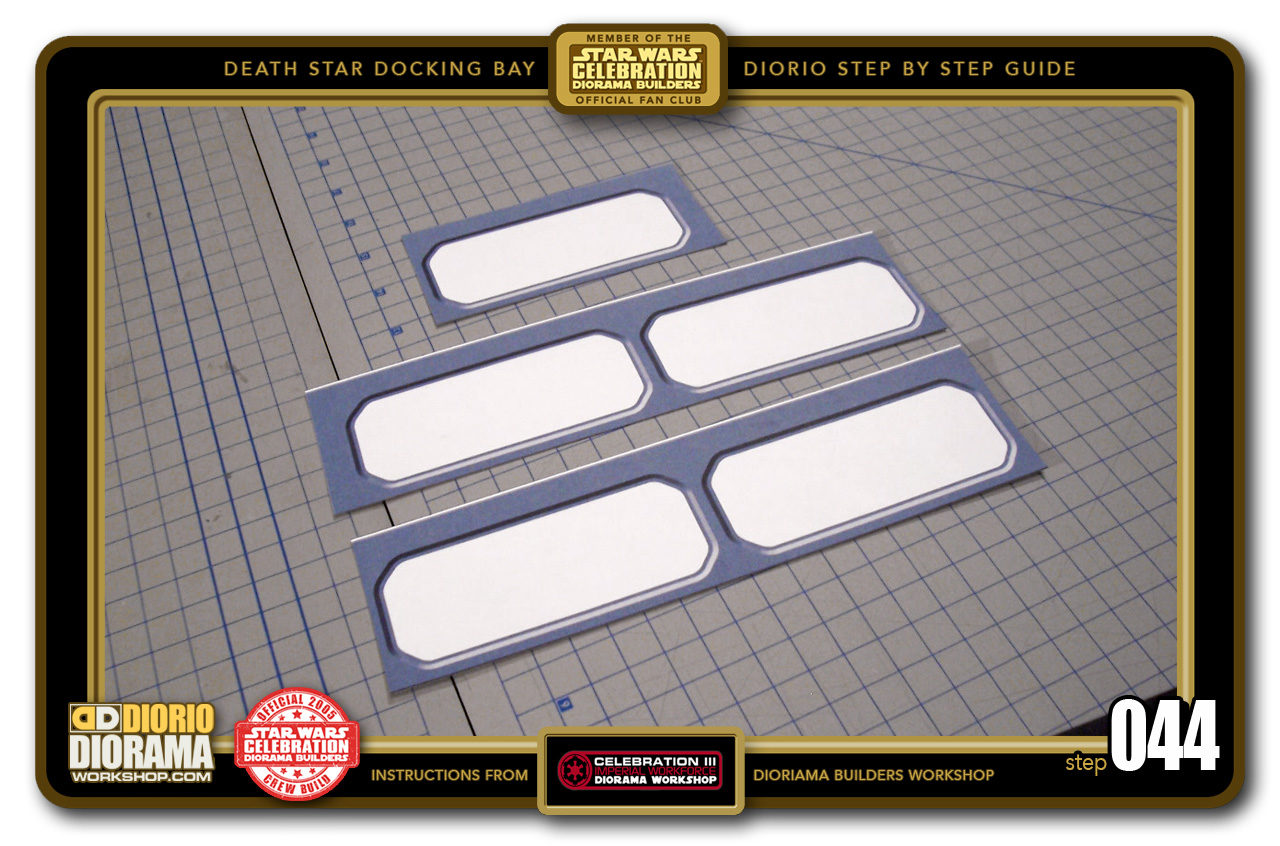
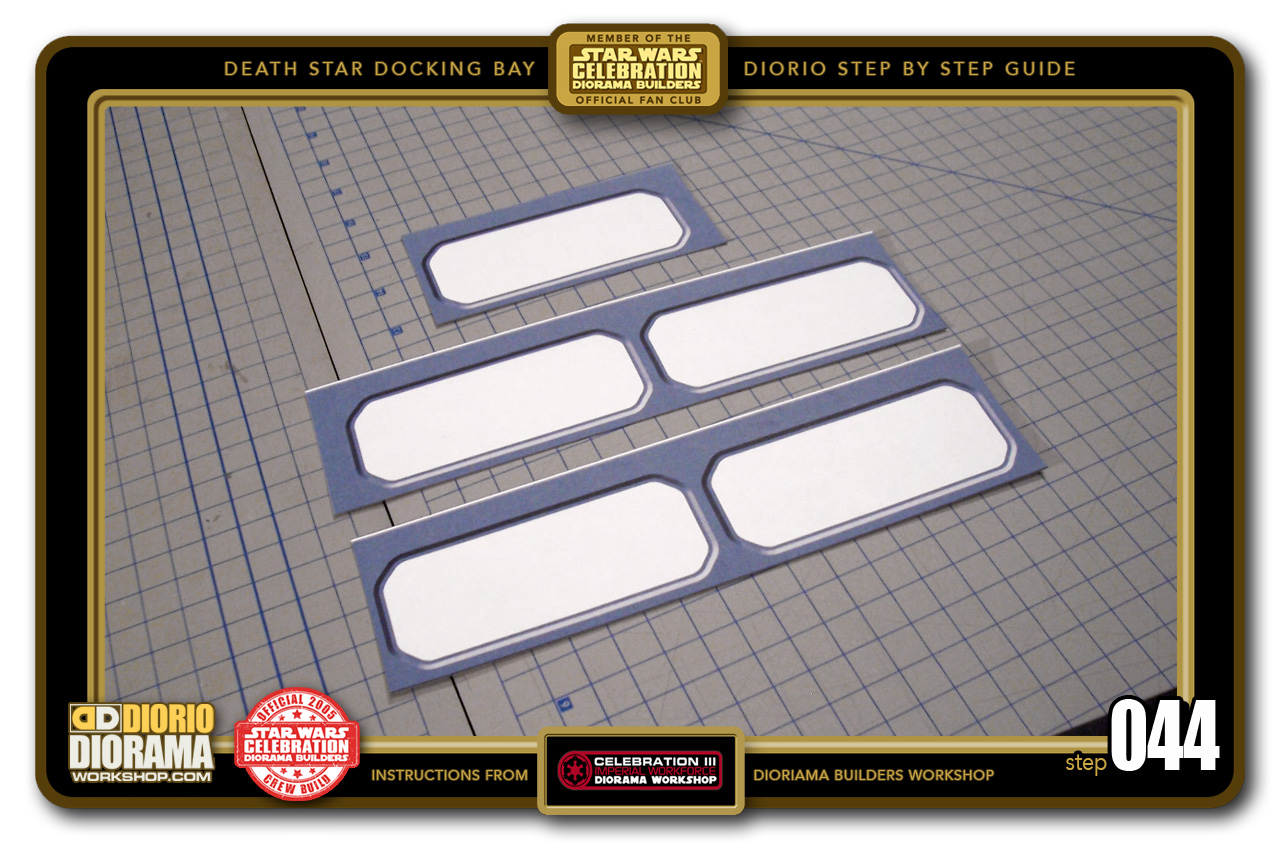
- STEP 044 >Print and cut out your ventilation decals. You will need 5 windows for this section plus a piece of vent padding strip (not shown in photo and found on page 6 of the falcon docking bay decals pdf) to fill the gap between window 1 and 2.
-
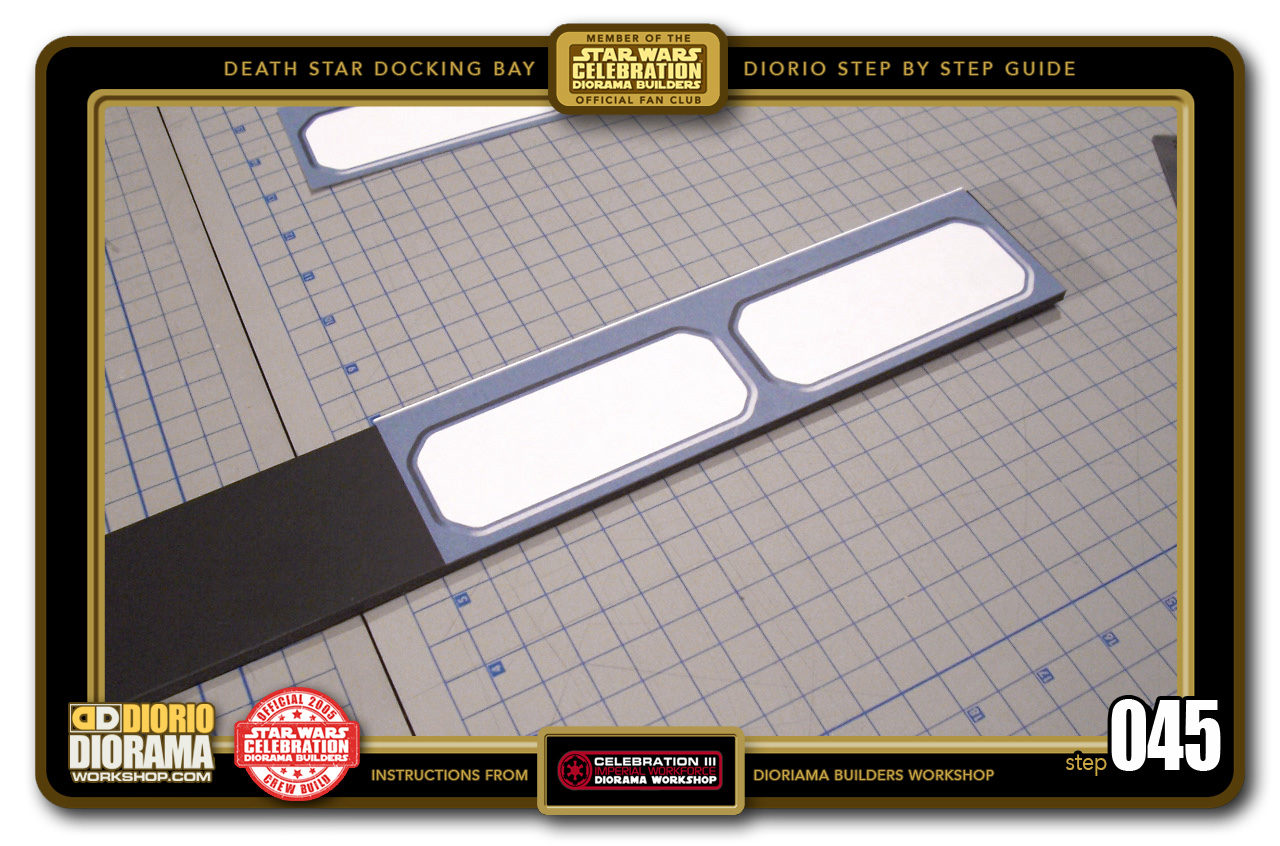
- STEP 045 >Apply each decal to the 6cm wide foamcore strip. IMPORTANT: NOT repeat NOT the 5cm wide one. Start with windows 4 and 5 by aligning the decal to the right side.

-
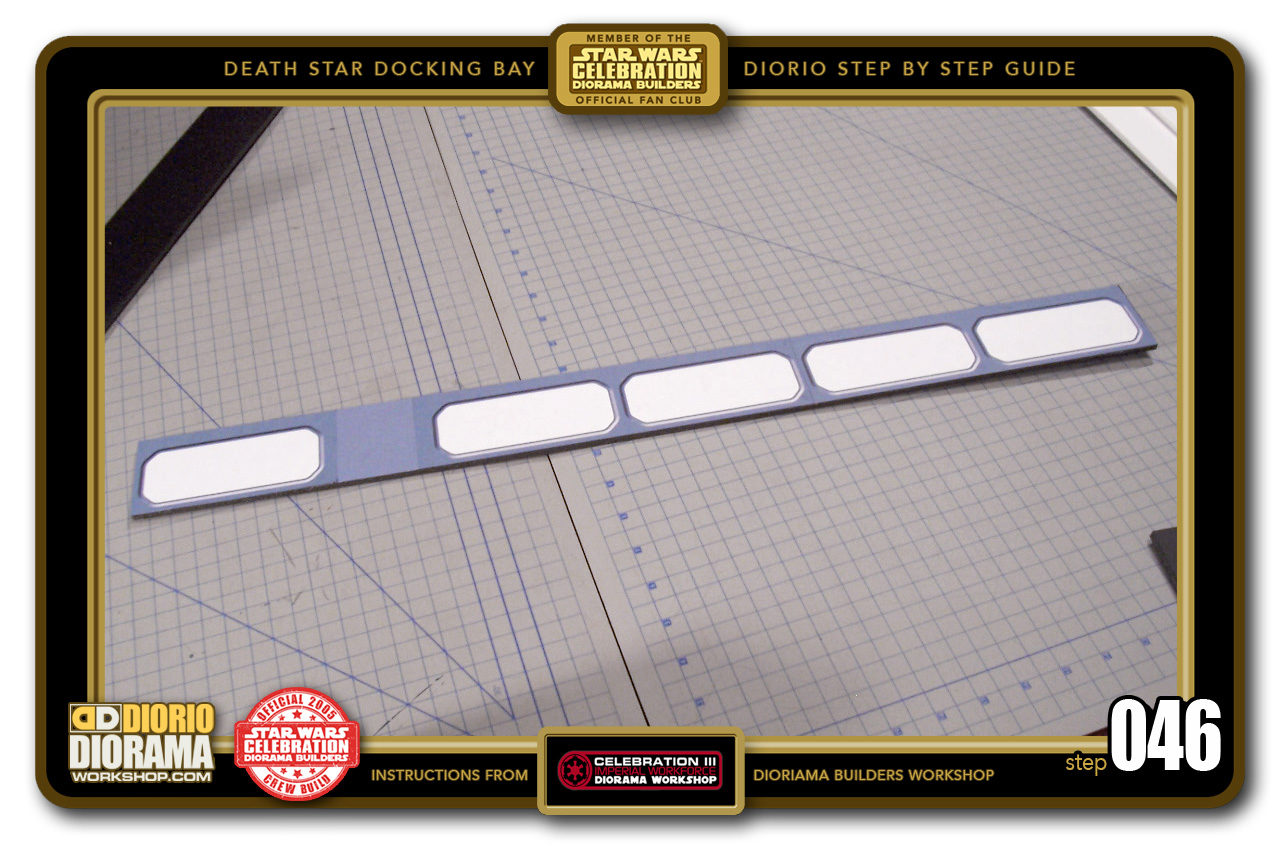
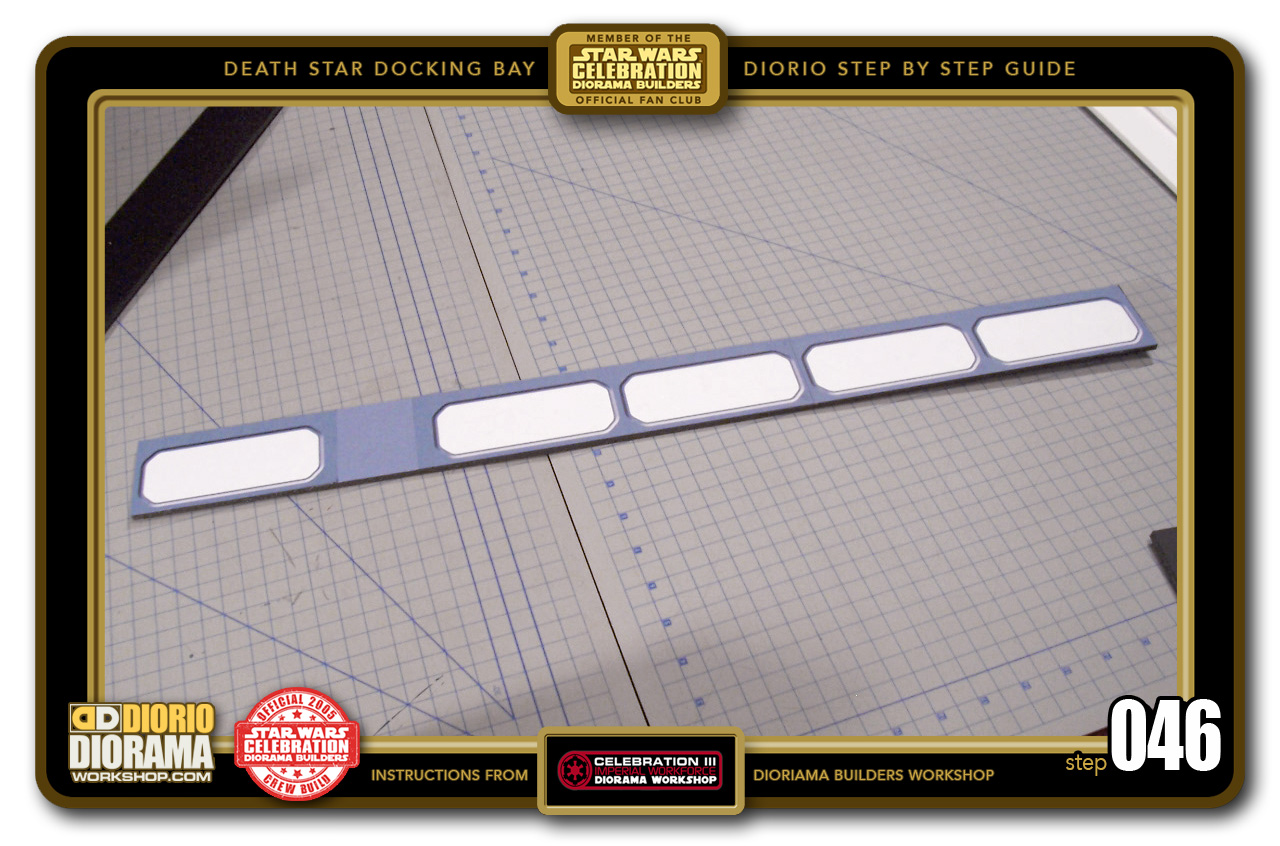
- STEP 046 >Continue with windows 2-3 (aligned with the edge of windows 4-5) and single window 1 which you align with the left side. Once all 5 cover the foamcore rectangle, you will notice a GAP between window 1 and 2. Measure a slight overlap on each side and cut a piece from the VENT PADDING STRIP decal. Apply it to hide the foamcore.
-

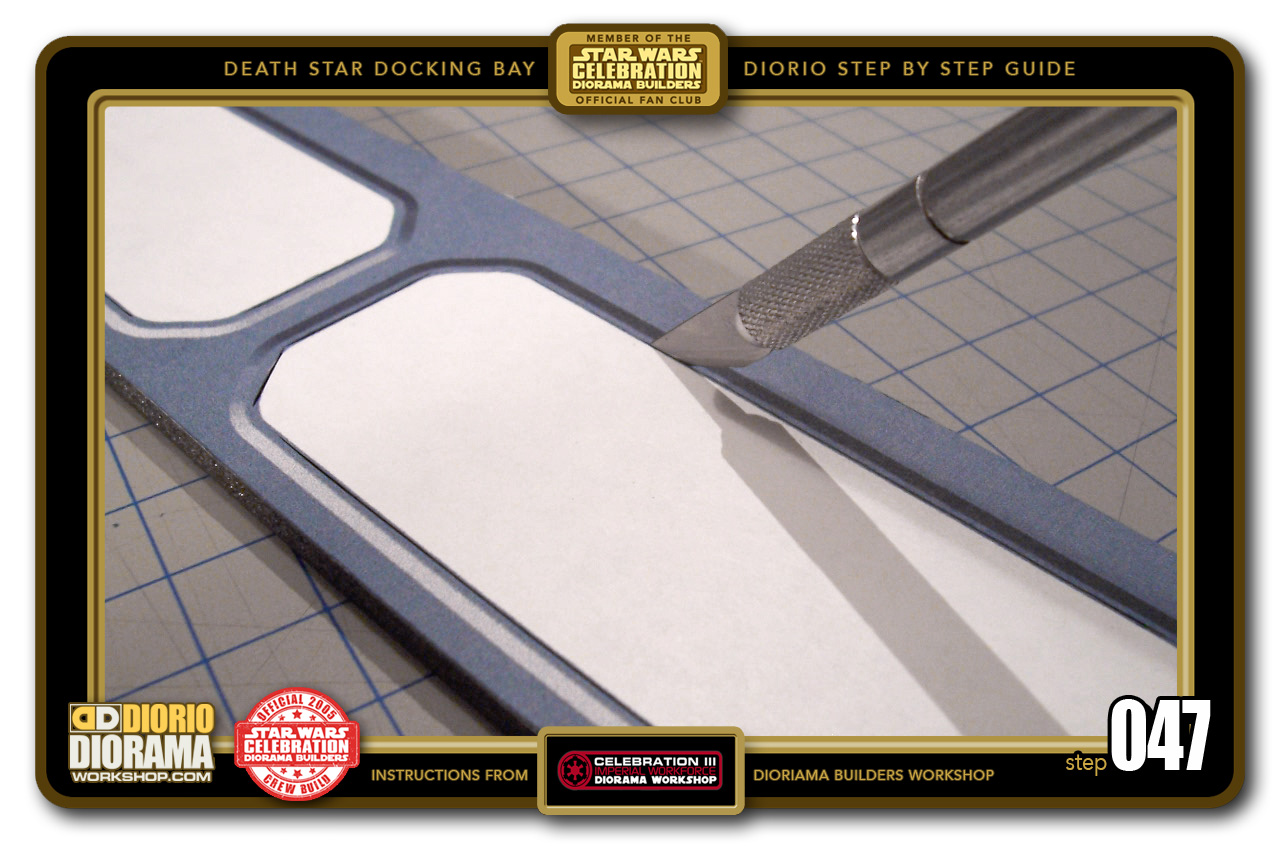
- STEP 047 >Take your Xacto Pen if you have one (pointy blade allows more precision cuts than Xacto Knives or box cutters) and s-l-o-w-l-y and CAREFULLY cut out along the embossed edges of the decal. You want to remove the fully white color.
-

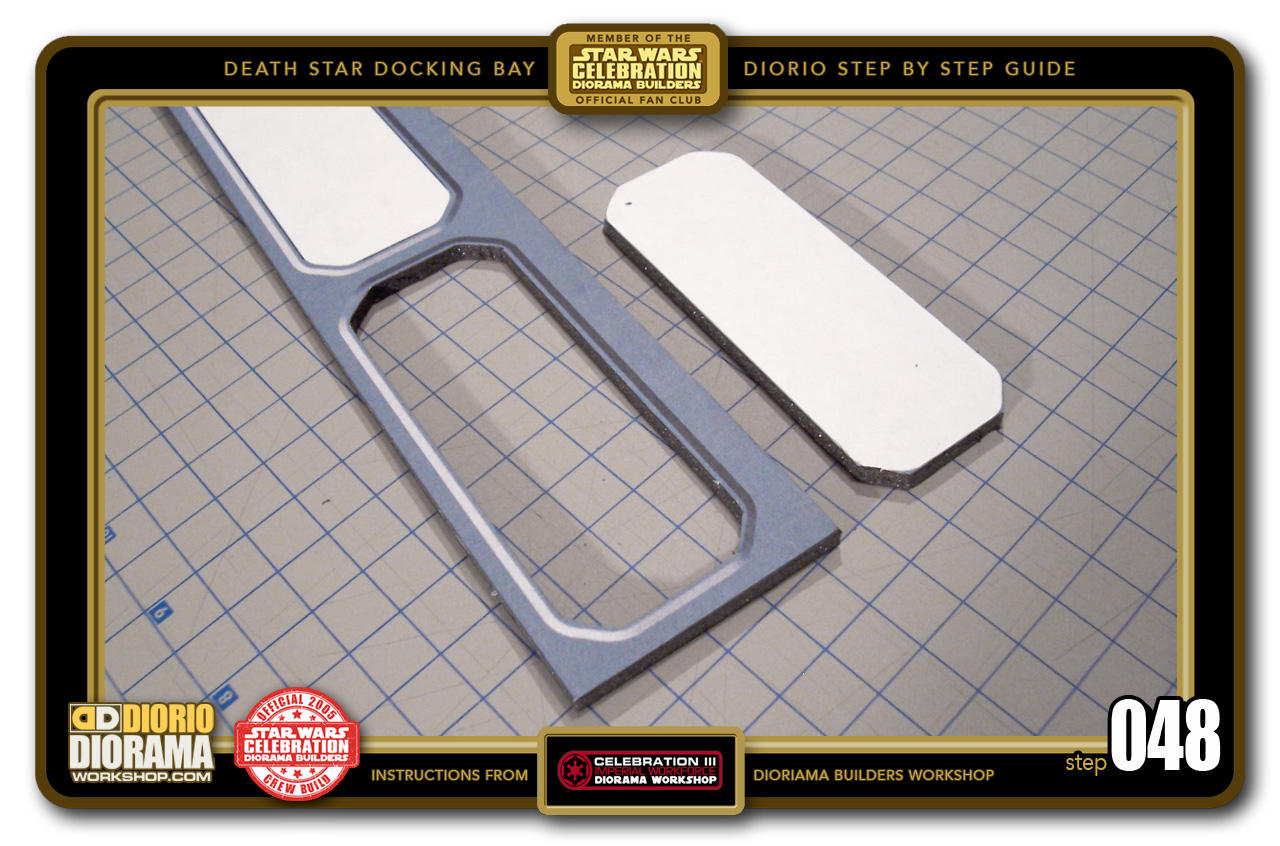
- STEP 048 >Continue all the way around until you can poke out and remove the center white core.
-
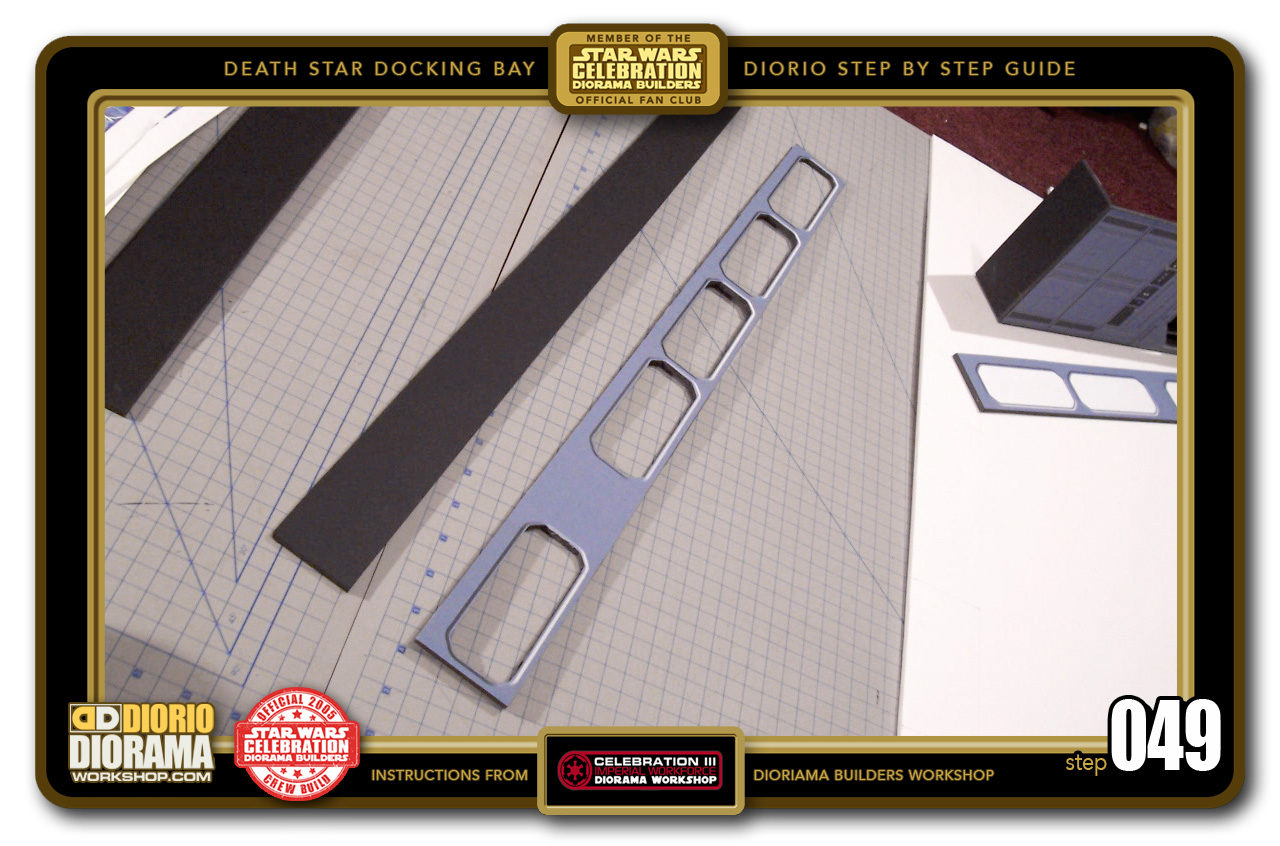
- STEP 049 >Now repeat the same procedure on all 5 windows. This is tedious but TAKE YOUR TIME to look the best and avoid injury. After about 30 minutes your alcove/large blastdoor front ventilation wall should be done.

-
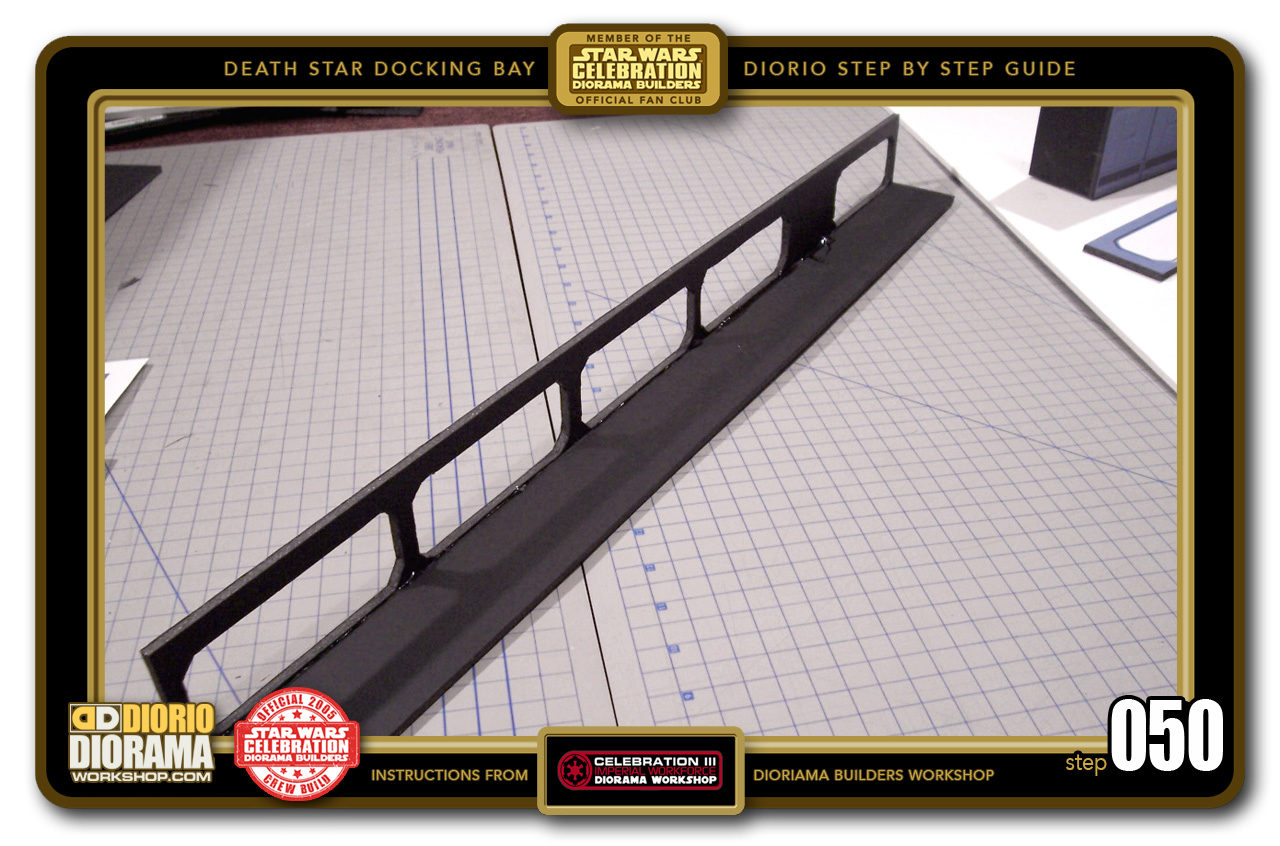
- STEP 050 >Grab a 5 cm strip (IMPORTANT: NOT the remaining 6cm strip) and apply hot glue along it's edge. Carefully press the Front Ventilation against it, keeping the bottom edges FLUSH. Hold tight until the glue cools down.

-
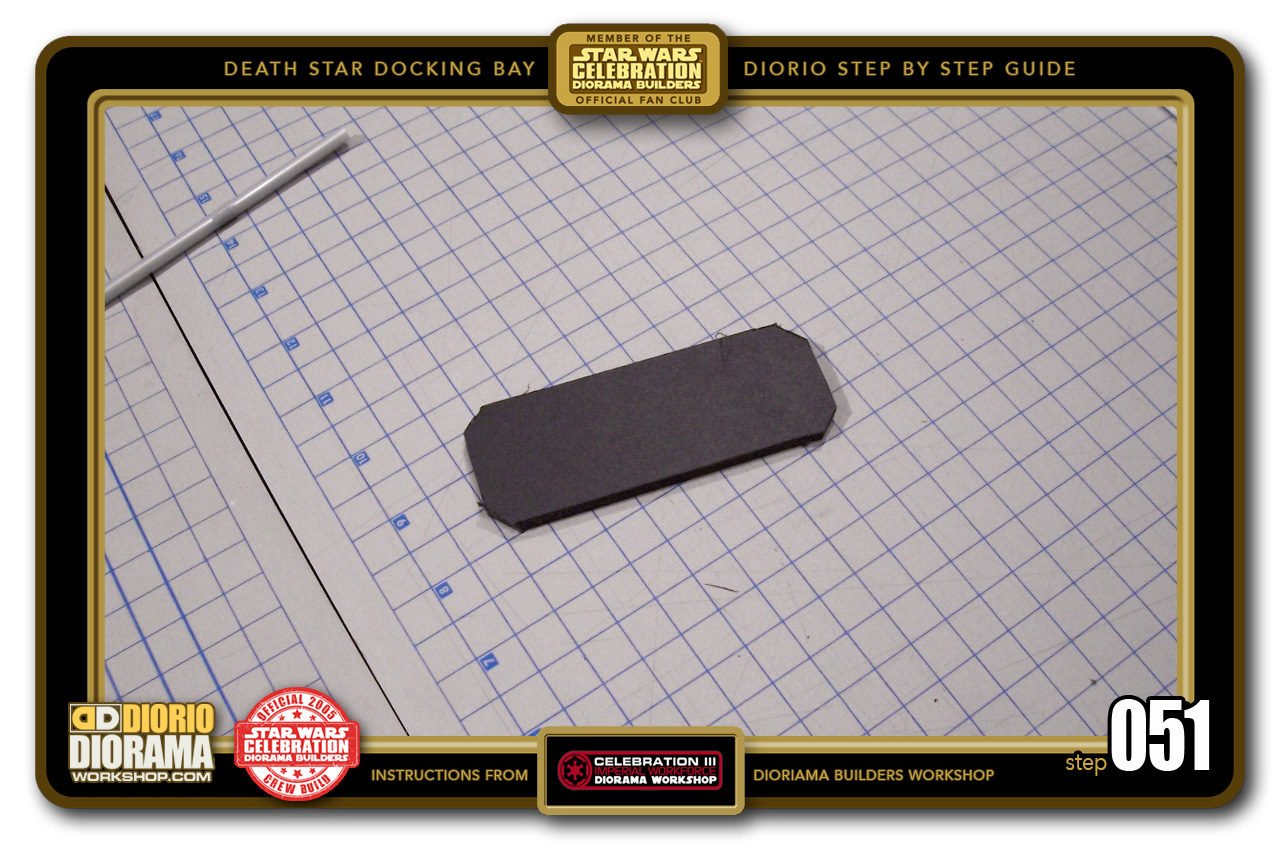
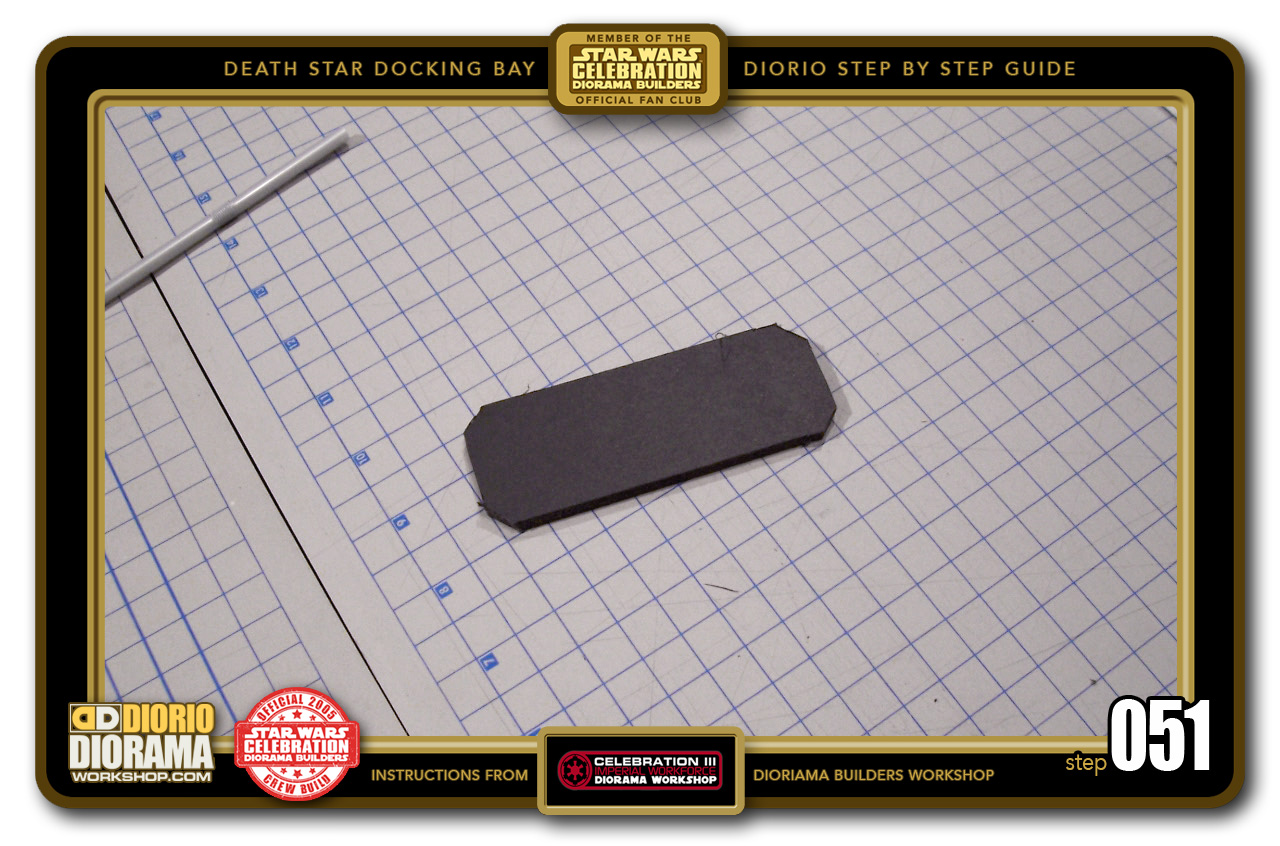
- STEP 051 >Grab one of the cut out window centers or a scap piece of foamcore. Remove the decal so it is black all over. You can always paint or sharpie the decal black if you prefer to save trouble.
-
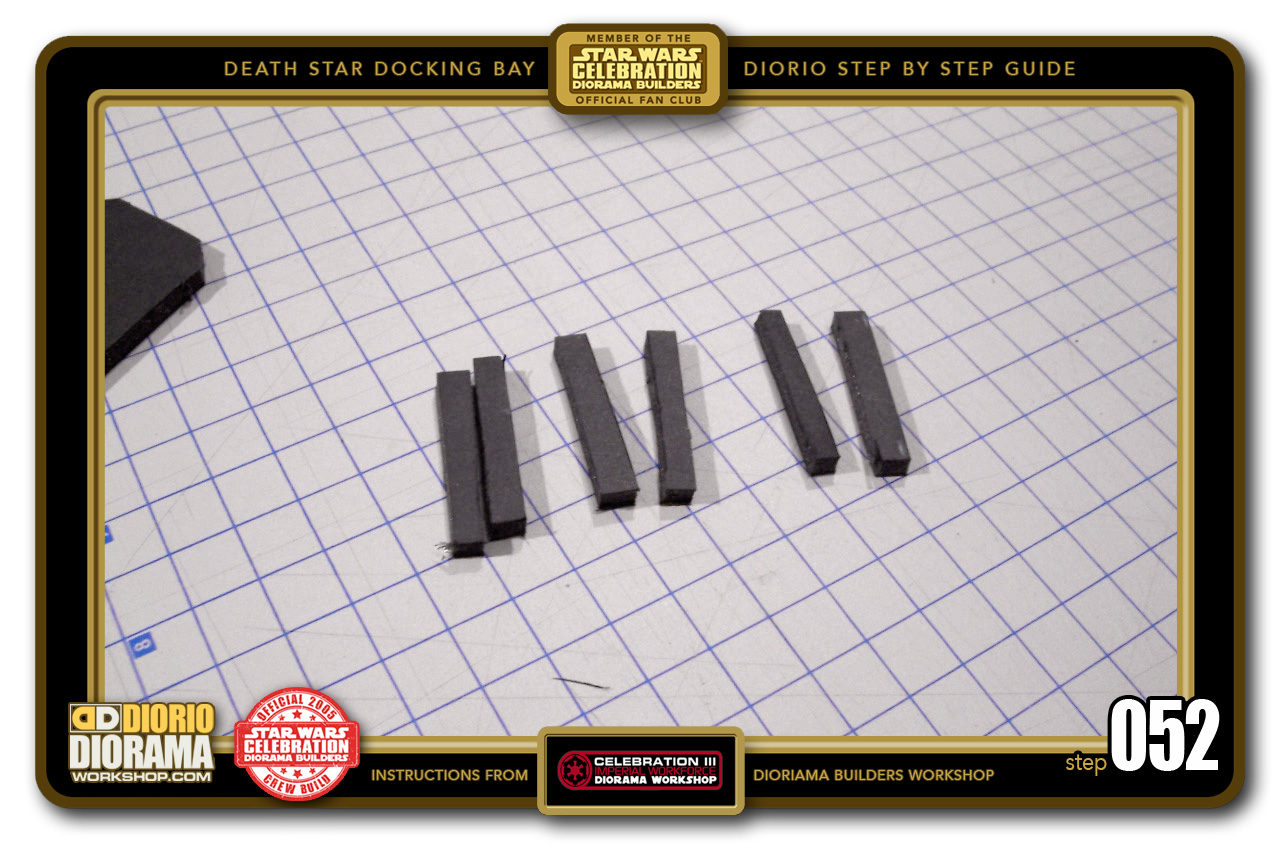
- STEP 052 >Slice up some little .5 cm wide strips but don't worry they are only for support and no need to be super identical accurate.

-

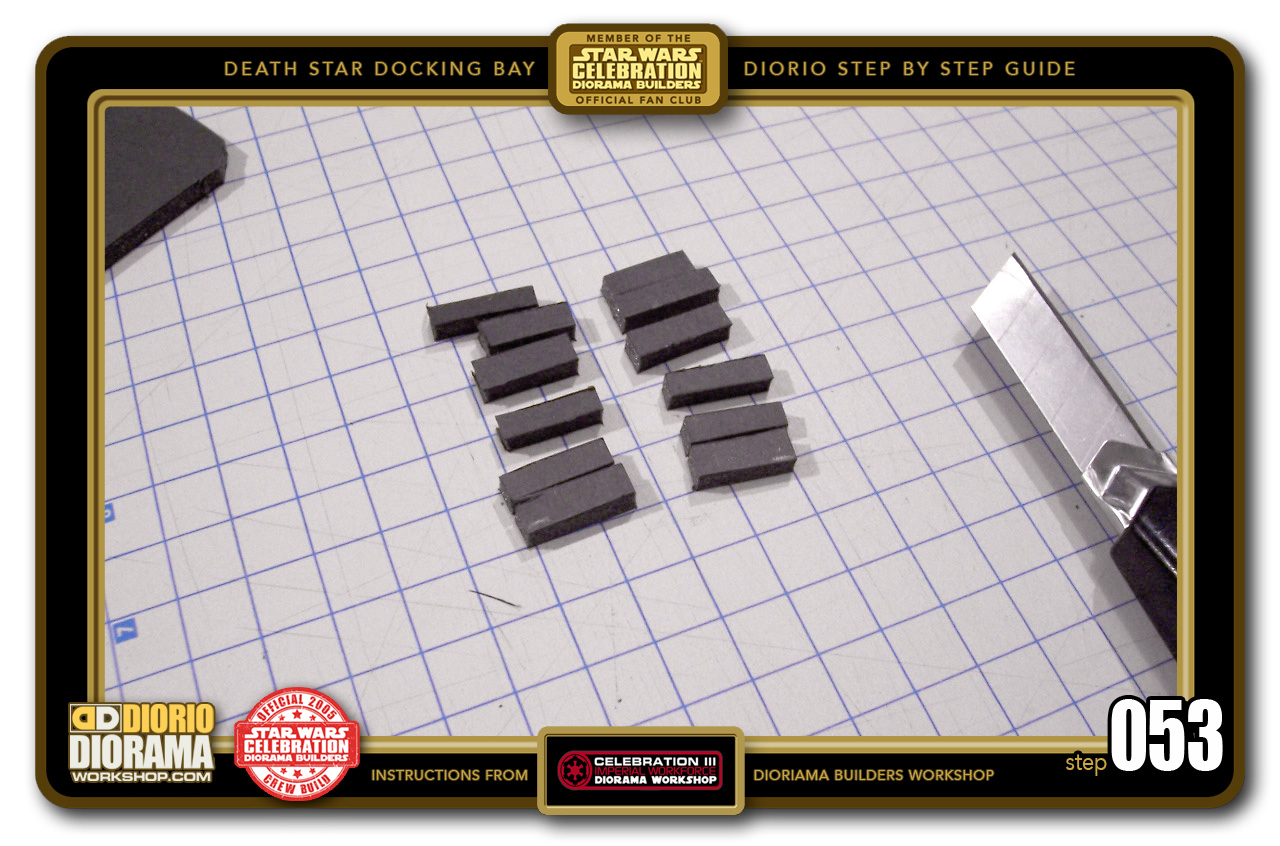
- STEP 053 >Now cut those strips in half to create little straw supports.
-
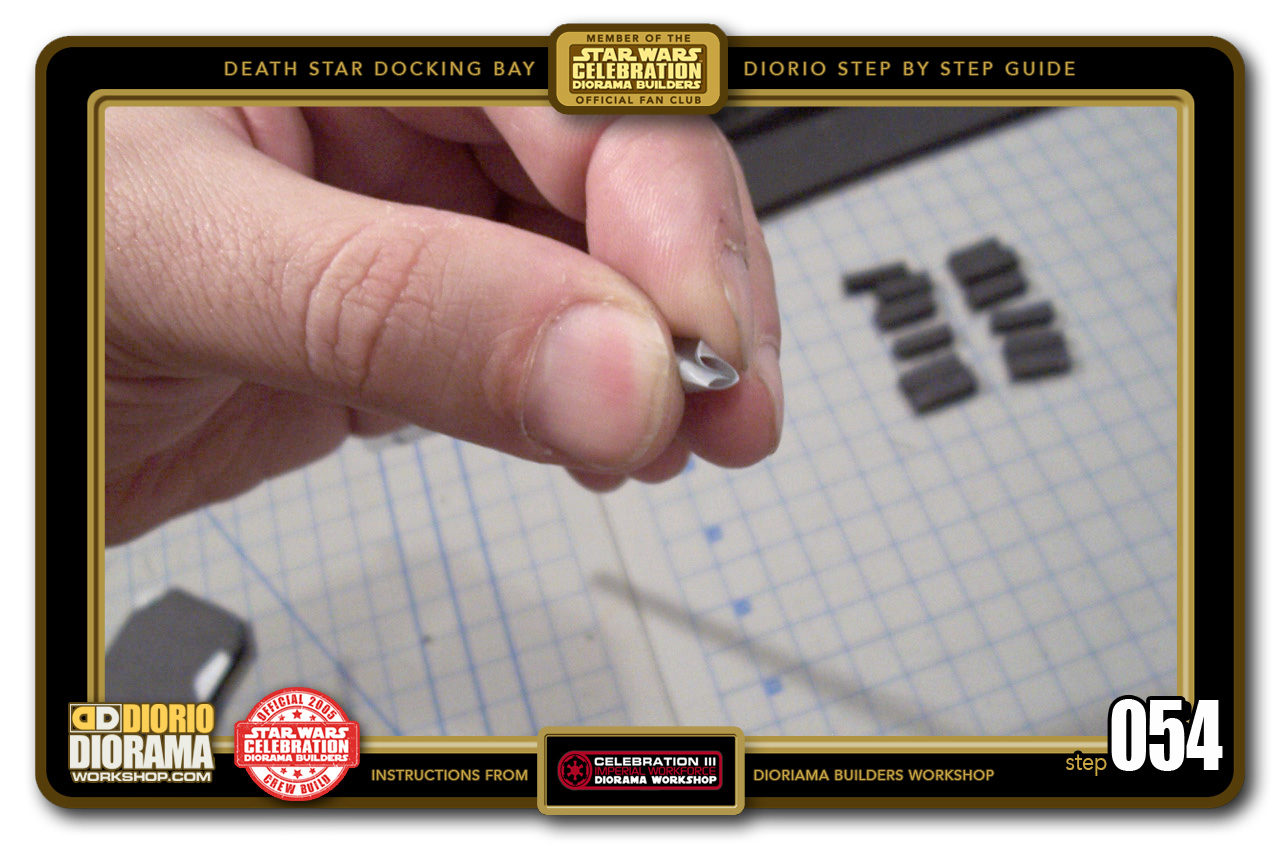
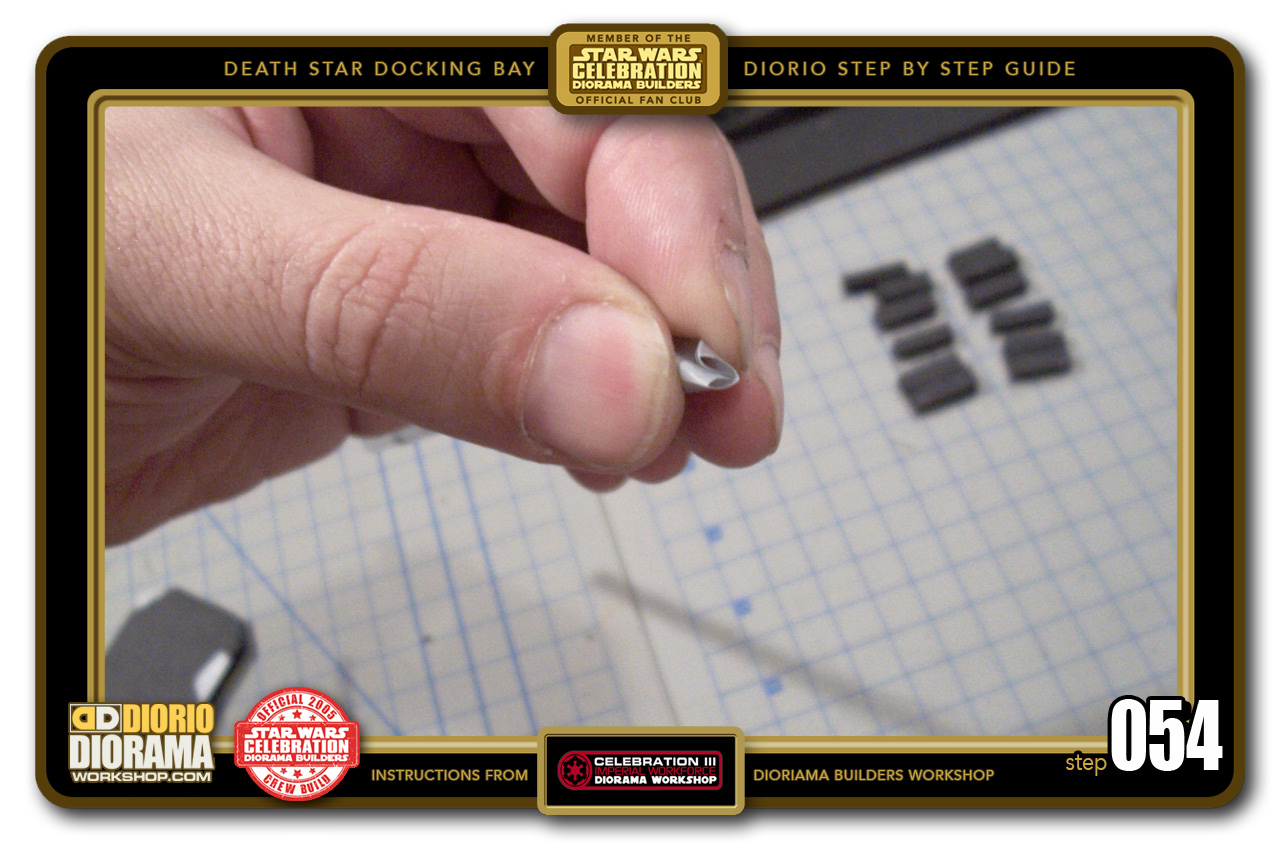
- STEP 054 >Let's make some ventilation pipes 🙂 Since straws are shorter than the length of your window span, we need to connect them to make one long straw. Grab a straw and pinch the end folding it in half.
-
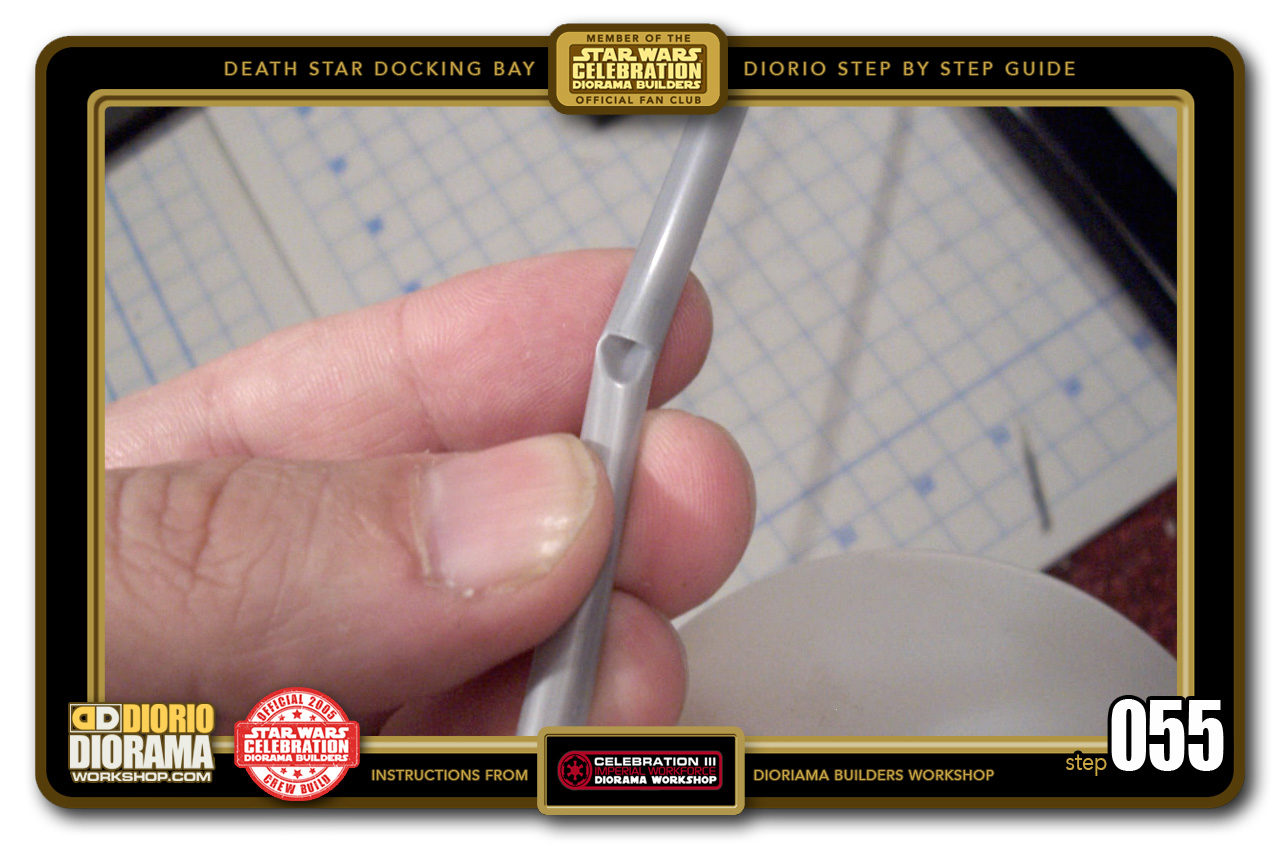
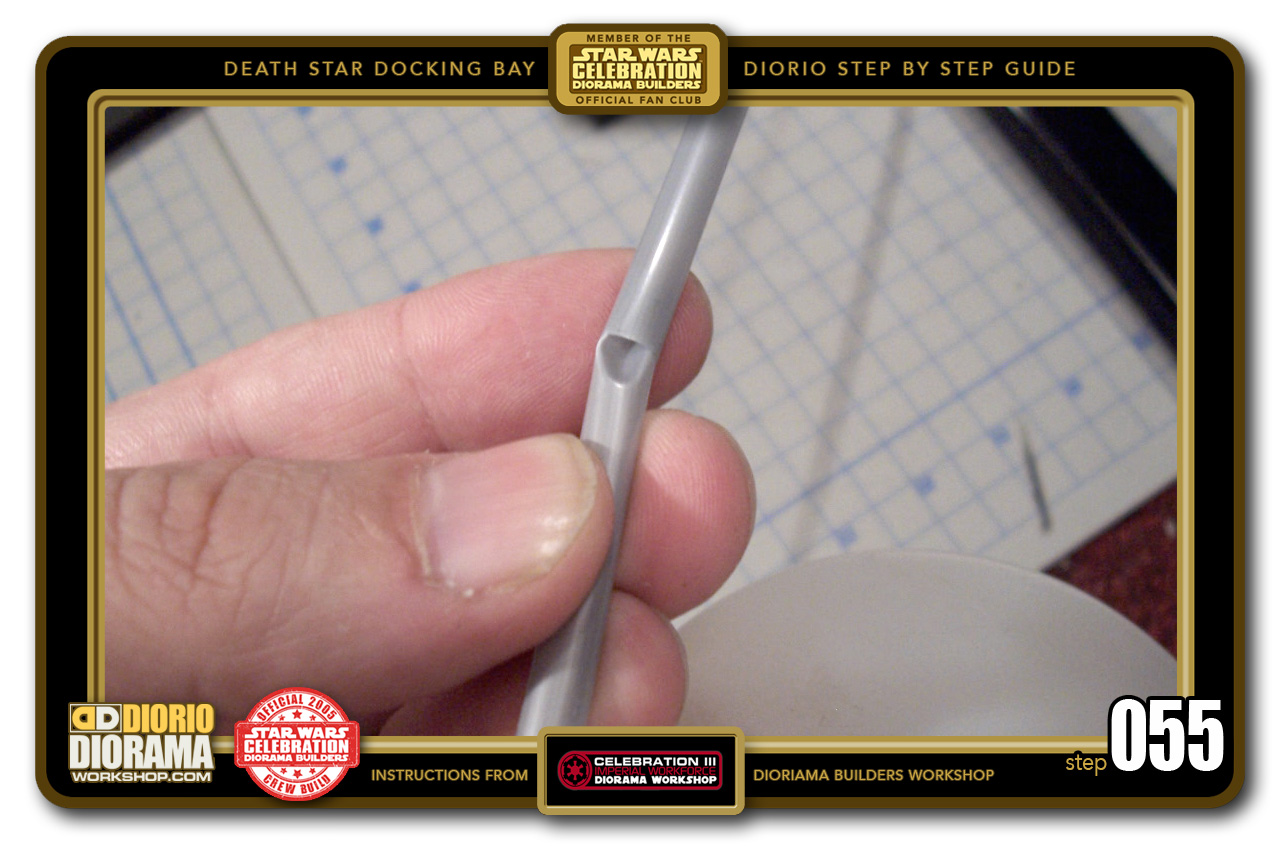
- STEP 055 >Now you should be able to insert the crushed end into a second straw's opening and force it in a little to hide that crushed tip and giving the illusion of one longer straw.
-

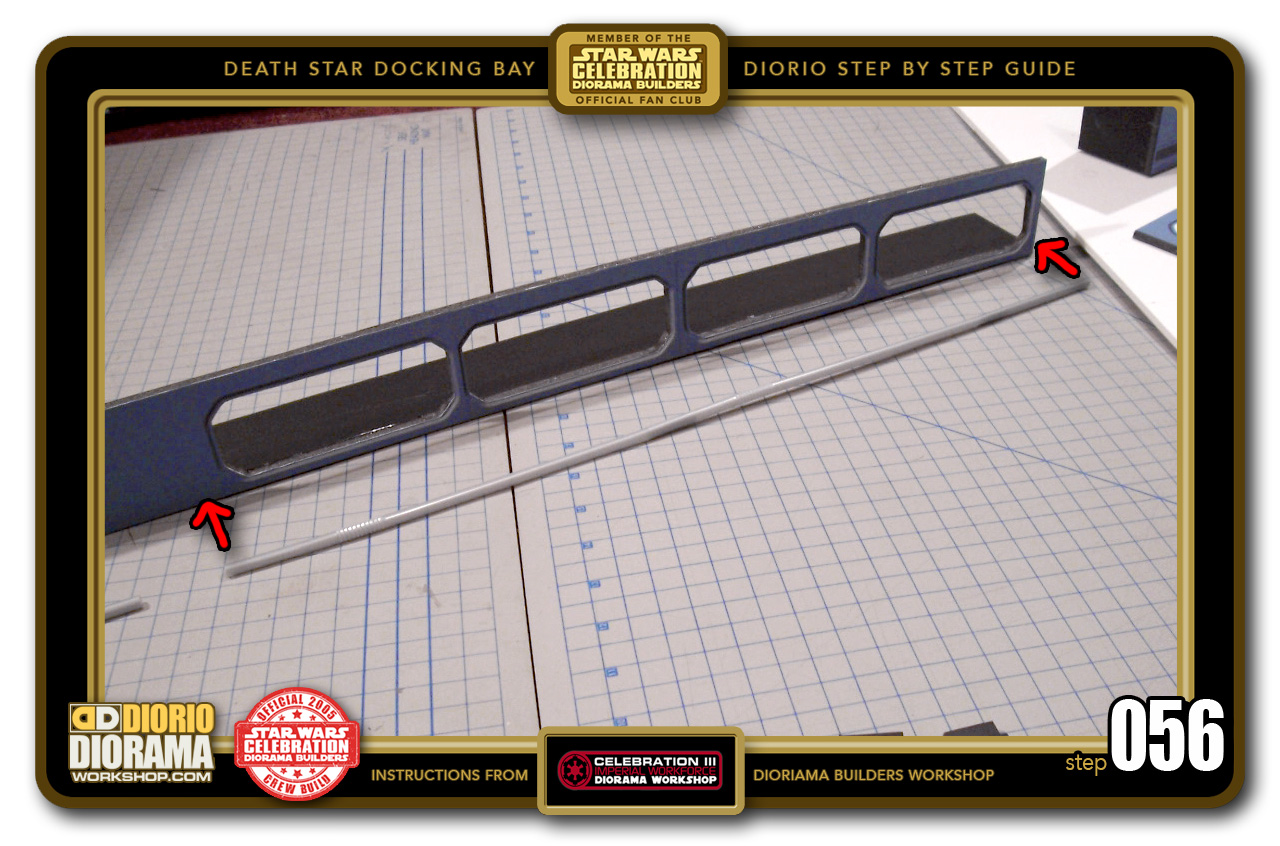
- STEP 056 >Continue this until you have enough length to reach a little longer than the width of windows 2 to 5. Took me 3 straws. Trim off the excess if too long but make sure to not cut TOO short.
-
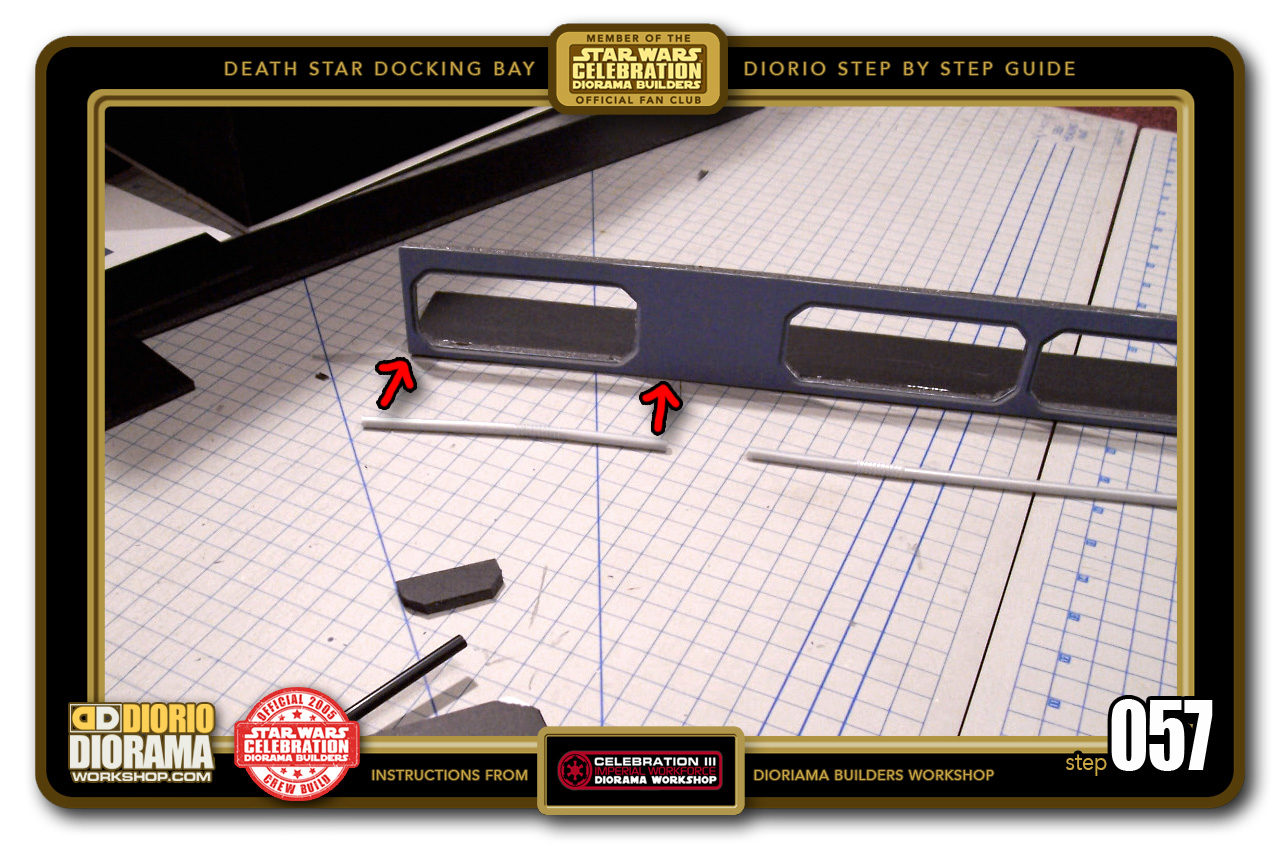
- STEP 057 >For window 1, take a regular straw and just cut it just a little wider than the opening.

-

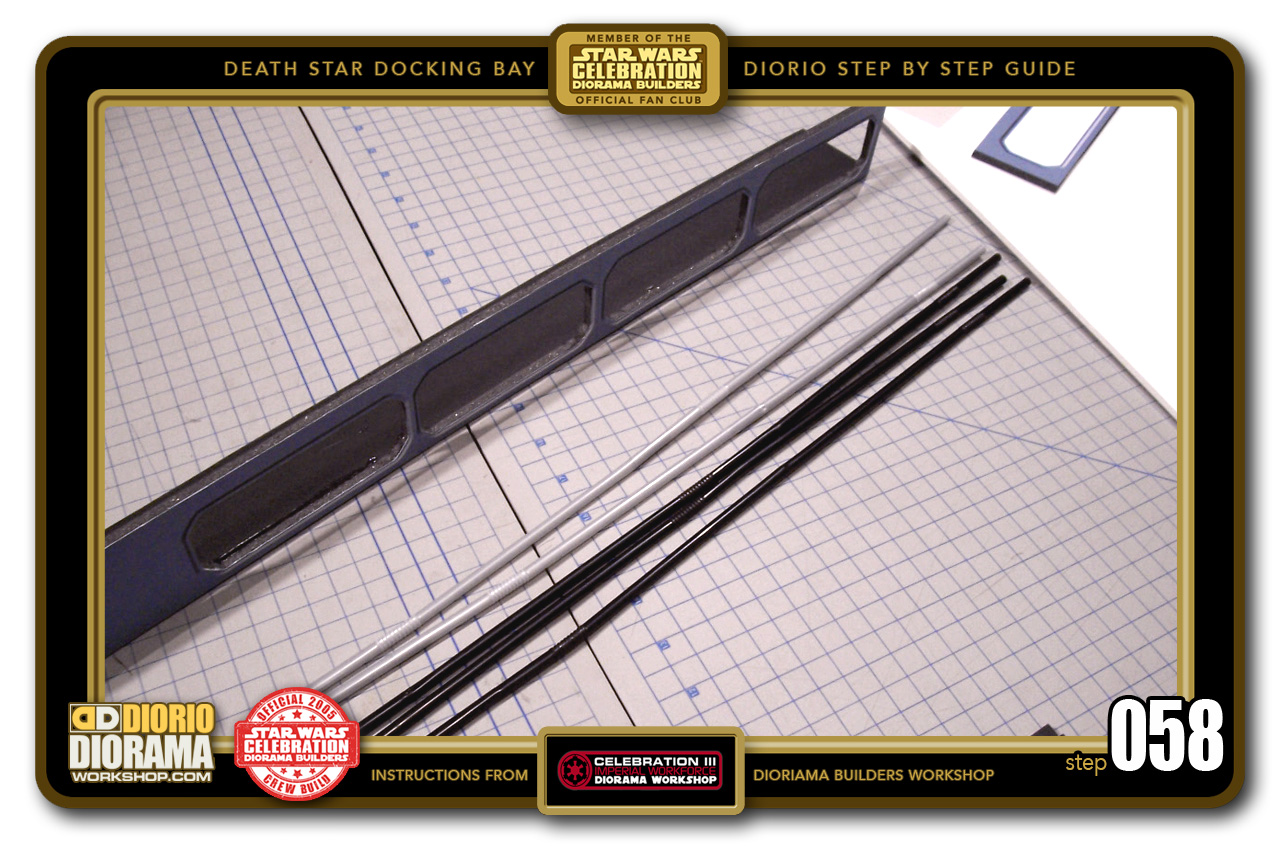
- STEP 058 >There are 5 straws in the photo but you need only 4. In the movie they are 2 Black and 2 Grey. I got these at IKEA, they are already colored properly. If you have plain straws, you can paint them the correct colors before the next step.
-

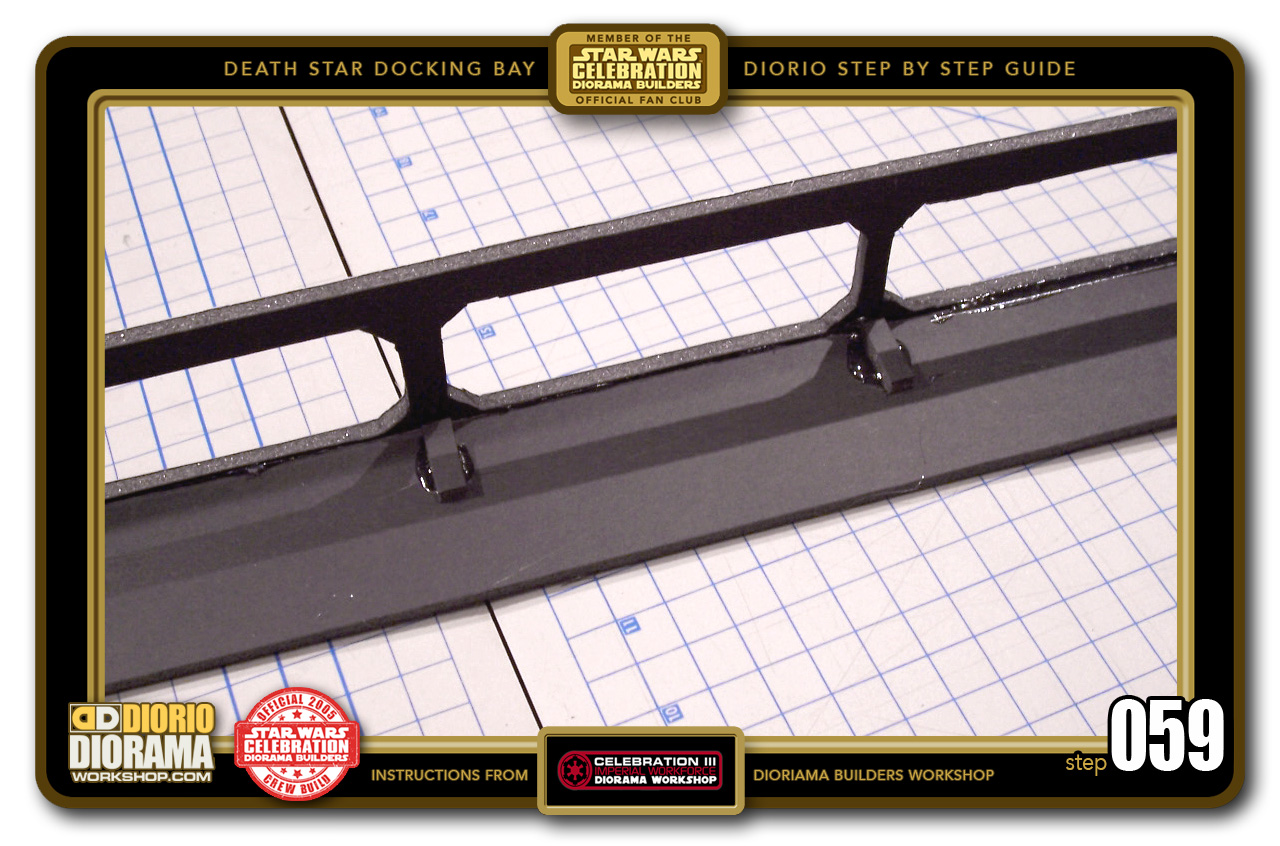
- STEP 059 >Remember those little strips we cut? these are your straw separators. You want to hot glue the first 7 to the base of the ventilation shaft floor.
-
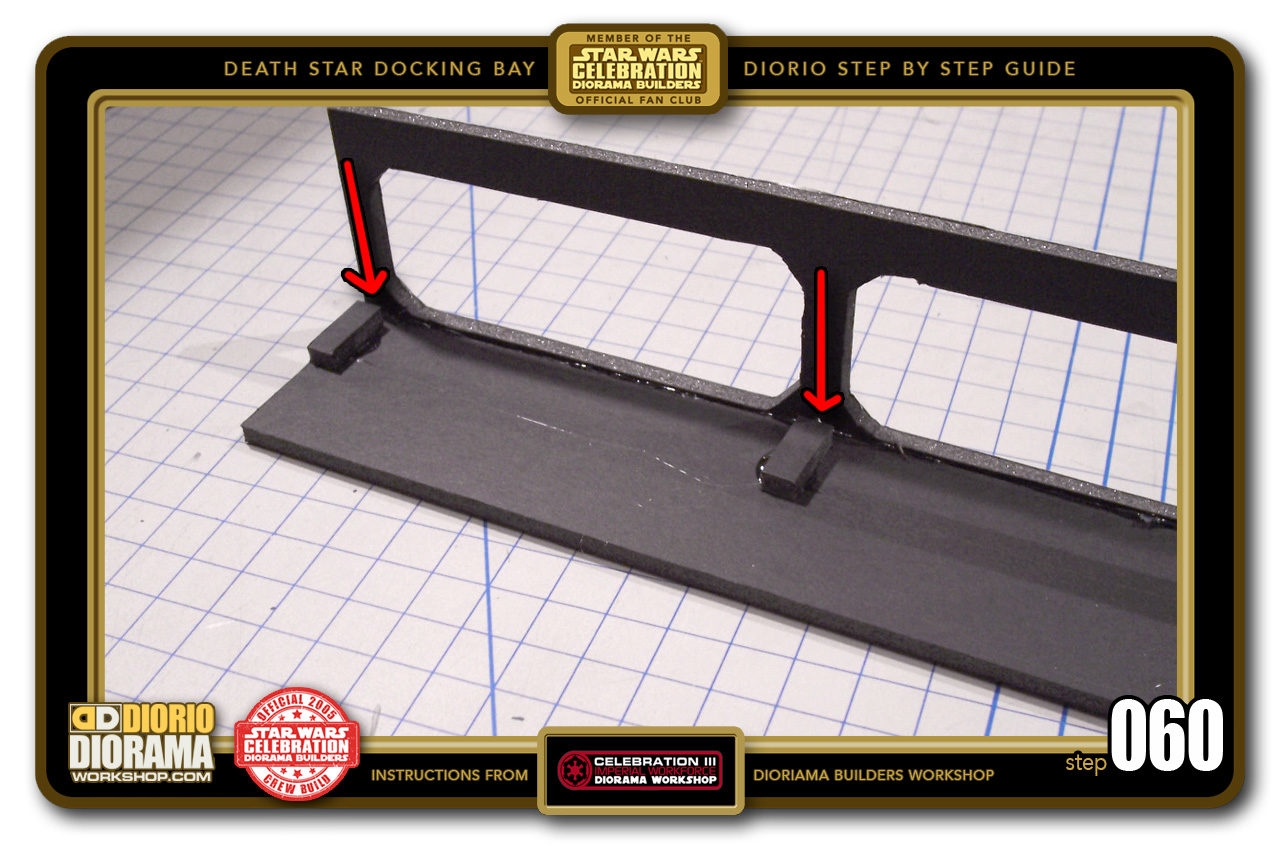
- STEP 060 >You want to place 1 behind each column so that they are hidden when you look in the windows from the front. Also make sure to leave a small .5cm gap, do not press them against the window wall.


.
Did you already build this Diorama ? At home or at our Star Wars Celebration Diorama Builders workshop ? Would you like to show it in the site’s GALLERY VISITORS DIORAMAS section, YES ? That is Awesome !!! You can find out all the details on how to email me your photos on the VISITORS SUBMISSIONS INFO page … When I get your photos, I will create your very own page just like this one. You may not realize it but work does inspire others to join in the fun of making Action Figure Dioramas.
.
NOT FOR RESALE ALL Decals, tutorials and artwork are ©FrankDiorio (dioramaworkshop.com) and offered FOR FREE to the fans – that would be you ? so you can build and display my diorama designs in your very own home. I realize I cannot control what one does with my graphics once I place them on the web, I can only ask you as one fan to another, please respect the artist and do not be that jerk who uses my designs and tutorials to build a copy of my work only to sell it on EBAY or trade/sale groups and forums. Thank You. Frank.
![]() Catch up with fellow visitors and exchange stories, read cool interviews with the crew, exchange photos, fun surprises and grab some FAN ONLY merchandise next year at actual future conventions ?
Catch up with fellow visitors and exchange stories, read cool interviews with the crew, exchange photos, fun surprises and grab some FAN ONLY merchandise next year at actual future conventions ?
.
©2018 Frank Diorio DioramaWorkshop.Com
.
IF YOU LIKE WHAT YOU SEE, PLEASE SHARE WITH YOUR FRIENDS
USING THE SOCIAL MEDIA BUTTONS BELOW