


-

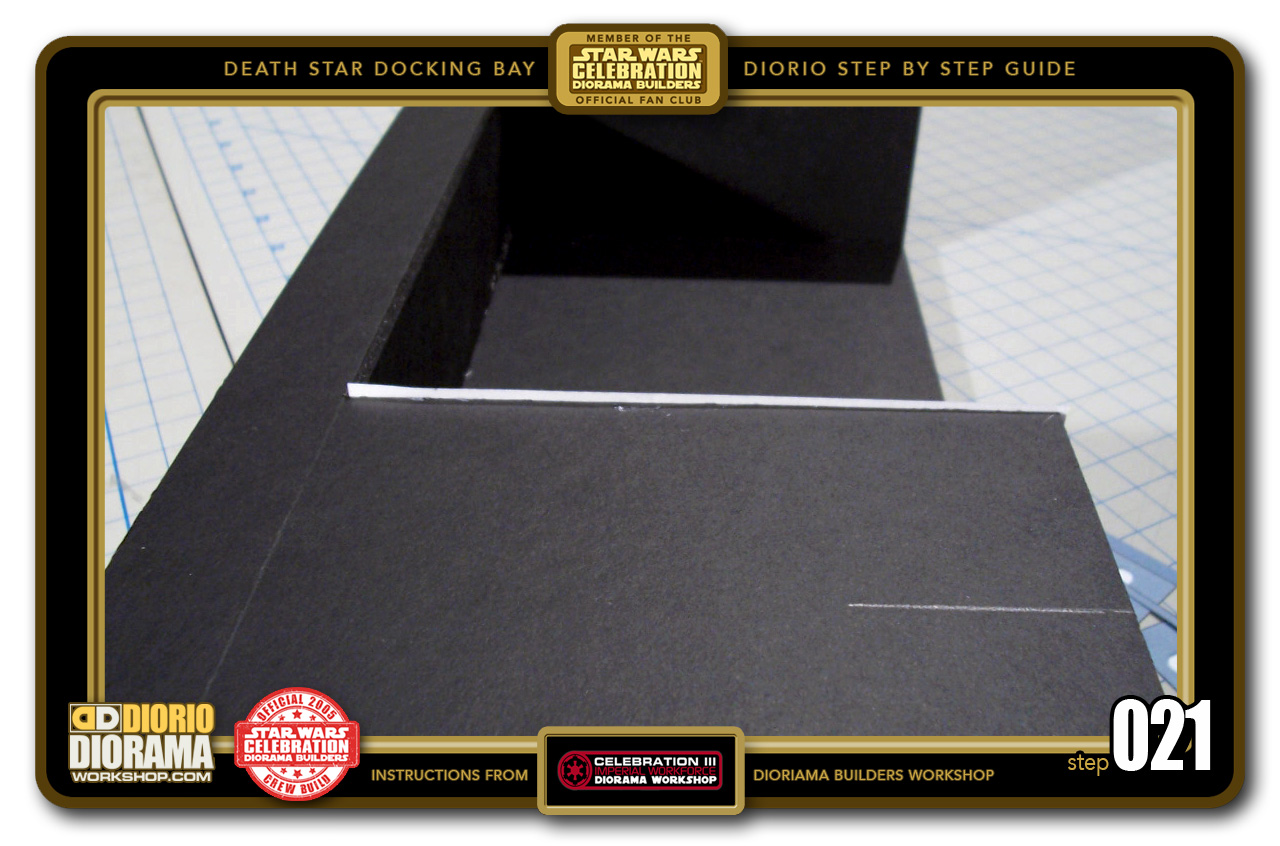
- STEP 021 > You will notice that there is a tiny bit of decal sticking out. This would be the extra (opposite side) that was NOT sliced off.
-

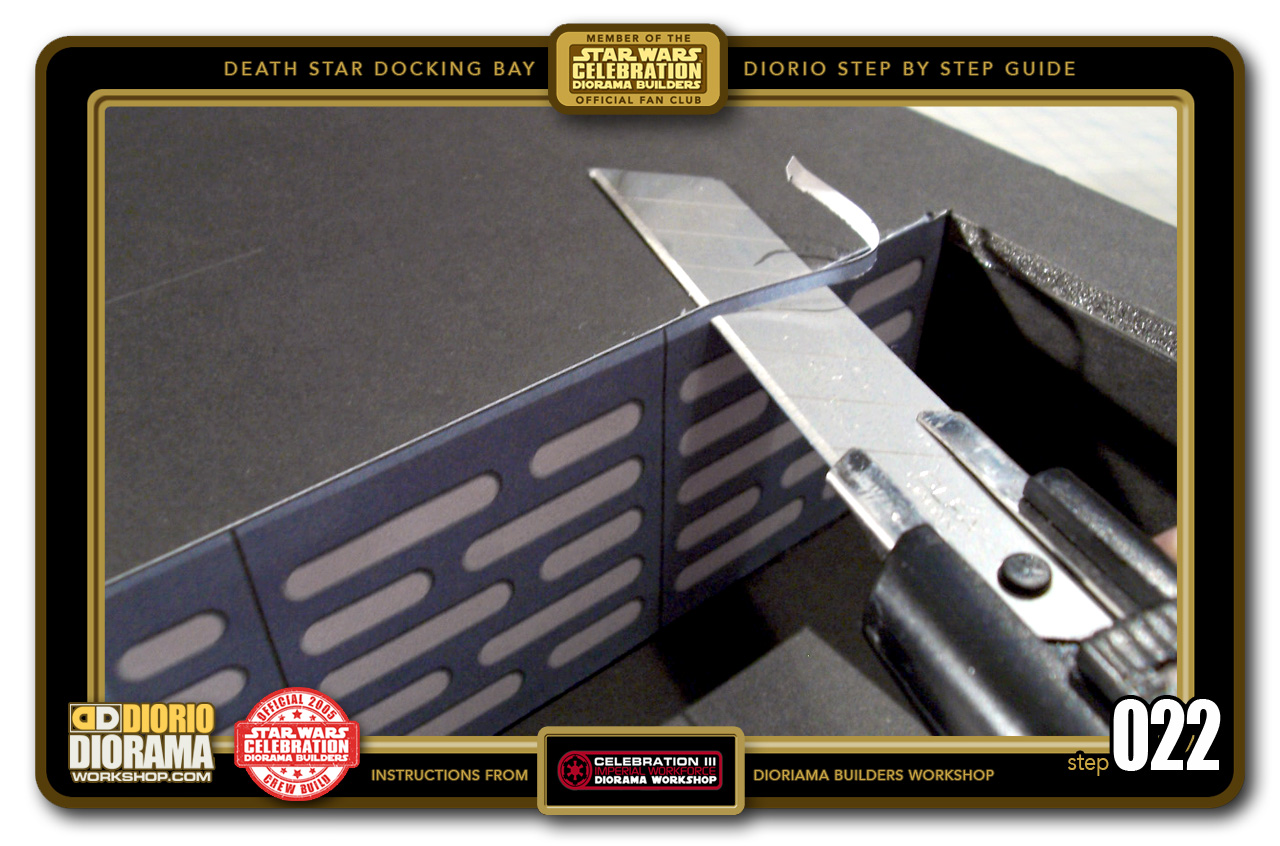
- STEP 022 > Take your Xacto Blade (don't use a DULL blade) and slice it FLUSH along the edge of the foamcore. Using a NEW blade will give you NO hassles with this task. For a CLEAN CUT, Extend your blade fully, Start at the TOP near the TIP, move your hand slowly FORWARD as you slide the blade towards the LEFT. DO NOT SAW back and forth like a piece of wood.
-
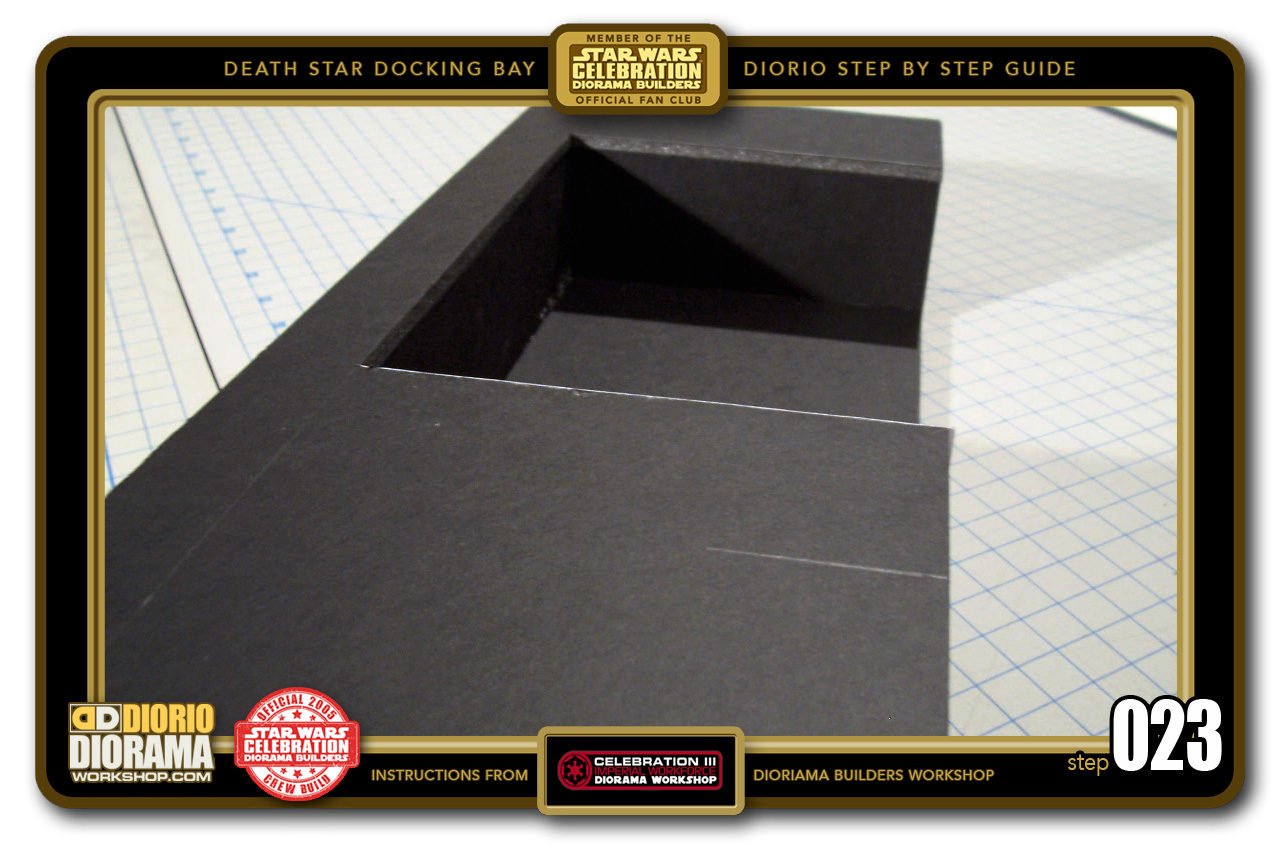
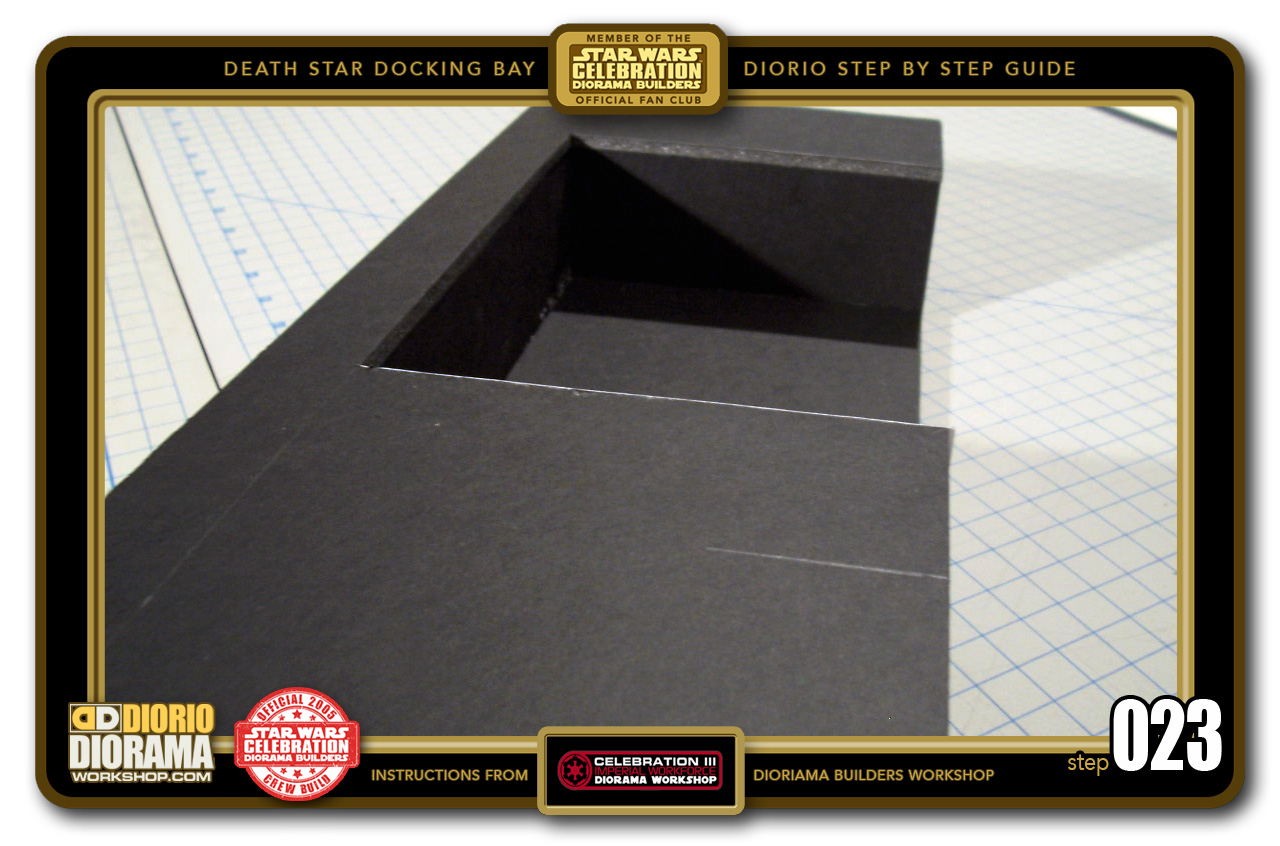
- STEP 023 > Your Decal is now a perfect fit within the Alcove.
-
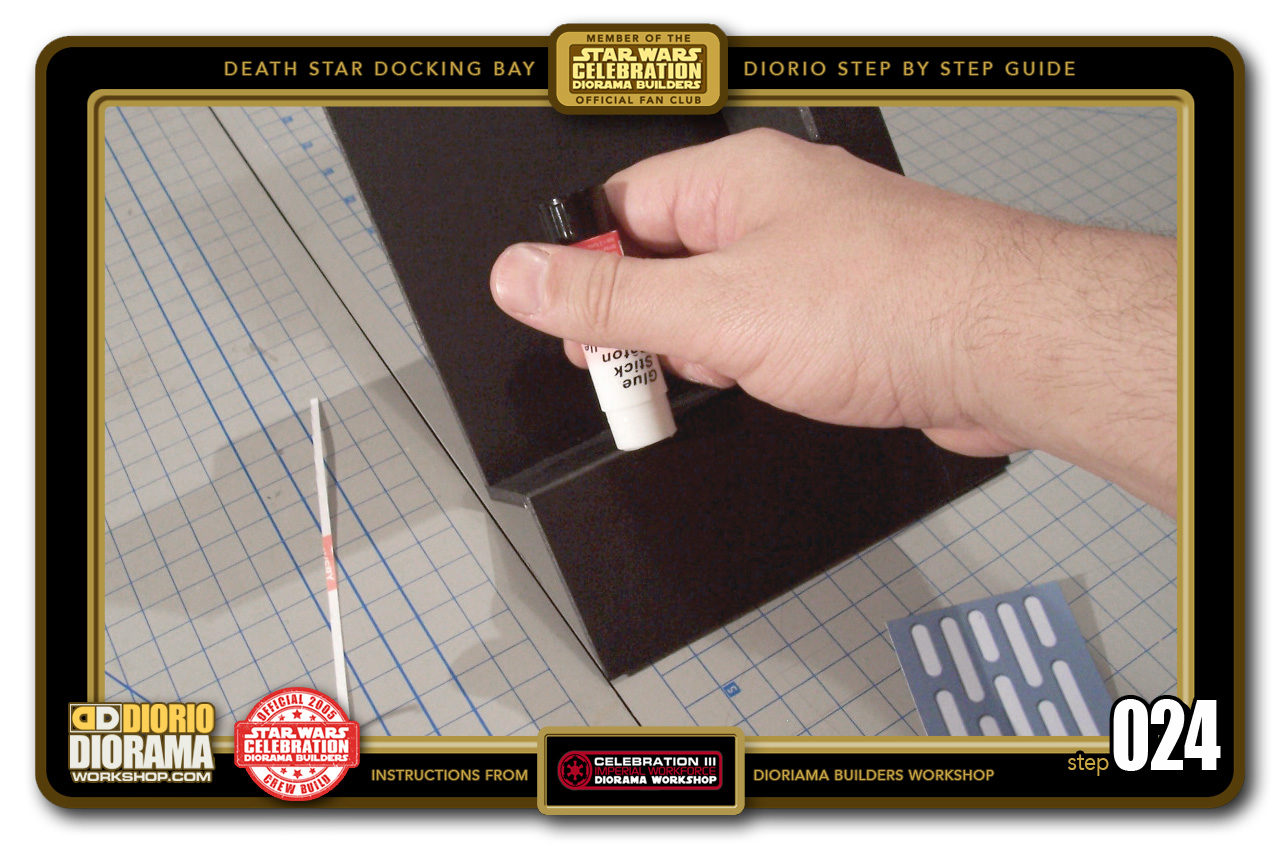
- STEP 024 > Time for the other side. Put some Glue Stick again on the opposite side edges of the wall alcove.

-
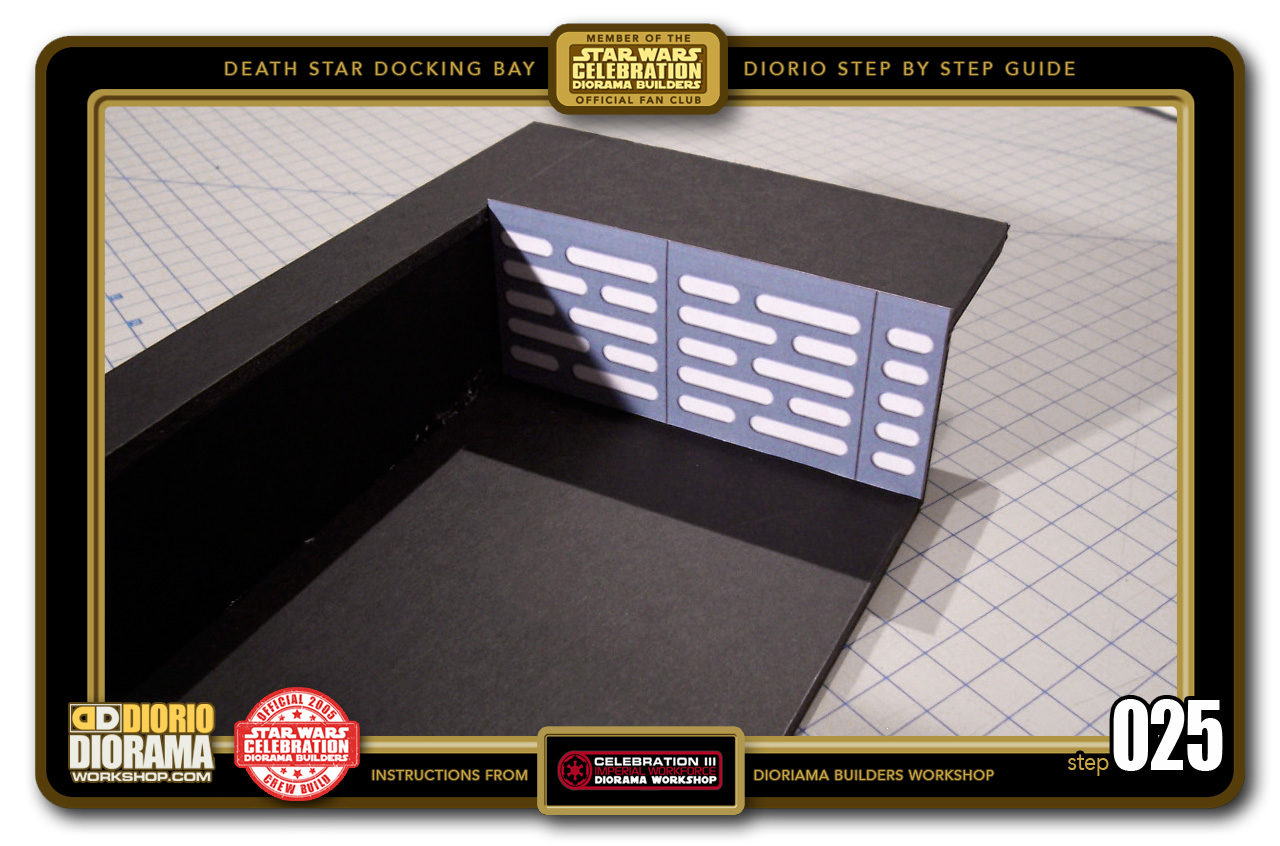
- STEP 025 > Peel back your decal if you printed on full sheet labels and stick it to the wall. Put glue on the back of your decal if you printed on regular paper.

-
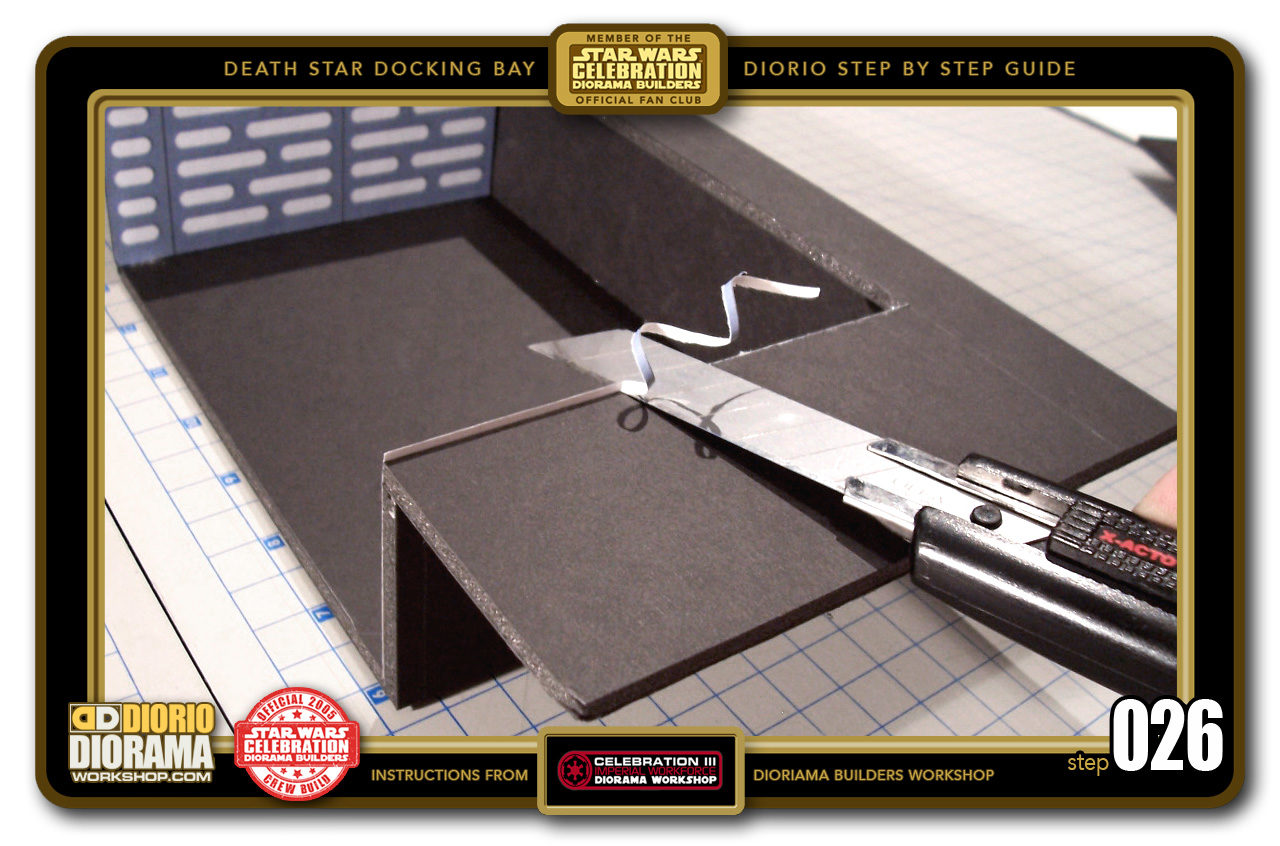
- STEP 026 > Trim off the excess paper like you did for the left side. Use the same technique I explained in Step 22 but this time, Start at the BASE of the blade and pull your hand slowly DOWN while you slide the blade LEFT. You basically want to move the blade in the opposite direction that the decal was applied on as to not push it away for the side panels.

-
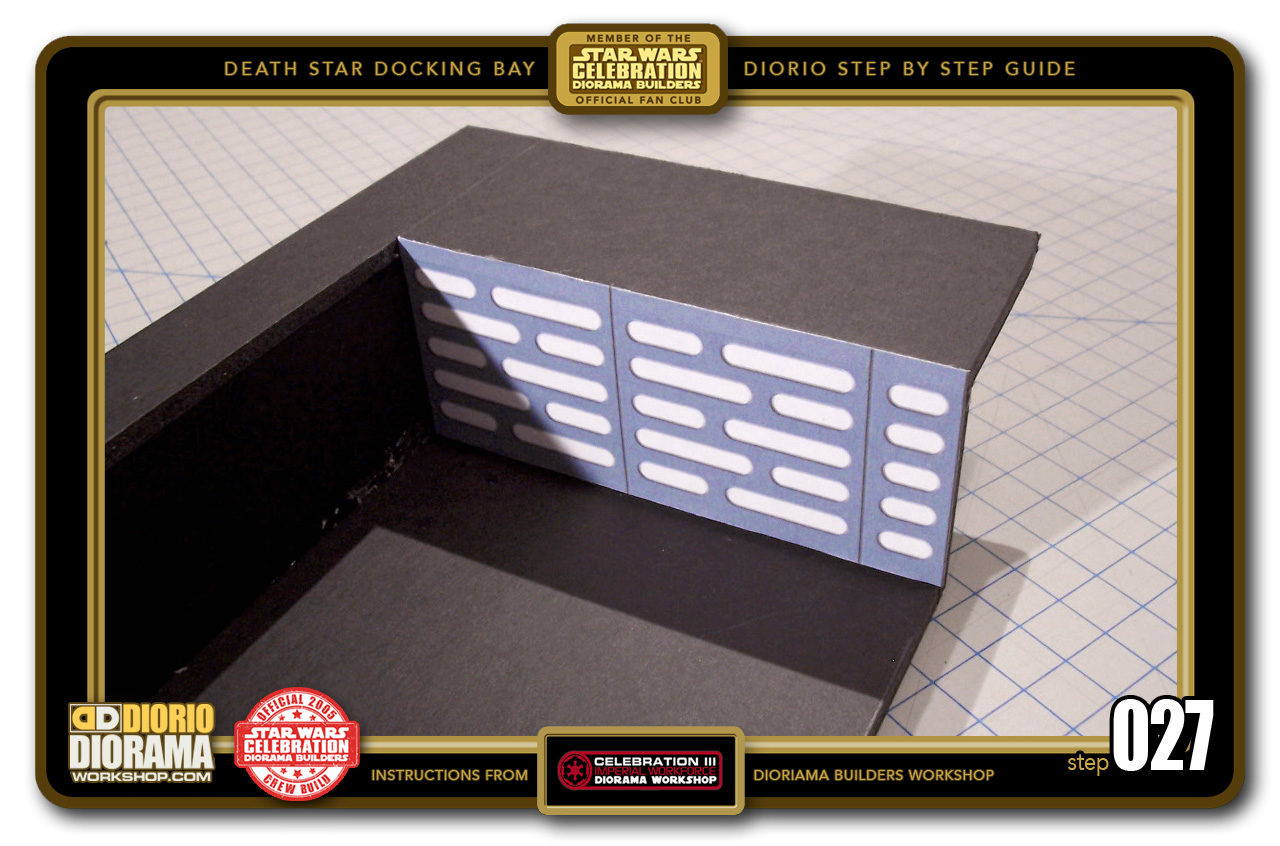
- STEP 027 > WOW, isn't that now a perfect fit ? 🙂 We can move on to the front skins.

-
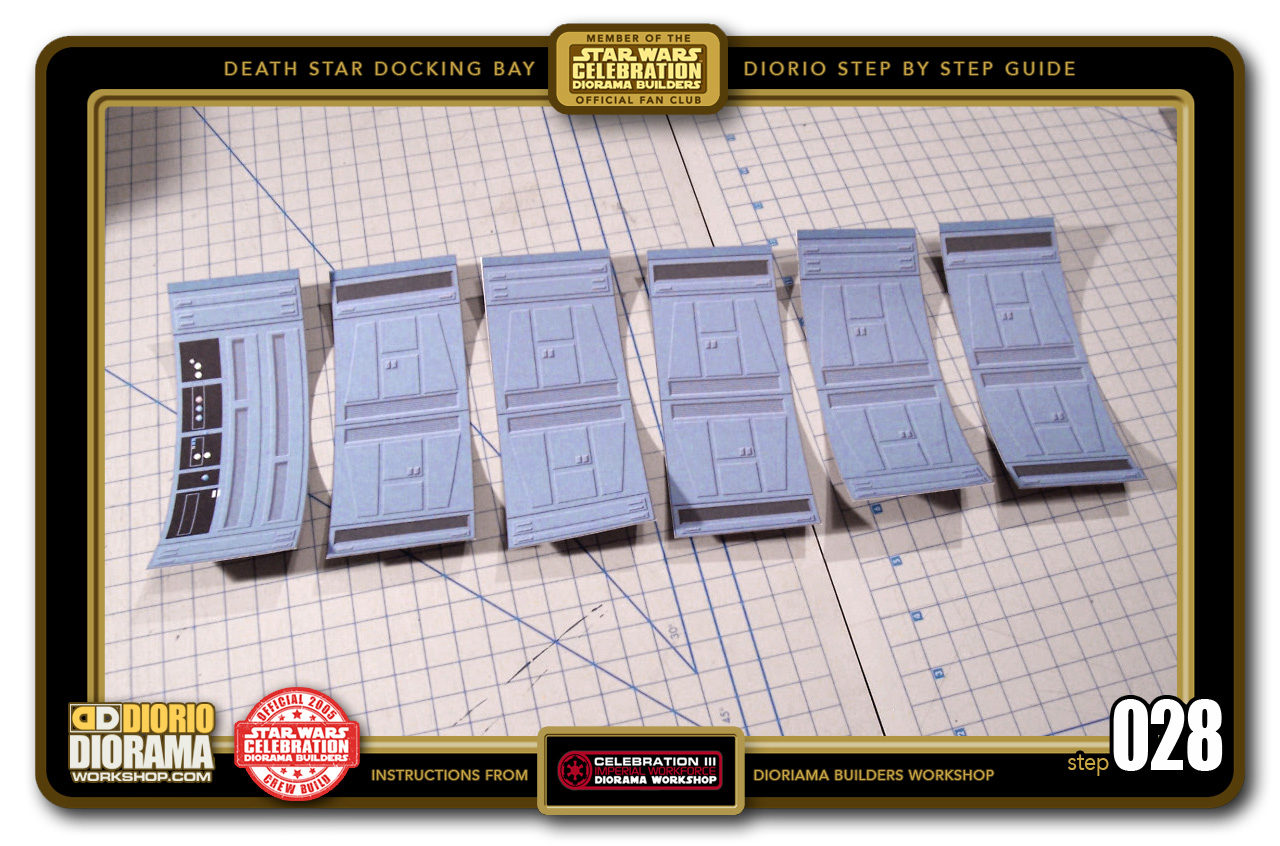
- STEP 028 > You will need 6 Death Star panels. Choose these from the FALCON DOCKING BAY DECAL PDF if you want a movie exact replica or use ANY ones from the BASIC HALLWAY PANELS PDF that feel good for you.

-

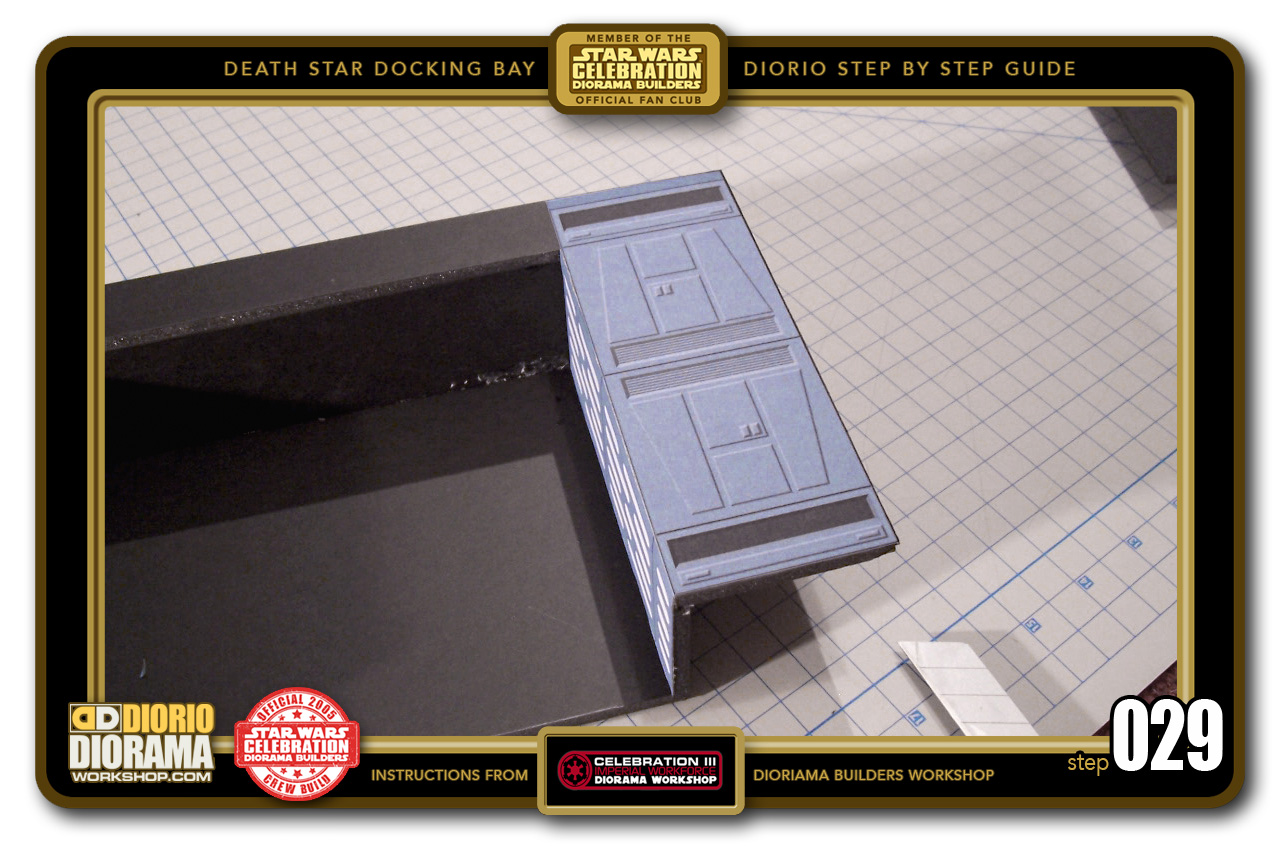
- STEP 029 > Apply the single right wall decal first. Align it with the Neon Wall so that it fits just perfectly then press down towards the right making sure to remove any folds or air bubbles.
-
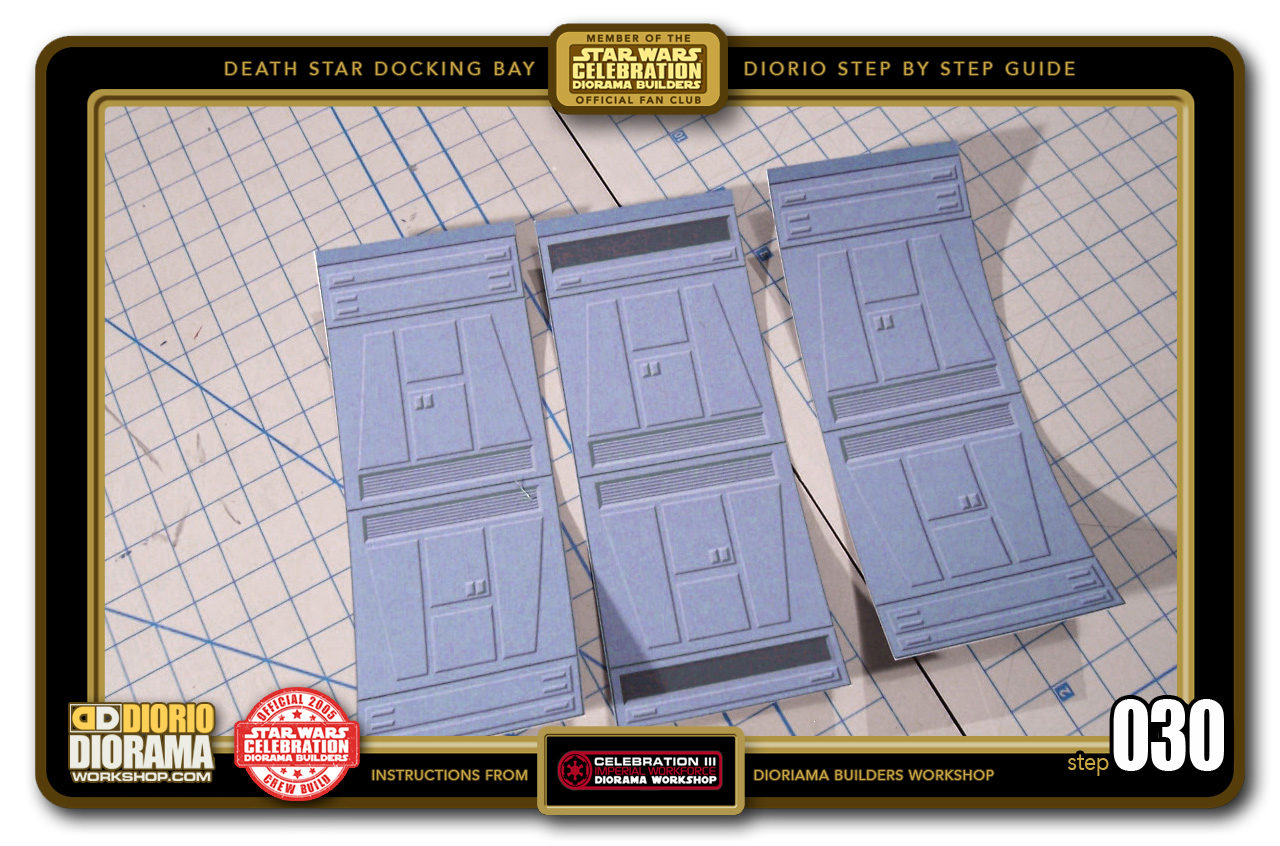
- STEP 030 > Grab your next 3 decals if you don't care about movie accuracy. If you want to do like mine, you can just cut the 3 top strip from PAGE 1 of the FALCON DOCKING BAY decals pdf and skip to Step 033.

-

- STEP 031 > Carefully slice off the tops of all 3 decals.

-

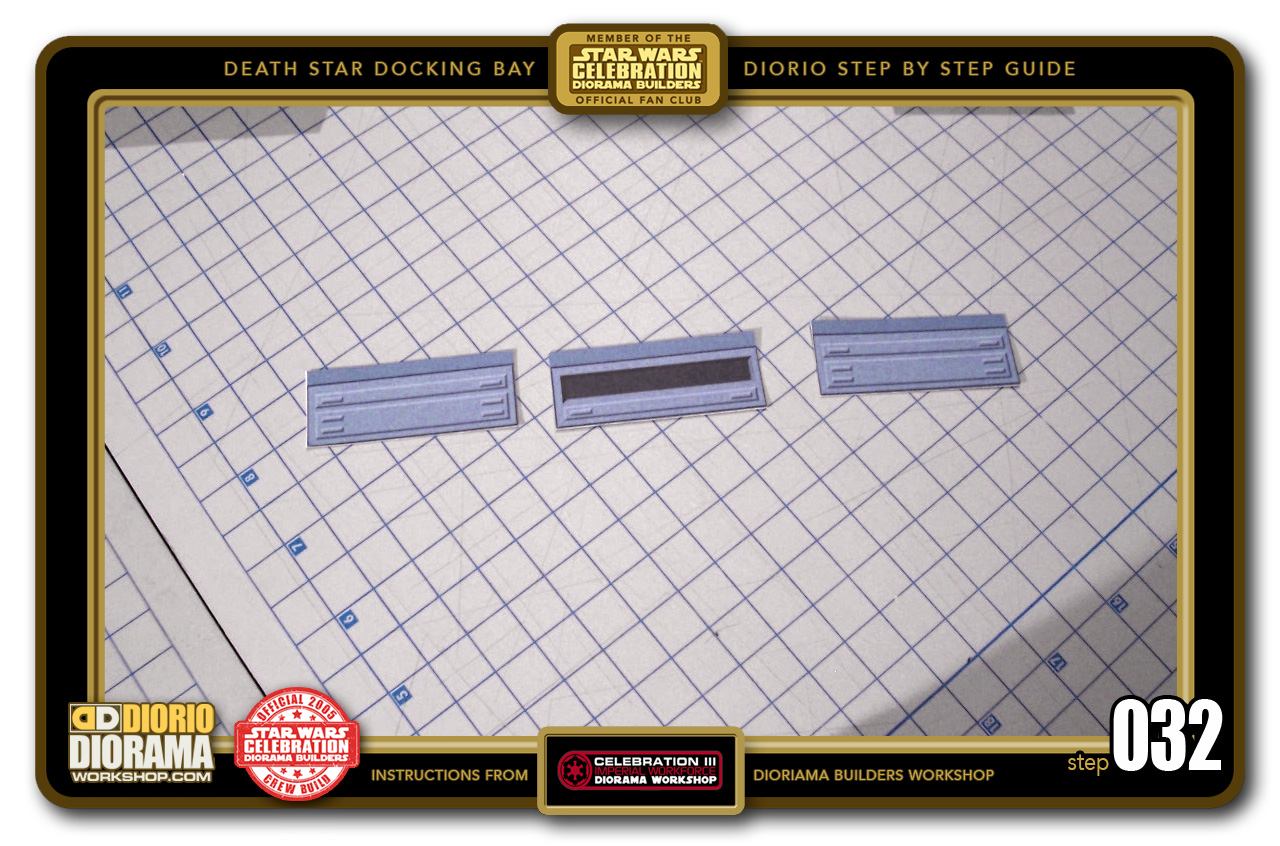
- STEP 032 > As opposed to the Neon sides, you only need the TOP of these decals for the center "arch" part of the wall. You can throw away the rest of the 3 printed decals.
-

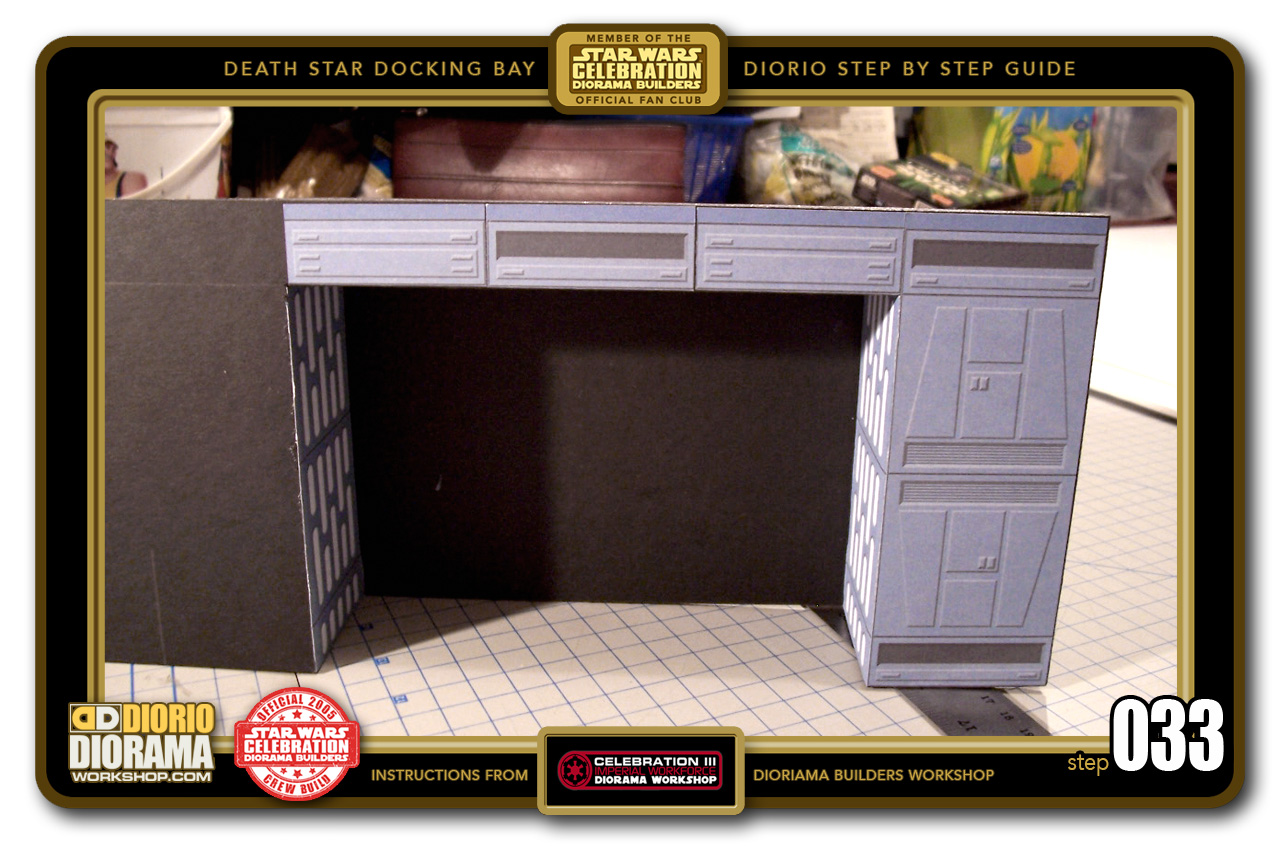
- STEP 033 > Put some glue stick on the foamcore arch, align the decal at the right side of the alcove and use the right wall panel to help with your alignment.
-
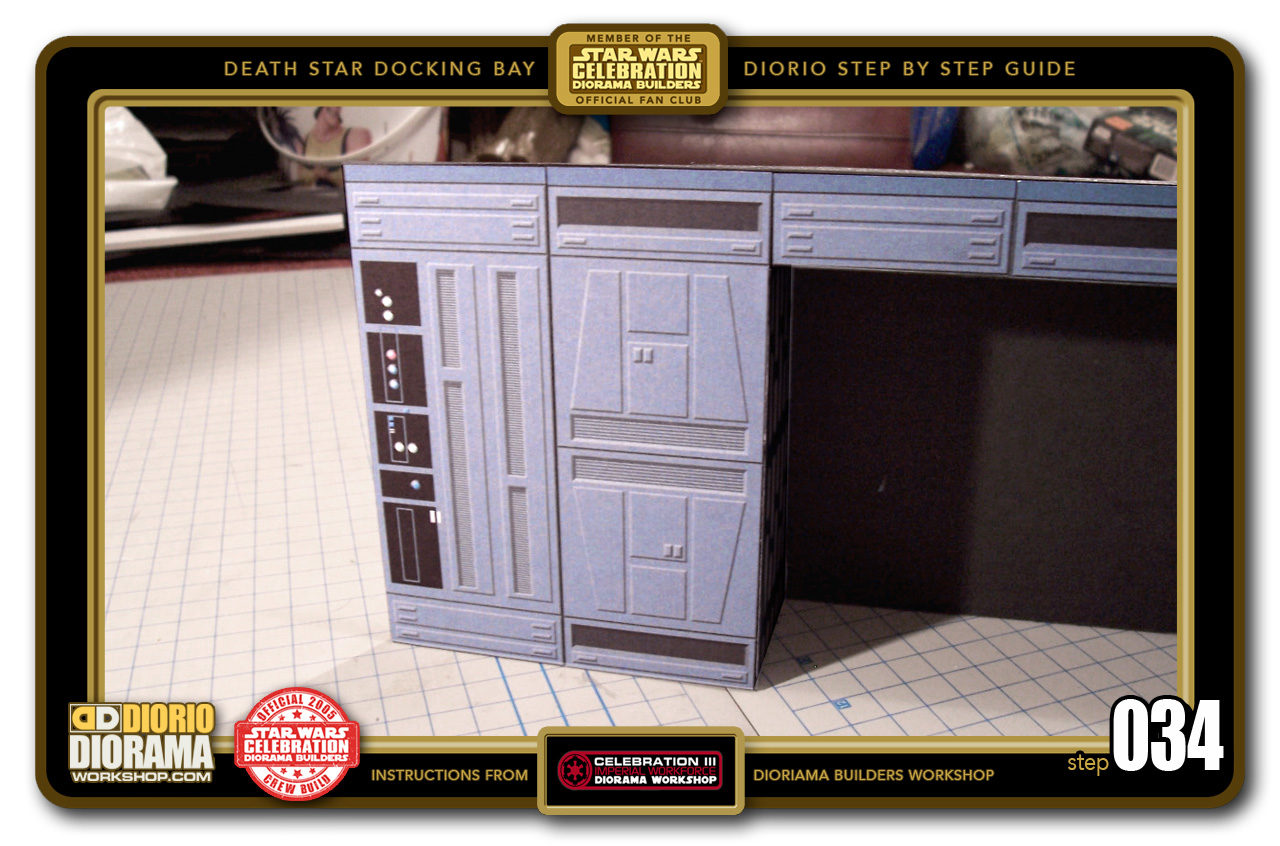
- STEP 034 > Now grab the last 2 remaining decals and apply them to the LEFT side of the alcove wall. Remember to put some glue stick on the foamcore edges and align the tops to get a perfect straight line all across.

-
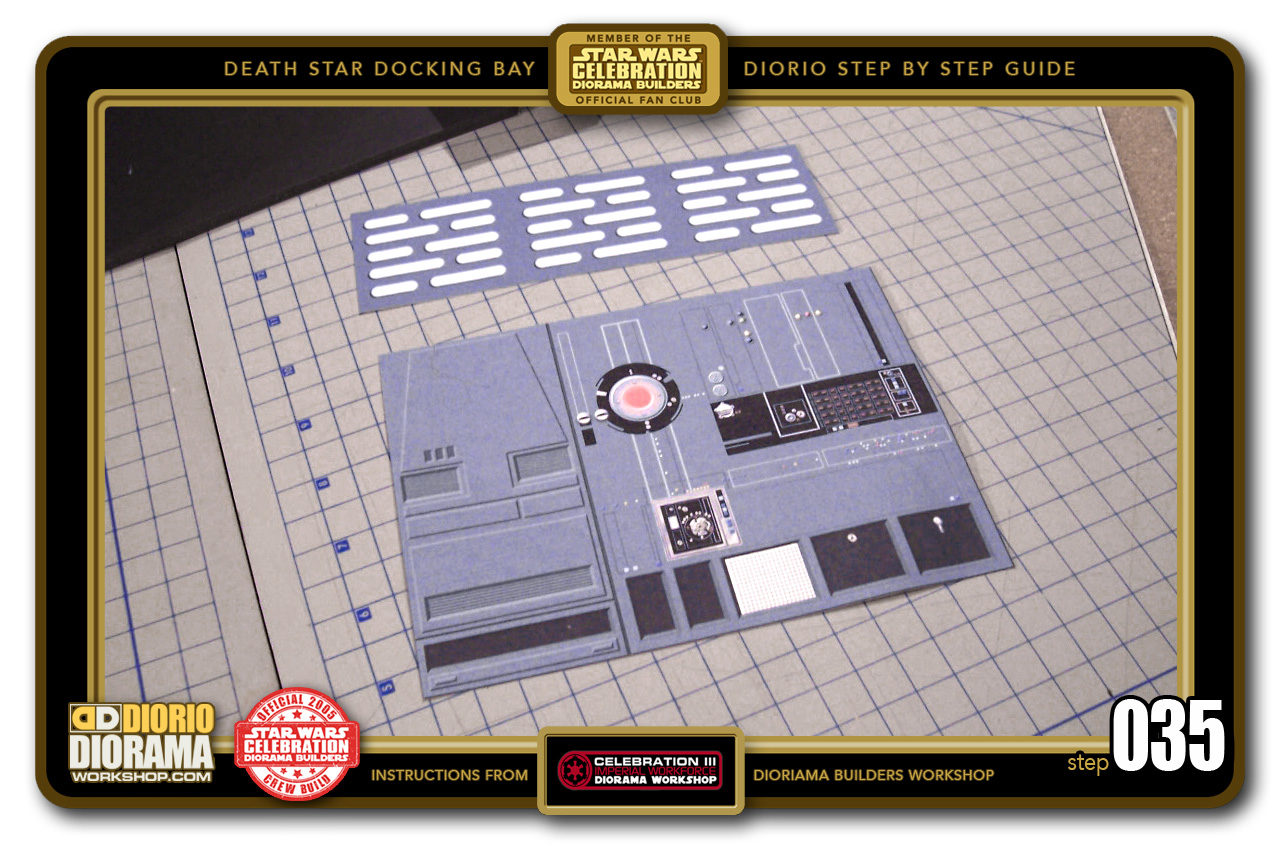
- STEP 035 > Next grab your 2 remaining inner alcove decals.

-

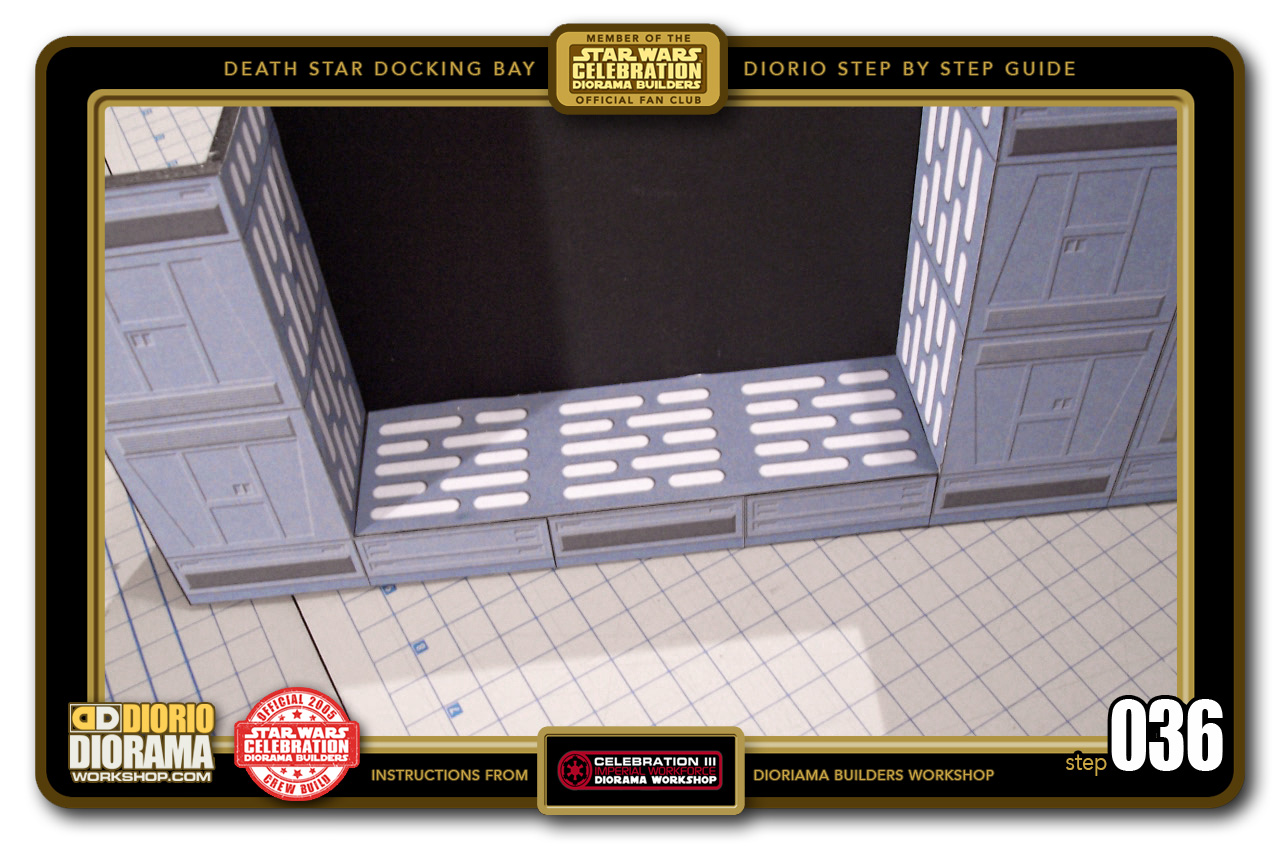
- STEP 036 > Put some glue stick along the foamcore edges, take the ceiling neon and align it with the rear wall. They should fit just right and match up with the front top arch decals. Press down and attach the decal to the ceiling.
-

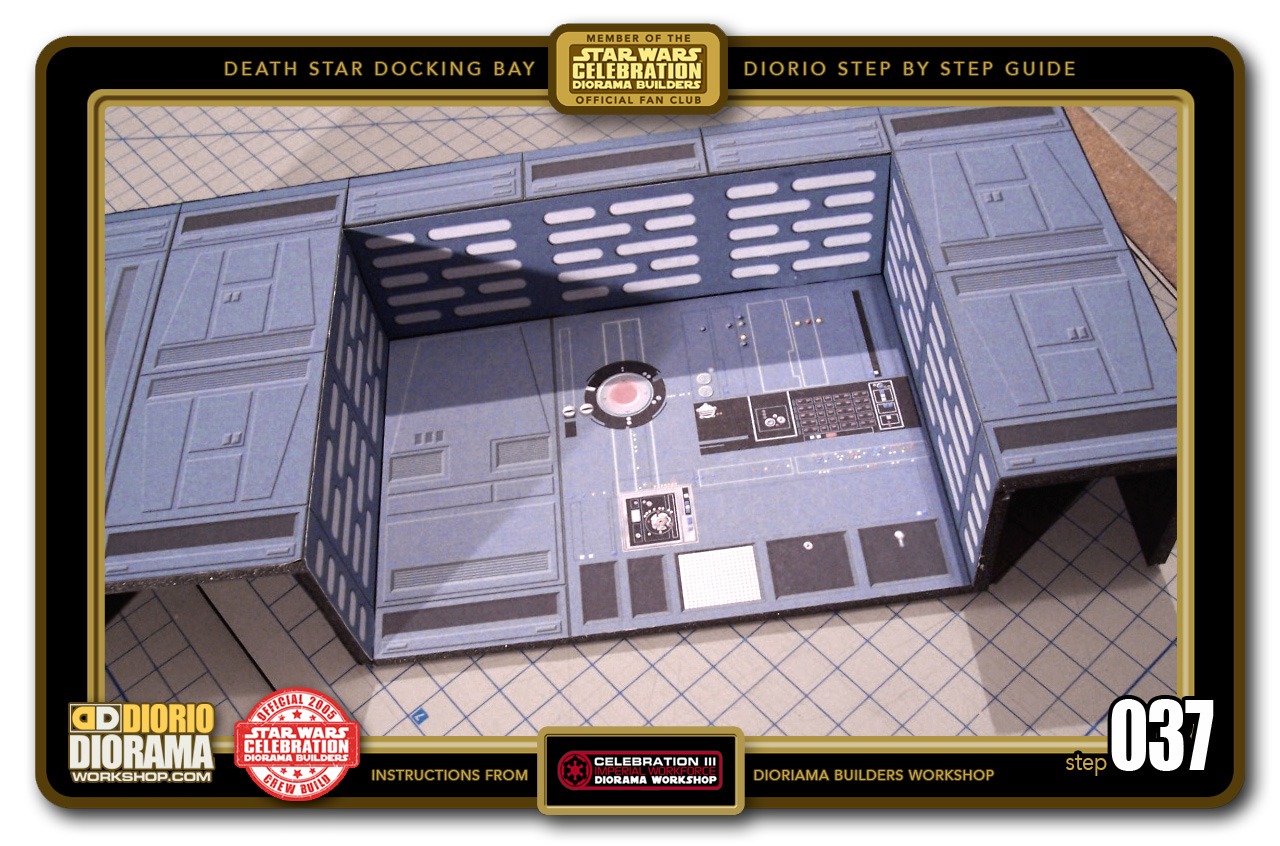
- STEP 037 > Spread some glue stick on the foamcore, and carefully align your computer terminal rear alcove wall decal to the back wall of the Alcove. Press down and move your fingers from center to sides to remove folds or air bubbles.
-
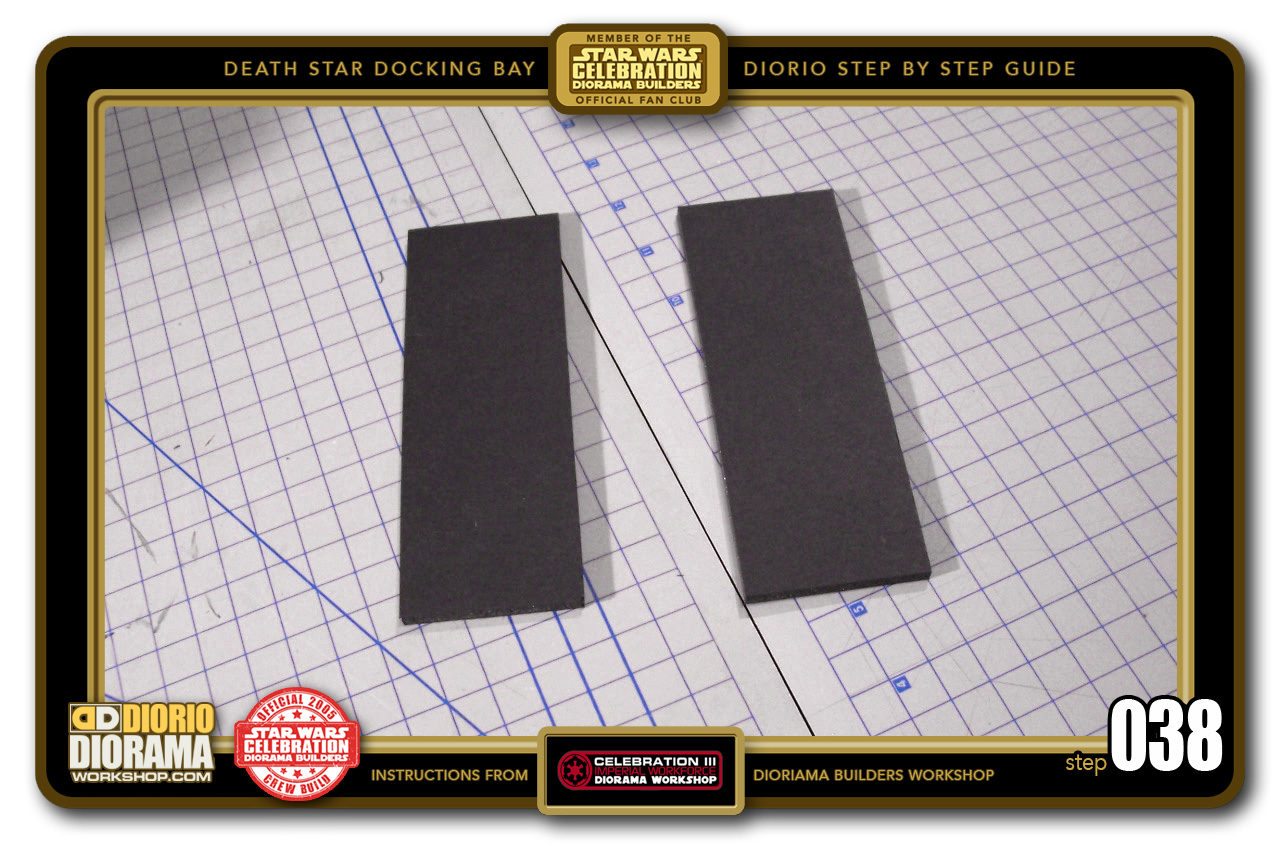
- STEP 038 > We need side supports to prevent the alcove from tipping over so, measure and cut 2 identical pieces of foamcore measuring 15.5cm X 5.5cm.

-
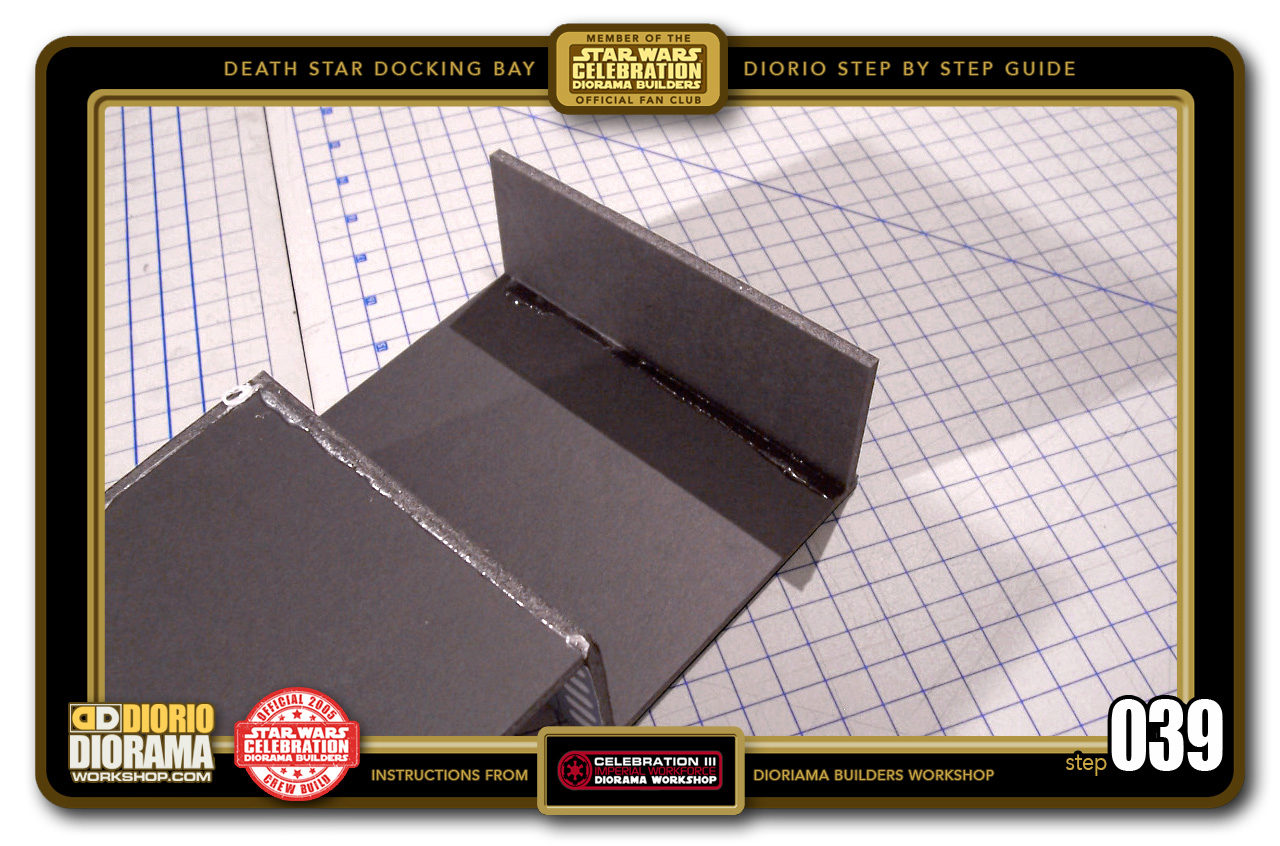
- STEP 039 > Attach the first rectangle to the end of the wall unit. Make sure to align FLUSH with the BOTTOMS of the other wall panels.

-
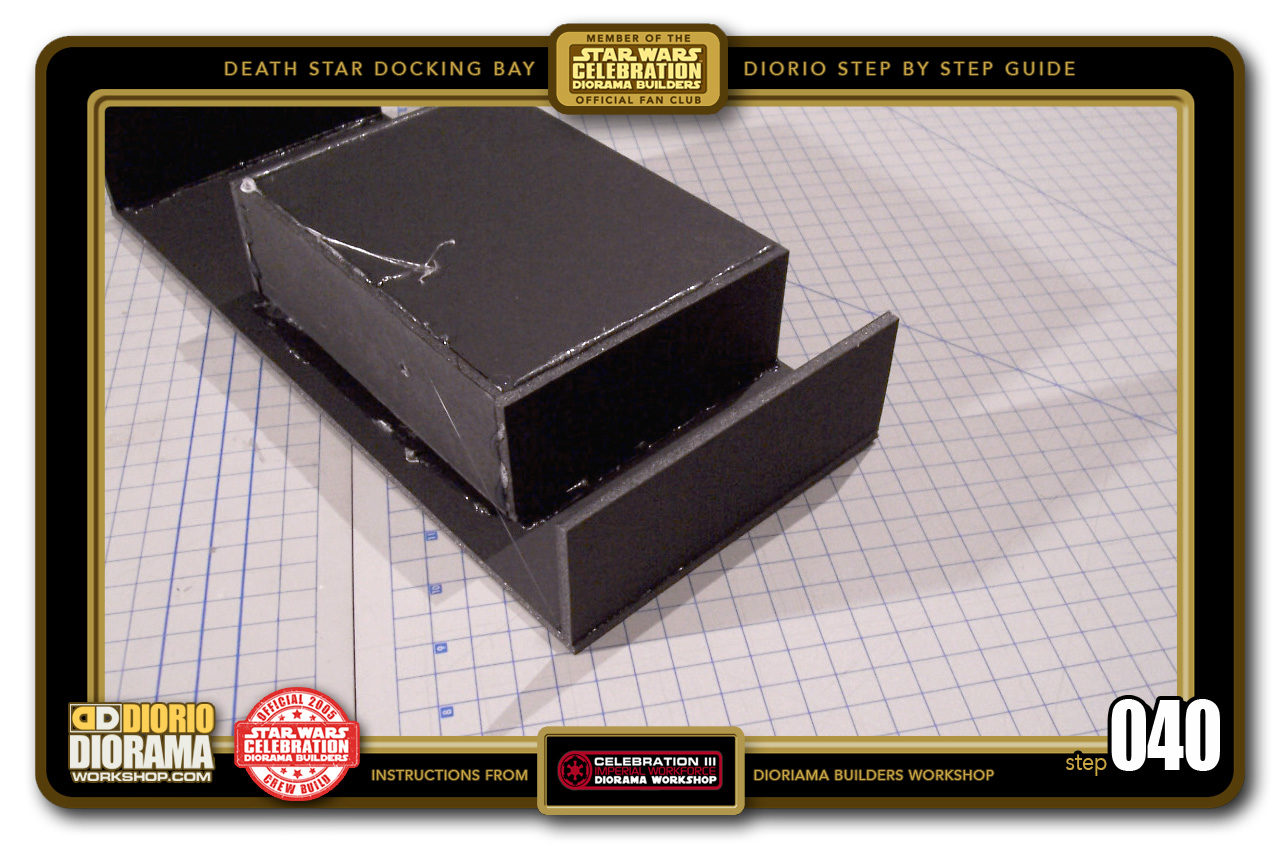
- STEP 040 > Then repeat the previous step for the opposite side's support.


.
Did you already build this Diorama ? At home or at our Star Wars Celebration Diorama Builders workshop ? Would you like to show it in the site’s GALLERY VISITORS DIORAMAS section, YES ? That is Awesome !!! You can find out all the details on how to email me your photos on the VISITORS SUBMISSIONS INFO page … When I get your photos, I will create your very own page just like this one. You may not realize it but work does inspire others to join in the fun of making Action Figure Dioramas.
.
NOT FOR RESALE ALL Decals, tutorials and artwork are ©FrankDiorio (dioramaworkshop.com) and offered FOR FREE to the fans – that would be you ? so you can build and display my diorama designs in your very own home. I realize I cannot control what one does with my graphics once I place them on the web, I can only ask you as one fan to another, please respect the artist and do not be that jerk who uses my designs and tutorials to build a copy of my work only to sell it on EBAY or trade/sale groups and forums. Thank You. Frank.
![]() Catch up with fellow visitors and exchange stories, read cool interviews with the crew, exchange photos, fun surprises and grab some FAN ONLY merchandise next year at actual future conventions ?
Catch up with fellow visitors and exchange stories, read cool interviews with the crew, exchange photos, fun surprises and grab some FAN ONLY merchandise next year at actual future conventions ?
.
©2018 Frank Diorio DioramaWorkshop.Com
.
IF YOU LIKE WHAT YOU SEE, PLEASE SHARE WITH YOUR FRIENDS
USING THE SOCIAL MEDIA BUTTONS BELOW
Frederic A Doss
December 9, 2018 @ 3:59 pm
Am I missing something from step 37 or is the decal provided missing a portion?
Frank Diorio
December 16, 2018 @ 3:07 pm
GREAT CATCH !!! You are correct Frederic. Indeed the basic panel on the left was not attached properly in the pdf decals. I will fix this for future builders. In the meantime, you can use a panel from Page 2 of the Basic Hallways https://dioramaworkshop.com/tutorials-decals-death-star-basic-hallways/ just trim off the top above the trapeze shape. Sorry for the confusion 🙂 Frank.
Frank Diorio
December 18, 2018 @ 4:16 pm
NEW PDF has been uploaded, ALL future builders will print the correct Decal for Step 037. Thanks again Frederic for letting me know.