


-
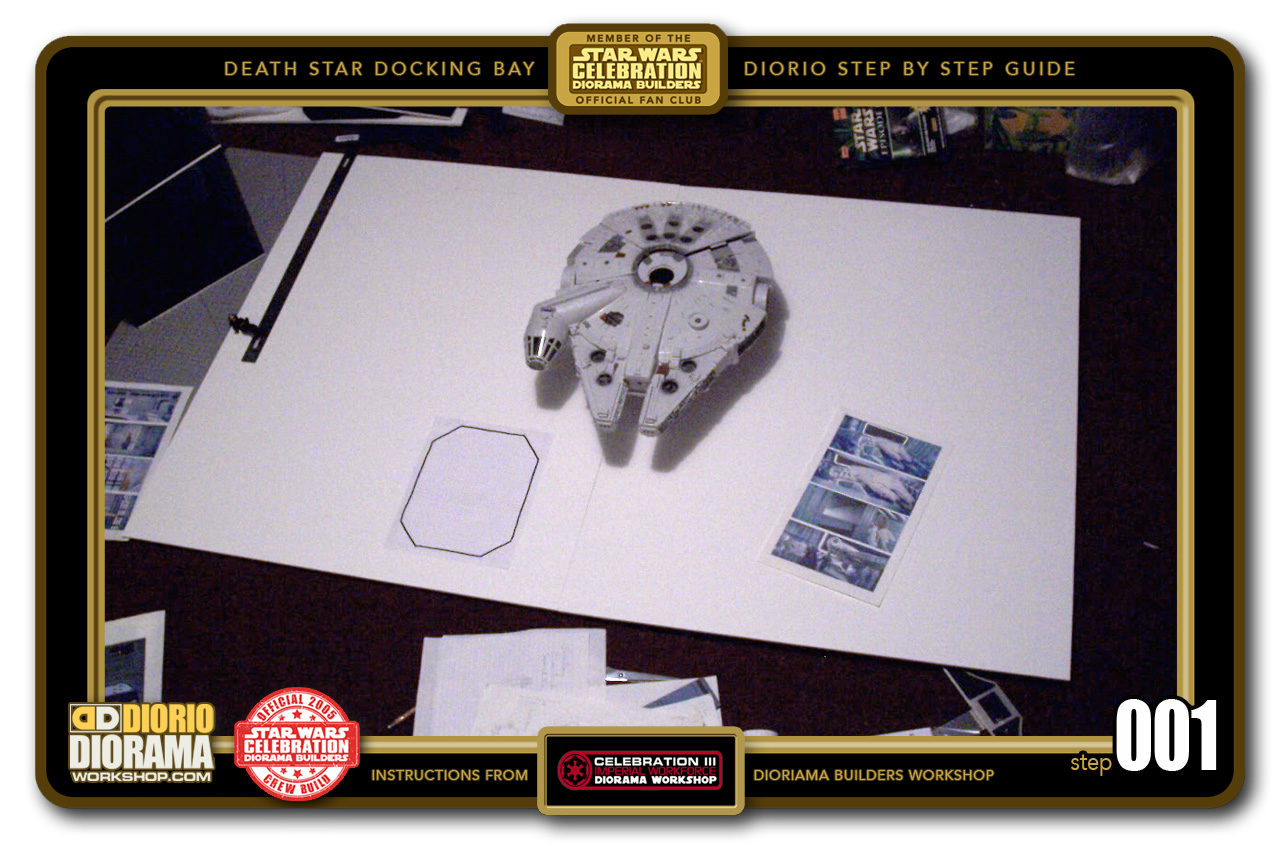
- STEP 001 > This room is BIG 🙂 I don't know how many will be built at C3 but this will be a great project for your home display after the convention. The foamcore floor is actually 2 sheets side by side. The falcon is the Hasbro 1995 toy, if you use the newer BMF Falcon, you may have to modify the size of the floor to accommodate the much bigger ship. The walls remain the same size.

-
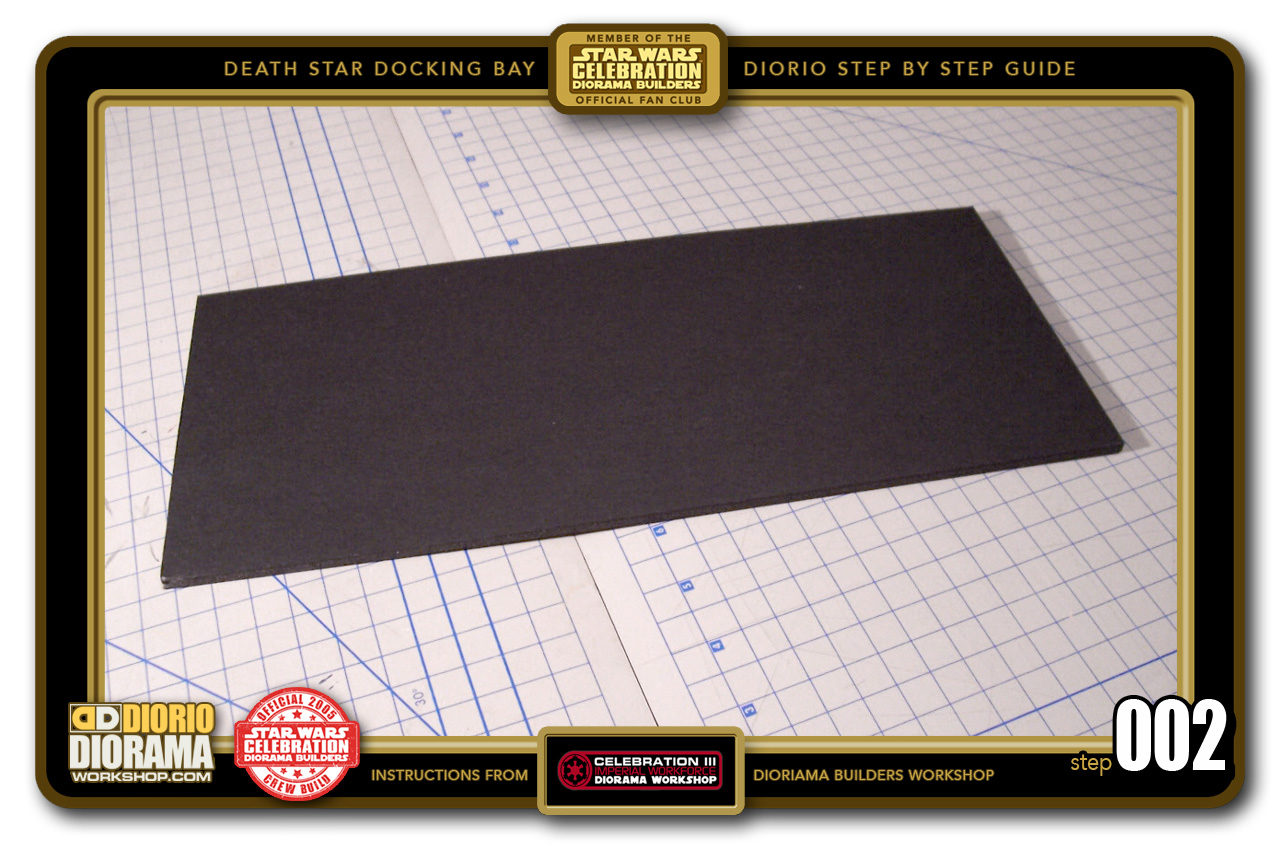
- STEP 002 > Let's start with the ALCOVE that R2 and 3P0 hide in and rescue the heroes from the trash compactor. Cut out a 36cm X 15.5cm piece of black Foamcore.

-
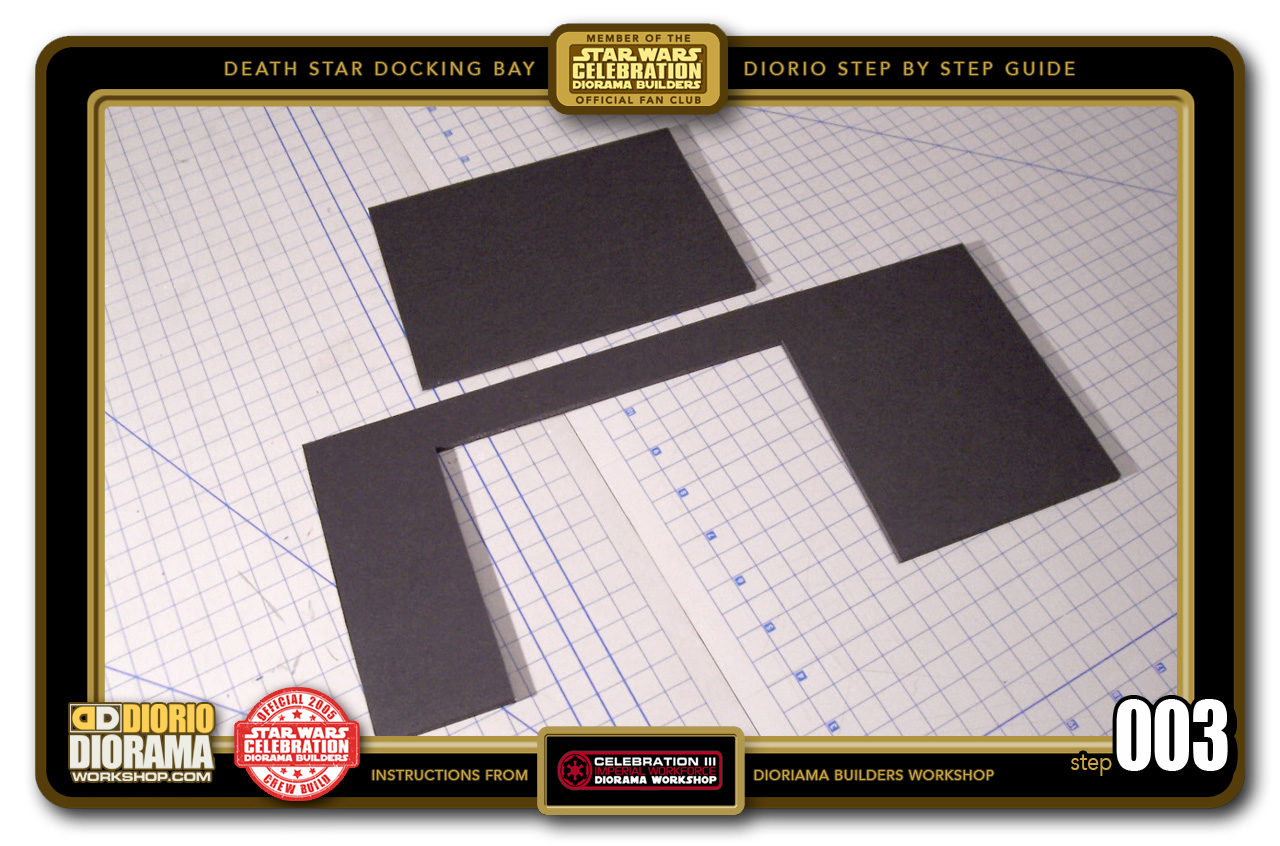
- STEP 003 >We need to cut a hole where the alcove is. On one side measure 12cm and from the other 6cm. At the top, measure out 2.5cm. Connect your lines, cut out and KEEP the center part for Step 007.

-

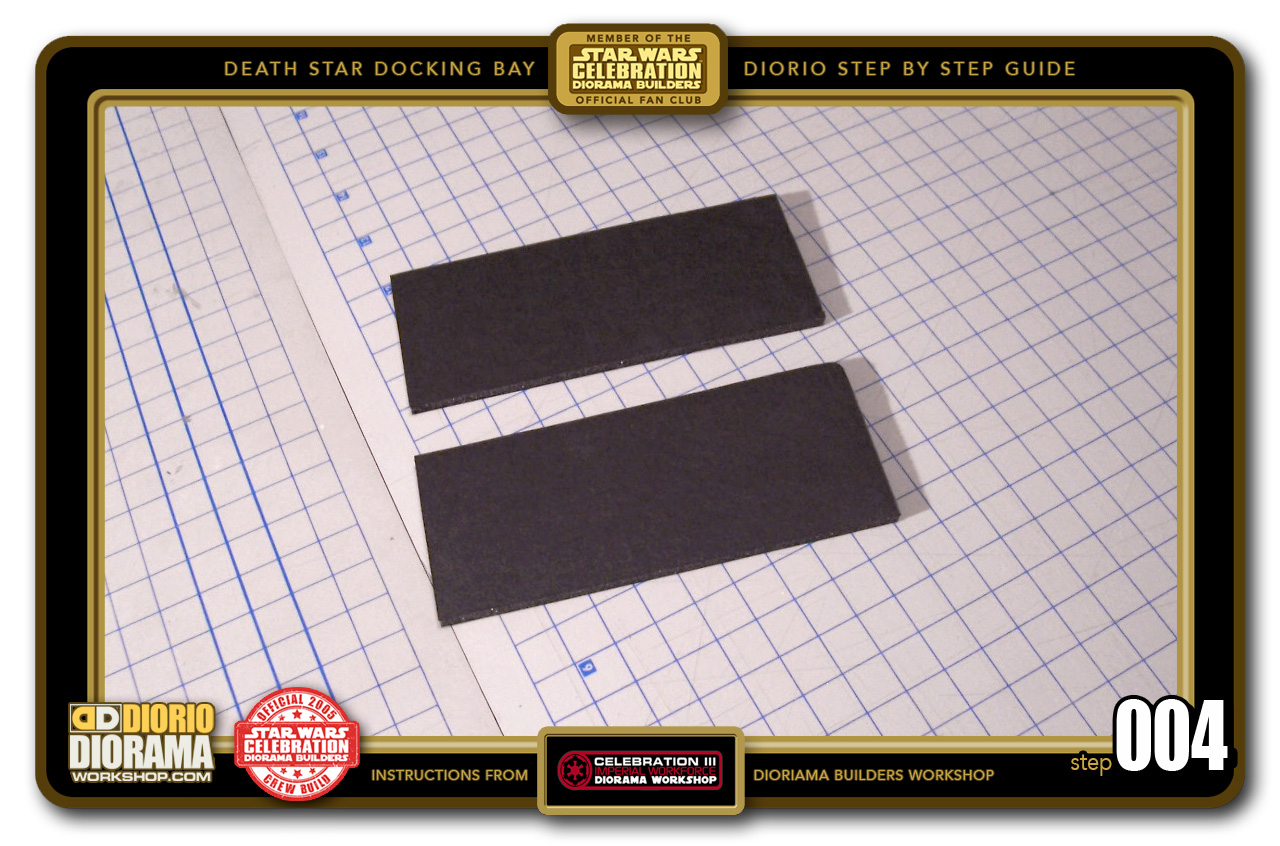
- STEP 004 >For the side neon walls we need 2 pieces of 5.5cm X 13.5cm.
-
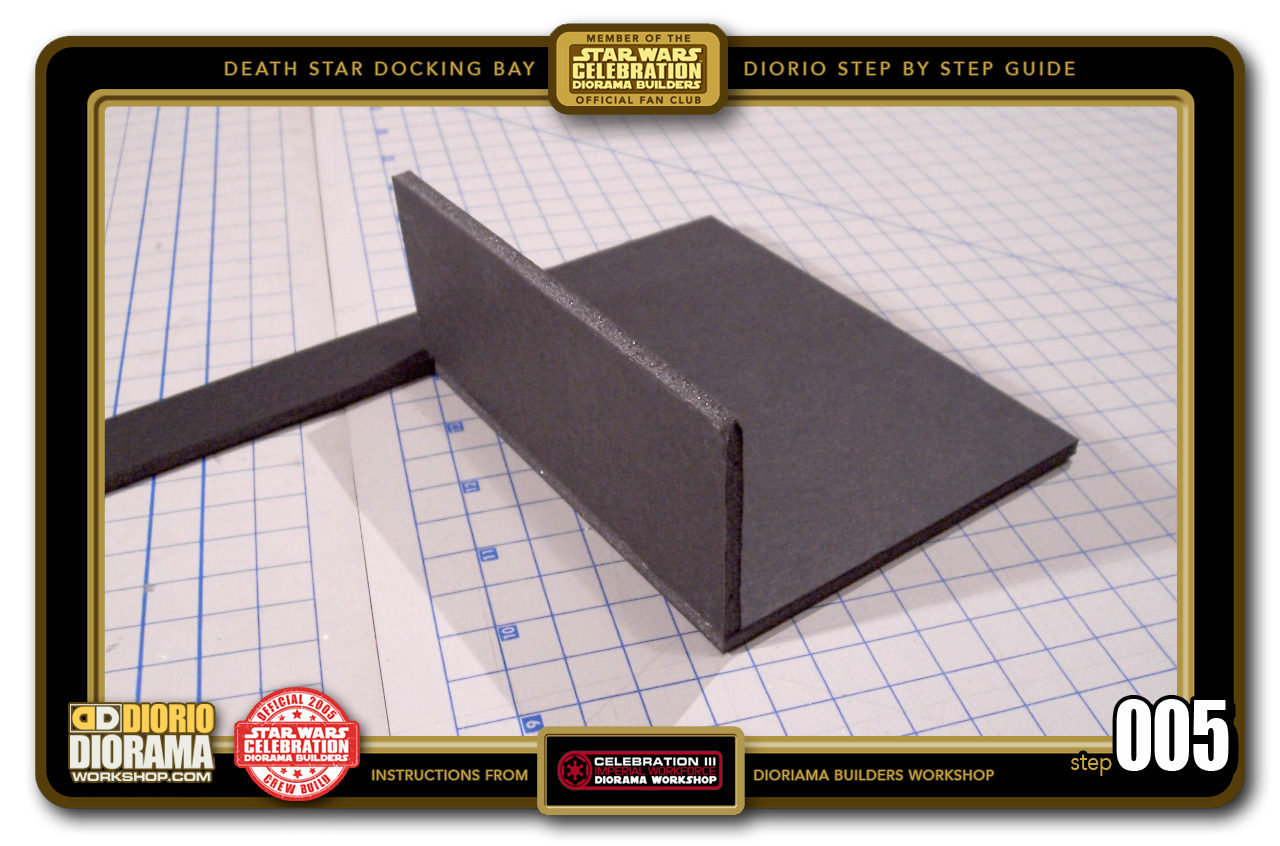
- STEP 005 >Take the hot glue gun and attach the first rectangle to the edge of your main wall. Make sure your joint is FLUSH with the edges so your decal will not warp or have bumps.

-
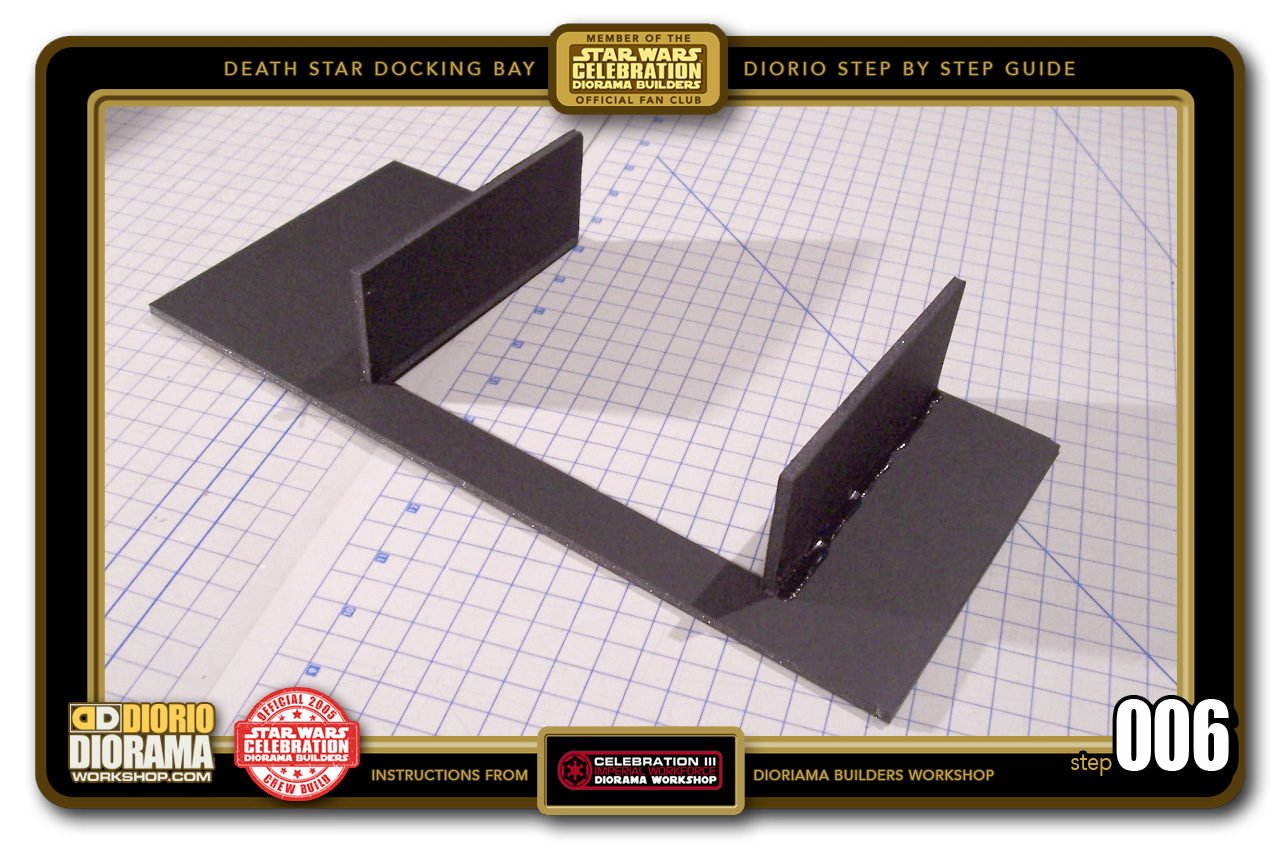
- STEP 006 >Do the same for the other side.

-
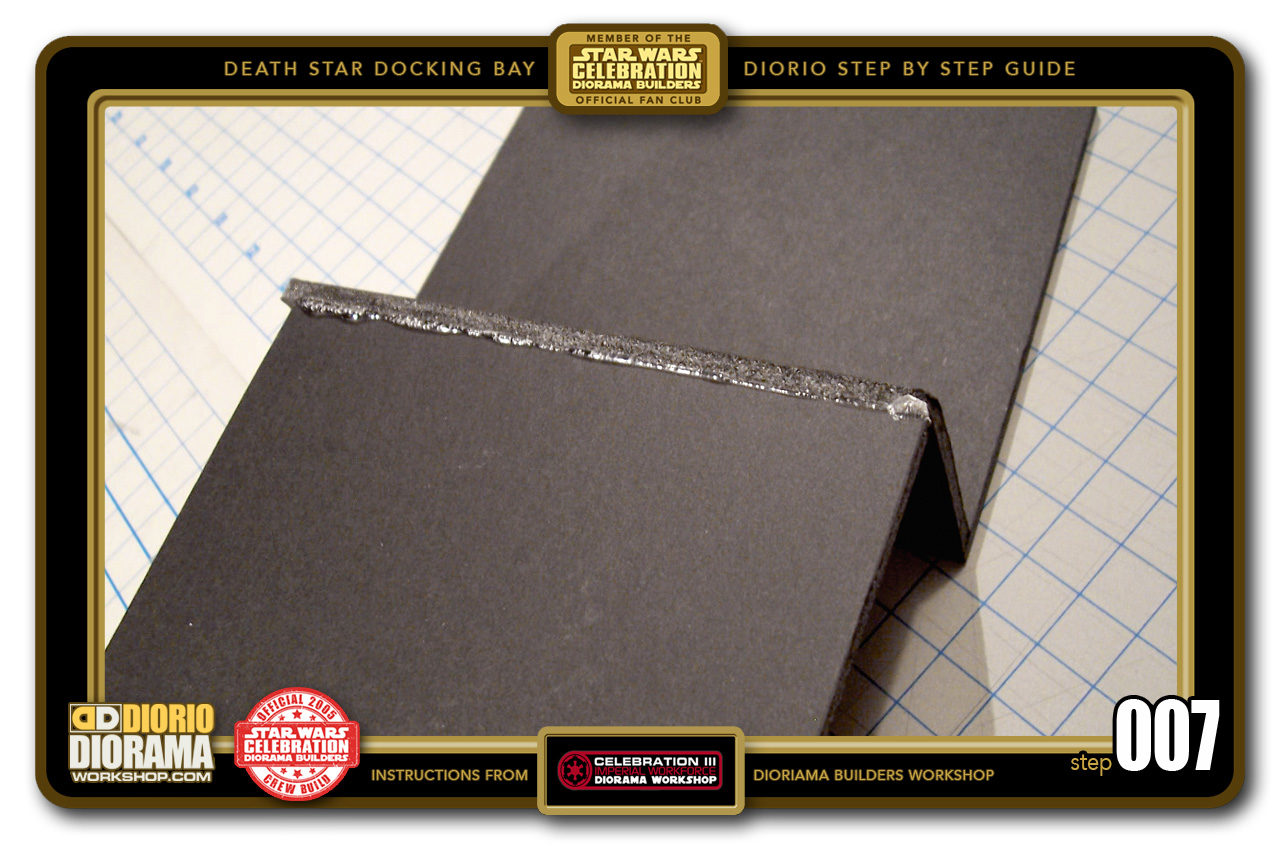
- STEP 007 >Now take your Step 003 cut out piece, align it FLUSH with the BOTTOM of the walls and hot glue it to the edge of the Left Neon Wall (the one attached to the 12cm wall)

-

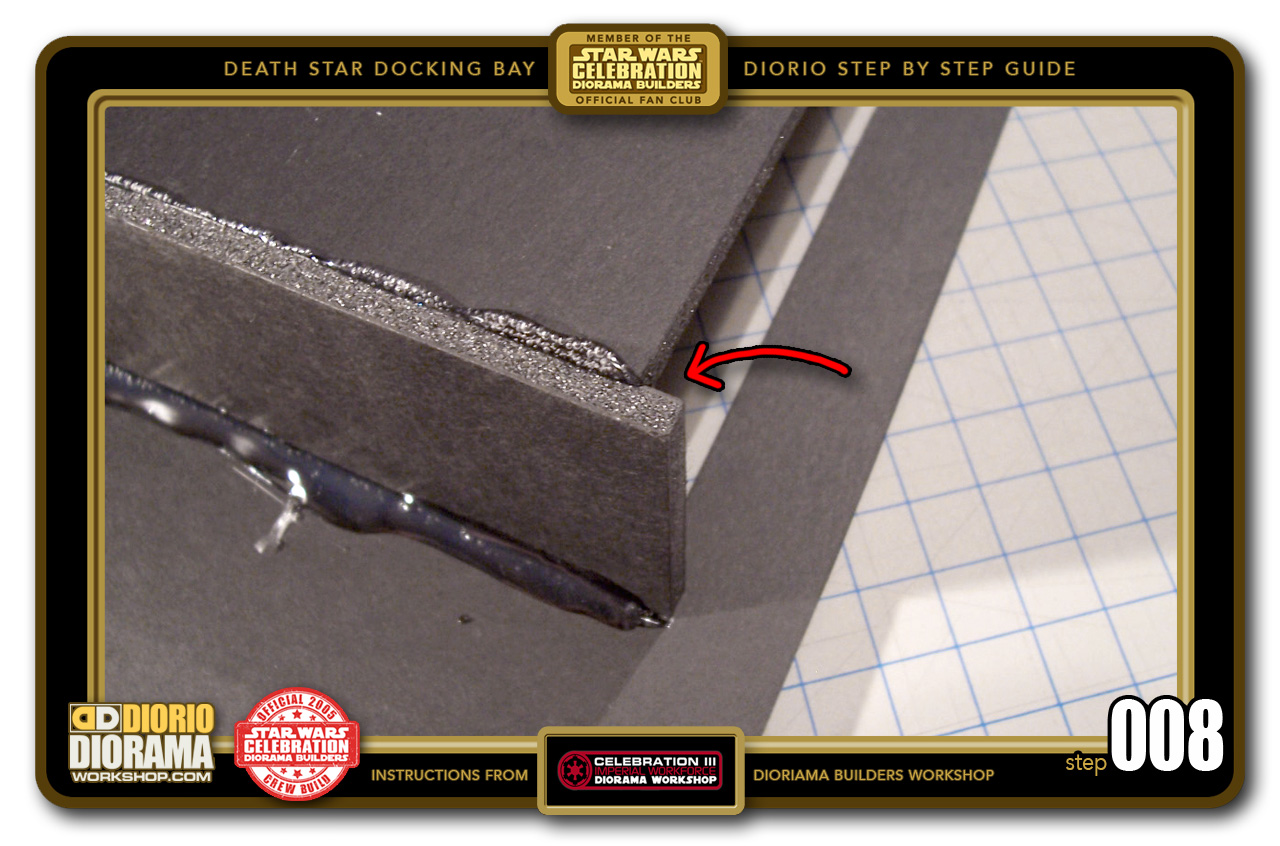
- STEP 008 >You will notice there is a small .5cm gap on the top end. DO NOT panic 🙂 This is normal and where you will fit the ceiling piece later on at Step 013.
-
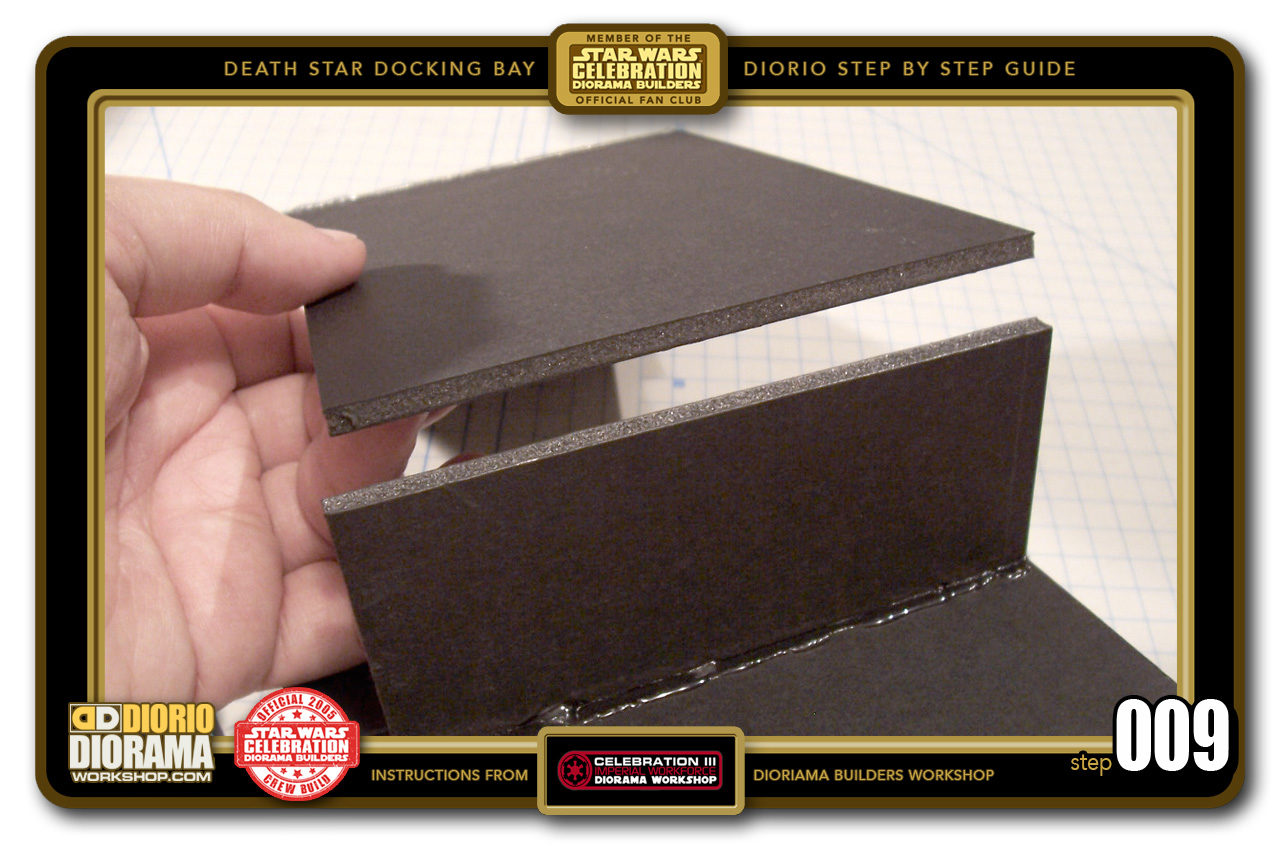
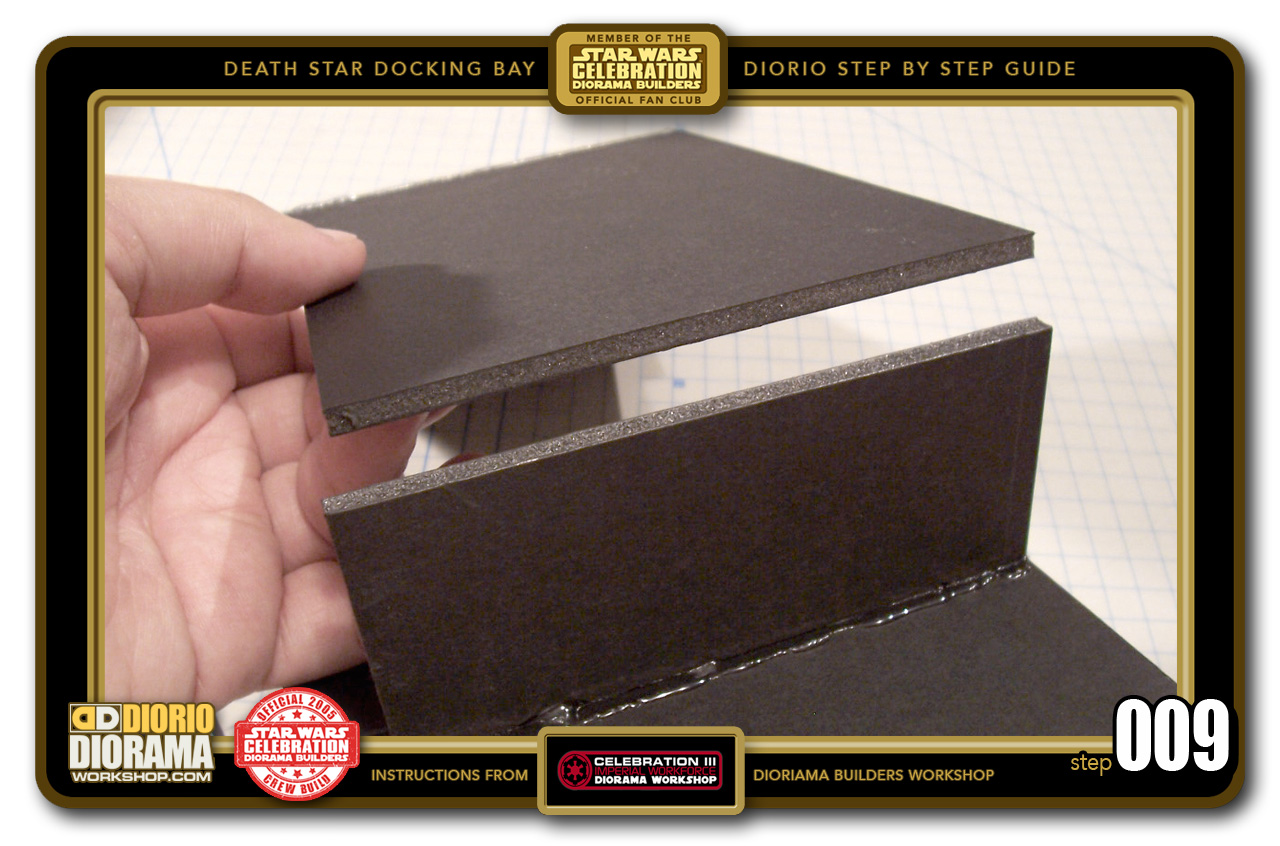
- STEP 009 >When the Hot Glue hardens on your Left Wall, it is safe to now attach the other side. Remember to align the BOTTOM corners FLUSH leaving your .5cm gap at the top.
-
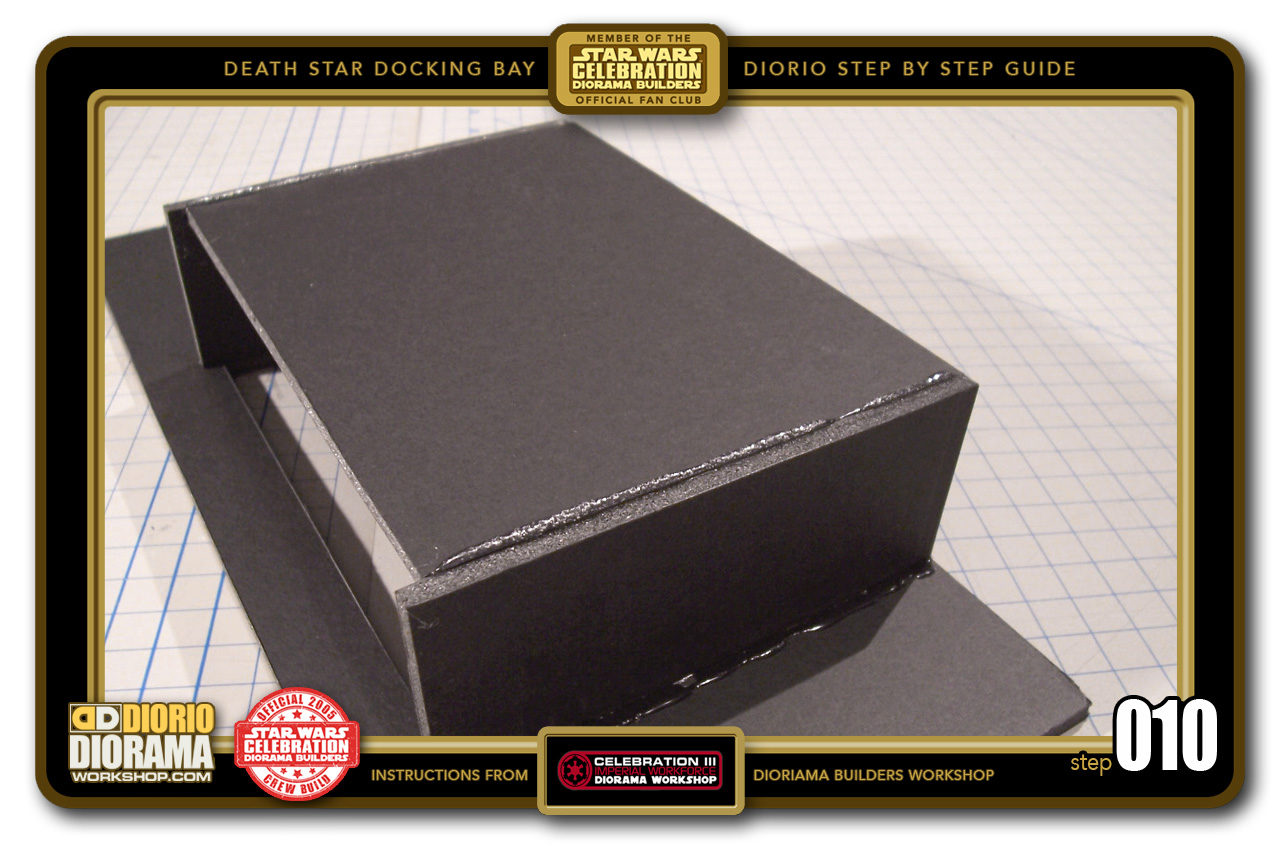
- STEP 010 >Now let the hot glue cool down and harden before attaching the ceiling into place.

-

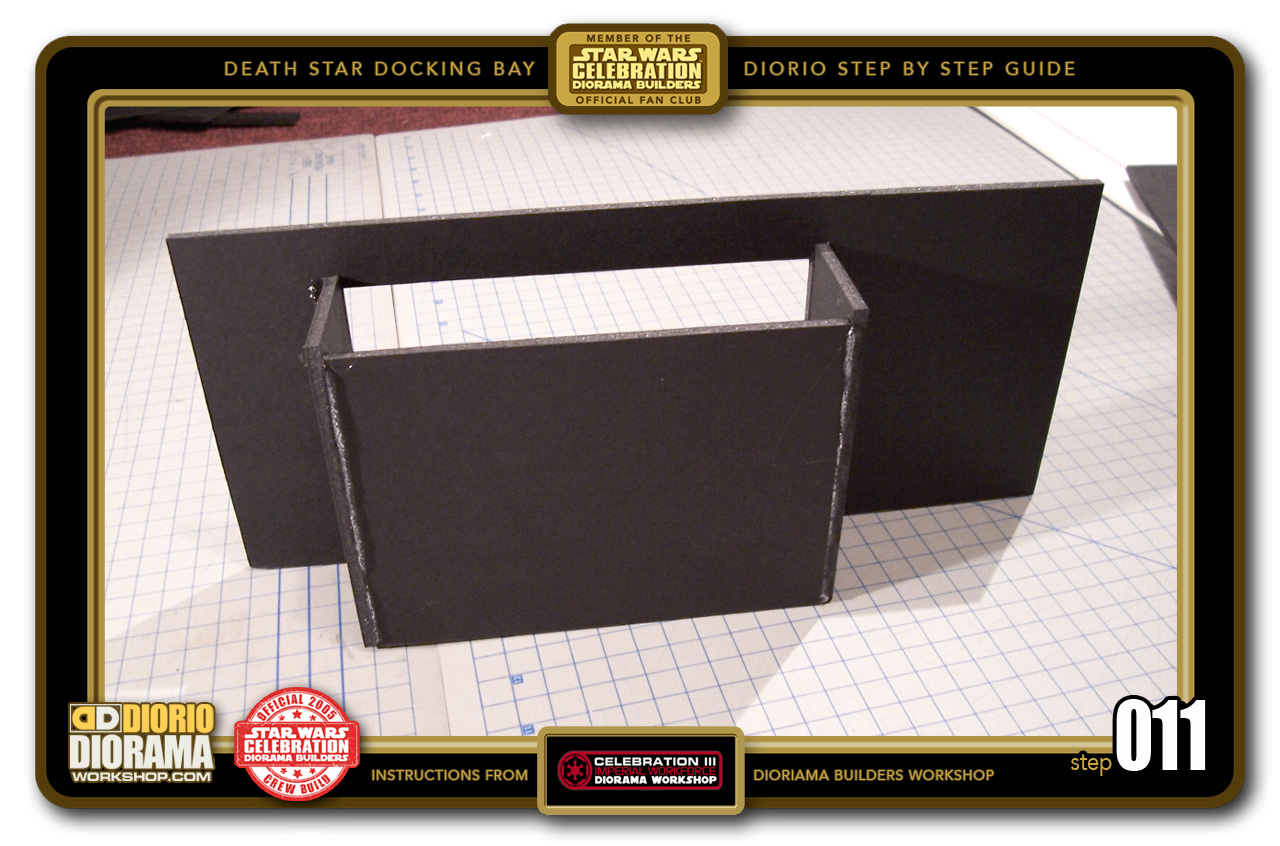
- STEP 011 >This is what the rear of your Alcove wall should look like at this point. ALL the bottom walls are FLUSH with the ground, and a .5cm gap on the top rear wall.
-
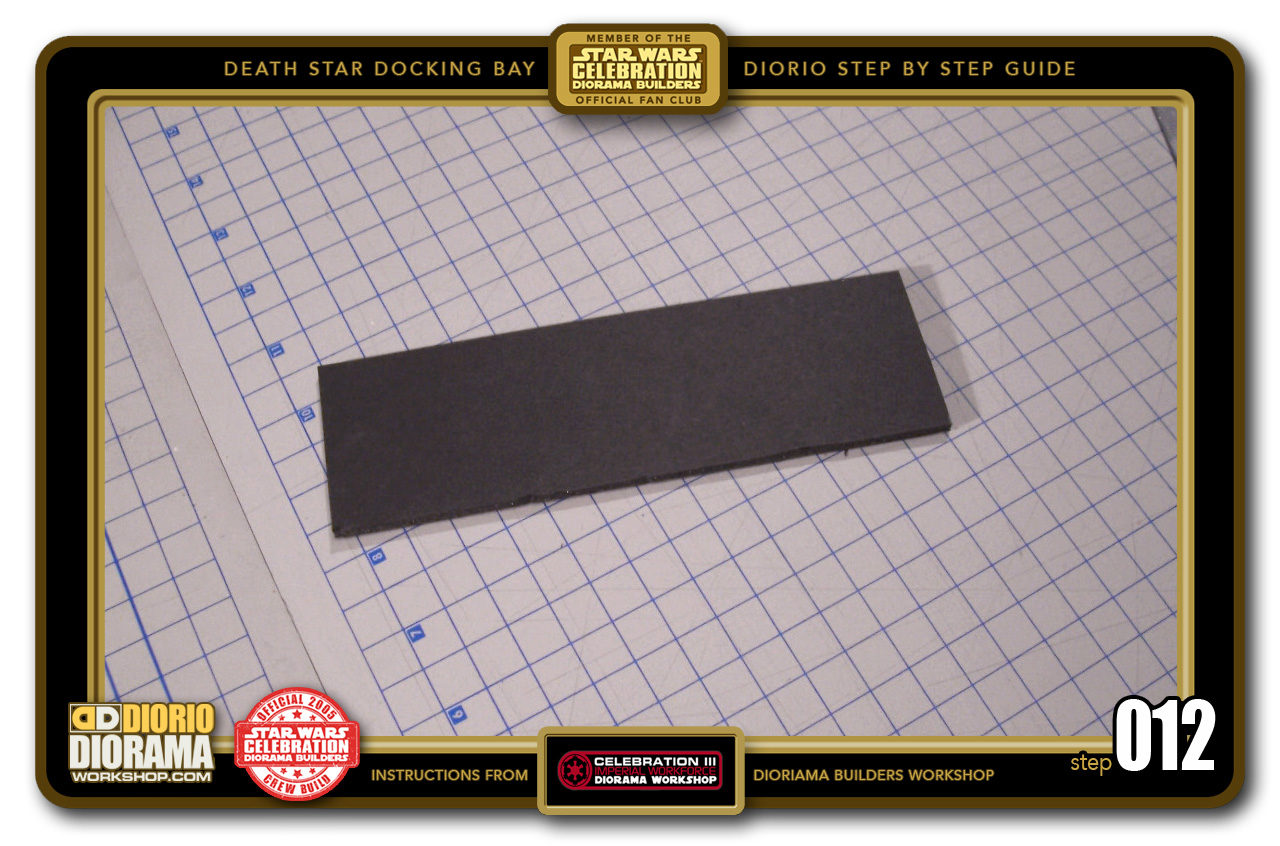
- STEP 012 >Cut out the ceiling piece, measuring 18cm X 5.5cm

-

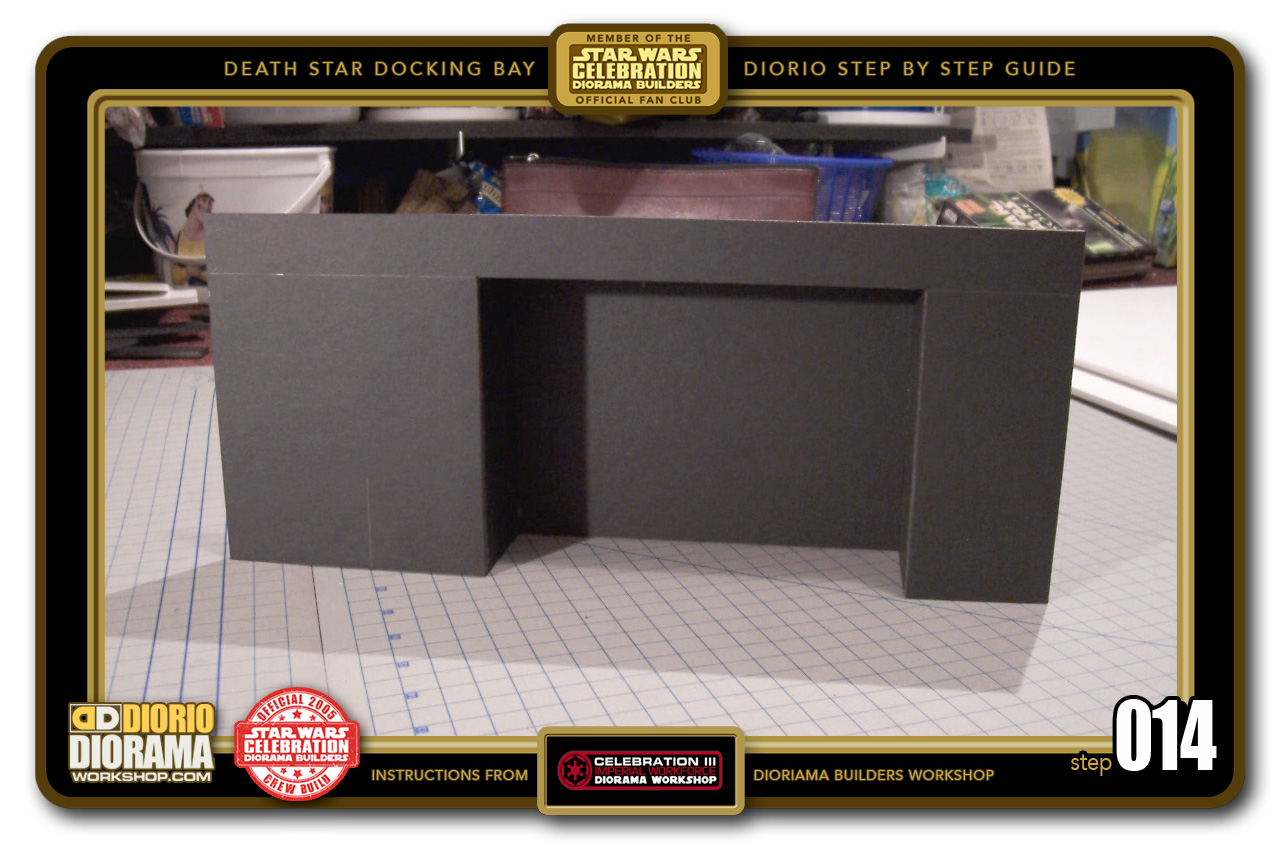
- STEP 013 >Carefully hot glue it to the rear wall and sides. You can see now how the gap resulted in a FLUSH clean top.

-
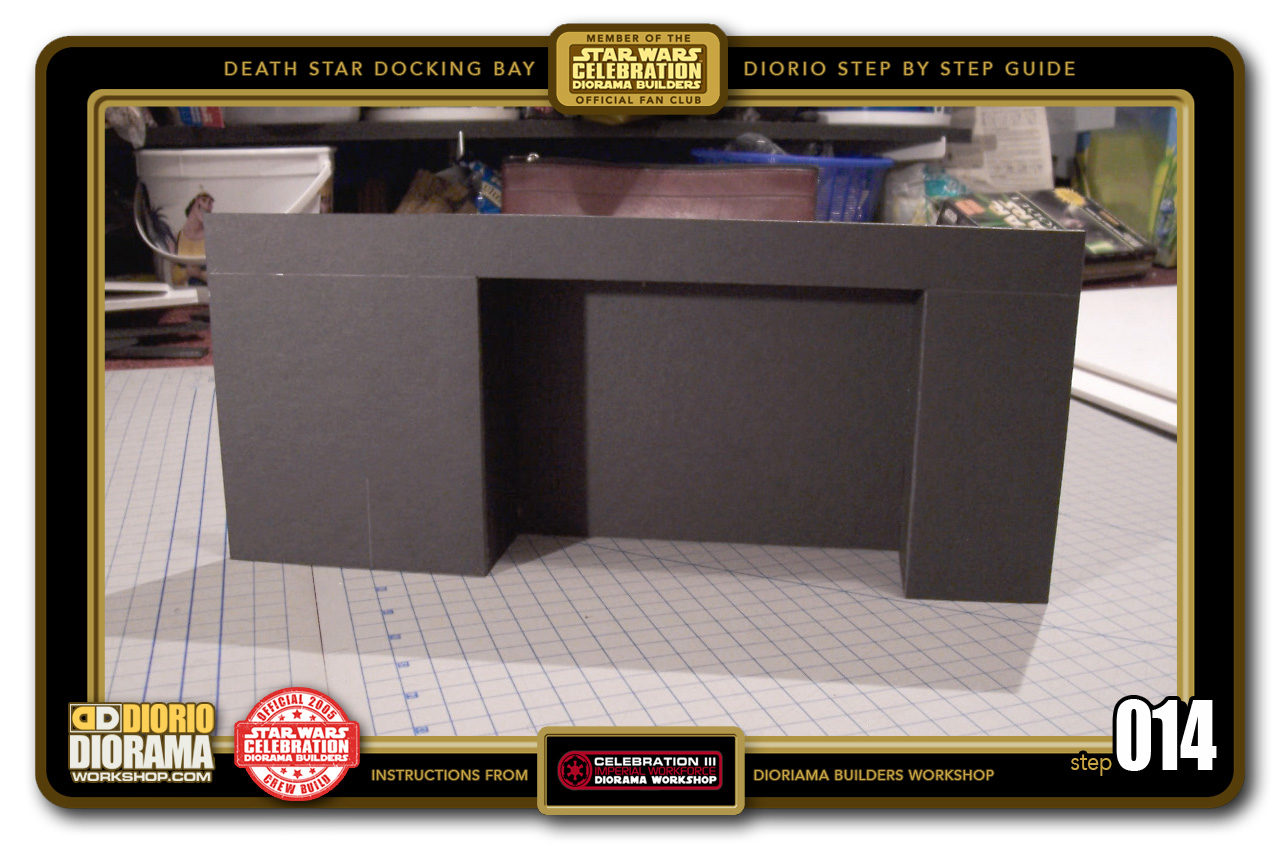
- STEP 014 >If you take your time gluing, you are more likely to have a perfectly flush, smooth surfaces for all your joints giving you a better surface for the decal skins.
-
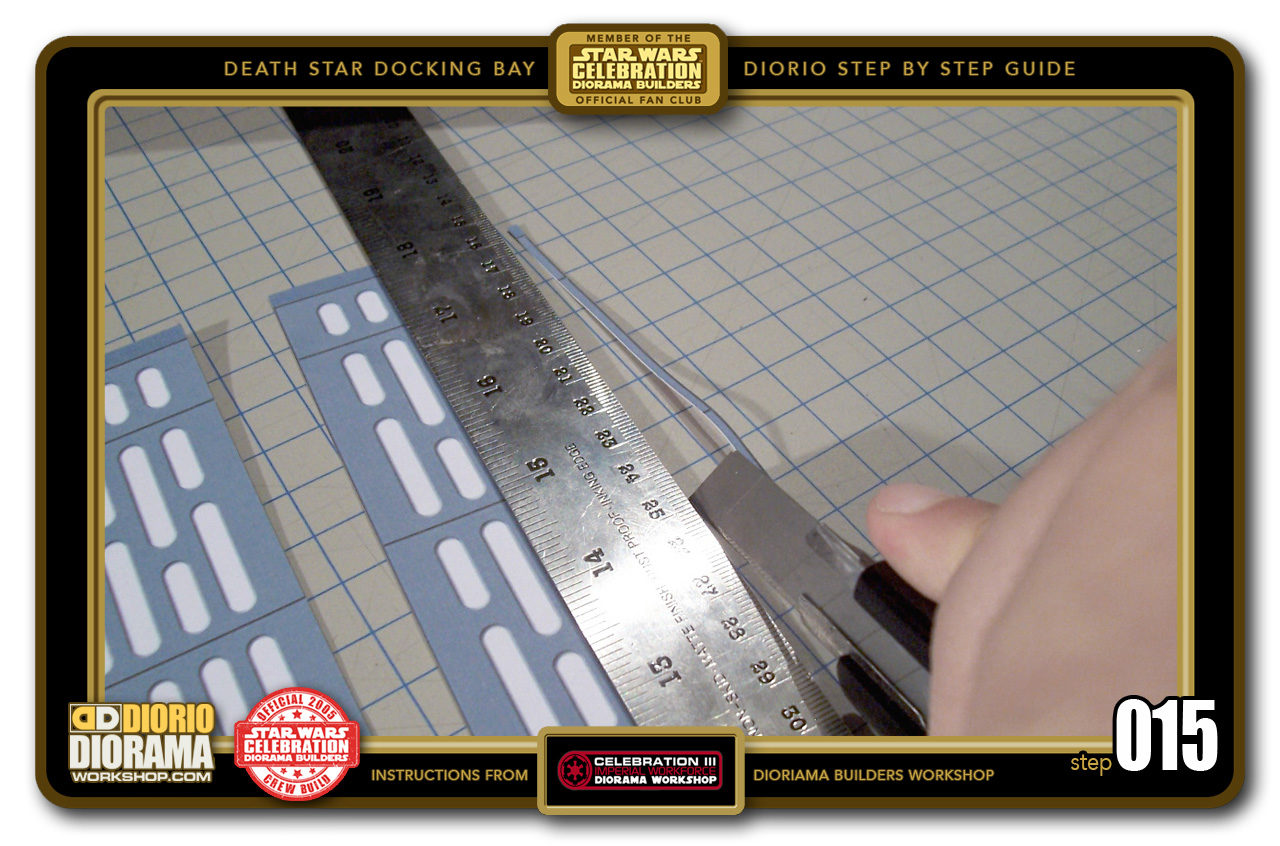
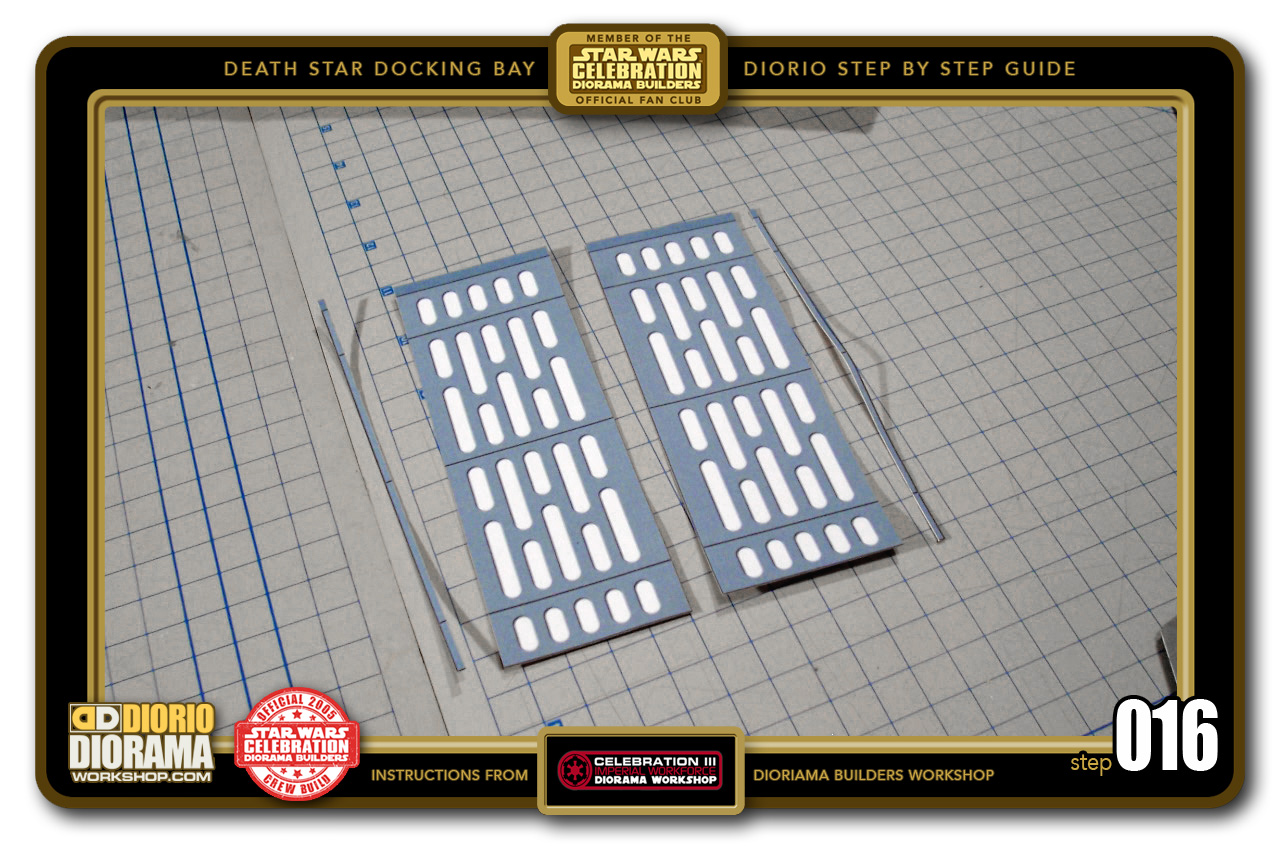
- STEP 015 >Grab 2 neon wall panels from your printed decals and slice off a tiny .25cm strip on the outside edge of each wall unit. So LEFT on one, and RIGHT on the other.

-

- STEP 016 >This will make them fit evenly and perfectly in the diorama.
-
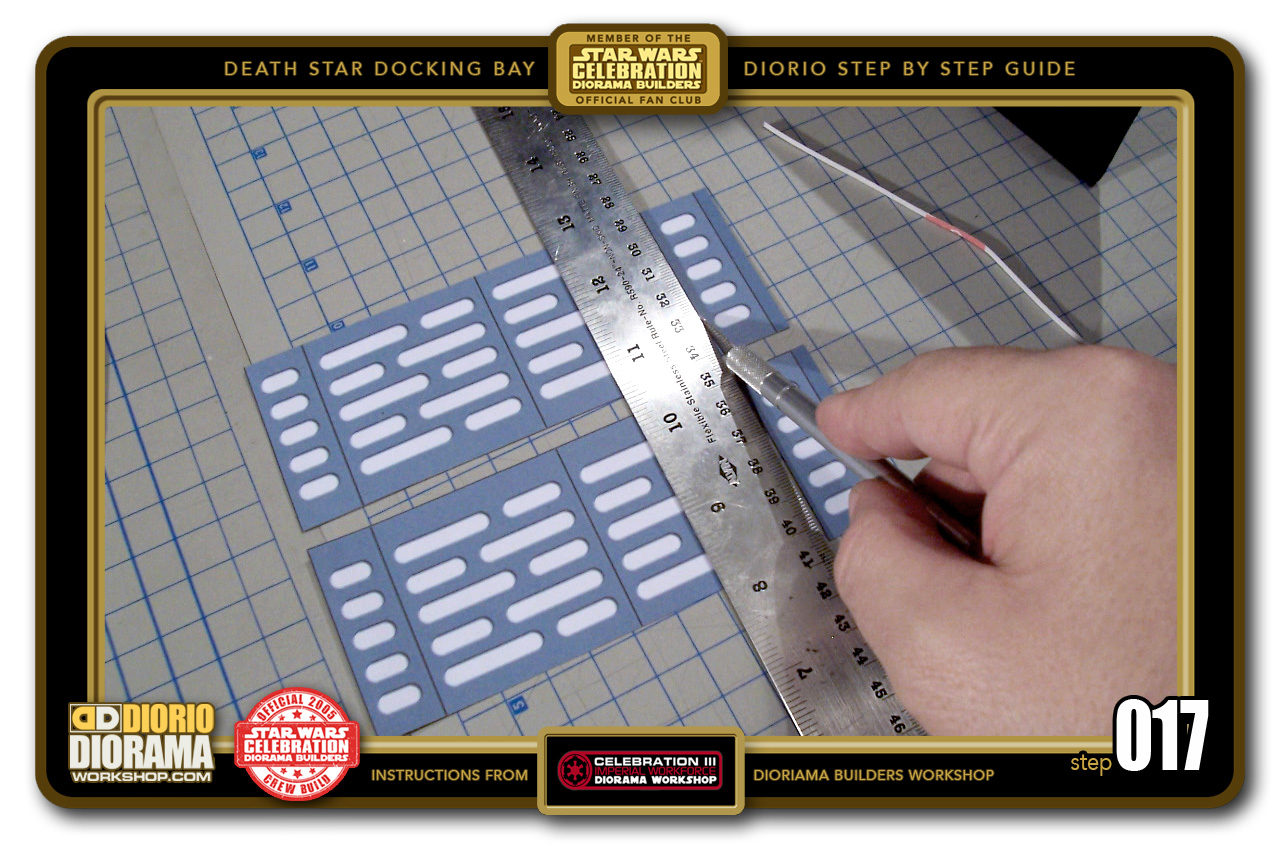
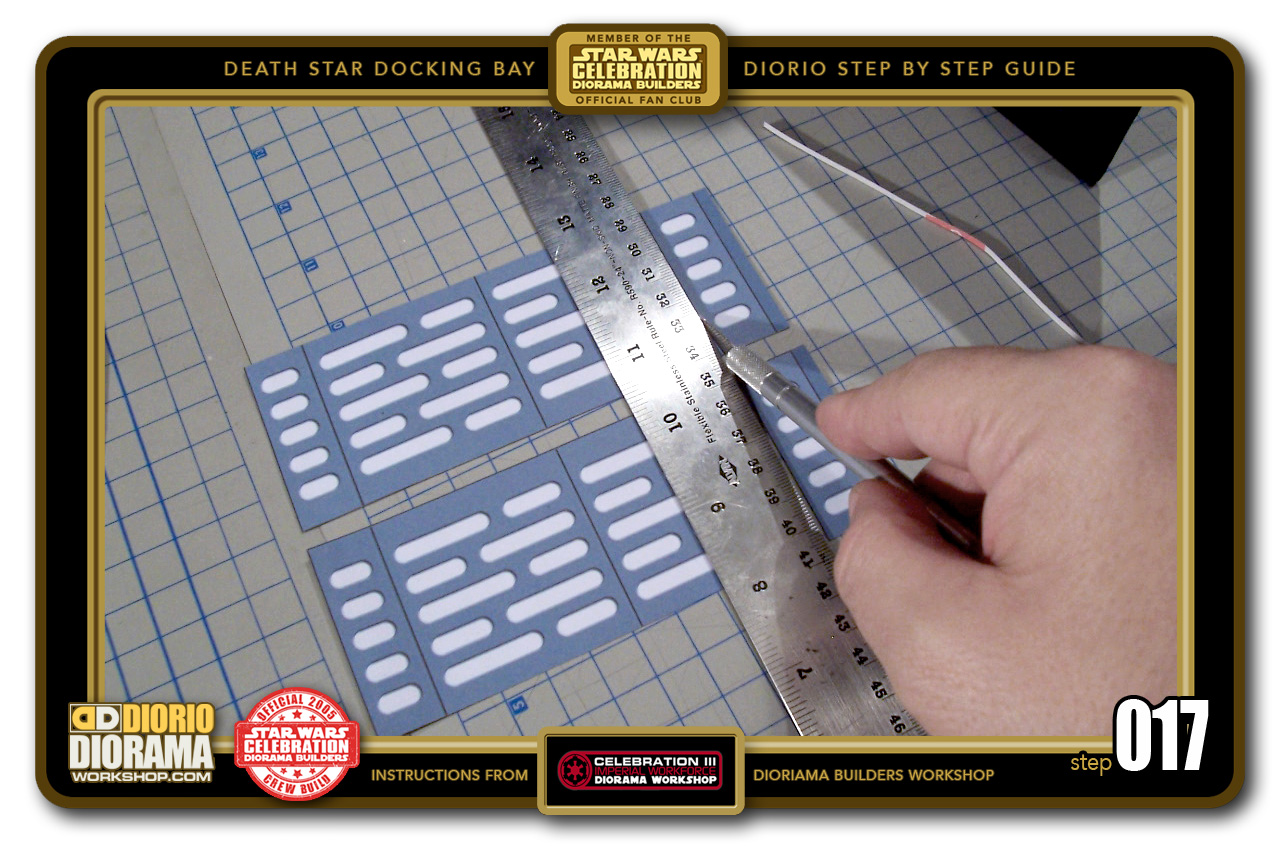
- STEP 017 >Now slice off the top portion (where you see the extra blue bar) of the decals.
-
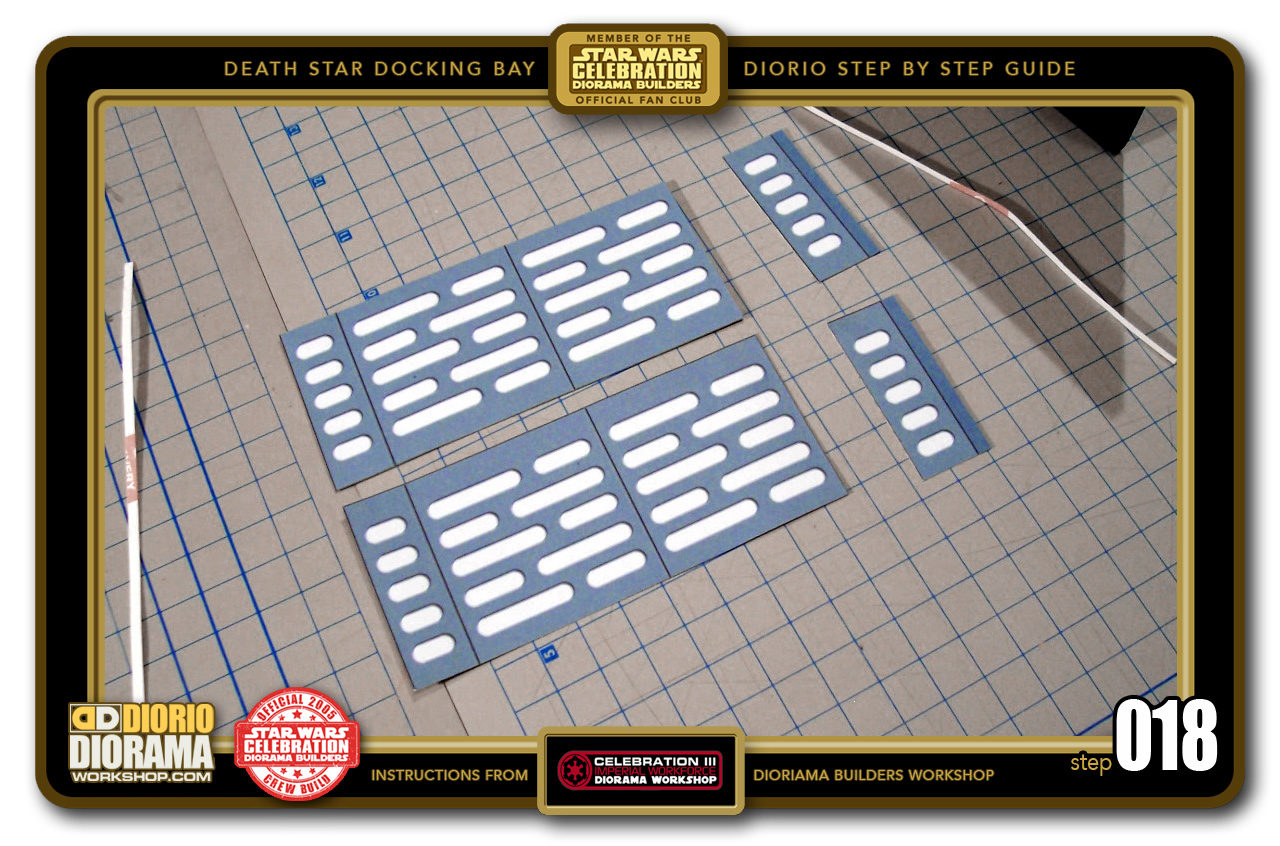
- STEP 018 >We don't need these top sections for the inside of the Alcove so you can throw them away.

-
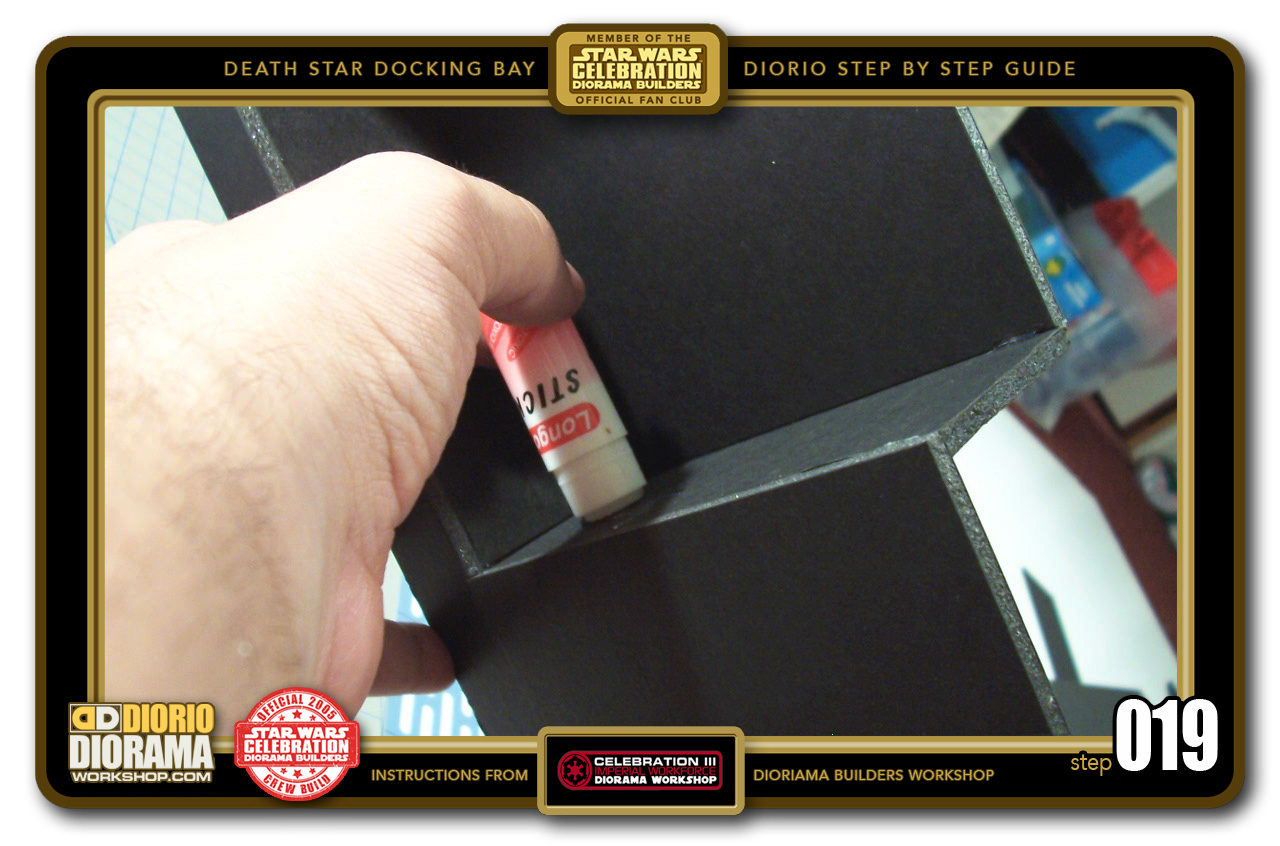
- STEP 019 >I like to place a little extra glue stick to the surface of the foamcore edges to make sure the decals won't peel off at connecting seams after a few weeks. If you didn't print on full size label sheets, you need to put glue on the back of the decals as well.

-

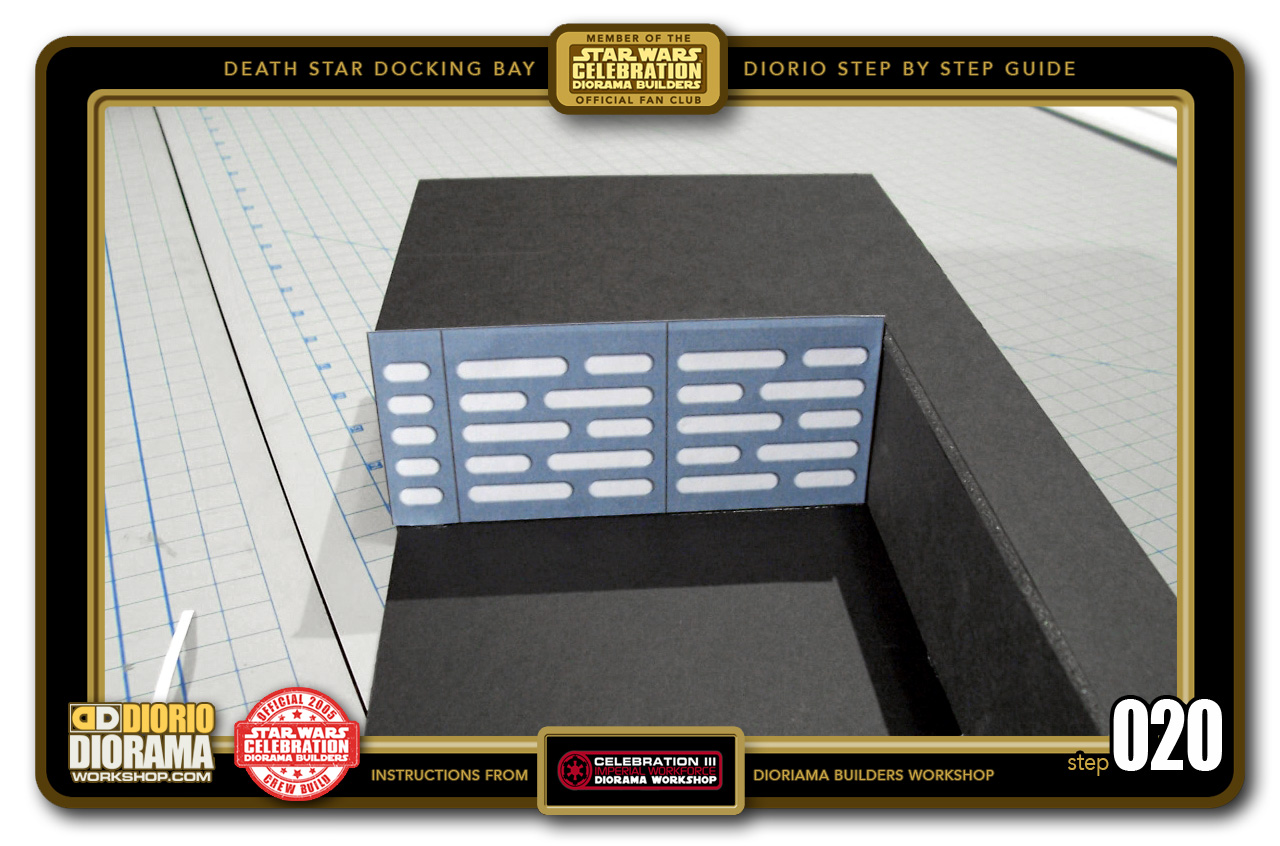
- STEP 020 >Take the decal you sliced off the RIGHT side and place it against the LEFT inner panel (attached to the 12cm wall)

.
Did you already build this Diorama ? At home or at our Star Wars Celebration Diorama Builders workshop ? Would you like to show it in the site’s GALLERY VISITORS DIORAMAS section, YES ? That is Awesome !!! You can find out all the details on how to email me your photos on the VISITORS SUBMISSIONS INFO page … When I get your photos, I will create your very own page just like this one. You may not realize it but work does inspire others to join in the fun of making Action Figure Dioramas.
.
NOT FOR RESALE ALL Decals, tutorials and artwork are ©FrankDiorio (dioramaworkshop.com) and offered FOR FREE to the fans – that would be you ? so you can build and display my diorama designs in your very own home. I realize I cannot control what one does with my graphics once I place them on the web, I can only ask you as one fan to another, please respect the artist and do not be that jerk who uses my designs and tutorials to build a copy of my work only to sell it on EBAY or trade/sale groups and forums. Thank You. Frank.
![]() Catch up with fellow visitors and exchange stories, read cool interviews with the crew, exchange photos, fun surprises and grab some FAN ONLY merchandise next year at actual future conventions ?
Catch up with fellow visitors and exchange stories, read cool interviews with the crew, exchange photos, fun surprises and grab some FAN ONLY merchandise next year at actual future conventions ?
.
©2018 Frank Diorio DioramaWorkshop.Com
.
IF YOU LIKE WHAT YOU SEE, PLEASE SHARE WITH YOUR FRIENDS
USING THE SOCIAL MEDIA BUTTONS BELOW