


-

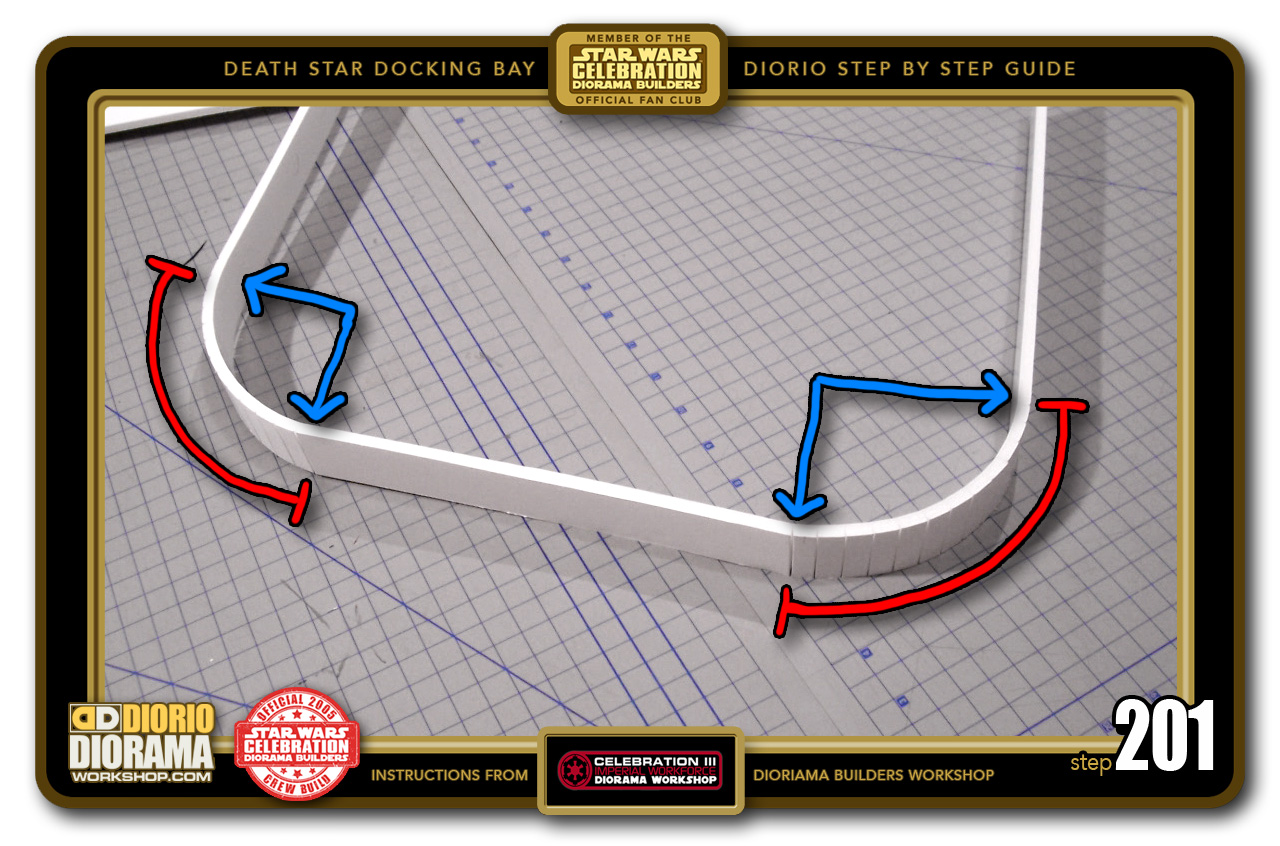
- STEP 201 > You only need to slice where the pieces need to BEND in the CORNERS. If you tried to bend un-sliced foamcore, it will just crack and break. Your start and end should be a 90 degree like the blue arrows. The red zone is where the slits are that allow the bend to happen.
-
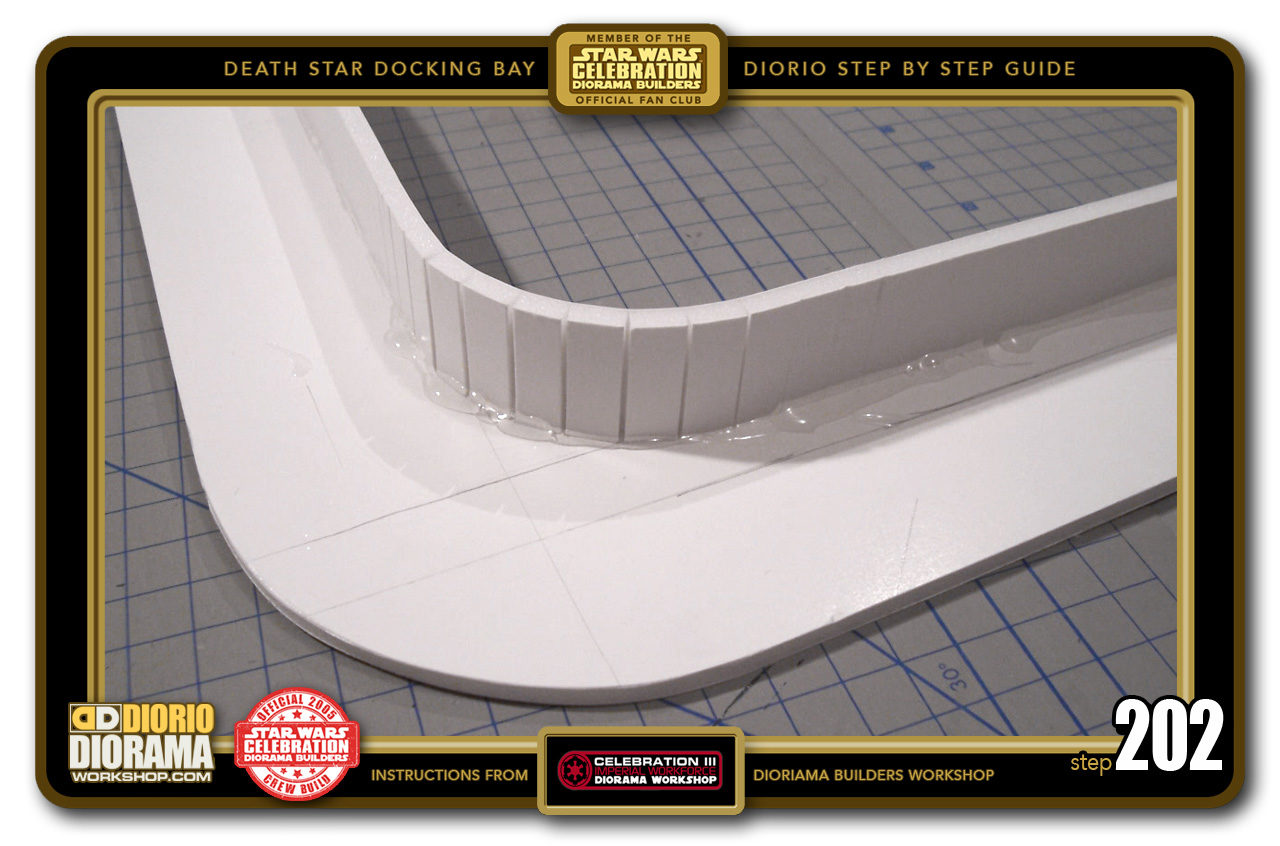
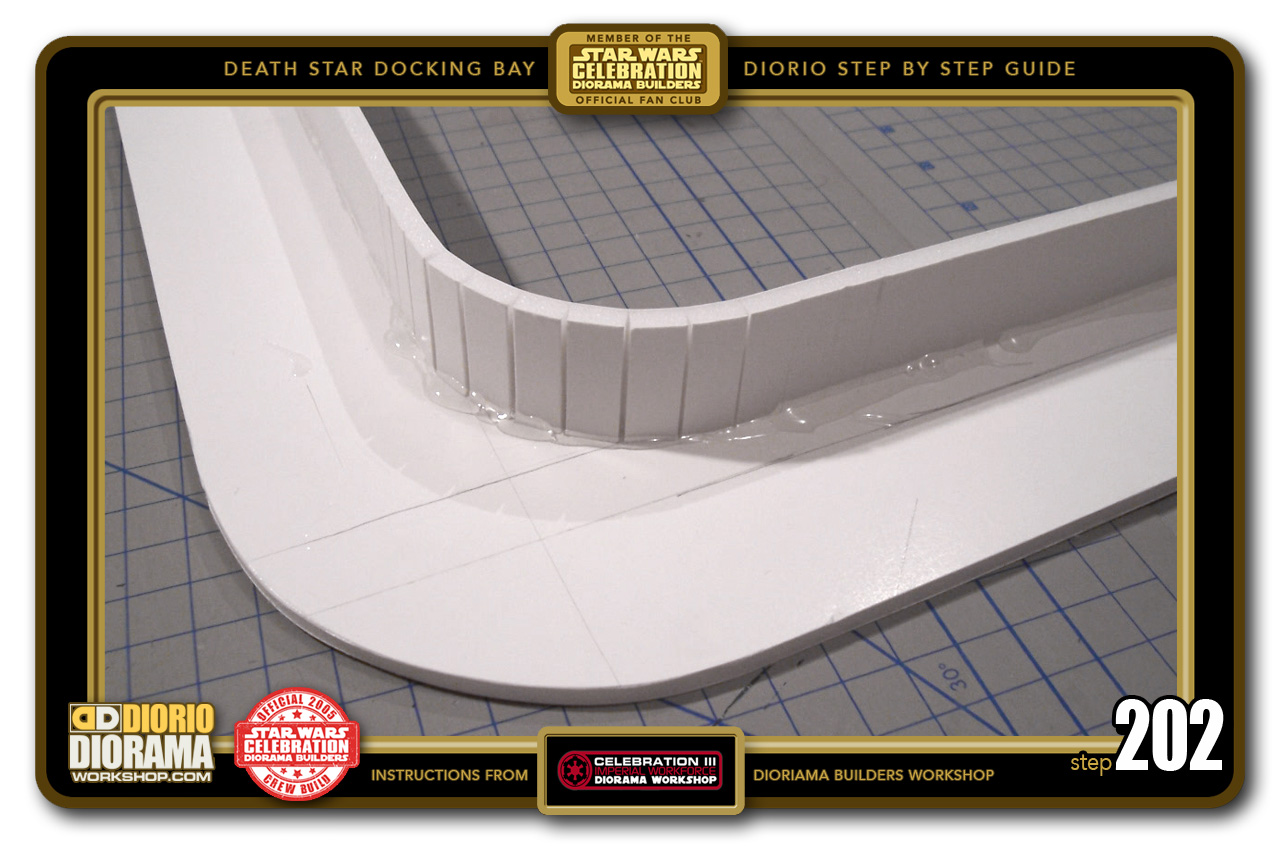
- STEP 202 > It now bends perfectly following the curve you cut on the force field frame. To attach your thickness to the frame, you need to hot glue in 4-5 inch increments in order to keep the curve FLUSH with the front edge. So start holding your bent strip to the corne front and hot glue 4-5 inches wide. Let that cool, now move on down and hold FLUSH the next 4-5 inches and hot glue that and repeat till all your strip is attached.
-

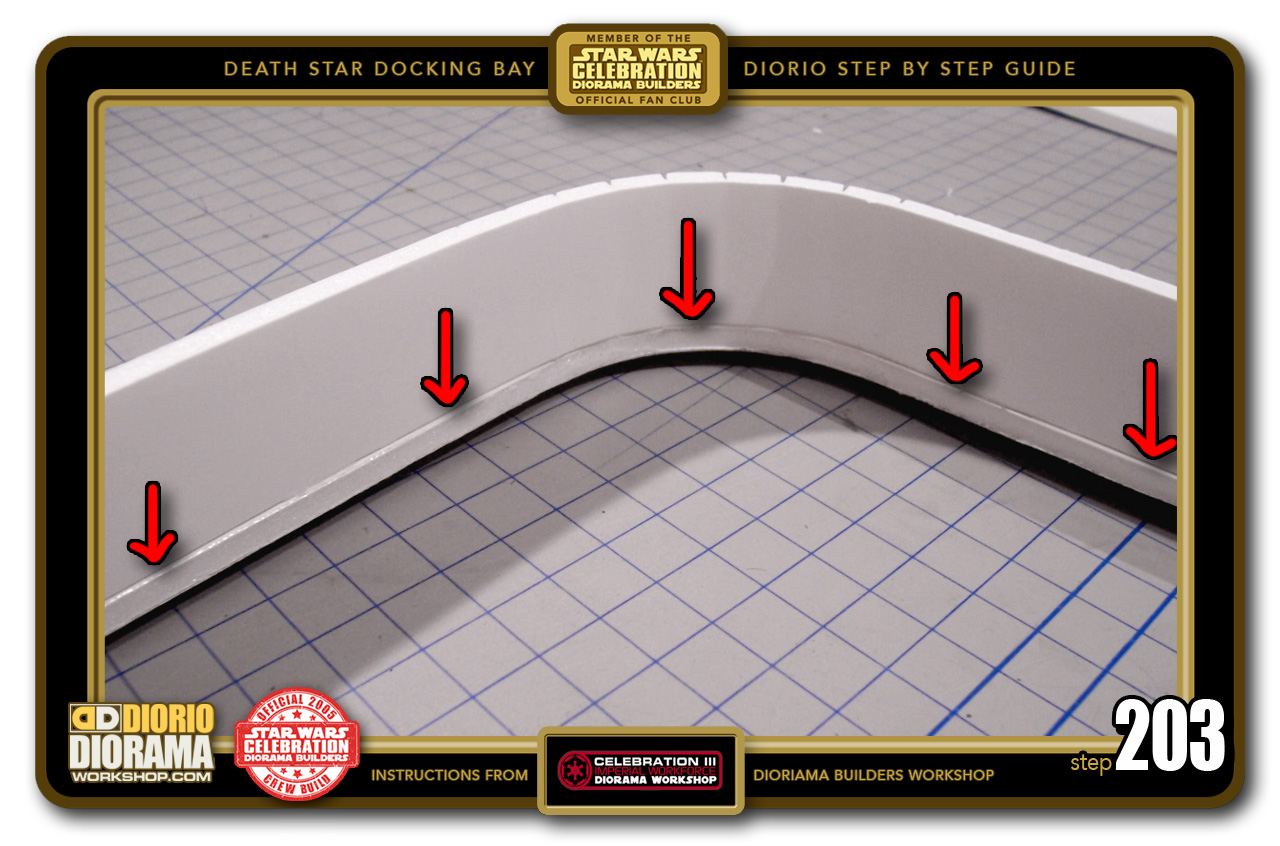
- STEP 203 > Make sure the curved side pieces align FLUSH with the front wall when attaching the curve to the front piece. This is the visible side. It doesn't matter if the other side is full of hot glue globs 🙂 The red arrows also help you understand the previous step of hot glueing 4-5 inches at a time before moving onto the next 4-5 inches etc.
-

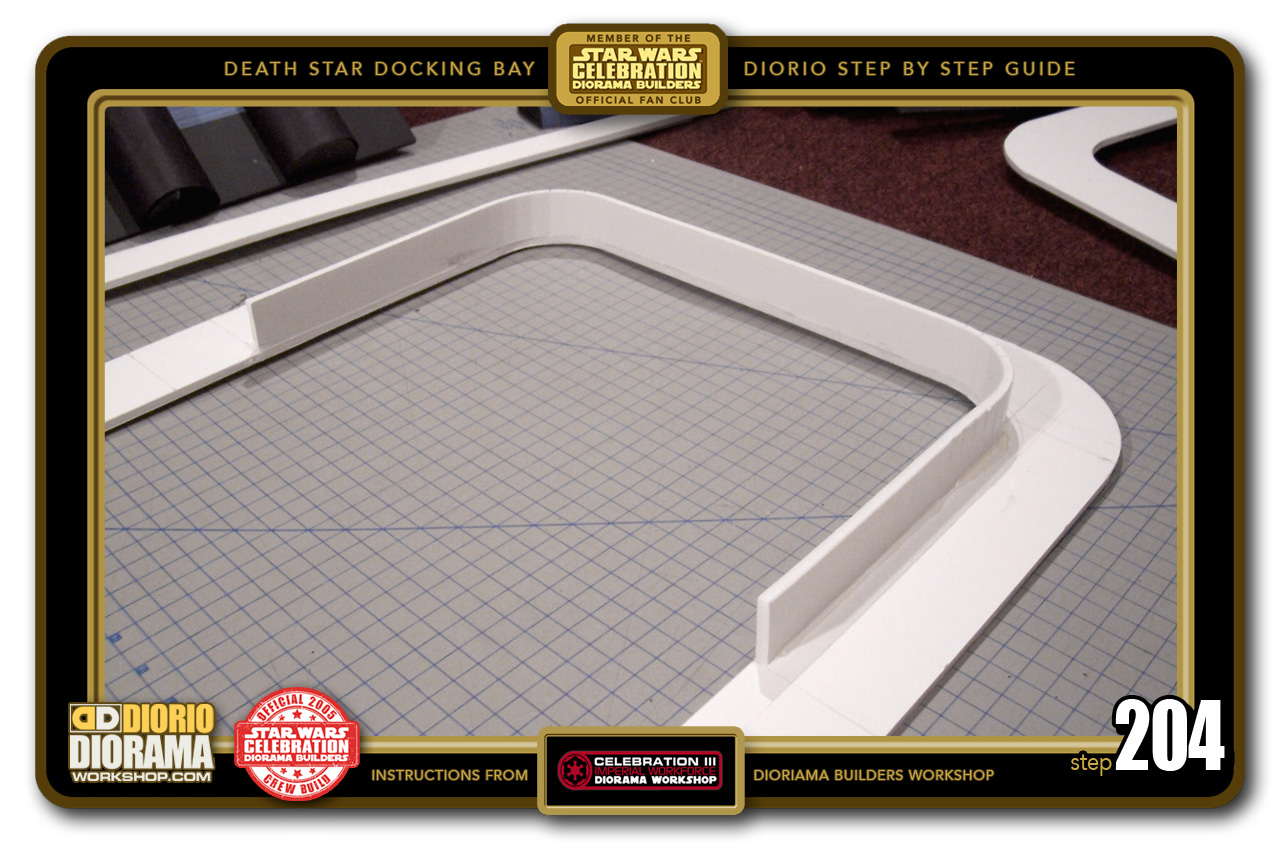
- STEP 204 > Once the first strip is attached to the Neon Front, turn it around and attach another strip in the exact same way you did the first.
-
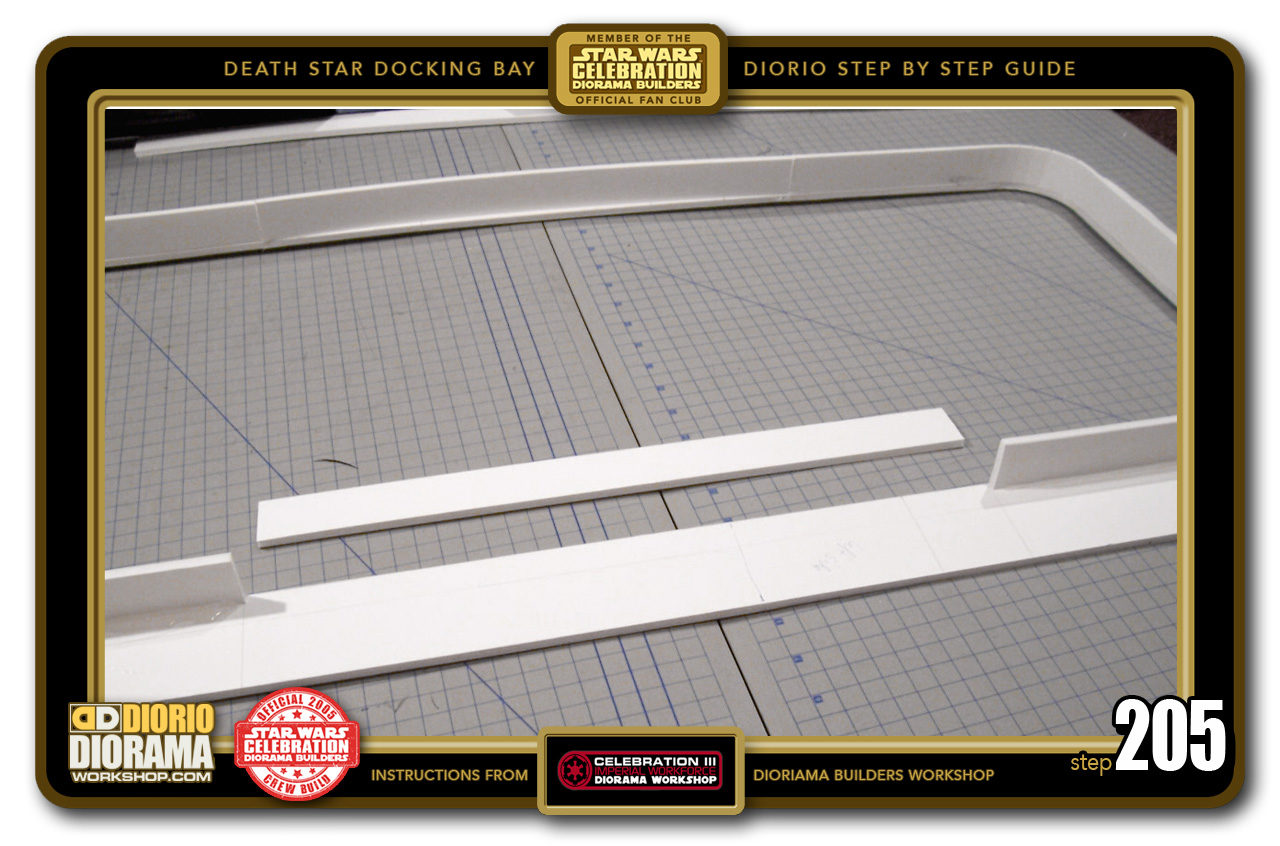
- STEP 205 > With both end pieces secure, you can now measure and find out how wide to cut the center strips that will attach both ends together. Just place a strip against one end corner edge then mark where it touches the other side's end edge. Cut and hot glue in place on your force field front frame. Measure for the opposite side as it most likely not the exact same gap.

-

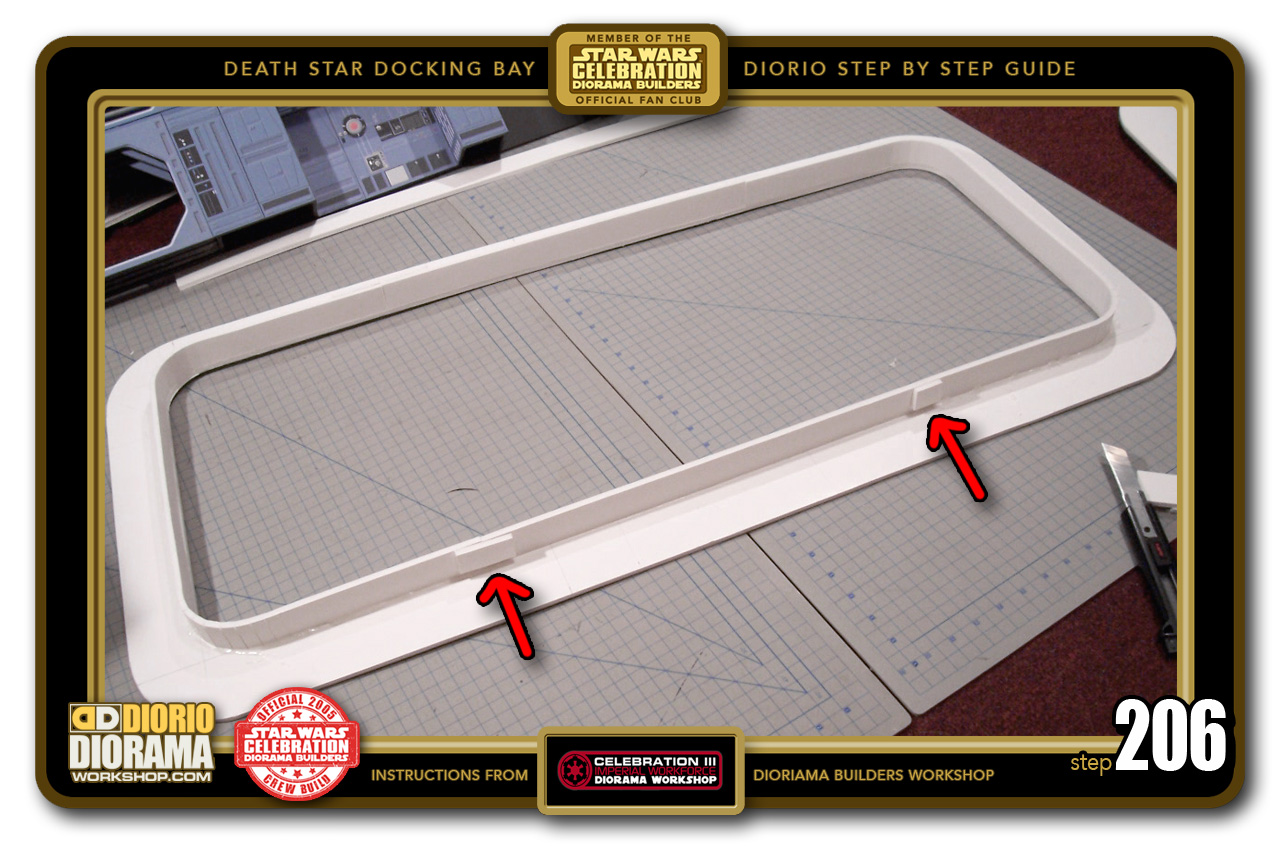
- STEP 206 > Once the strip is attached to the neon force field front frame, you need to add some extra scrap pieces for added strength at the connection joints. Look at the red arrows to better understand how each piece overlaps the seams.
-

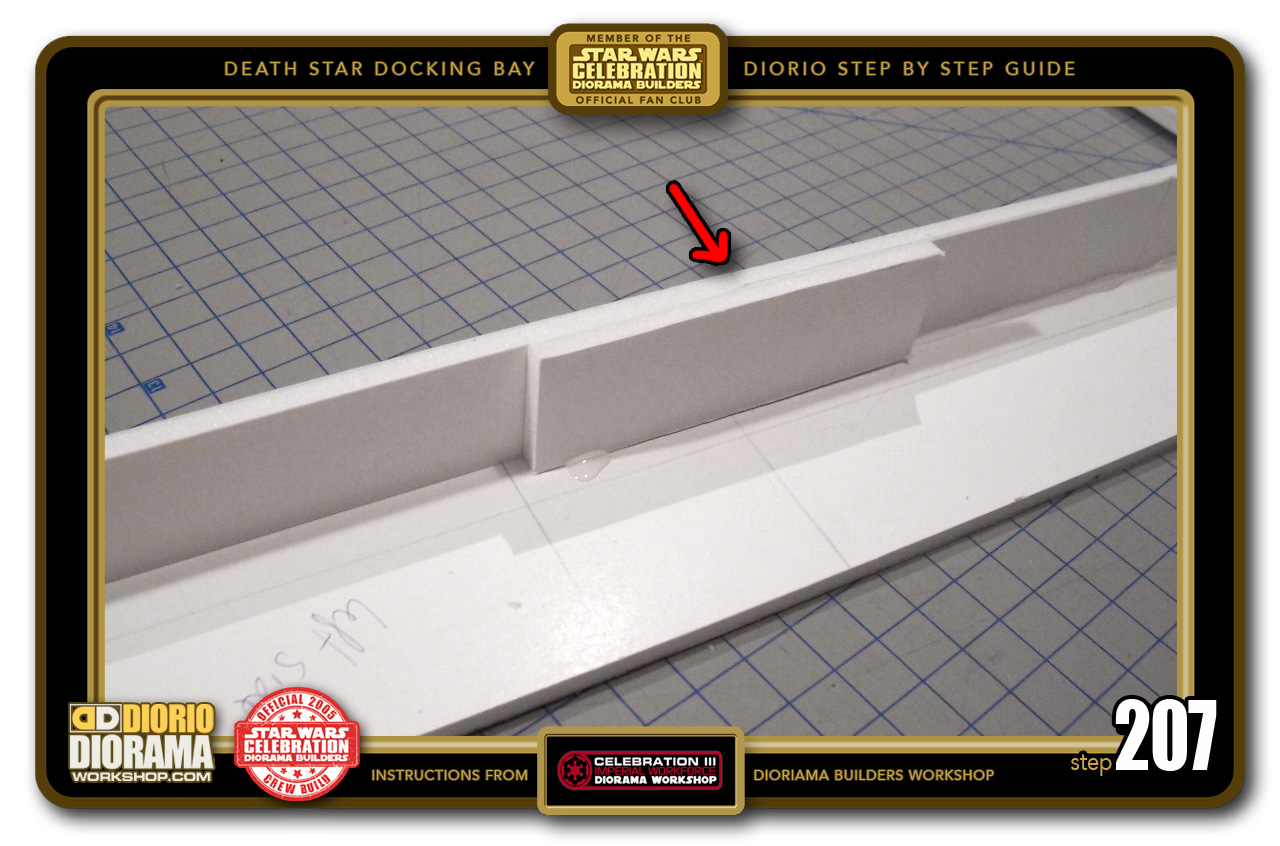
- STEP 207 > Here is a close up of what I am trying to explain. The red arrow is pointing at the seam between the corner strip and the center straight strip that connects the 2 corner strips.
-

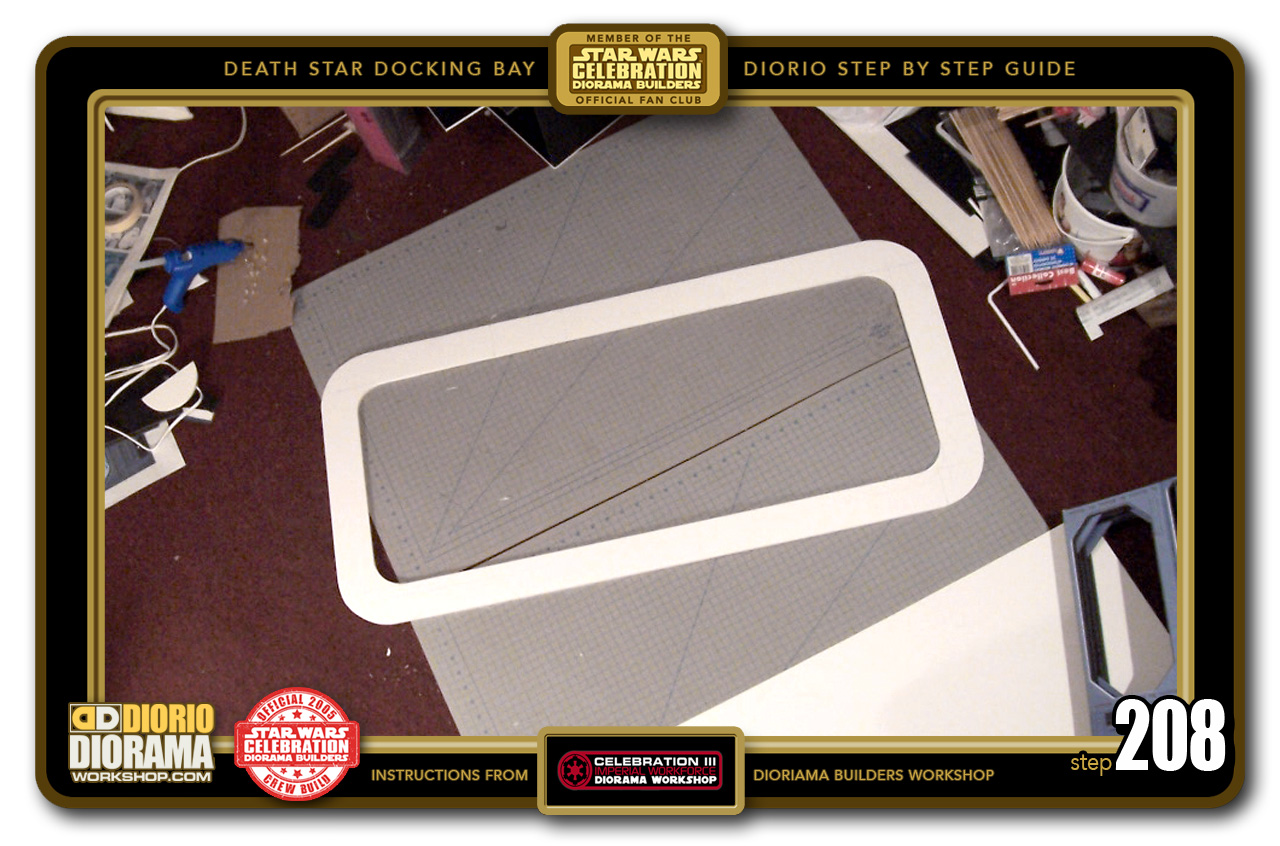
- STEP 208 > Now take the 2nd neon you cut earlier. This will be your neon force field back frame.
-

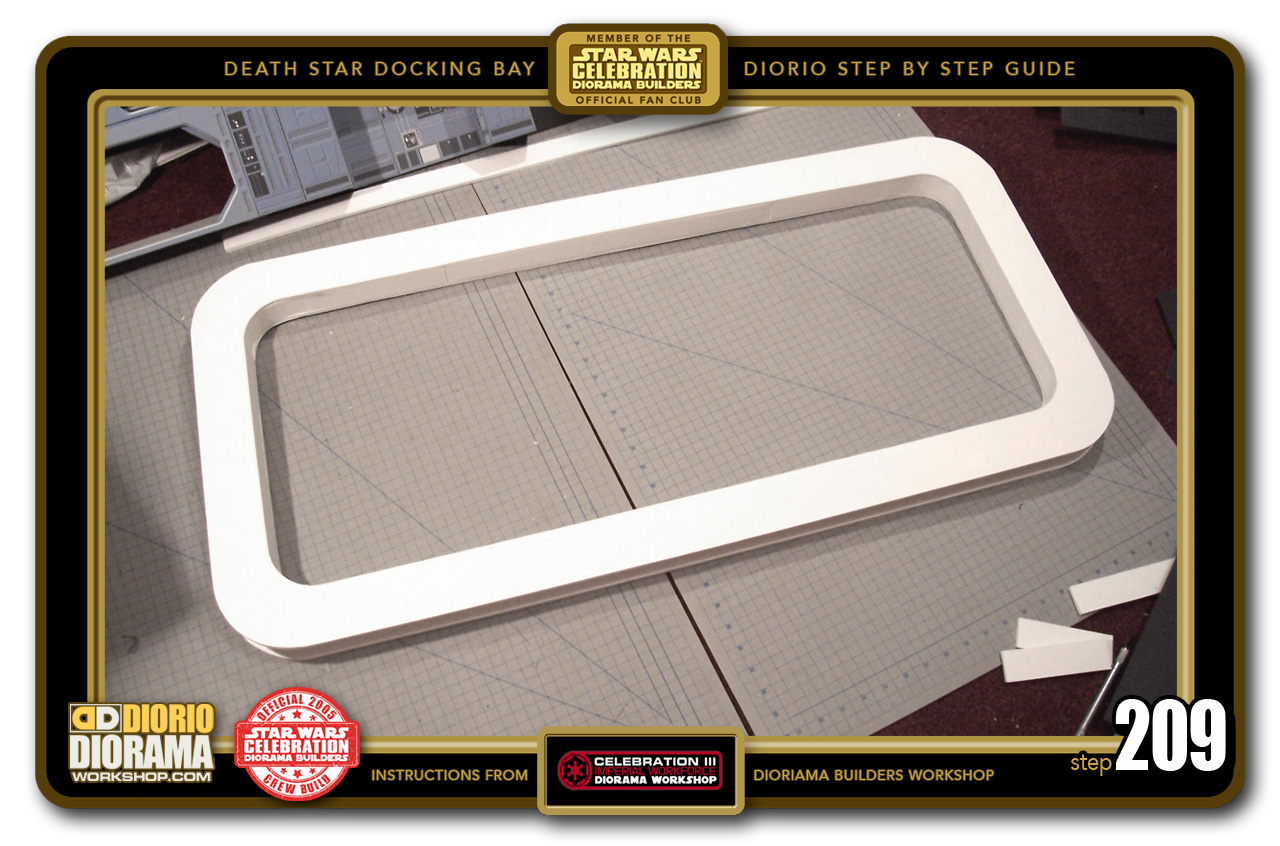
- STEP 209 > See how this piece fits right on top of the rounded corner and center strips that were hot glued to the first Neon force field front frame piece. Align this rear frame and hot glue it to the strips as before. Remember take your time, 4-5 inches at a time, let hot glue cool, move to the next 4-5 inch, repeat all the way around.
-

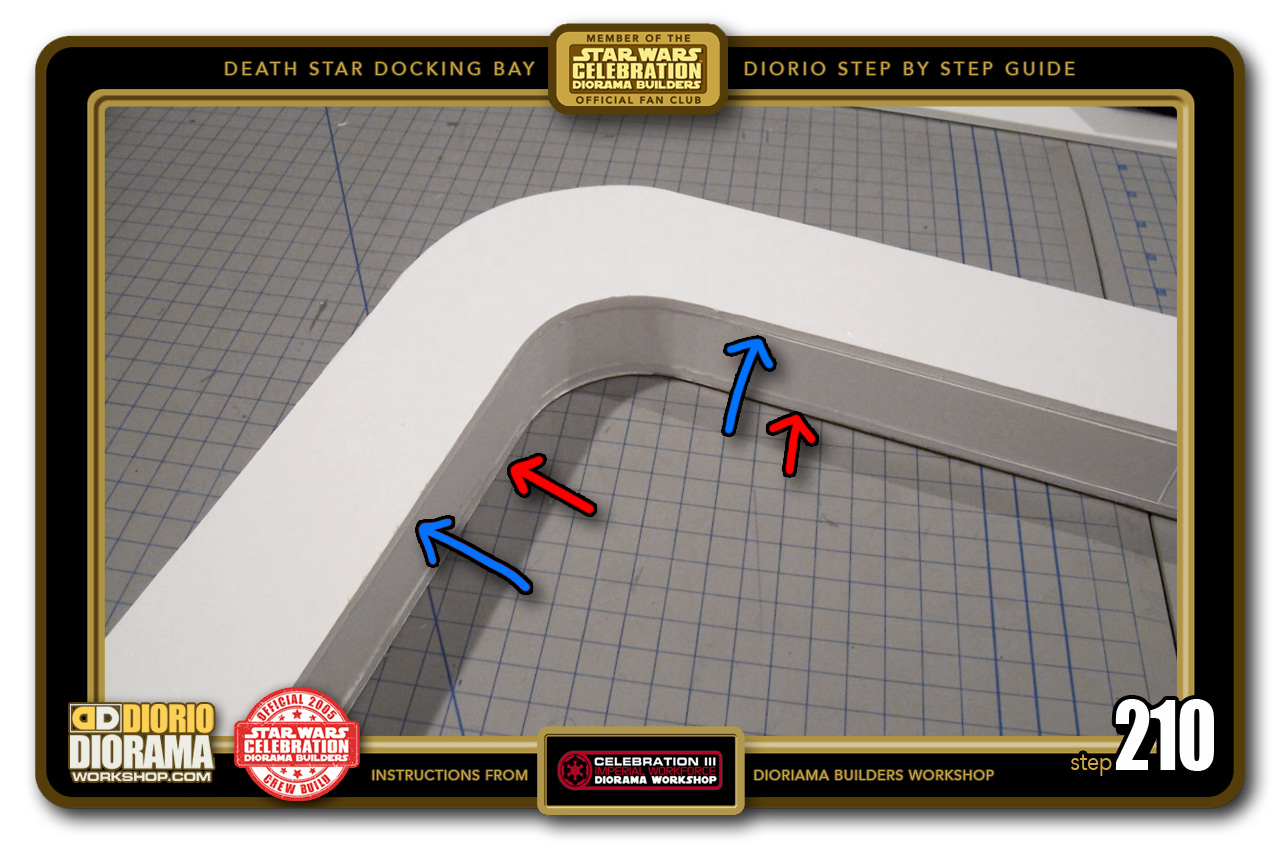
- STEP 210 > You can see how the red arrows point to the first front neon force field frame and the blue arrows point to the top rear frame layer. Notice how FLUSH all the layers are to each other.
-

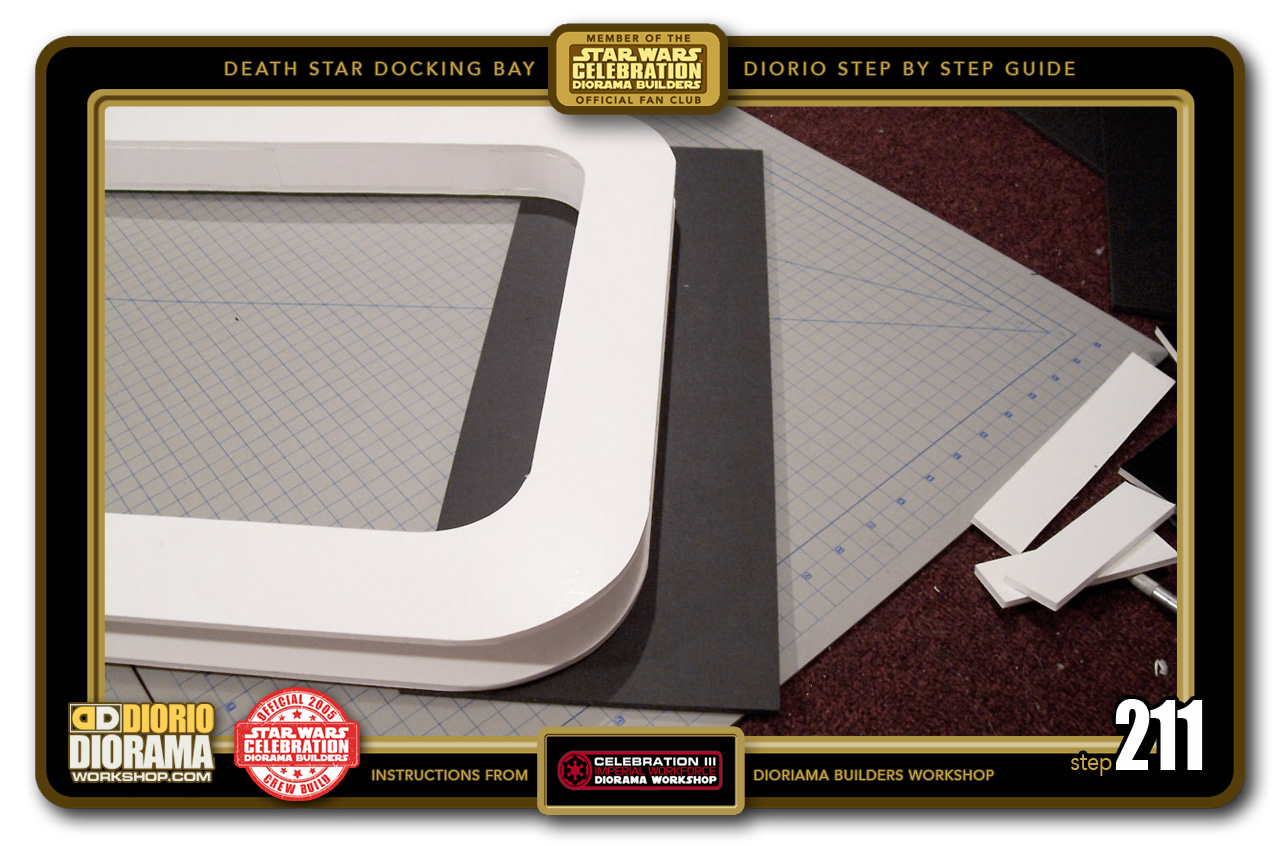
- STEP 211 > We now need to place docking bay walls on each side of this neon force field entrance. Grab a piece of 49.5cm tall foamcore. The width can vary as we will trim it, but you MUST have exactly 6cm wide to the right of the frame and a couple inches inside the frame.
-

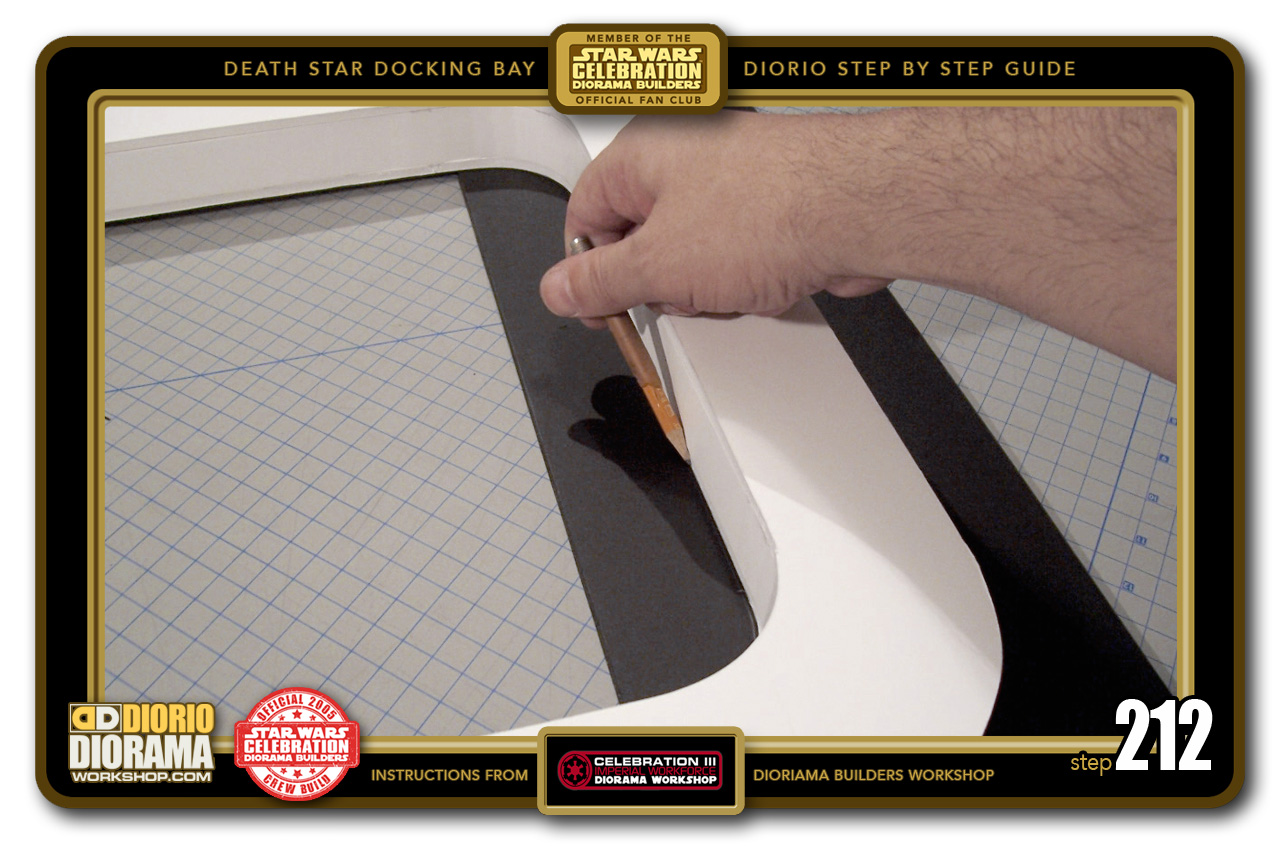
- STEP 212 > We don't want to see black on the inside of the frame. Hold the frame sturdy against the foamcore to avoid it from moving around and trace both sides with a pencil.
-

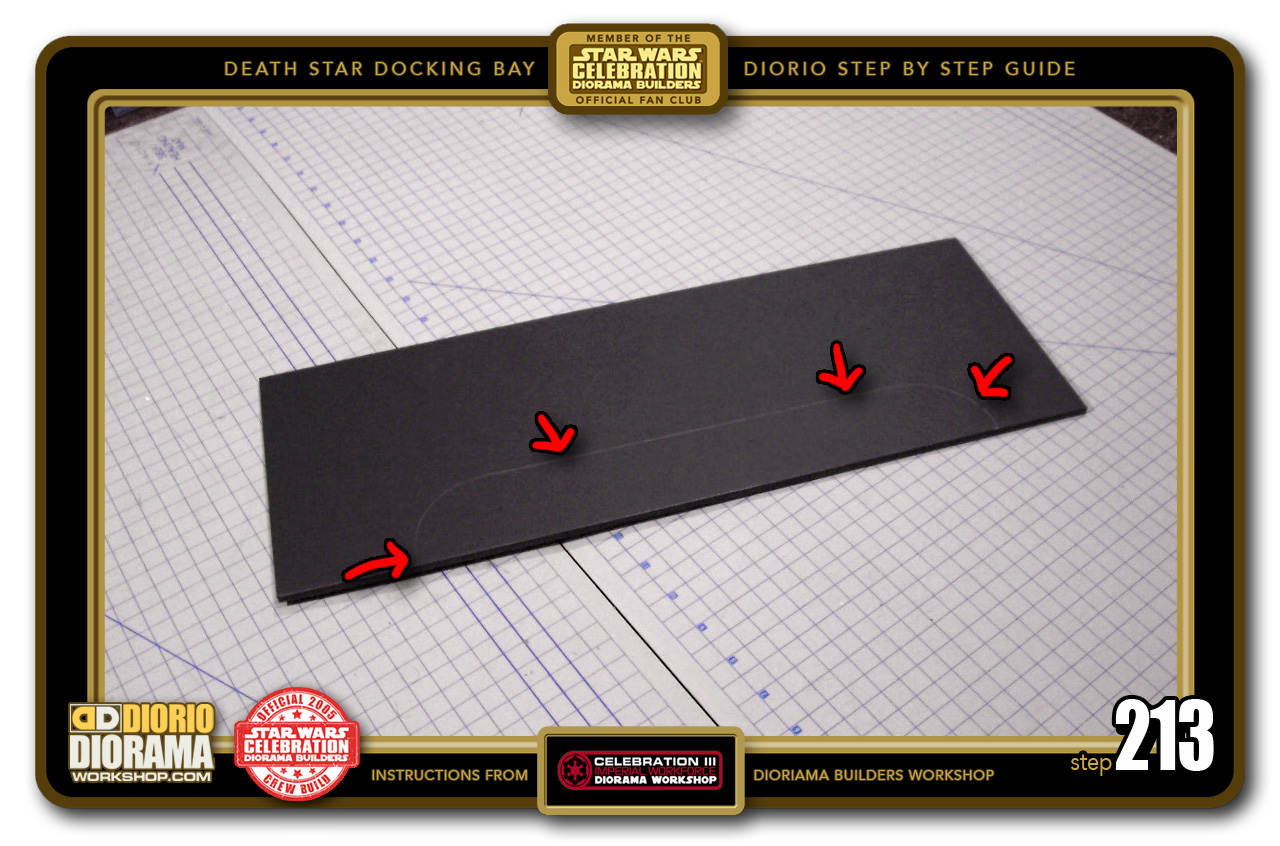
- STEP 213 > The red arrows help show where your traced outline was drawn that needs to be cut.
-

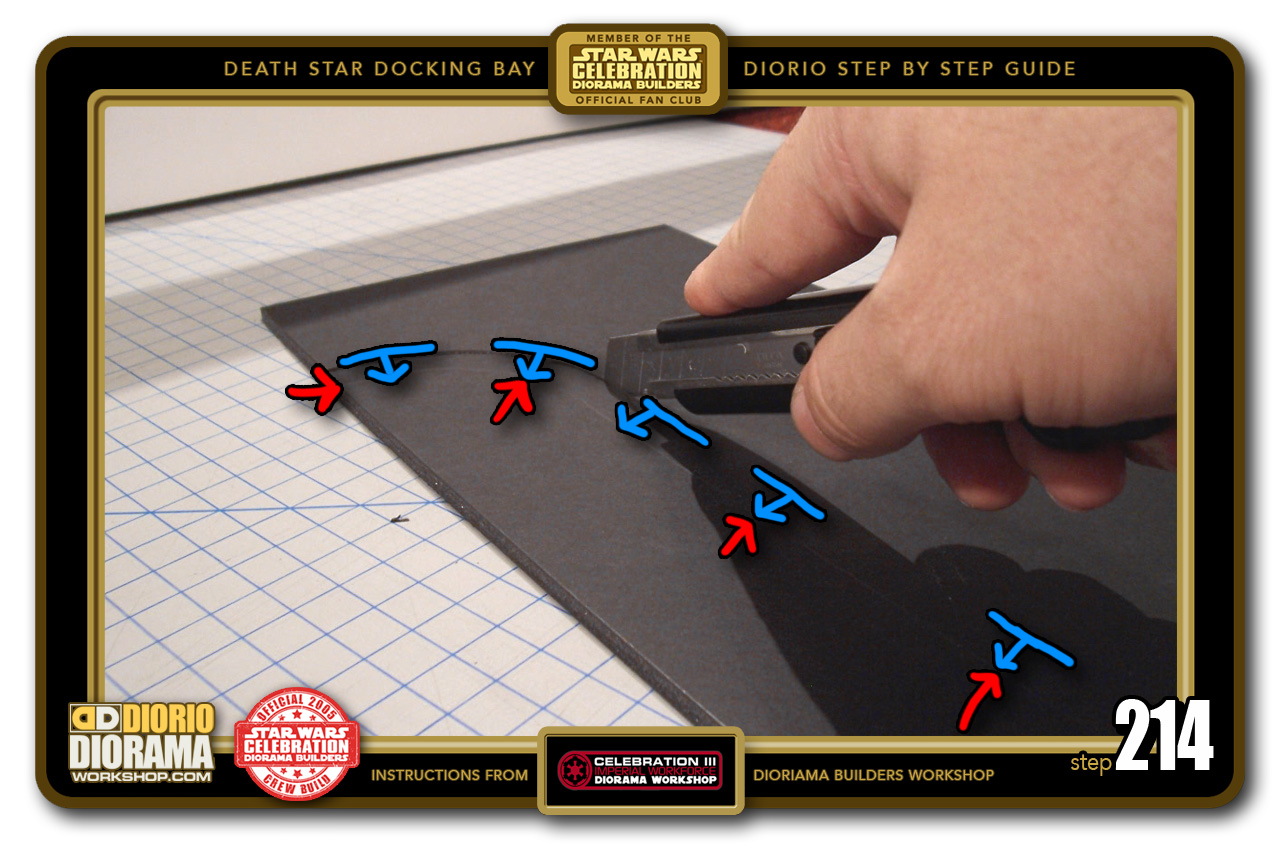
- STEP 214 > The red arrows show your ACTUAL traced line by the force field frame. However, you don't want to see the black thickness edge next to the white frame so draw a NEW second line on the right side (of the red arrows) about 1 cm or so from the first (blue arrows) and use this line to guide your cut.
-
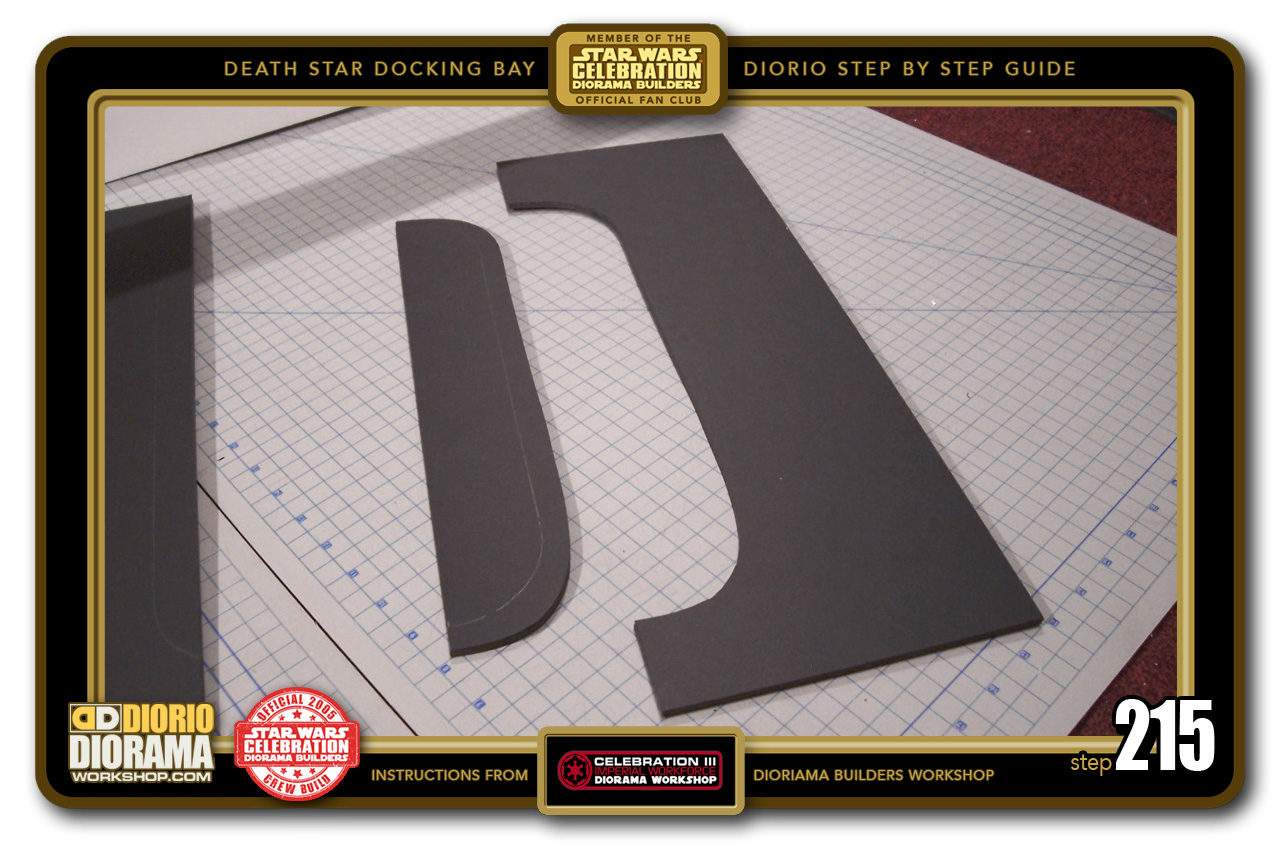
- STEP 215 > You now have these 2 pieces. If you look carefully, you may see the original traced line on the left cut piece. You can toss that away for another diorama, we don't need it to continue.

-

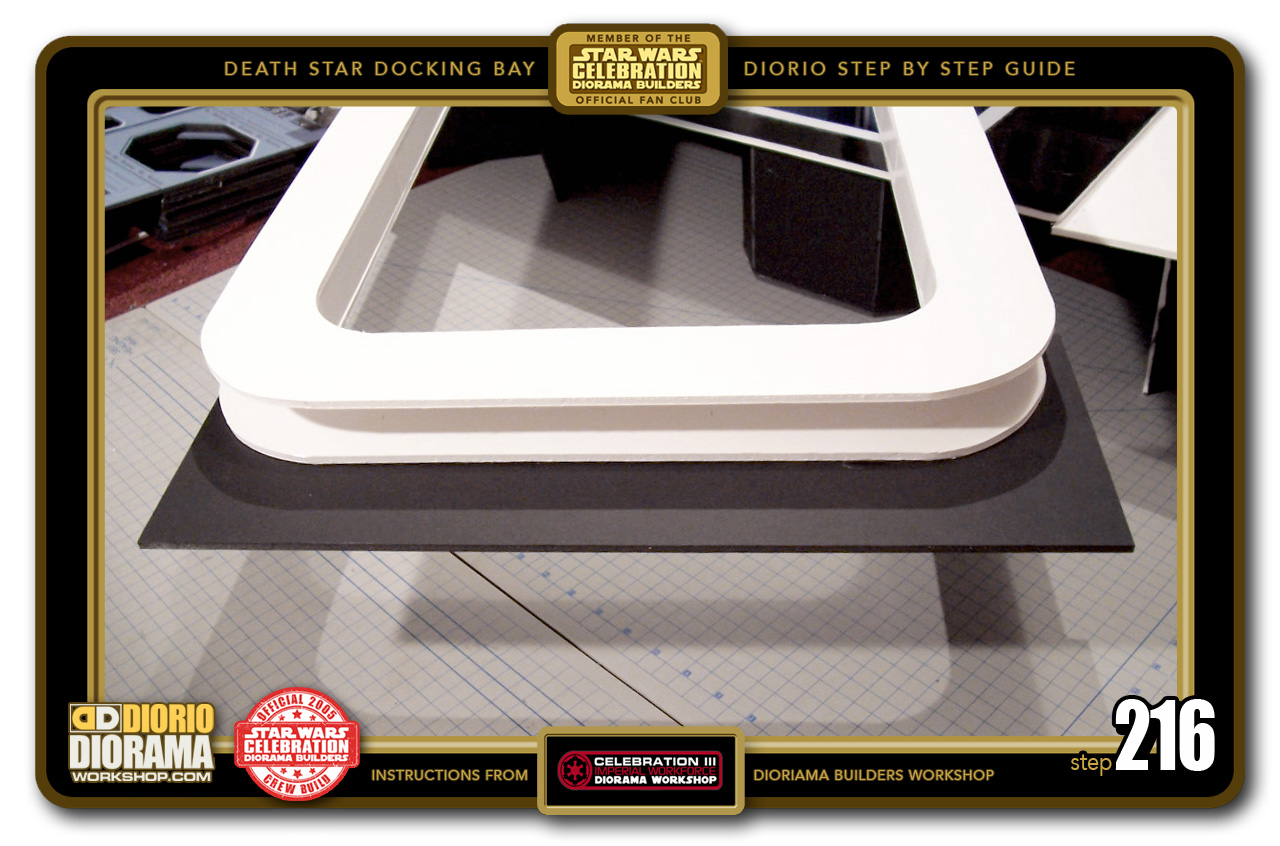
- STEP 216 > You can now hot glue the neon rear force field frame corners to the right side docking bay wall piece. IMPORTANT: You must ALLIGN the bottom so that it lays flat against the diorama floor and the outside frame line from Step 212. You MUST have a even 6cm gap on the right for your decals.
-

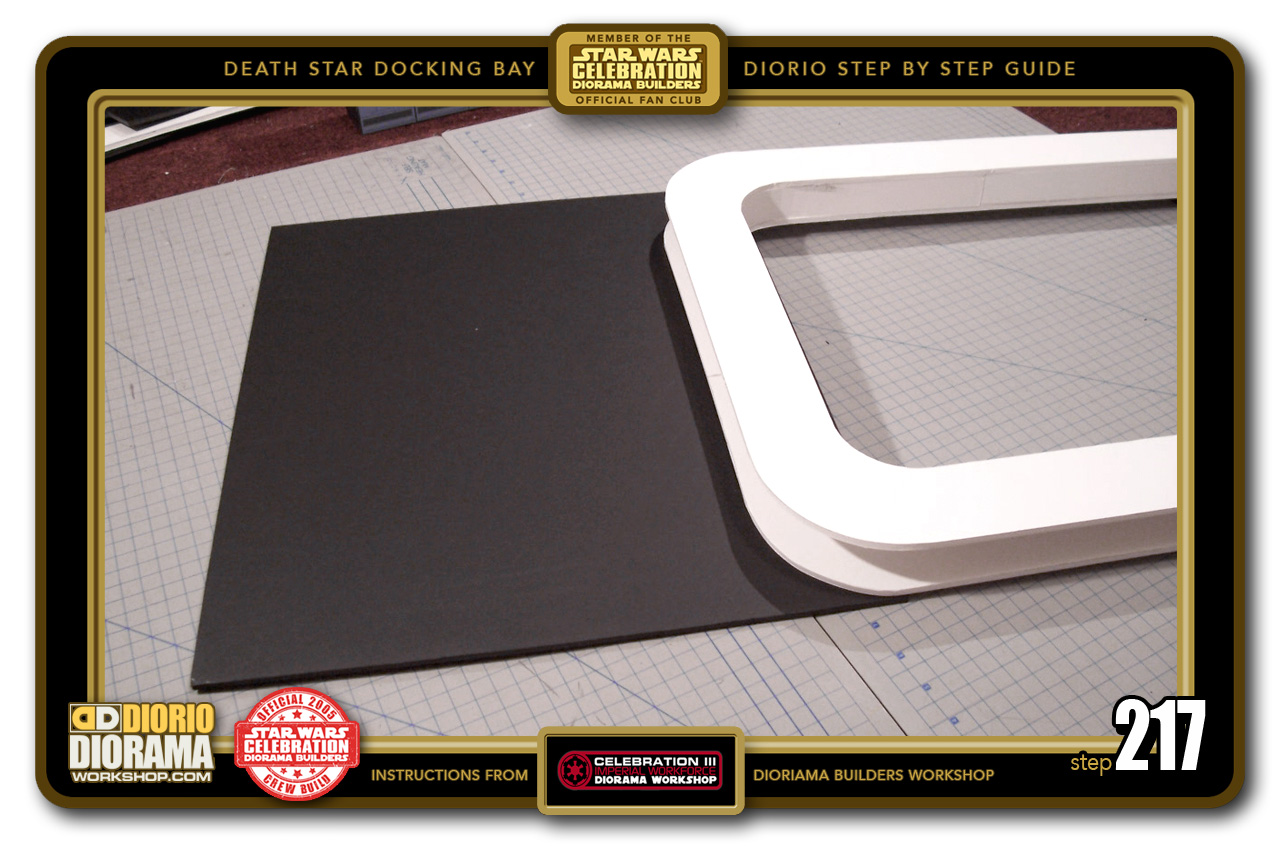
- STEP 217 > We need to do the same construction with the left side of the docking bay force field wall. Measure a 49.5cm tall X 48cm wide. Place your neon rear force field wall left side on top of the foamcore. Align with the bottom to make sure it is FLUSH and allow the wall to lay flat against the diorama floor and more IMPORTANT: make sure you have an even 36cm gap on the left side of the frame for your decals.
-

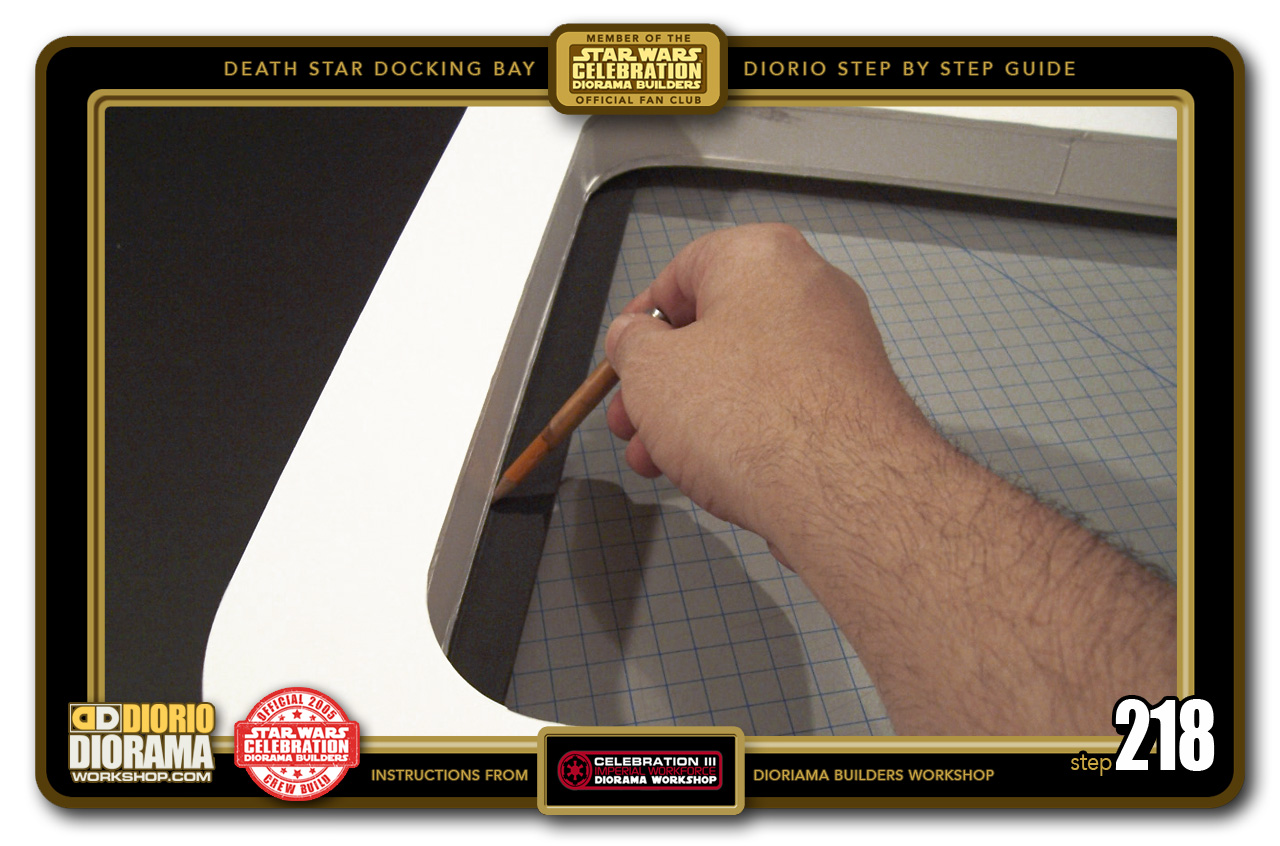
- STEP 218 > We don't want to see black on the inside of the frame. Hold the frame sturdy against the foamcore to avoid it from moving around and trace both sides with a pencil.
-

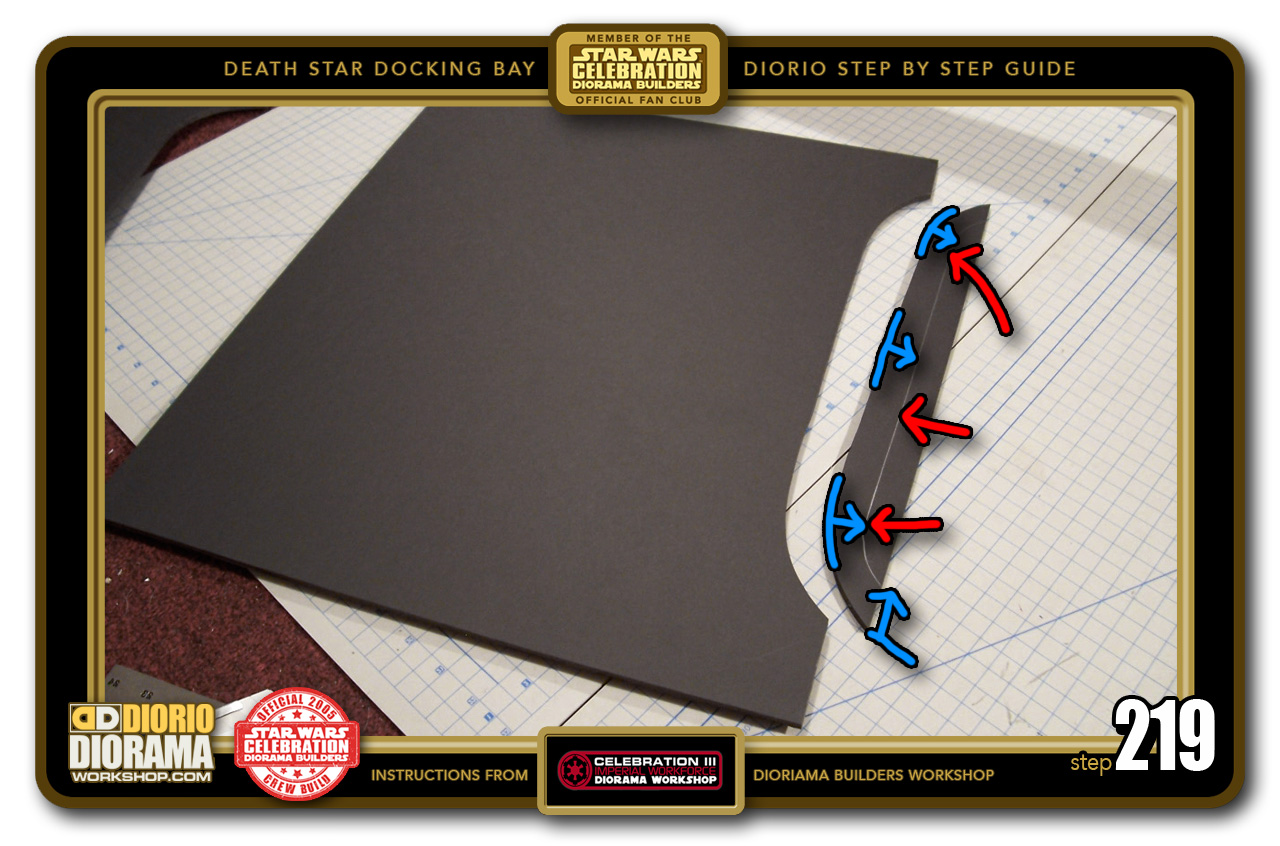
- STEP 219 > As you did in Step 214, draw a NEW cutting guide line (blue arrows) about 1 cm from the original (red arrows) but this time to the left side and cut along until you get this shape. You can toss this away for your next diorama, we have no use for this piece.
-

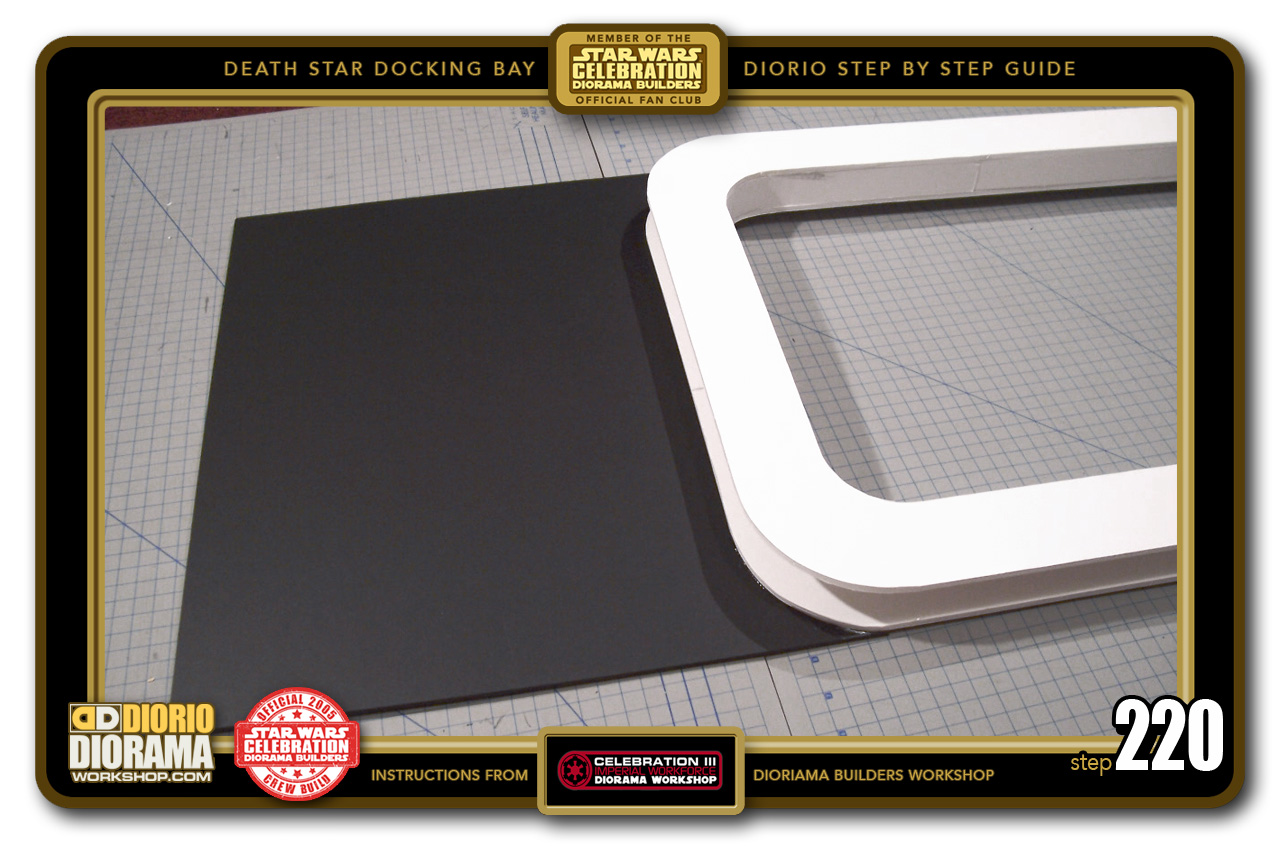
- STEP 220 > Now we are ready to hot glue this left docking bay forcefield wall to the neon force field rear frame corners. IMPORTANT: You must ALLIGN the bottom so that it lays flat against the diorama floor and the outside frame line from Step 218. You MUST have a even 36cm gap on the left for your decals.

.
Did you already build this Diorama ? At home or at our Star Wars Celebration Diorama Builders workshop ? Would you like to show it in the site’s GALLERY VISITORS DIORAMAS section, YES ? That is Awesome !!! You can find out all the details on how to email me your photos on the VISITORS SUBMISSIONS INFO page … When I get your photos, I will create your very own page just like this one. You may not realize it but work does inspire others to join in the fun of making Action Figure Dioramas.
.
NOT FOR RESALE ALL Decals, tutorials and artwork are ©FrankDiorio (dioramaworkshop.com) and offered FOR FREE to the fans – that would be you ? so you can build and display my diorama designs in your very own home. I realize I cannot control what one does with my graphics once I place them on the web, I can only ask you as one fan to another, please respect the artist and do not be that jerk who uses my designs and tutorials to build a copy of my work only to sell it on EBAY or trade/sale groups and forums. Thank You. Frank.
![]() Catch up with fellow visitors and exchange stories, read cool interviews with the crew, exchange photos, fun surprises and grab some FAN ONLY merchandise next year at actual future conventions ?
Catch up with fellow visitors and exchange stories, read cool interviews with the crew, exchange photos, fun surprises and grab some FAN ONLY merchandise next year at actual future conventions ?
.
©2018 Frank Diorio DioramaWorkshop.Com
.
IF YOU LIKE WHAT YOU SEE, PLEASE SHARE WITH YOUR FRIENDS
USING THE SOCIAL MEDIA BUTTONS BELOW