


-
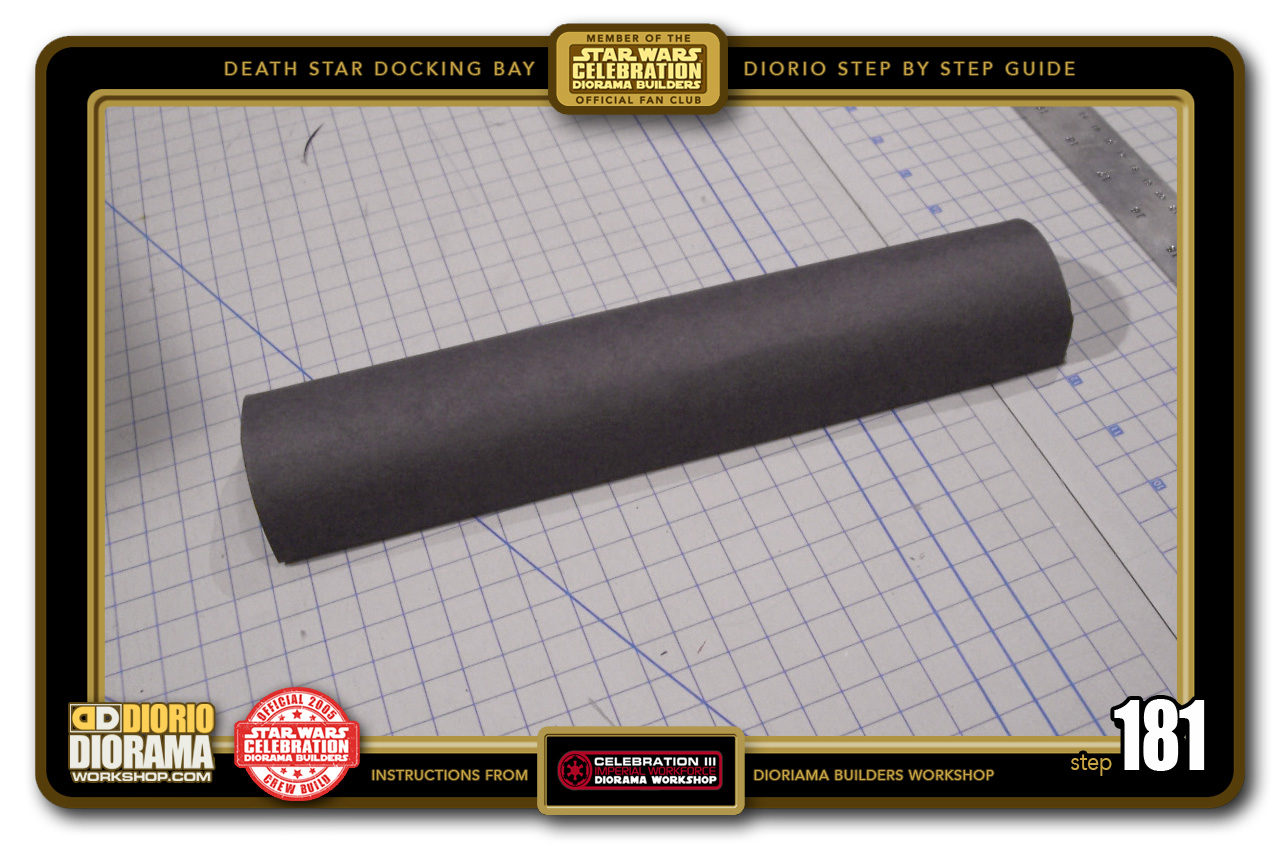
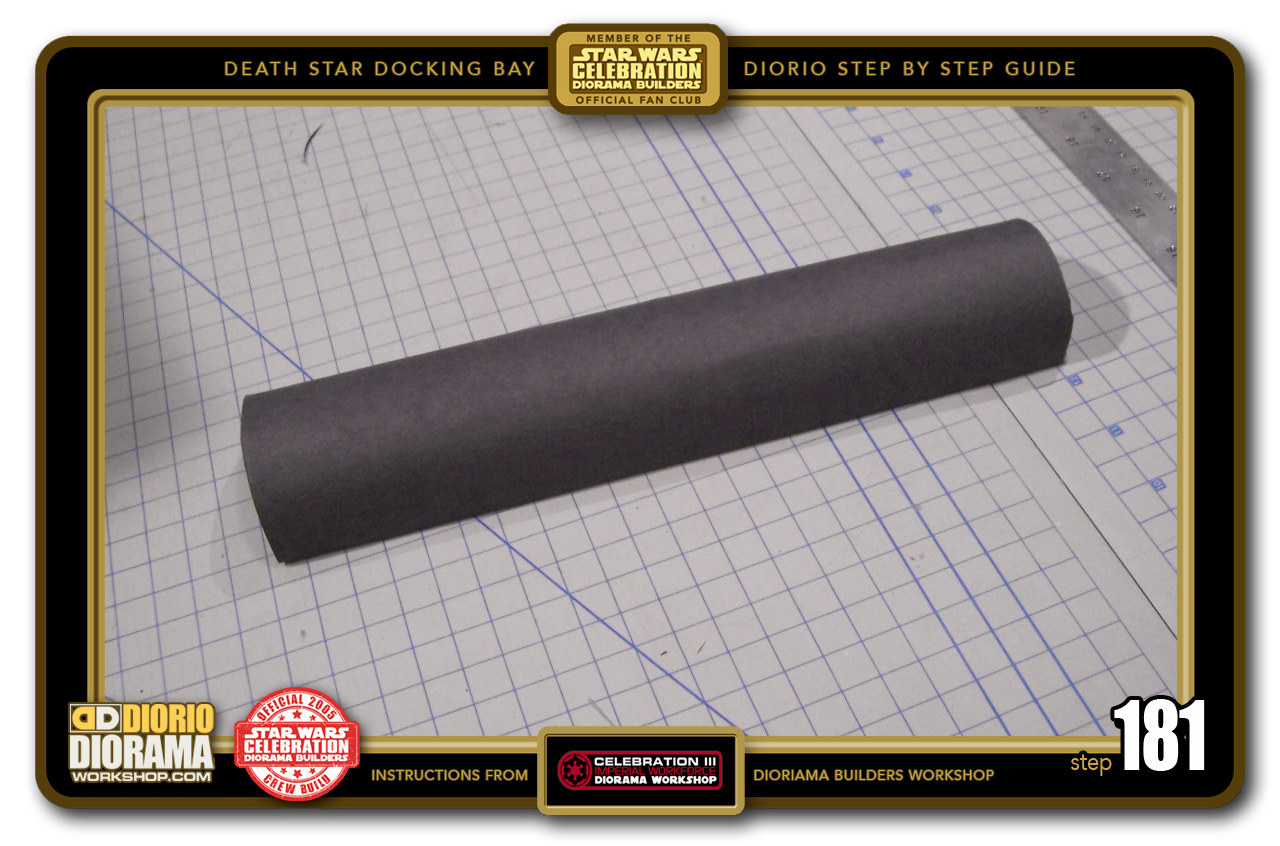
- STEP 181 > After you have rolled and hot glued your cardboard all around the spines, you can press down where the half circles were to make sure your glue has contacted the cardboard. Don't press to hard in between the circles as you may dent or worse, poke a hole through the cardboard. This is what your round wall should look like at this moment.
-
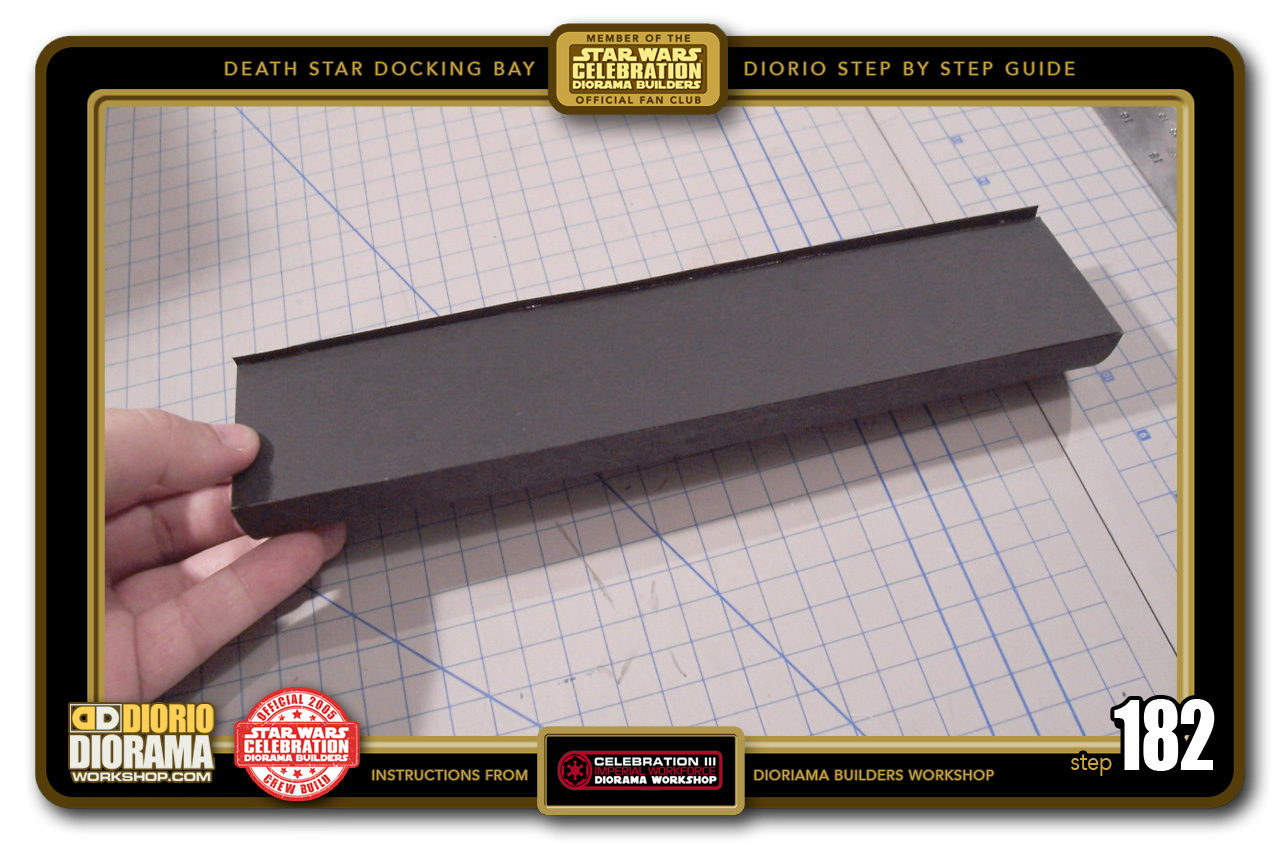
- STEP 182 > Flip it around 180 to expose it's back and you will see that most likely you have some excess cardboard along the bottom edges that would prevent it from attaching smoothly to your wall.

-
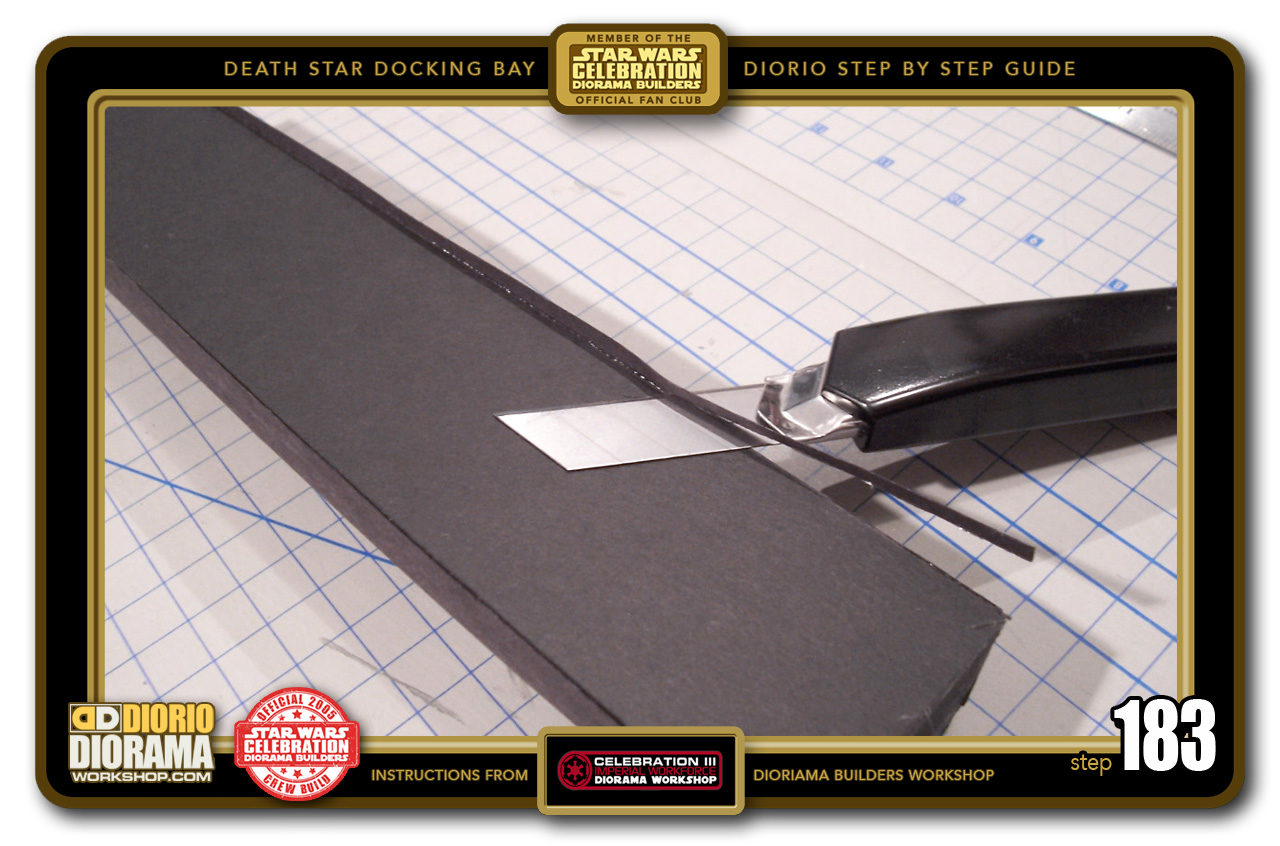
- STEP 183 > Use your X-Acto Knife with a NEW to carefully trim off the excess cardboard. DO NOT SAW BACK AND FORTH like wood, it will tear your cardboard and make a mess for your decal. Extend your blade fully, start at the tip of the blade and slowly push your hand forward as you slide the blade towrads the right. You want to cut and push the cardboard not pull it where it can come unglued.

-
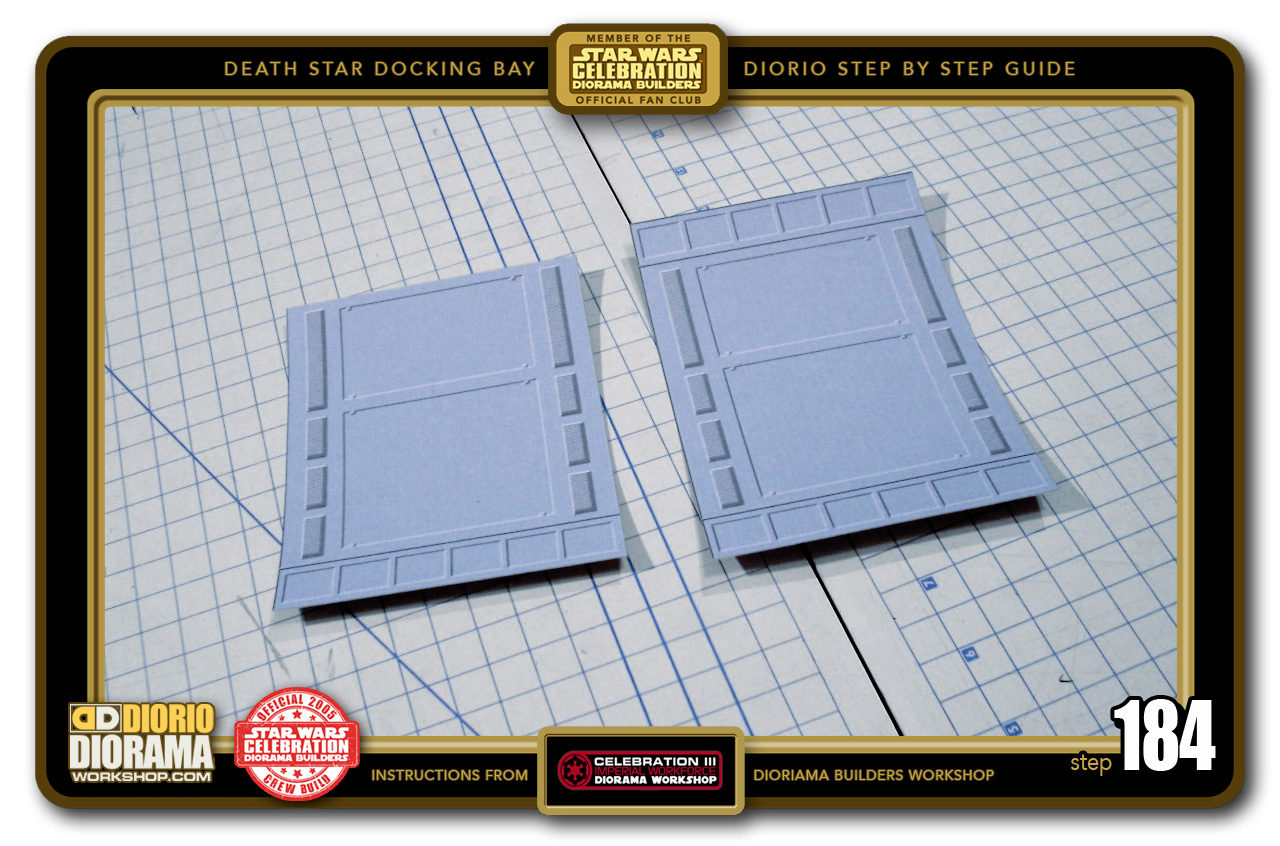
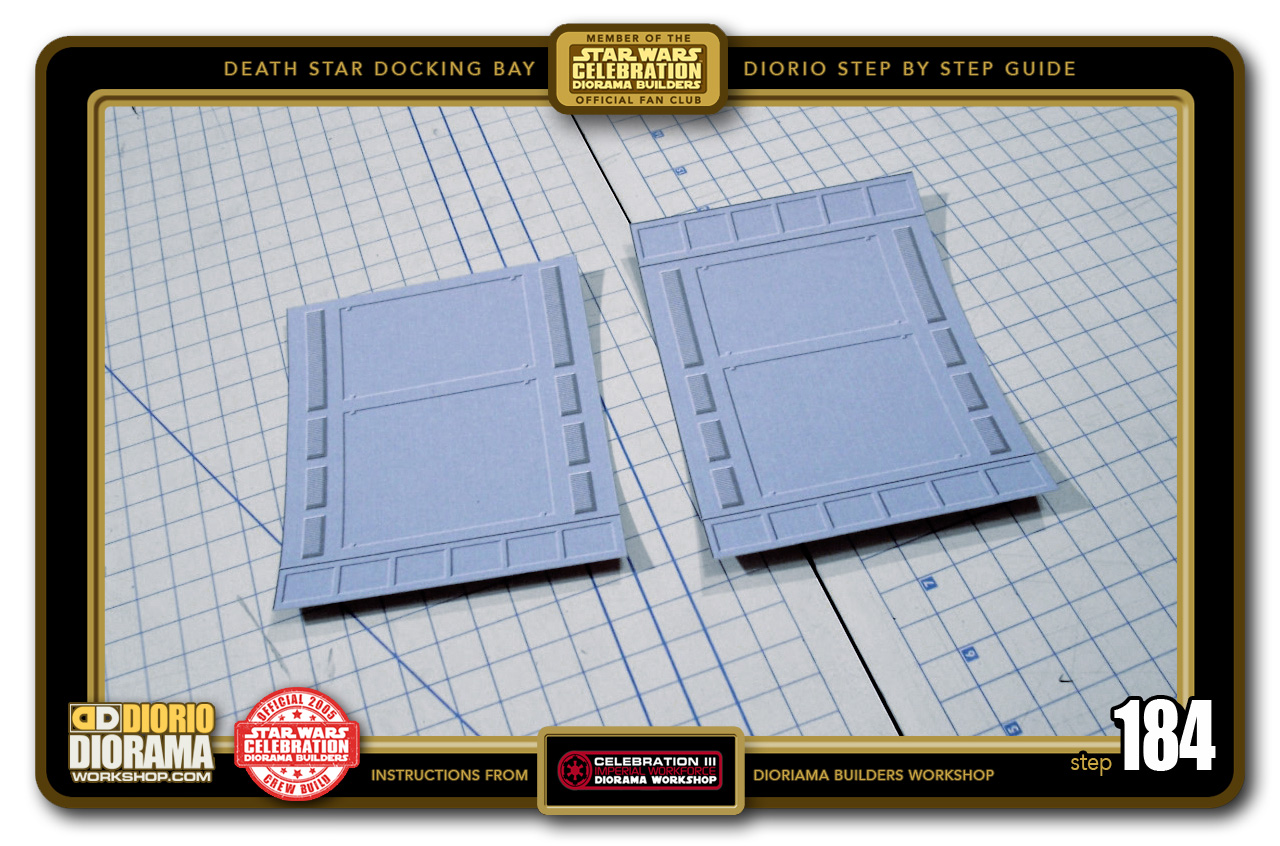
- STEP 184 > Let's bring those tubes to life. Print and cut out 2 small round wall decals. Since they are not specifically designed for 3 story levels, I trimed off the top of one of the decals in order to not have a double thick middle patern.
-

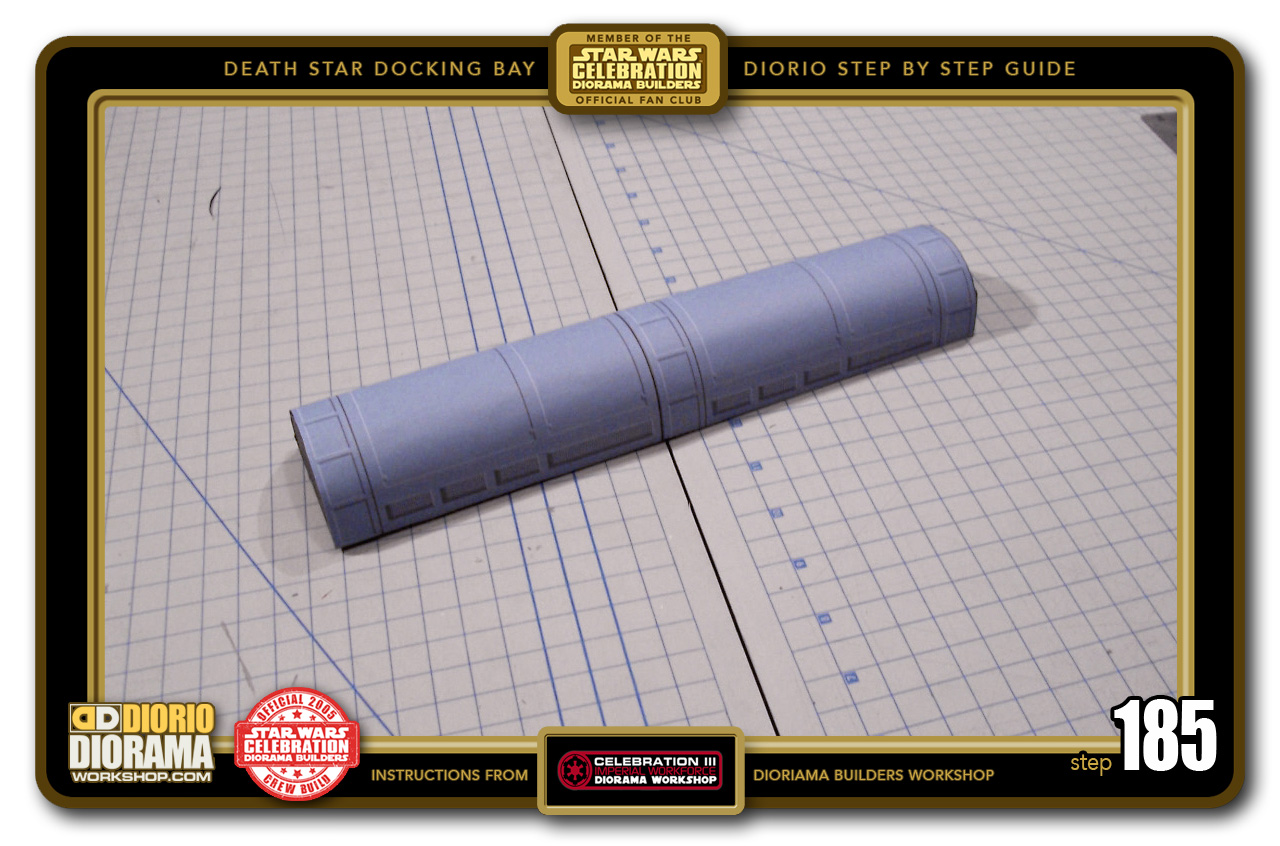
- STEP 185 > Apply the decals around your cardboard tube. Use gluestick if you printed on normal paper. Start on one side of the tube and work your way around to the other side. You may have to do the flip and trip trick to make the back perfectly smooth to be glued to the alcove/large blastdoor wall. Repeat these steps to make a 2nd identical 2 storey tall small round wall.
-
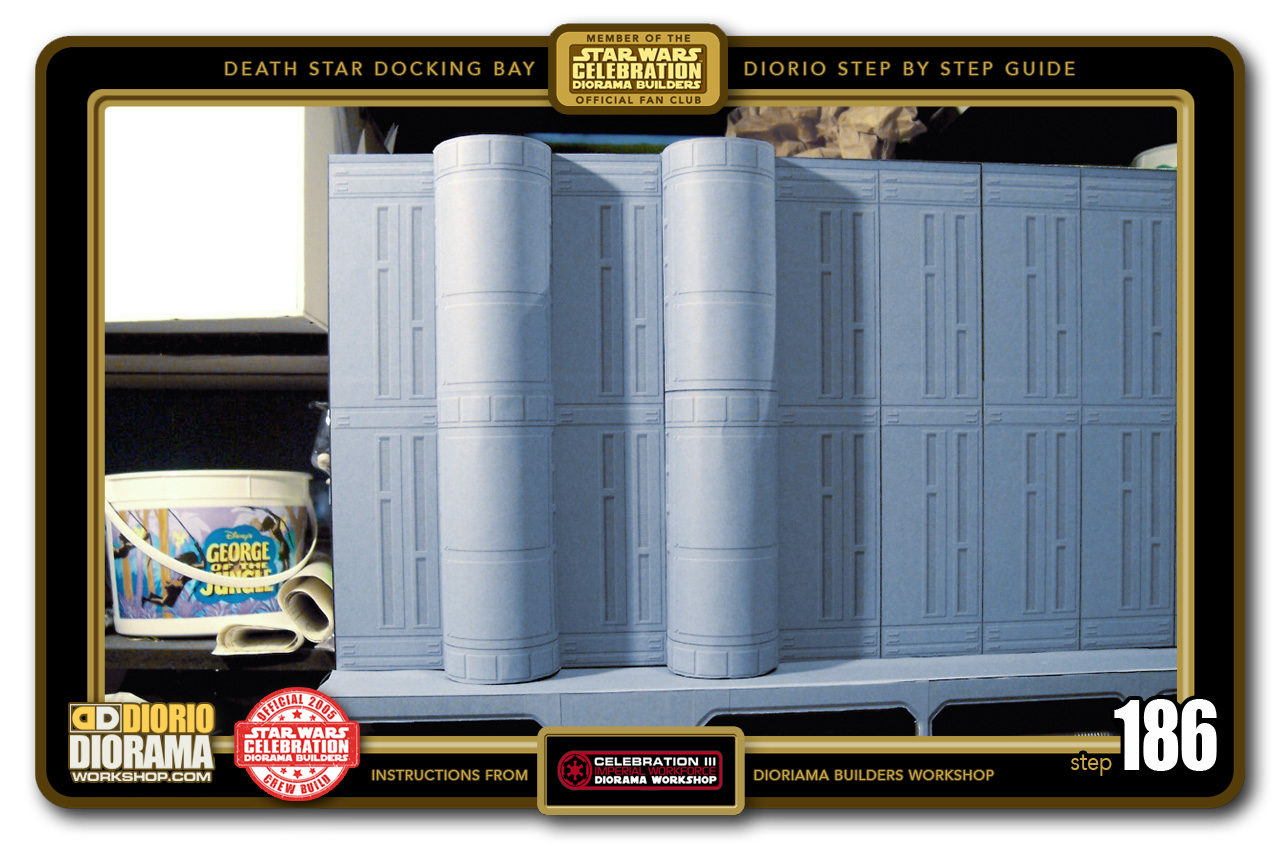
- STEP 186 > When your 2 small round walls are completed, it is time to put hot glue on their backside and press against the back wall just above the large blastdoor and sit on the top of your ventilation shafts. This position is movie accurate. Of course you can place them anywhere you wish. Make 3 if you want to. It's all up to you.

-

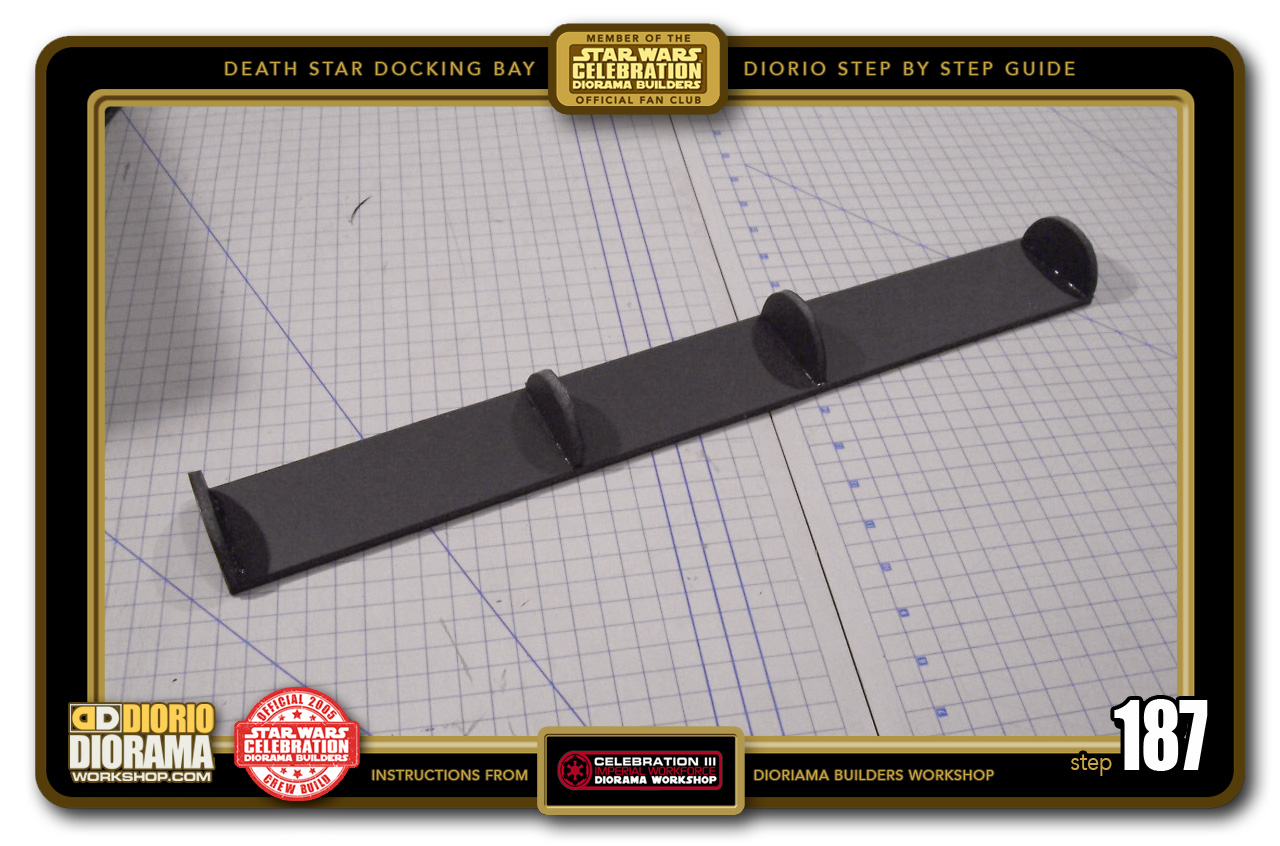
- STEP 187 > We now need to make some more tubes spines just like before except this time 3 stories tall instead of 2. Again I started with a rear base 49.5cm tall and 6cm wide. Hot glue 4 half circles at the top, bottom and evenly divided centers.
-
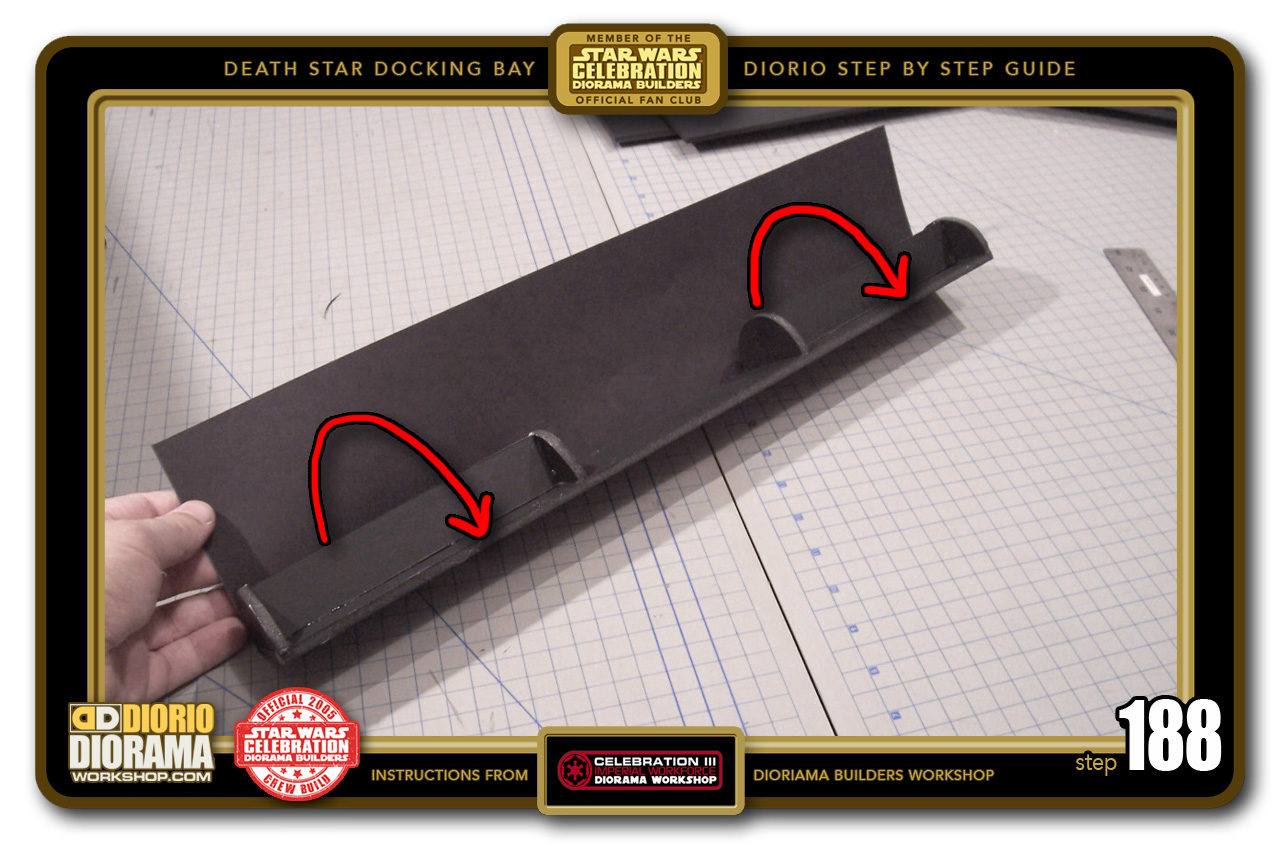
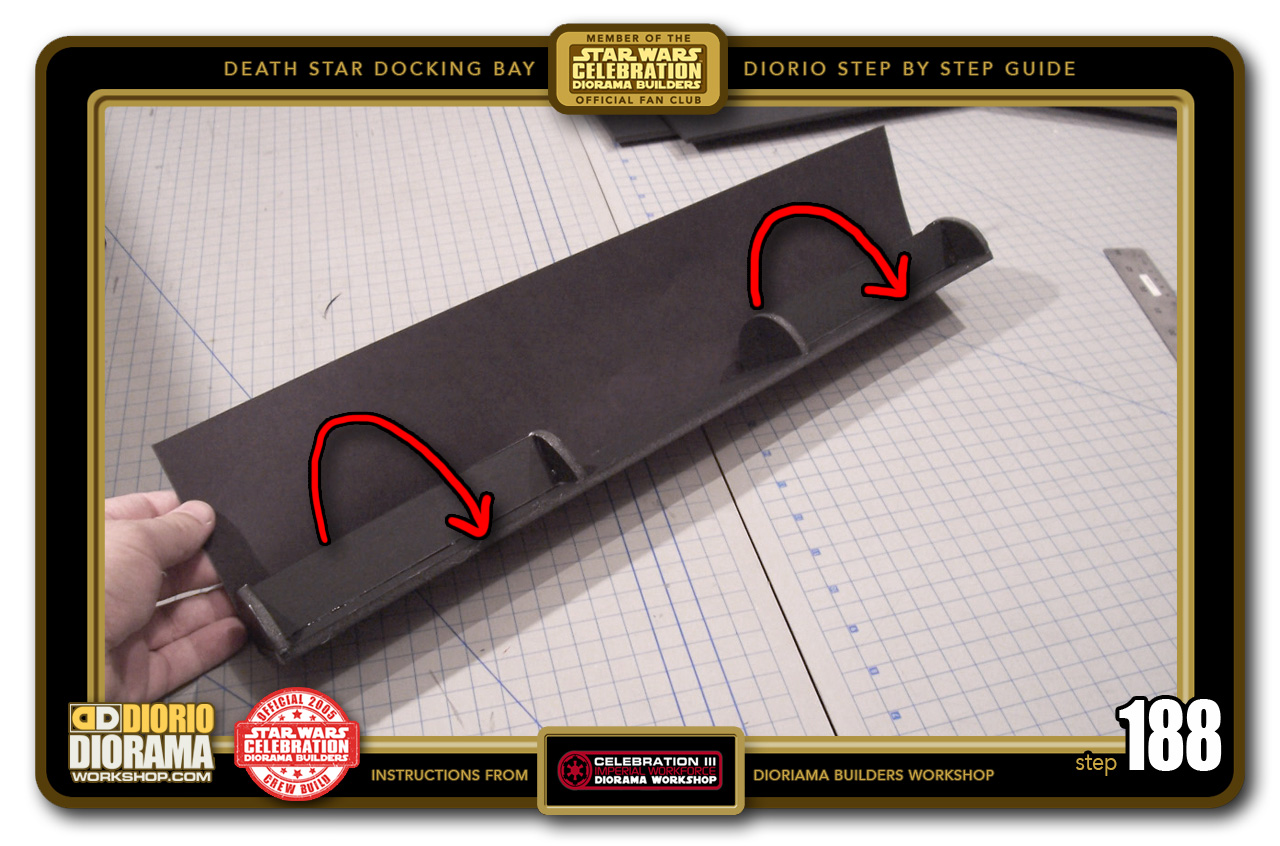
- STEP 188 > Measure your half circle gaps and insert/hot glue 2 spine supports between half circle 1-2 and 3-4. Now Just as you did before in Step 180, put your hot glue and wrap your cardboard sheet around the foamcore half circles.
-

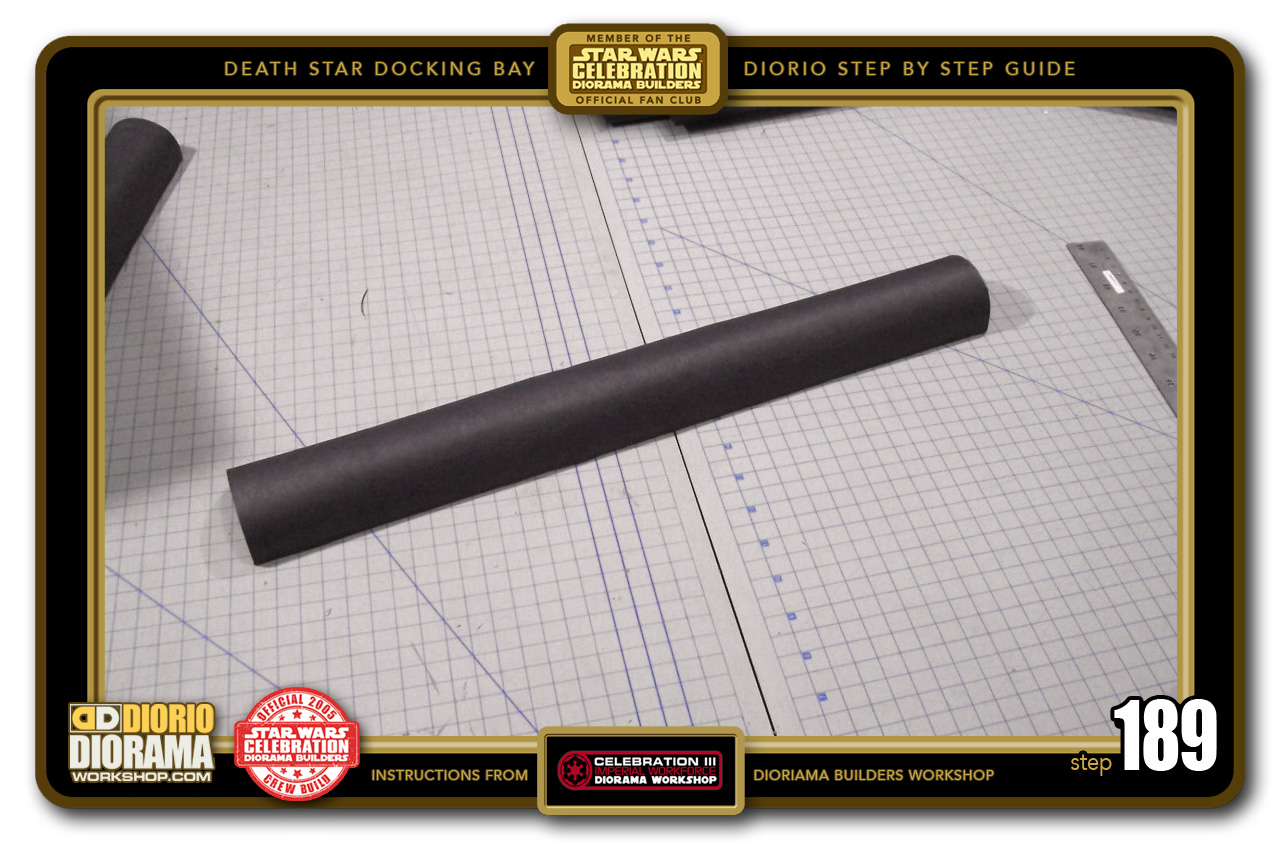
- STEP 189 > Once rolled and glued in place, trim the excess on the back and then you now have a your first long 3 story tall column base for your small round wall decals. Make a 2nd identical column and then apply 3 small round wall decals like before. IMPORTANT: For these colums I did NOT trim the entire excess top as I did in Step 184. Just trim the .5cm Blue ceiling line on 2 of the 3 decals.
-

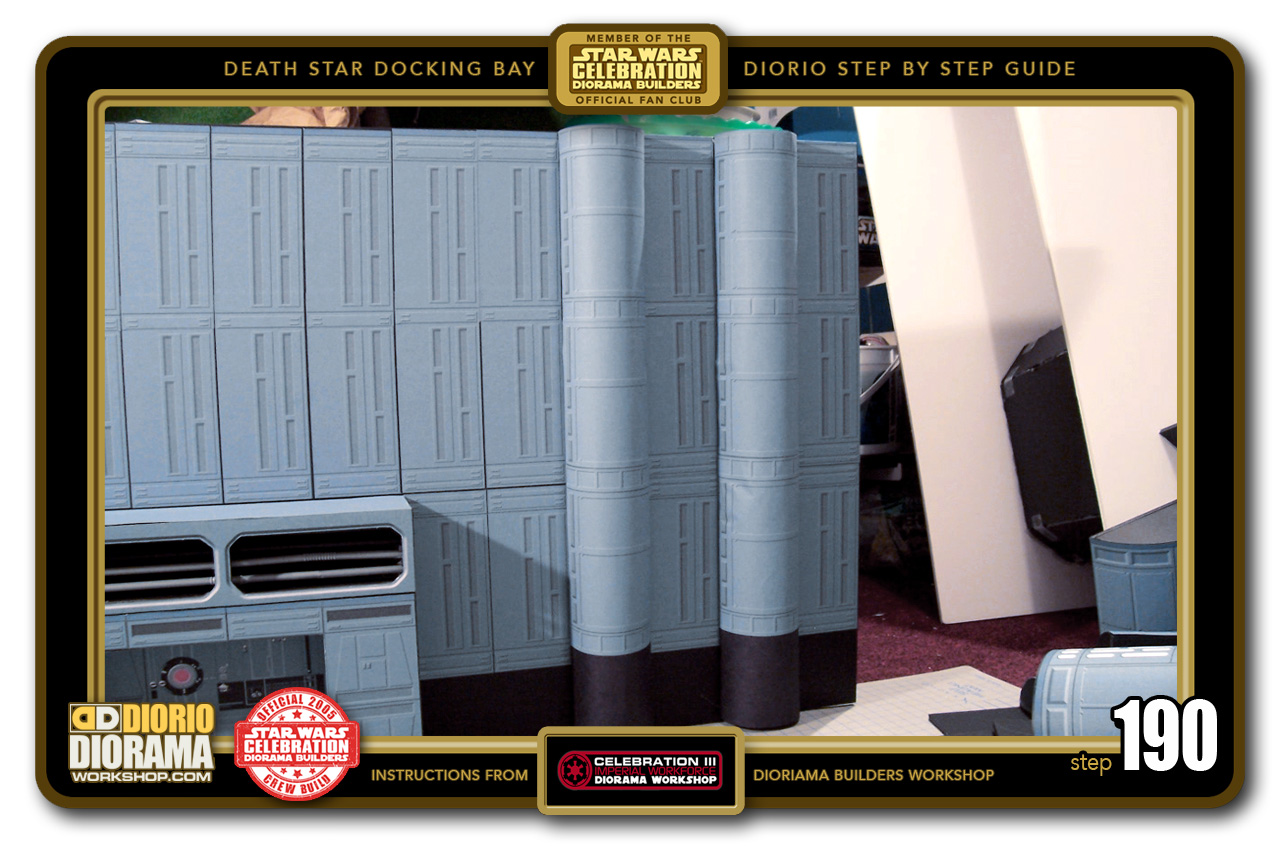
- STEP 190 > As you can see, the decal on top is the one that still has the .5cm blue ceiling line. The other 2 below are connected to each other without it. Your 3 story small round wall columns are now ready to be hot glued to the alcove wall. You can skip and simply place flat basic hallway decals, however you need the small round wall columns placed like this to make your diorama movie accurate.
-

- STEP 191 > Here is what the final small Blastdoor and alcove wall looks like with the small blastdoor angled properly in the corner. Don't panic if you wonder where the rear wall decals are - we haven't done that yet 🙂 it was just for the photo for you to see what it will all look like in the end.

-
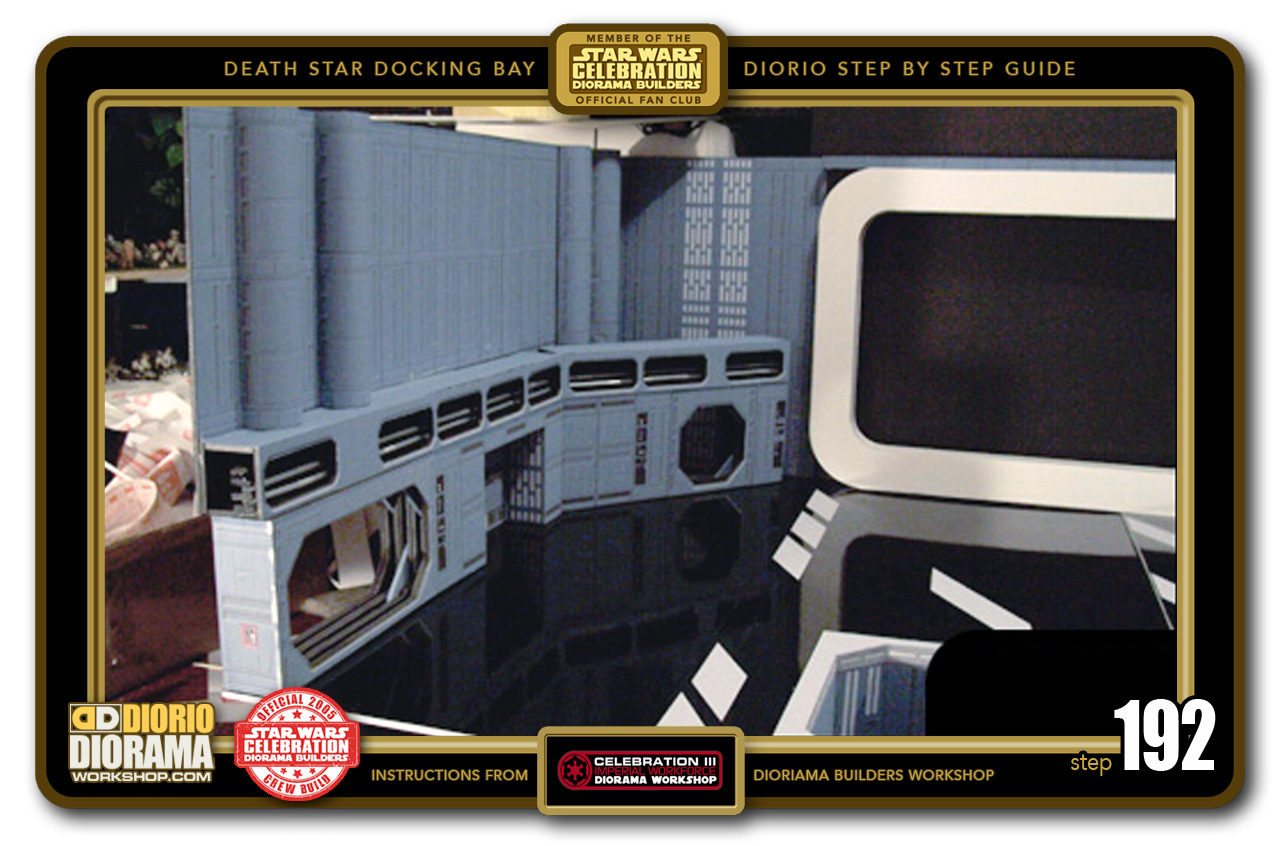
- STEP 192 > A wider view showing you how this all fits together with the floor arrow decals and docking bay neon force field entrance that we are gonna build next.

-

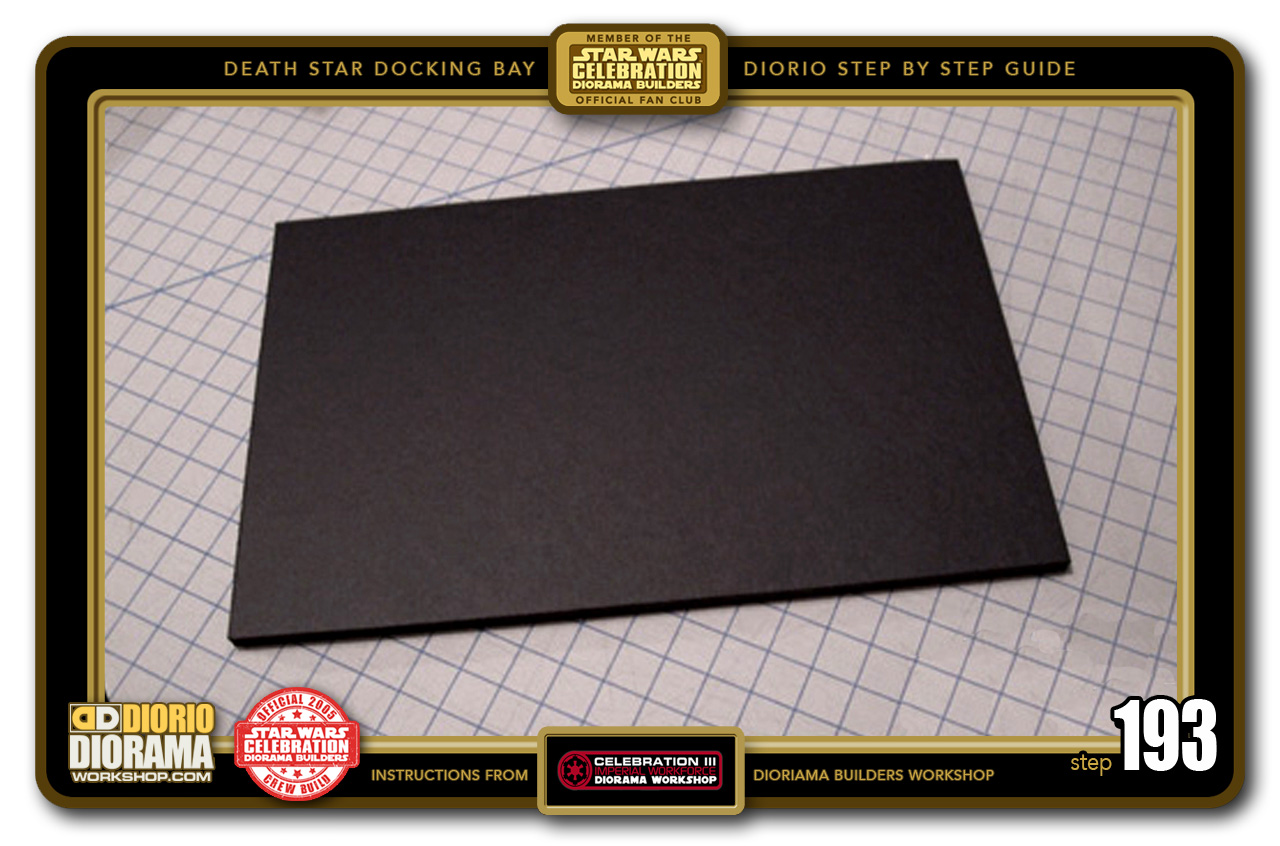
- STEP 193 > But first let's make a quick background wall to go behind the small blastdoor. Cut out a rectangle that measures 15.5cm tall X 24cm wide.
-
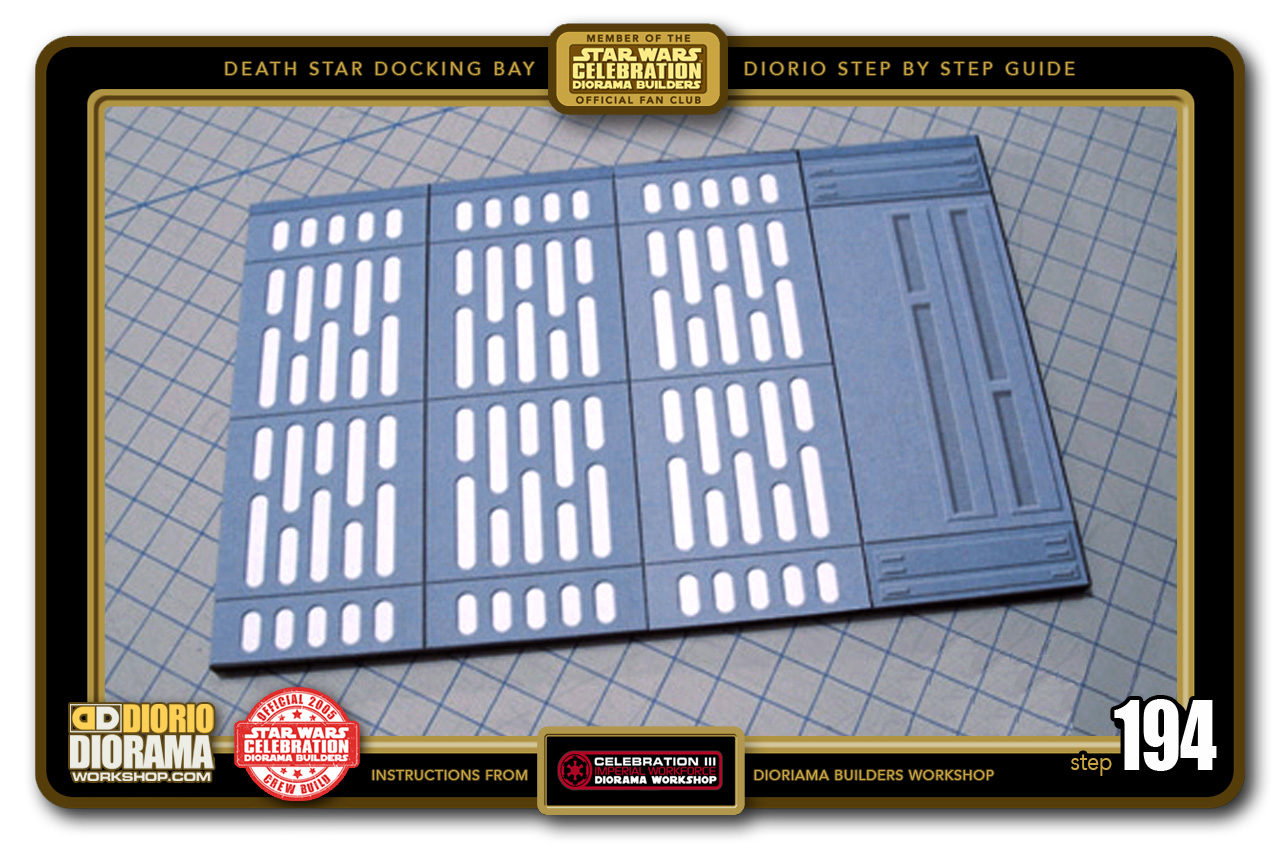
- STEP 194 > Grab your small blastdoor background wall decals (page 19 of the Docking Bay Decals PDF) and cut around the outside of the 4 panels. You don't need to slice in between, you can apply them as one single decal. Gluestick them to the foamcore rectangle. If you want to add your own touch, select ANY of the basic hallway decals but this pattern is movie accurate.

-
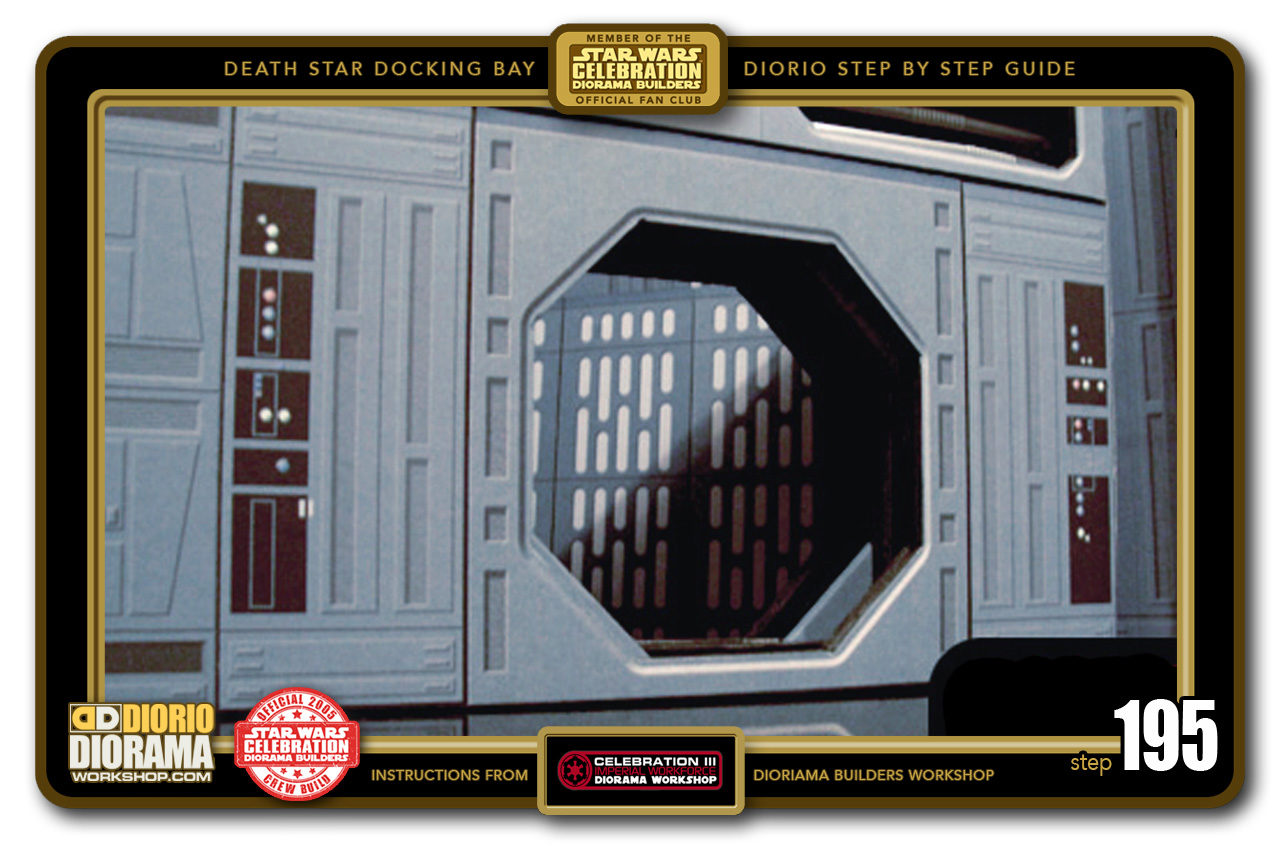
- STEP 195 > Look familiar? 🙂 Simply place the wall behind the small blastdoor wall. leia, Chewie and Han will soon be arriving to escape the Death Star 🙂

-
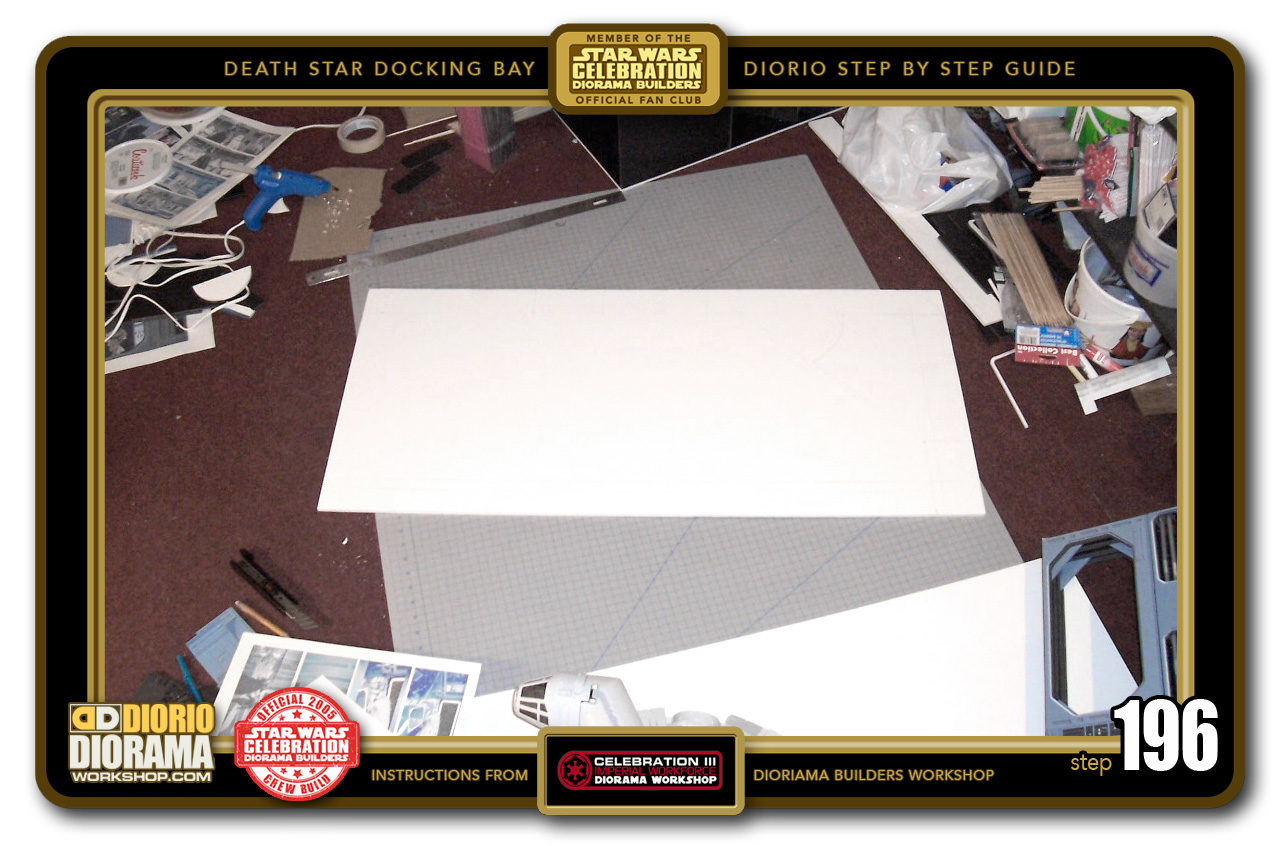
- STEP 196> Time for the neon force field entrance. Measure and cut out a 47.5cm tall X 102 wide piece of white foamcore.

-

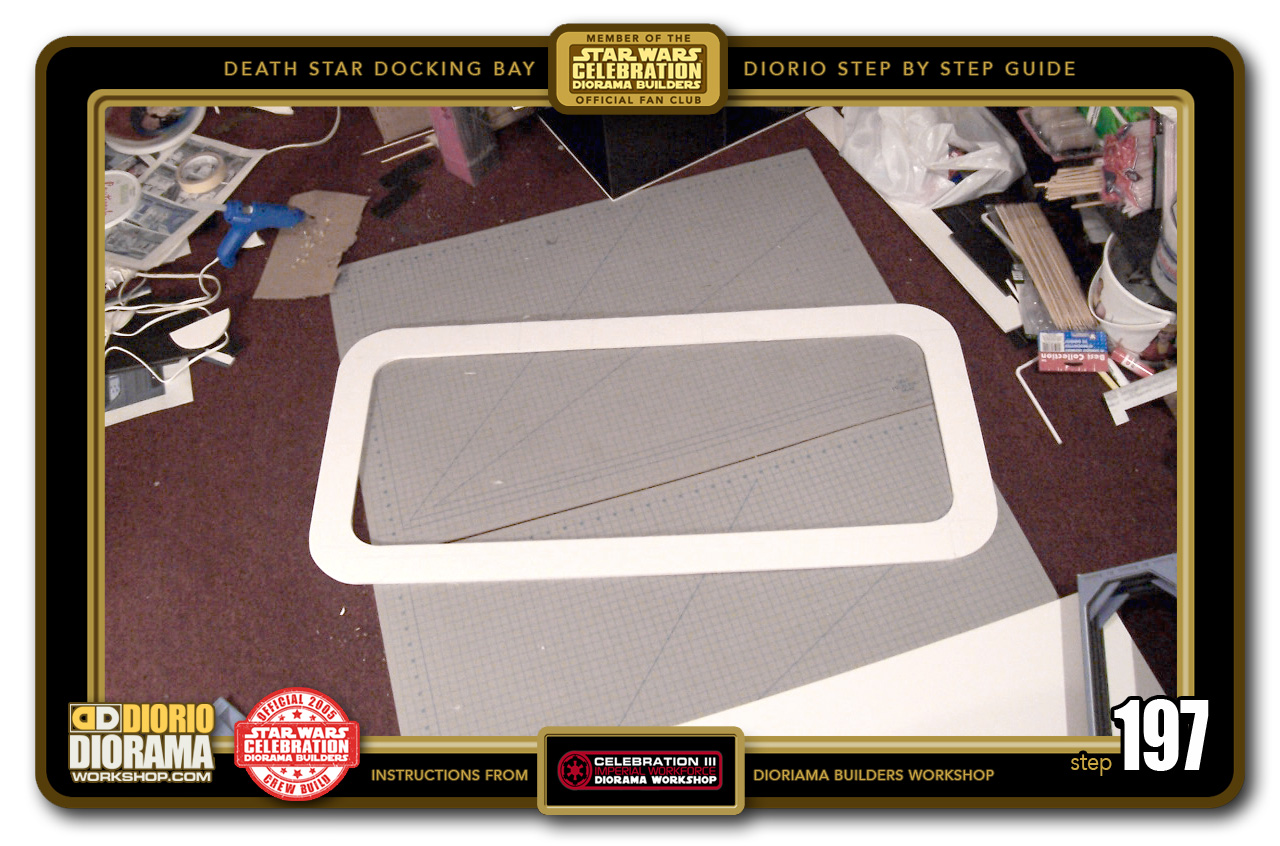
- STEP 197 > The force field needs rounded corners. First measure 8cm thickness from the outside going in on all sides, then draw your corner 1/4 curves till they connect to the straight 8cm lines. I used a soup and coffee can for this. Cut off the outer curves and then carefully cut out the entire center. You should now have a piece that looks like this. Take a NEW piece of foamcore and trace this shape on that sheets surface and cut again to get a duplicate piece for use later on Step 208.
-
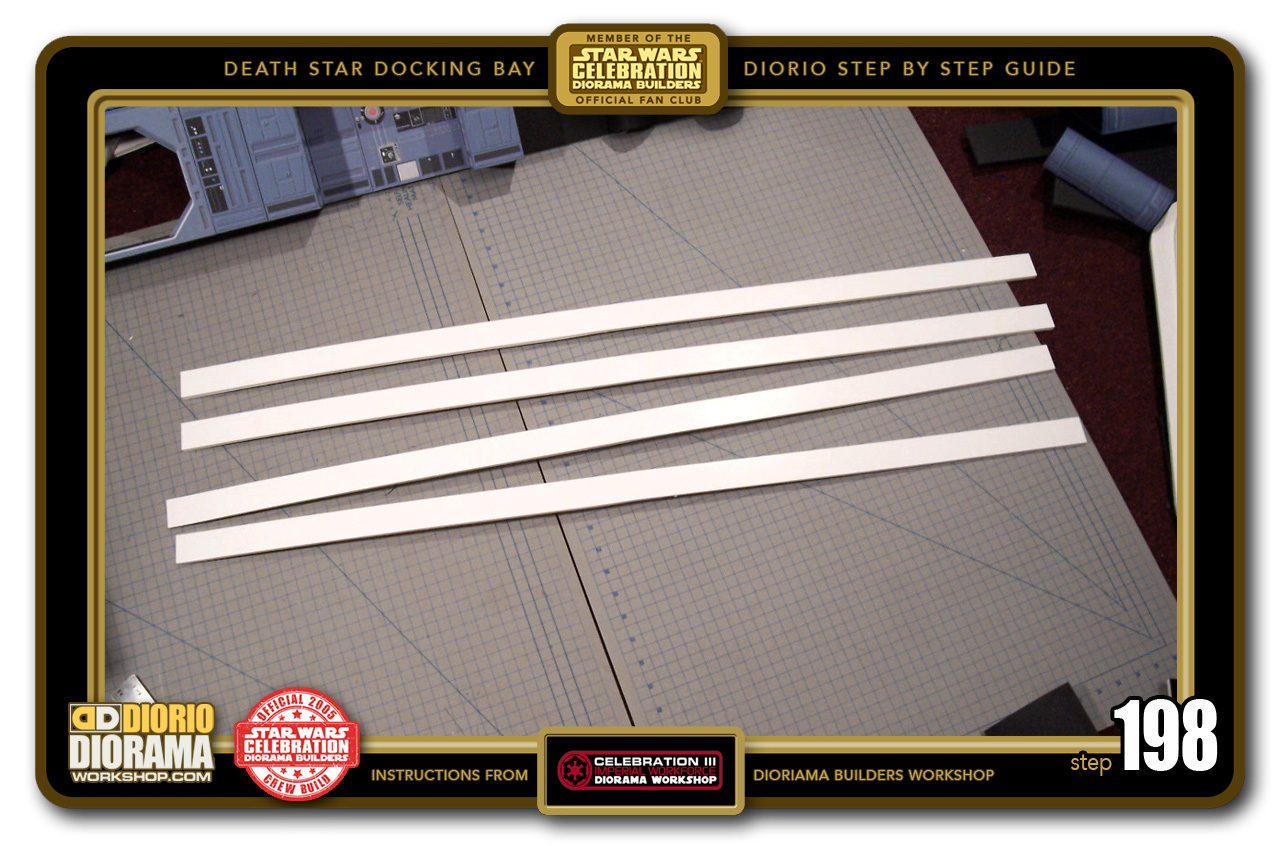
- STEP 198 > Now the Beam needs a thickness to stand up straight and look like the glowing beams of the movie. You could just glue the flat rectangle opening to a cardboard back if you don't want to spend the time to turn it 3 dimensional frame. If you choose the high road, cut several long strips of foamcore 5cm wide

-

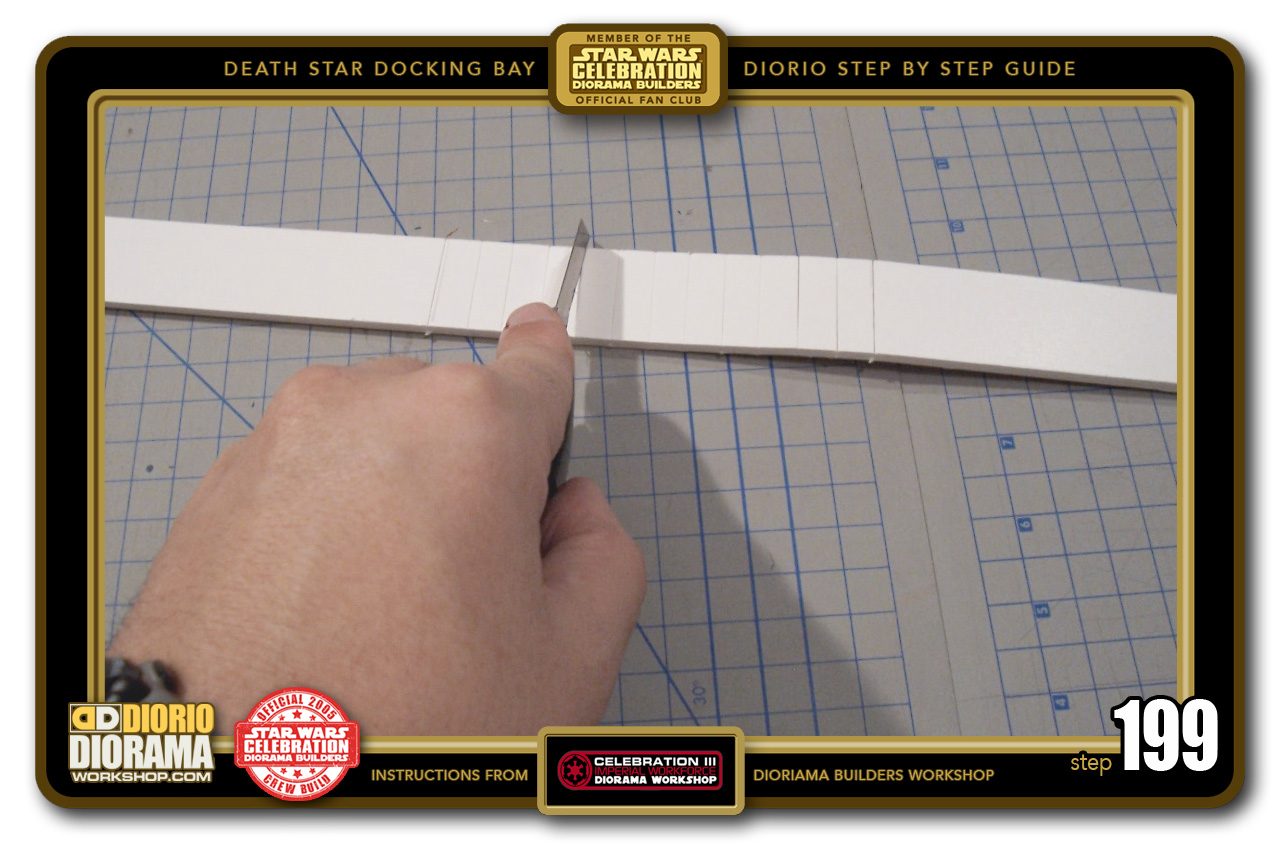
- STEP 199 > We need to curve this foamcore thickness strip, in order to do so, cut SLITS from top to bottom at every 1cm IMPORTANT: DO NOT CUT ALL THE WAY THROUGH !!! Make sure to only slice the top paper and some of the styrofoam. You want to keep the back paper intact so that it holds the separated pieces together when bending.
-

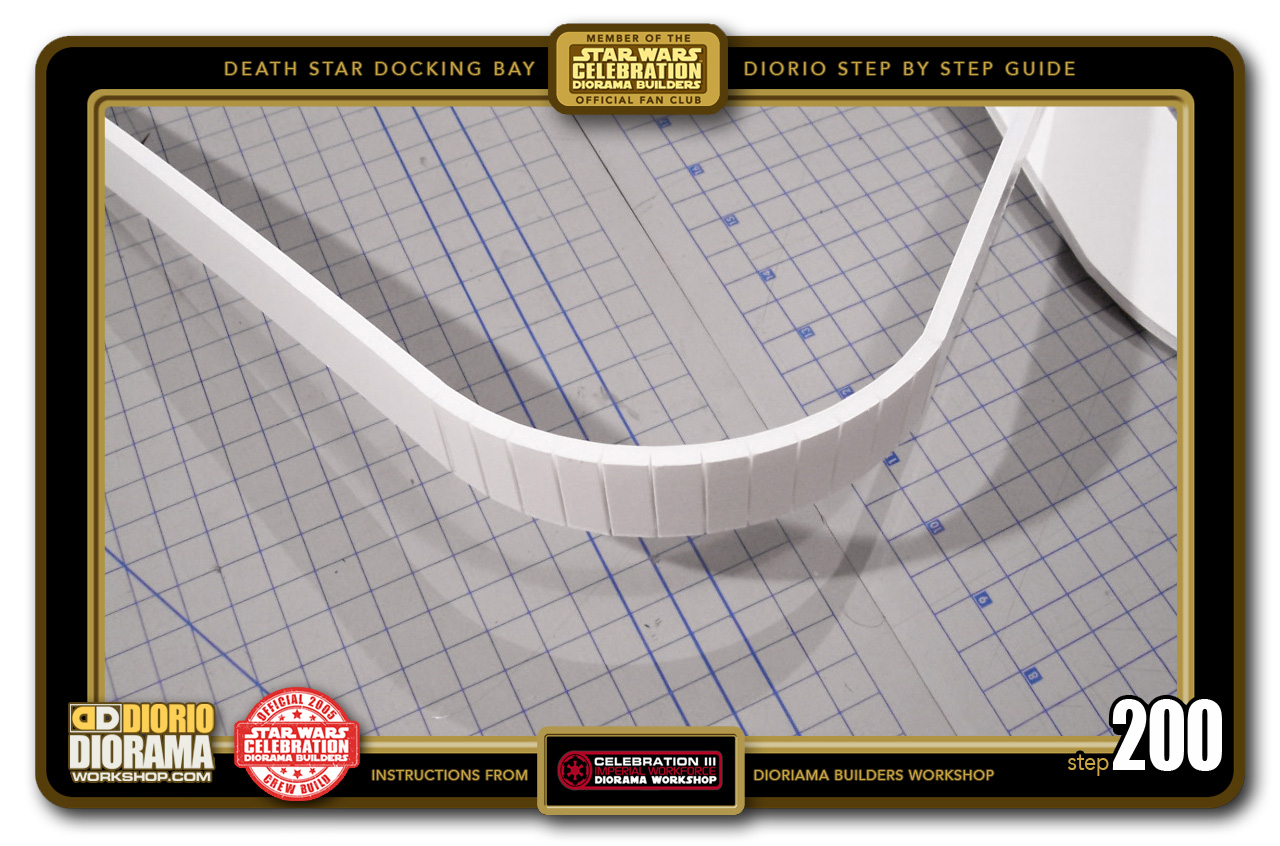
- STEP 200 > see how it can bend? After you sliced all the slits of the corners, grab your foamcore and carefully bend your strip one slit at a time inching your way from the beginning of the cuts to the end. DO NOT bend on the side of the uncut paper because your strip will SNAP in half.

.
Did you already build this Diorama ? At home or at our Star Wars Celebration Diorama Builders workshop ? Would you like to show it in the site’s GALLERY VISITORS DIORAMAS section, YES ? That is Awesome !!! You can find out all the details on how to email me your photos on the VISITORS SUBMISSIONS INFO page … When I get your photos, I will create your very own page just like this one. You may not realize it but work does inspire others to join in the fun of making Action Figure Dioramas.
.
NOT FOR RESALE ALL Decals, tutorials and artwork are ©FrankDiorio (dioramaworkshop.com) and offered FOR FREE to the fans – that would be you ? so you can build and display my diorama designs in your very own home. I realize I cannot control what one does with my graphics once I place them on the web, I can only ask you as one fan to another, please respect the artist and do not be that jerk who uses my designs and tutorials to build a copy of my work only to sell it on EBAY or trade/sale groups and forums. Thank You. Frank.
![]() Catch up with fellow visitors and exchange stories, read cool interviews with the crew, exchange photos, fun surprises and grab some FAN ONLY merchandise next year at actual future conventions ?
Catch up with fellow visitors and exchange stories, read cool interviews with the crew, exchange photos, fun surprises and grab some FAN ONLY merchandise next year at actual future conventions ?
.
©2018 Frank Diorio DioramaWorkshop.Com
.
IF YOU LIKE WHAT YOU SEE, PLEASE SHARE WITH YOUR FRIENDS
USING THE SOCIAL MEDIA BUTTONS BELOW