


-
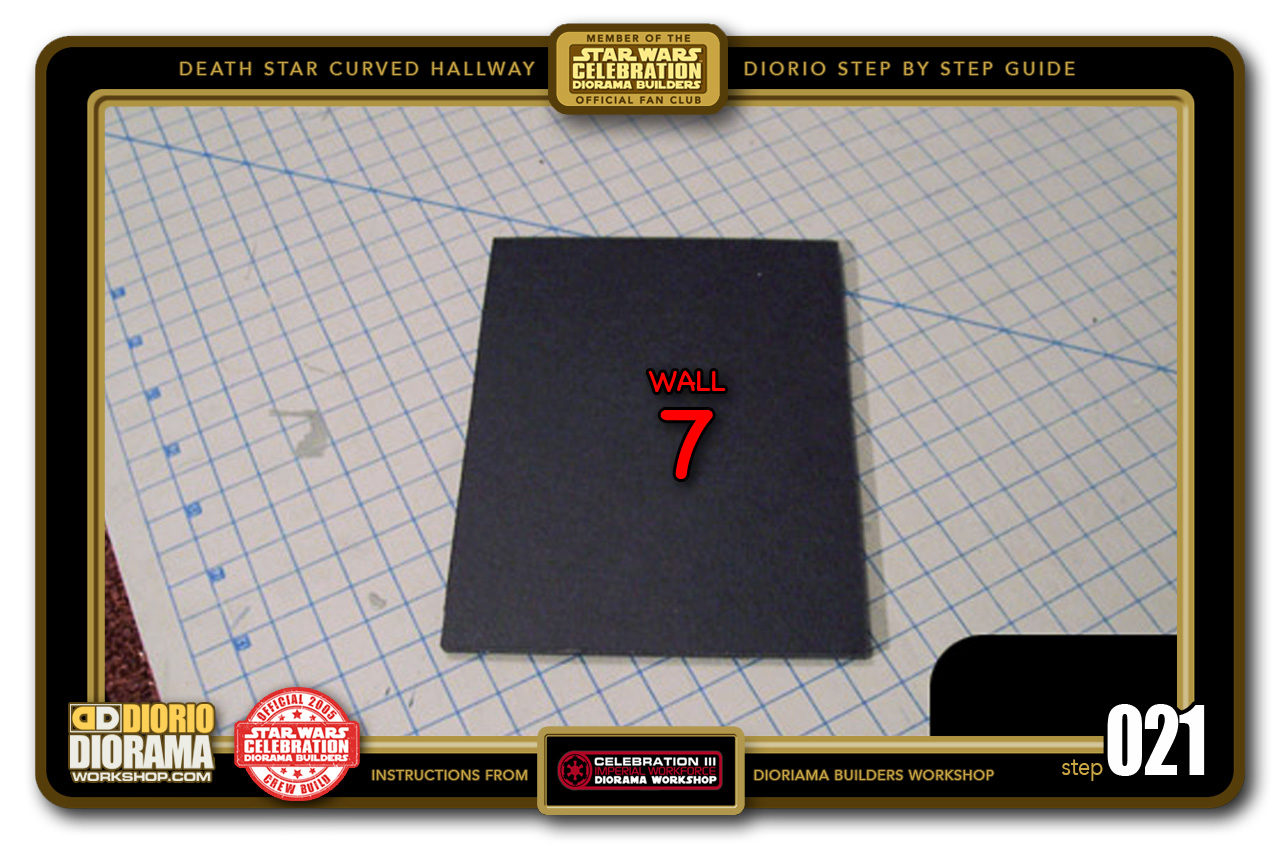
- STEP 021 > Time to grab another one of your rectangles for "WALL 7".

-
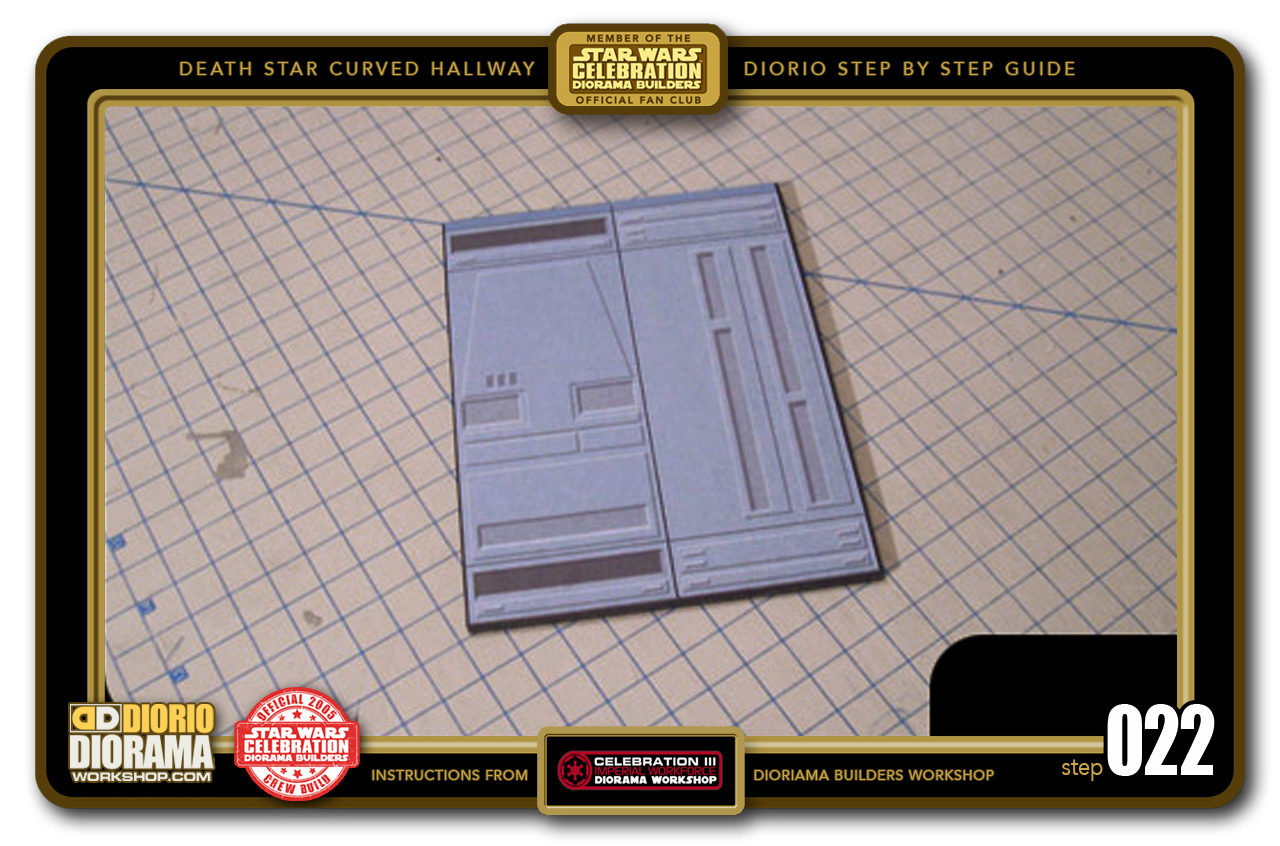
- STEP 022 > Apply these TWO decals for movie accuracy. You can select any other basic hall panel decal if you prefer to be different.

-

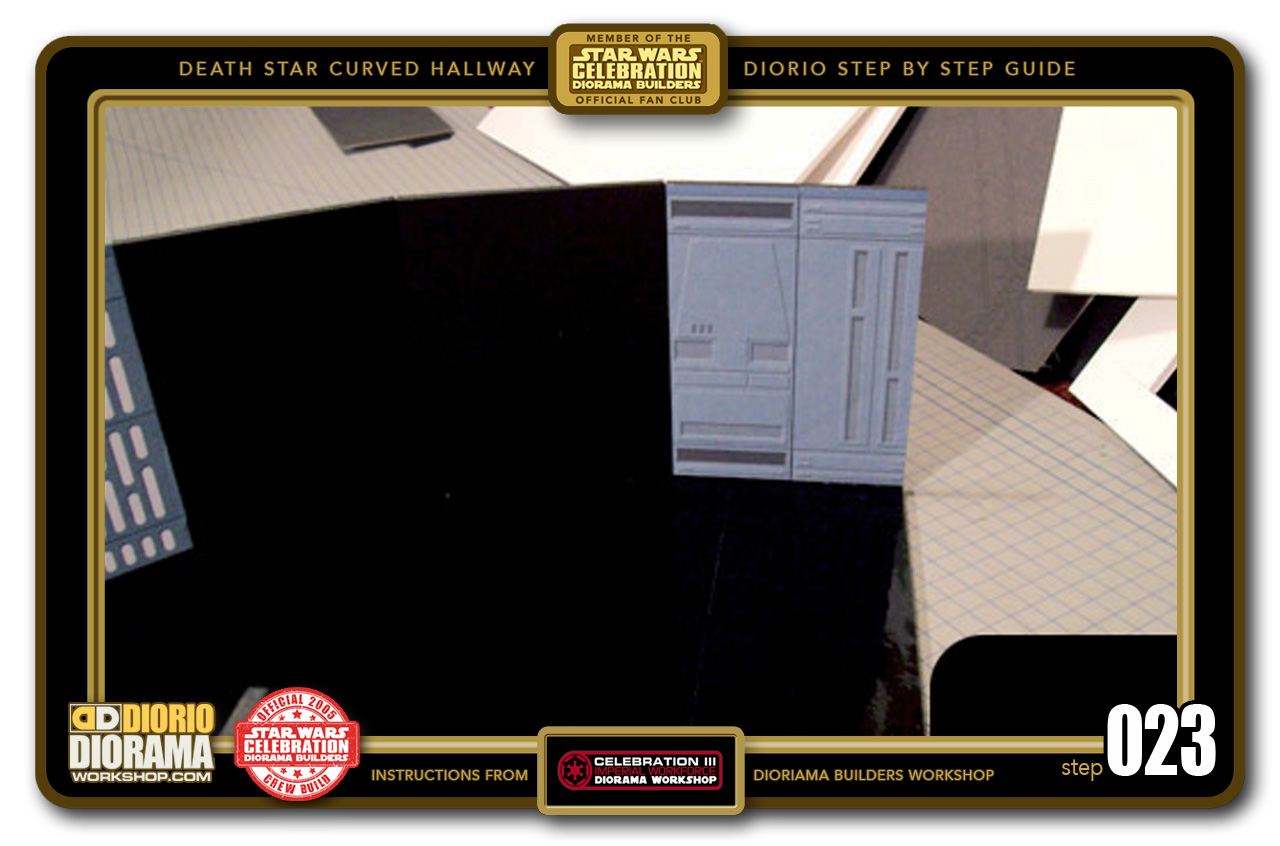
- STEP 023 > Hot glue "WALL 7" to the floor base as close to the other section "WALL 6" as possible. Your panel should line up with the corner edge of your diorama floor base.
-
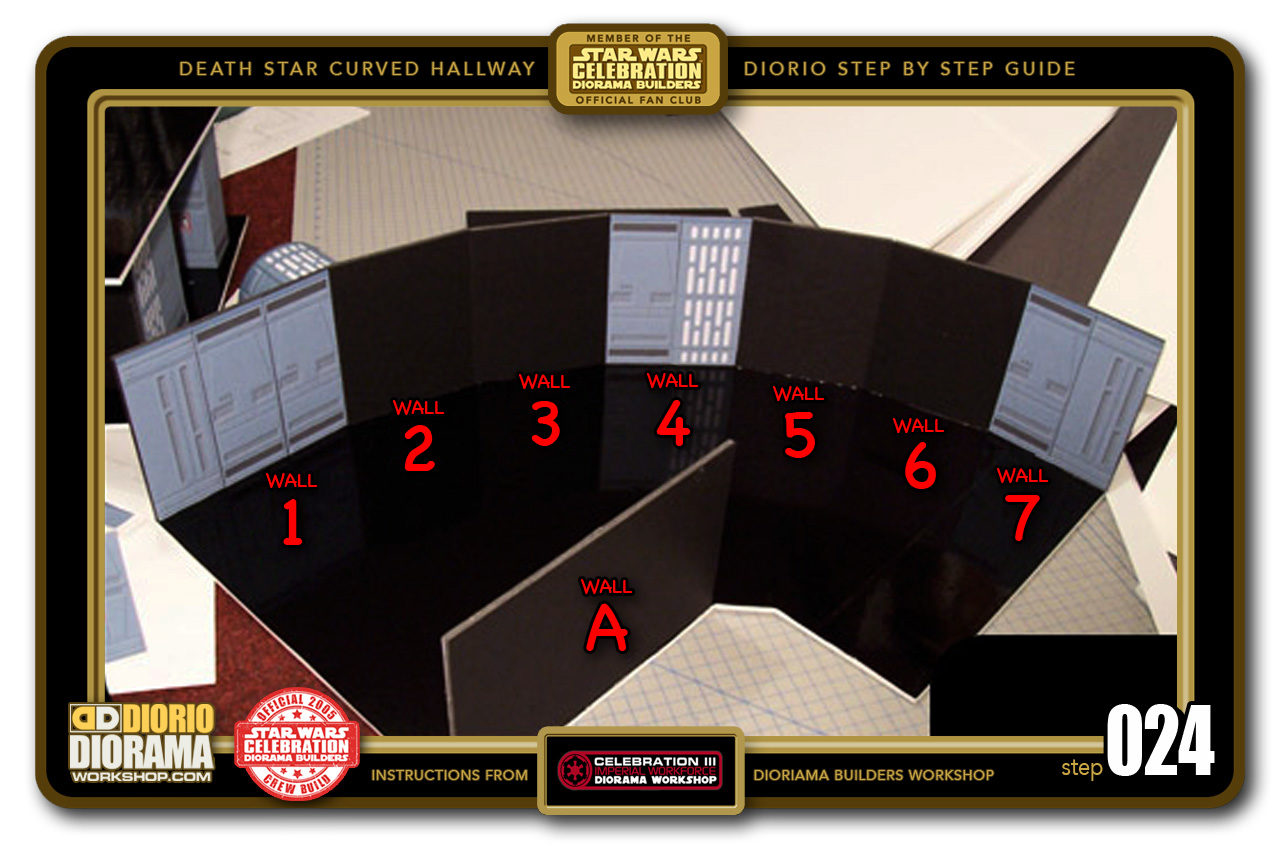
- STEP 024 > You should now have a wall that looks like this. Again don't panic about the blank wall panels if you are copying my exact movie accuracy design. You will be placing TWO LARGE round walls against wall #2 and #3 and 4 SMALL round wall panels on top of #5 and #6 walls. Of course if you don't want movie accuracy and prefer regular decals, that's cool too.

-

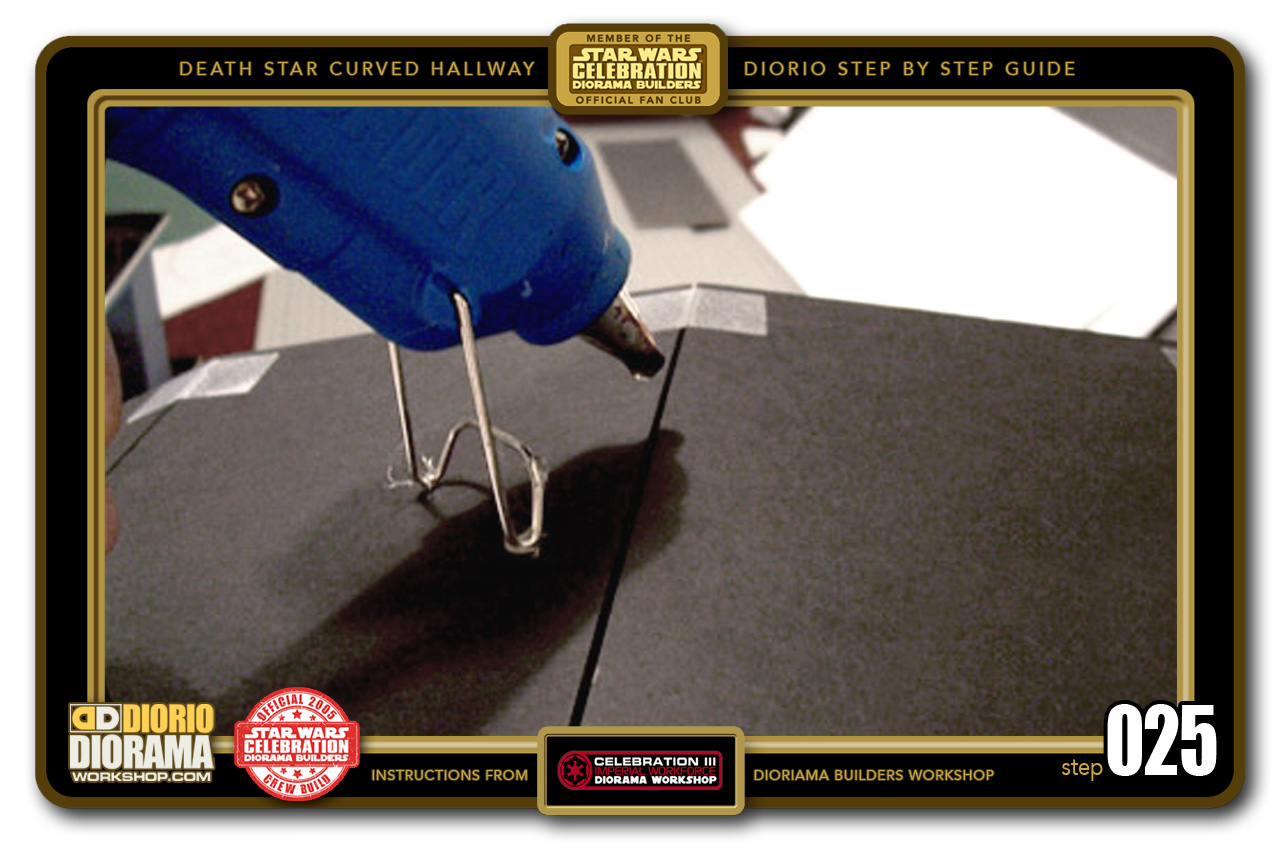
- STEP 025 > Now that the wall panels are all fitted in place, we can reinforce the wall and bond the sections together. Simply drip some hot glue INTO the cracks formed at the back of the wall panels.
-
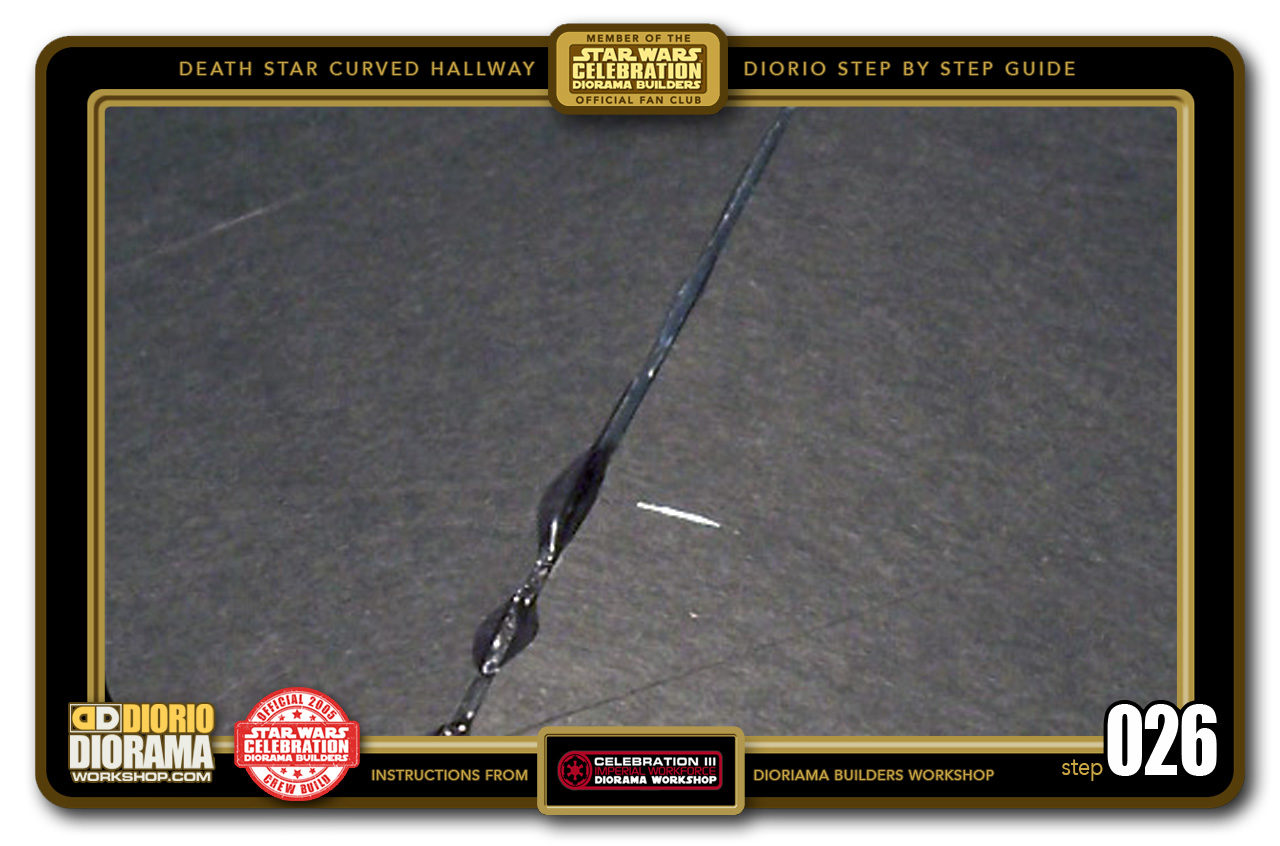
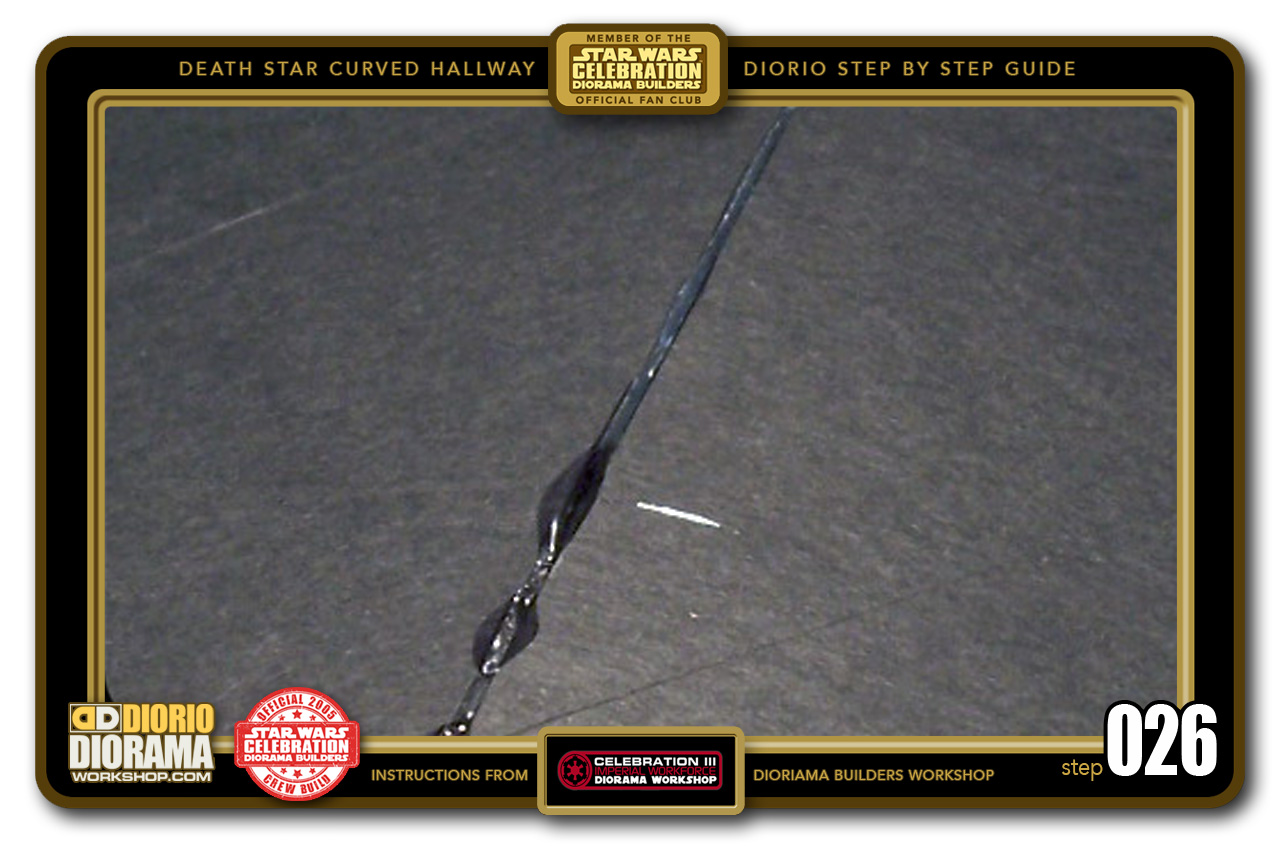
- STEP 026 > Once cooled off, the pieces will be impossible to fall apart like dominoes. Well, unless you STEP on your Diorama 😛 LOL. After you have gone all the way around, you can if you wish, remove the pieces of tape.
-

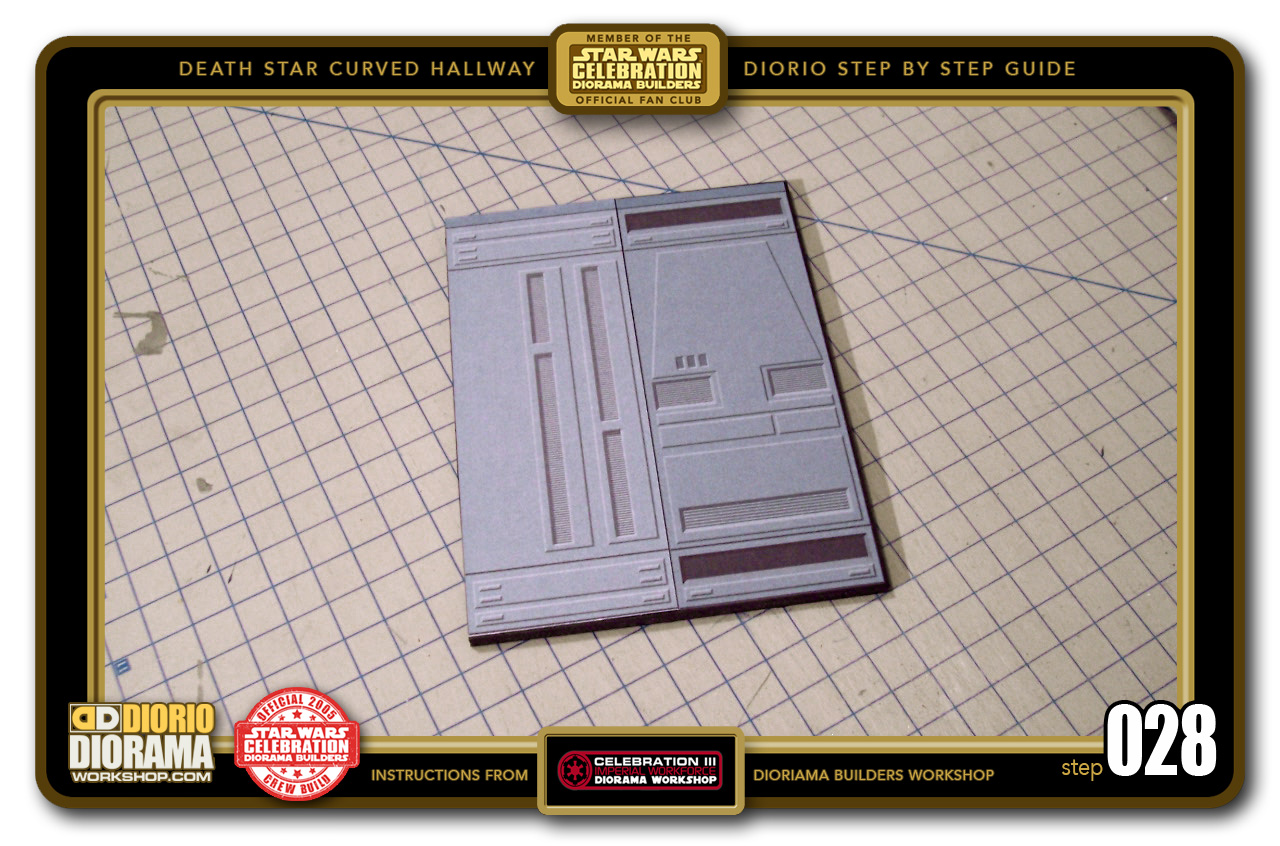
- STEP 027 > Take your last 15.5cm X 12cm rectangle "WALL C" piece...

-
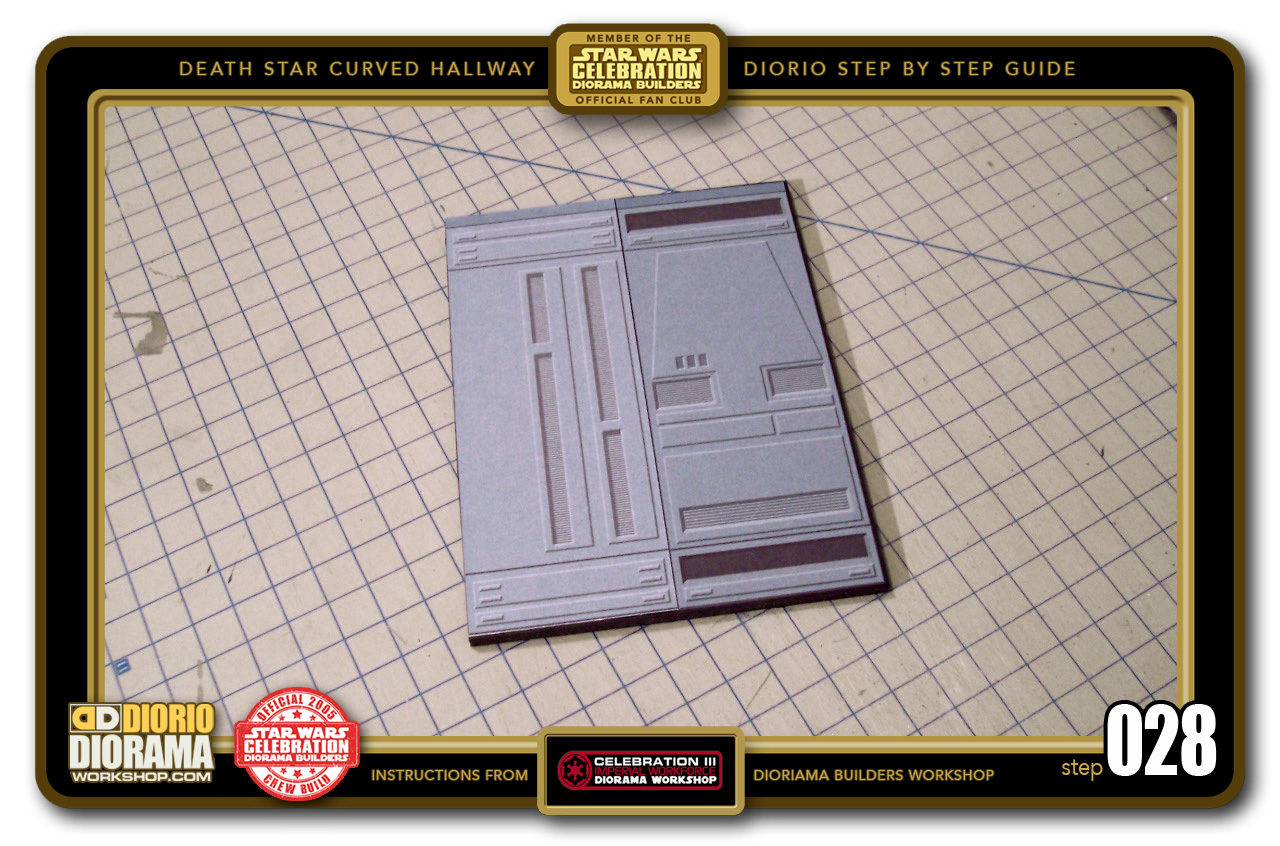
- STEP 028 > ...and apply TWO more decals. You know the drill by now, if you want movie accuracy, select these TWO exact panels from the basic hall panel pdf available in the Tutorials Star Wars menu.
-
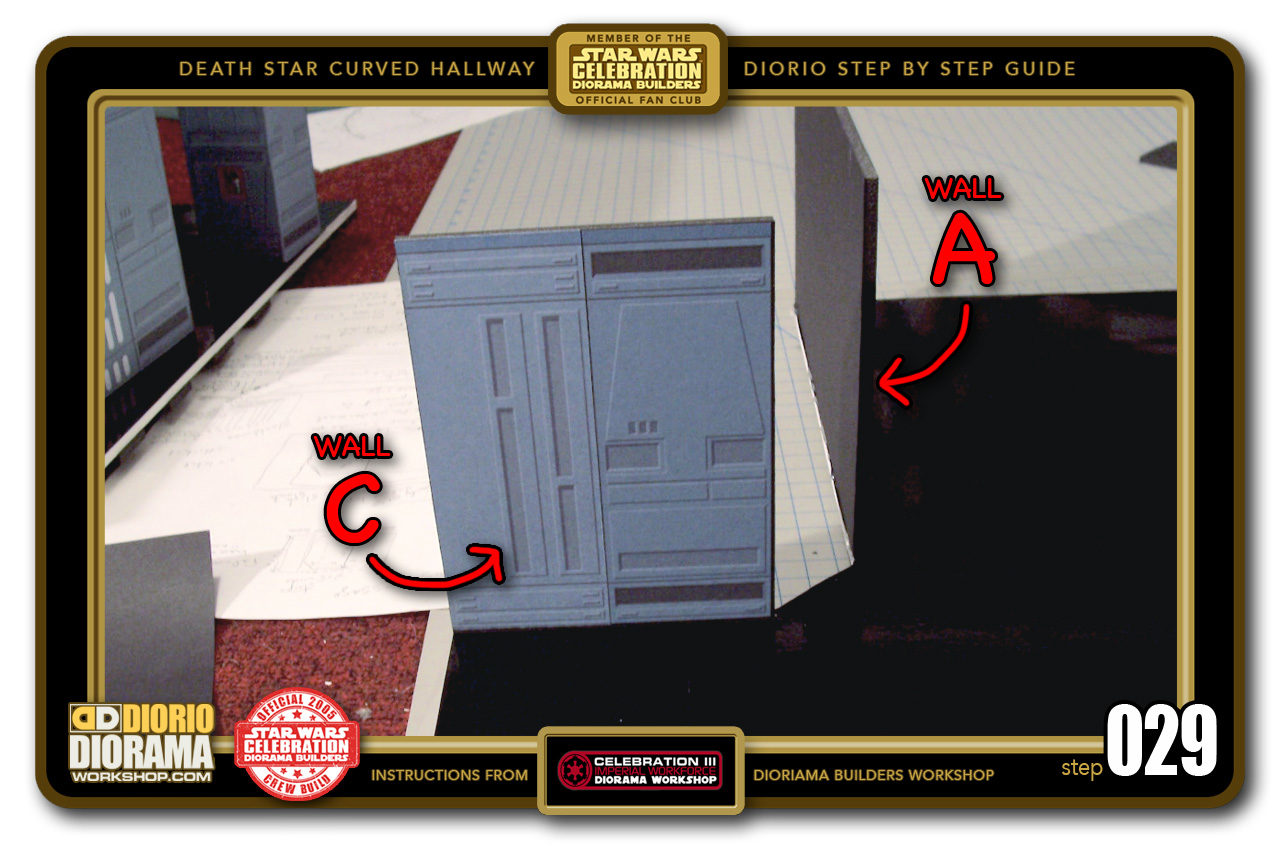
- STEP 029 > Put some hot glue at the bottom of your "WALL C" panel and place it along the floor, making sure it is flush with both edge corners.

-

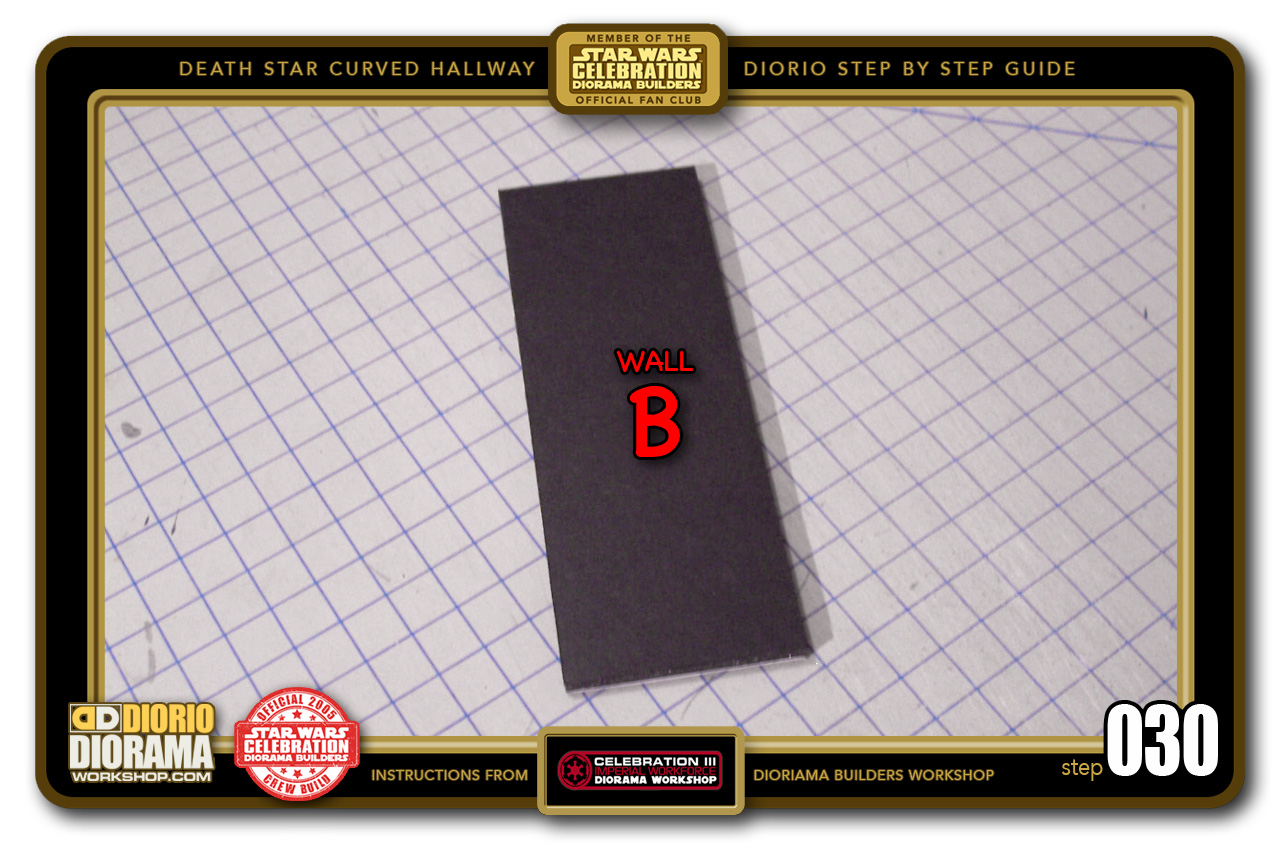
- STEP 030 > Here you have to cheat a little, the gap between the 2 walls is not quite a normal 6cm wall panel width. You will have to cut a 15.5cm X 5.5cm rectangle for this center piece.
-

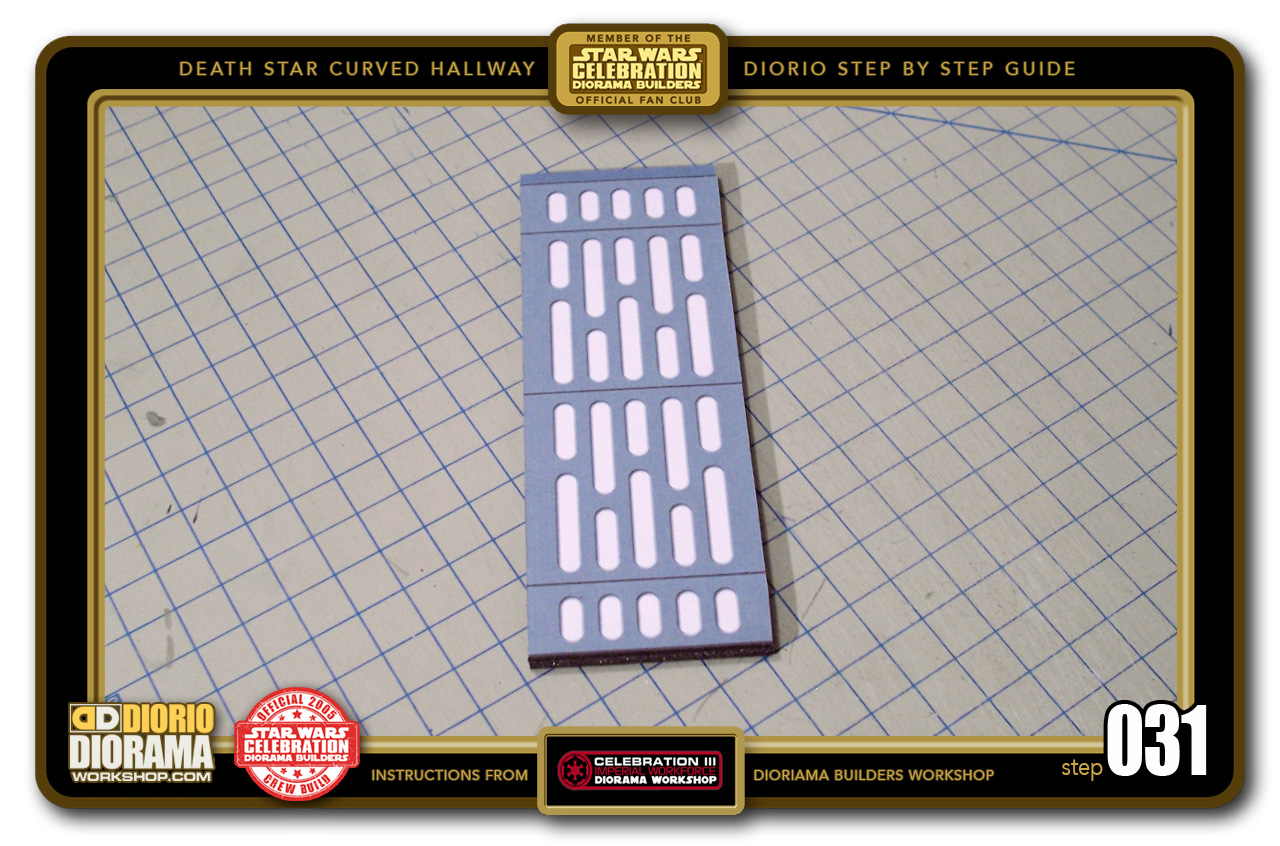
- STEP 031 > Apply A NEON decal, flip it and trim off the excess paper to create a flush wall unit.
-

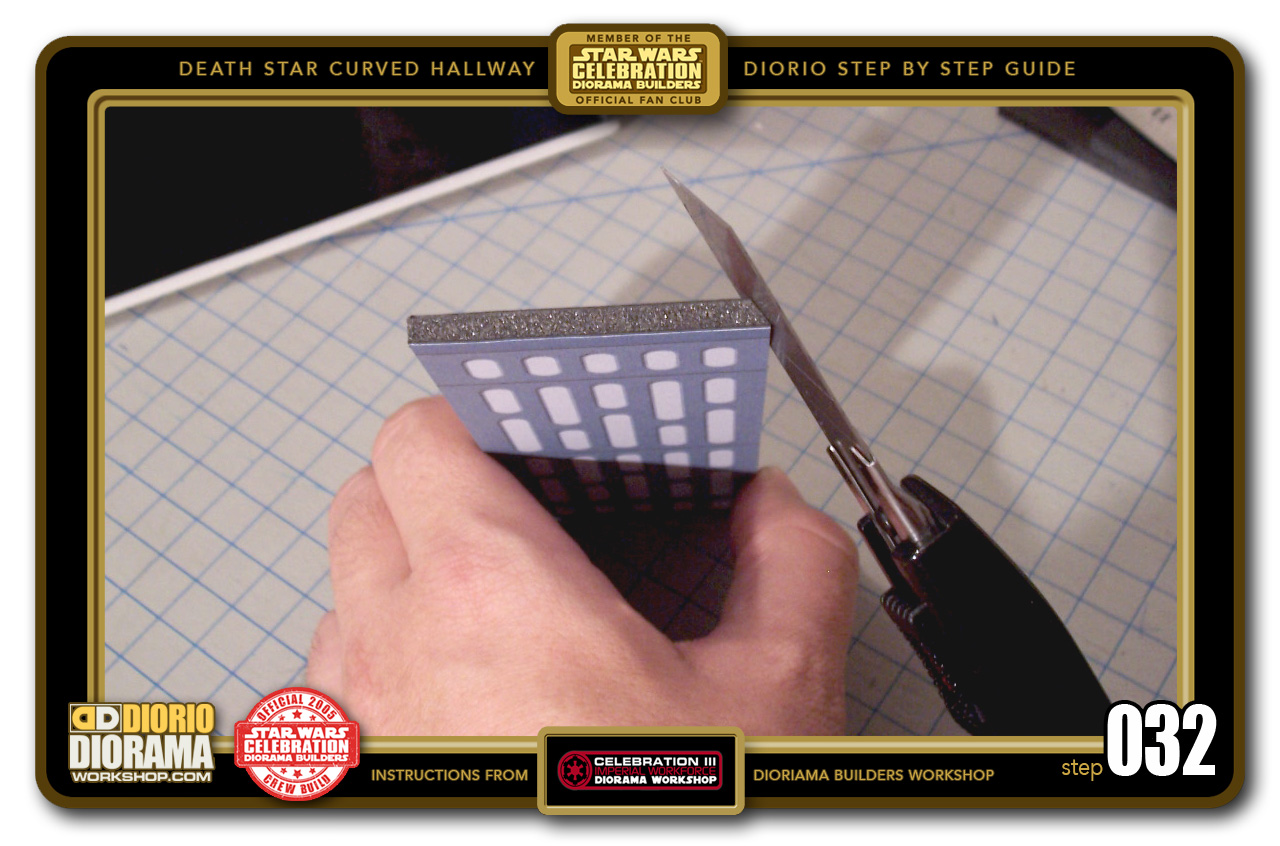
- STEP 032 > Now CAREFULLY slice a 45 degree angle into the end of the Foamcore. Use a NEW blade for best results and press down SLOW starting at the front fully extended blade till you reach the Back, lift up a little, bring the blade back to the front, and press down as you move forwards again into your slice. DO NOT go FRONT BACK FRONT BACK like when you saw a piece of wood. You risk tearing the foamcore into jaggy edges.. AND WATCH OUT FOR YOUR FINGERS on these cuts !!! Trust me 🙂
-

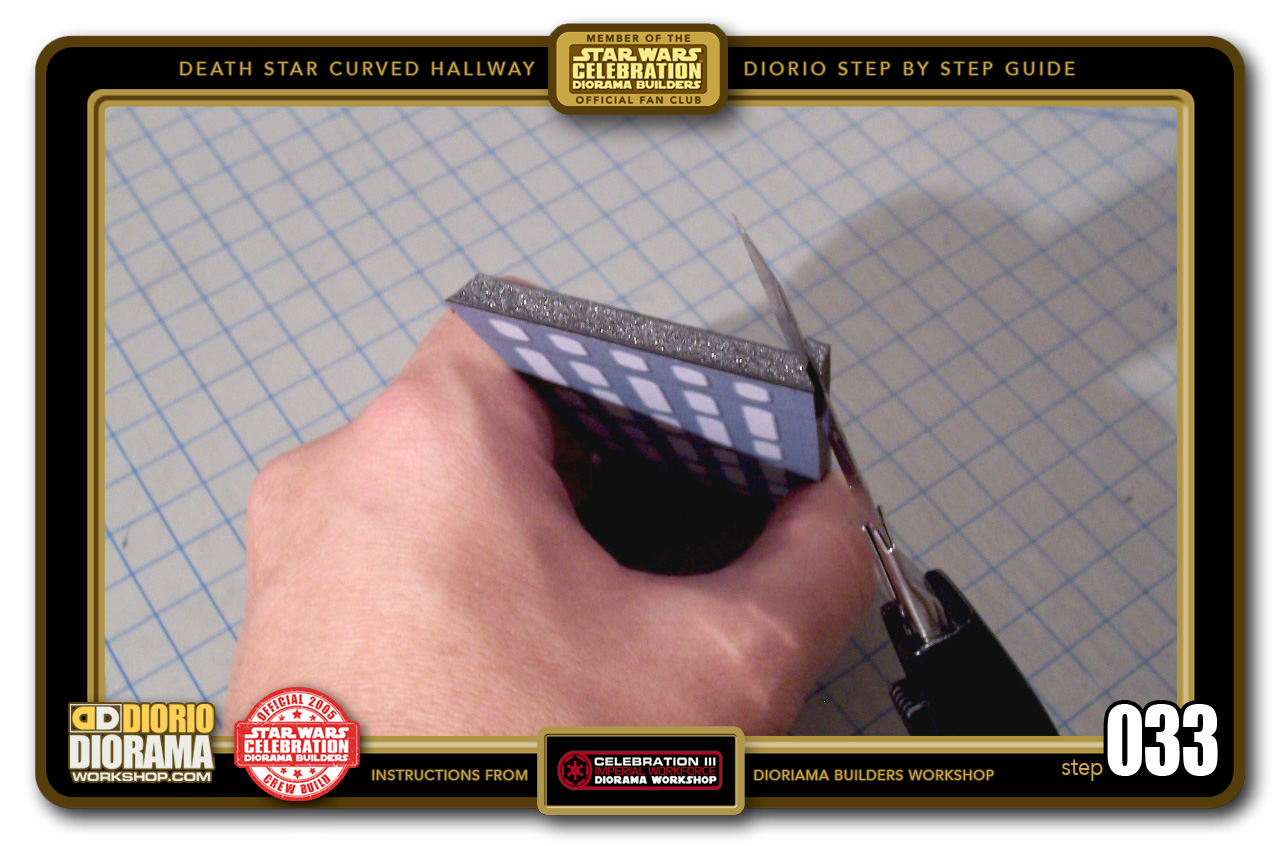
- STEP 033 > Turn your "WALL B" piece 180 degrees and repeat the operation. You want the angles on each side to point inwards.
-
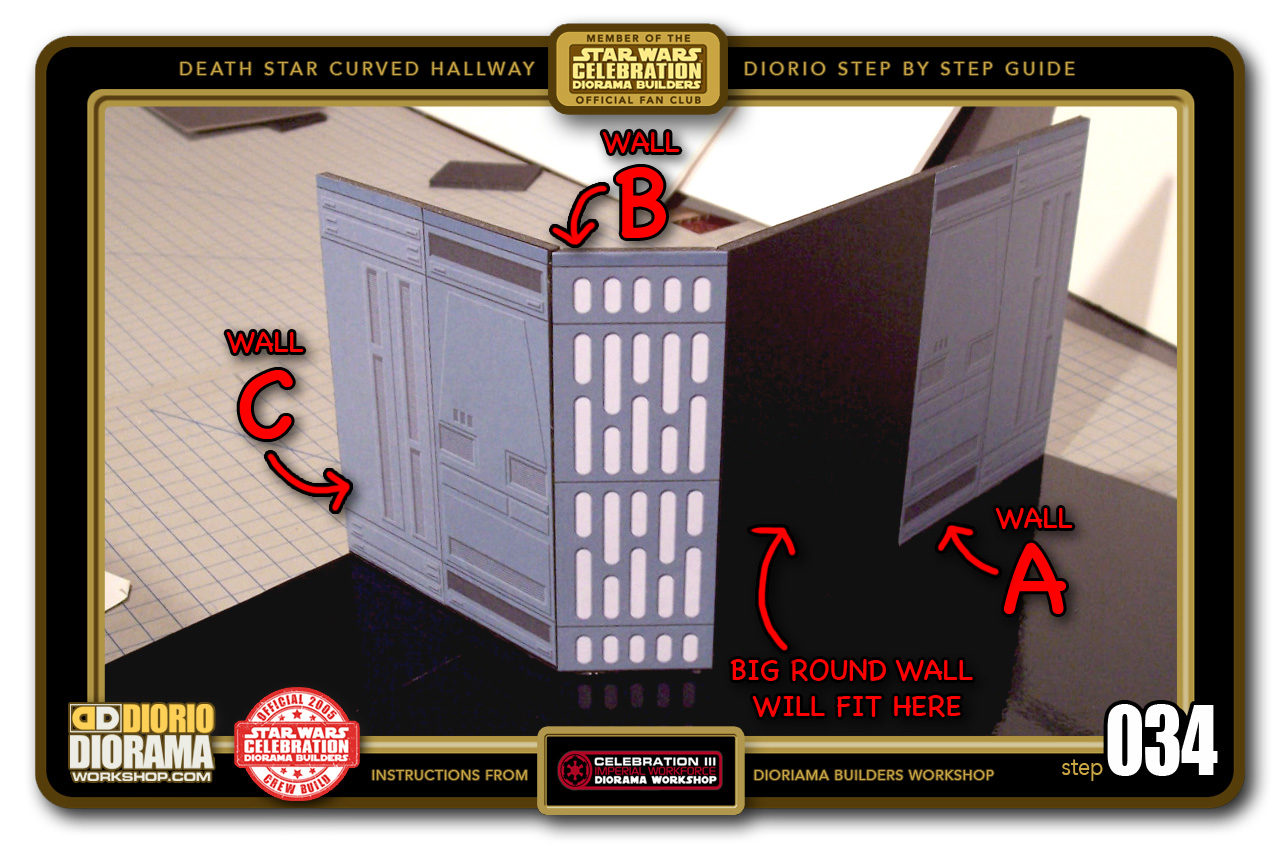
- STEP 034 > The "WALL B" panel should now fit like a glove between your "WALL A and C". Make sure to TEST FIT before using the hot glue to attach it permanently. As you did in the other side, fill in the rear cracks with some hot glue to reinforce the walls and secure them in place.

-
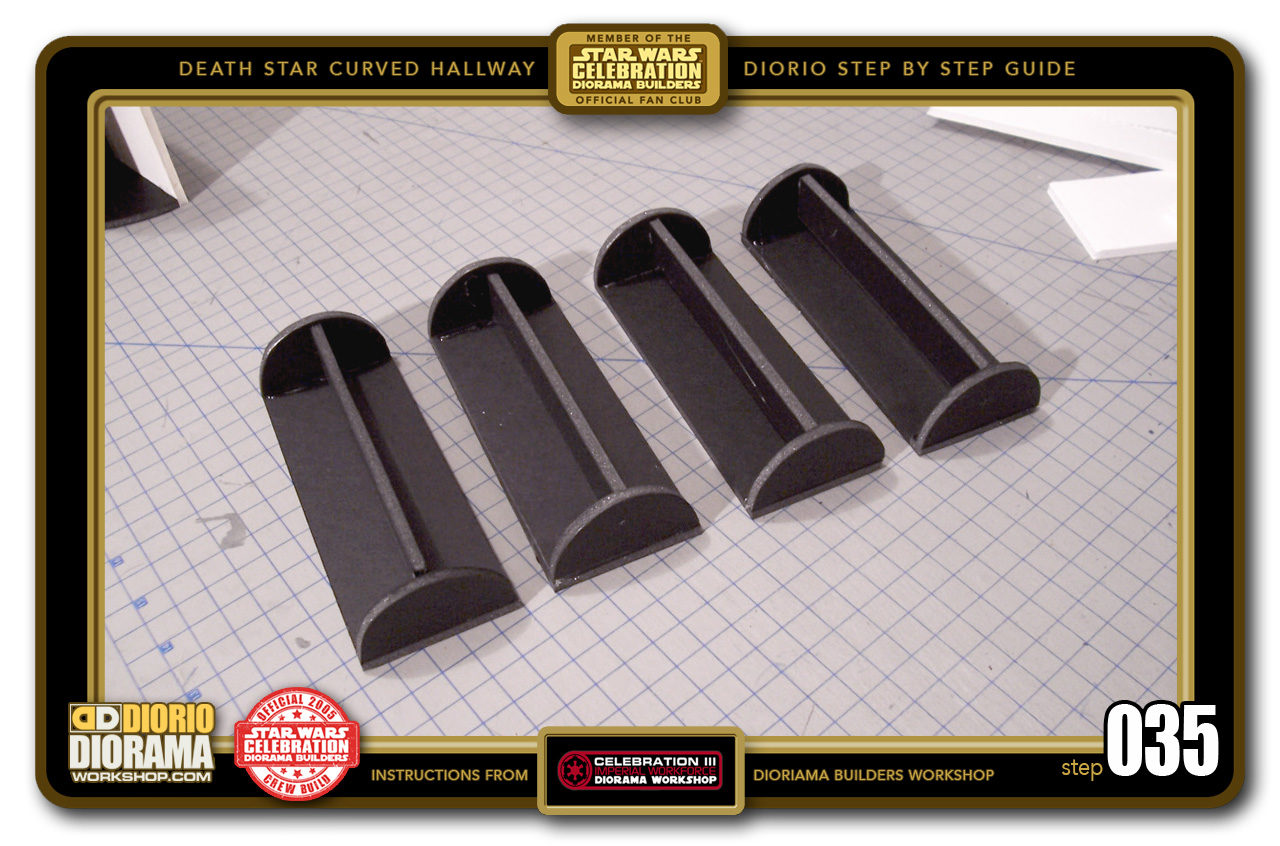
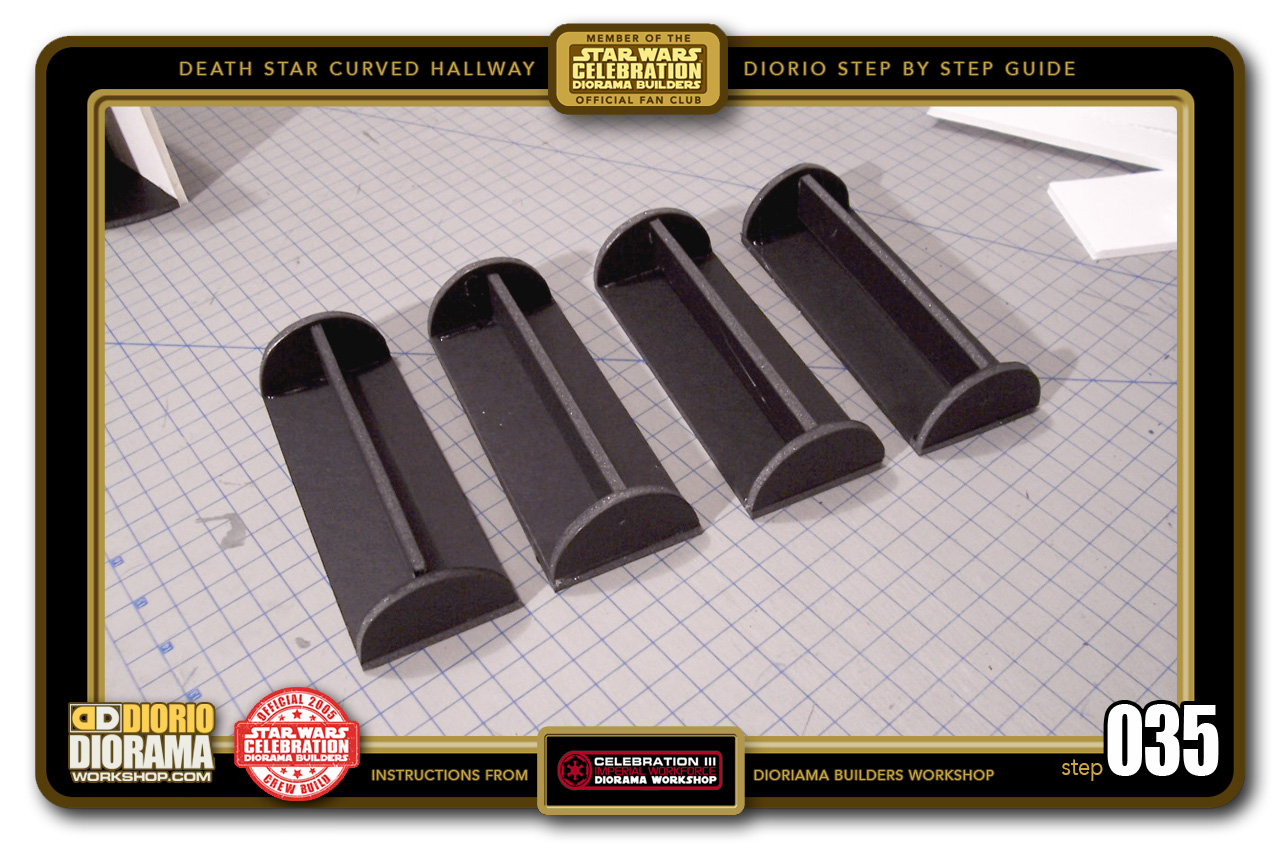
- STEP 035 > Time for Movie Accuracy 😀 You need to make 4 small round wall panel skeletons. The detailed measurements and instructions on how to make these can be found in the Tutorial Star Wars menu. Or go to the Tutorials Speed Index menu for the direct links.
-
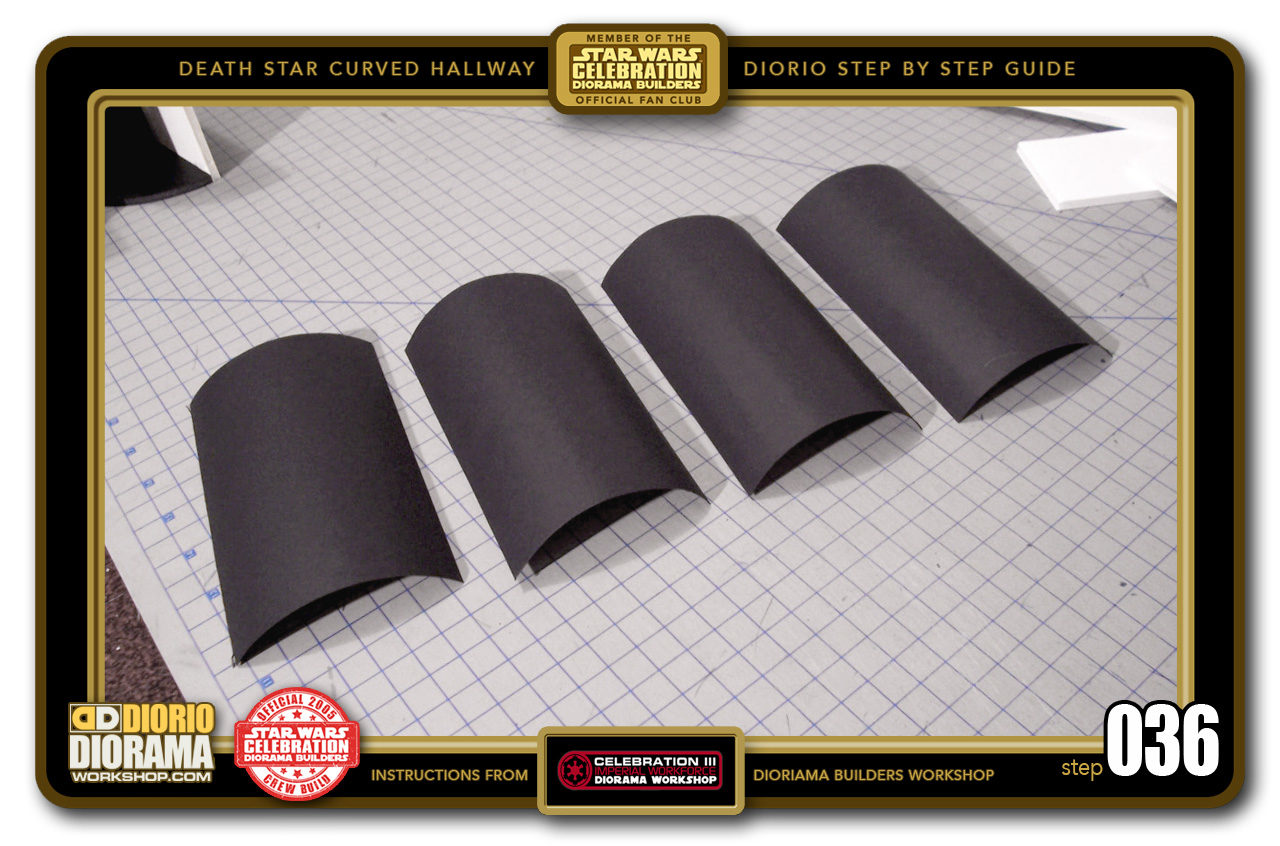
- STEP 036 > Black poster board is used as a skin for the supports.

-

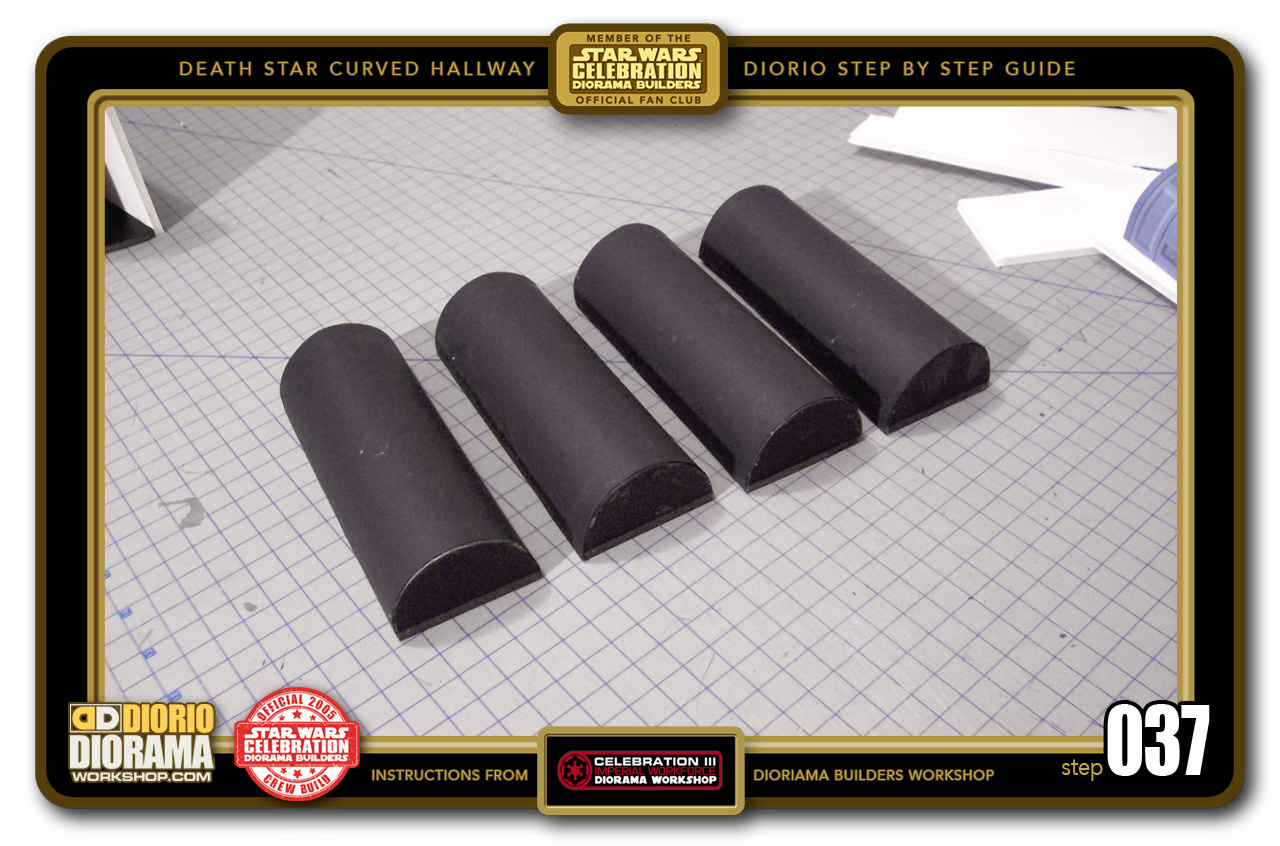
- STEP 037 > Once you glue the poster board on the spines, you are ready for the decal skins. GLUESTICK works best here as opposed to hot glue, since you want the cleanest surface for your decals. The hot glue will sometimes leave bumps, like FAT veins under your skin, that will warp the decals when applied later on.
-
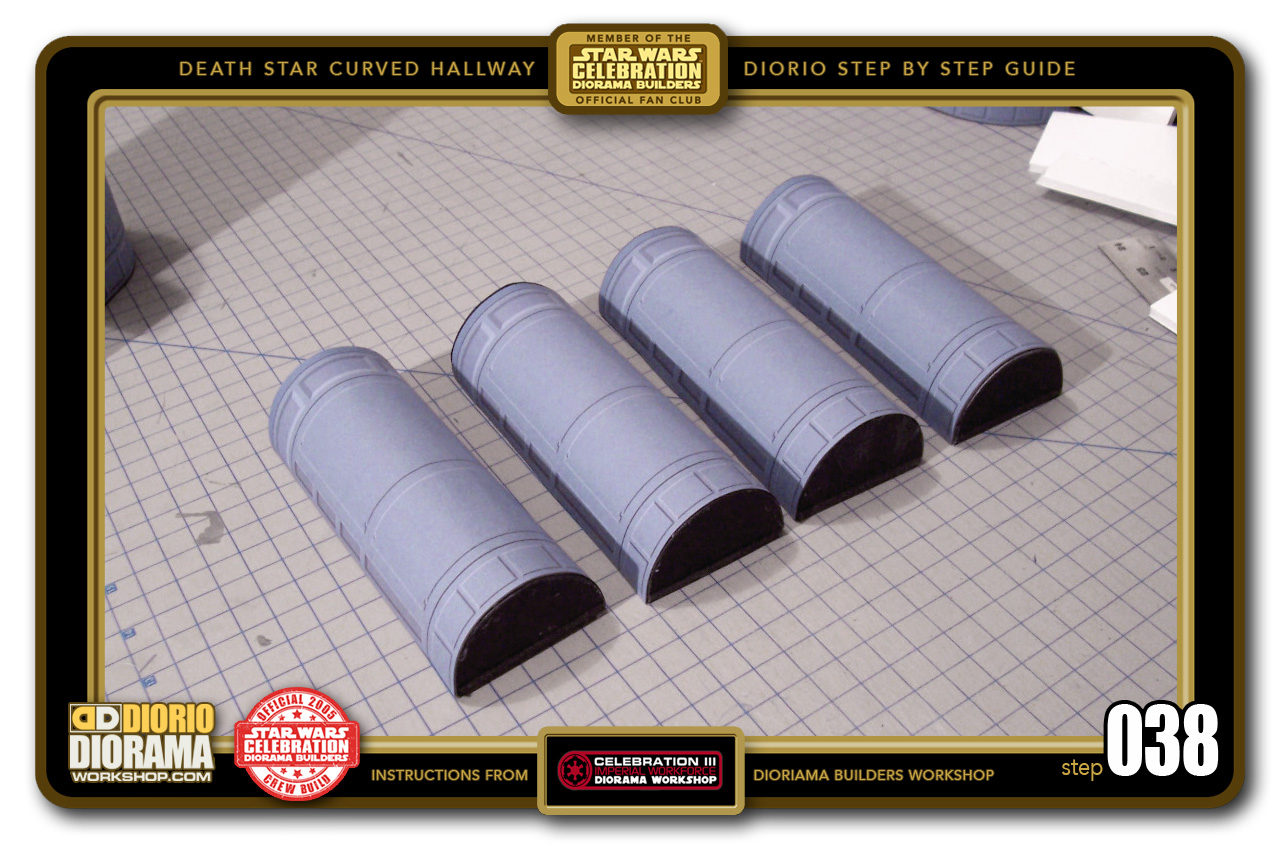
- STEP 038 > Print the Small Round Wall decals from the Basic Wall Panel PDF and apply them with a glue stick (NEVER HOT GLUE) to the curved poster board supports.

-
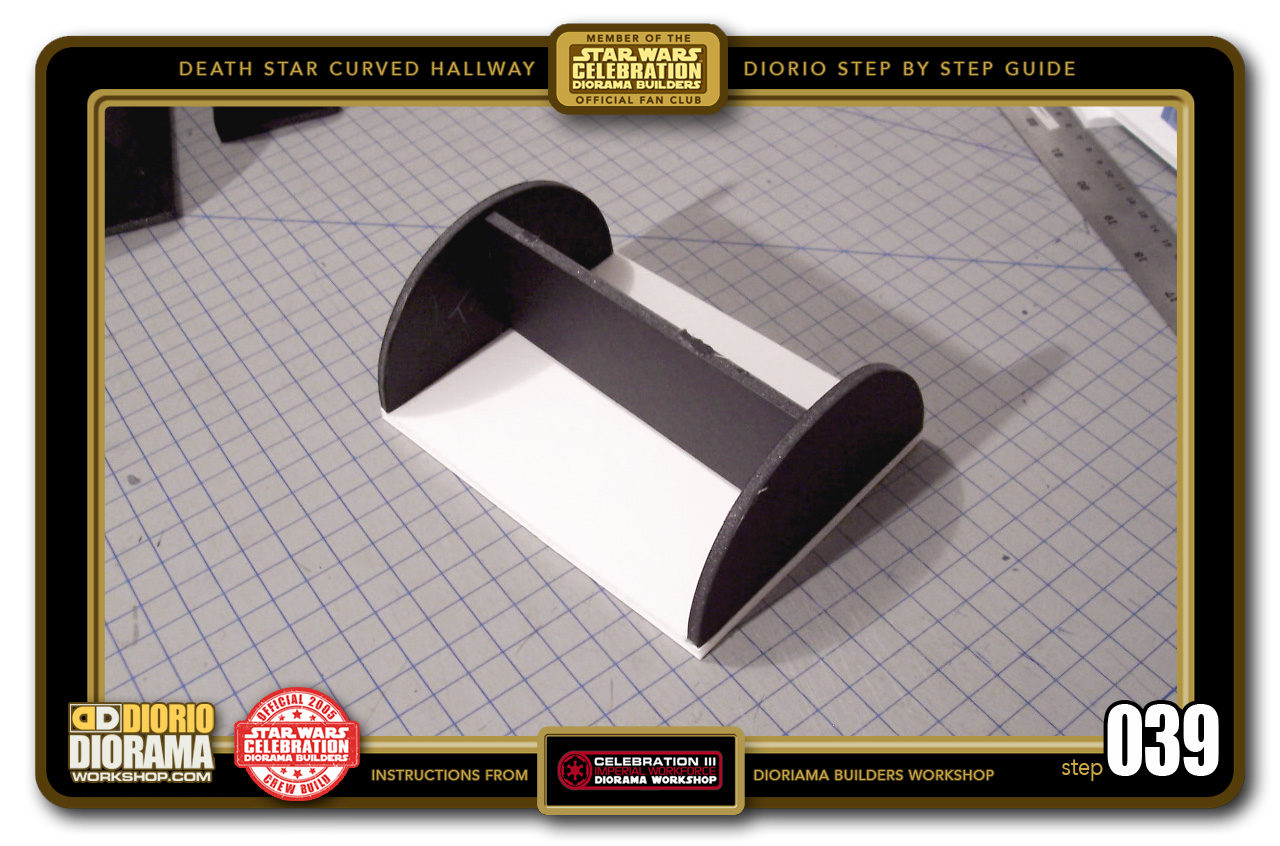
- STEP 039 > Time to build your Large Round Wall panels. The detailed instructions for these can also be found in the Tutorials Star Wars menu. You can also go to the Tutorials Speed Index menu to find the direct links.

-

- STEP 040 > Use your glue sticks to apply the poster board to the spine supports.


.
Did you already build this Diorama ? At home or at our Star Wars Celebration Diorama Builders workshop ? Would you like to show it in the site’s GALLERY VISITORS DIORAMAS section, YES ? That is Awesome !!! You can find out all the details on how to email me your photos on the VISITORS SUBMISSIONS INFO page … When I get your photos, I will create your very own page just like this one. You may not realize it but work does inspire others to join in the fun of making Action Figure Dioramas.
.
NOT FOR RESALE ALL Decals, tutorials and artwork are ©FrankDiorio (dioramaworkshop.com) and offered FOR FREE to the fans – that would be you ? so you can build and display my diorama designs in your very own home. I realize I cannot control what one does with my graphics once I place them on the web, I can only ask you as one fan to another, please respect the artist and do not be that jerk who uses my designs and tutorials to build a copy of my work only to sell it on EBAY or trade/sale groups and forums. Thank You. Frank.
.
.
If you have a facebook account, why not join the Official Diorama Builders Fan Club today, simply click the logo link below.
 .
.
Catch up with fellow visitors and exchange stories, read cool interviews with the crew, exchange photos, fun surprises and grab some FAN ONLY merchandise next year at actual future conventions ?
.
©2018 Frank Diorio DioramaWorkshop.Com
.
IF YOU LIKE WHAT YOU SEE, PLEASE SHARE WITH YOUR FRIENDS
USING THE SOCIAL MEDIA BUTTONS BELOW