


-

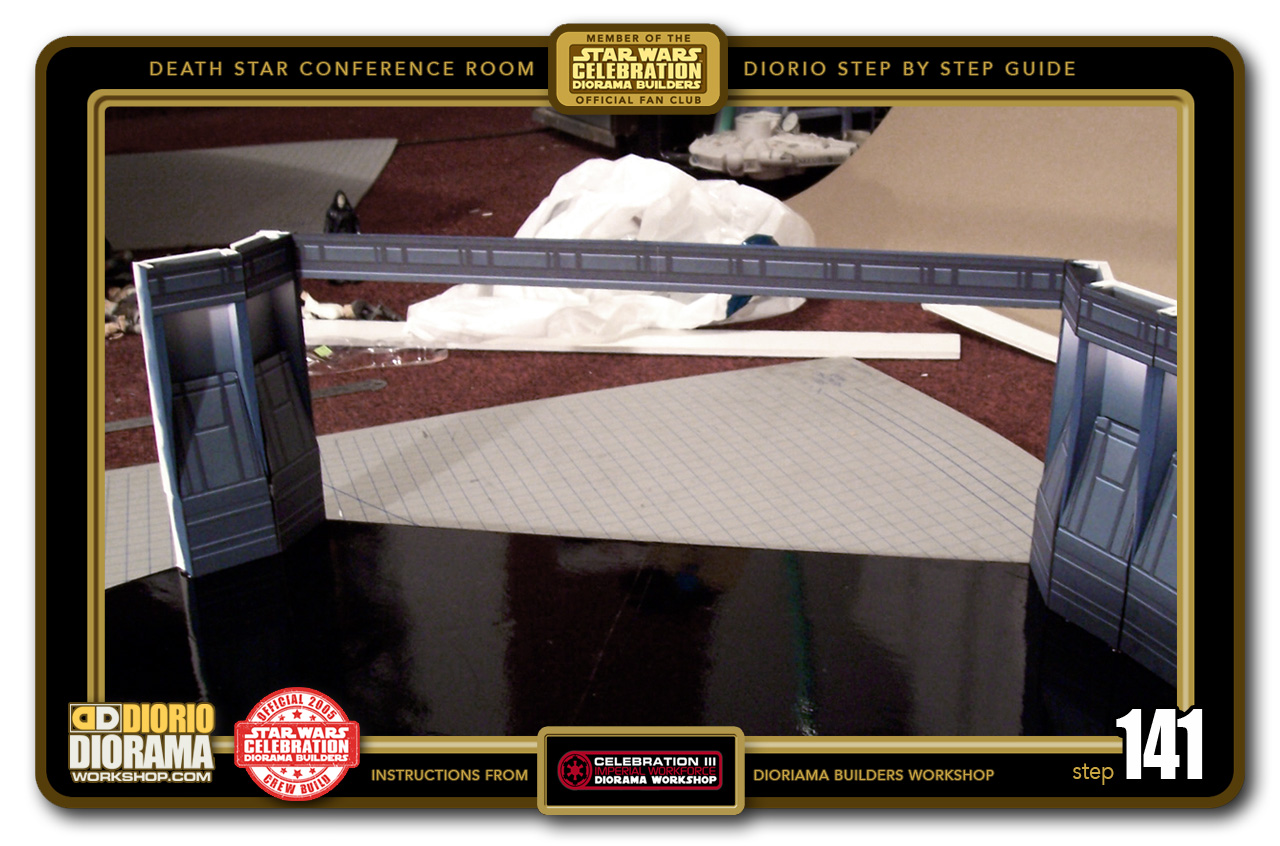
- STEP 141 > Once the right side hot glue hardens, put a dab of hot glue to the other end of your strip end and attach to the opposite Corner Wall Unit. Hold for a few seconds until the hot glue cools down.
-
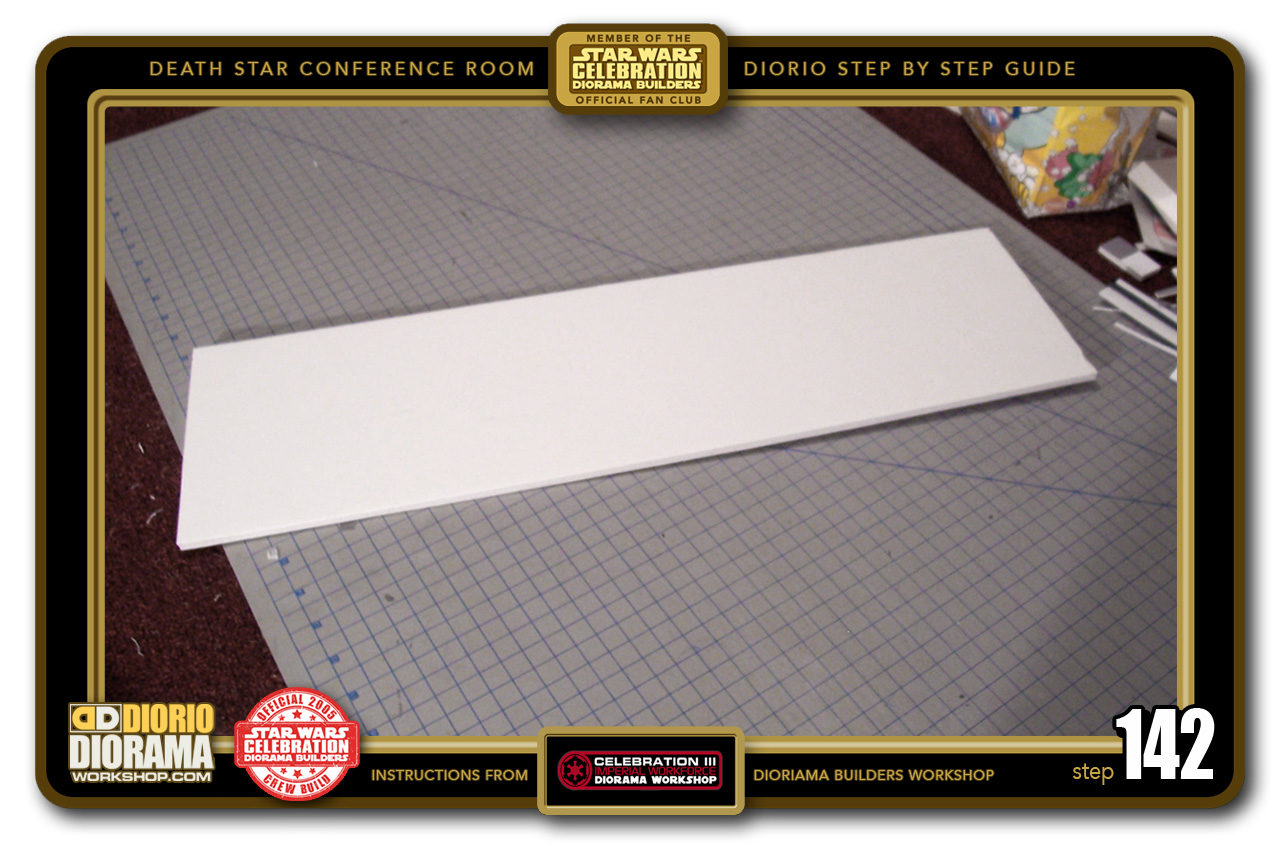
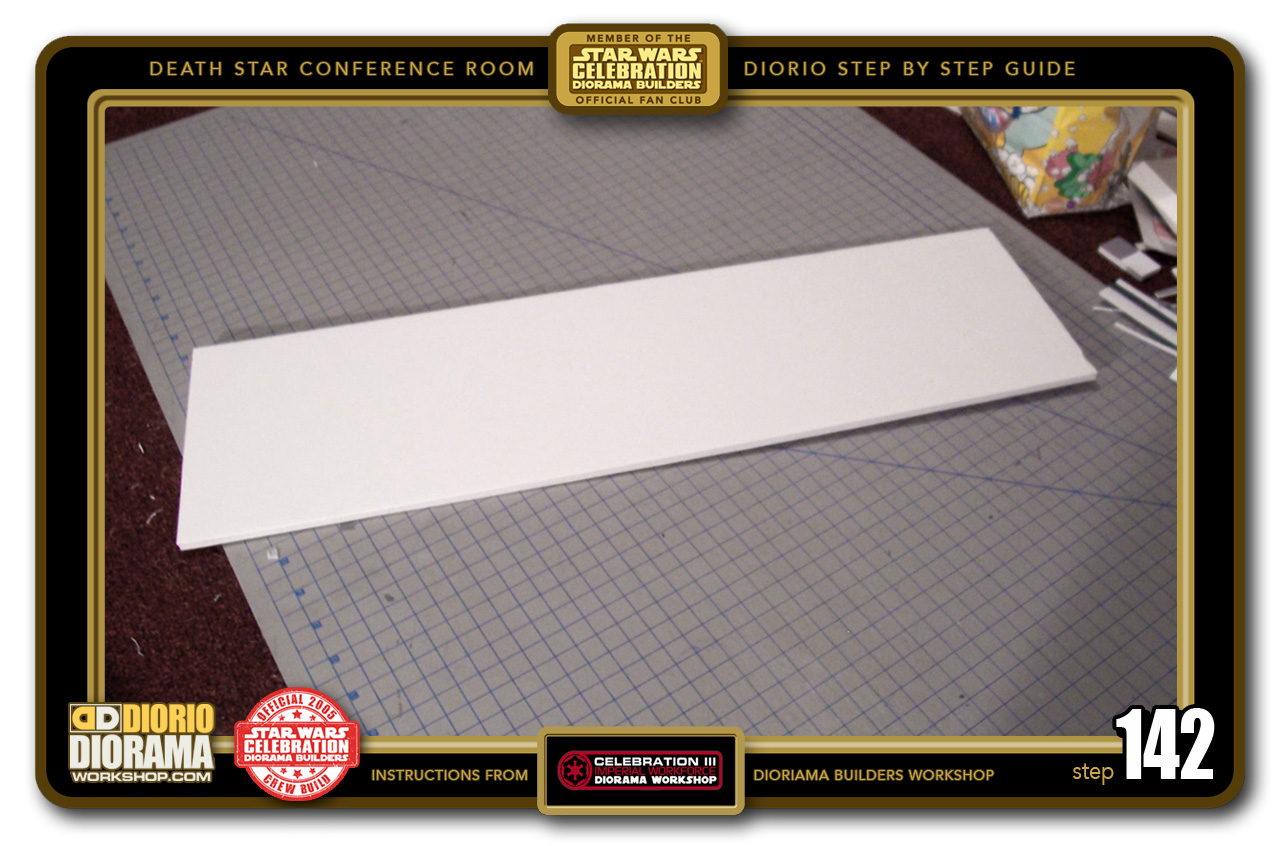
- STEP 142 > Time for the Corridor Floor. For this display, I just cut a piece of Foamcore 57.5cm X 16.5cm. If you have the space you CAN place a basic hallway here instead and switch the basic hallway decals with these conference room decals. This will allow your other hallways to connect perfectly to this scene.
-
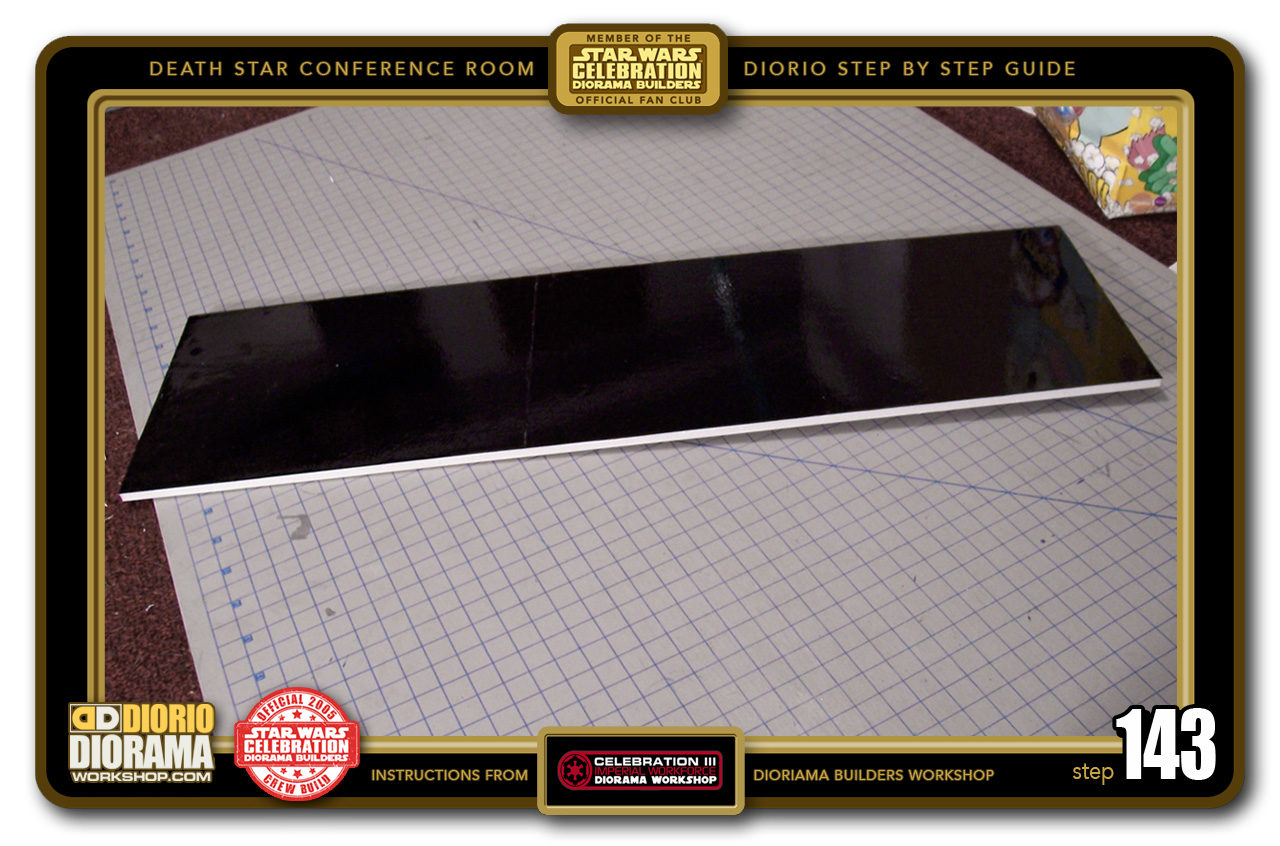
- STEP 143 > Take the same Mac Tac used for the Table Top and floor and apply it to the Foamcore rectangle floor base. The size of this piece is not locked in as a rule, If you want to connect all of my Death Star Dioramas into one Mega Diorama, build a basic hallway and place that behind the door instead. That's what is great about modular rooms.

-
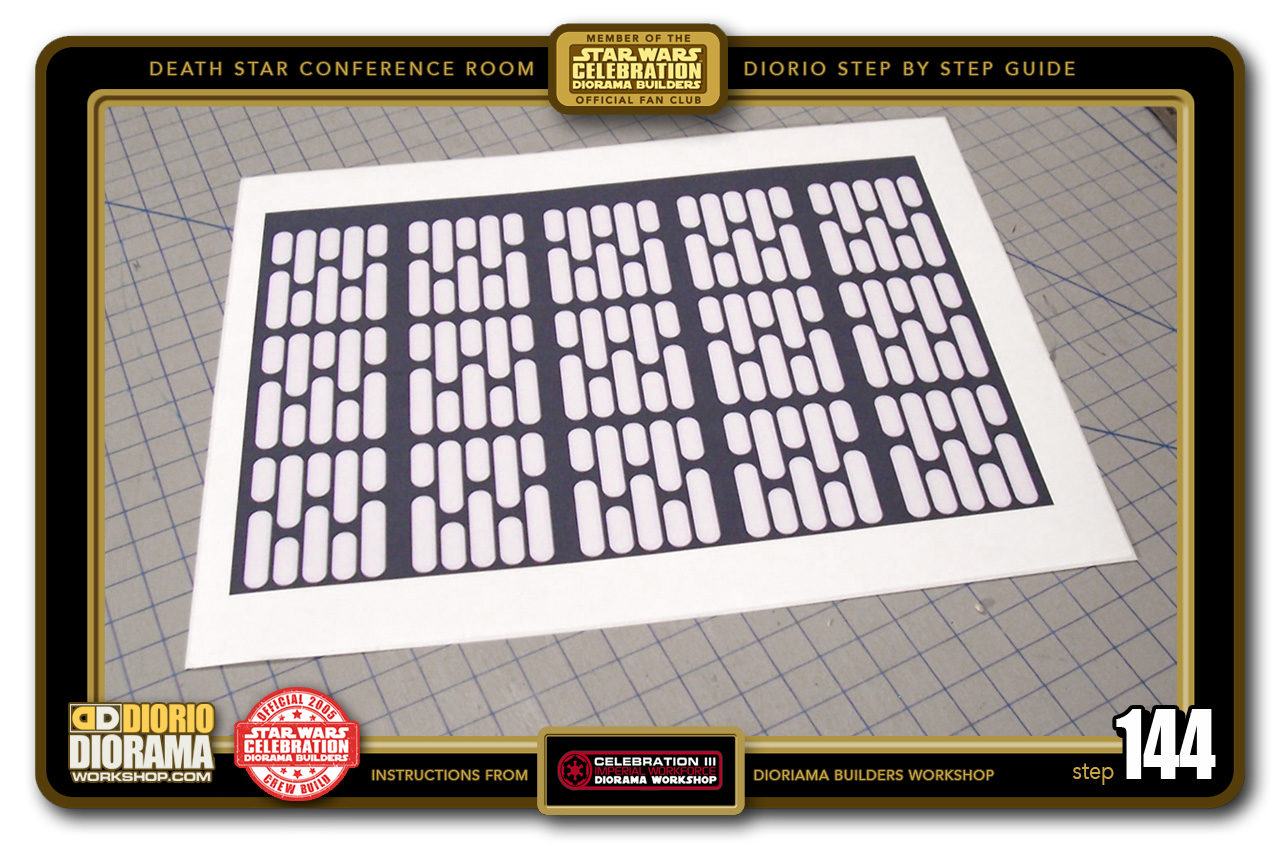
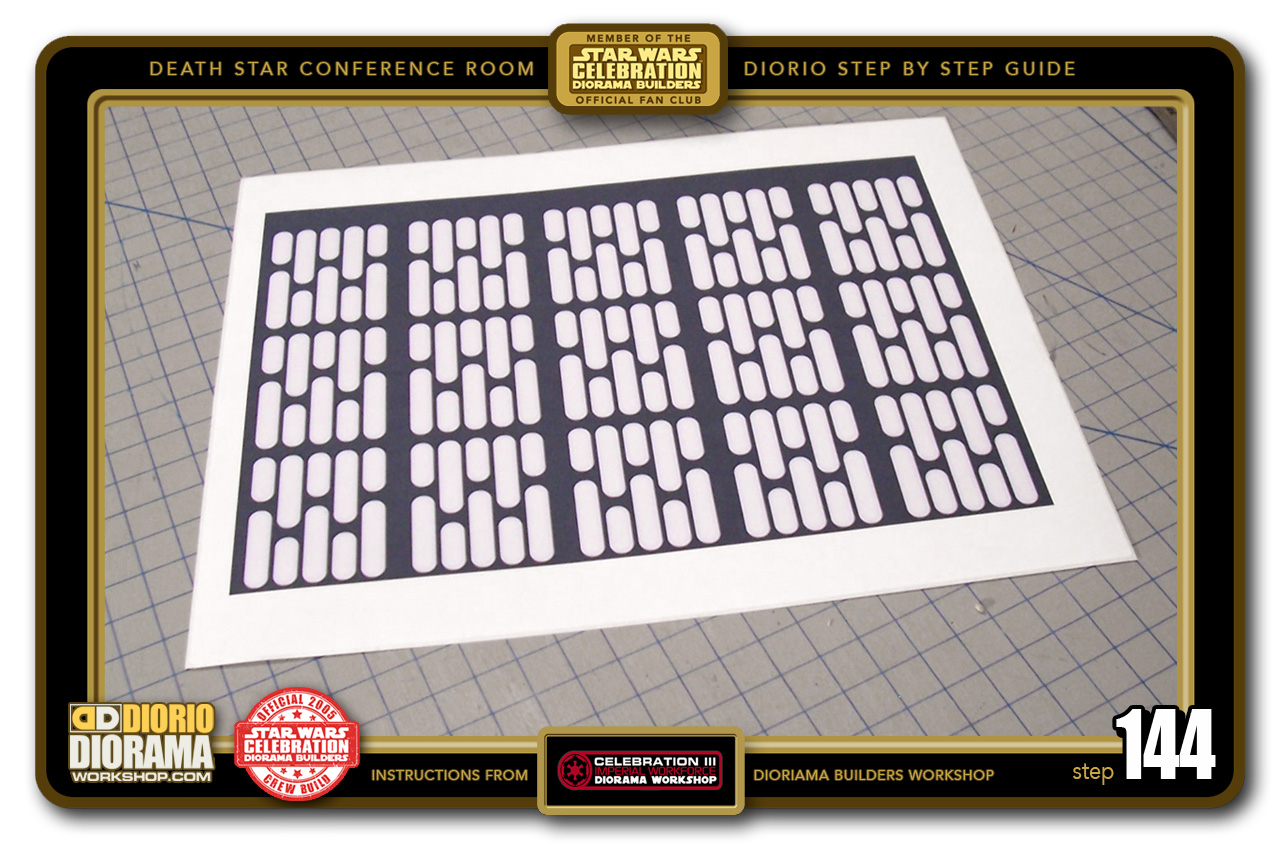
- STEP 144 > Now print out the Conference Room Neon Wall entrance Decal sheet and apply it to a piece of Foamcore.
-

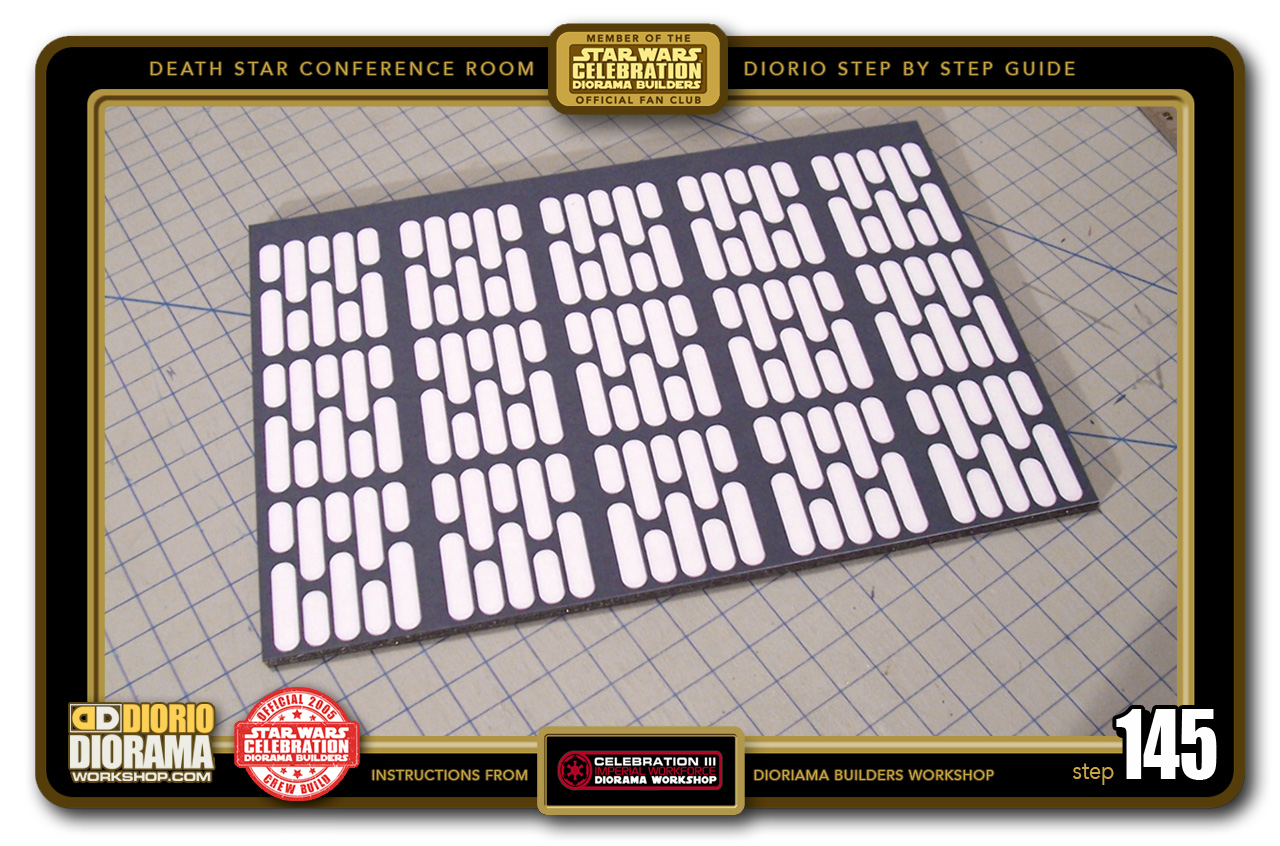
- STEP 145 > Cut along the edges of the print to get a clean cut.
-

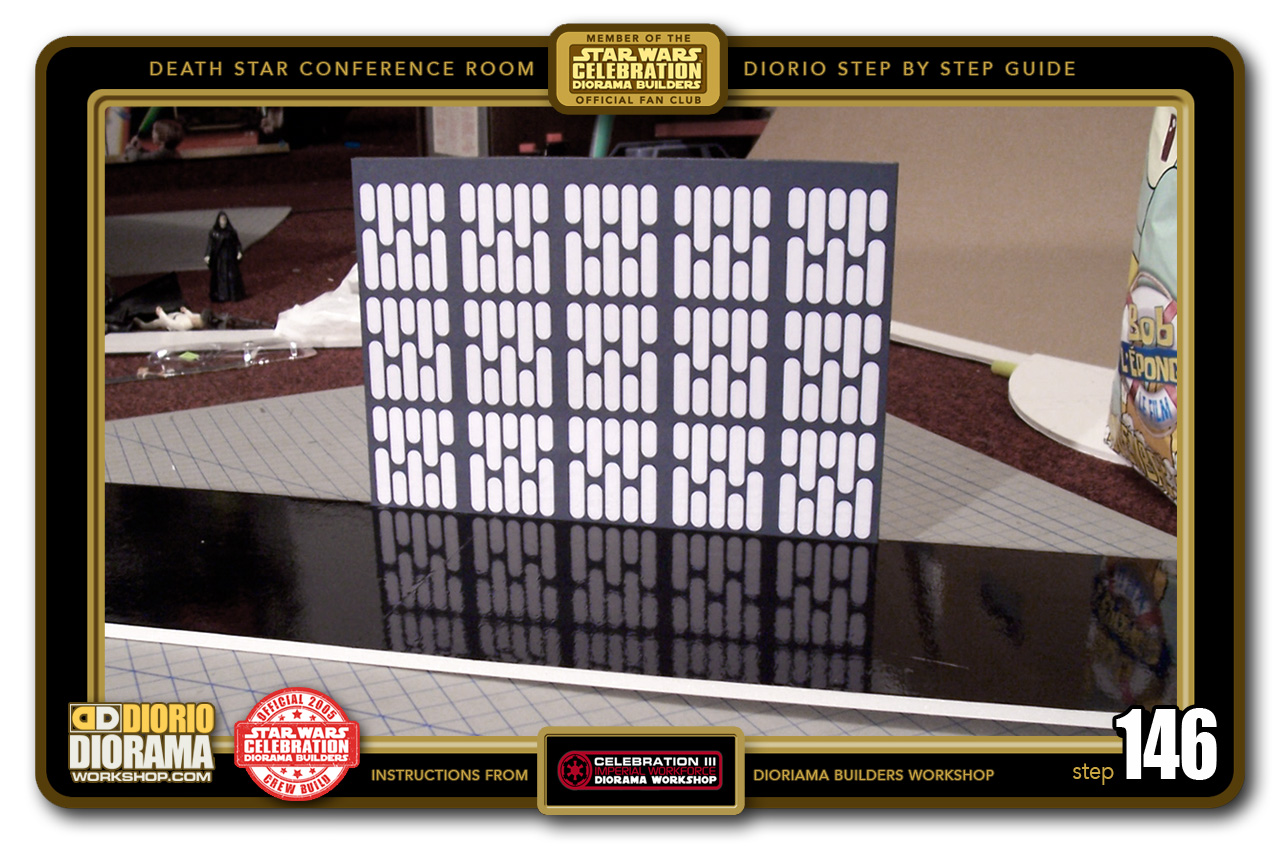
- STEP 146 > Use the Hot Glue Gun to attach the Neon Wall to the center of the Corridor Floor. You might want to make 2 or 3 of these if you want to create a wider backdrop for when you want the Blastdoors to Open Wider or place regular Basic Hallway panel decals on each side to make a true hallway.
-
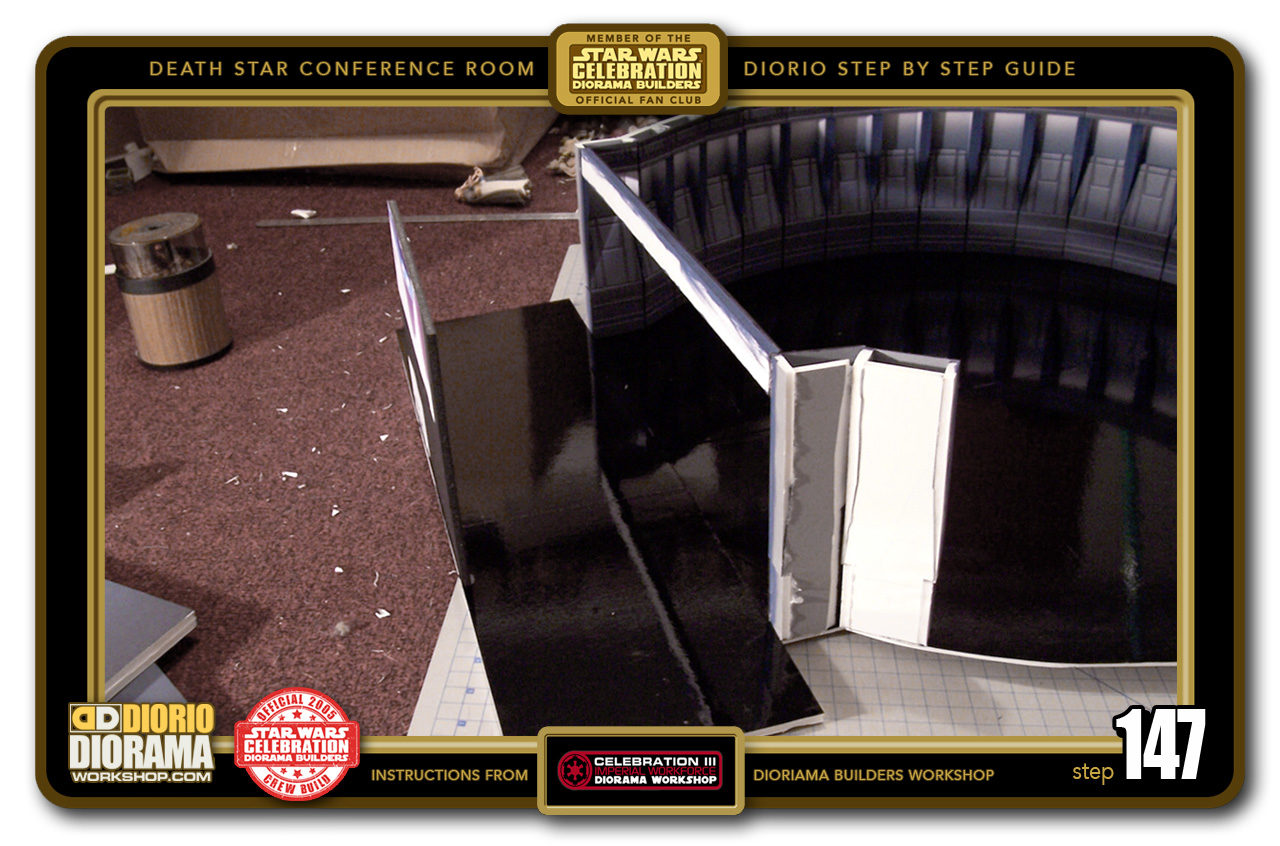
- STEP 147 > Here is where the conference door hallway Floor fits with the Main Conference Room. Note the piece is wider then the door opening so that the Blastdoors can be pulled opened and closed if you wish to add variety to your display.

-

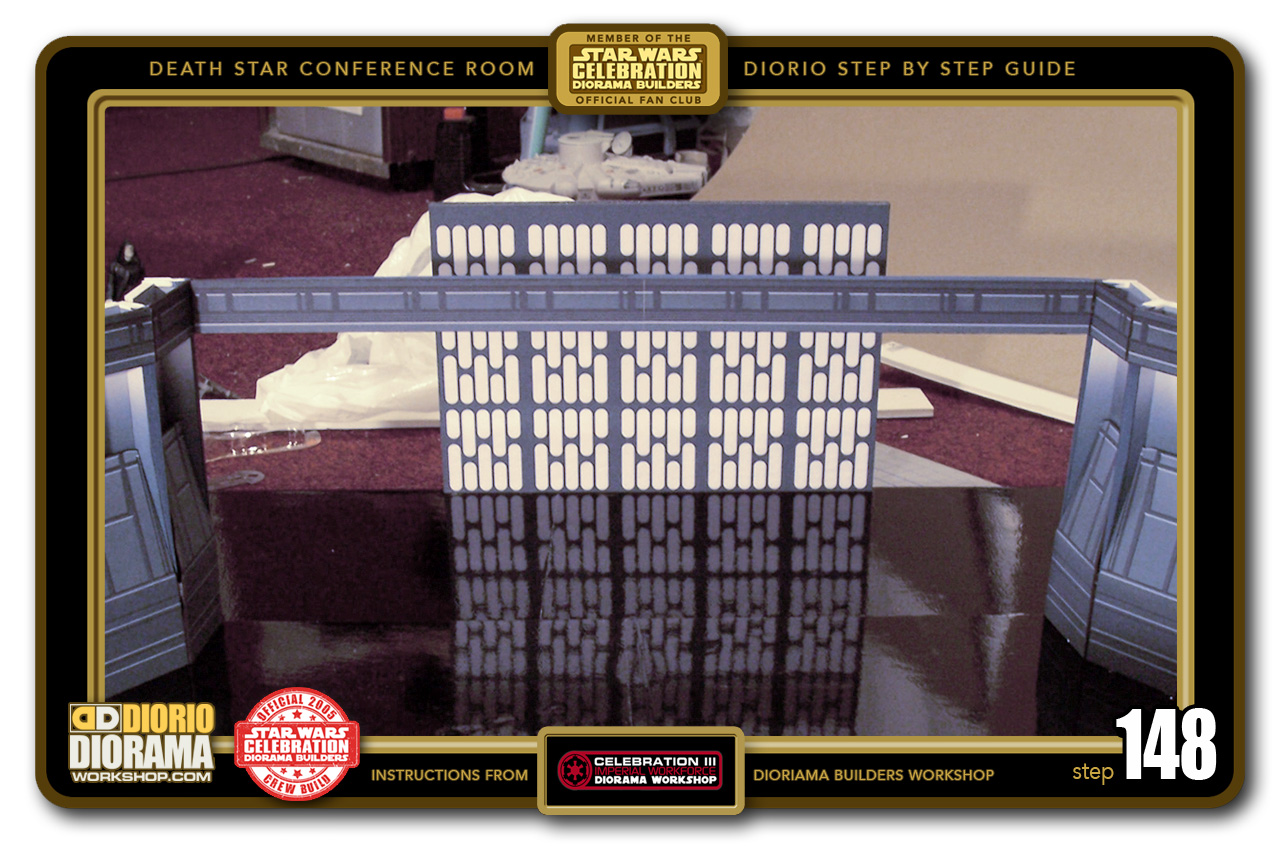
- STEP 148 > And here is a front view of the hallway and the Neon Walls. Look how cool the Mac Tac reflects the Neons just like in the real movie set. 😀
-

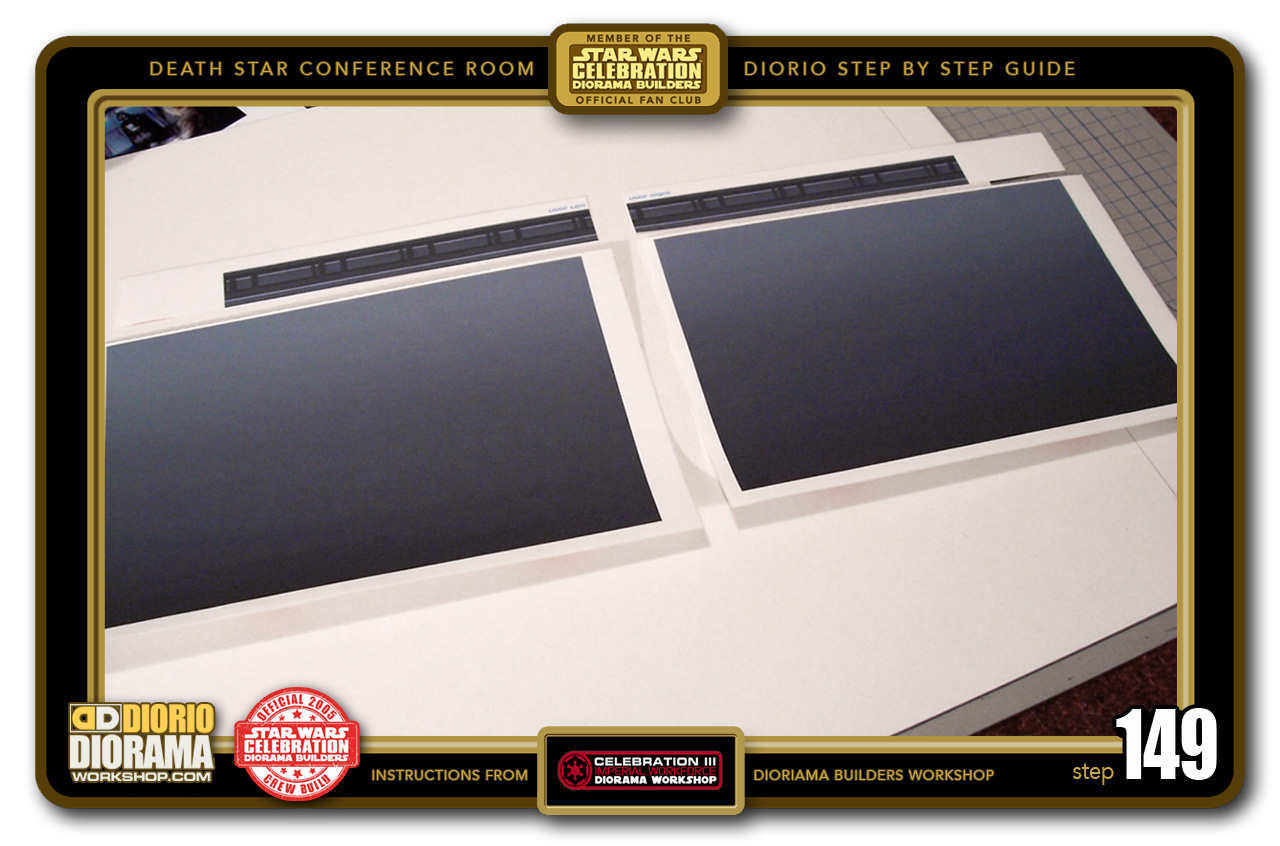
- STEP 149 > Let's make those conference room doors 🙂 Grab your printed Left and Right Door Decals. (The Top Panels have already been used for the Top Strip) You will be getting your Main Door Decals for this step.
-
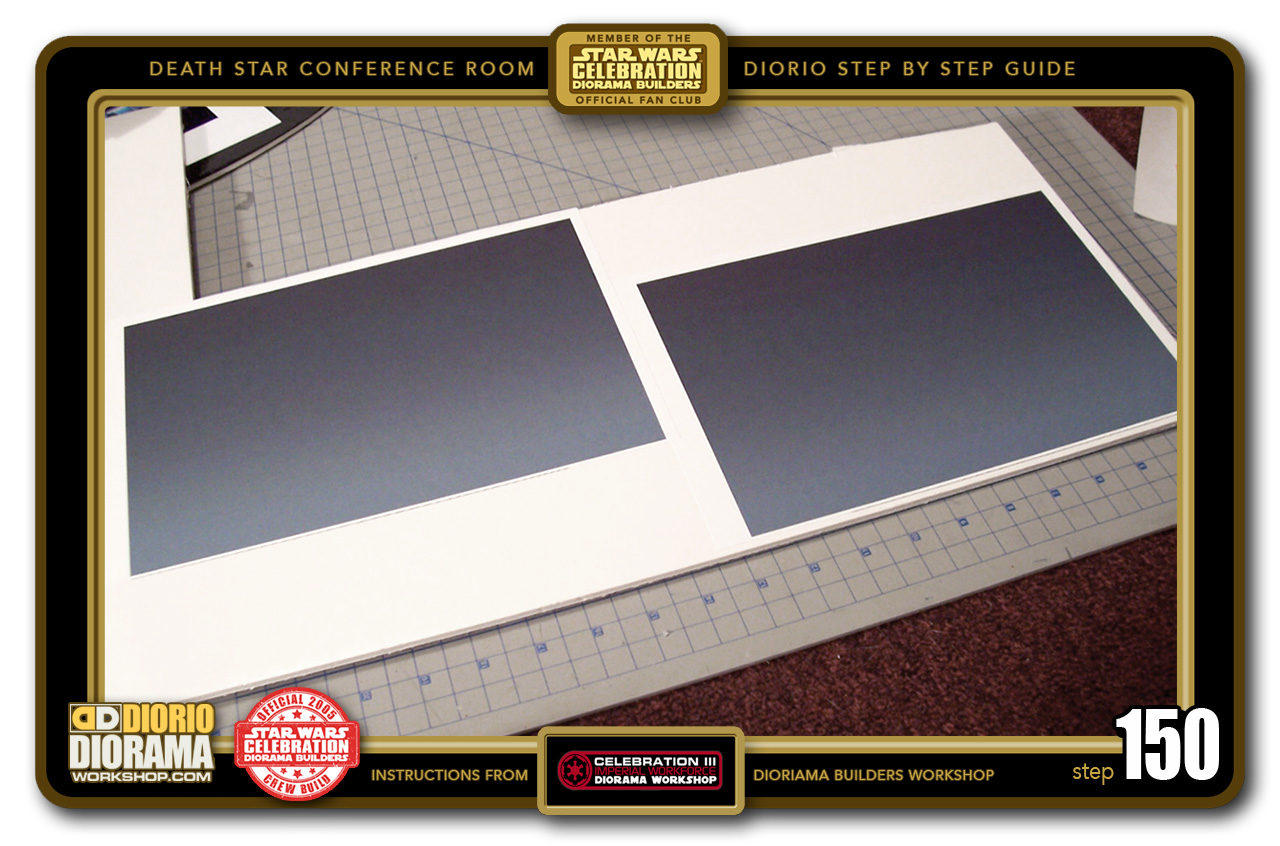
- STEP 150 > Apply the Decals to a piece of Foamcore. DO NOT CUT them out just yet...

-
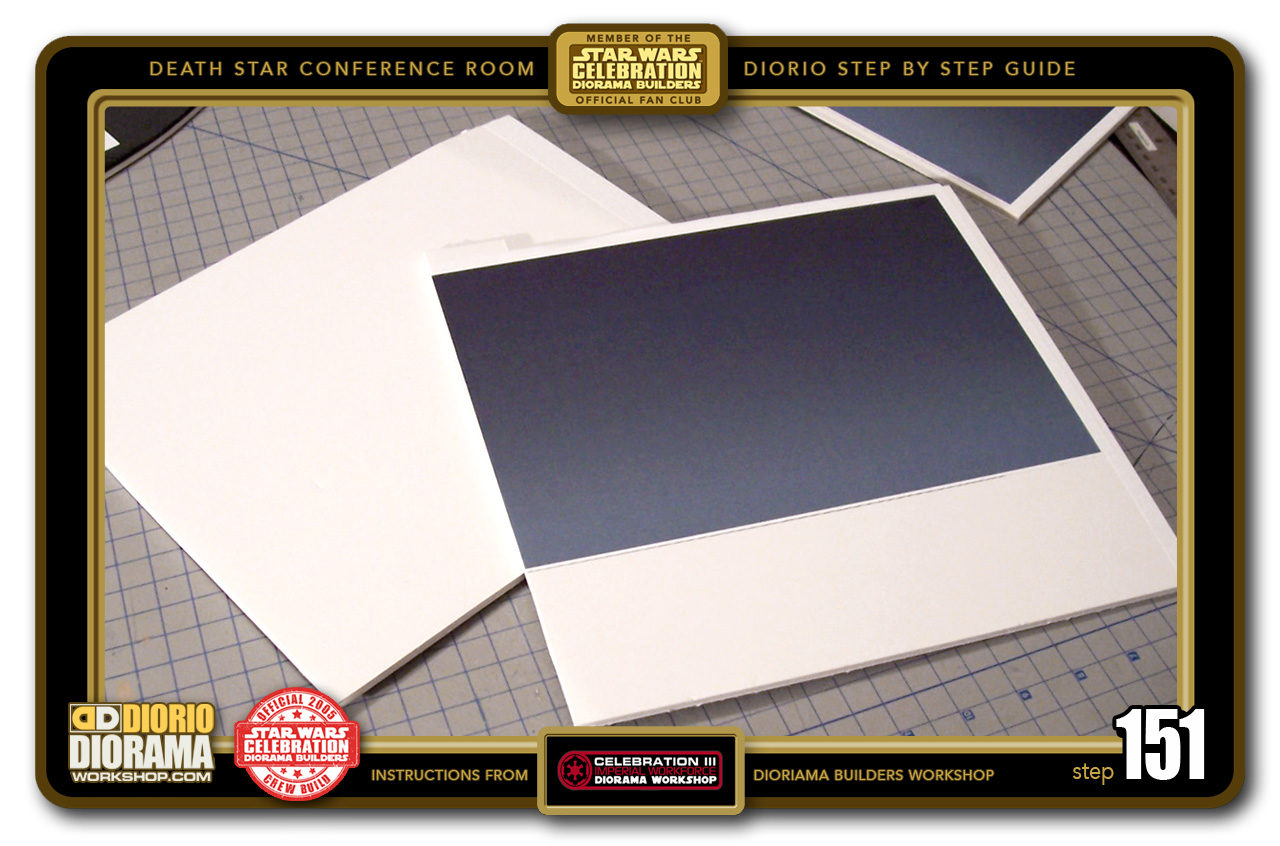
- STEP 151 > Do a rough slice of the Foamcore decals LEAVING A SLIGHT EDGE around the sticker. Take a similar size piece of Foamcore. The doors are Double Thickness. Get your Hot Glue Gun and attach the 2 pieces together like a sandwich.

-

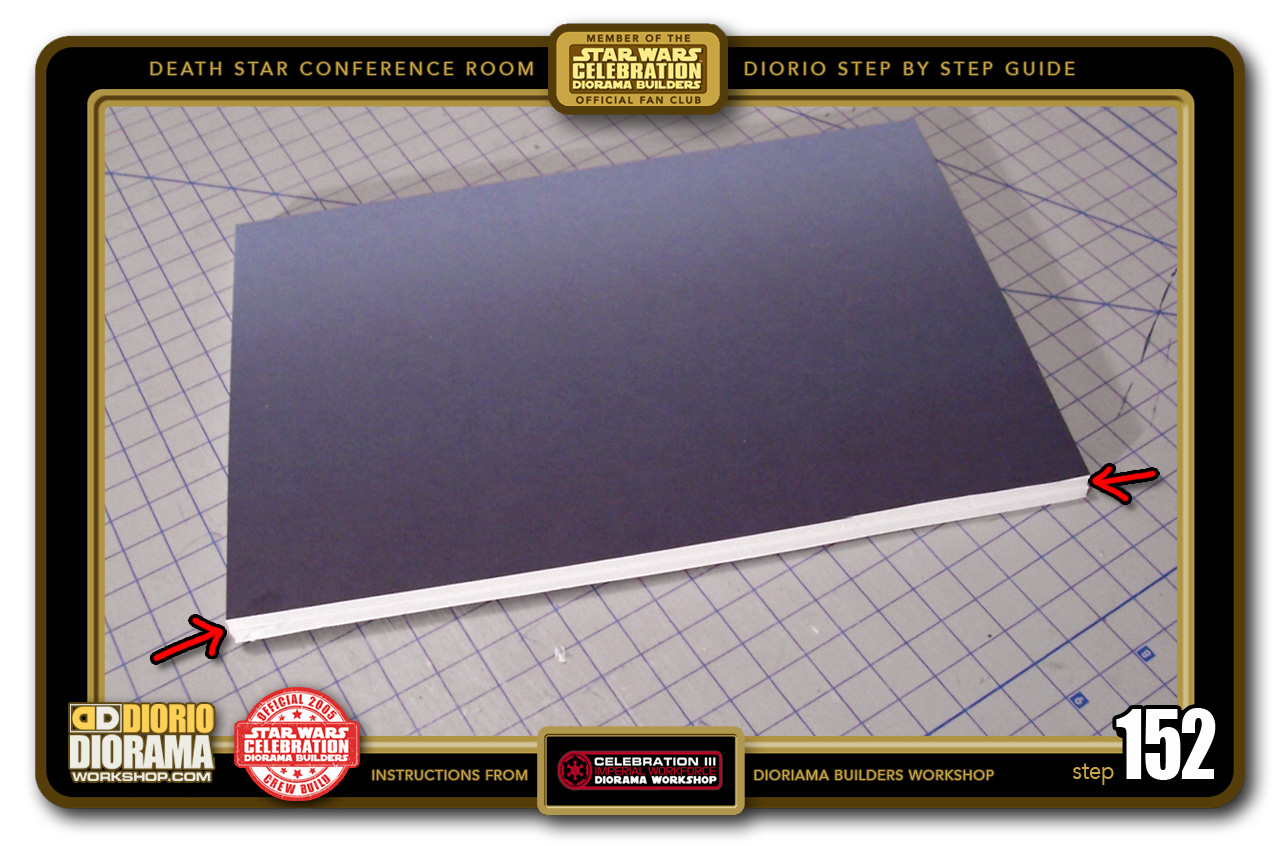
- STEP 152 > Once the Hot Glue hardens you can use your Xacto Blade to now PRECISELY cut along the edges of the stickers creating a perfect CLEAN double thick edge.
-
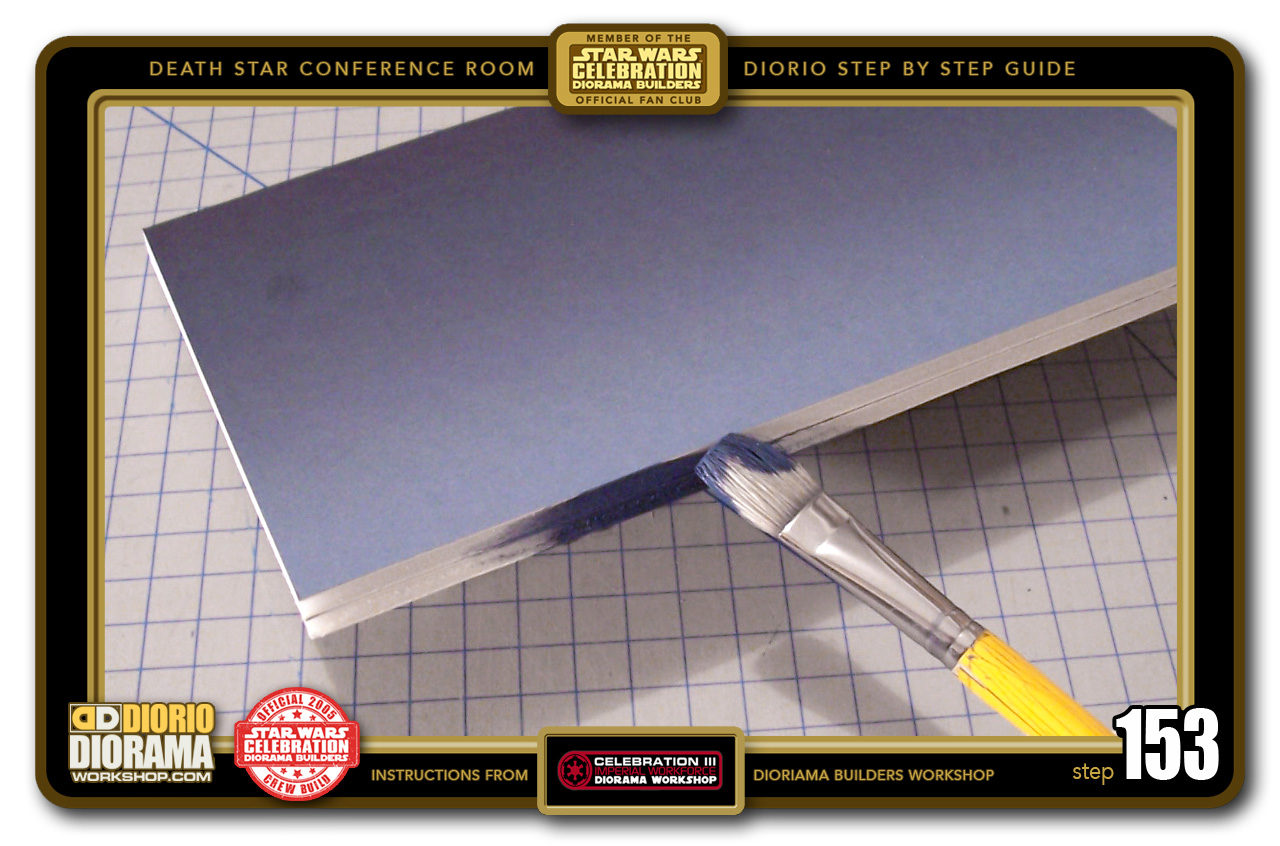
- STEP 153 > Now get your brush and paint the exposed Foamcore edges. Frank Tip: Keep the brush at an angle so you don't get paint on the Door Decal.

-

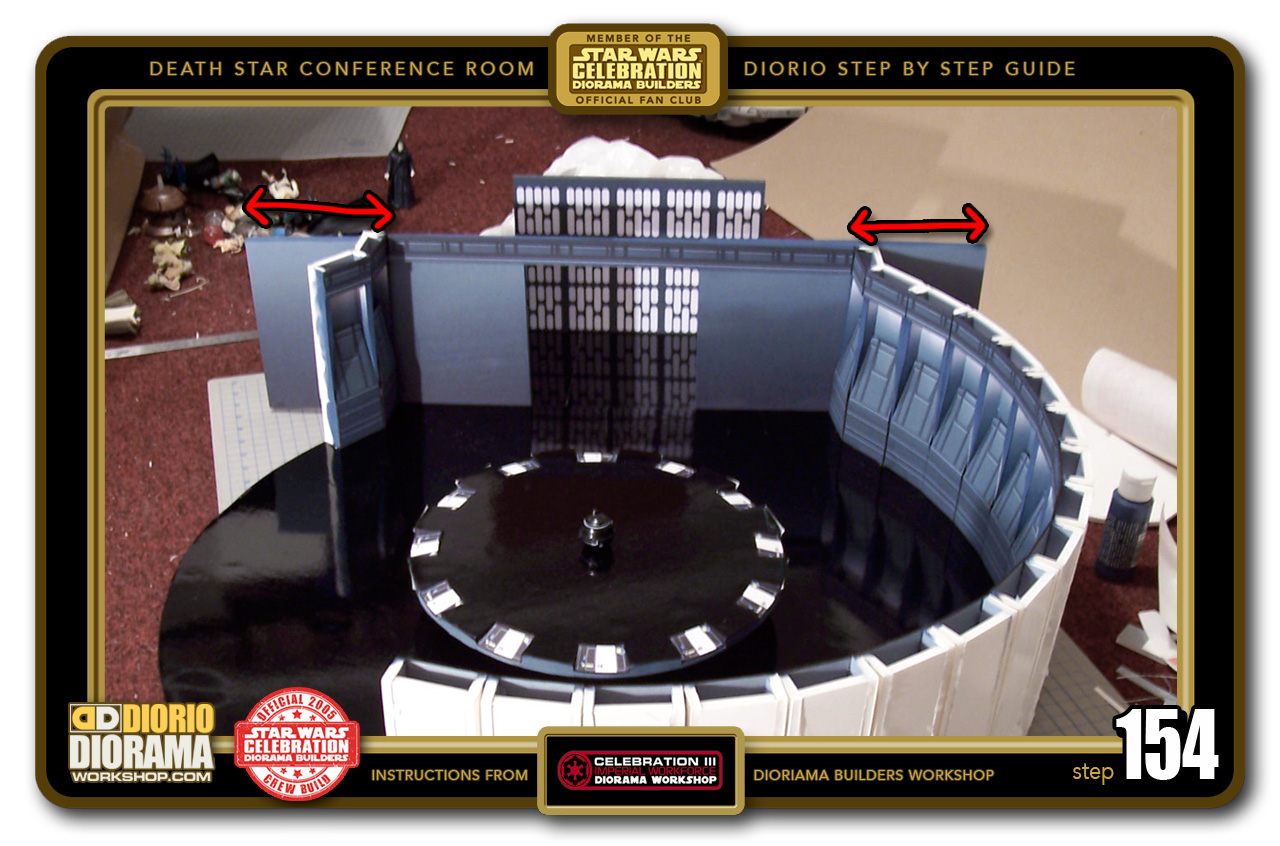
- STEP 154 > When dry, you can lean your Blastdoors against the Top Panel and the Corridor Floor. The doors are WIDER so it allows you to slide them left and right to modify the size of the gap between the 2 just like in the movie. You could continue the circle and build more Wall Units if you want, and use the Door Opening to look inside the room. Both are cool ideas. I will keep the open wall set look for now. Looking cool 🙂
-
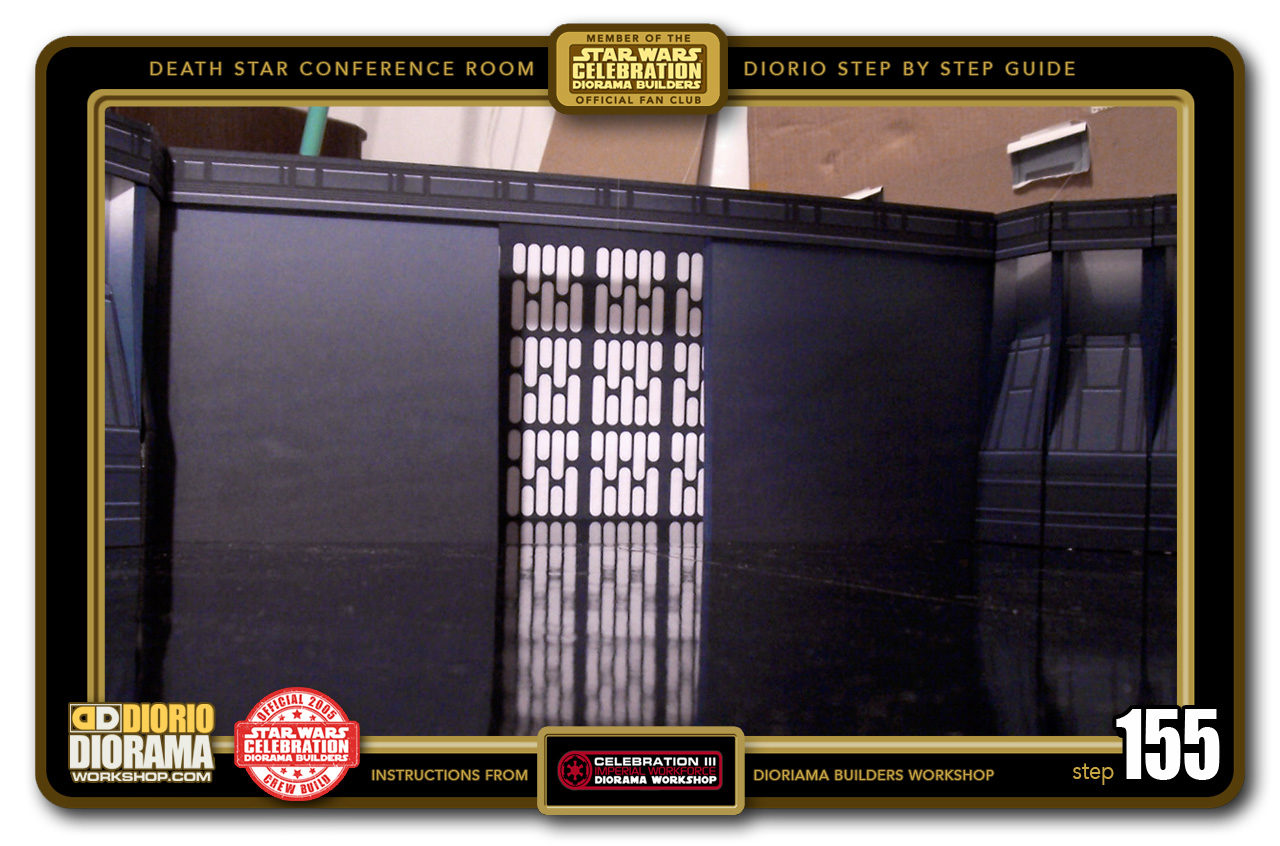
- STEP 155 > There are 2 ways to display the Diorama. You can leave the gap open so that when you look into the Diorama you will see the Doors and the Walls, like in the film. or push the doors closed.

-
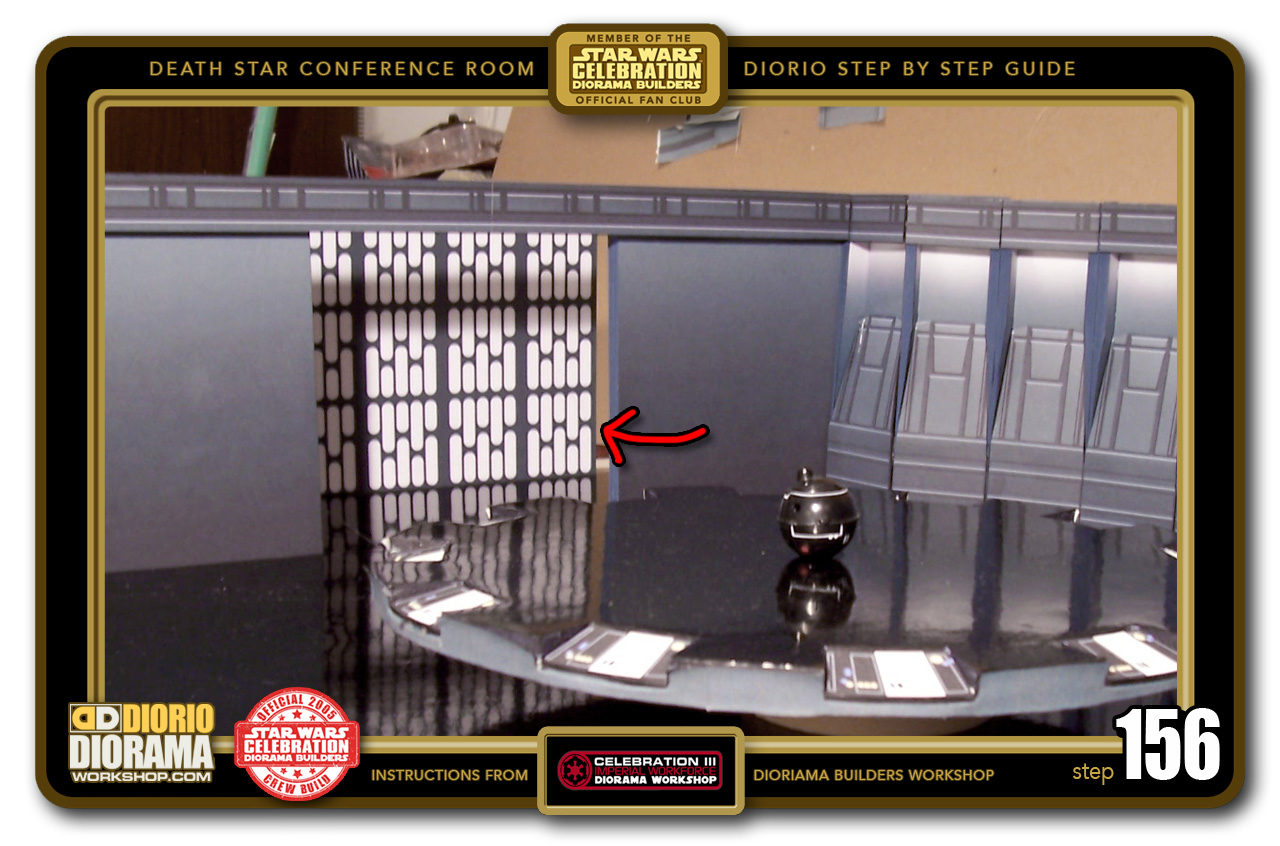
- STEP 156 > The one advantage of adding Basic Hallway decals to extend the conference hallway wall is that if you just use these specific scene decals, depending on how you look into the room, you could see a gap peek through the doors and the walls. Kinda breaks the illusion 🙂

-
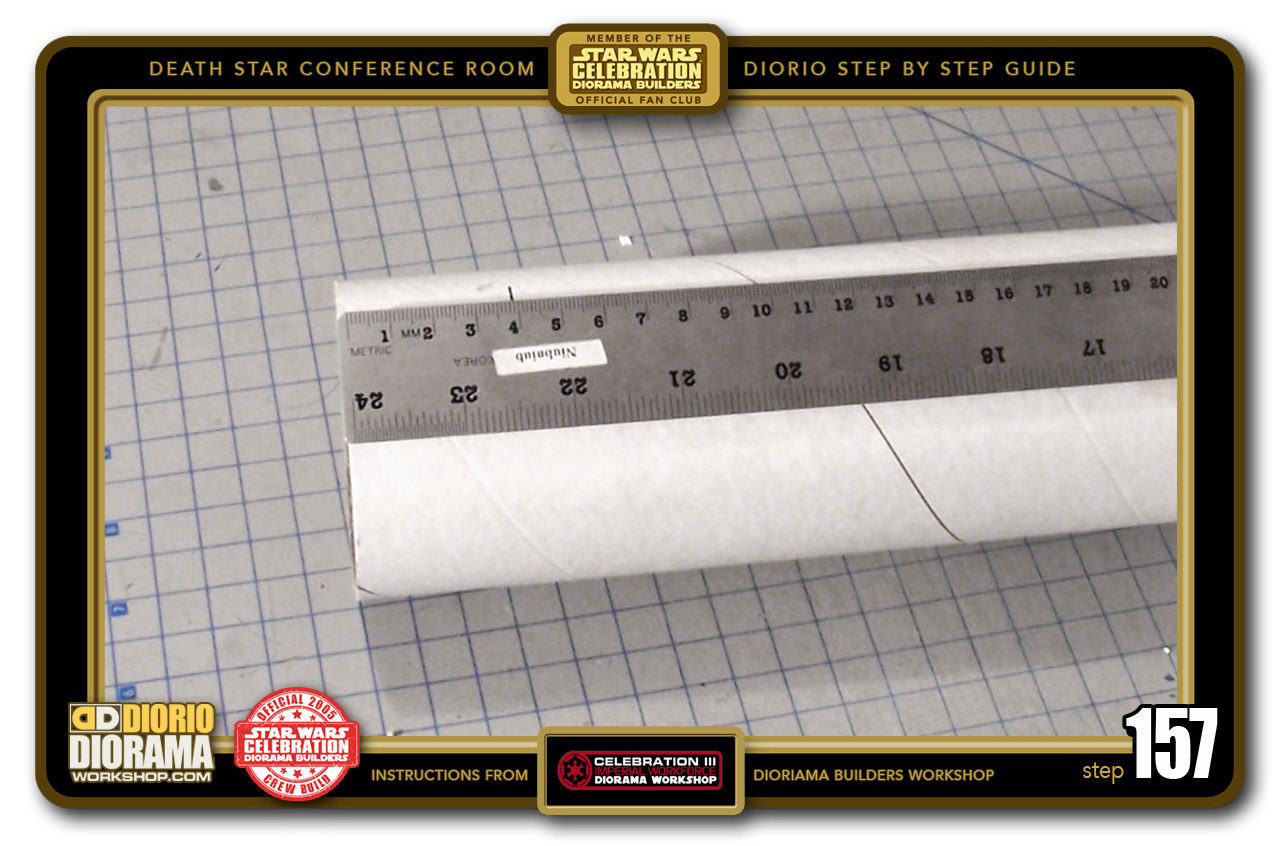
- STEP 157 > I should have built this with the table but got distracted at the time I guess 😛 Every table needs some legs to stand on right? 🙂 Well since the table is so wide, I thought of using some leftover Poster Tube. These are easily found in post office or Home Depot stores and cost about $3.00. Measure 4cm all around the Poster Tube with a pencil.

-
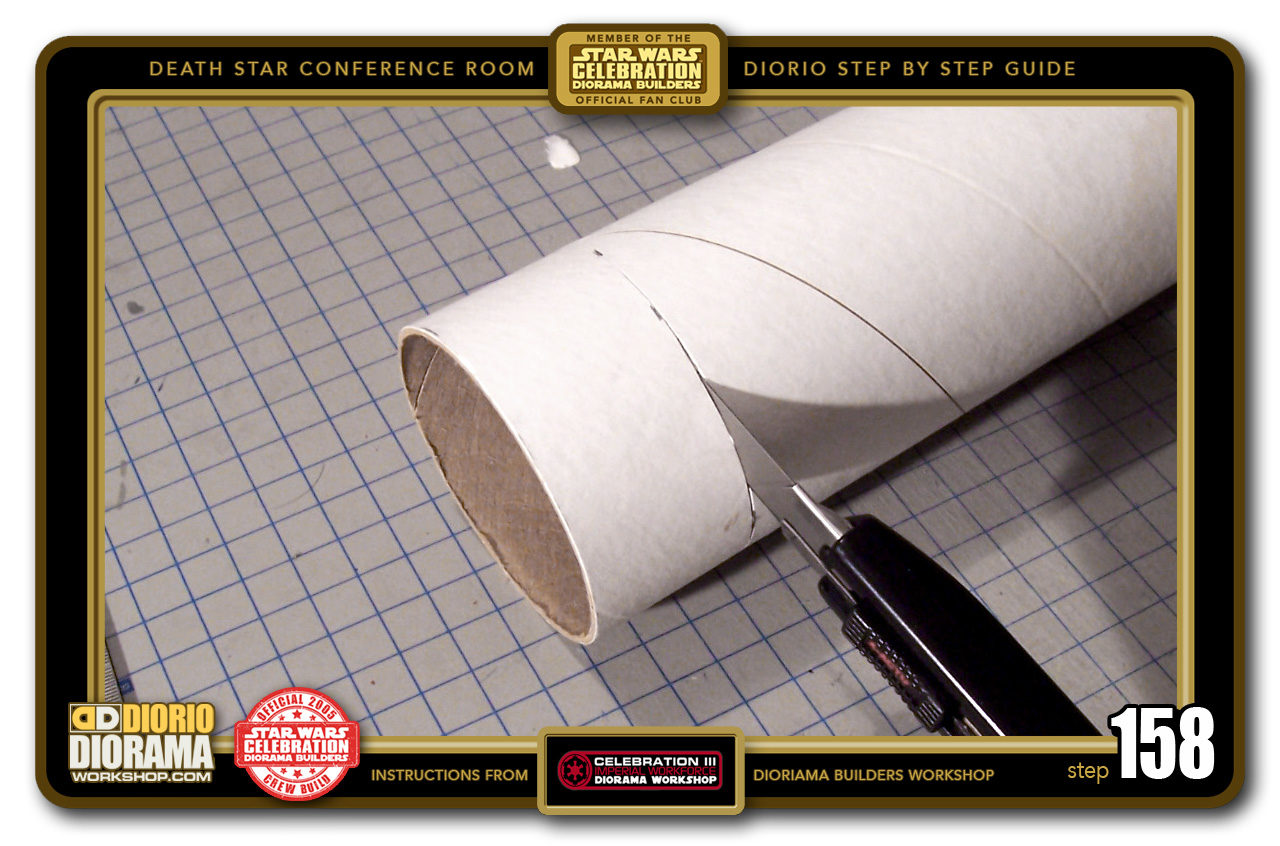
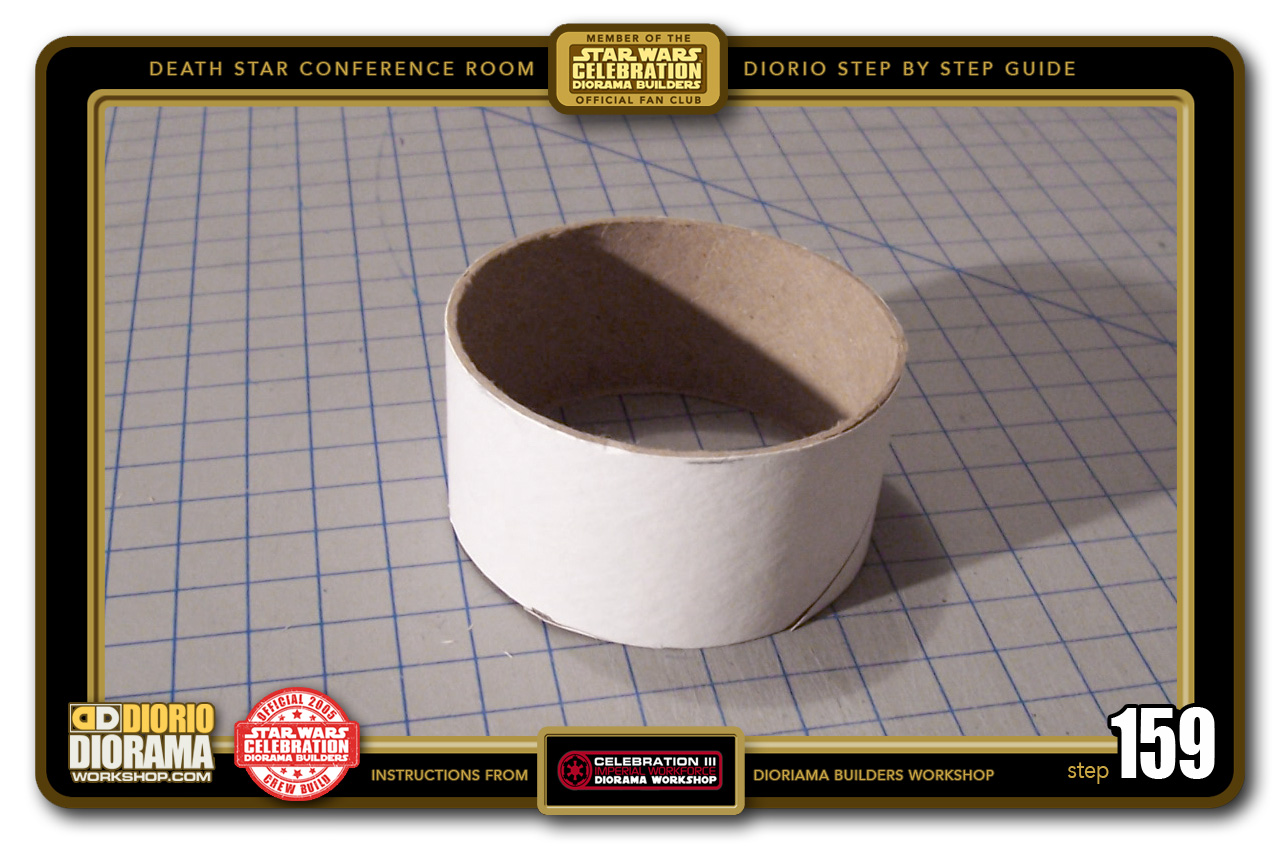
- STEP 158 > Now take your Xacto Knife and score all the way around once to mark the path the blade will take. Then you can go deeper and poke a hole with your blade. The tube is too thick to cut in just one pass. Simply roll the tube with your hand while you push the blade in, making it "slide" against the tube's cardboard surface. This will give you a clean cut.

-

- STEP 159 > If your blade was sharp enough you should have a perfect 4cm tube like in the picture.
-

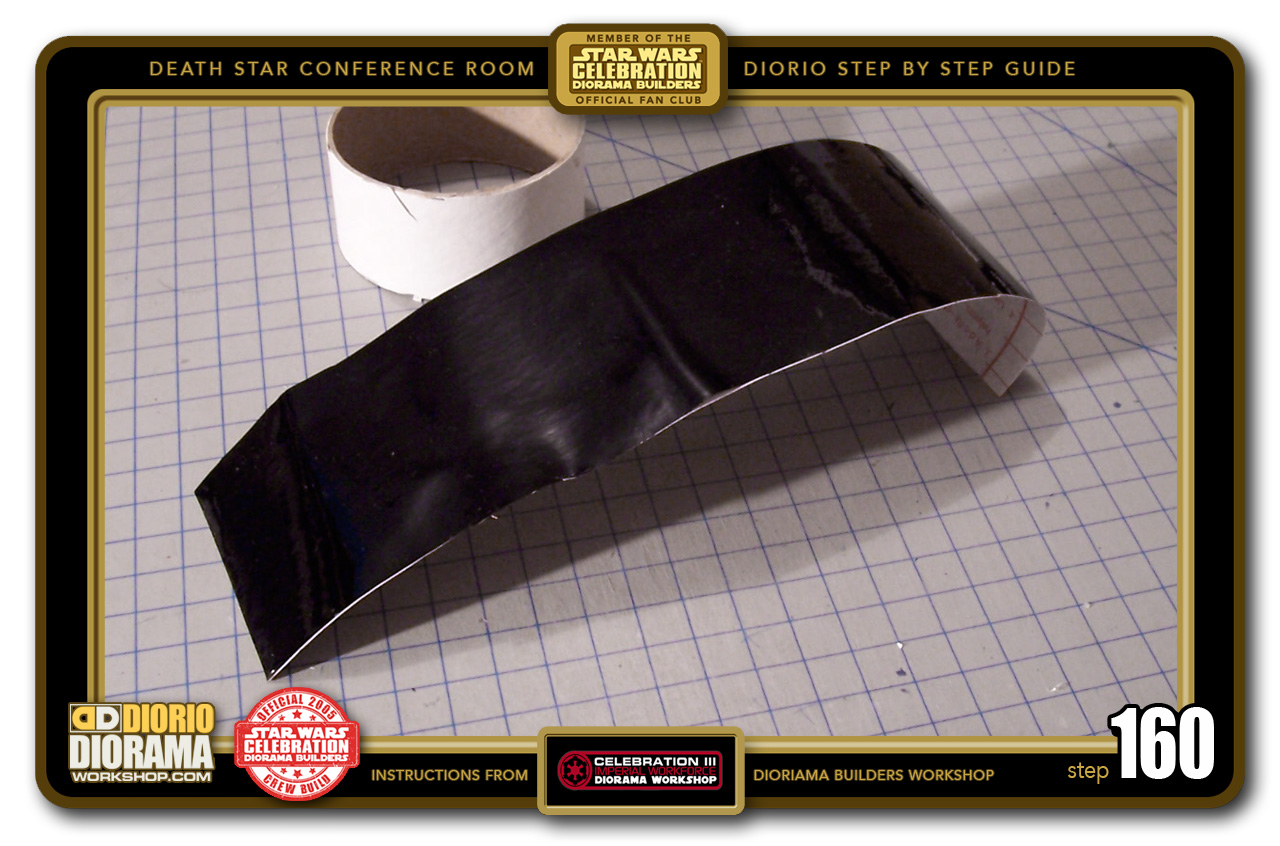
- STEP 160 > Get out some leftover Mac Tac and cut a piece long enough to go all the way around the Tube.

.
Did you already build this Diorama ? At home or at our Star Wars Celebration Diorama Builders workshop ? Would you like to show it in the site’s GALLERY VISITORS DIORAMAS section, YES ? That is Awesome !!! You can find out all the details on how to email me your photos on the VISITORS SUBMISSIONS INFO page … When I get your photos, I will create your very own page just like this one. You may not realize it but work does inspire others to join in the fun of making Action Figure Dioramas.
.
NOT FOR RESALE ALL Decals, tutorials and artwork are ©FrankDiorio (dioramaworkshop.com) and offered FOR FREE to the fans – that would be you ? so you can build and display my diorama designs in your very own home. I realize I cannot control what one does with my graphics once I place them on the web, I can only ask you as one fan to another, please respect the artist and do not be that jerk who uses my designs and tutorials to build a copy of my work only to sell it on EBAY or trade/sale groups and forums. Thank You. Frank.
.
.
If you have a facebook account, why not join the Official Diorama Builders Fan Club today, simply click the logo link below.
 .
.
Catch up with fellow visitors and exchange stories, read cool interviews with the crew, exchange photos, fun surprises and grab some FAN ONLY merchandise next year at actual future conventions ?
.
©2018 Frank Diorio DioramaWorkshop.Com
.
IF YOU LIKE WHAT YOU SEE, PLEASE SHARE WITH YOUR FRIENDS
USING THE SOCIAL MEDIA BUTTONS BELOW