


-

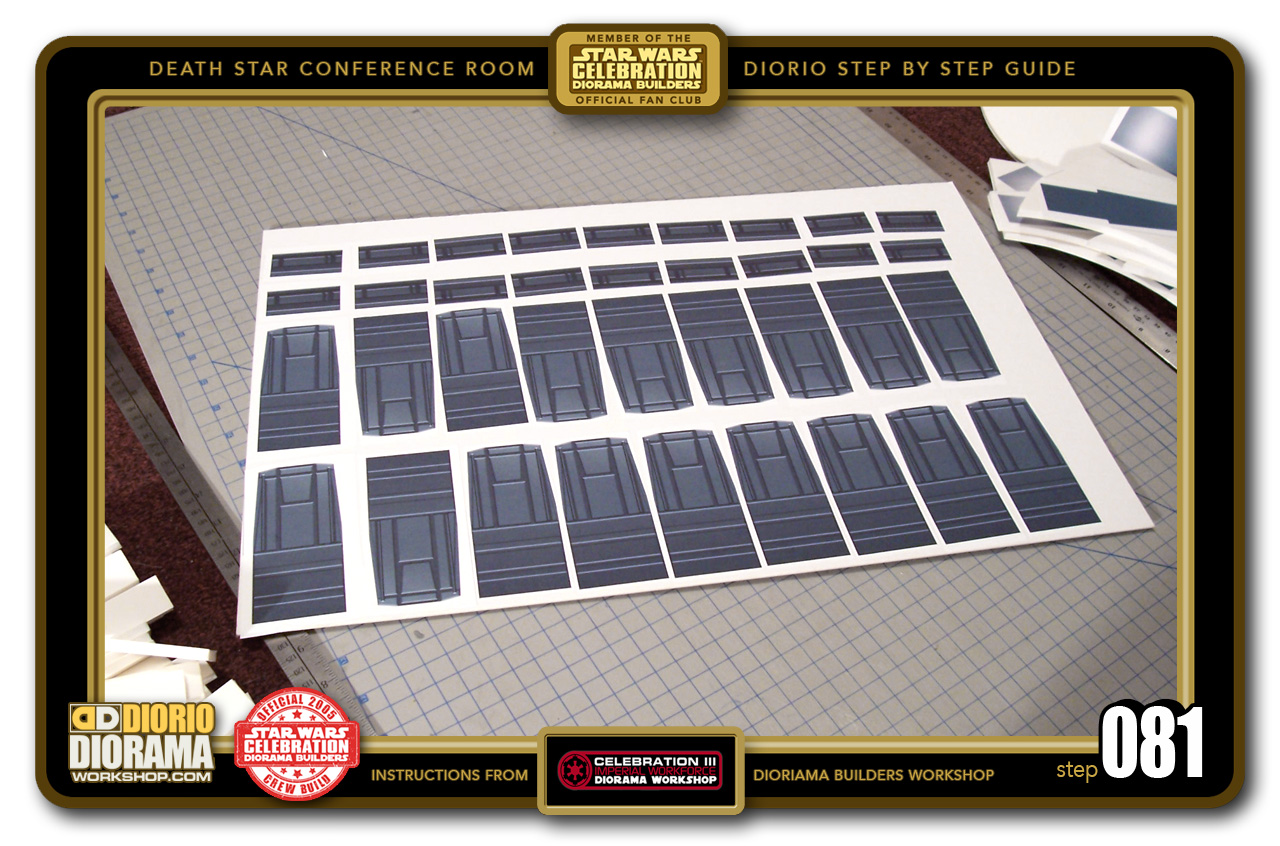
- STEP 081 > Peel back the Label Sheets or use Glue STick to secure the Wall Bottom and Top Panels to a piece of Cardboard. DO NOT USE FOAMCORE !!! It is too thick and will not give the result you are looking for.
-
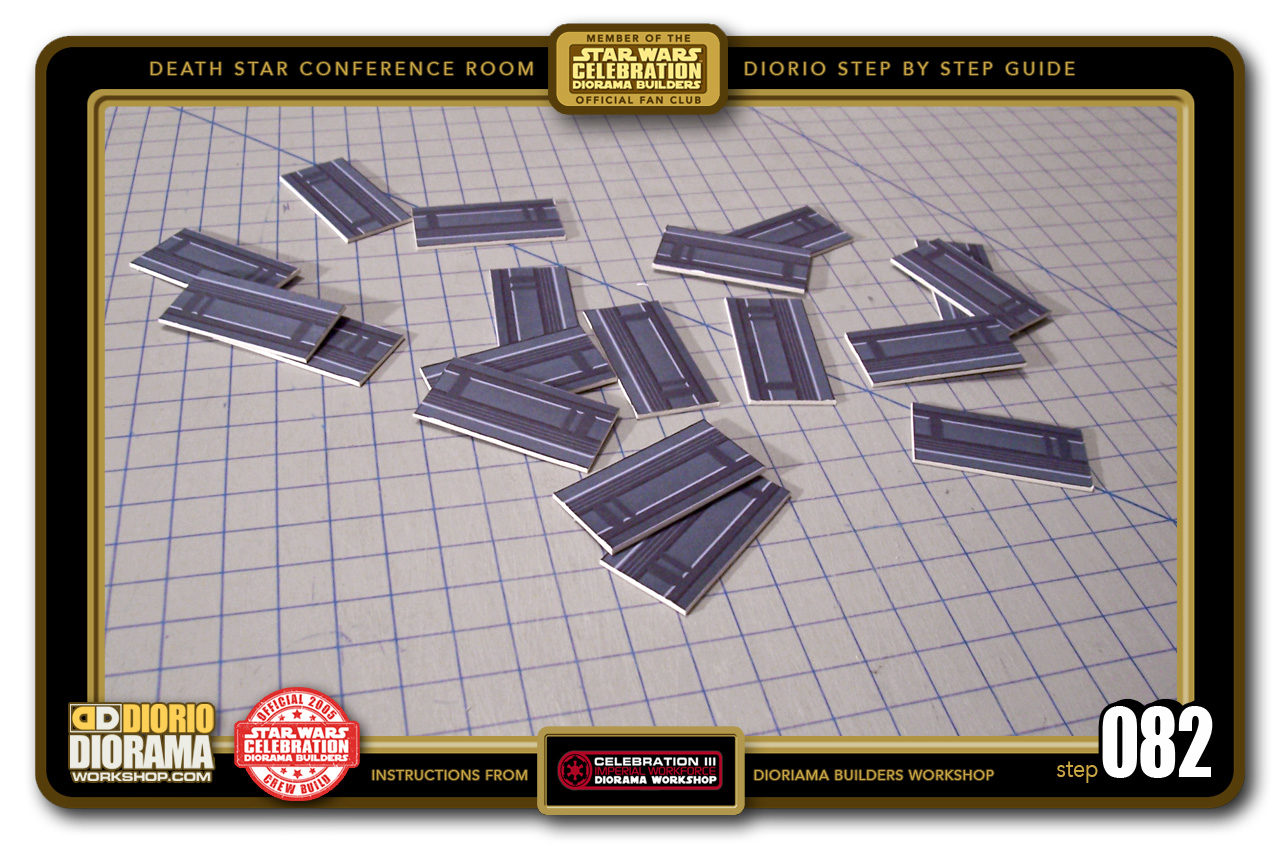
- STEP 082 > Now with your Xacto Blade, carefully cut out the Top Panels. Having applied the Decals BEFORE the cutting guarantees you a much cleaner edge.

-
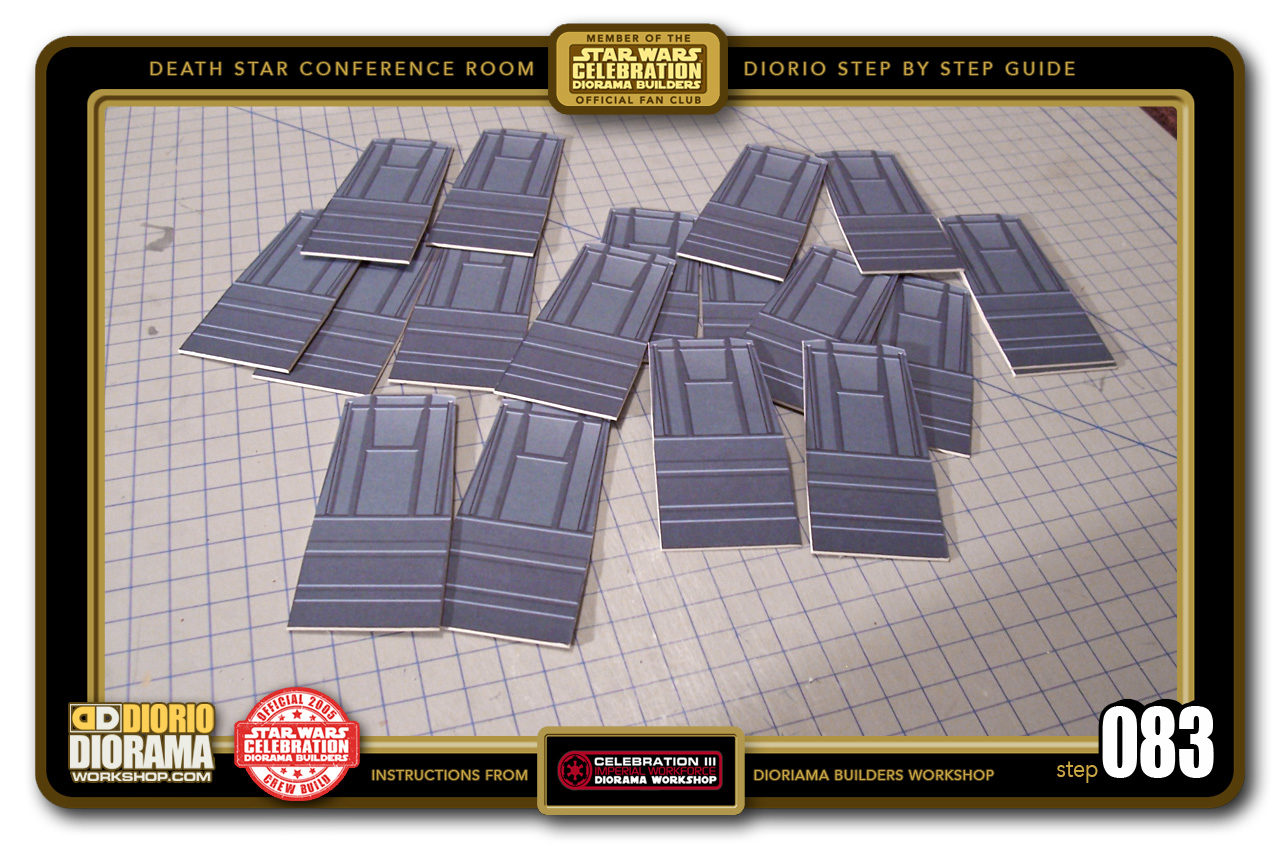
- STEP 083 > Carefully cut all your Front Bottom Panels. Remember to be carefull when using New sharp Xacto Blades.

-

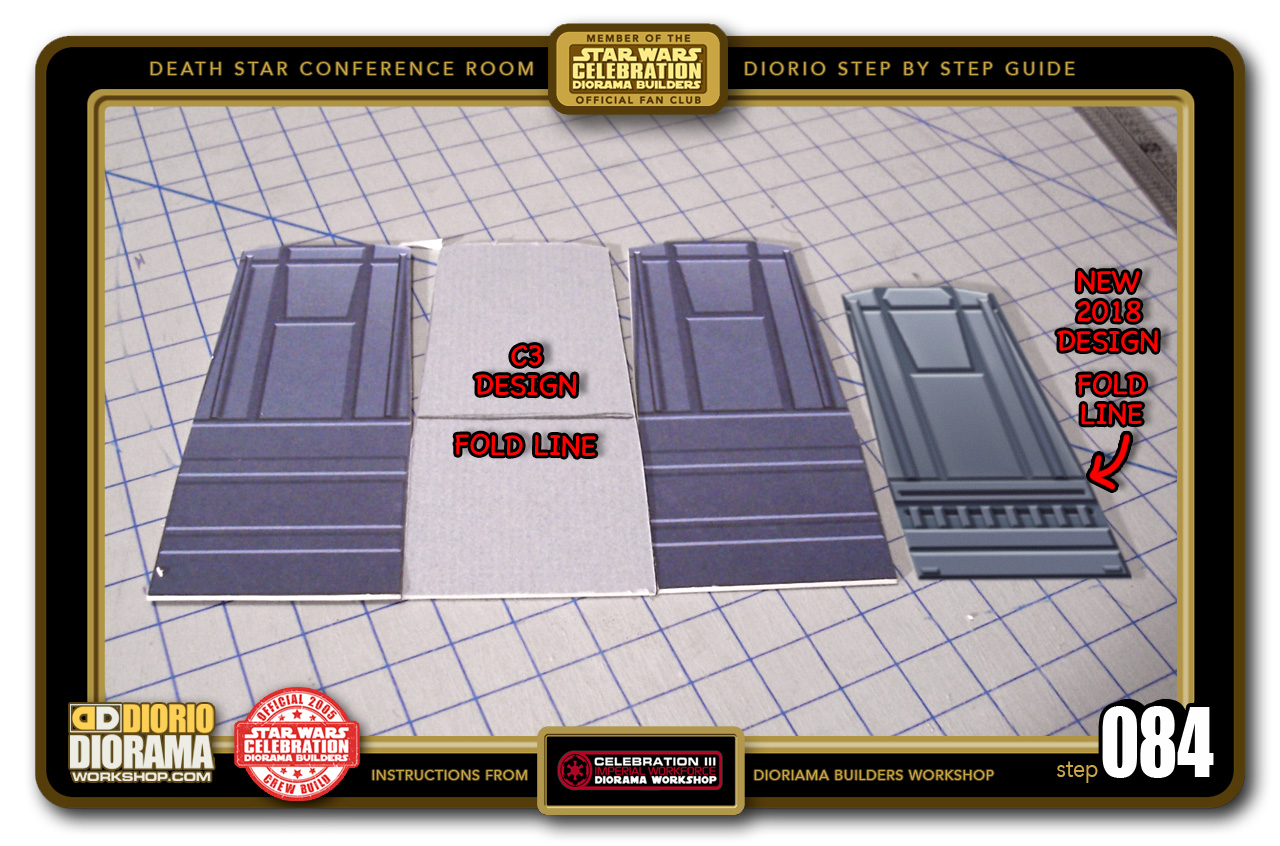
- STEP 084 > Now we need to slice a groove in order to allow the Bottom Wall Panel to bend easier the 45 degrees. Place 2 Panels face up next to a Upside Down Panel and draw a line. This will be your guide. REMEMBER YOUR FOLDING LINES ARE LOWER with the NEW 2018 Design
-

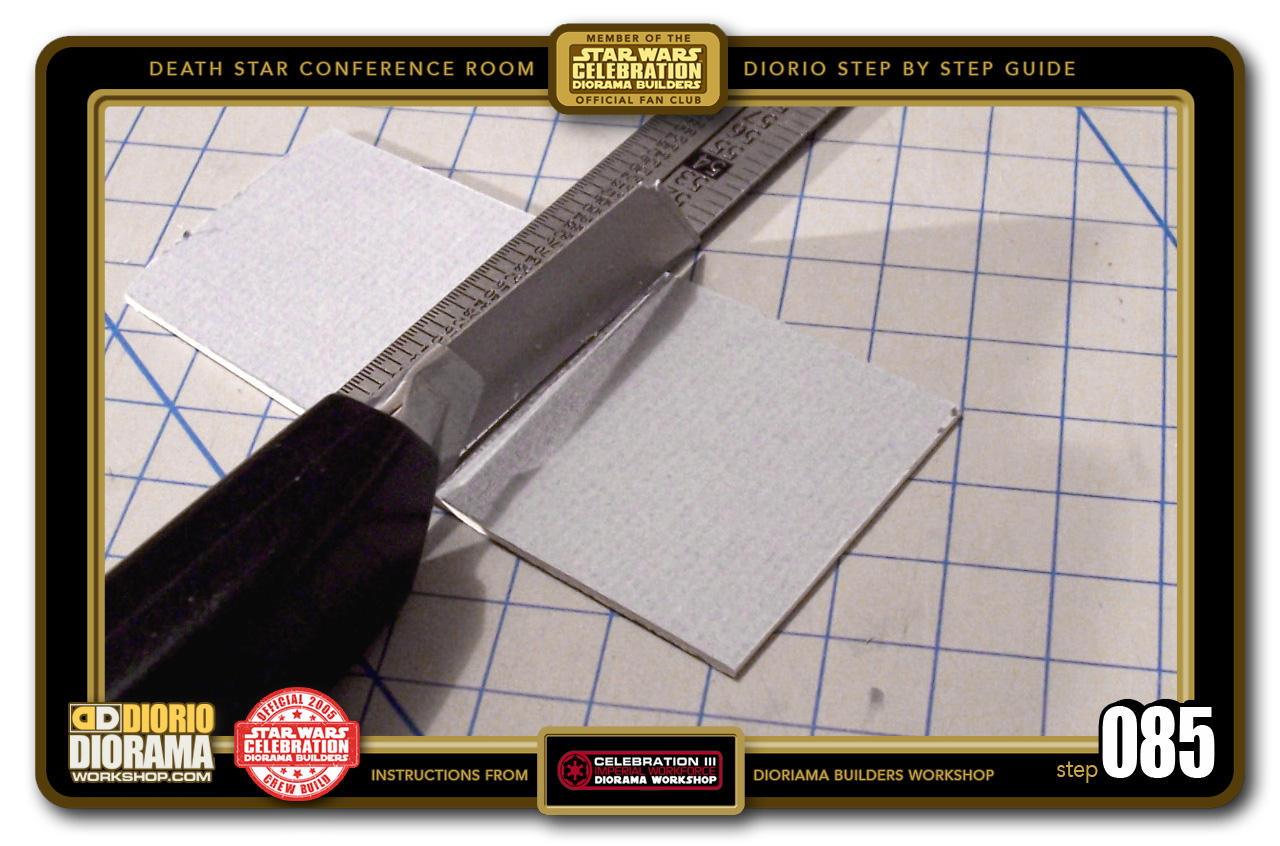
- STEP 085 > To allow an easier bend, gently SCRAPE the surface with your Xacto Blade. DO NOT CUT THROUGH THE OTHER SIDE !!! You simply want to cause a groove so that the cardboard will bend at the correct spacing.
-

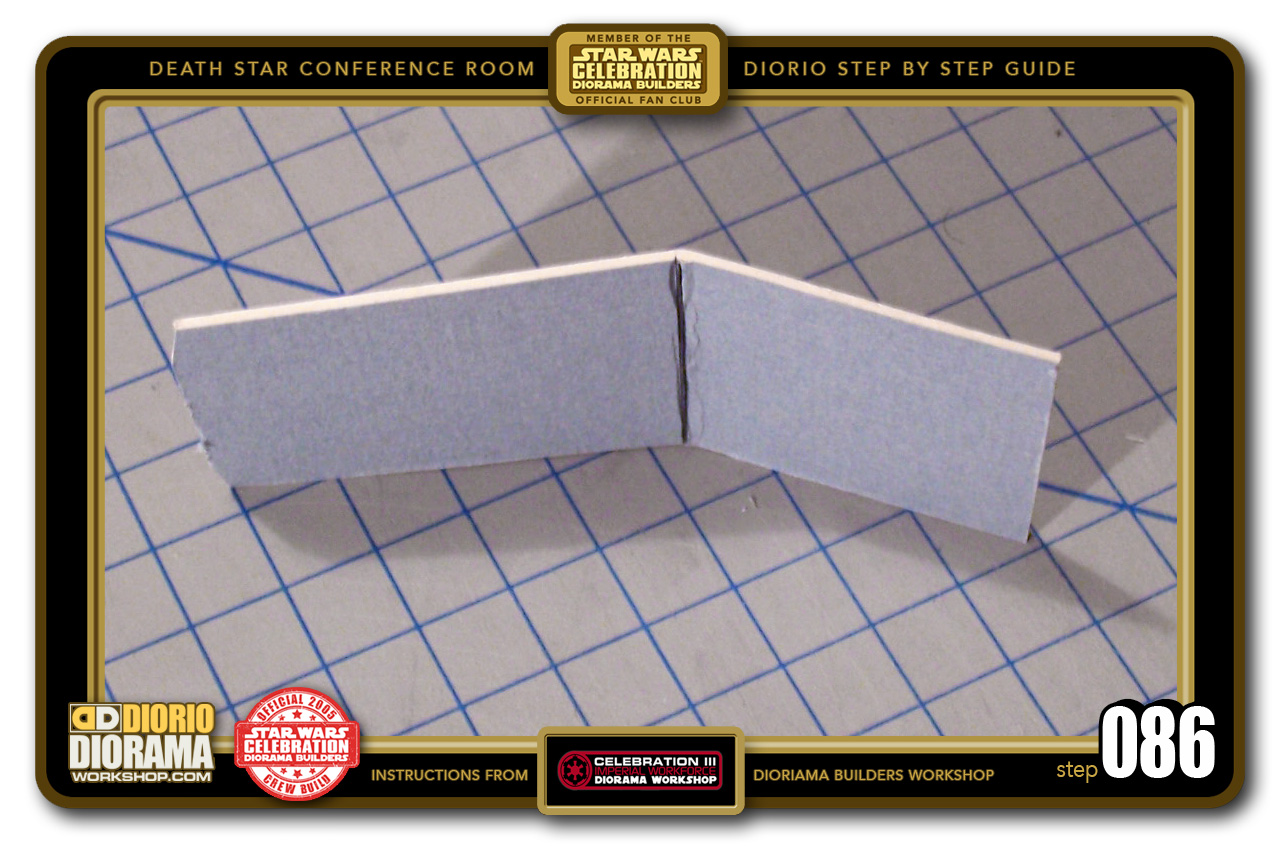
- STEP 086 > Now slowly bend the Bottom Front Panel about 45 degrees. YOUR BEND will NOT be as centered, it is much LOWER for the NEW 2018 Design.
-
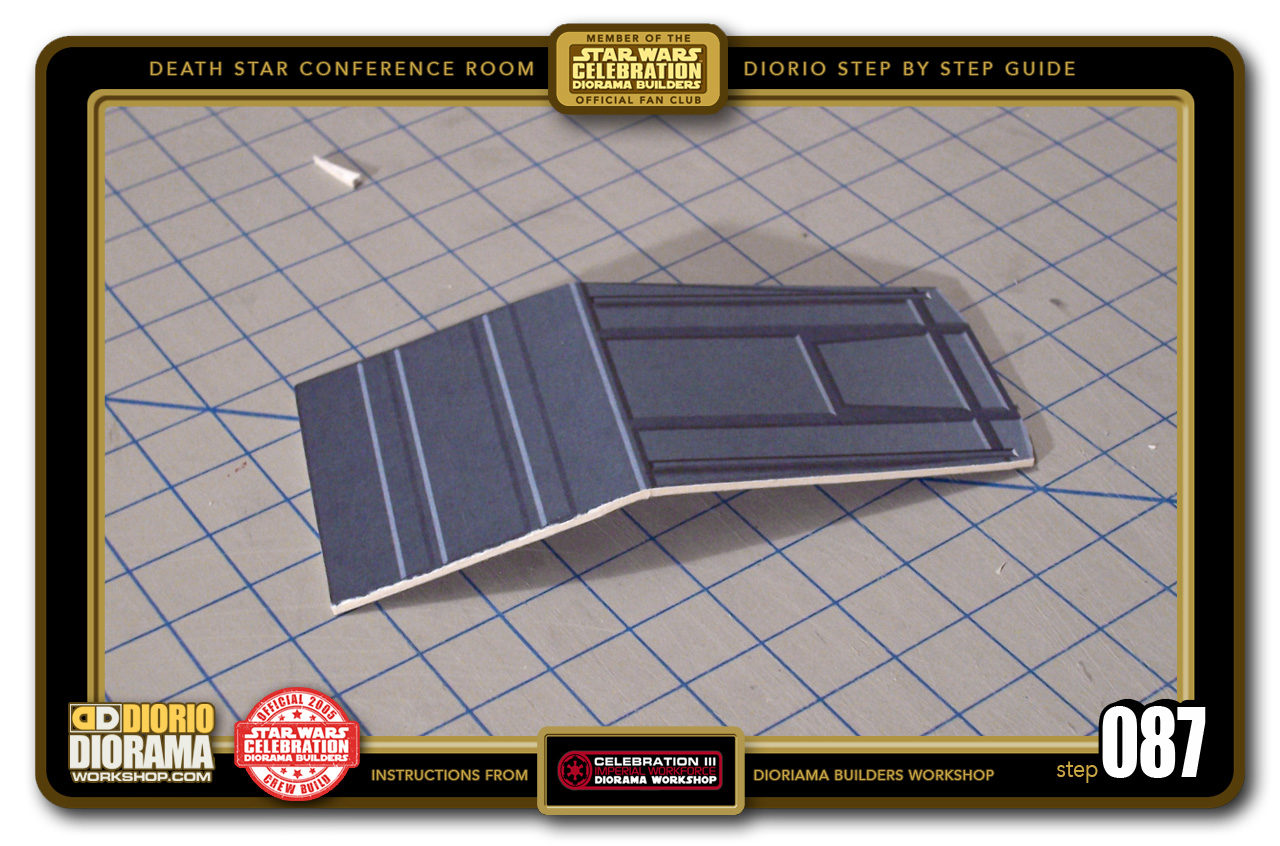
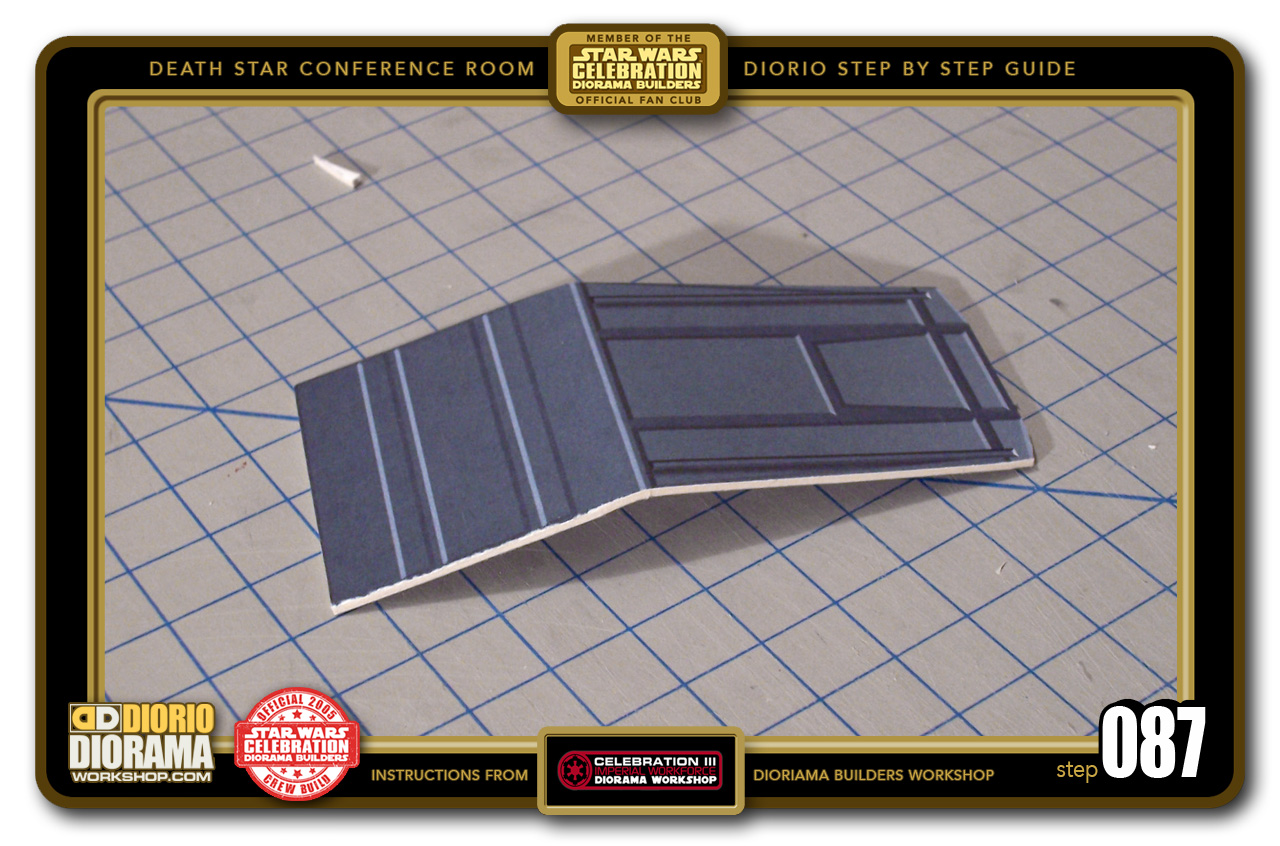
- STEP 087 > See how the cut helps with the fold? If you tried to bend the cardboard without a cut it would bend all crooked and not in a perfect straight line. Original C3 design shown.
-
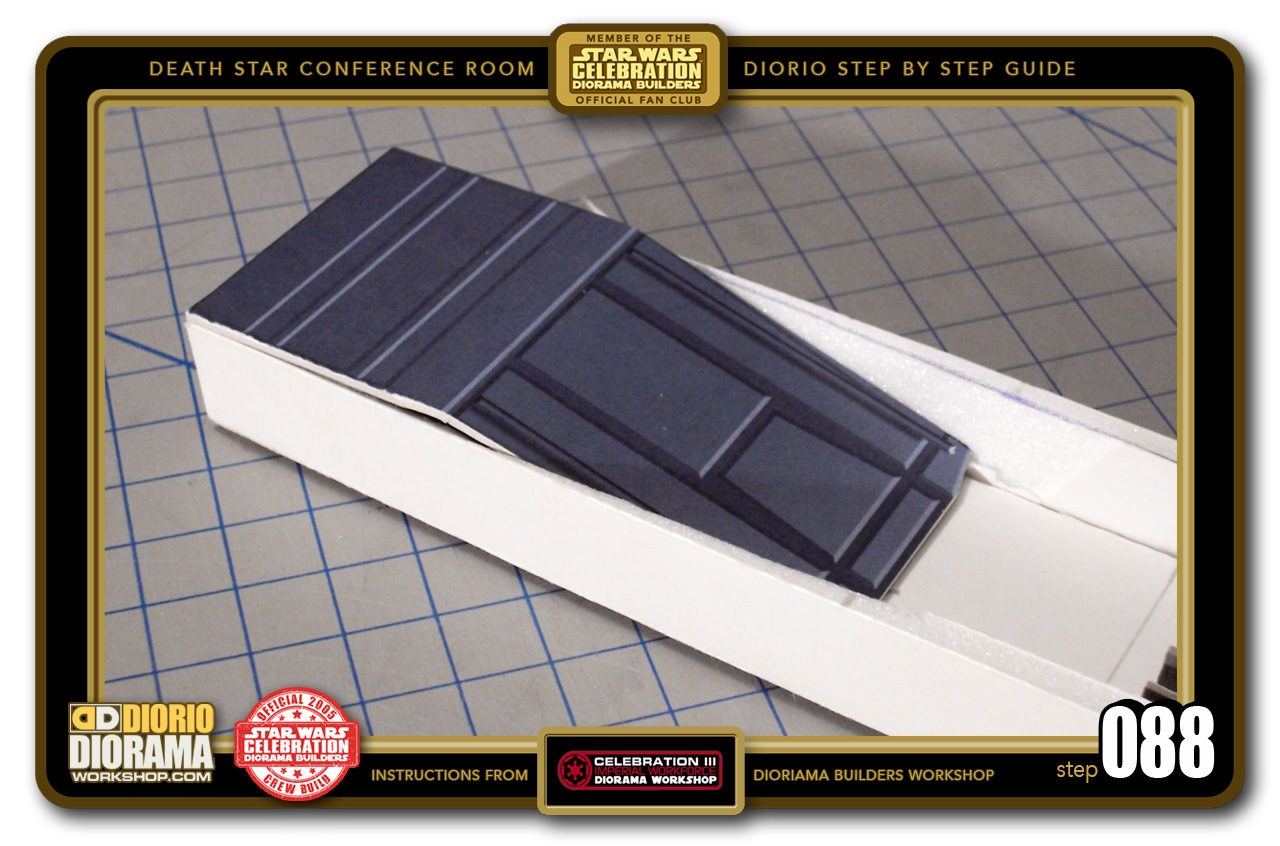
- STEP 088 > Having the final design in ONE piece as opposed to the 2 when I started out really works out great. A step less for you and no connections between the 2 pieces, so a much cleaner design.

-
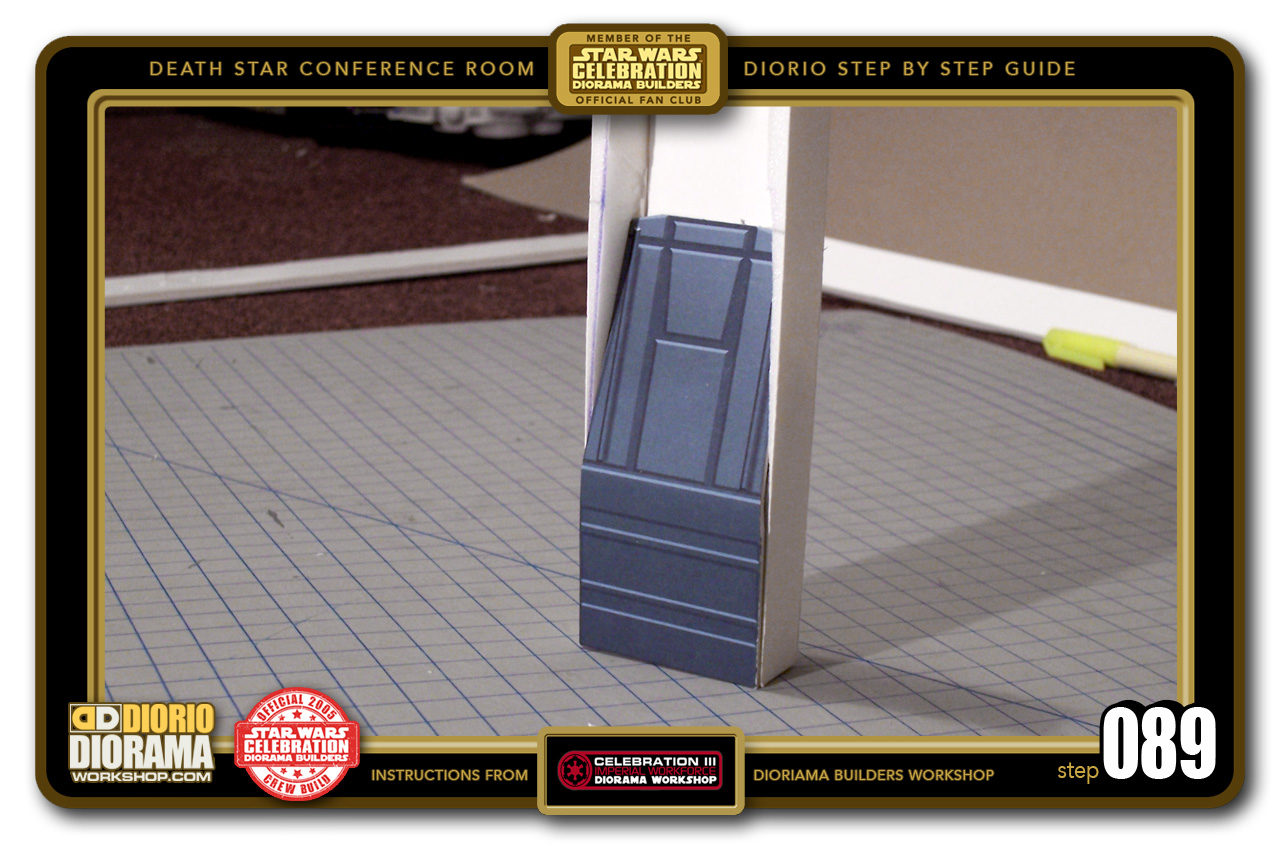
- STEP 089 > You can get an idea of how the angled panel makes it look a little more 3D just like in the movie.

-
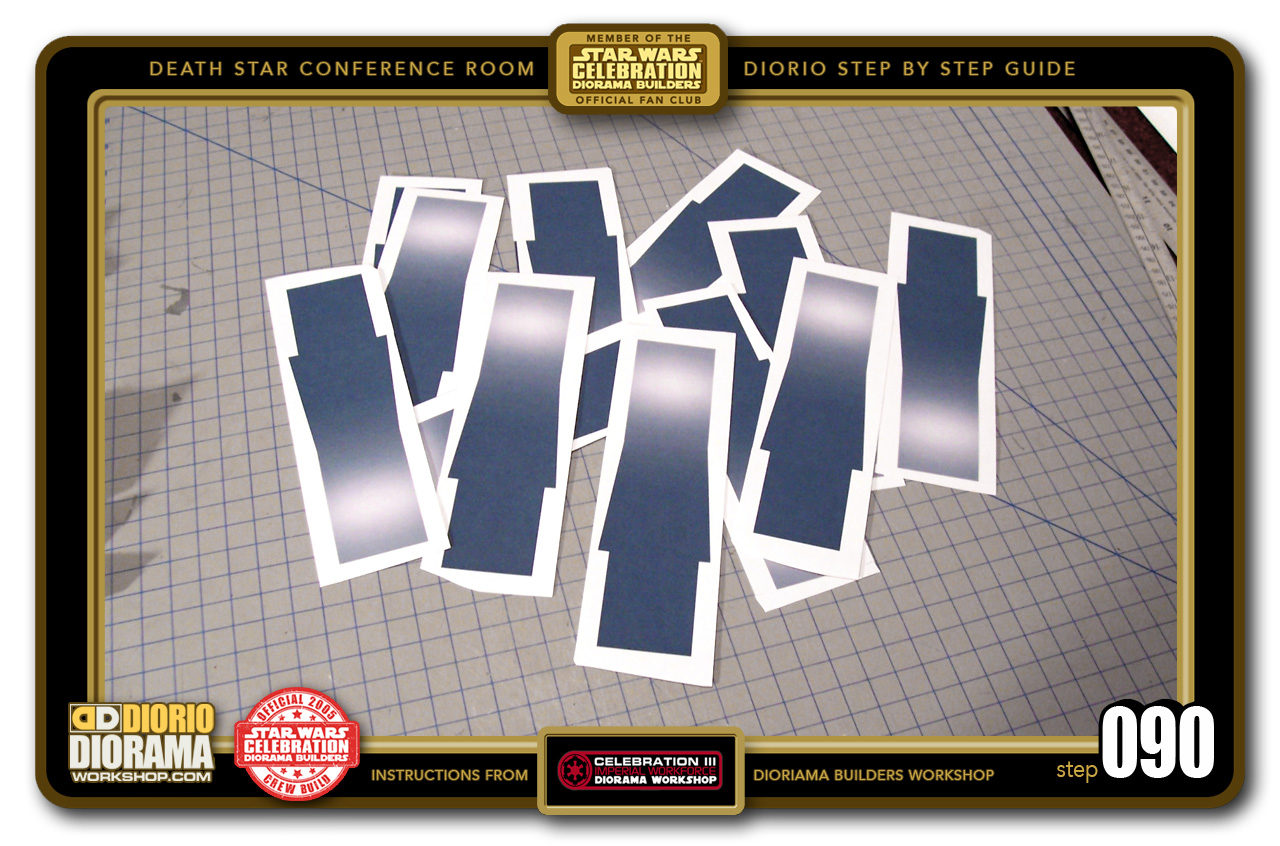
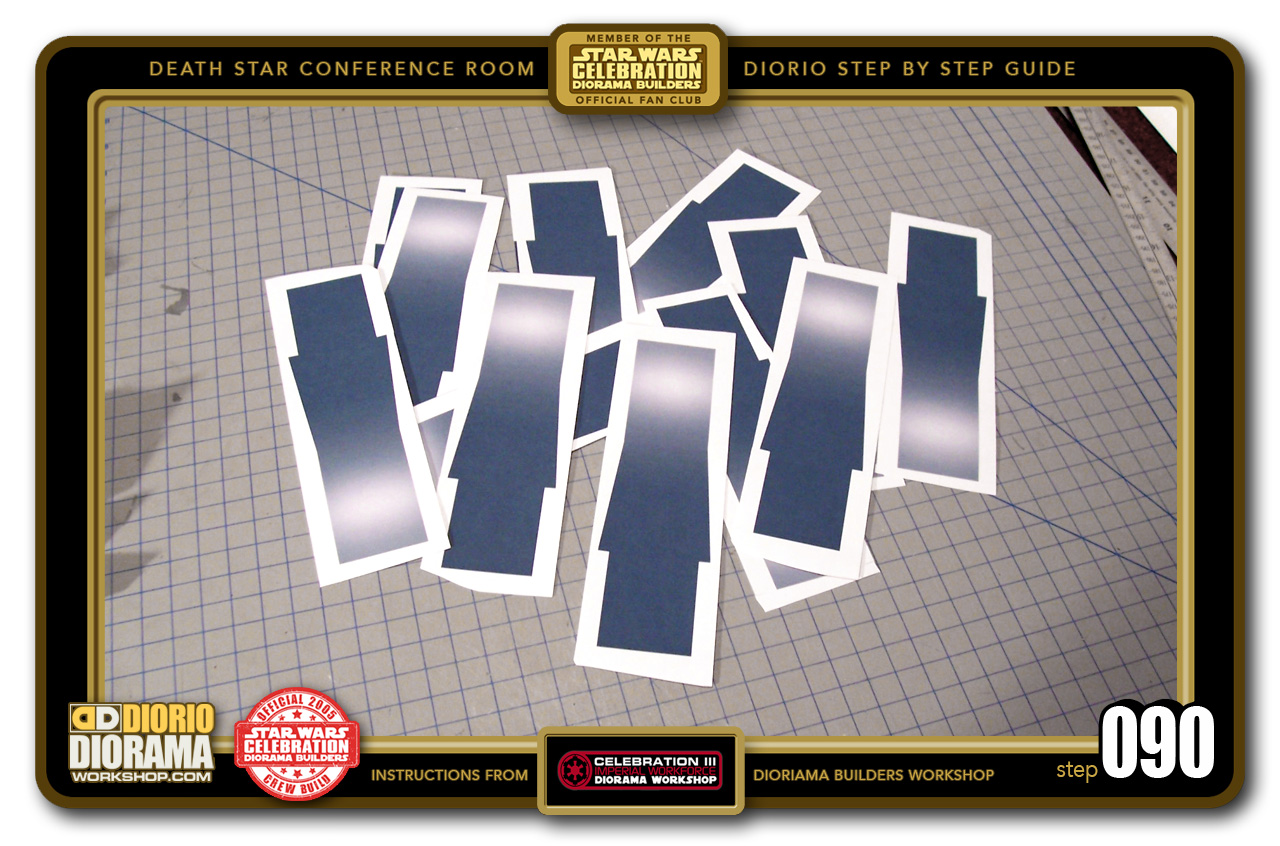
- STEP 090 > Now get out all your Main Wall Rear Panels and trim the edges so to not waste too much Foamcore when cutting. Original C3 decals shown here.
-
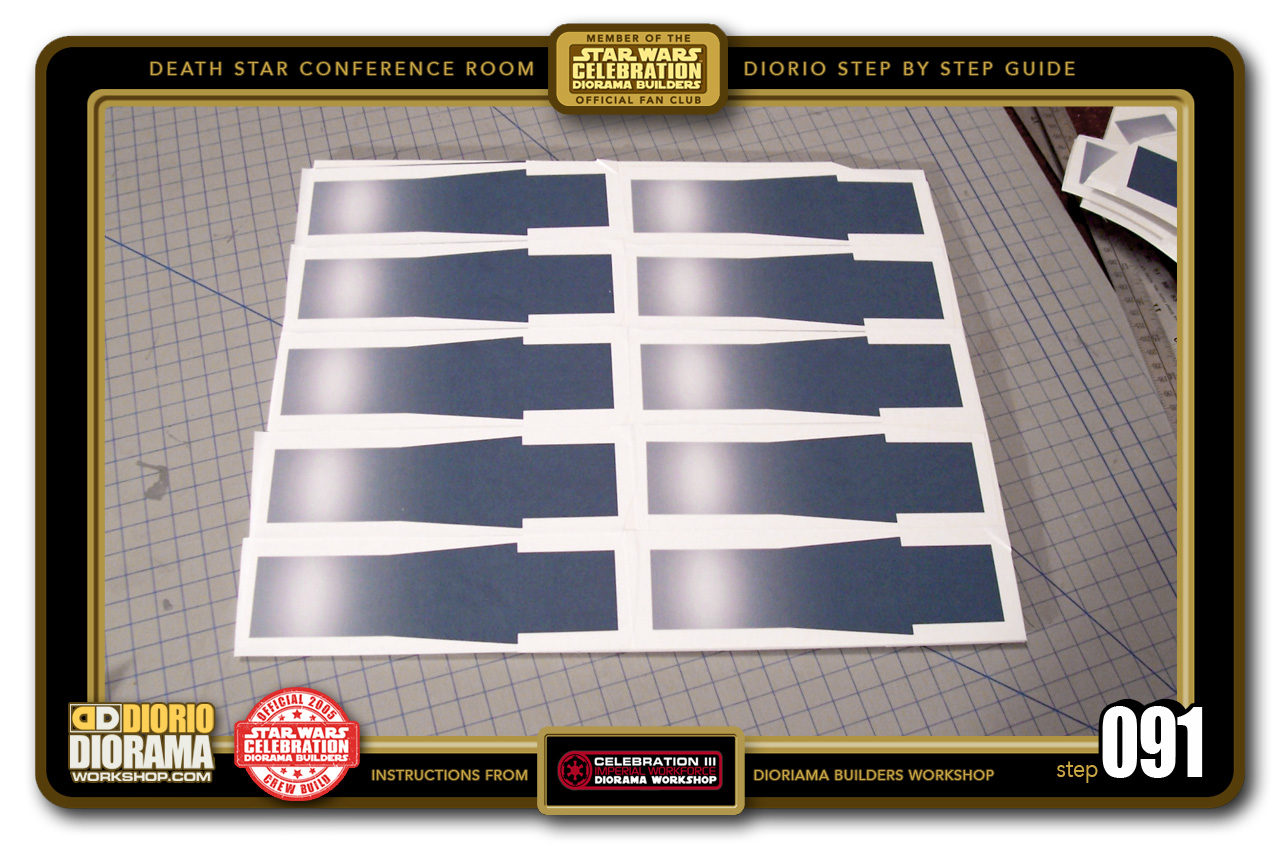
- STEP 091 > Here is what one of my Foamcore pieces looked like after I glued all my Decals to the surface. DO NOT USE CARDBOARD for this step. You want the thickness of the Foamcore to assure a strong wall. ORIGINAL C3 DECALS shown.

-

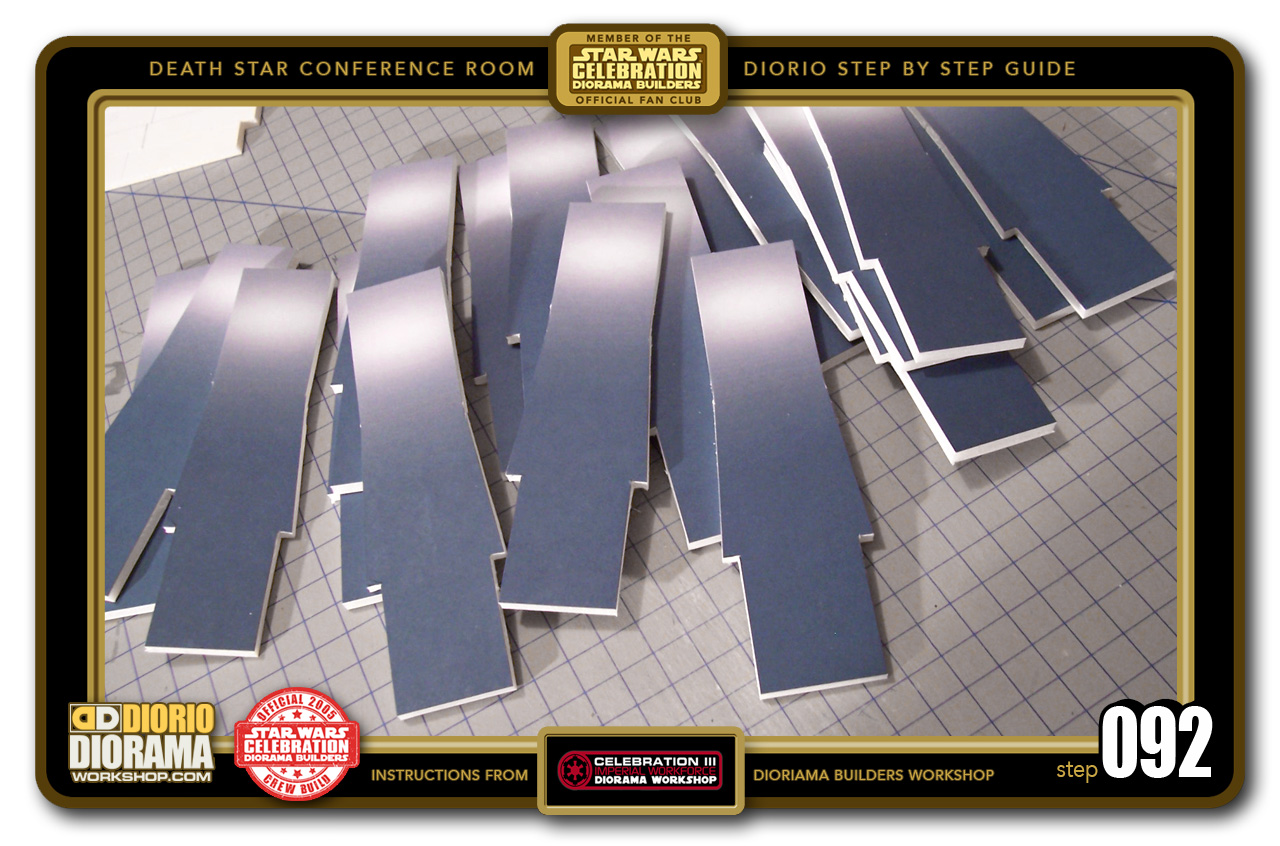
- STEP 092 > Because of the Angled cuts, this step can seem and does indeed take forever. 9 Hours for me to cut all the pieces . Whatever you do, TAKE YOUR TIME. You don't want rough edges or ripped angles. ORIGINAL C3 2005 design your bases are much SHORTER - only 2.5cm from the bottom.
-
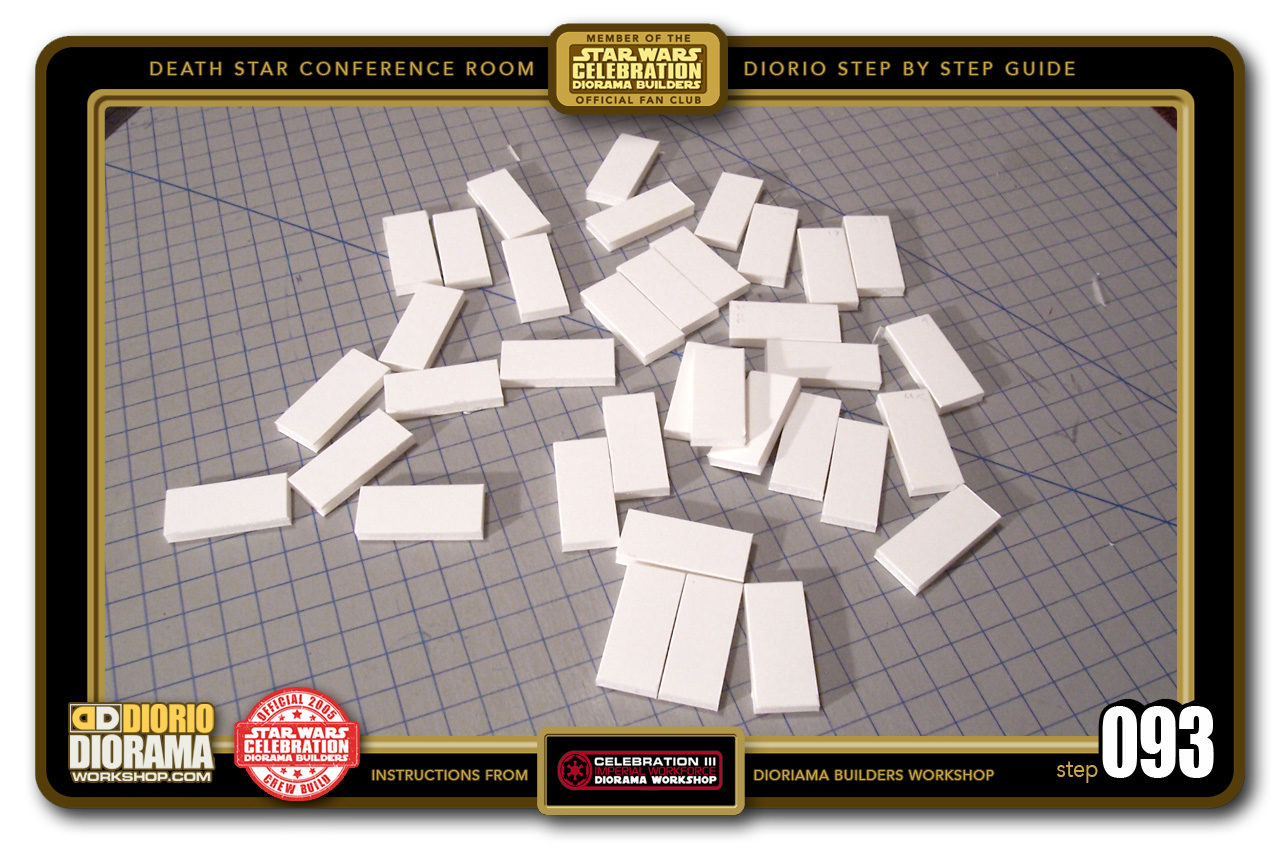
- STEP 093 > GO TO STEP 095 FIRST. Now we need to cut all the Bottom Side pieces. These are 2cm Wide and 2.5cm Long. We need 2 for each Wall Unit. In the NEW 2018 design, You just need to SLICE the BOTTOM of your SIDES to get all these pieces. No need to measure 4x anymore.

-

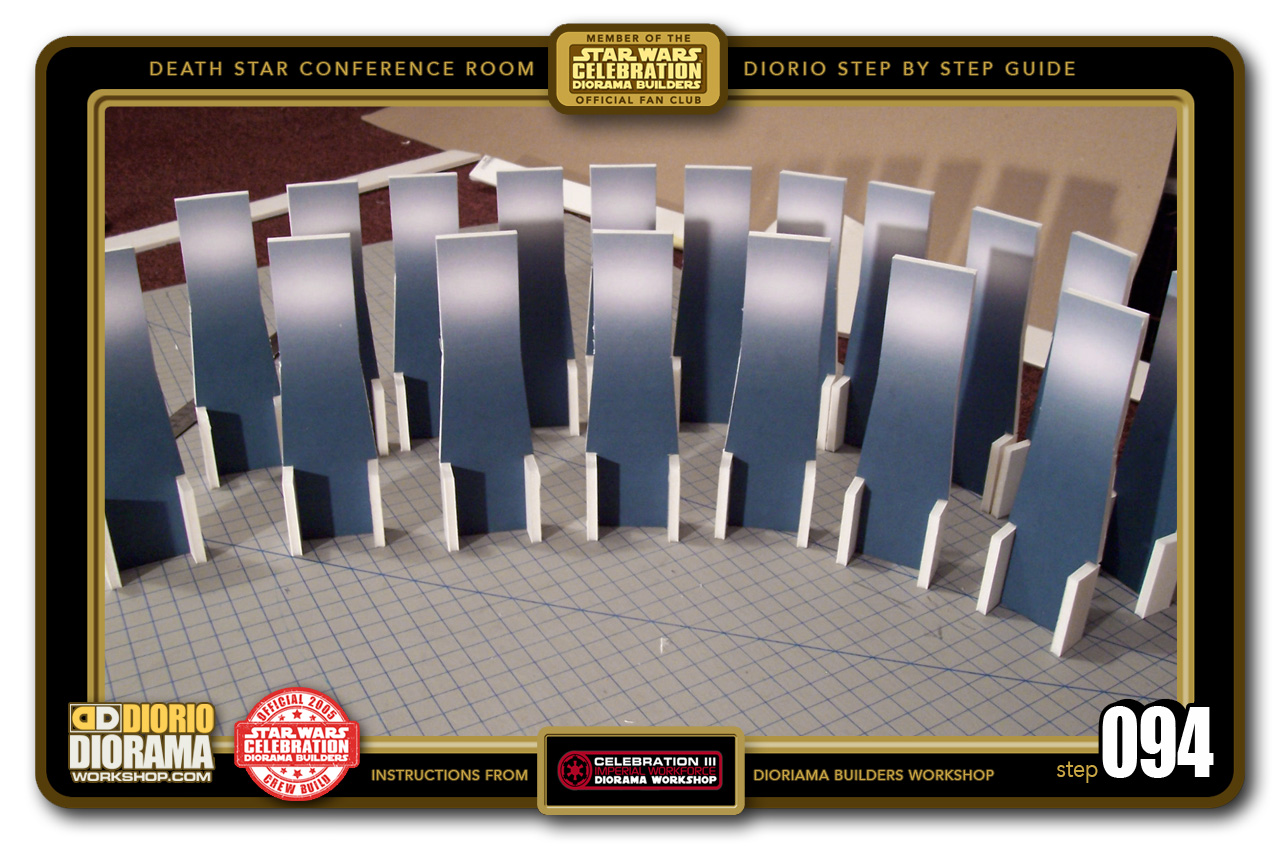
- STEP 094 > Use your Hot Glue Gun and attach one rectangle 2.5cm side base to each side of the Wall Panel Rear Wall Base. The size should allign just right with the edge grooves of the Main Walls. They will just be a little SHORTER in YOURS, Original C3 design shown here.
-

- STEP 095 > The Original C3 design had you cut all these seperately after Step 093. My NEW 2018 design has you just cut ONE 13cm x 2cm shape and then slice off the bottom 2.5cm to give you the STEP 093 pieces. You STILL need to make A LOT of these though 🙂

-
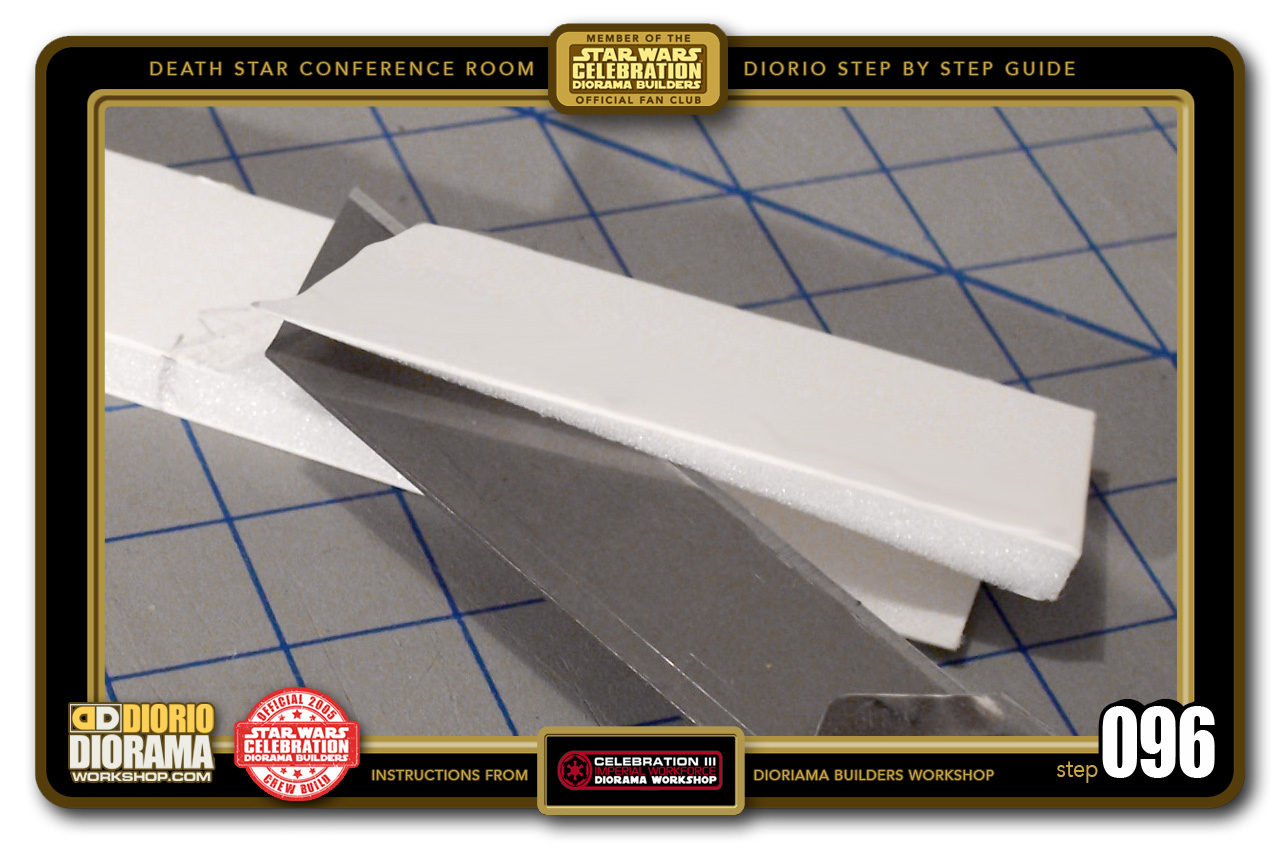
- STEP 096 > You will need to mark all your pieces as shown previously at 6cm from the top, then slice 45 degrees on the INSIDES for the remaining 7cm. Use a NEW sharp blade after every 10 or so cuts. Foamcore DULLS blades FAST. You want the cleanest possible cuts for these side walls.

-

- STEP 097 > The Exposed Foamcore sides will be facing front so now is a good time to paint all the pieces before applying the side decals.

-

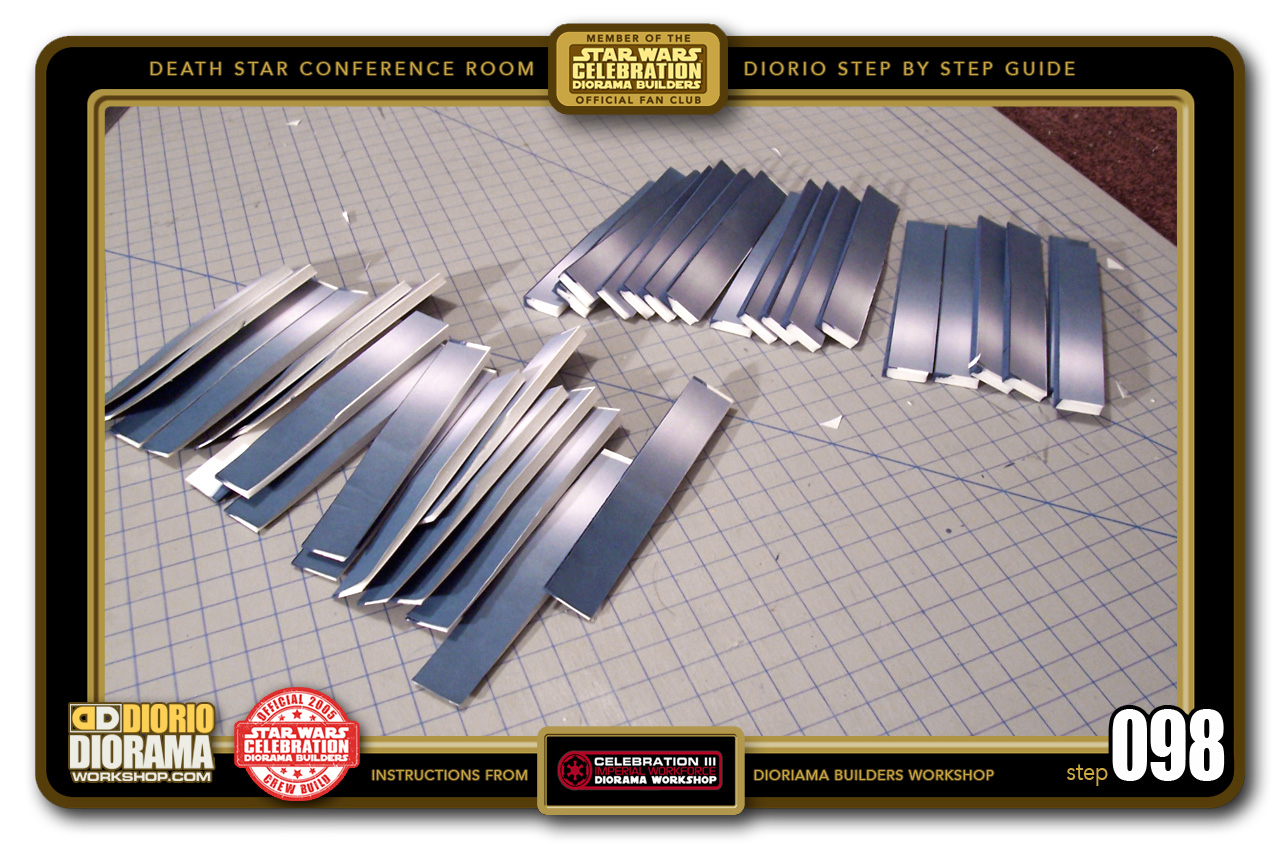
- STEP 098 > Joy Joy, it's time for another repetitive and tedious step. LOL. Peel back or use your Gluestick to attach all the Side Wall Decals to the Foamcore pieces. Make sure you apply on the correct side. The one you cut at an angle. NOT the straight flat side.
-
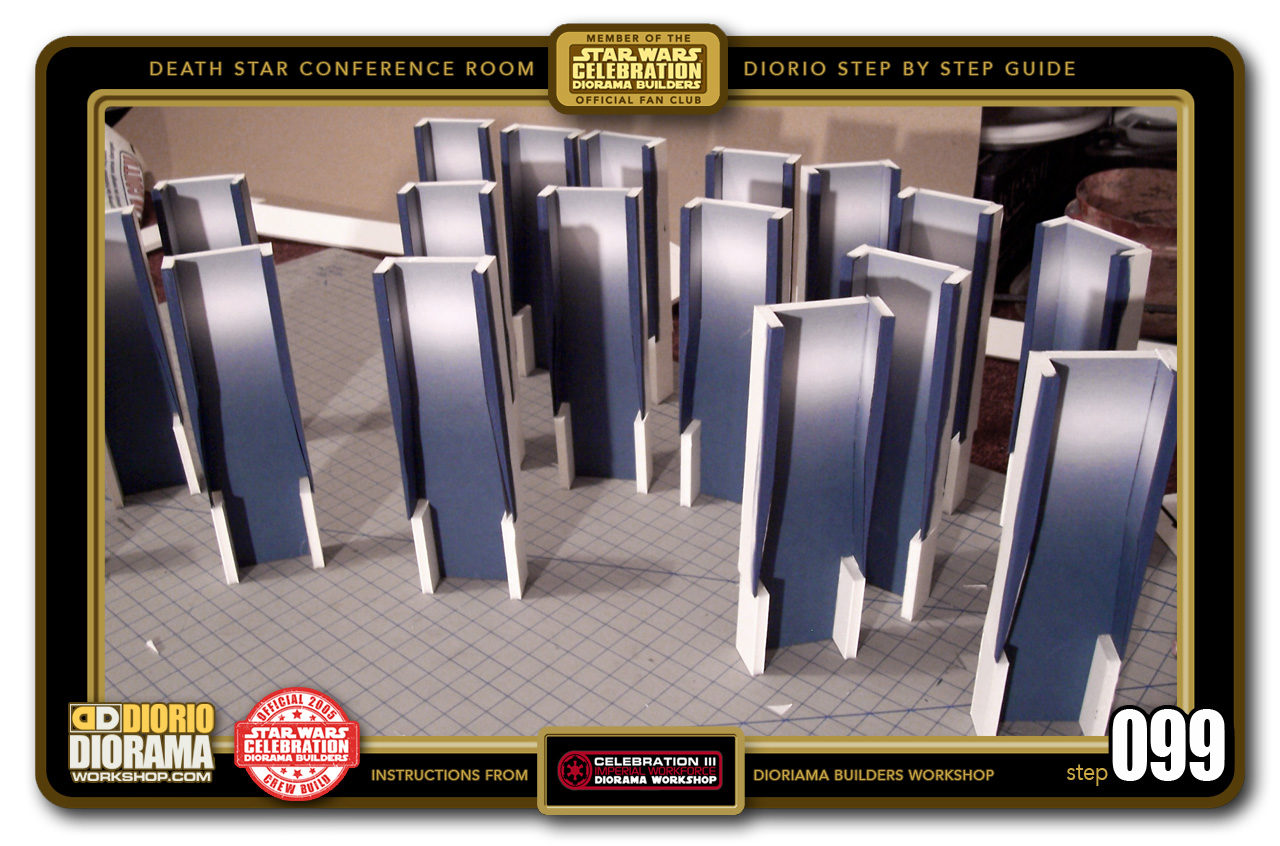
- STEP 099 > Now attach your Side Walls using your Hot Glue Gun. Make sure to align the pieces flush with the TOP of the Wall Unit. ORIGINAL C3 design shown in photo.

-
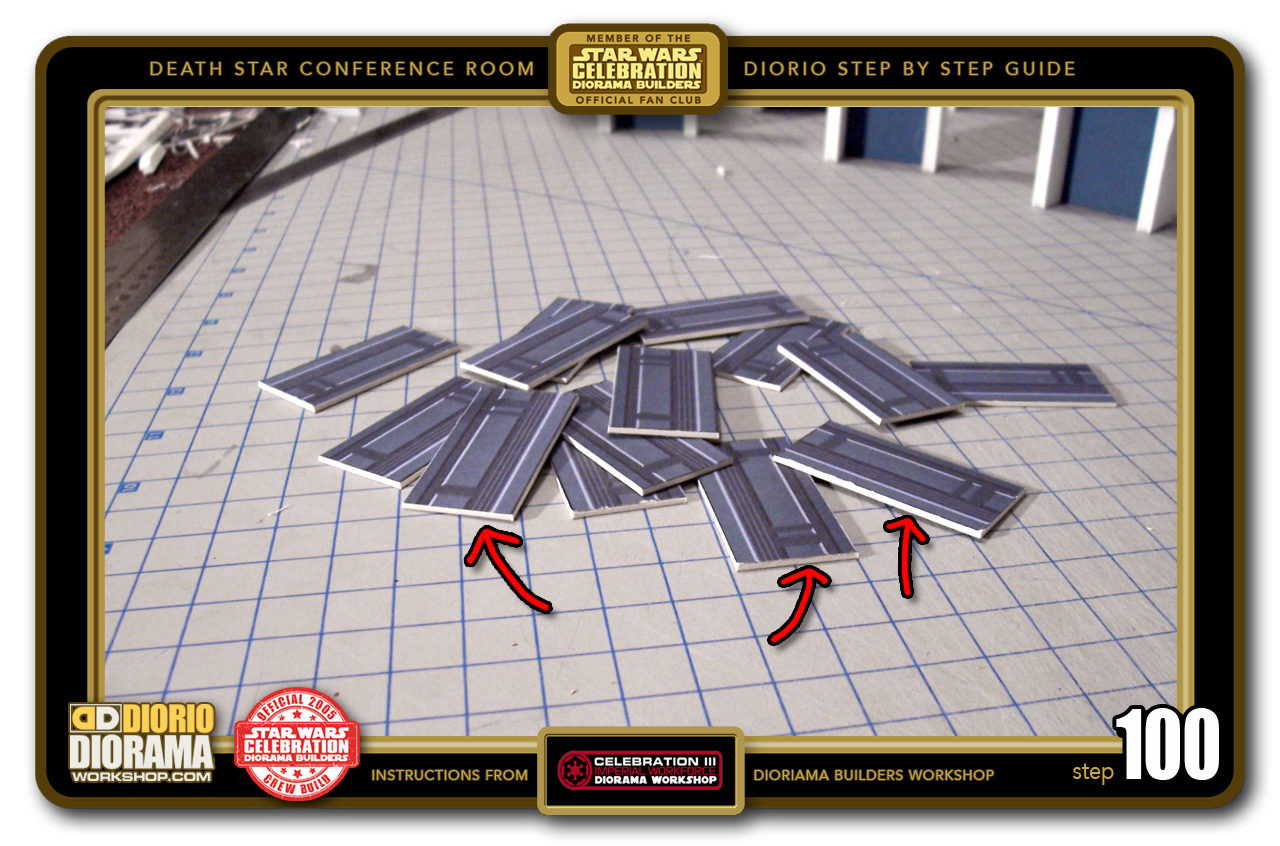
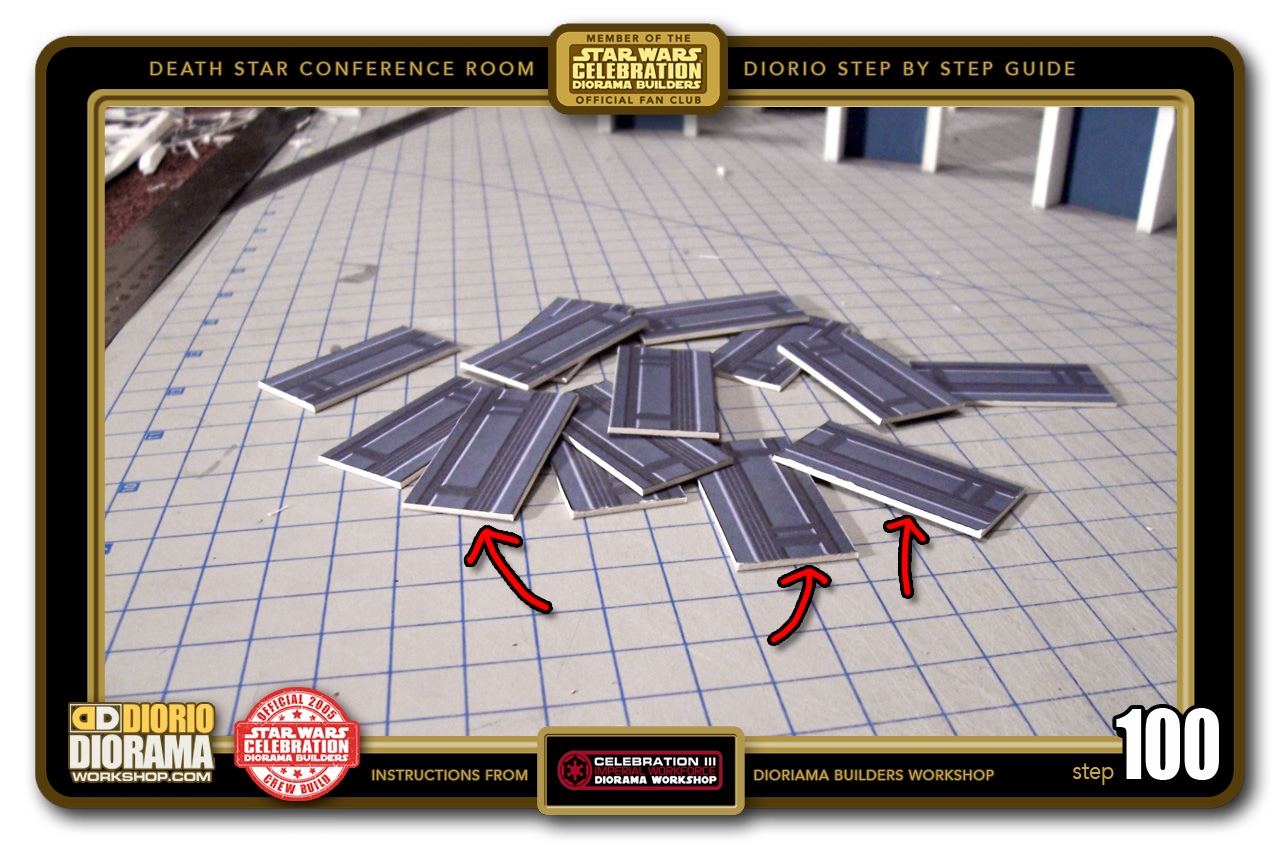
- STEP 100 > BEFORE you glue the Top Front Panels to the unit, we want to get rid of this ugly cardboard look. You know, the white edges the red arrows are pointing to.

.
Did you already build this Diorama ? At home or at our Star Wars Celebration Diorama Builders workshop ? Would you like to show it in the site’s GALLERY VISITORS DIORAMAS section, YES ? That is Awesome !!! You can find out all the details on how to email me your photos on the VISITORS SUBMISSIONS INFO page … When I get your photos, I will create your very own page just like this one. You may not realize it but work does inspire others to join in the fun of making Action Figure Dioramas.
.
NOT FOR RESALE ALL Decals, tutorials and artwork are ©FrankDiorio (dioramaworkshop.com) and offered FOR FREE to the fans – that would be you ? so you can build and display my diorama designs in your very own home. I realize I cannot control what one does with my graphics once I place them on the web, I can only ask you as one fan to another, please respect the artist and do not be that jerk who uses my designs and tutorials to build a copy of my work only to sell it on EBAY or trade/sale groups and forums. Thank You. Frank.
.
.
If you have a facebook account, why not join the Official Diorama Builders Fan Club today, simply click the logo link below.
 .
.
Catch up with fellow visitors and exchange stories, read cool interviews with the crew, exchange photos, fun surprises and grab some FAN ONLY merchandise next year at actual future conventions ?
.
©2018 Frank Diorio DioramaWorkshop.Com
.
IF YOU LIKE WHAT YOU SEE, PLEASE SHARE WITH YOUR FRIENDS
USING THE SOCIAL MEDIA BUTTONS BELOW