


-

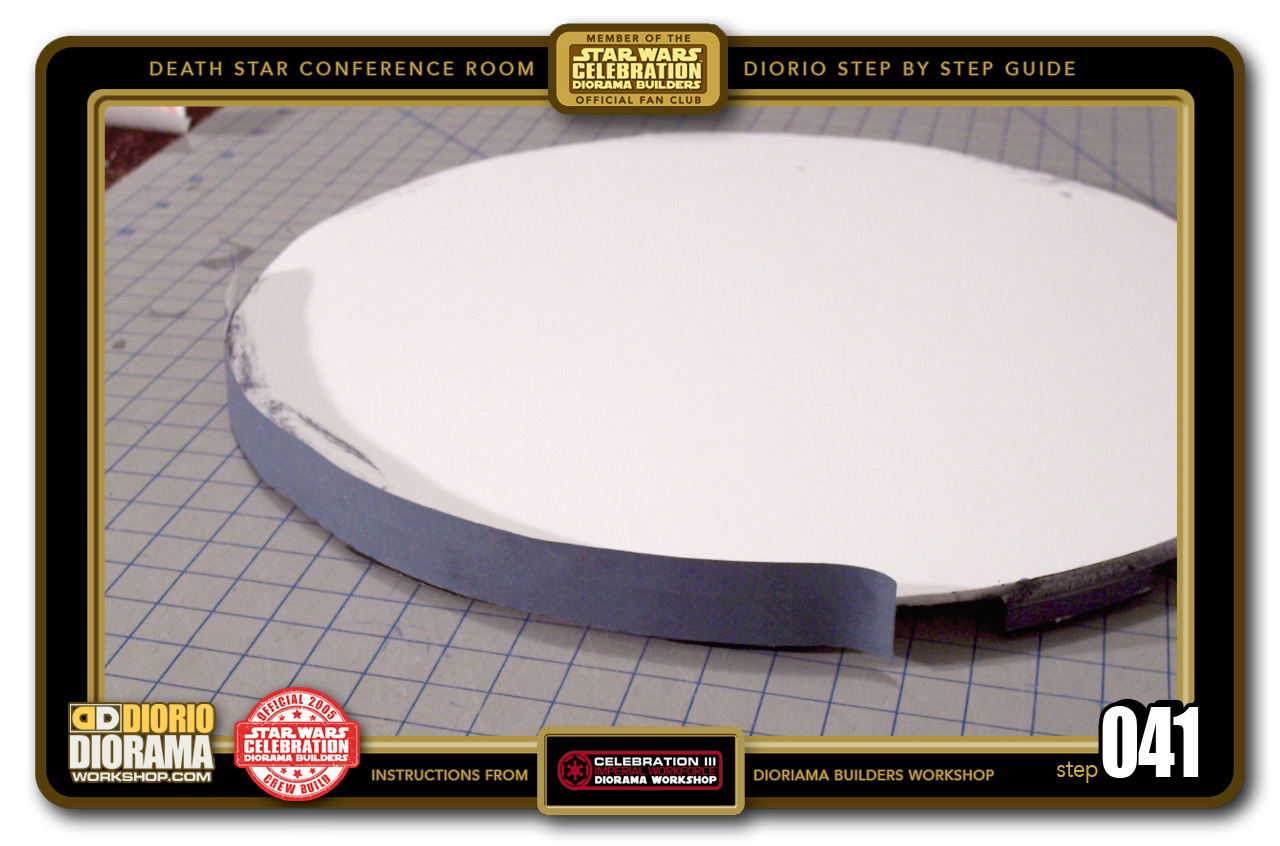
- STEP 041 > I printed mine on sticky full size 8.5" x 11" label paper to avoid having to apply glue. If you don't have label paper, use a Glue Stick on the back of the regular paper to attach it to the edges of the table. Align the strip with the TOP EDGE edge of the Table (this photo shows us the Bottom of the table) which will cause excess to stick past the bottom of your table like you see here. This is normal.
-

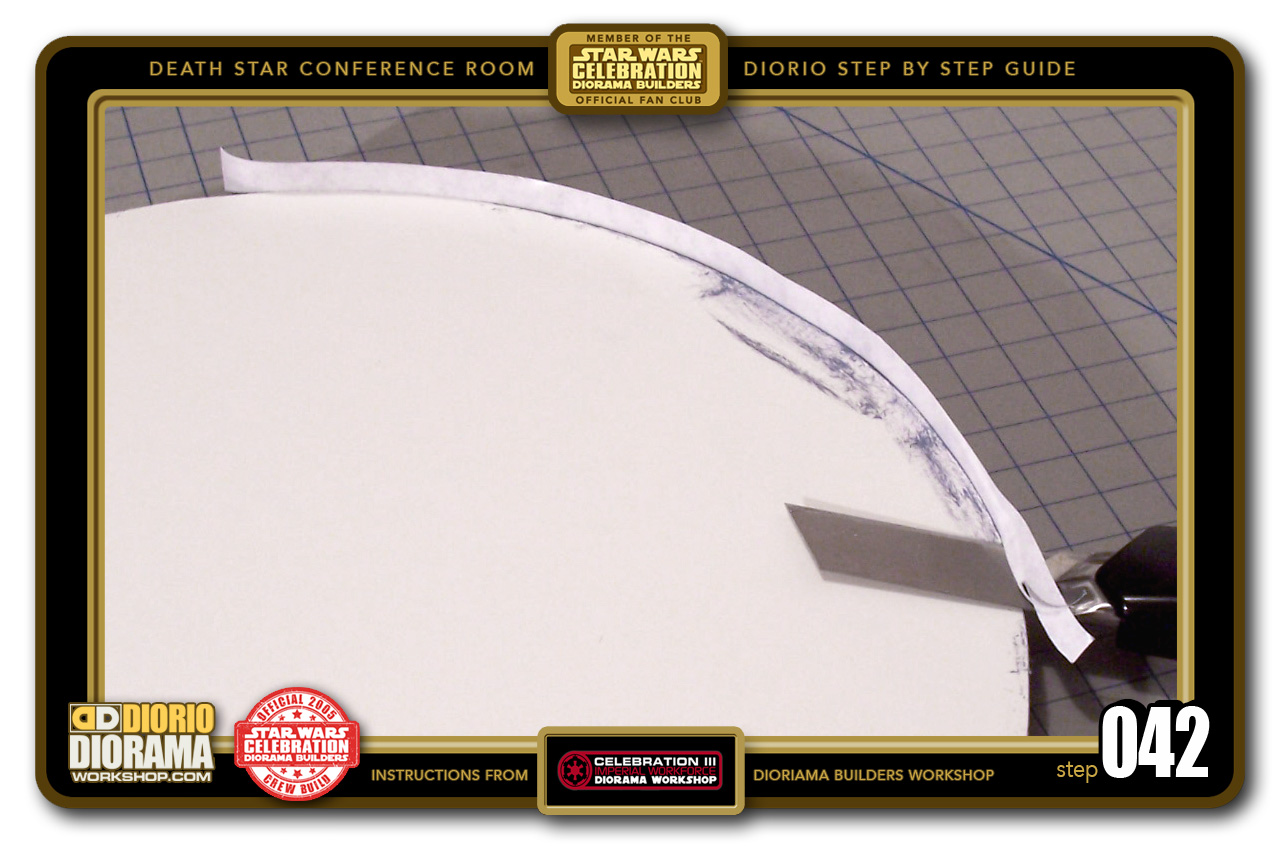
- STEP 042 > Now is one of the easiest parts of the table process...Use your Xacto Knife to trim off the excess label using the bottom of the table as your blade guide. With a sharp blade, it should slice like butter and not tear the decal. Now repeat STEPS 041 and 042 with more strips until they overlap and cover the entire table.
-
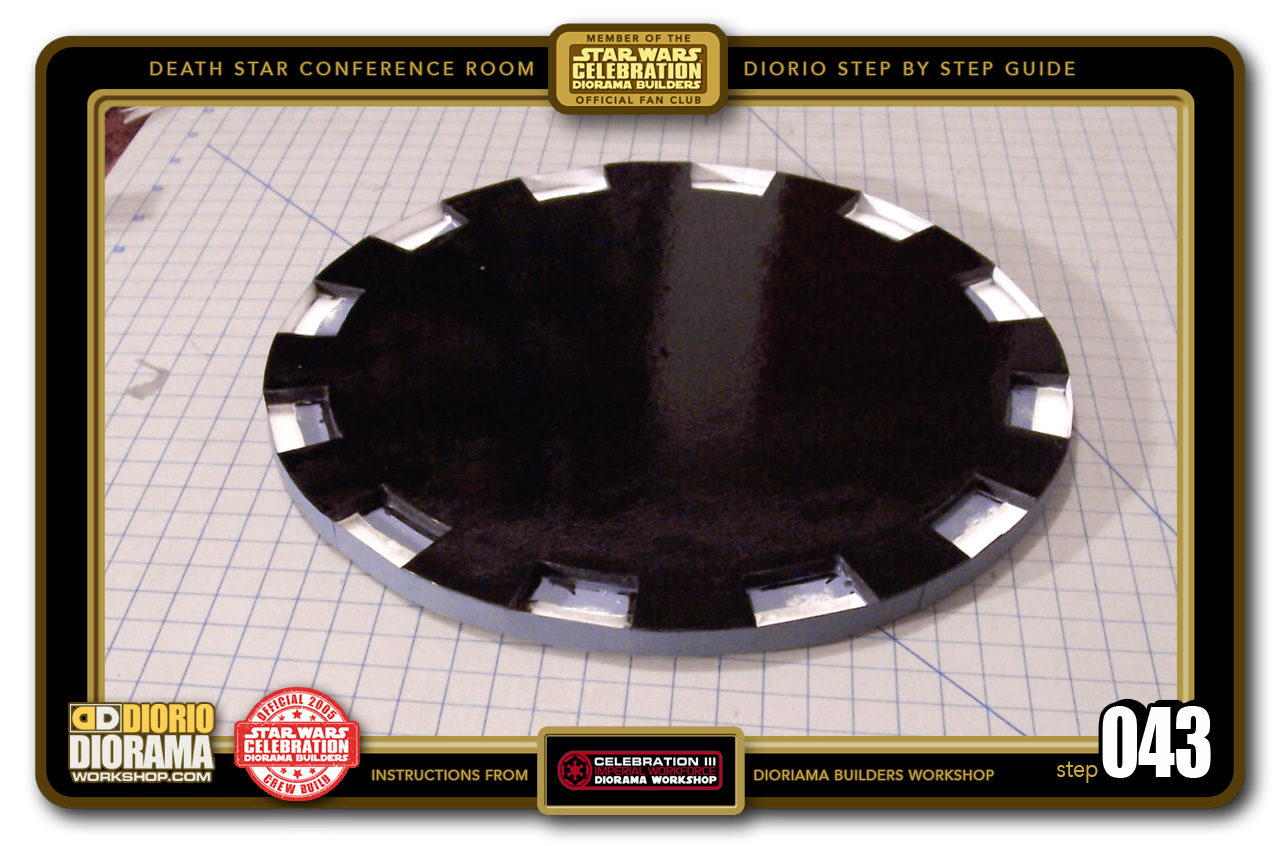
- STEP 043 > Now flip the table over on it's proper side (with the shiny surface facing up) You can see in the photo how the decals were aligned with the surface. However we can't leave it in this state, we need to trim the panel groove slots.

-

- STEP 044 > S-L-O-W-L-Y use the side foamcore edges to align your blade as you slice through the decal rim. DO NOT cut all the way through to the bottom of your strip !!! STOP at the base of the Lower layer.

-

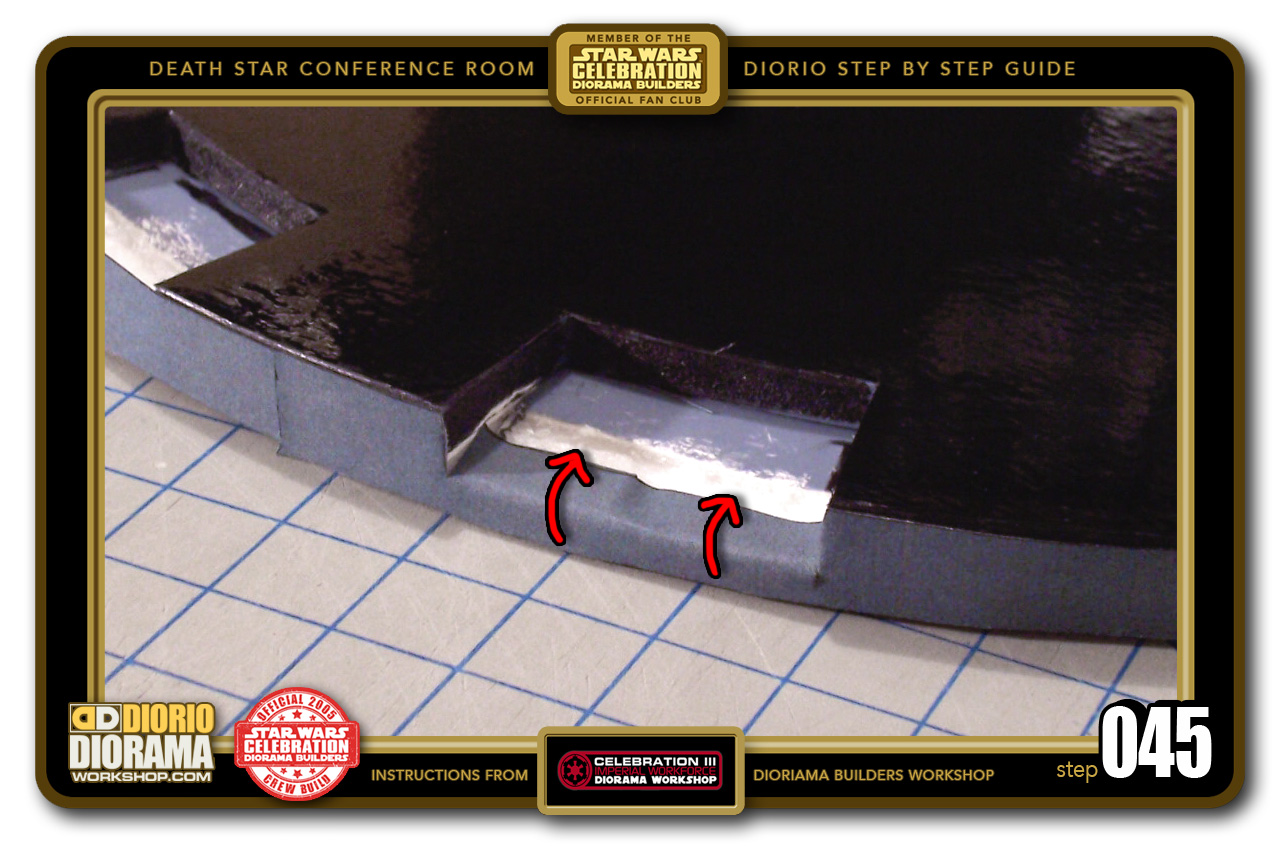
- STEP 045 > Gently fold the cut Decal rim over the lip of the Lower Layer of the table. TAKE YOUR TIME, don't go too fast or you risk RIPPING the Decal. Not Good 😛
-
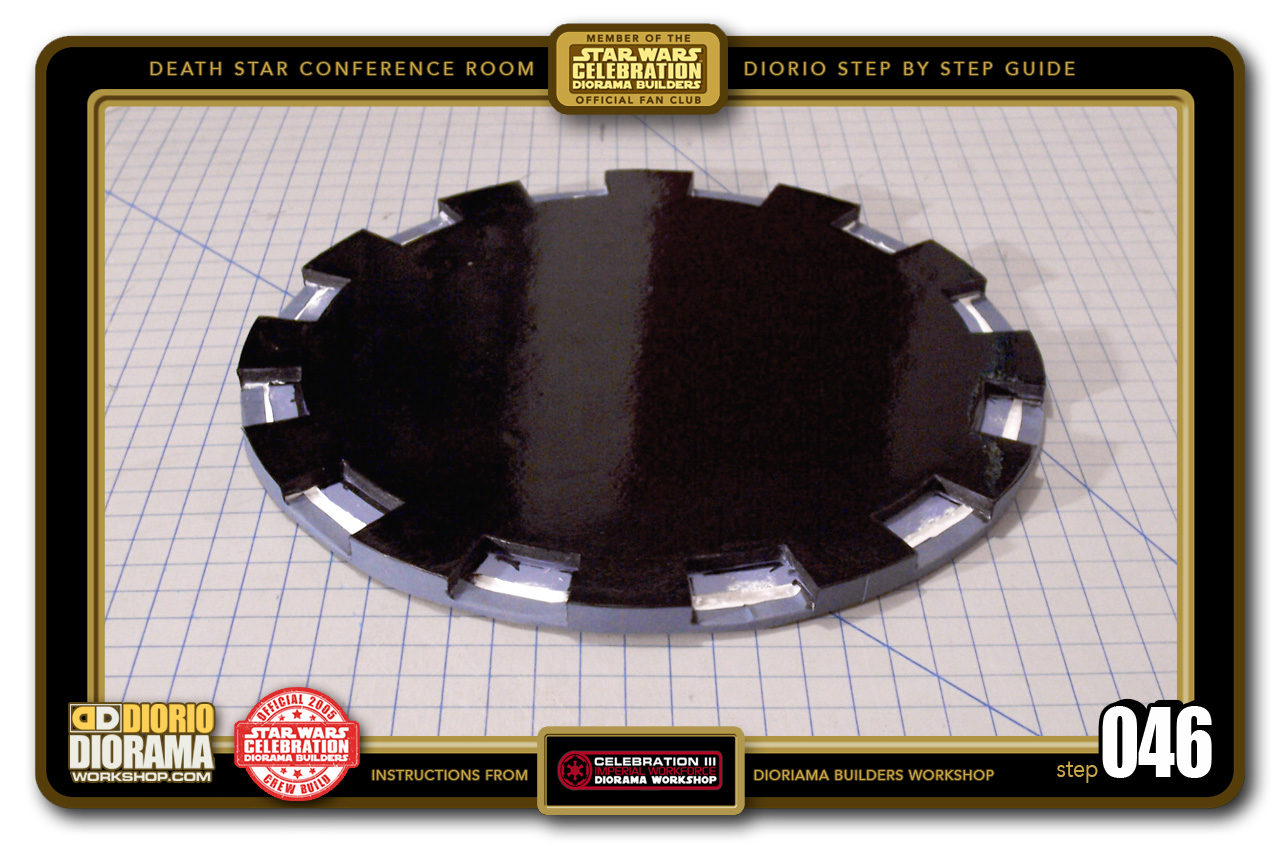
- STEP 046 > Repeat the same process for all 12 Control Panel groove slots. Remember to Take Your Time. Your Table should look like this when you are done cutting and folding.

-
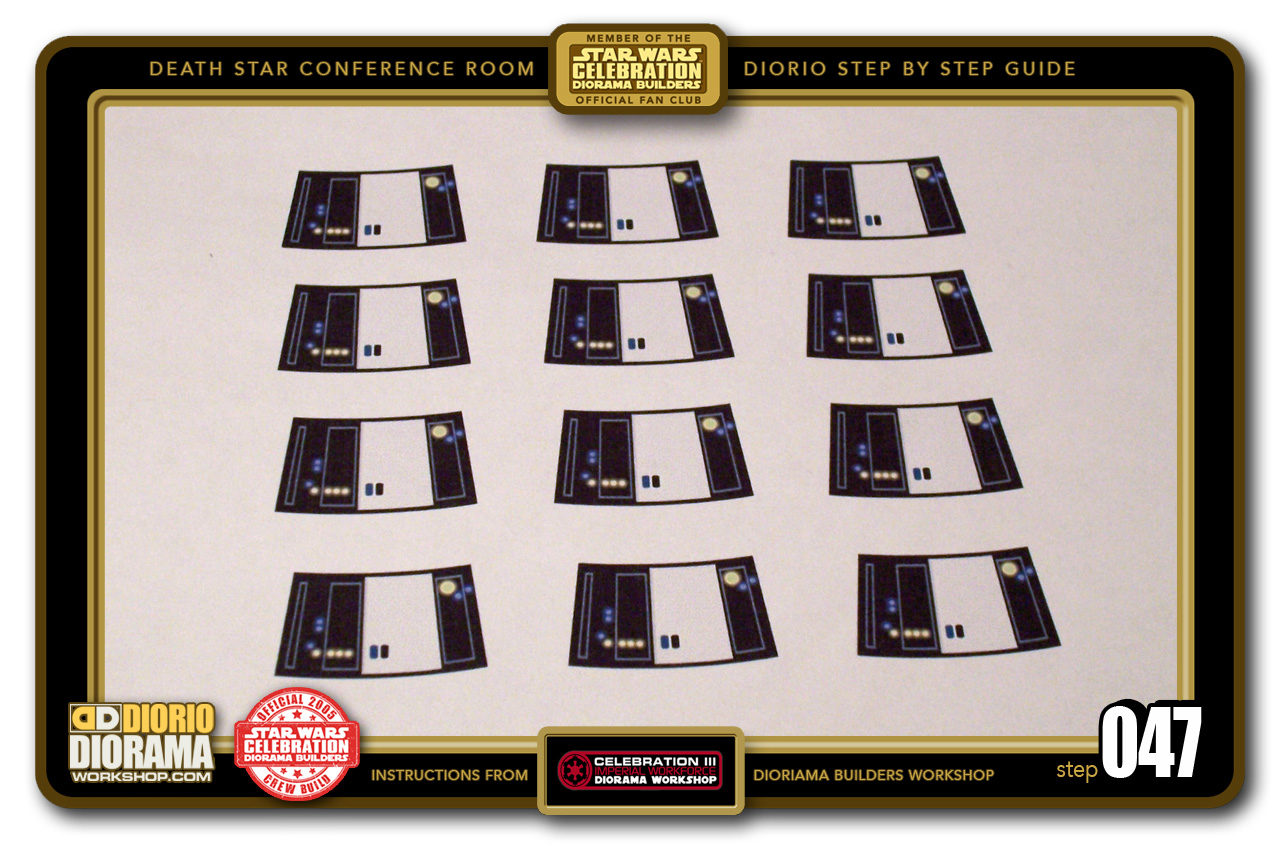
- STEP 047 > Control Panels !!! This is the icing on the cake. Print the Control panels (available from the Tutorials Menu Download category) Use sticky Label Paper Sheets if you have them. They are really cool and save on glue.

-

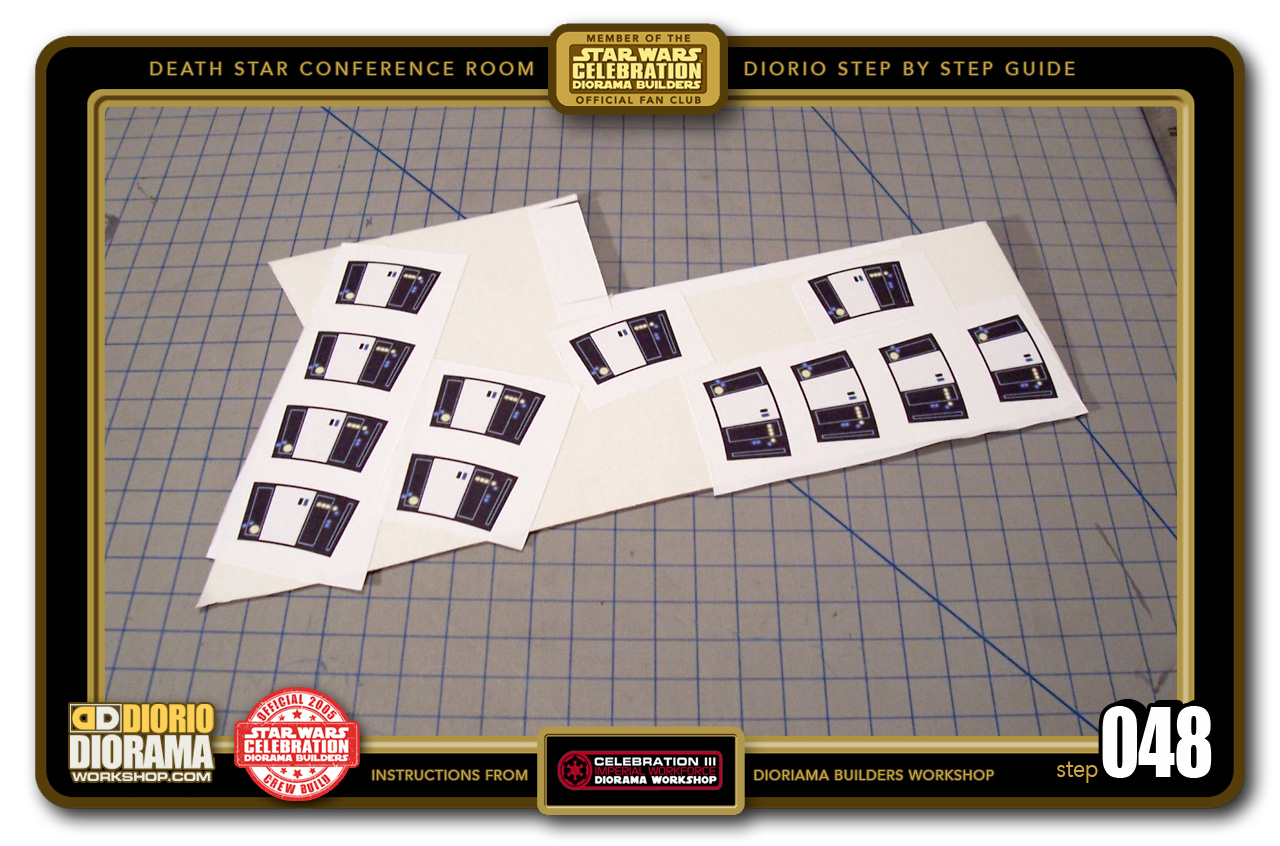
- STEP 048 > Peel the backing or apply Glue Stick to the back of your decal paper and press against CARDBOARD - NOT FOAMCORE (It is too thick) We want a thinner panel then the .5cm Foamcore dimension. You can use POSTERBOARD but it is a little too thin/flimsy for my taste.
-
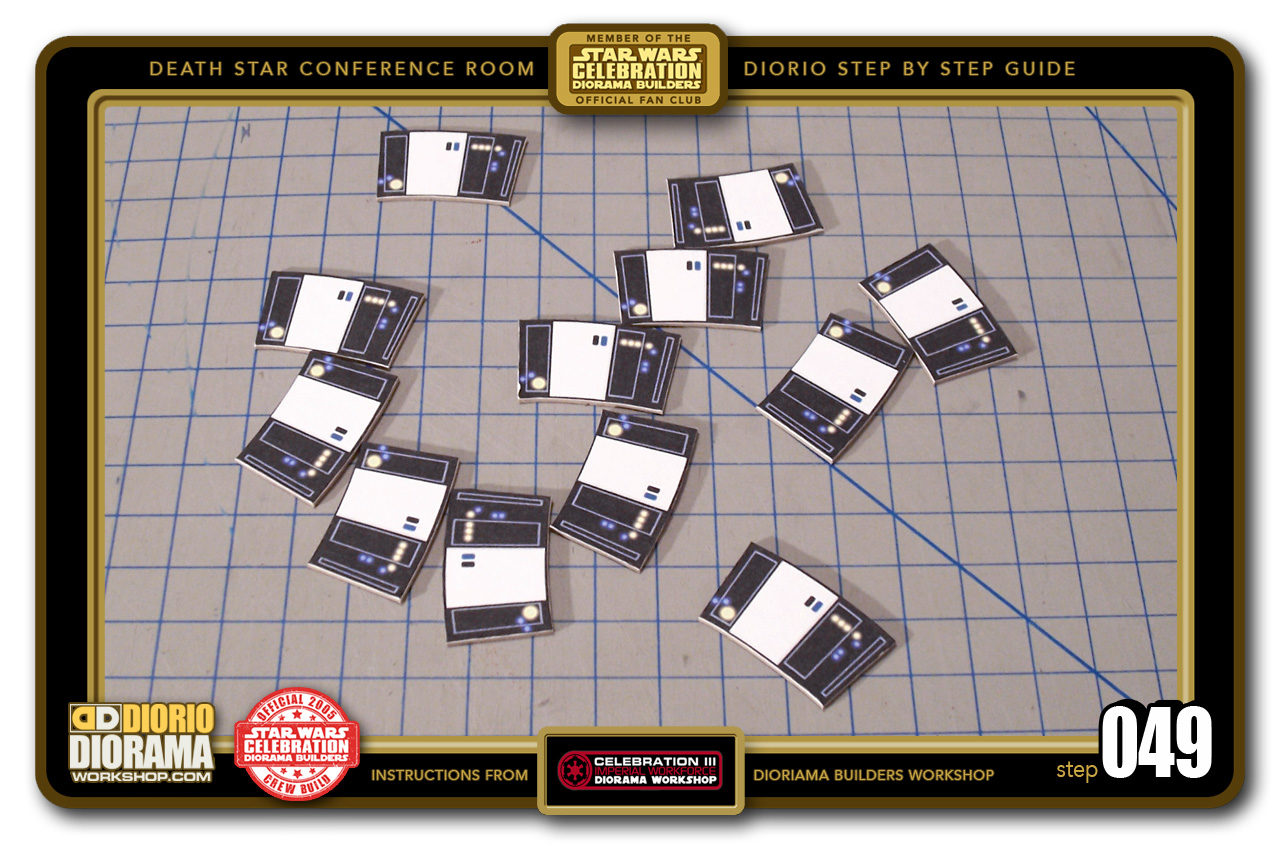
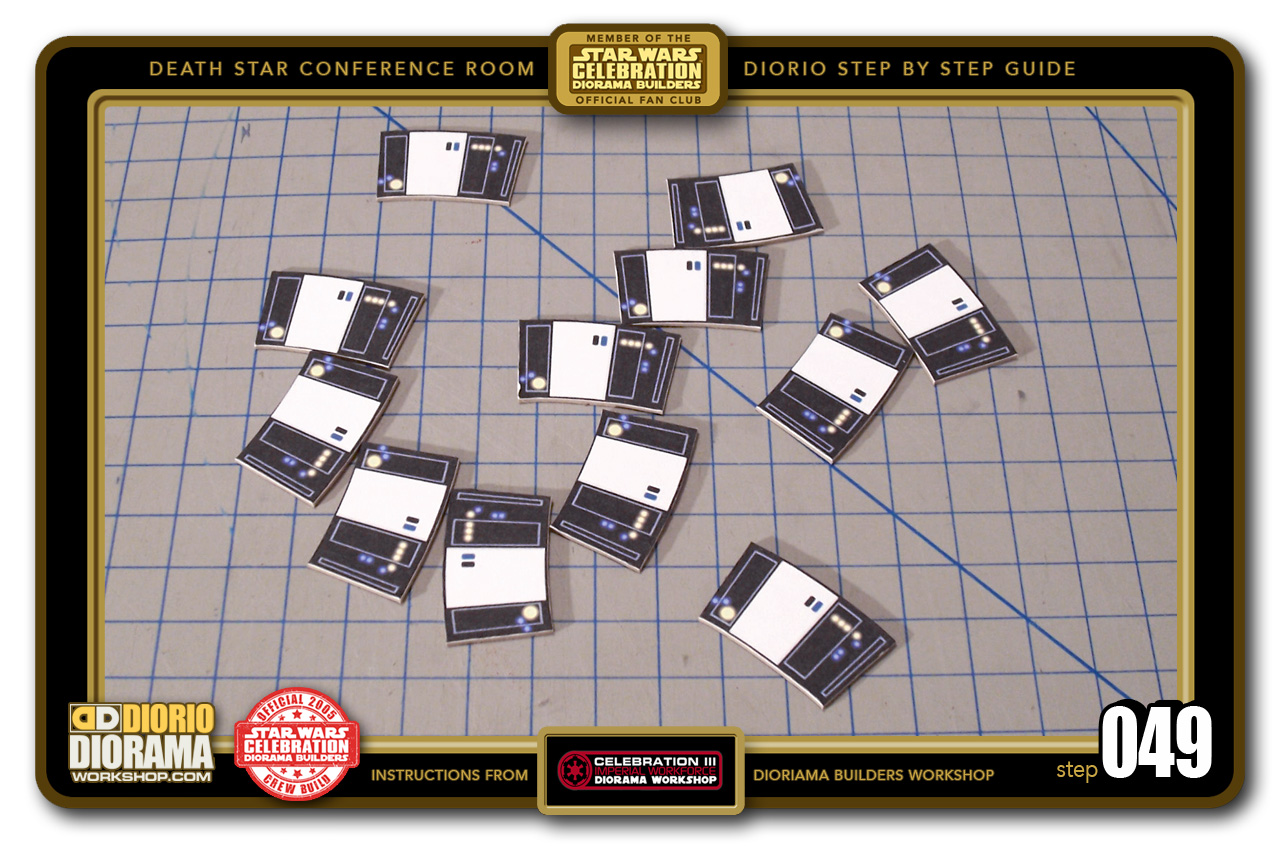
- STEP 049 > Cut out your 12 Control Panel Cardboard inserts. Don't they look cool? 🙂
-

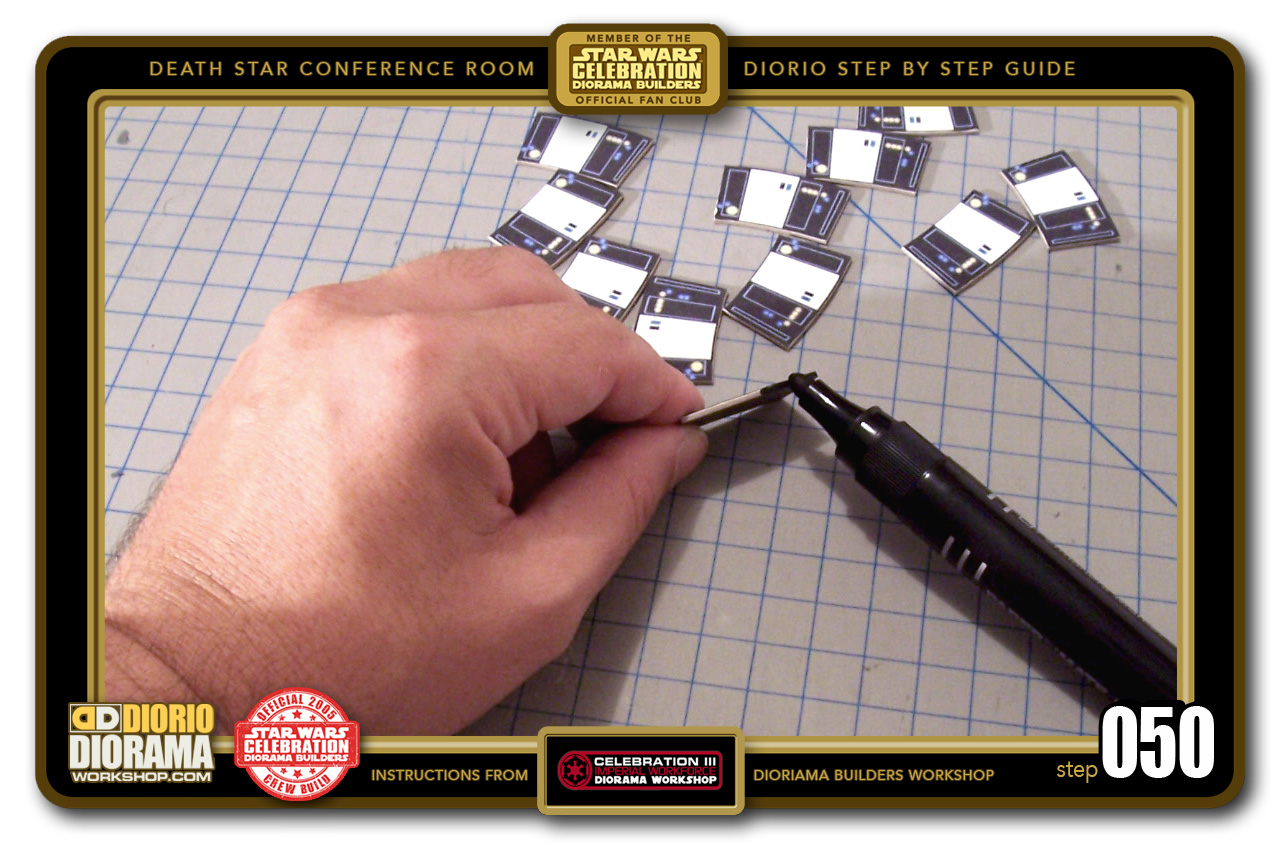
- STEP 050 > Now we don't want ugly cardboard peeking through the table top so get out your black Sharpie Thick marker and cover all 4 sides of the Control Panels. Do Not stay TOO LONG on the same area, the pen will tend to leak and the cardboard will absorb the excess and make blotches on your decal. 🙁
-

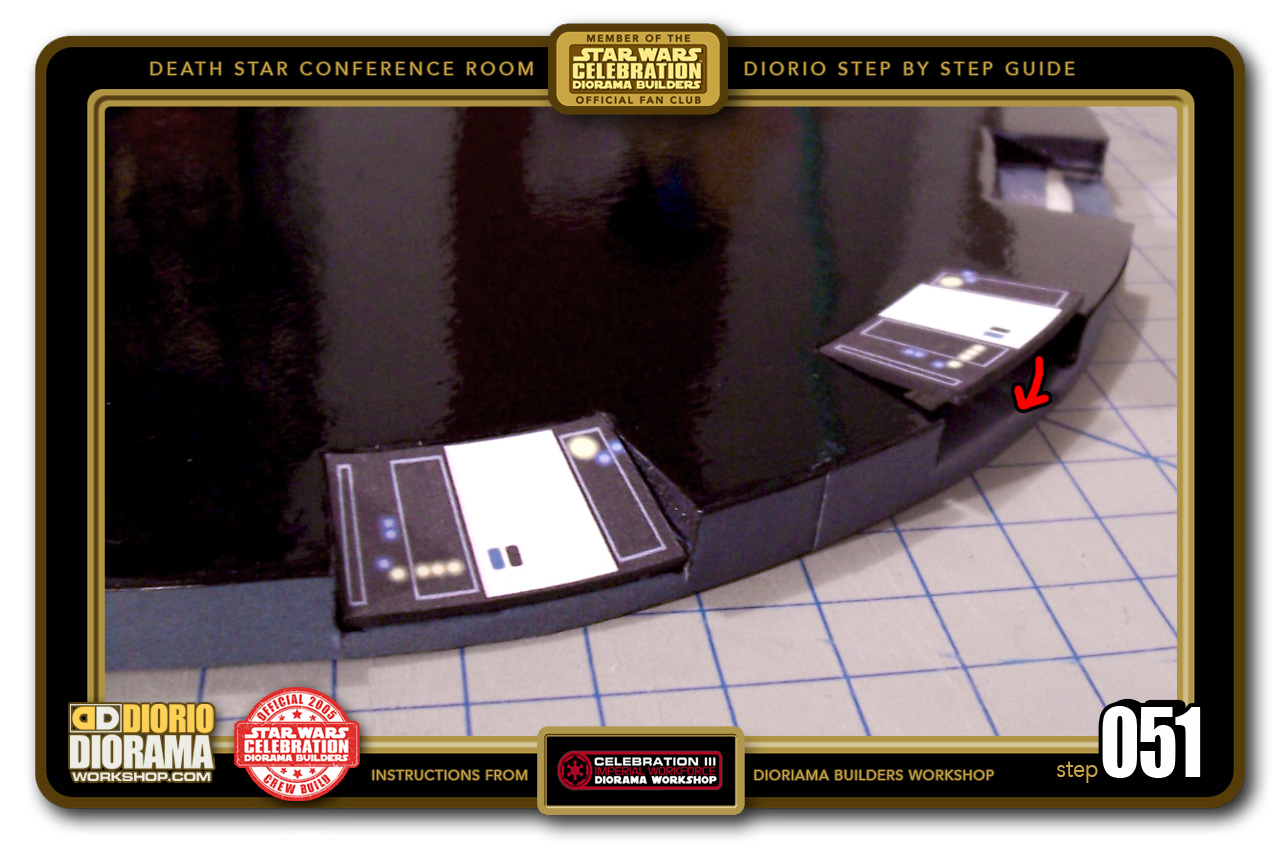
- STEP 051 > Now take a Control Panel and place it into one of it's groove slots. Take your Hot Glue Gun and squirt a small amount of glue inside the opening between the Foamcore and Cardboard and lower the panel until it touches the bottom.
-

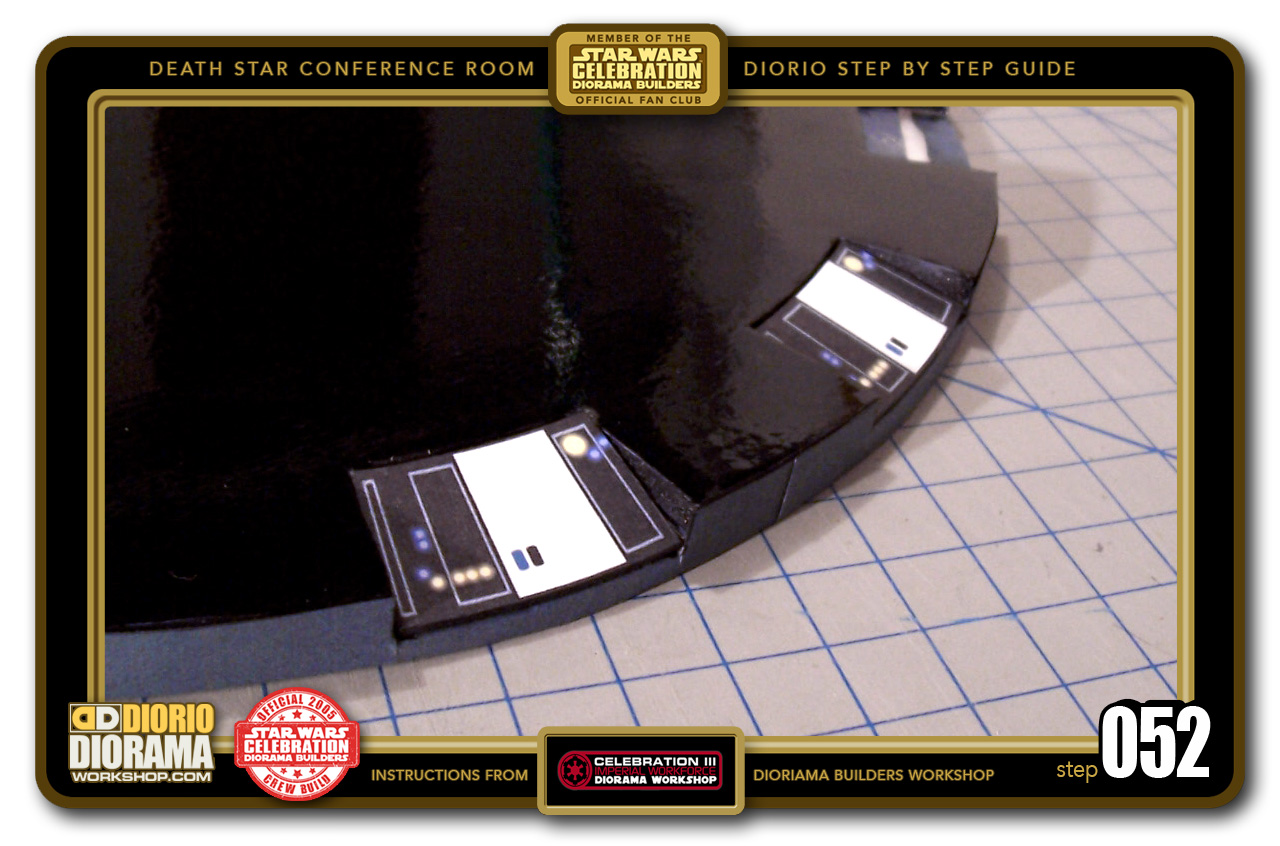
- STEP 052 > Carefully press down onto the Lower Layer until the hot glue cools down. The Hot Glue will smoosh inside and bond everything together and keep the panels from falling out.
-
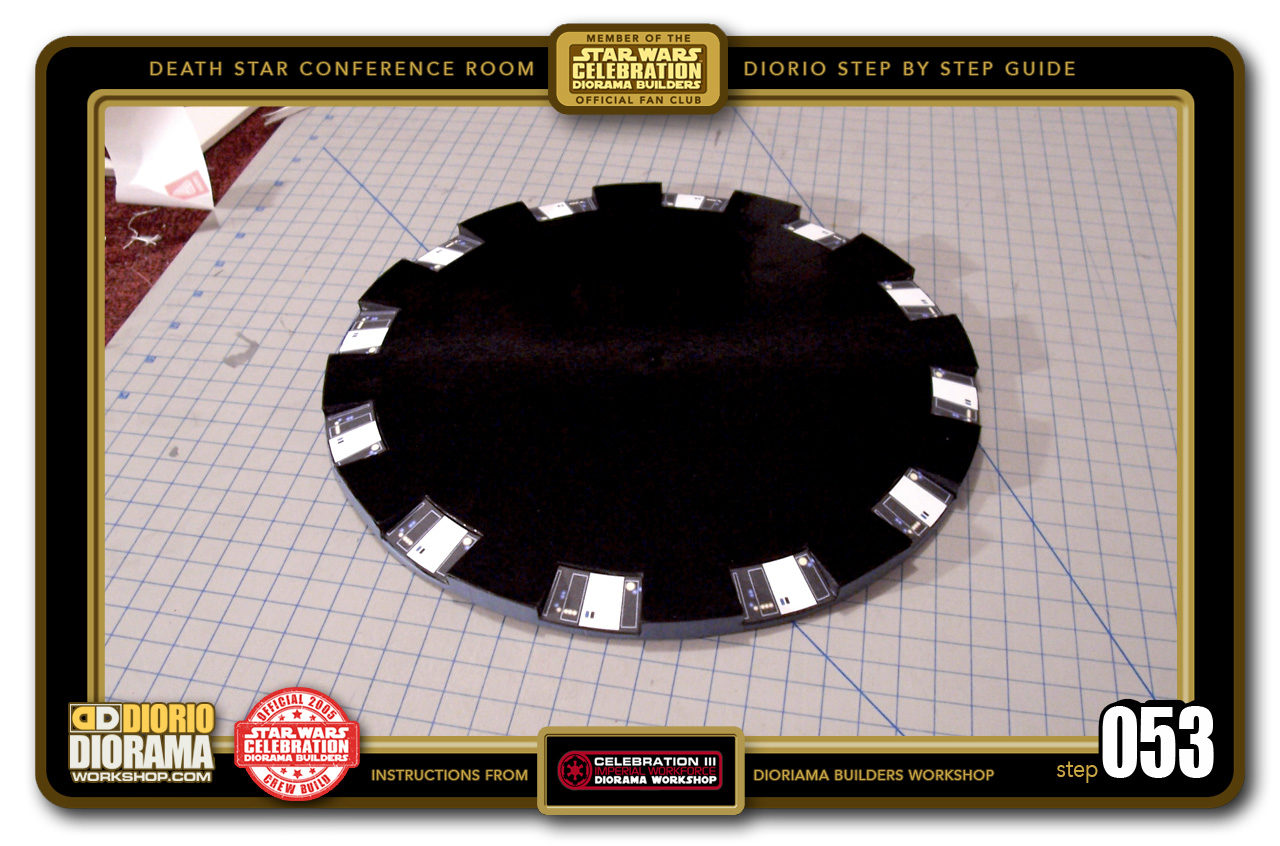
- STEP 053 > Repeat the Hot Glue Smooshing 11 more times until all 12 Control panels are in place. Looking nice if I do say so myself 😀

-
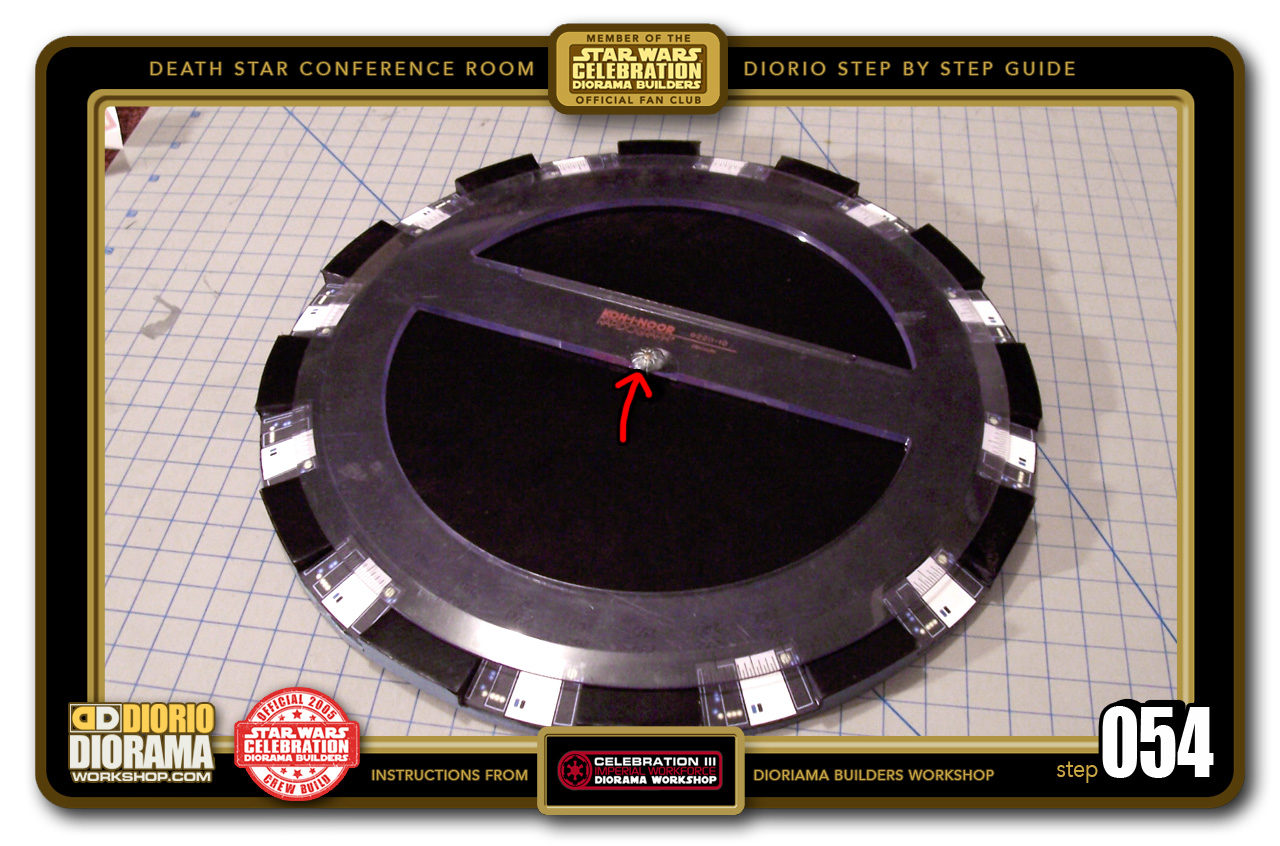
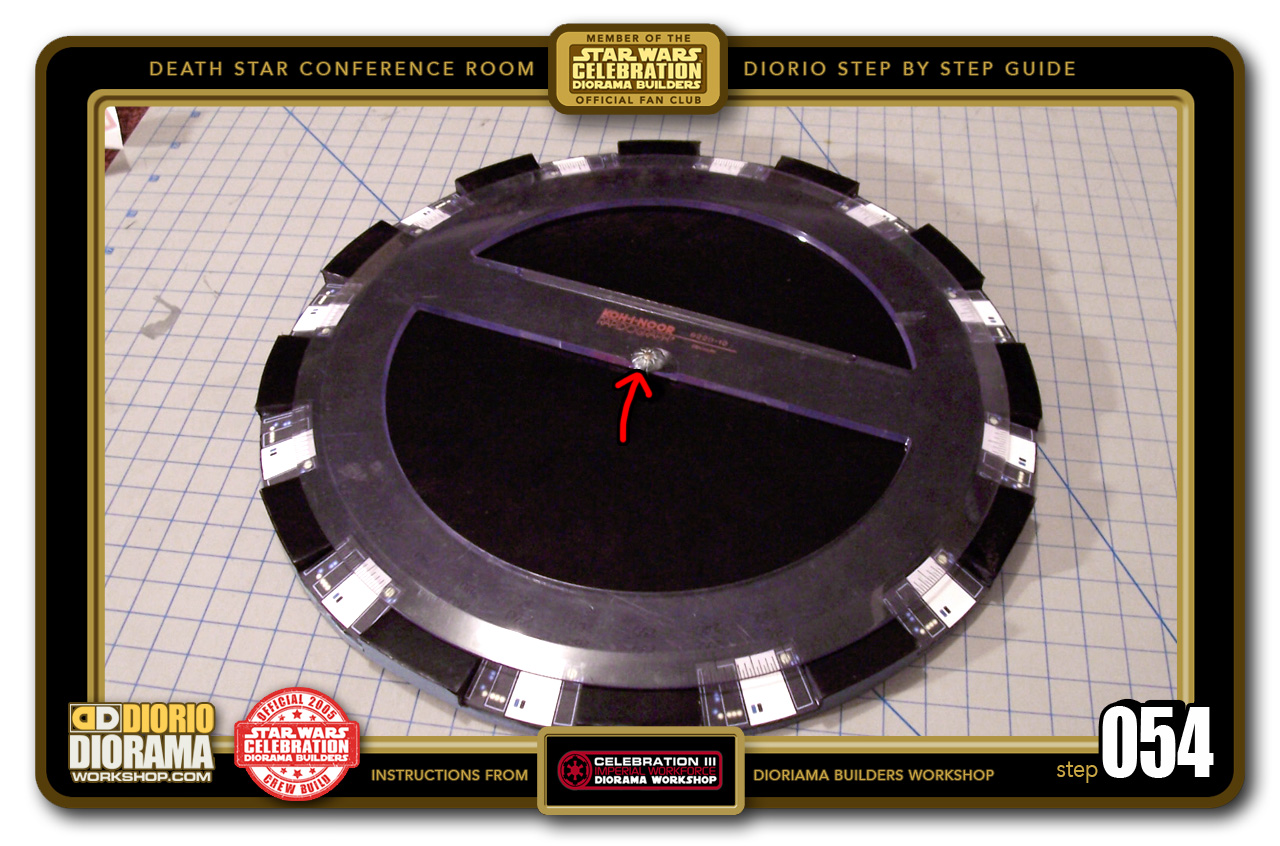
- STEP 054 > Movie accuracy 🙂 Find the Center of your table using your Angle Ruler.
-
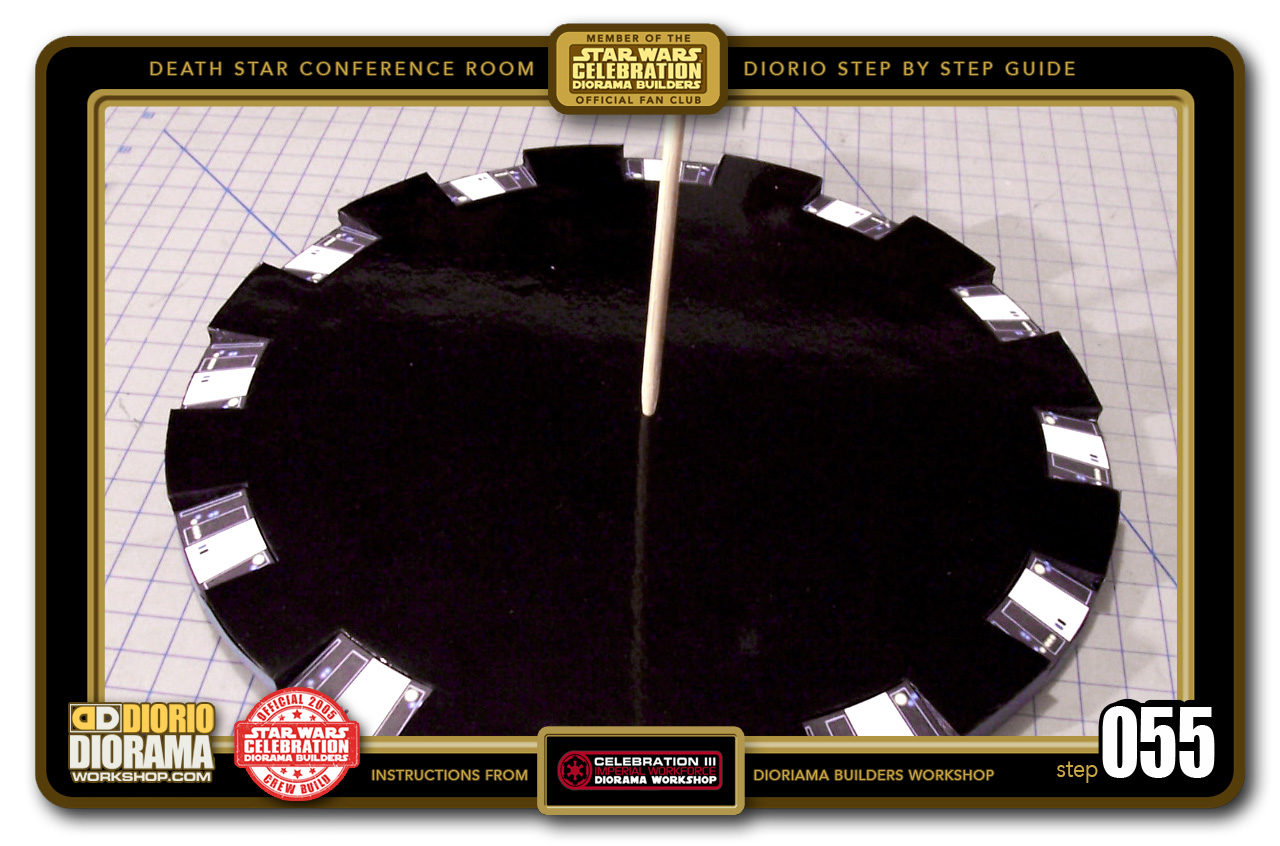
- STEP 055 > Poke a hole through the Table Surface. This is where the Centerpiece will fit into.

-

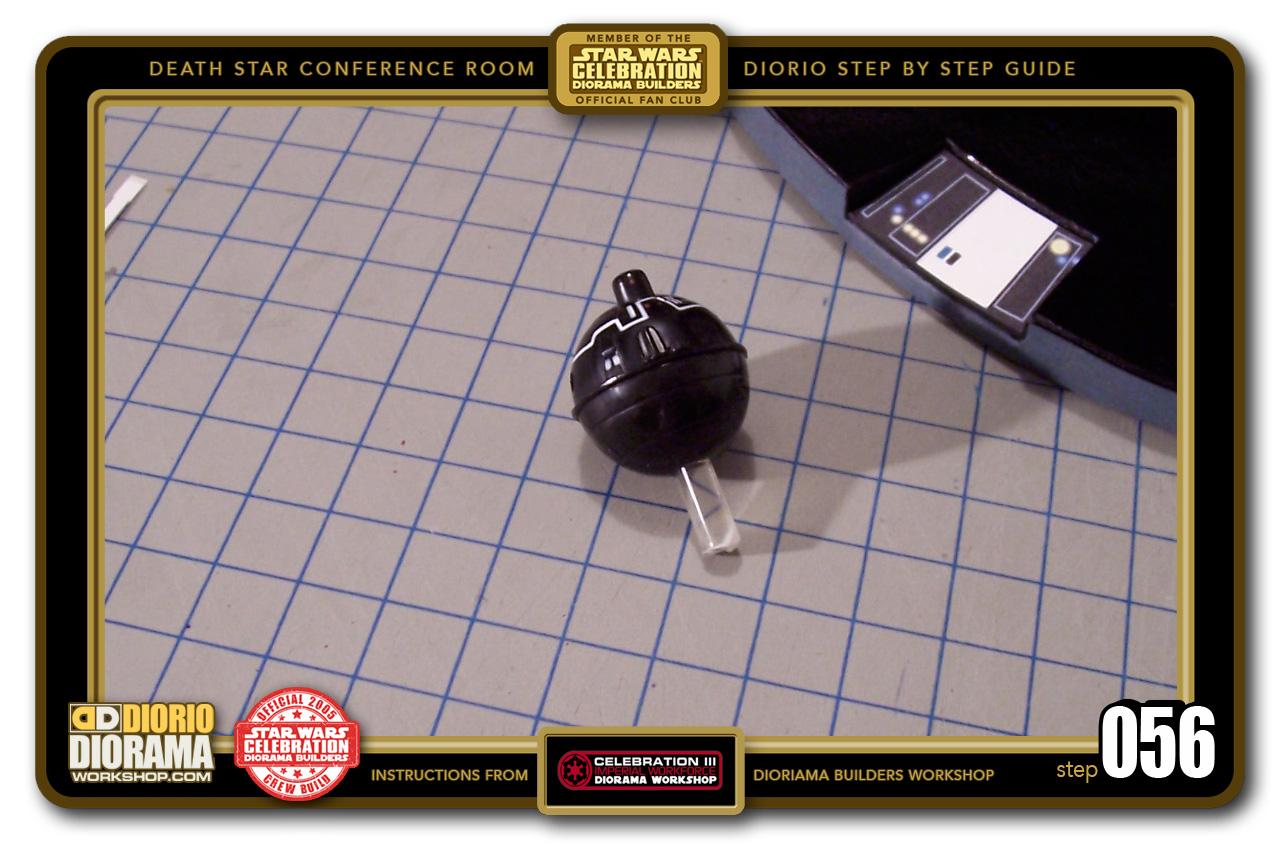
- STEP 056 > I had an extra Darth Vader Interrogation Droid that just happens to be the same size as the Movie Centerpiece, So I simply cut off the Stand and removed the plastic pincers and probes. BE CAREFUL when cutting the plastic stand. you need A LOT of pressure and can hurt, chop off your fingers if done too quickly.
-

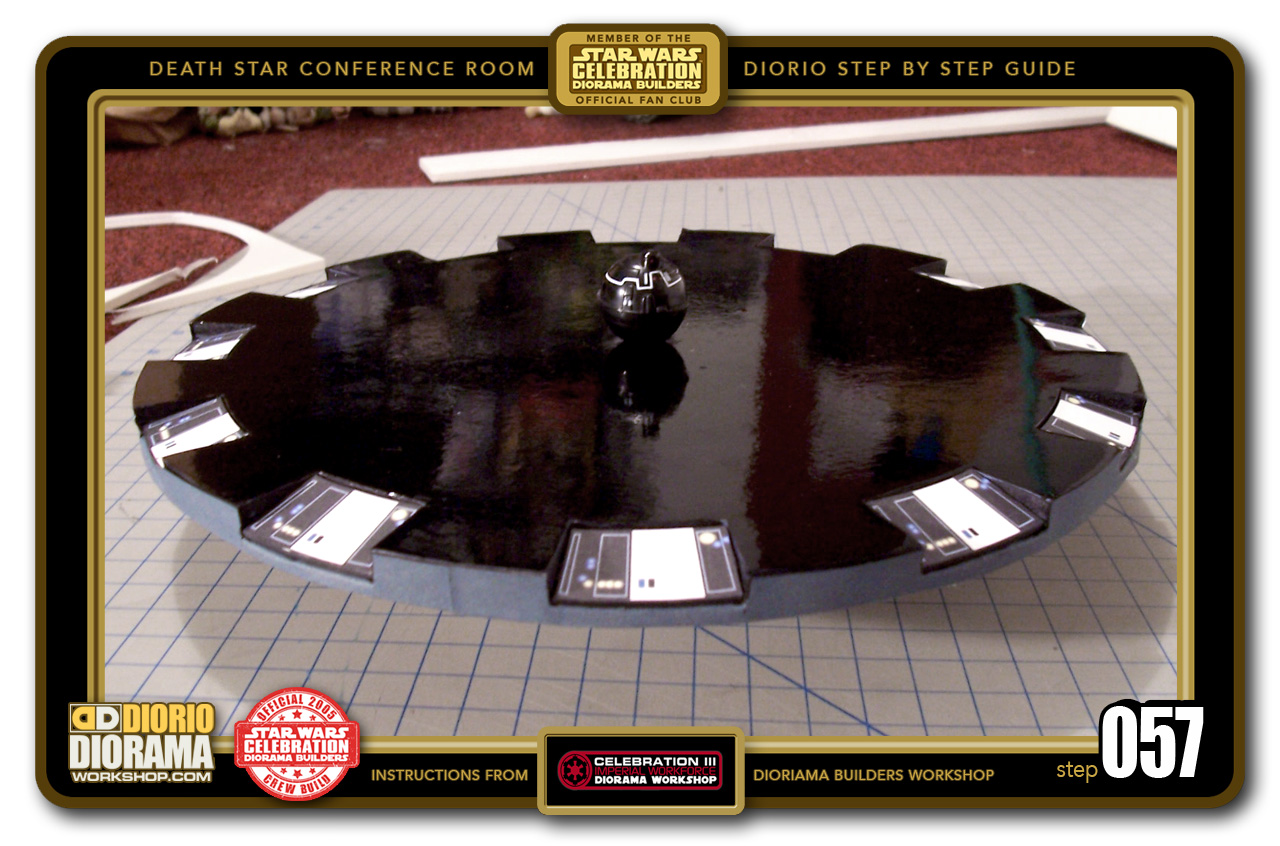
- STEP 057 > Now stick the Probe into the hole in the center of the table.
-

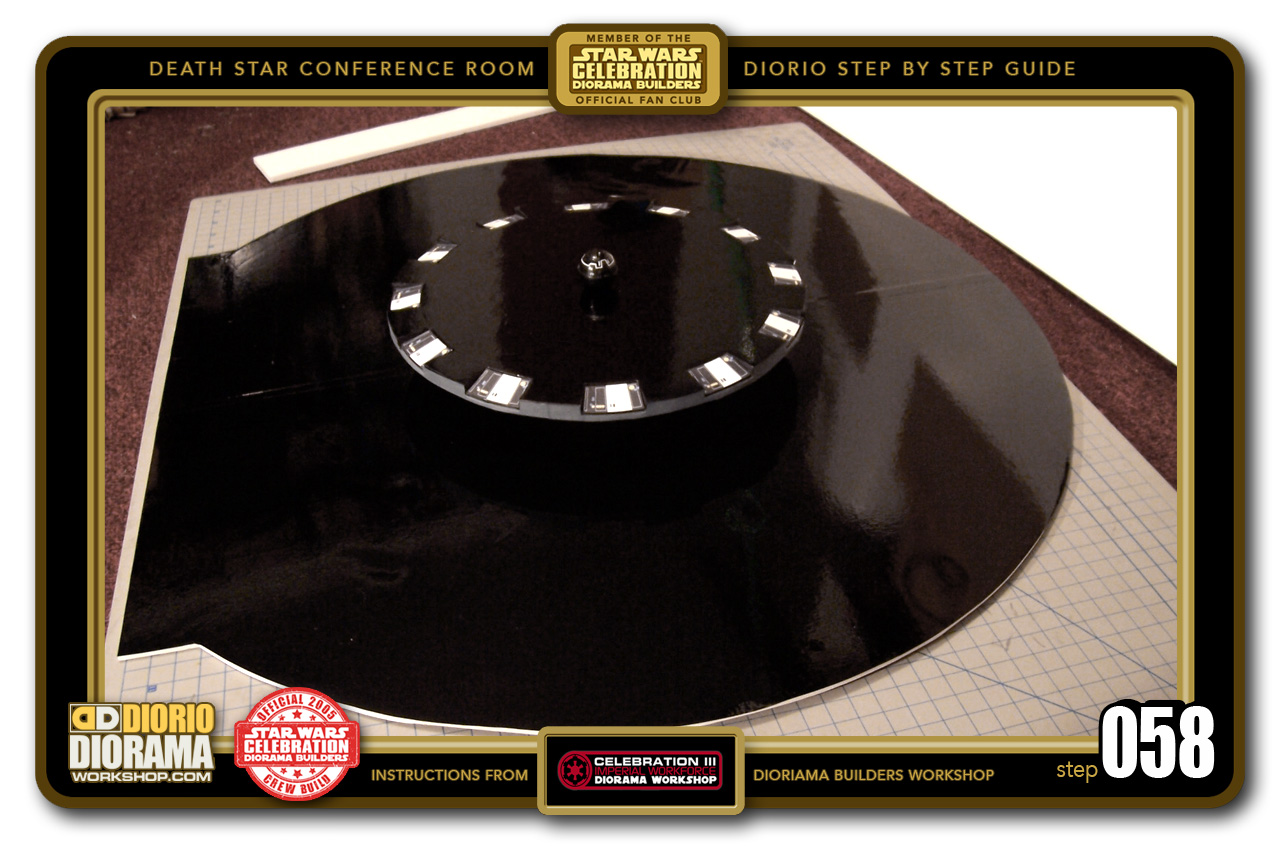
- STEP 058 > Ta-Dah !!! Apart from the base, your Conference Room Table is now complete. What do you think? Look pretty cool doesn't it?
-
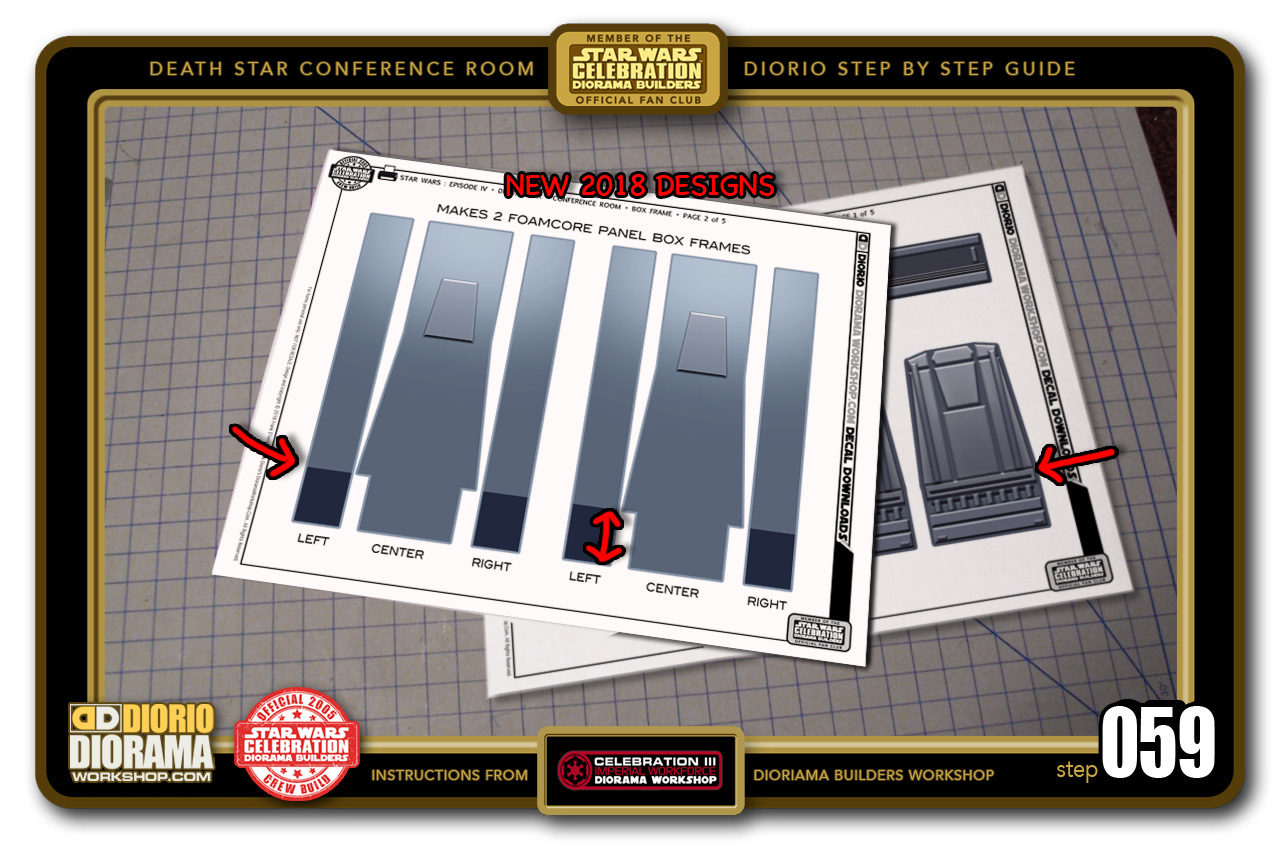
- STEP 059 > Time to build our Wall Panels. I initially made the prototype with tiny little cardboard pieces to create a true emboss look. I thought many of you would not have the patience and might prefer the Decals, so...These are for you guys 🙂 Print out your Death Star Conference Room Wall Decals on a sticky label Sheet. The ones you see here are the UPDATED 2018 design I just created in December of this year. They are more movie accurate then the ones I had designed for the 2005 Star Wars Celebration Diorama Builders workshop booths. The main difference from the C3 decals is the base height.

-
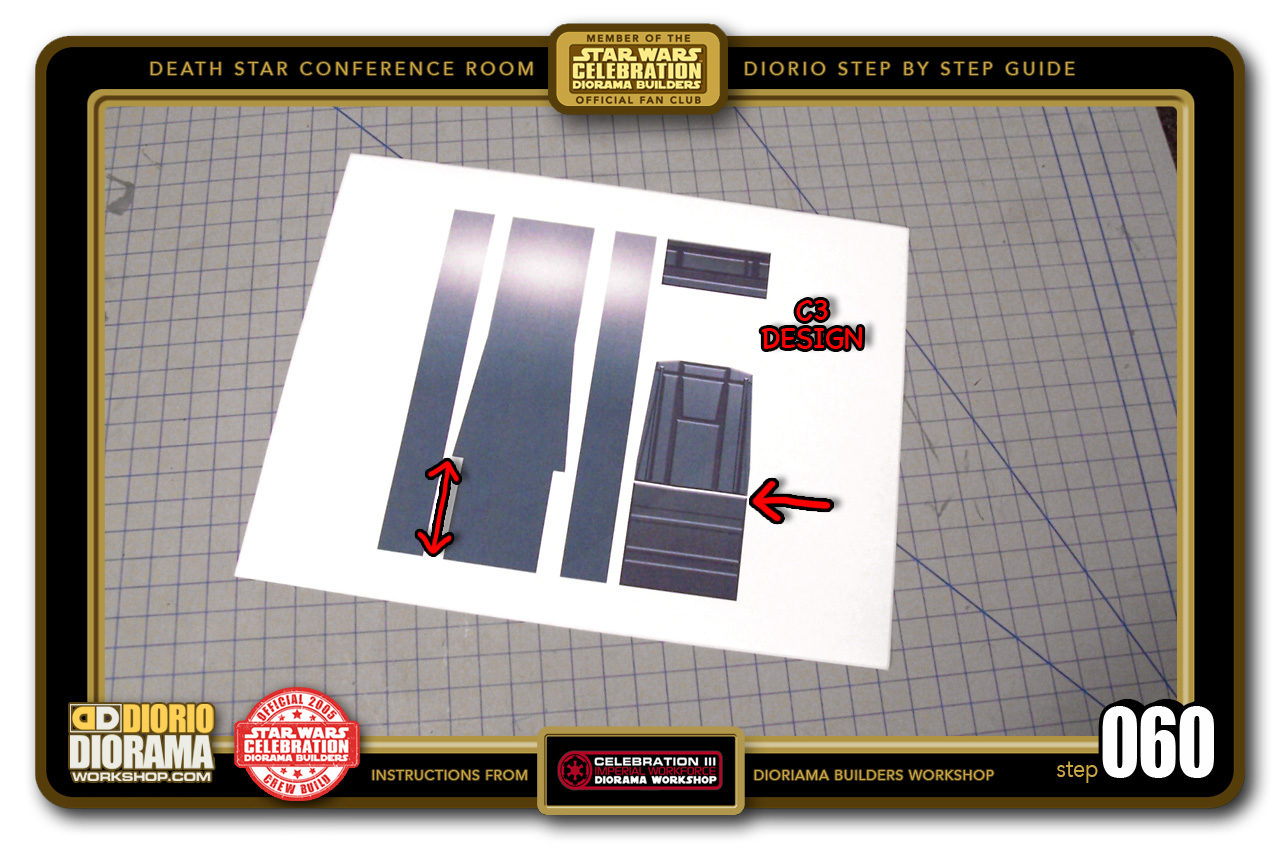
- STEP 060 > Here you can see on the original C3 decal, how the height of the rear base is taller as is the folding line.


.
Did you already build this Diorama ? At home or at our Star Wars Celebration Diorama Builders workshop ? Would you like to show it in the site’s GALLERY VISITORS DIORAMAS section, YES ? That is Awesome !!! You can find out all the details on how to email me your photos on the VISITORS SUBMISSIONS INFO page … When I get your photos, I will create your very own page just like this one. You may not realize it but work does inspire others to join in the fun of making Action Figure Dioramas.
.
NOT FOR RESALE ALL Decals, tutorials and artwork are ©FrankDiorio (dioramaworkshop.com) and offered FOR FREE to the fans – that would be you ? so you can build and display my diorama designs in your very own home. I realize I cannot control what one does with my graphics once I place them on the web, I can only ask you as one fan to another, please respect the artist and do not be that jerk who uses my designs and tutorials to build a copy of my work only to sell it on EBAY or trade/sale groups and forums. Thank You. Frank.
.
.
If you have a facebook account, why not join the Official Diorama Builders Fan Club today, simply click the logo link below.
 .
.
Catch up with fellow visitors and exchange stories, read cool interviews with the crew, exchange photos, fun surprises and grab some FAN ONLY merchandise next year at actual future conventions ?
.
©2018 Frank Diorio DioramaWorkshop.Com
.
IF YOU LIKE WHAT YOU SEE, PLEASE SHARE WITH YOUR FRIENDS
USING THE SOCIAL MEDIA BUTTONS BELOW