


-
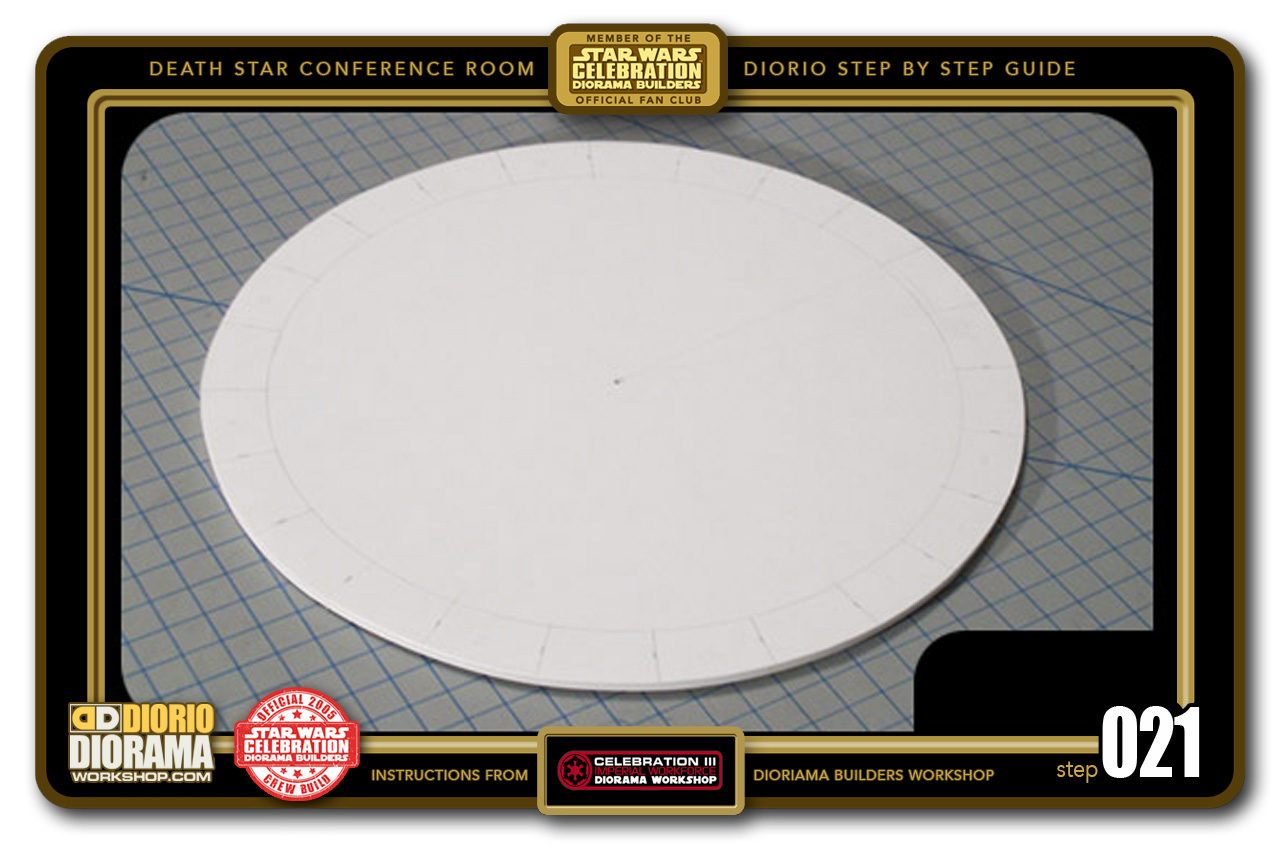
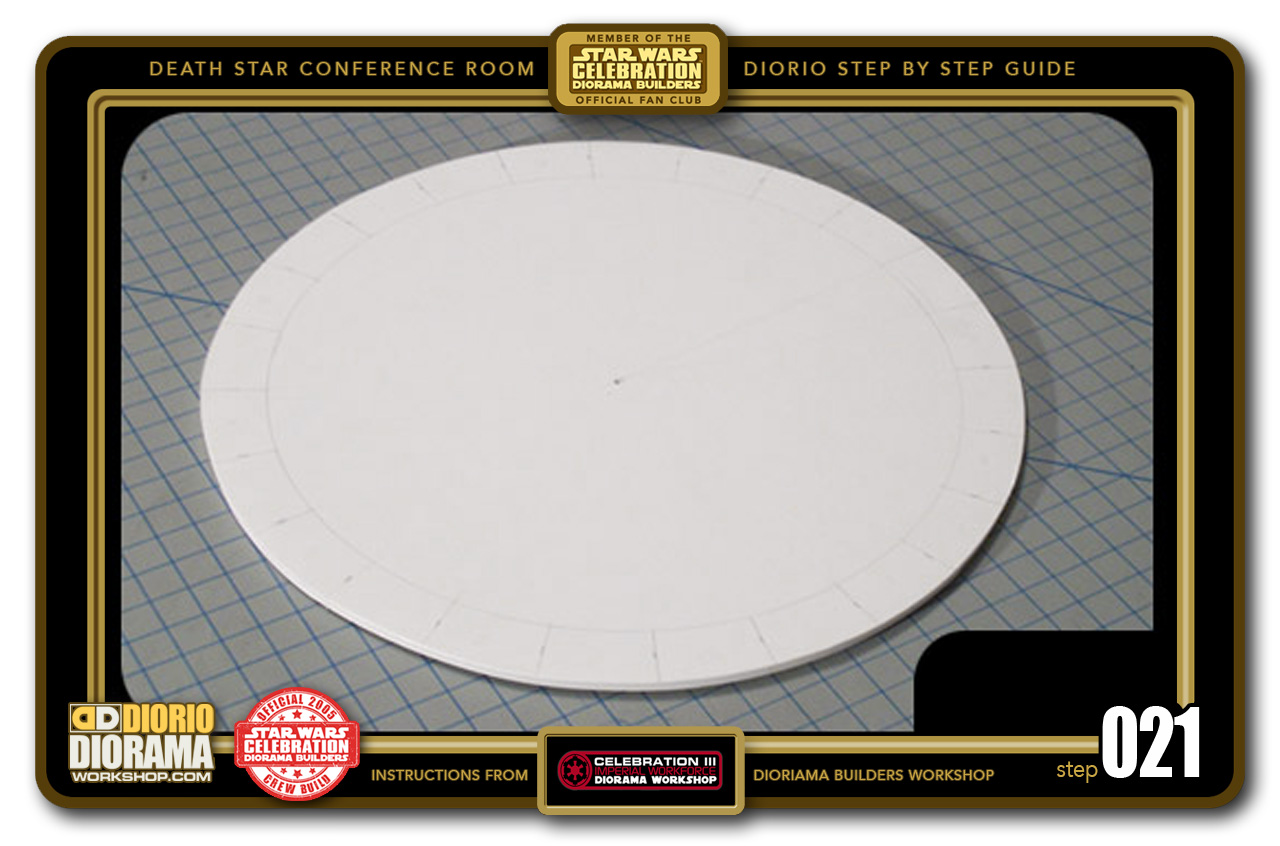
- STEP 021 > So now you have a circle but not the complete table....yet...We need to have a DOUBLE THICKNESS 🙂
-

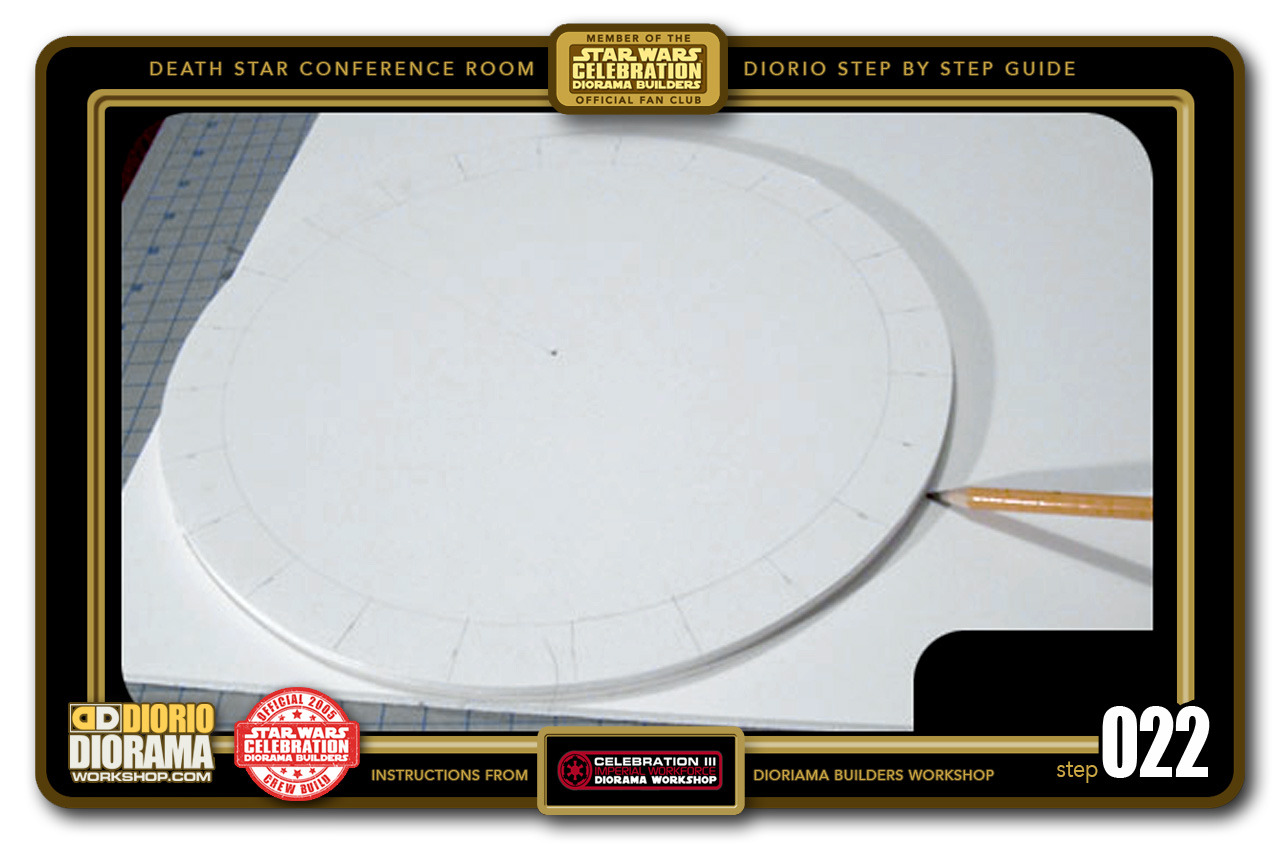
- STEP 022 > Take your first table top circle and place it on another piece of foamcore and trace all the way around. You can then cut that piece like you did the first table top circle.
-
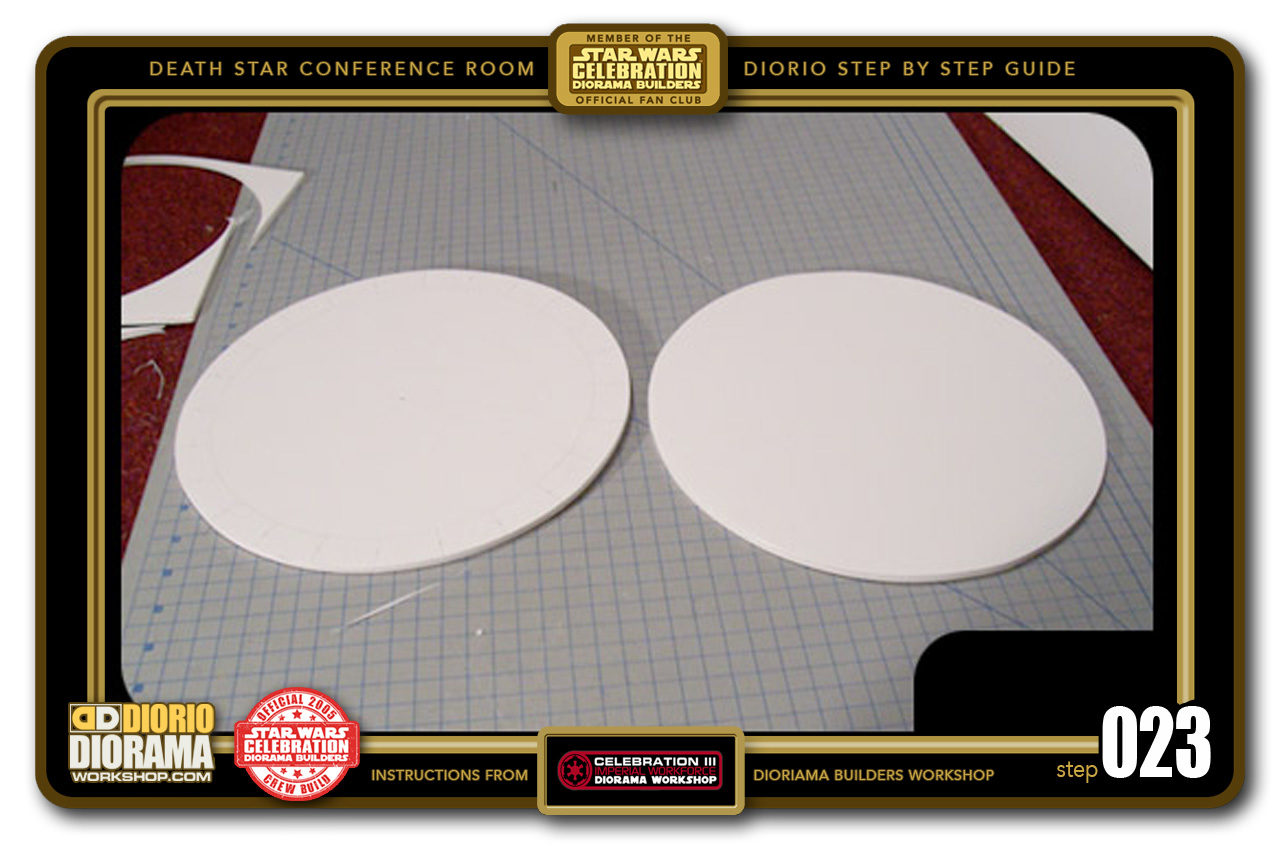
- STEP 023 > You now have 2 identical circles. A Top layer (with the angle markings) and a Lower layer, the one you just cut.

-
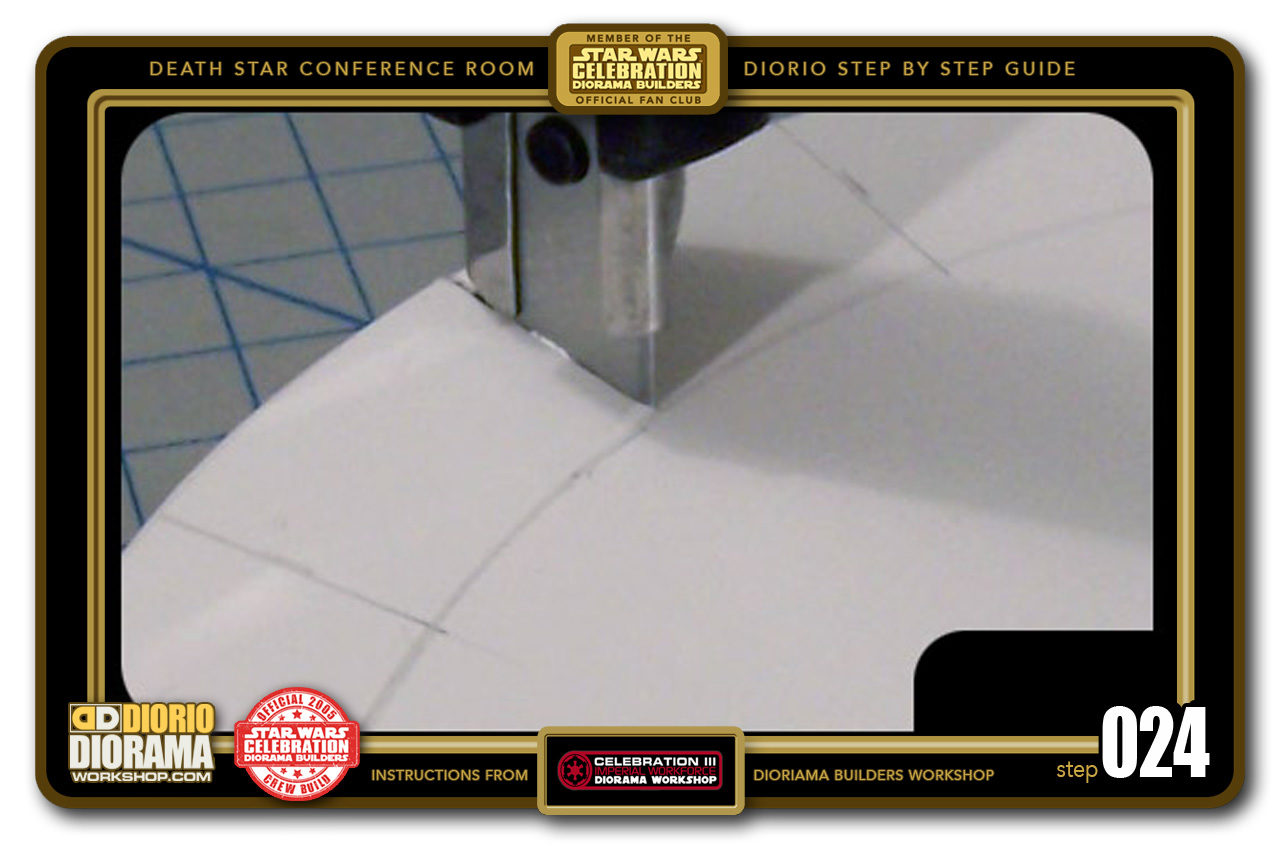
- STEP 024 > NOW we can safely add the details to the top table section. Take your Top Layer and cut along each of your markings making sure to STOP exactly at the edge of the inner circle. This is easily done with a normal cutting blade.

-
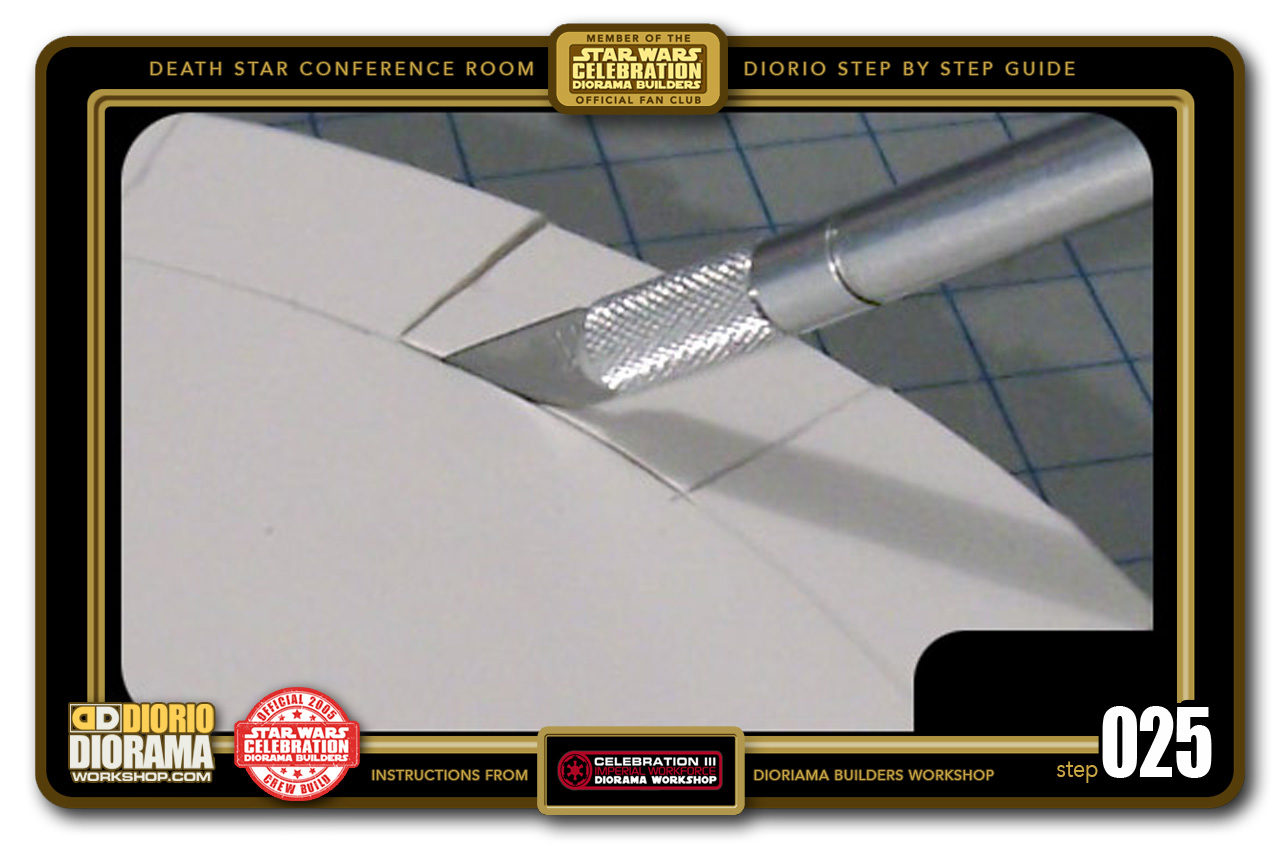
- STEP 025 > For best results cutting out the inner circle line, switch to a smaller V shape blade you can find standard on any X-Acto Pen. Make sure your blade is NEW and VERY sharp to make a CLEAN cut. You don't want messy edges on the table.

-

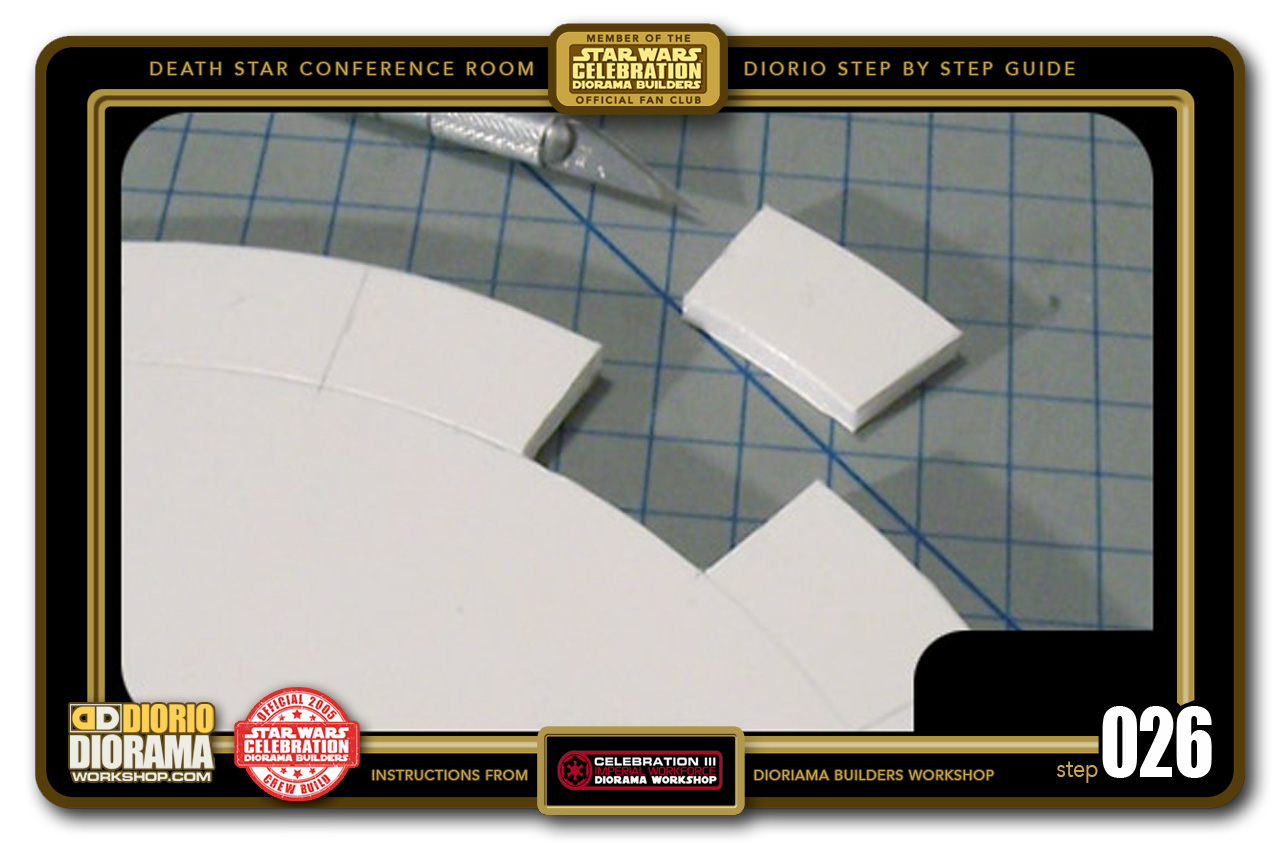
- STEP 026 > After a minute or so, the piece should become loose and allow you to remove it from it's groove. Like pulling Teeth 🙂 If it doesn't pop out easily, DO NOT PULL HARD and cause ugly jaggy bits of foamcore, simply use your X-Acto Pen to go over for a quick corner pass where the lines connect.
-

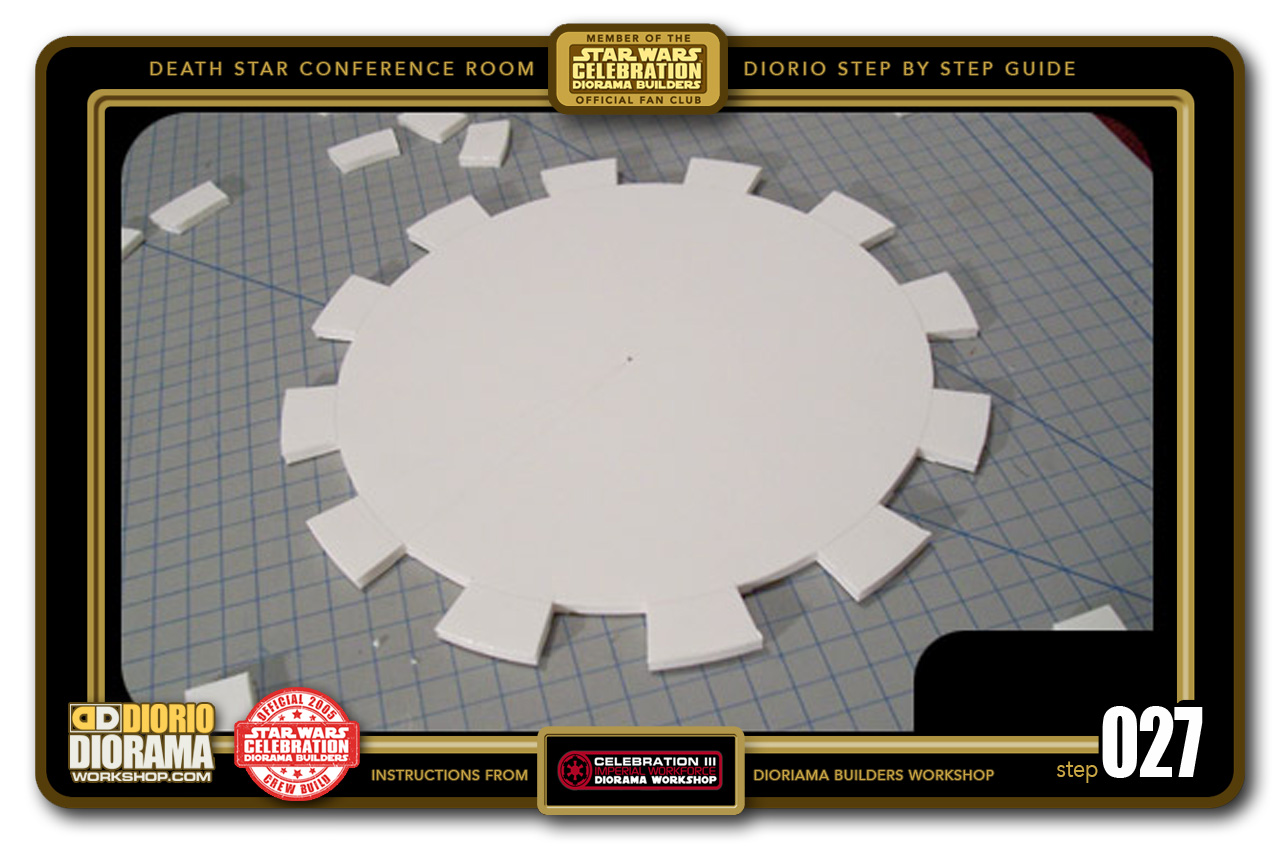
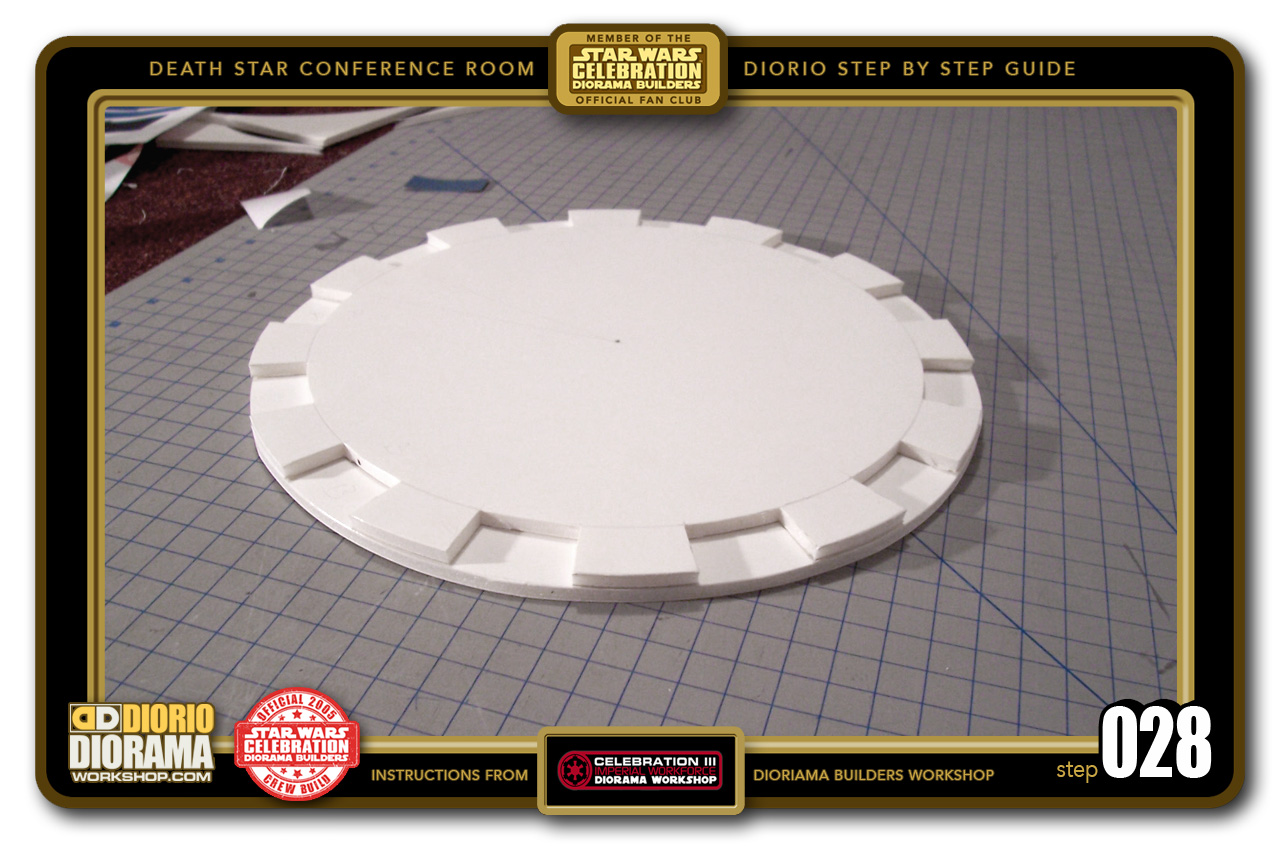
- STEP 027 > Now, skip a inner line and continue removing every other "tooth" until you go all the way around the table. You should have removed 12 in all. When done, you should have a table top that resembles this shape.
-
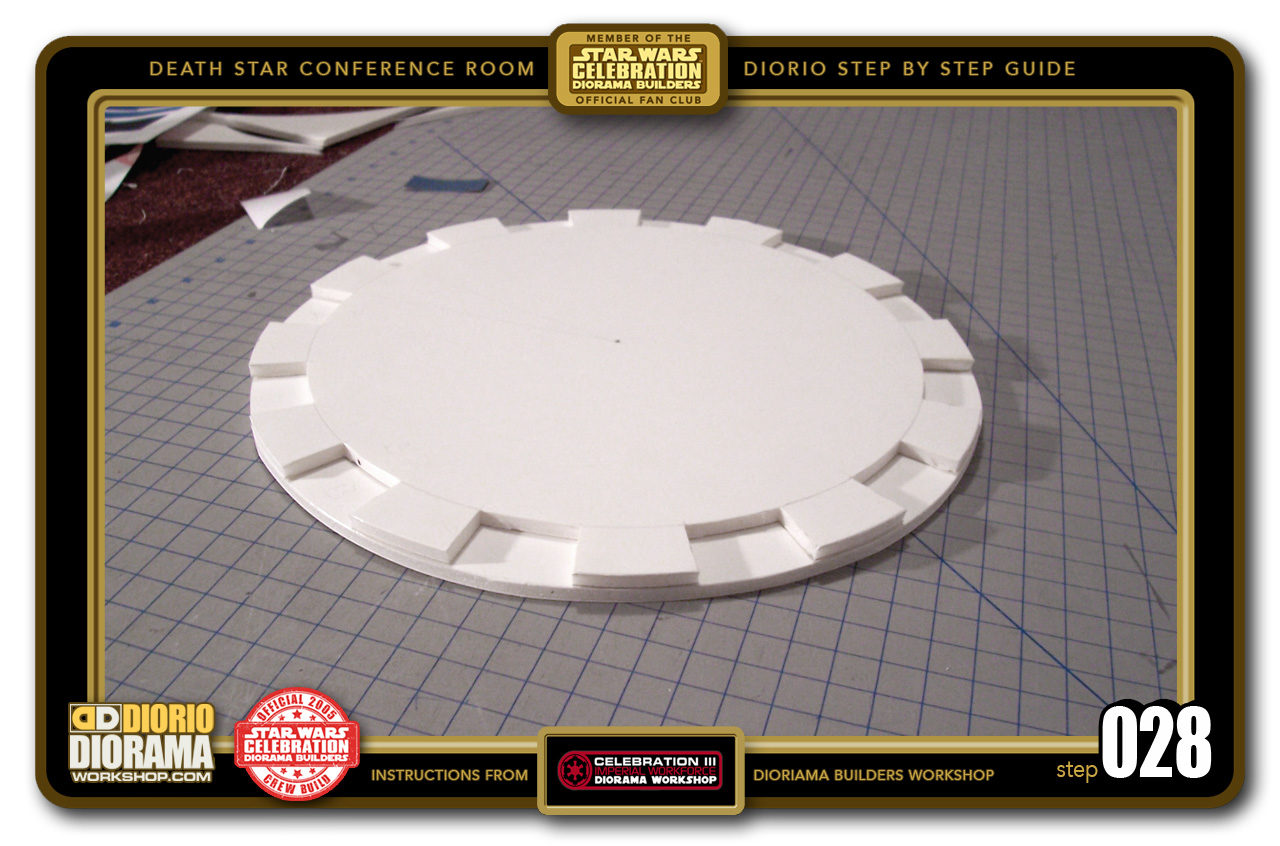
- STEP 028 > Can you start to see it coming together? 🙂 Use your Hot Glue Gun to connect the two layers together. Make sure to get glue on the edges of every little extrusion. This is kind of tricky, cause you have to work fast before the glue starts to cool down. Keep the edges as aligned as possible.
-
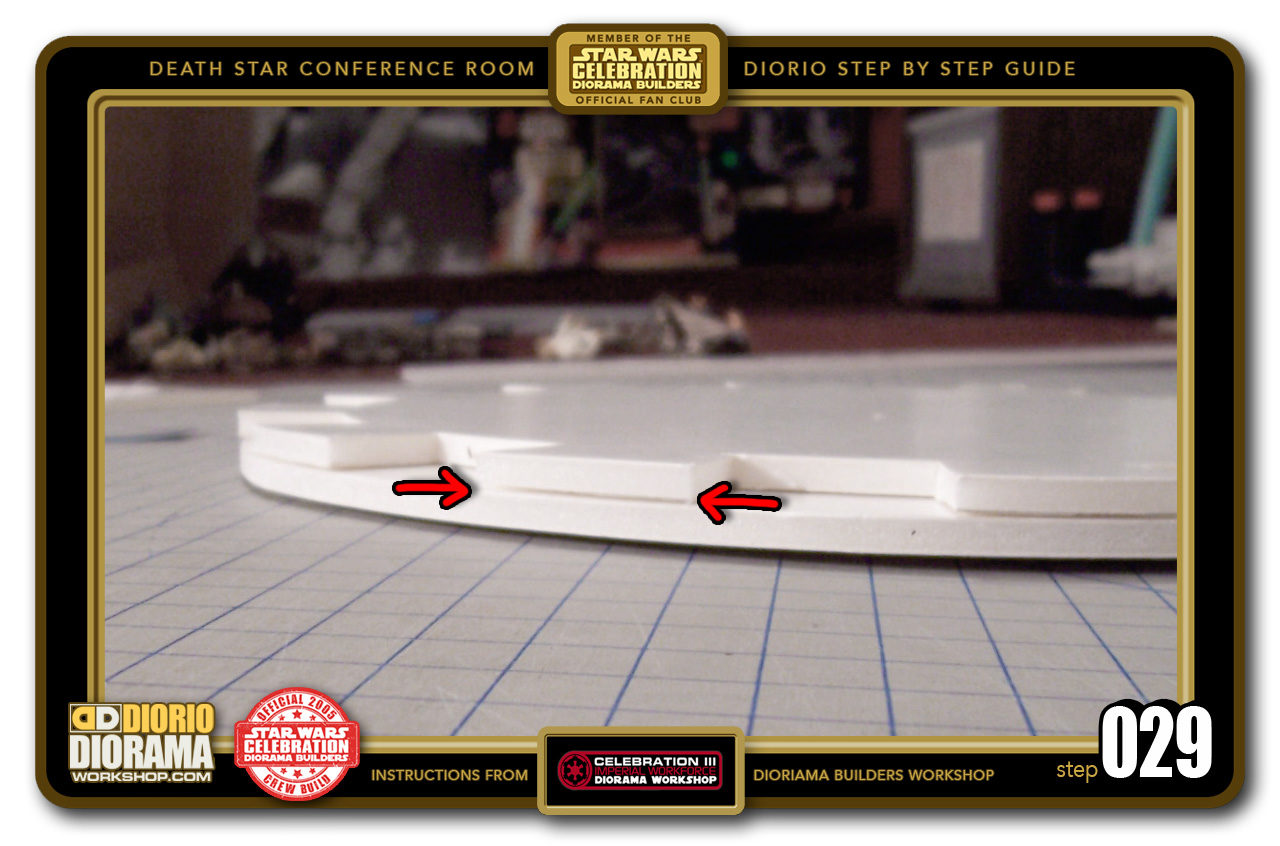
- STEP 029 > If done correctly, you should have a minimum gap between the two layers of foamcore.

-
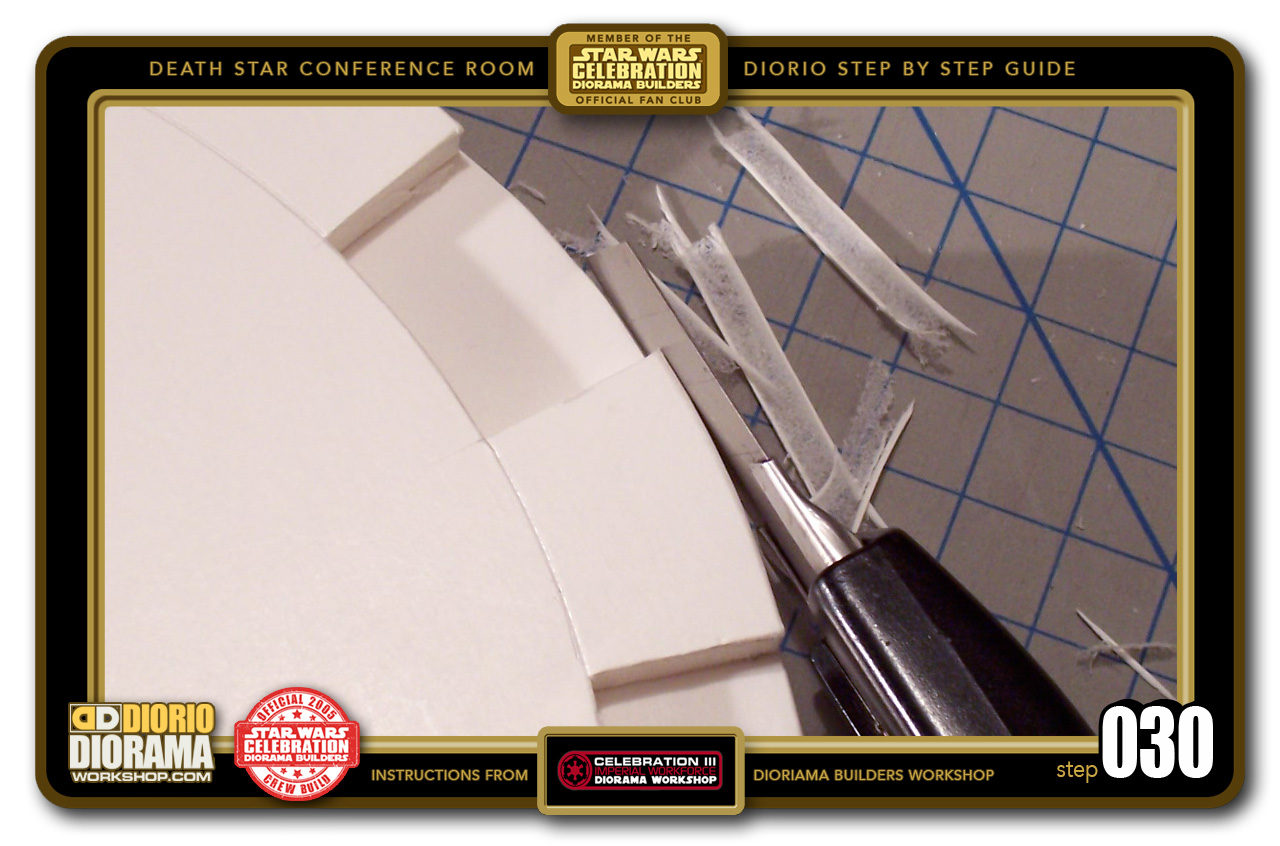
- STEP 030 > Now that the 2 layers are stuck together, you can use your Xacto knife to trim off edges that don't line up 100%. What we want to do here is to create the most smooth outer surface without distorting our perfect circle shape. I find it works best if you spin the table shape and keep the blade at the same spot, like when you are icing a birthday cake.

-

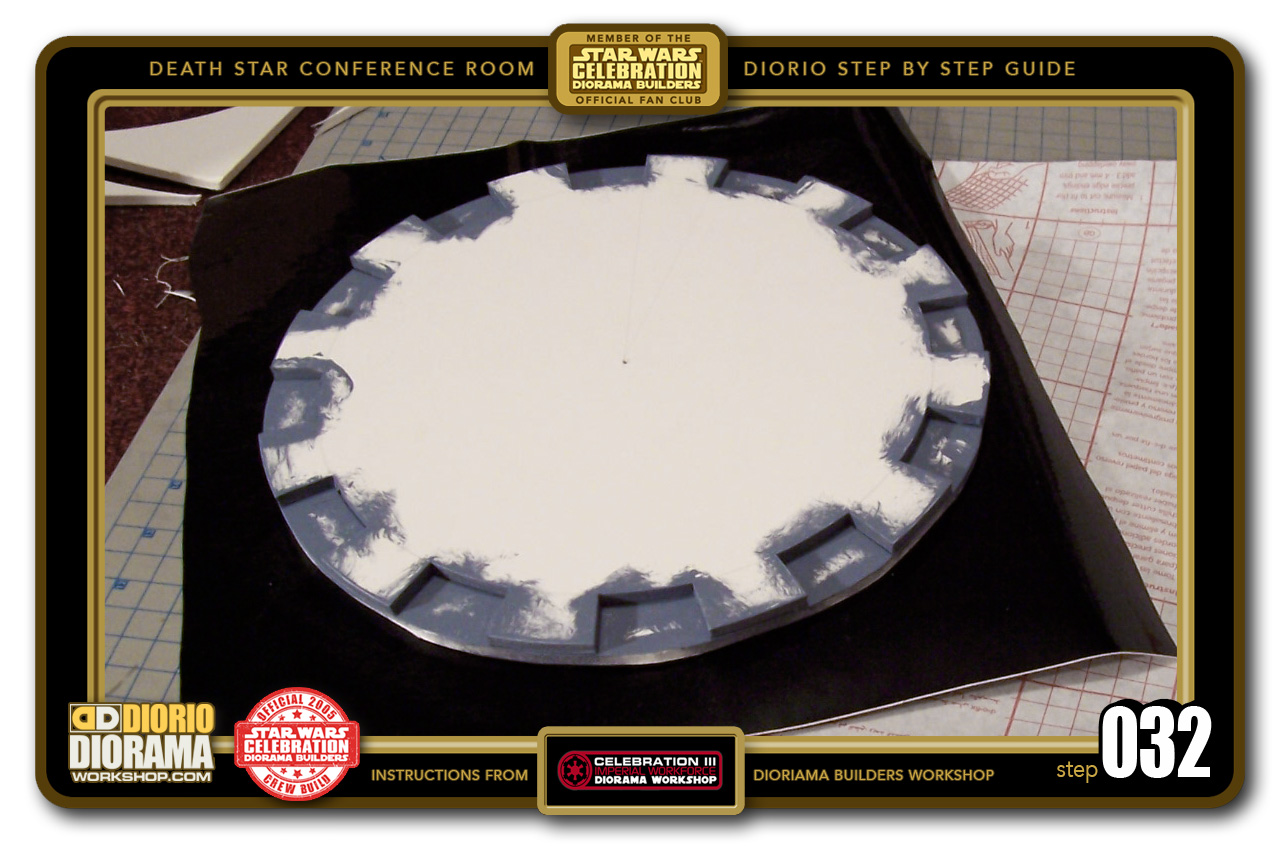
- STEP 031 > Get your kids to help you on this part 🙂 Take your paintbrush and paint the insides of each groove as well as the inside thickness of the foamcore sheet. You want to try and hide as much white as possible. For the color, you can print one of the wall panel decals and bring it to the art store and find a blueish grey that you feel happy with. Using water based Acrylic paint is the best but make sure to NOT water it down too much, if you do that, it will WARP the table. Not good 😛

-

- STEP 032 > After about 5 minutes, your table should be dry. We can't have a white ugly table in a Evil Death Star 😛 So get out the same Mac Tac you used for the floor and cut out a piece that is large enough to go past the outer edges of the table top.
-
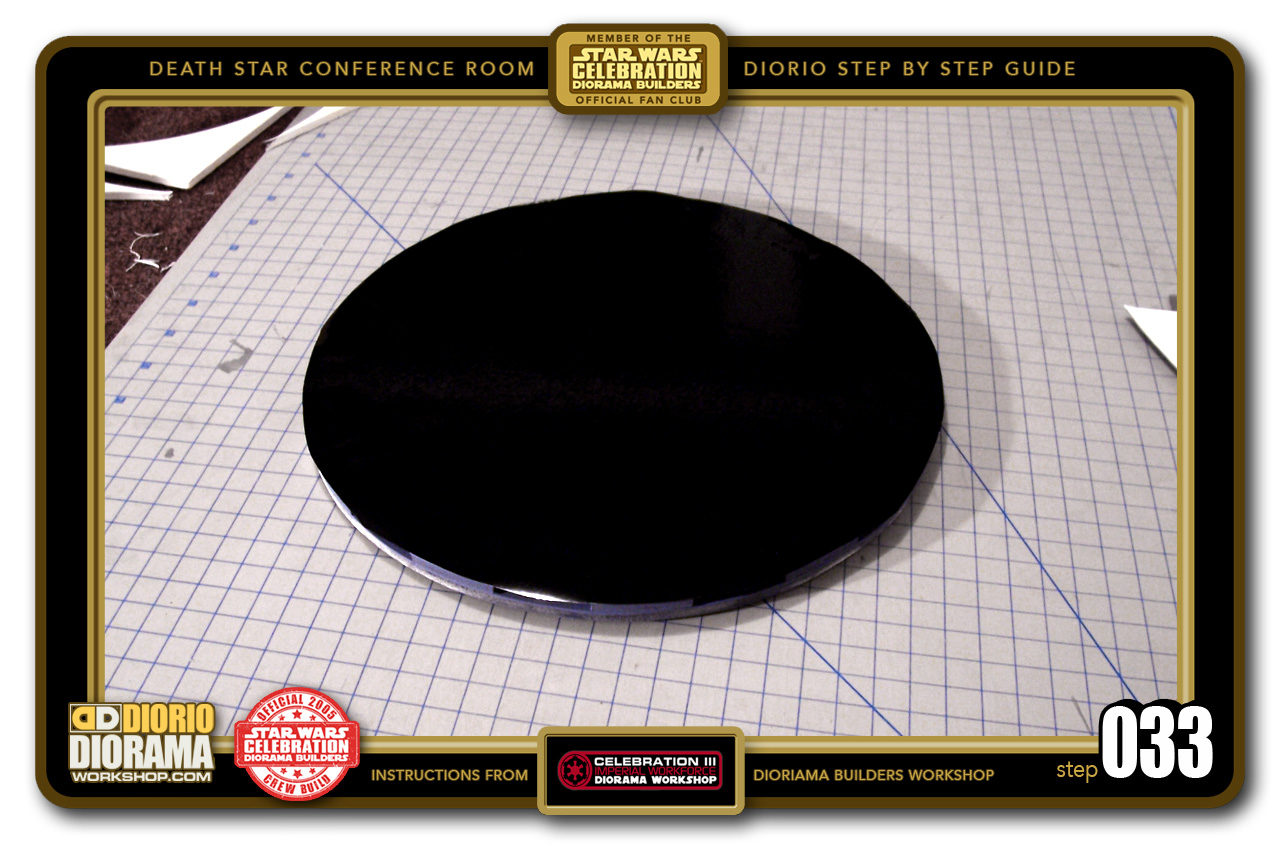
- STEP 033 > Carefully peel off the backing and apply the sticky surface to the table TOP - the side that has the 12 GROOVES. Again make sure to avoid air bubbles. Darth Vader would not be too happy about that - LOL.

-

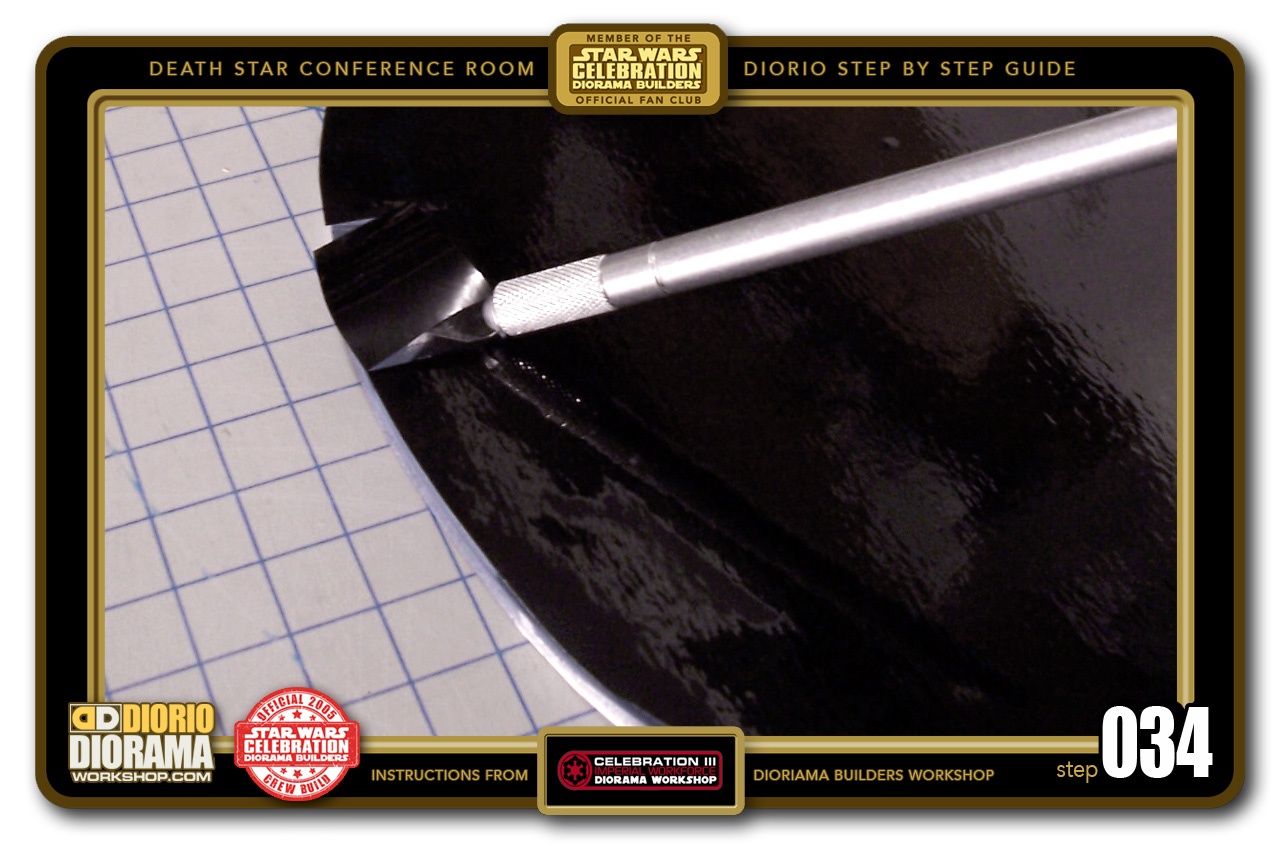
- STEP 034 > Now here is a step you need to TAKE YOUR TIME with. You have to carefully and as precisely as you can, remove the Mac Tac that covers the Control Panel groove slots. Using your V Shape Blade is the best for this task. Align the blade against one side and slide it along using the sides as your blade guide.
-
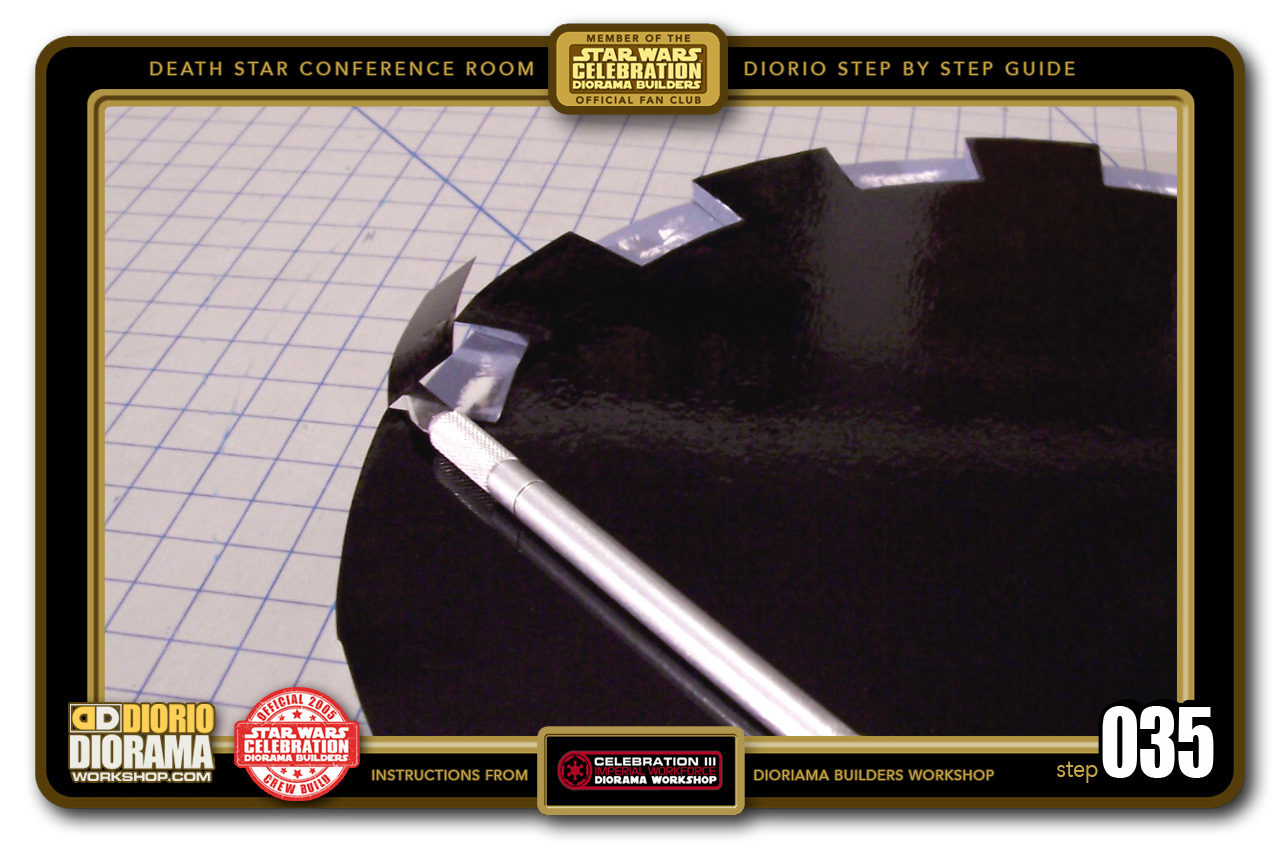
- STEP 035 > Take your time, when you have gone all the way around, try to lift the sticky MacTac with your blade and grab it with your other hand. DO NOT PULL HARD if it's still connected, you will TEAR the vinyl.

-

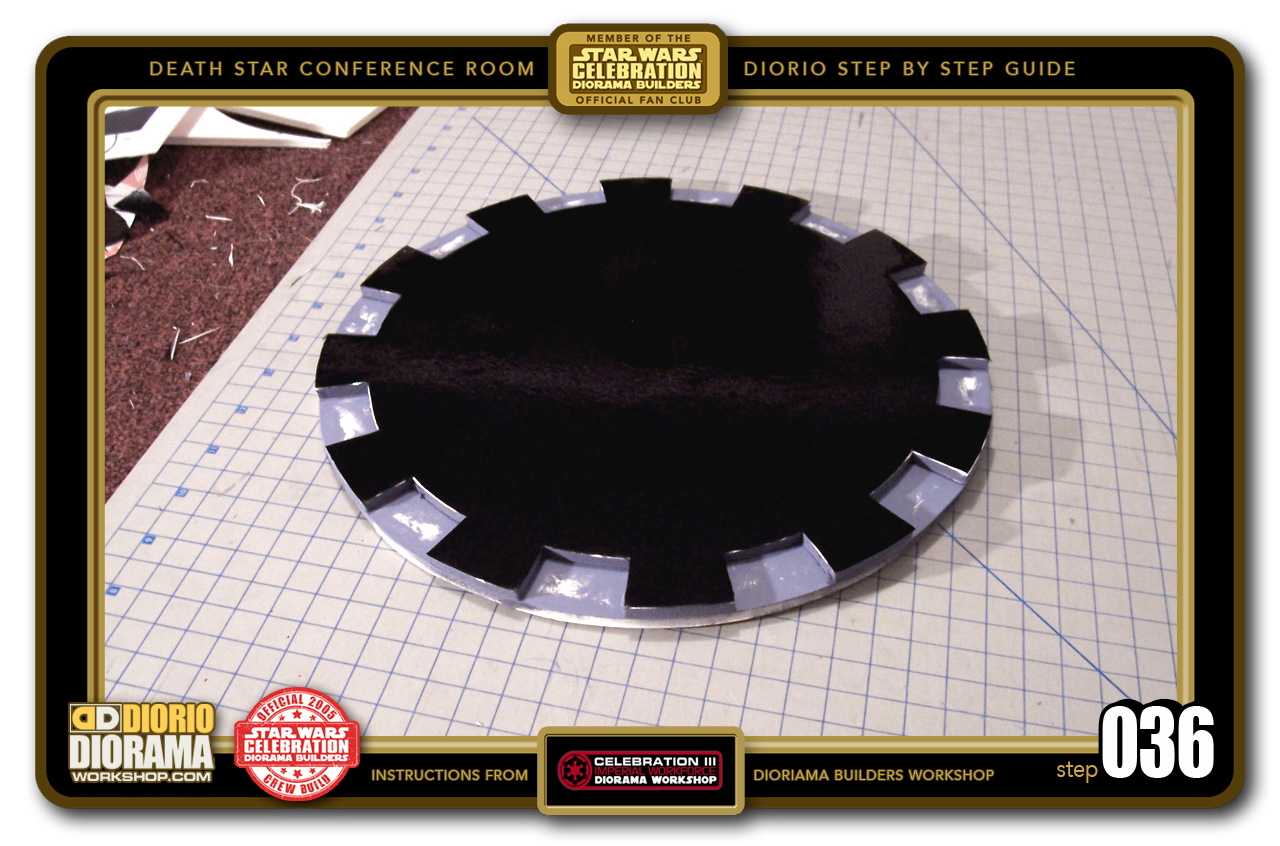
- STEP 036 > 15-20 minutes later, your table should look like this.
-
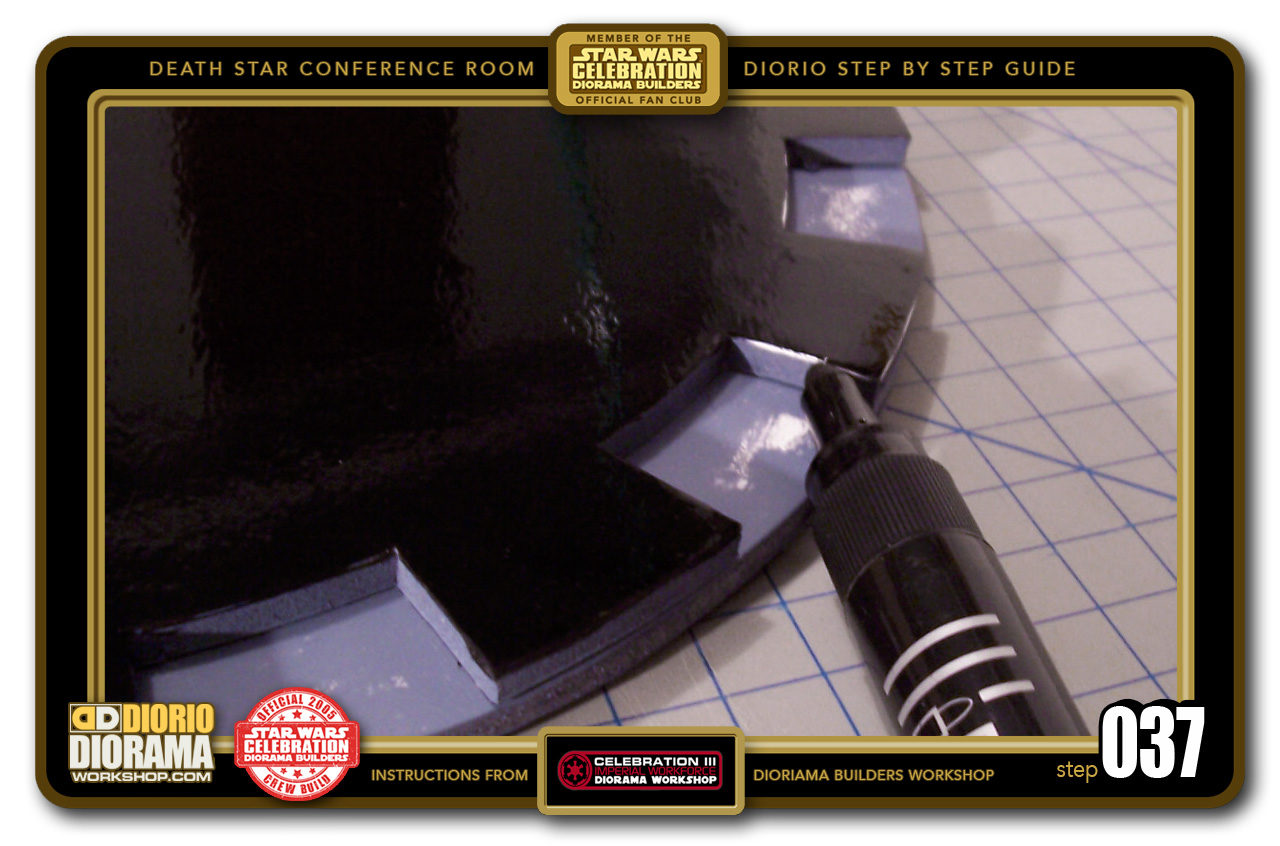
- STEP 037 > Of course it's almost impossible to get perfect cuts everywhere, so here is a great little trick 🙂 Take a black sharpie marker with a THICK TIP and cover all areas that were bruised by the Xacto blade. Your table will look perfect in no time.

-

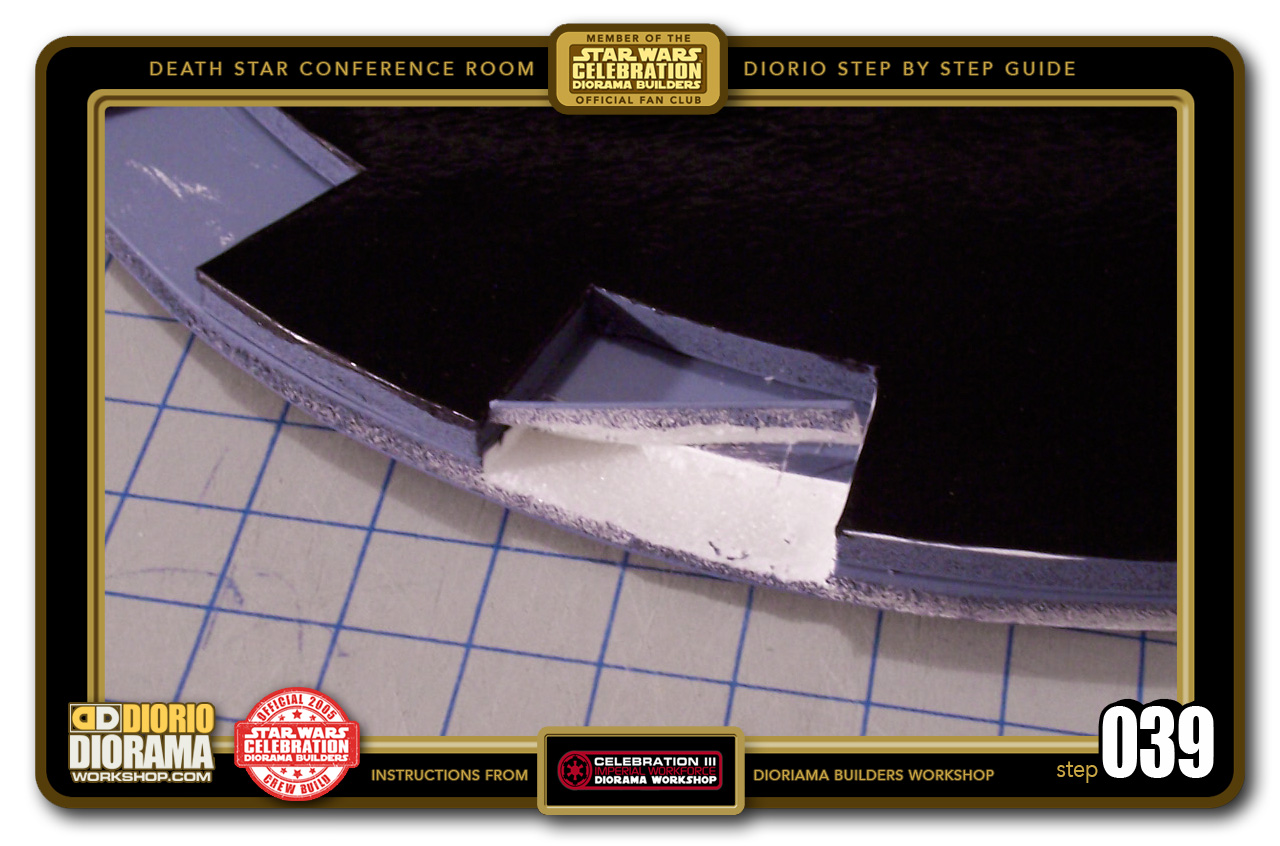
- STEP 038 > Next step...we need to slice into the thickness of the Lower layer in order to have a nice flush finish for our Cantrol Panel overlays. Get the V Blade and GENTLY insert center thickness and slice in between the side of the foamcore. Try and slice only within the zone you see between the 2 arrows. Remember to slightly angle up towards the insides and use a NEW blade, we don't want to mess up our cuts.

-
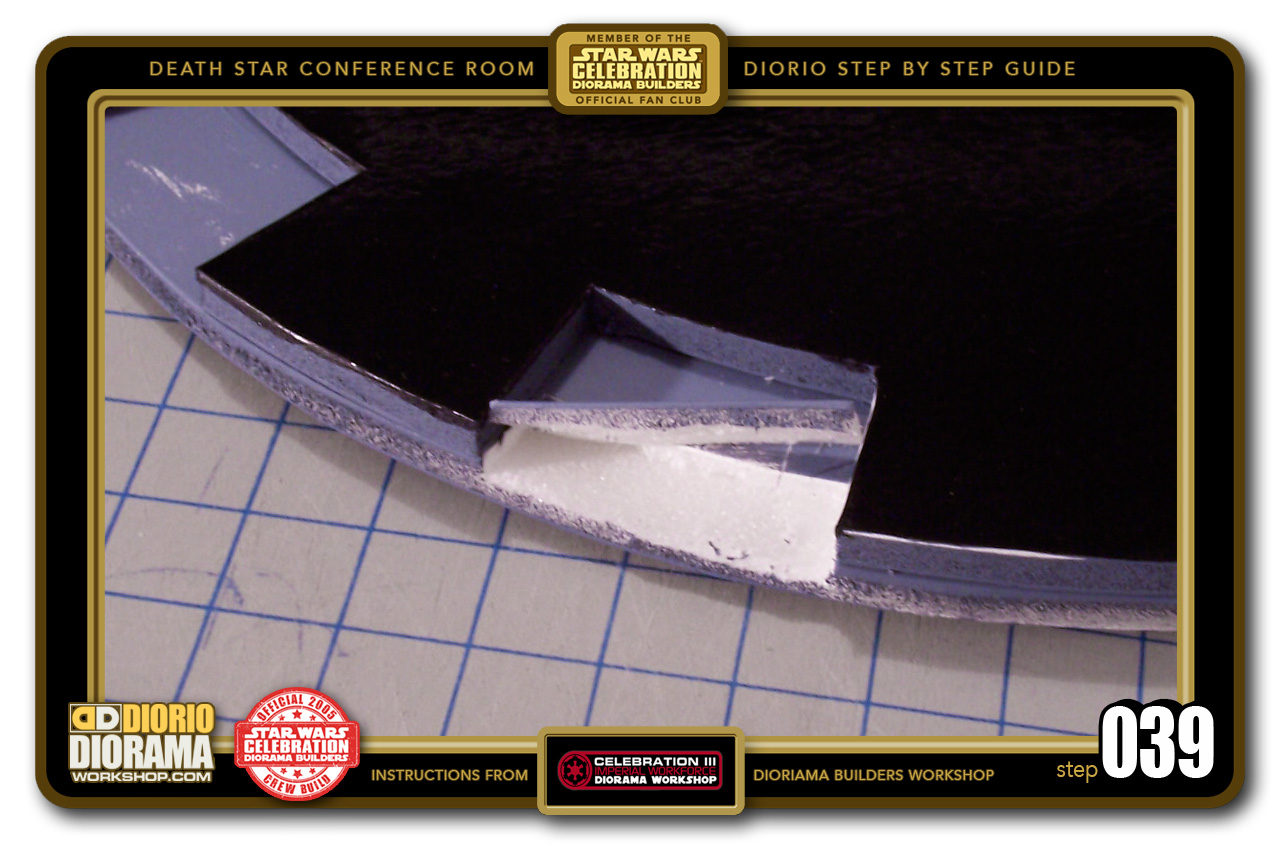
- STEP 039 > Now CAREFULLY pull up the sliced foamcore and cut it down the center. DON'T CUT THROUGH to the other side. you don't want to have a hole in the table !!!
-

- STEP 040 > Now we move on to the outside edges of the table that will hide the ugly styrofoam DOUBLE THICK edge. Print and cut out the table edge strips.


.
Did you already build this Diorama ? At home or at our Star Wars Celebration Diorama Builders workshop ? Would you like to show it in the site’s GALLERY VISITORS DIORAMAS section, YES ? That is Awesome !!! You can find out all the details on how to email me your photos on the VISITORS SUBMISSIONS INFO page … When I get your photos, I will create your very own page just like this one. You may not realize it but work does inspire others to join in the fun of making Action Figure Dioramas.
.
NOT FOR RESALE ALL Decals, tutorials and artwork are ©FrankDiorio (dioramaworkshop.com) and offered FOR FREE to the fans – that would be you ? so you can build and display my diorama designs in your very own home. I realize I cannot control what one does with my graphics once I place them on the web, I can only ask you as one fan to another, please respect the artist and do not be that jerk who uses my designs and tutorials to build a copy of my work only to sell it on EBAY or trade/sale groups and forums. Thank You. Frank.
.
.
If you have a facebook account, why not join the Official Diorama Builders Fan Club today, simply click the logo link below.
 .
.
Catch up with fellow visitors and exchange stories, read cool interviews with the crew, exchange photos, fun surprises and grab some FAN ONLY merchandise next year at actual future conventions ?
.
©2018 Frank Diorio DioramaWorkshop.Com
.
IF YOU LIKE WHAT YOU SEE, PLEASE SHARE WITH YOUR FRIENDS
USING THE SOCIAL MEDIA BUTTONS BELOW