


-
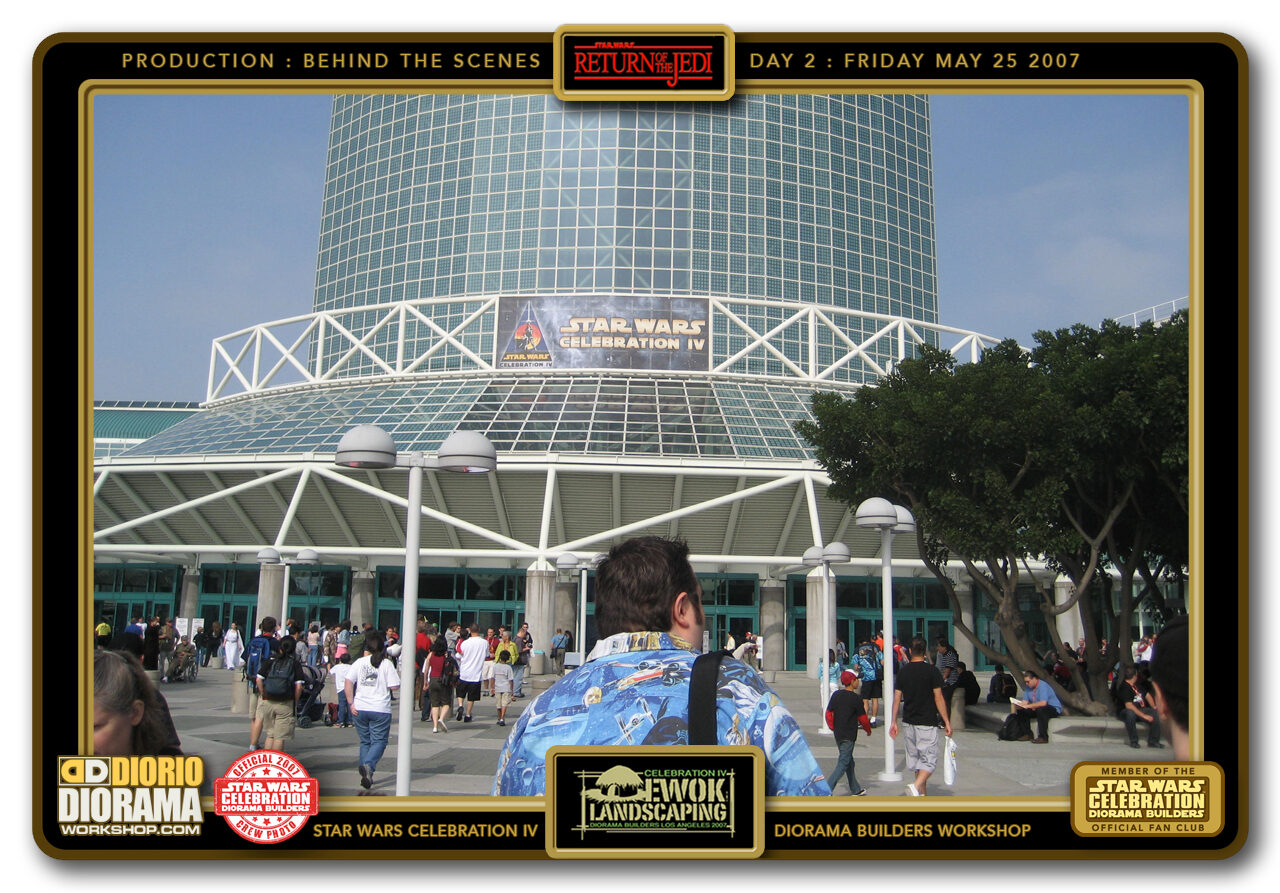
- DAY 2 - MAY 25 001 > Jamie leading us into the convention centre through the main entrance. Do you guys and gals recognize the material Jamie used to sew his shirt ? 🙂
-
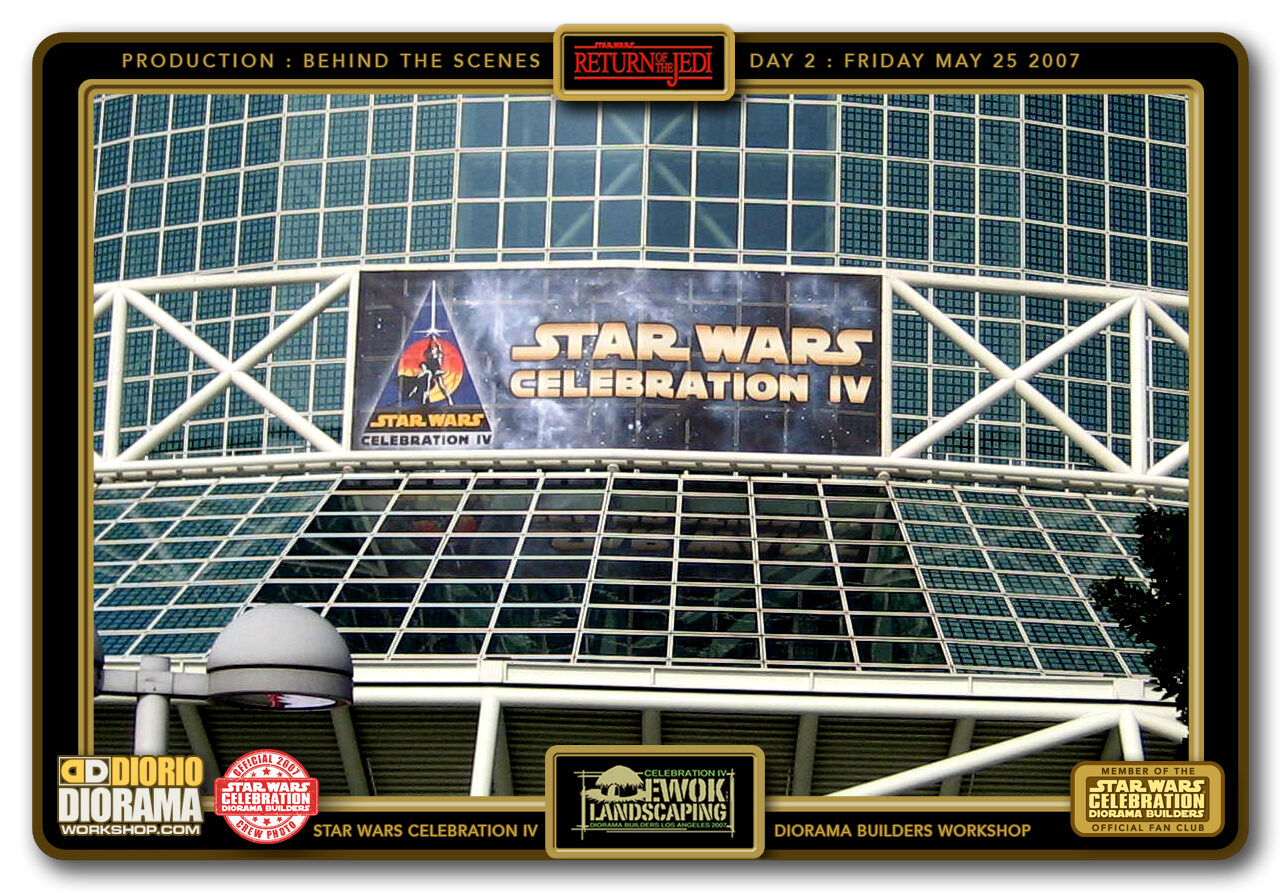
- DAY 2 - MAY 25 002 > A close up of the sign as you got closer to the main doors. Our 3rd Diorama Builders at Celebration IV seems like just yesterday.
-
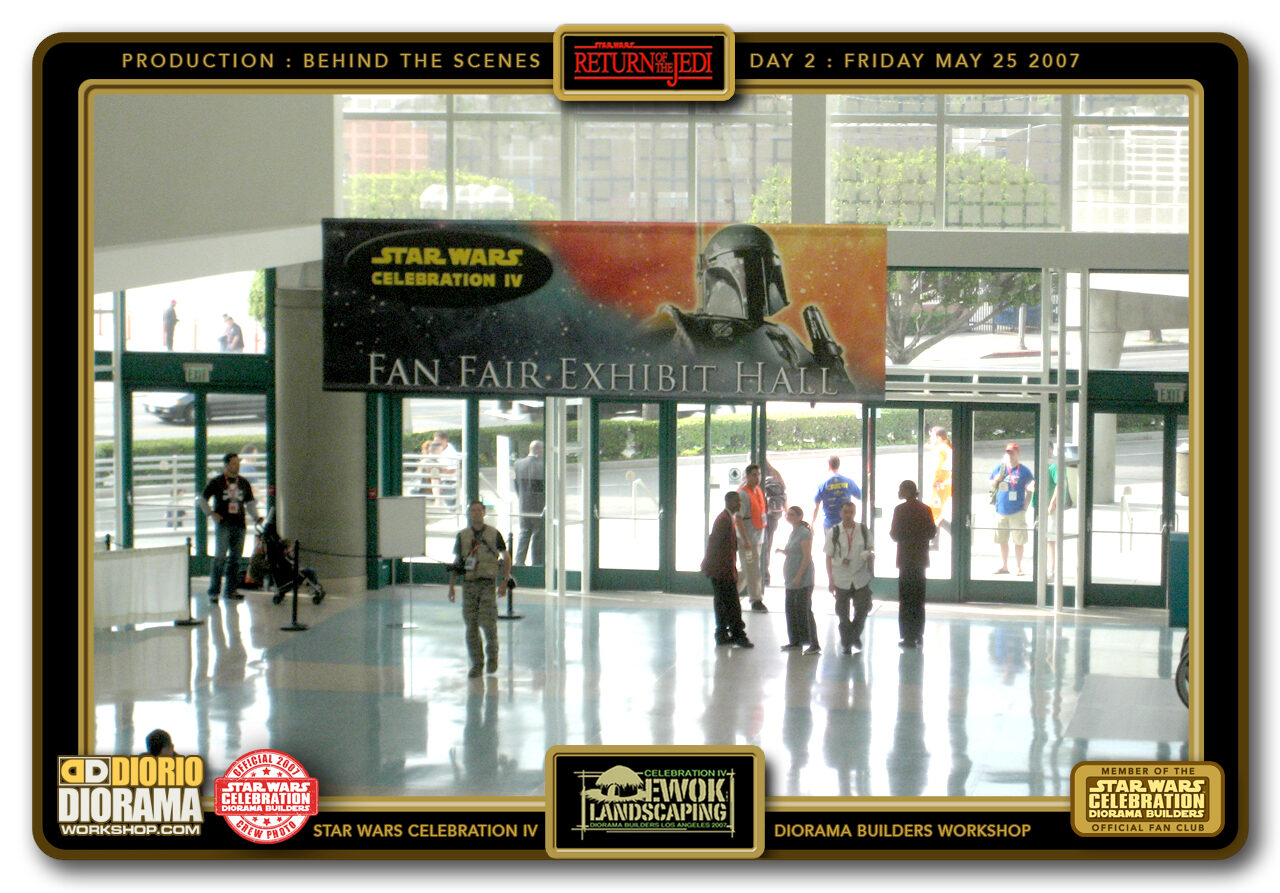
- DAY 2 - MAY 25 003 > One of the perks and cool things about working a booth at the Star Wars Celebration conventions is that you don't have to wait in any line ups to get in. Plus you can enter 1 hour before the public so you can roam around the other booths and check out what's going on. The bad part is you have to wake up at 7 am LOL.
-
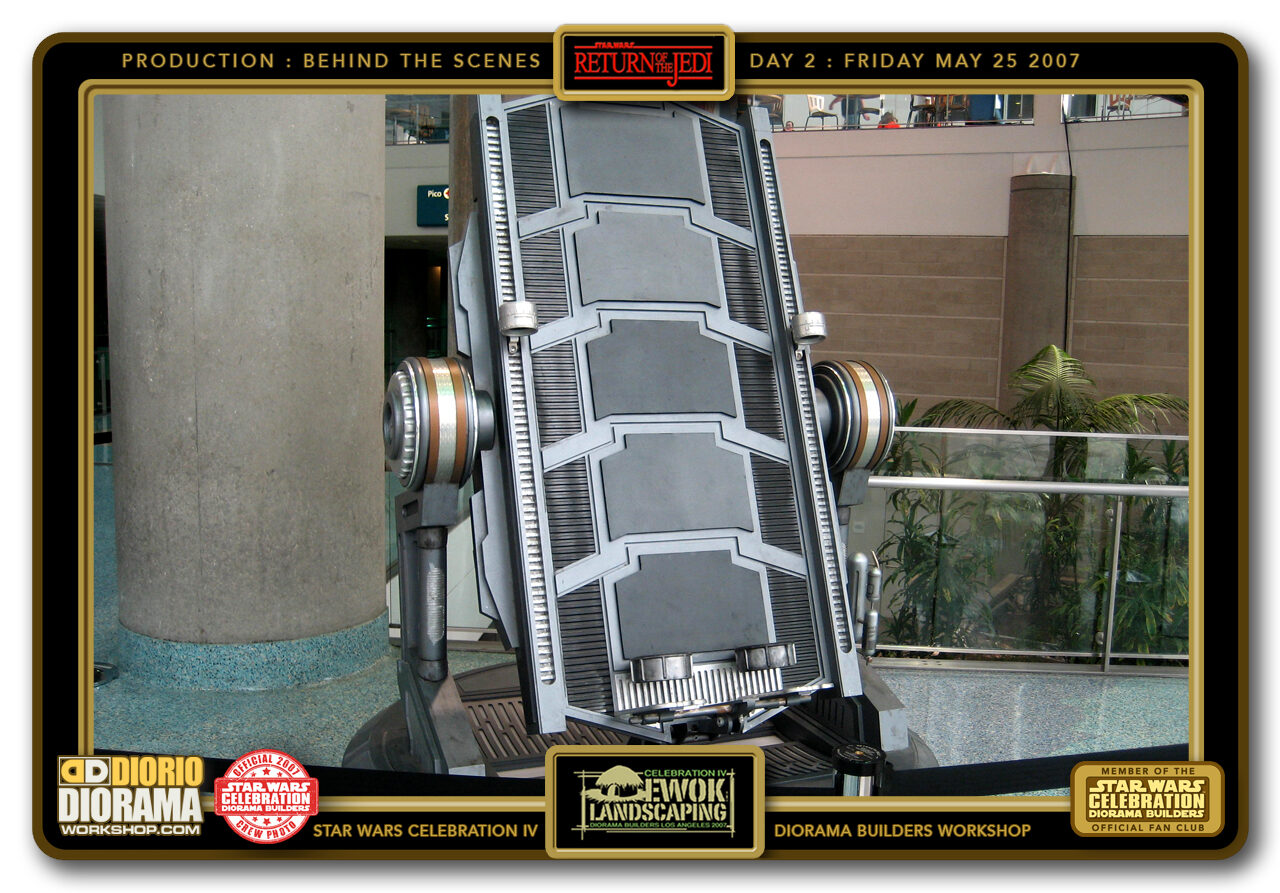
- DAY 2 - MAY 25 004 > This wasn't here yesterday... how cool to see a lifesize prop from a Star Wars film right there before your eyes. Do you recognize Vader's birth slab table ?
-
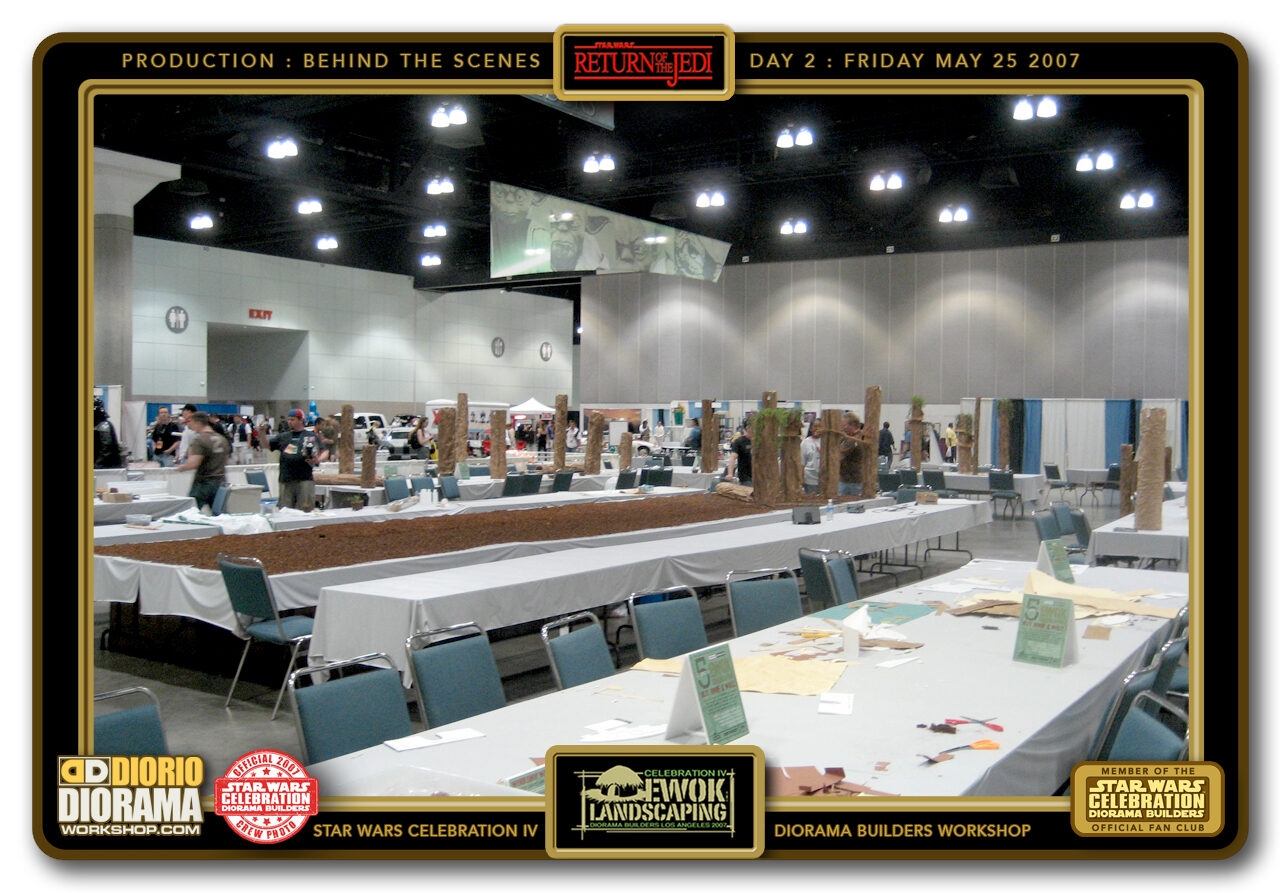
- DAY 2 - MAY 25 005 > Arriving at the booth, look at how HUGE the space Lucasfilm gave us this year. You can see the joined tables in the centre with a strip of mulch where we will start planting some of the finished trees later in the day after they are built and the paint has dried.
-
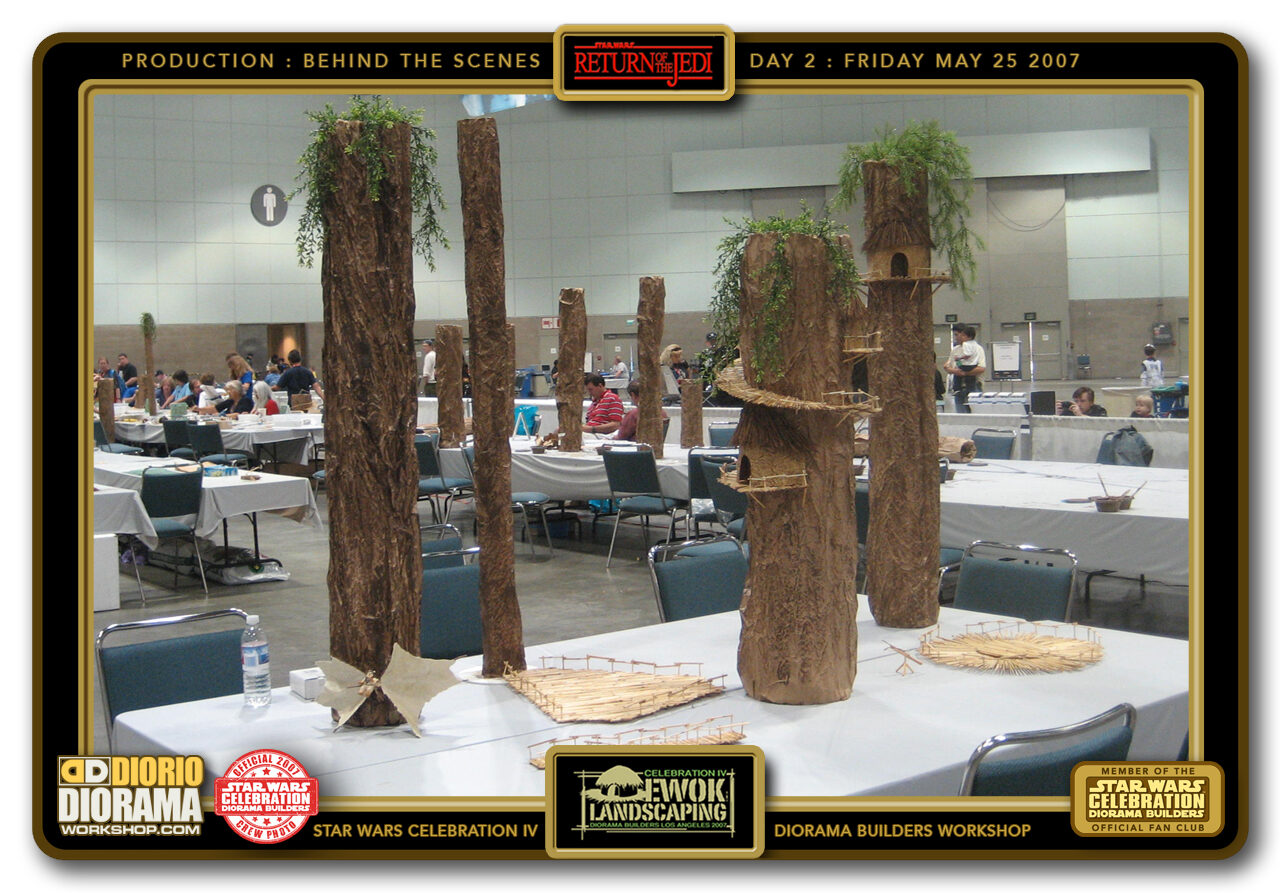
- DAY 2 - MAY 25 006 > Speaking of trees, we moved my prototypes closer to the front so that fans could go and see from all sides just what their building options were for this year. Just seeing this looks cool, now imagine when there will be HUNDREDS of trees and huts 🙂
-
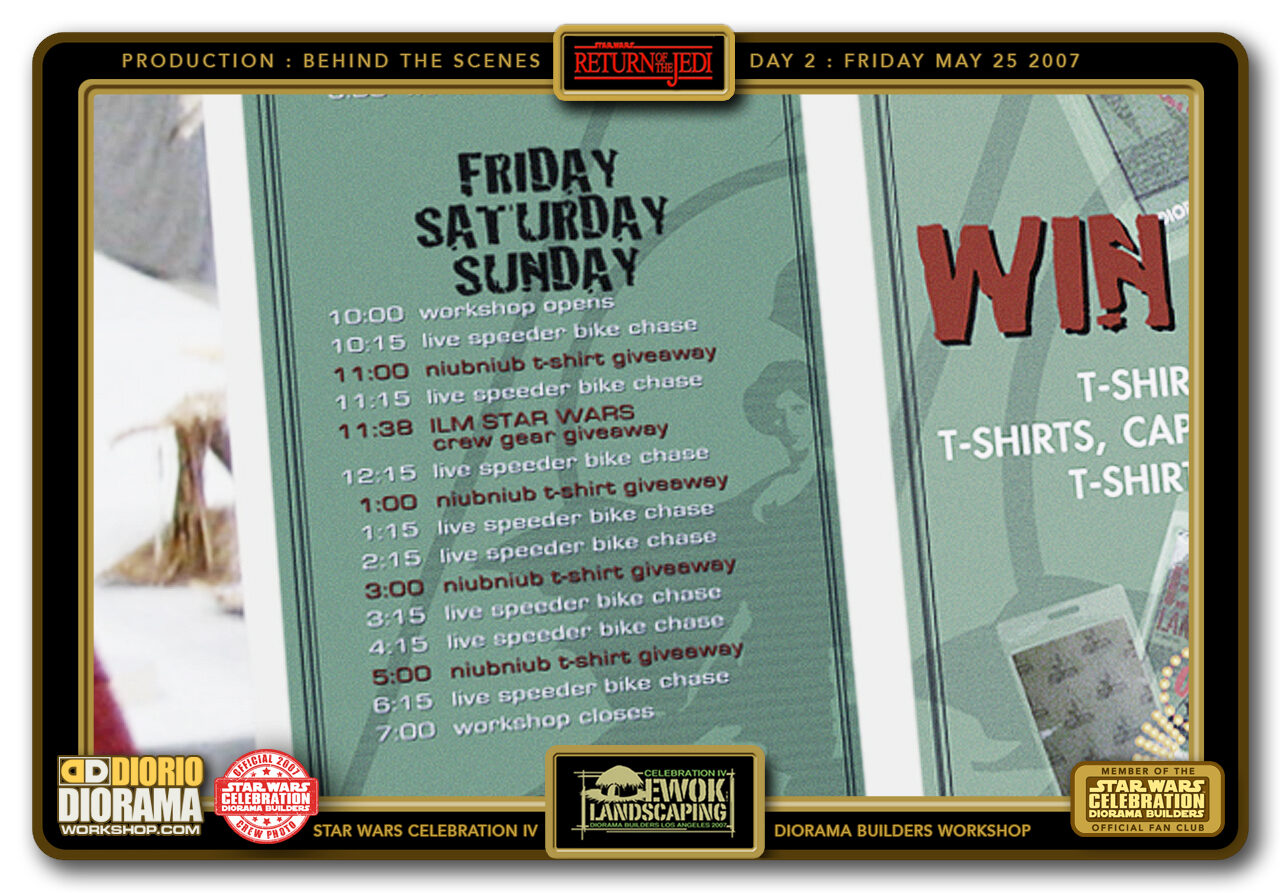
- DAY 2 - MAY 25 007 > Fans arriving can easily see on the entrance sign the scheduale for the next 3 days. Lots of builds and lots of prizes 🙂
-
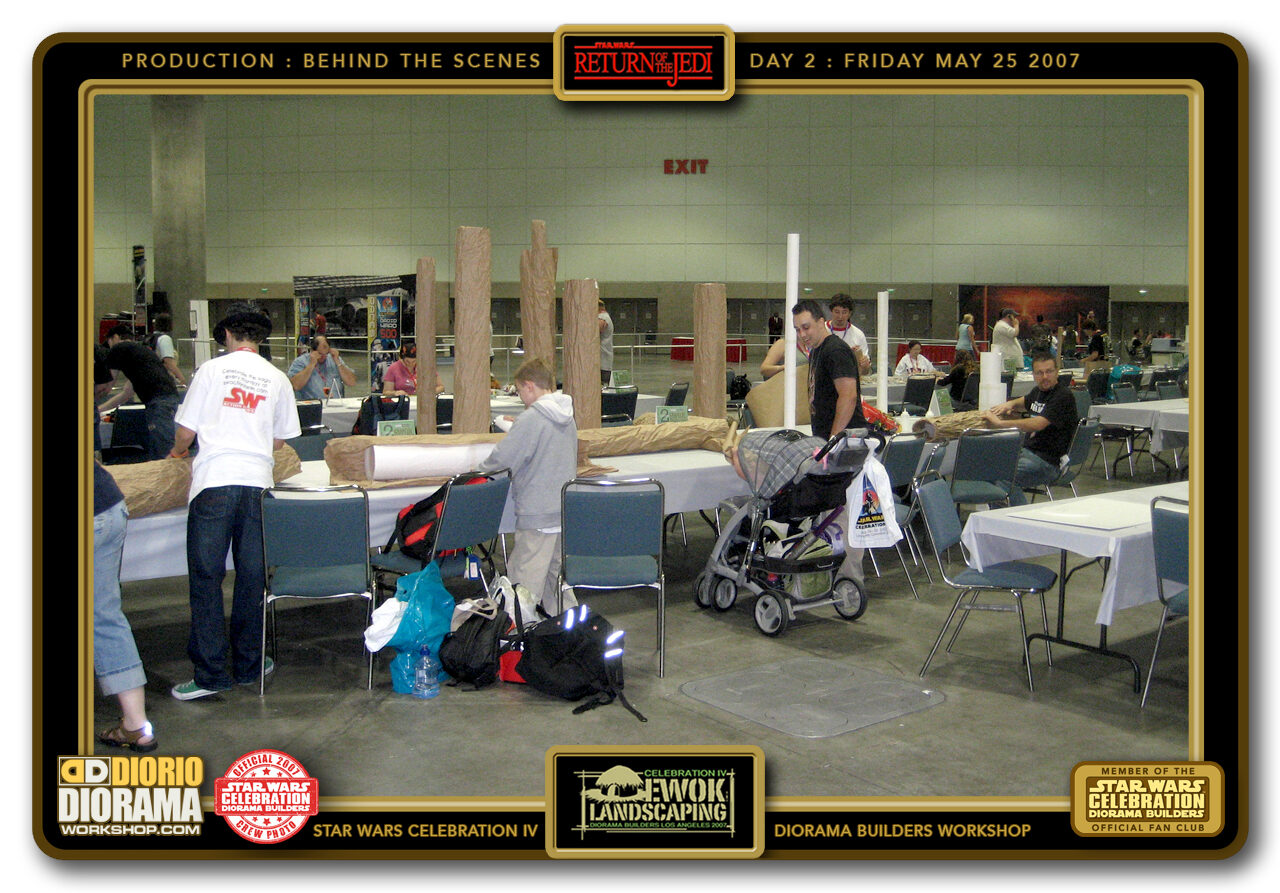
- DAY 2 - MAY 25 008 > After 2 previous workshops, some returning fans know exactly what to do first at the show, come to our booth as soon as you arrive of course 🙂 This not only guarantees you a spot t build but also makes it that you don't have to wait in a queue to enter and wait for a fan to exit and give you his table and chair space.
-
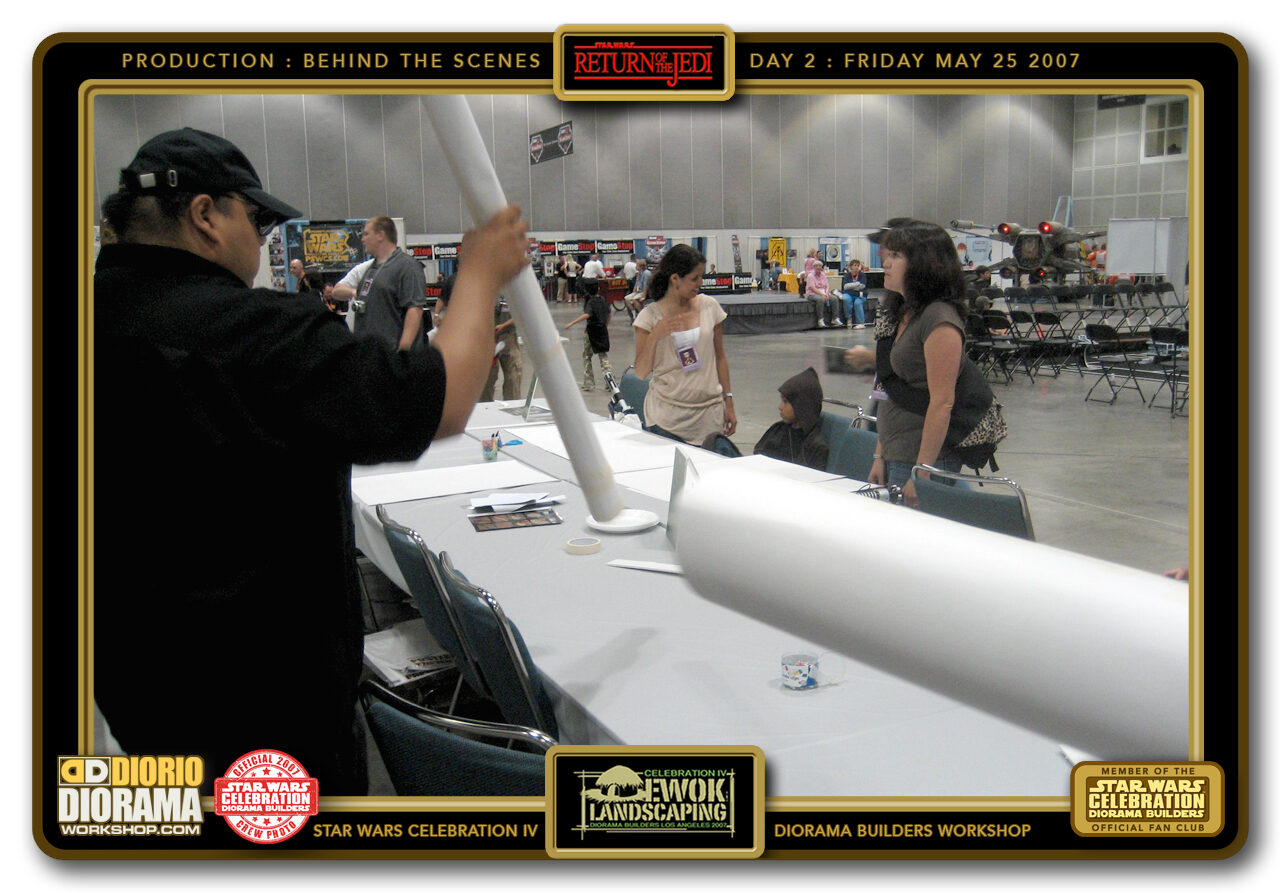
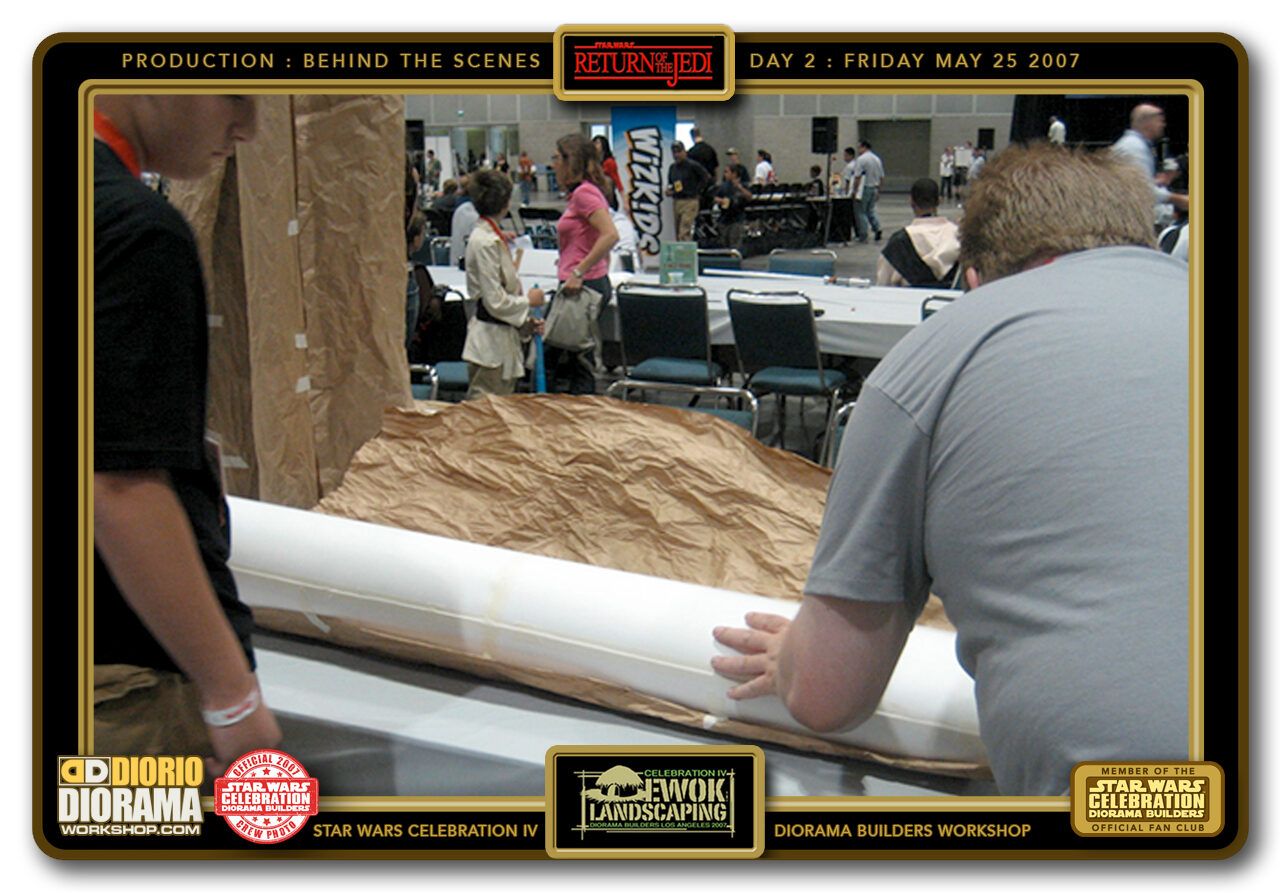
- DAY 2 - MAY 25 009 > Here you can see someone making one of the TALL SKINNY trees. It all starts with rolling poster board together to create your core.
-
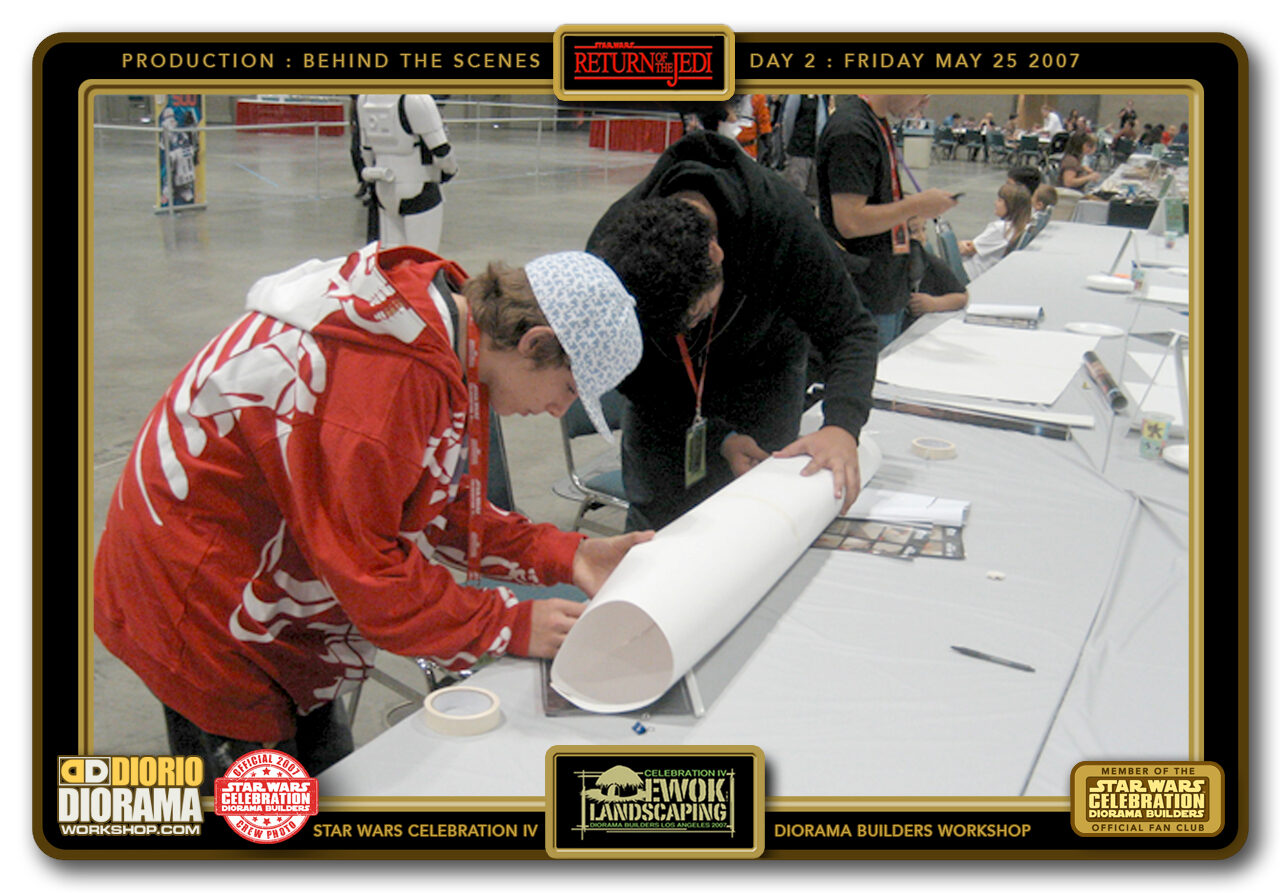
- DAY 2 - MAY 25 010 > Same technique applies for the Medium trees, you just attach the ends of your posterboard in a different area creating a thicker, wider trunk.
-
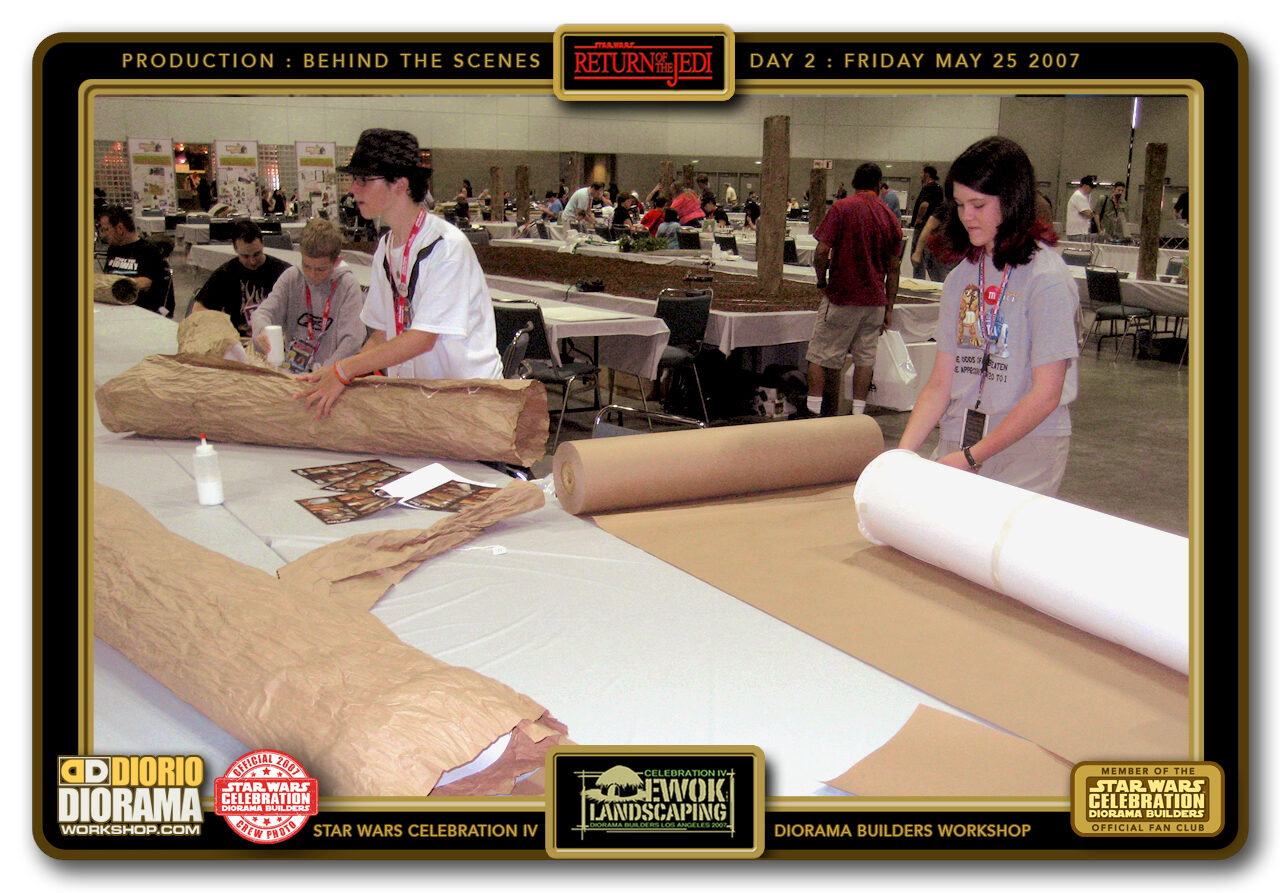
- DAY 2 - MAY 25 011 > Once your trunk core is created, you placed it onto the roll of brown post office wrapping paper to get the prper height or length that you need to create your bark.
-
- DAY 2 - MAY 25 012 > With your post office paper cut to size you just rolled it up squeezing and crunching it as tight as you could so that it would get all creased and wrinkled.
-
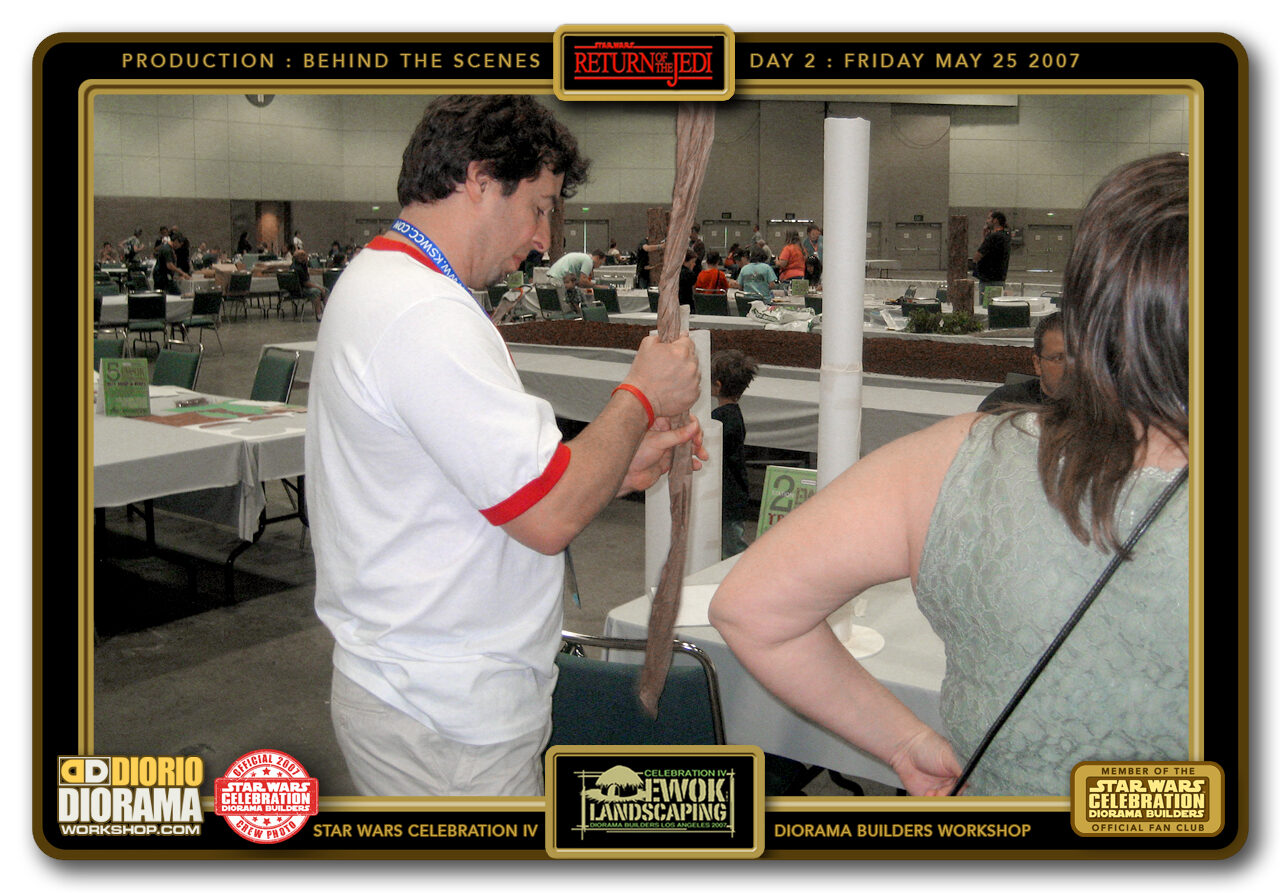
- DAY 2 - MAY 25 013 > Once you unrolled your paper, it would keep all the folds and look exactly like tree bark. Now all you needed to do was to wrap your bark around your posterboard core.
-
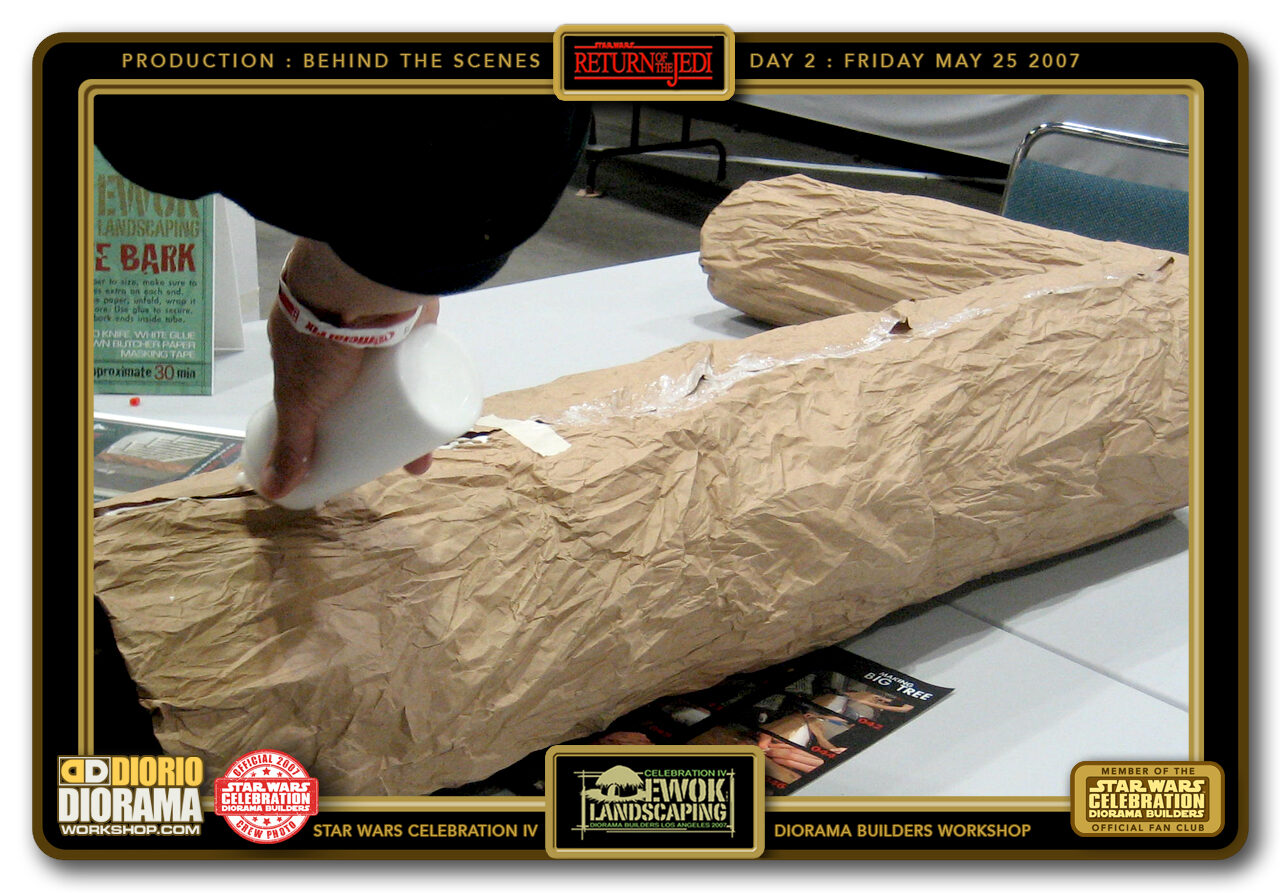
- DAY 2 - MAY 25 014 > Using a little bit of tape to hold it together while you applied some plain white arts and craft Elmers glue to the underseam of the bark and layed it back on top of the opposite end. A little more glue on the top to wet the connection a little more and allow the paper to always stay in it's proper place.
-
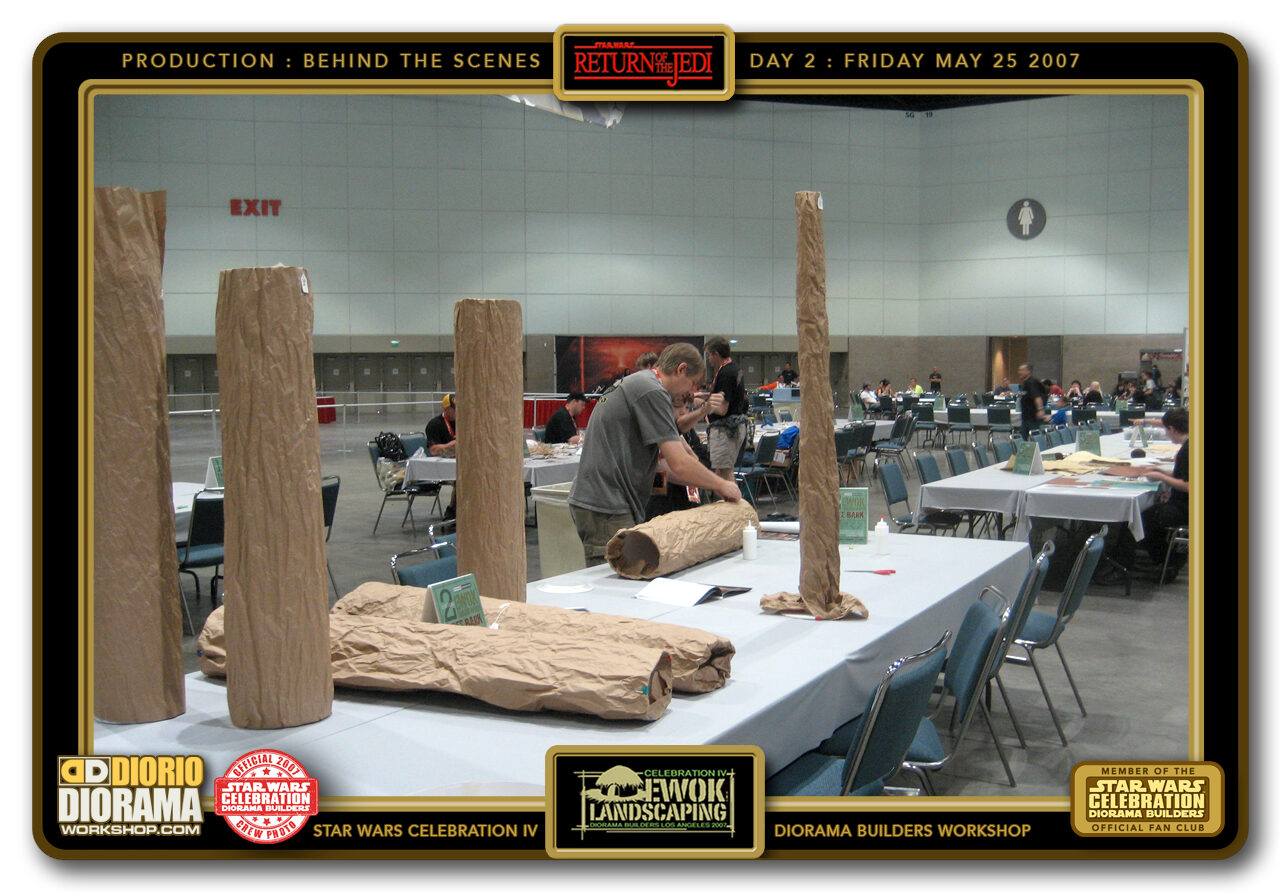
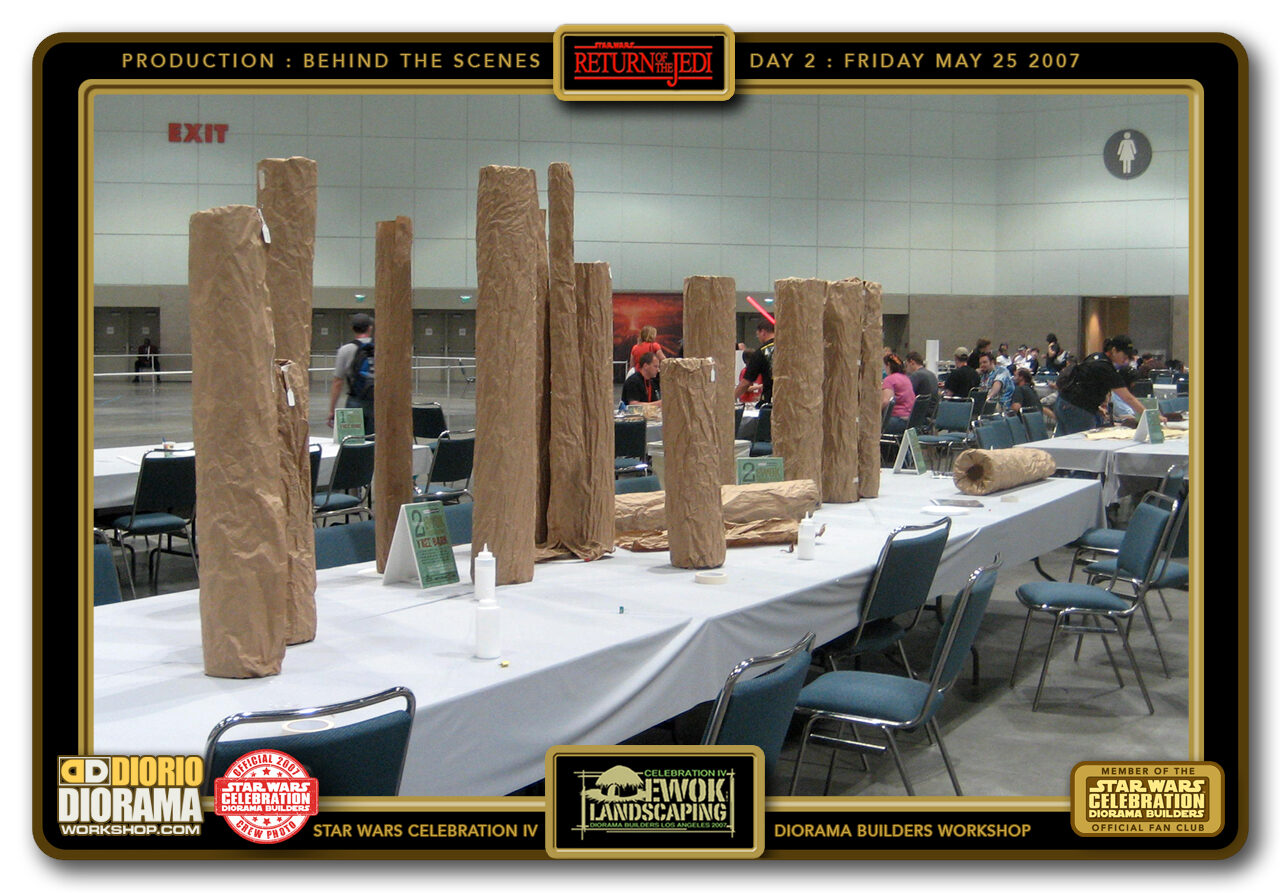
- DAY 2 - MAY 25 015 > Having all this extra space was really cool as the trees were almost as tall as the builders, and having extra tables to place them for the glue to dry before painting became a real blessing not thought of as needed before the show.
-
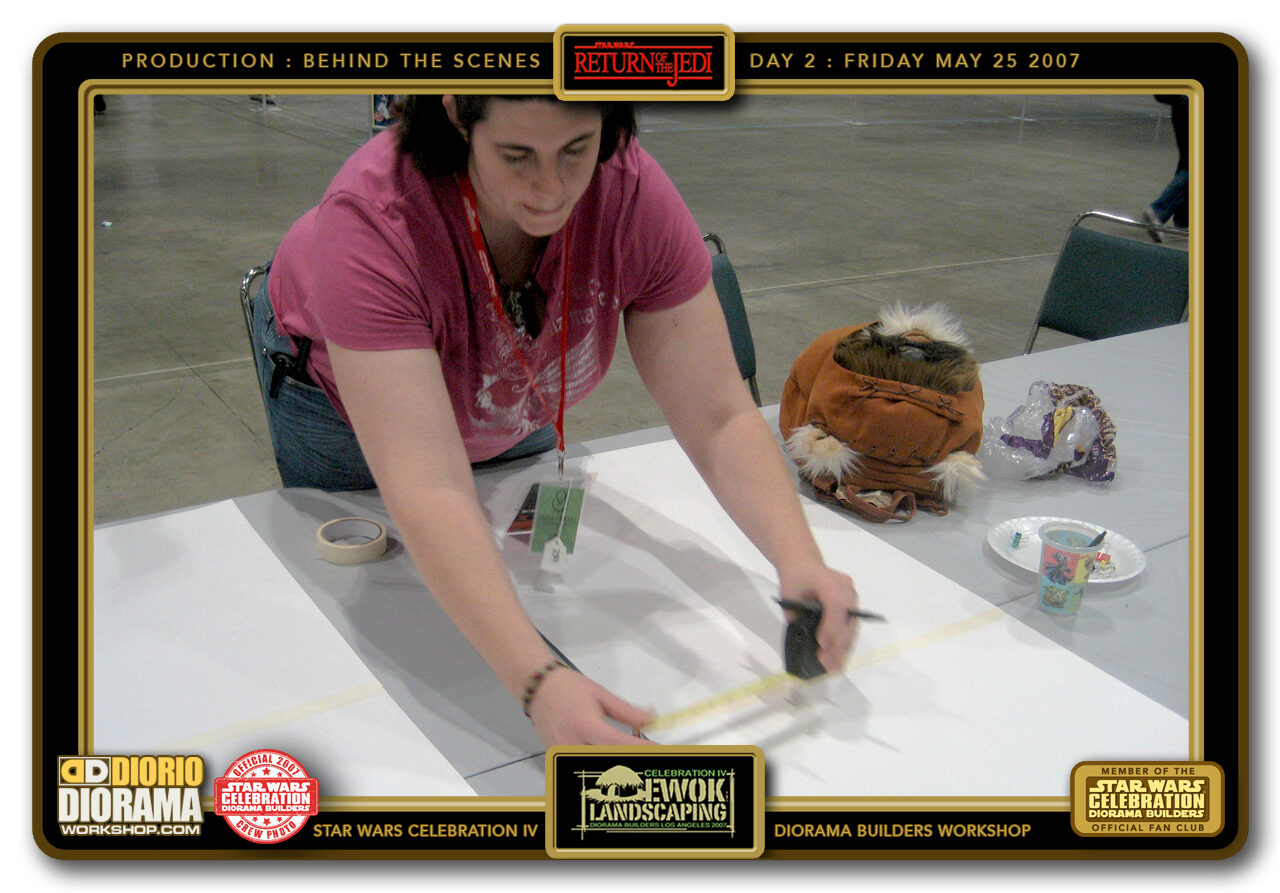
- DAY 2 - MAY 25 016 > Here you can see Tomey McG. making her tree core. She and her family had come build at Celebration III and after the fun of this year asked if they could join the team next time at Celebration V. Hey I have that SAME Ewok backpack 😛
-
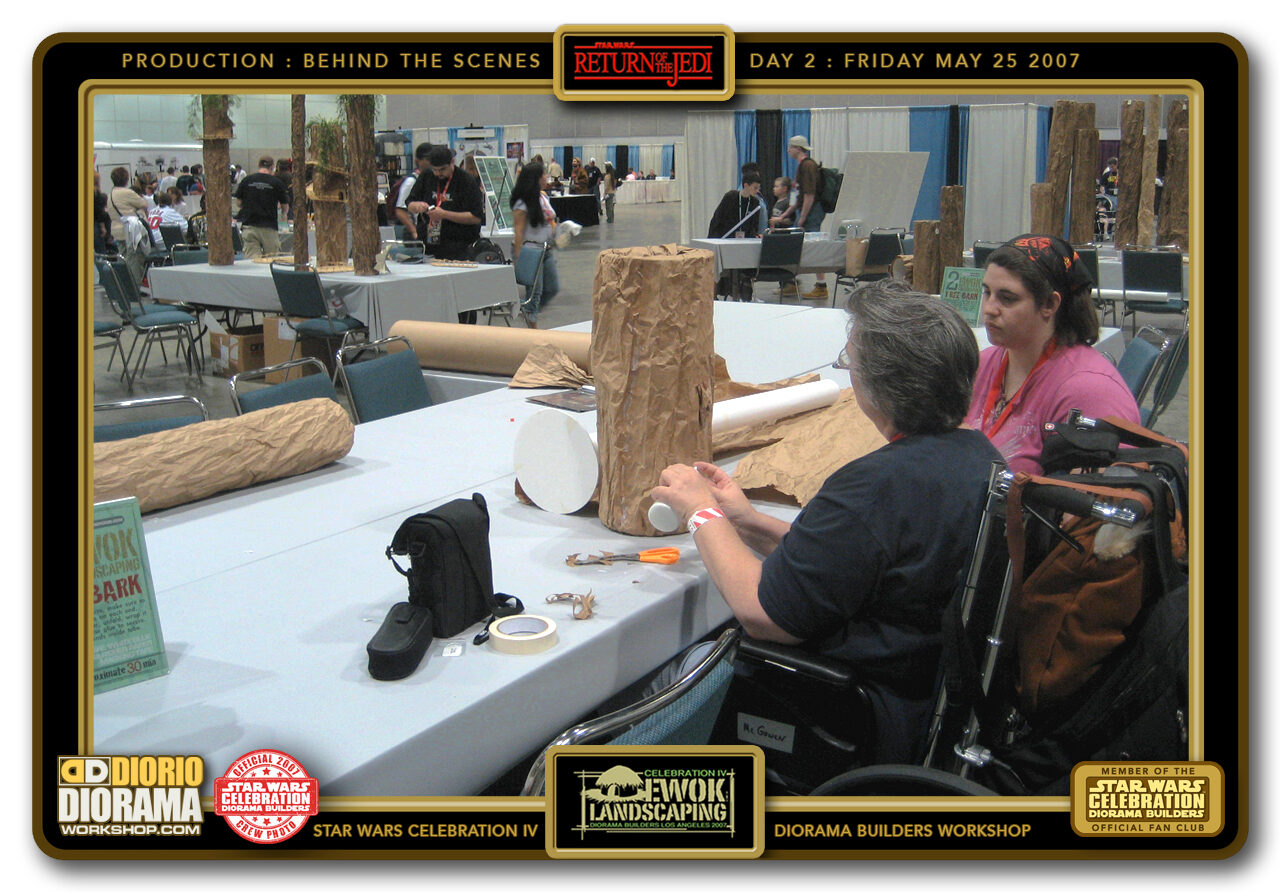
- DAY 2 - MAY 25 017 > Mom has been a huge fan of ours too and this year was no exception.
-
- DAY 2 - MAY 25 018 > With so many trees already made by 11 am we had to move some new tables together and create a new drying zone so that fans could start making their bridges and platforms.
-
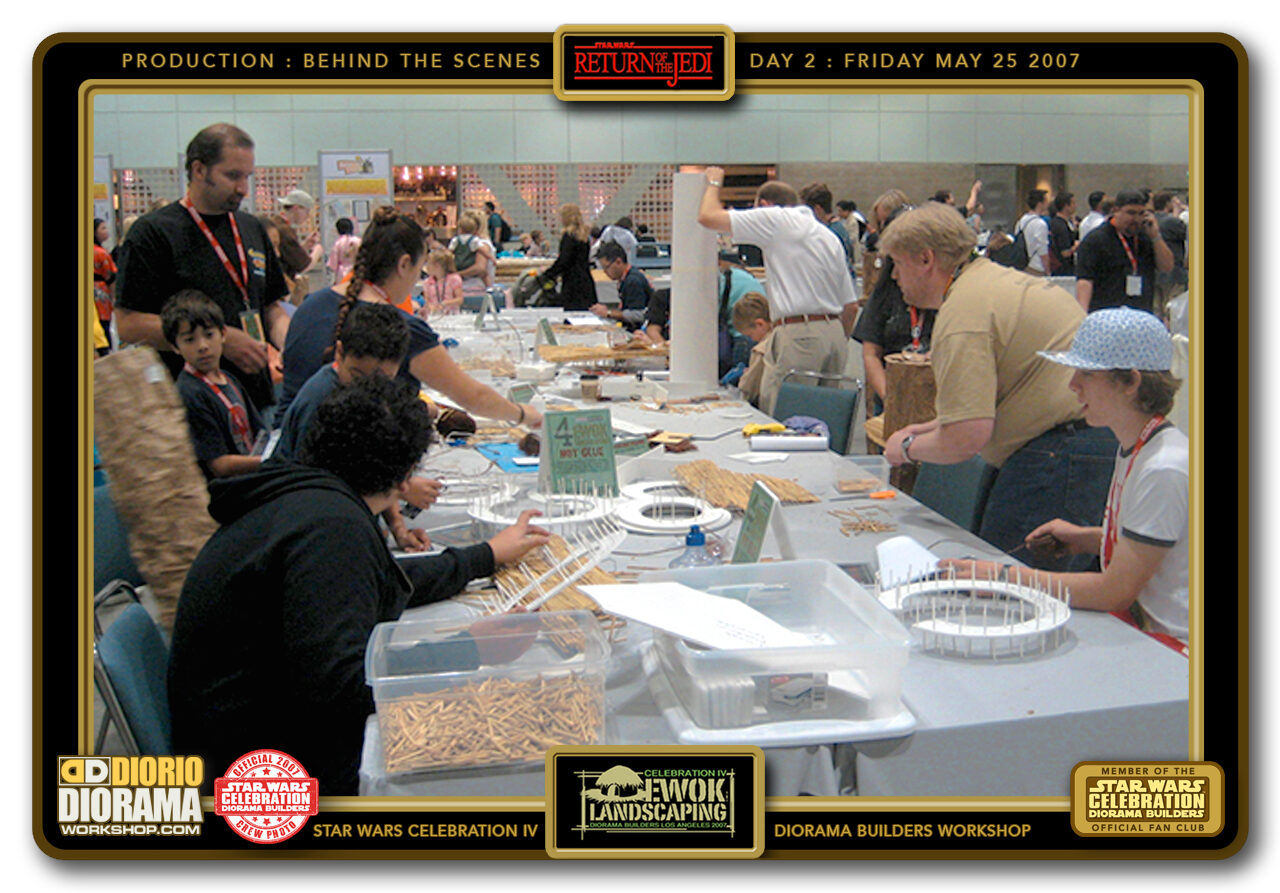
- DAY 2 - MAY 25 019 > Starting to really get busy and the fans are really getting crafty.
-
-
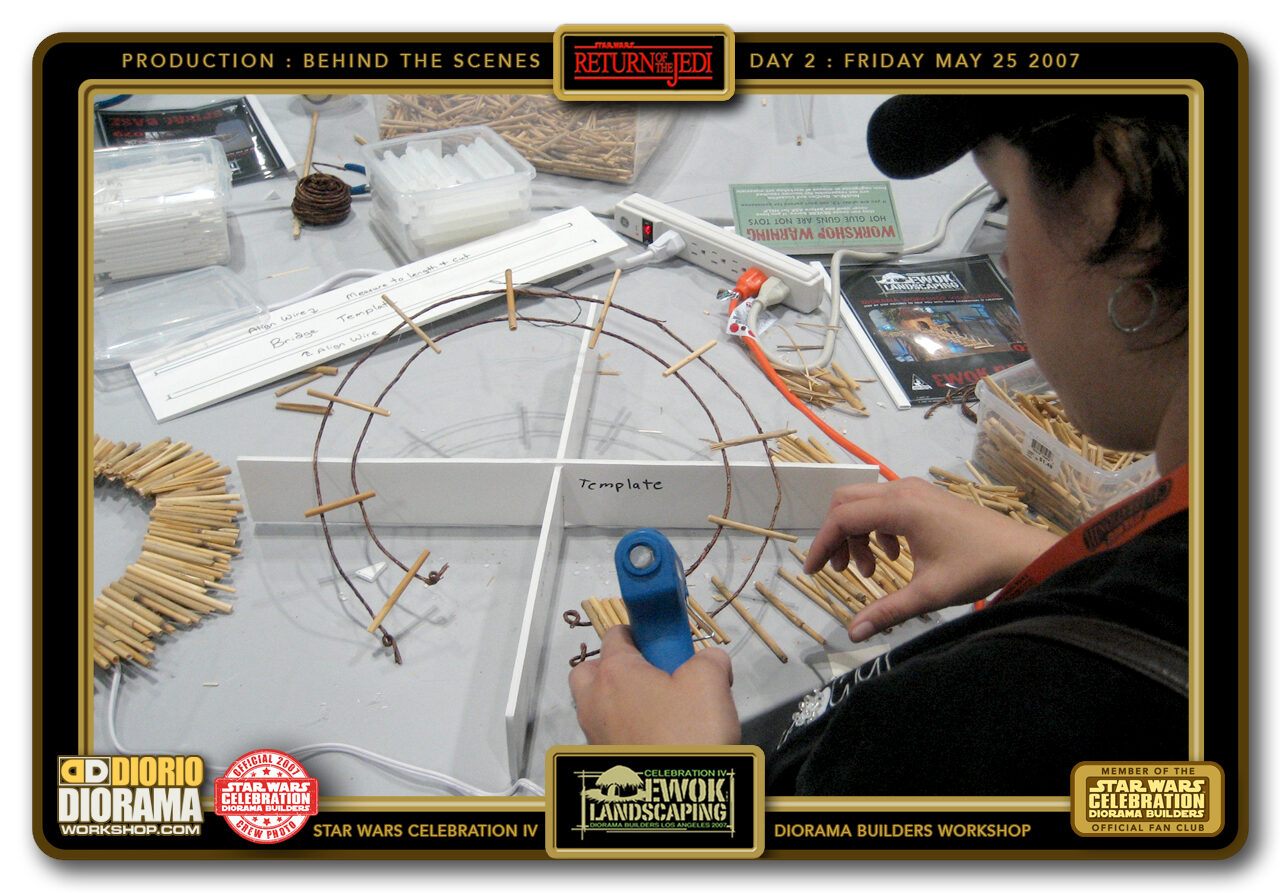
DAY 2 - MAY 25 020 > Most of the spiral platforms and bridges all started from this template shape. 2 flower wires covered in rope gave the illusion that Ewoks constructed it 🙂 and were the perfect base for you to hot glue all of your tiny bamboo fence pieces that would become your final Ewok platform.
Starting by gluing a few 2-3 inches apart allowed your curve base to keep it's proper shape and not get all deformed when you started filling in with your in between mini logs.

.
Did you attend our Celebration Diorama Booth ? If you came to build a piece of ENDOR , please don’t be shy and leave your experiences in the comments below. Even better, you can share them with other fans in the site’s GALLERY VISITORS DIORAMAS section. You can find out all the details on how to email me your photos on the VISITORS SUBMISSIONS INFO page … When I get your photos, I will create your very own page just like this one. You may not realize it but work does inspire others to join in the fun of making Action Figure Dioramas.
..

.
.
If you have a facebook account, why not join the Official Diorama Builders Fan Club today, simply click the logo link below.
 .
.
Catch up with fellow visitors and exchange stories, read cool interviews with the crew, exchange photos, fun surprises and grab some FAN ONLY merchandise next year at actual future conventions ?
.
ALL Decals, tutorials and artwork are ©FrankDiorio (dioramaworkshop.com) and offered FOR FREE to the fans – that would be you ? so you can build and display my diorama designs in your very own home. I realize I cannot control what one does with my graphics once I place them on the web, I can only ask you as one fan to another, please respect the artist and do not be that jerk who uses my designs and tutorials to build a copy of my work only to sell it on EBAY or trade/sale groups and forums. Thank You. Frank.
.
©2021 Frank Diorio DioramaWorkshop.Com
.
IF YOU LIKE WHAT YOU SEE, PLEASE SHARE WITH YOUR FRIENDS
USING THE SOCIAL MEDIA BUTTONS BELOW