


-
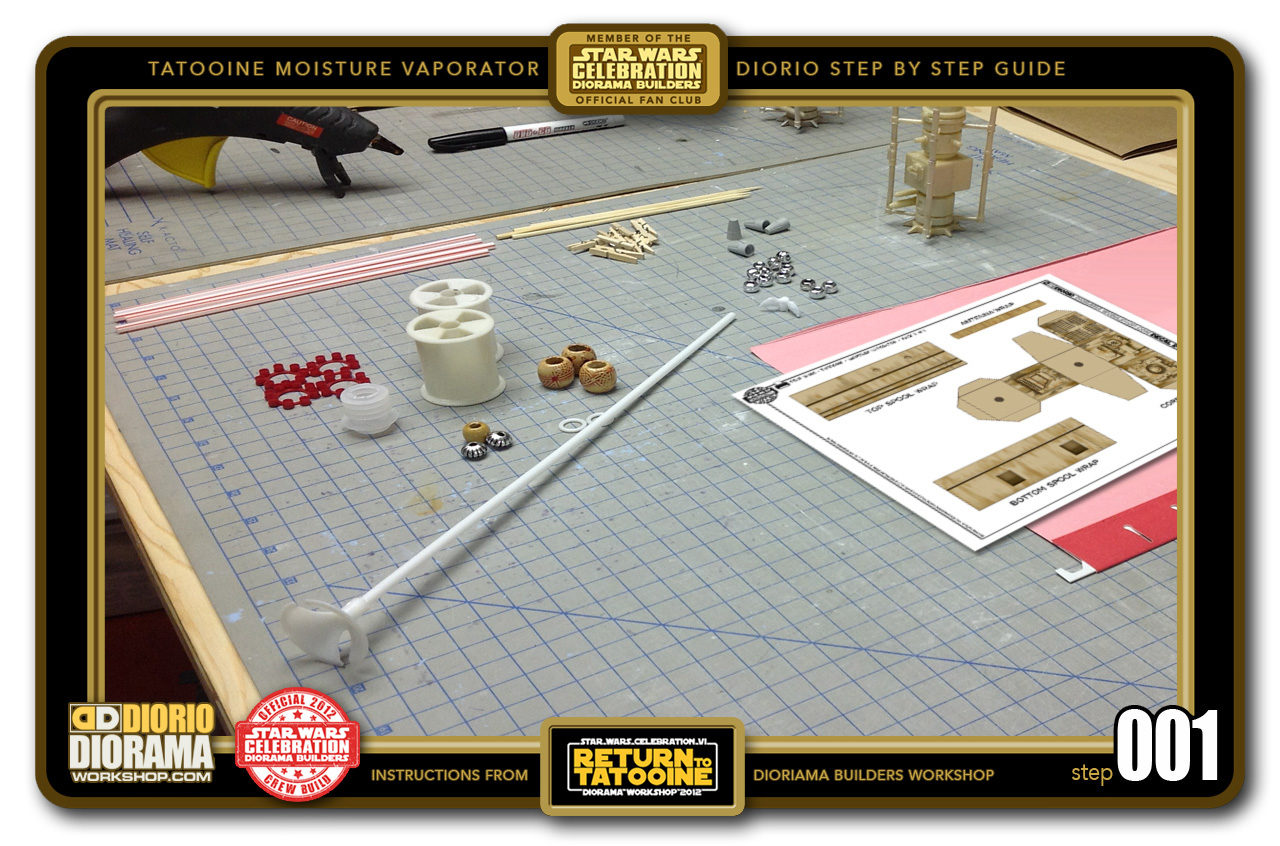
- STEP 001 > Here are the materials used to create your Tatooine Moisture Vaporator. These were the items handed out in baggies to the fans at Star Wars Celebration VI. If you cannot find the exact same beads you can of course substitute other designs that are close to the same size and details.
-
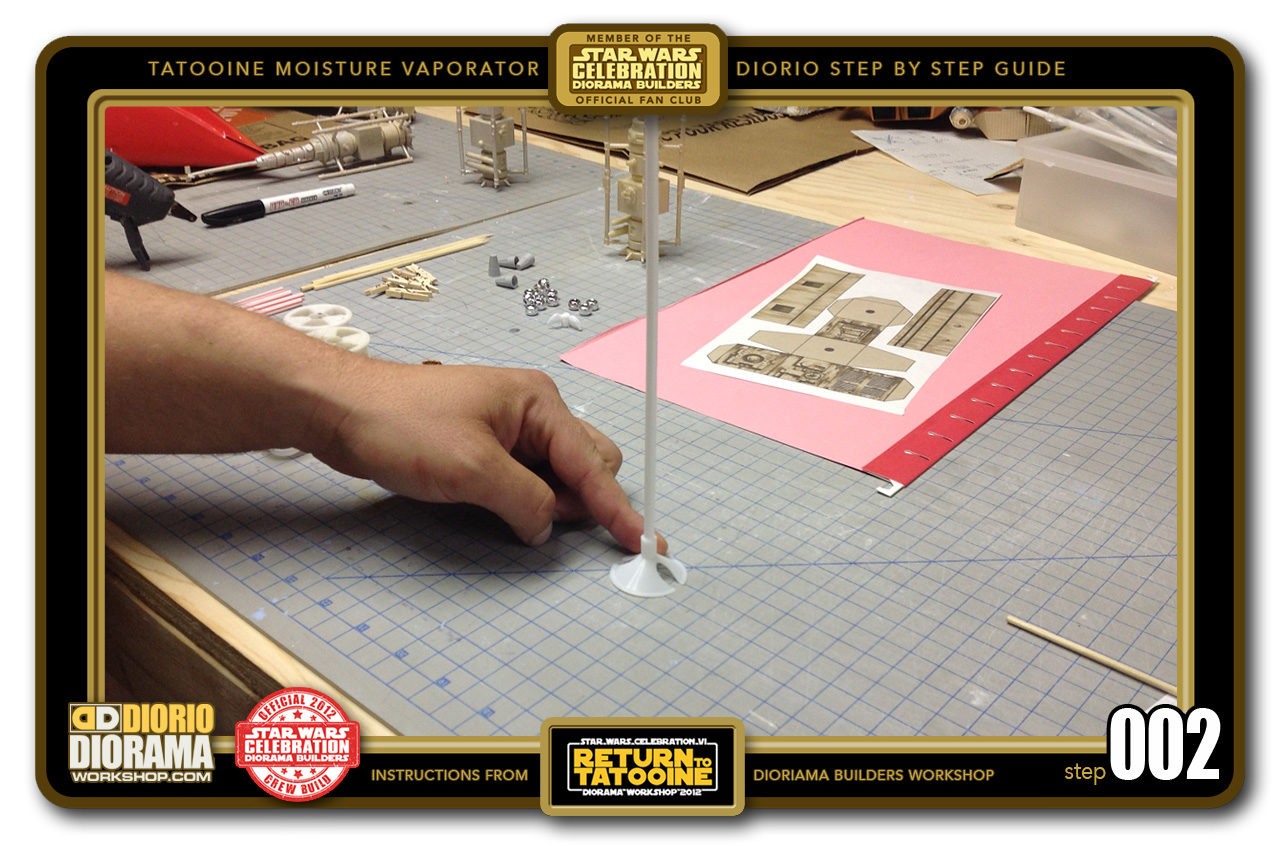
- STEP 002 > You start with the base, which is the balloon straw found at most dollar, party stores. This is your core where everything else gets attached and stacked.
-
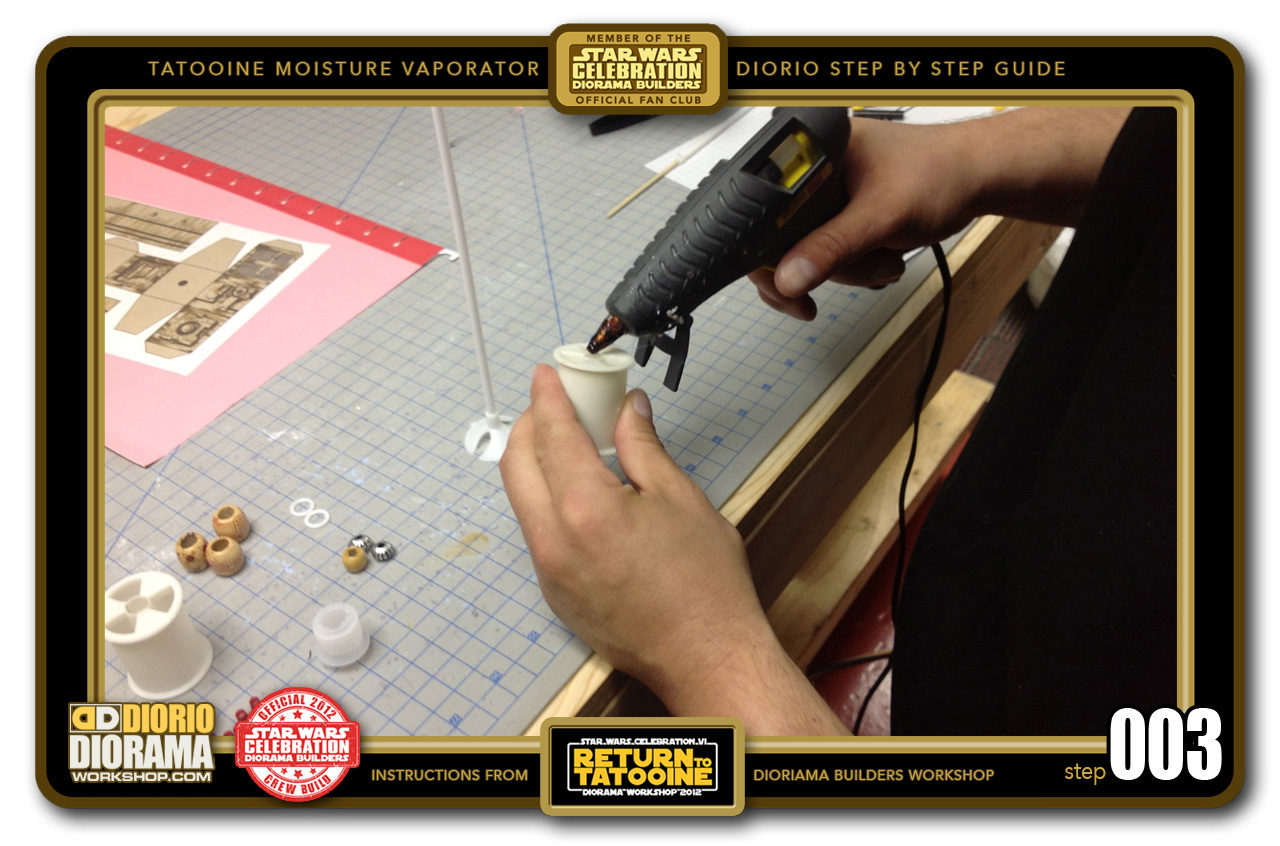
- STEP 003 > Grab one of yuor spools and place some hot glue around the center hole.
-
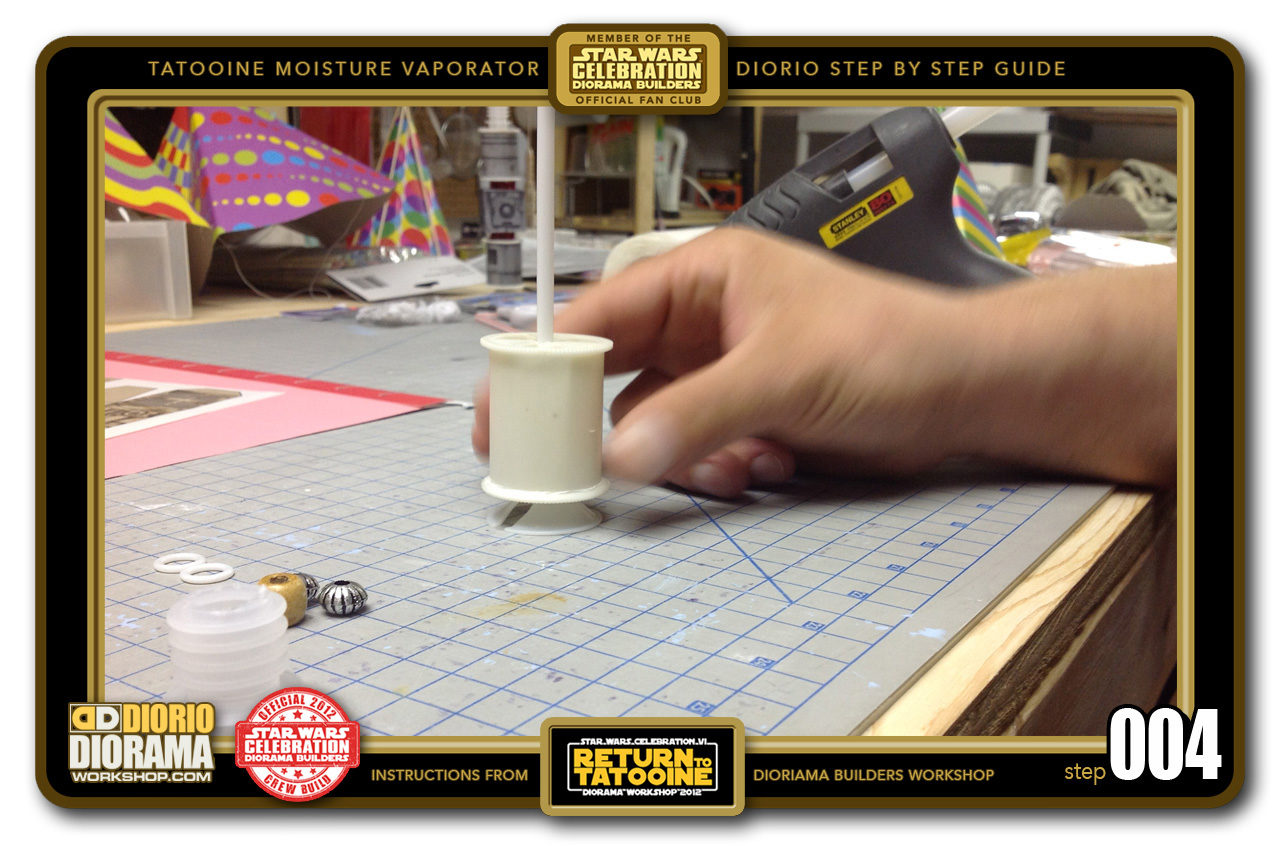
- STEP 004 > Slide the spool down the straw and wiggle it a little to make sure the glue contacts the base.
-
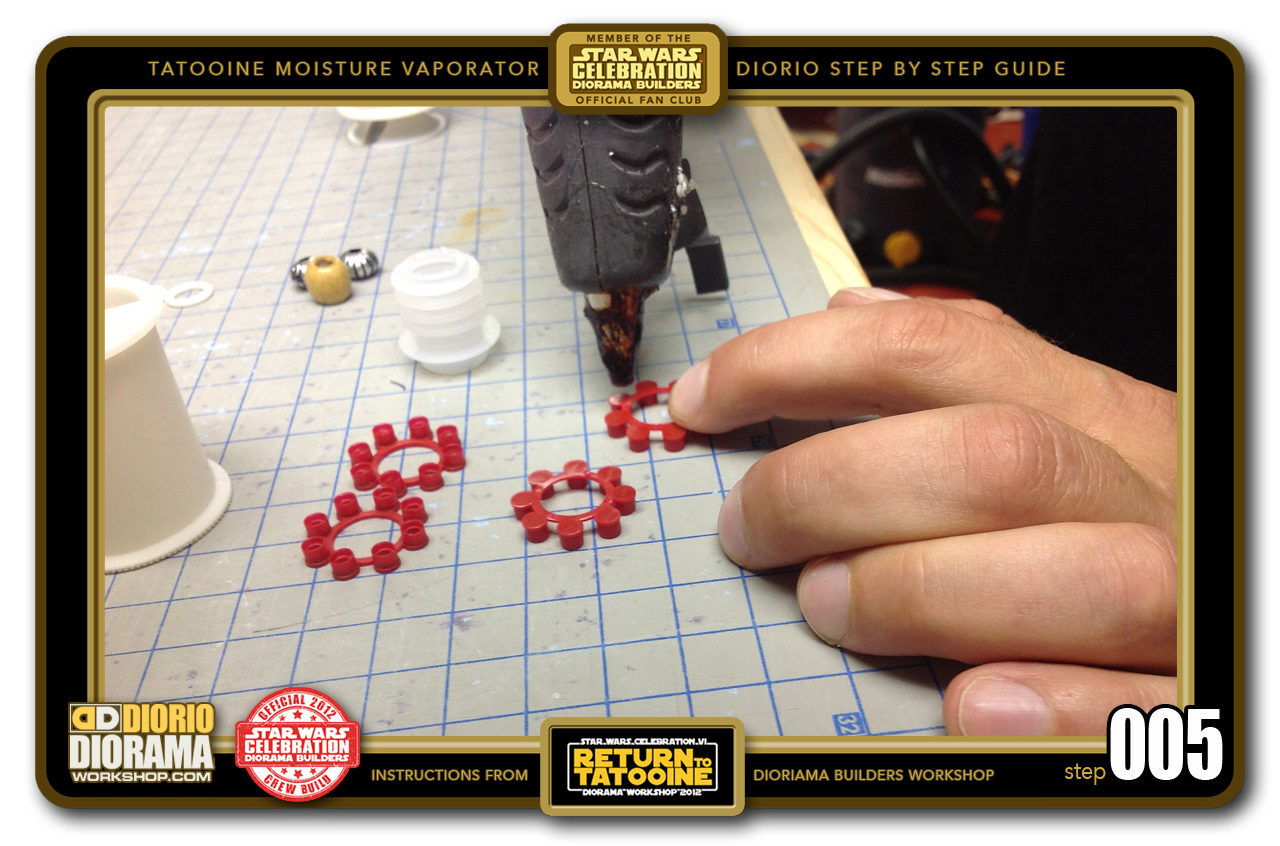
- STEP 005 > Grab your toy cap wheels and put just a little hot glue on the flat side of one of them.
-
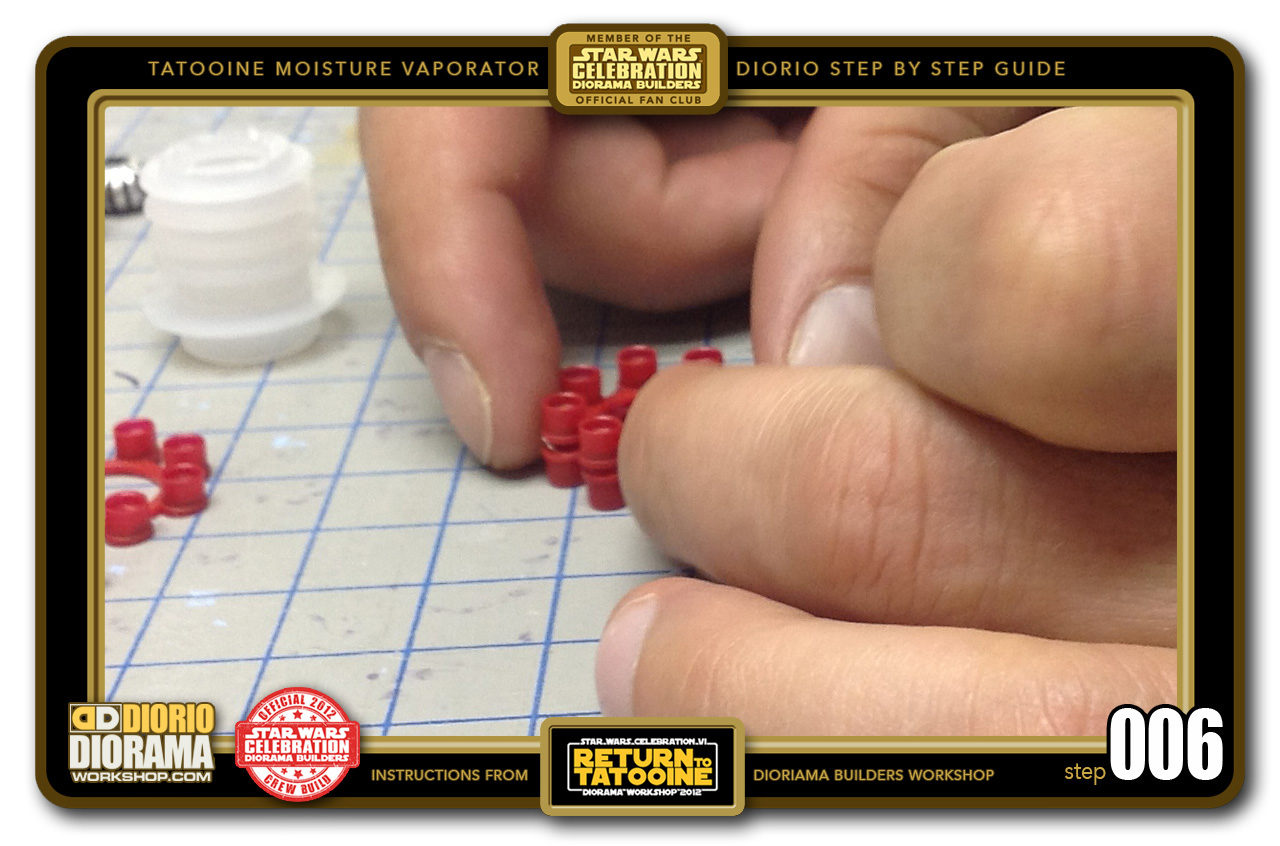
- STEP 006 > Take one of the other toy cap wheels and place it on top of the first. Make sure the 2 flat sides are the ones touching each other.
-
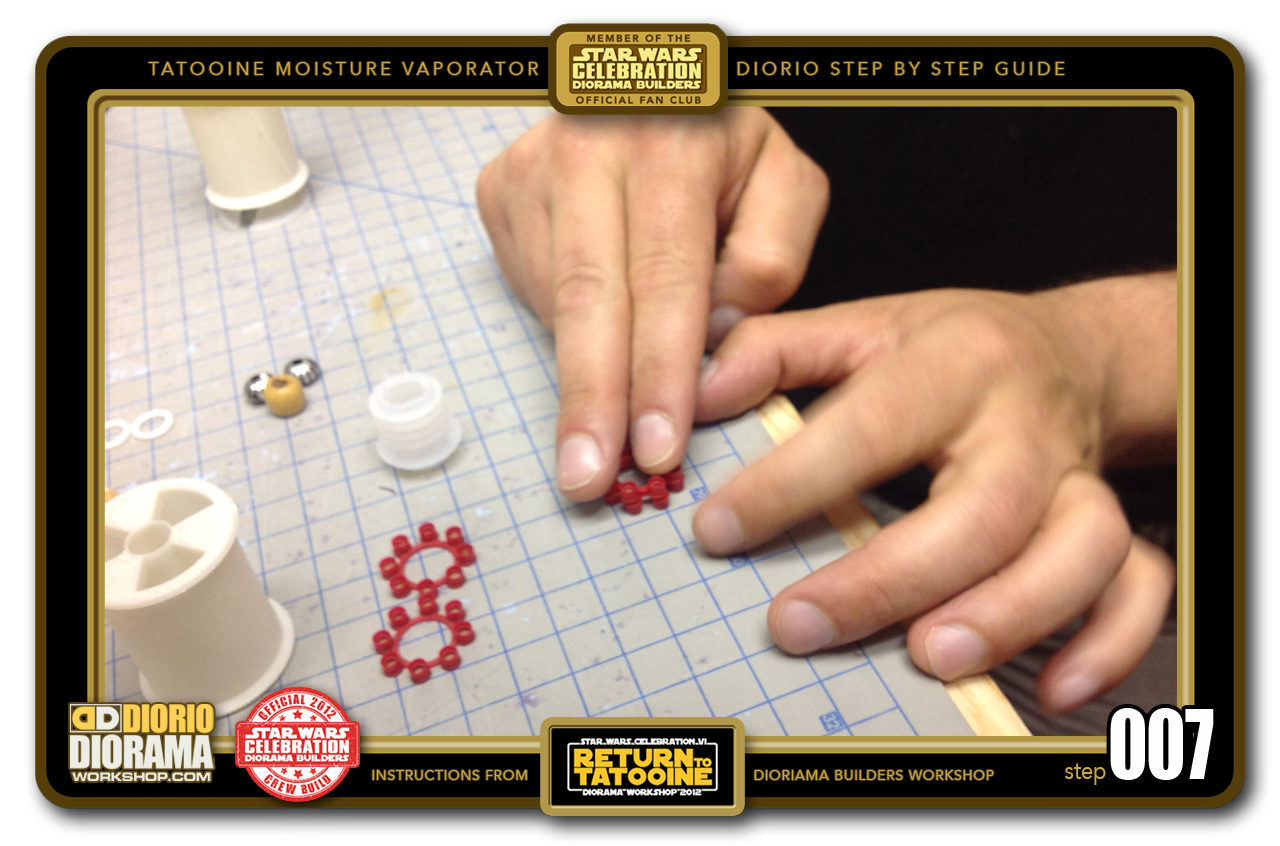
- STEP 007 > Keep your fingers pressed on them to make sure they stick close together.
-
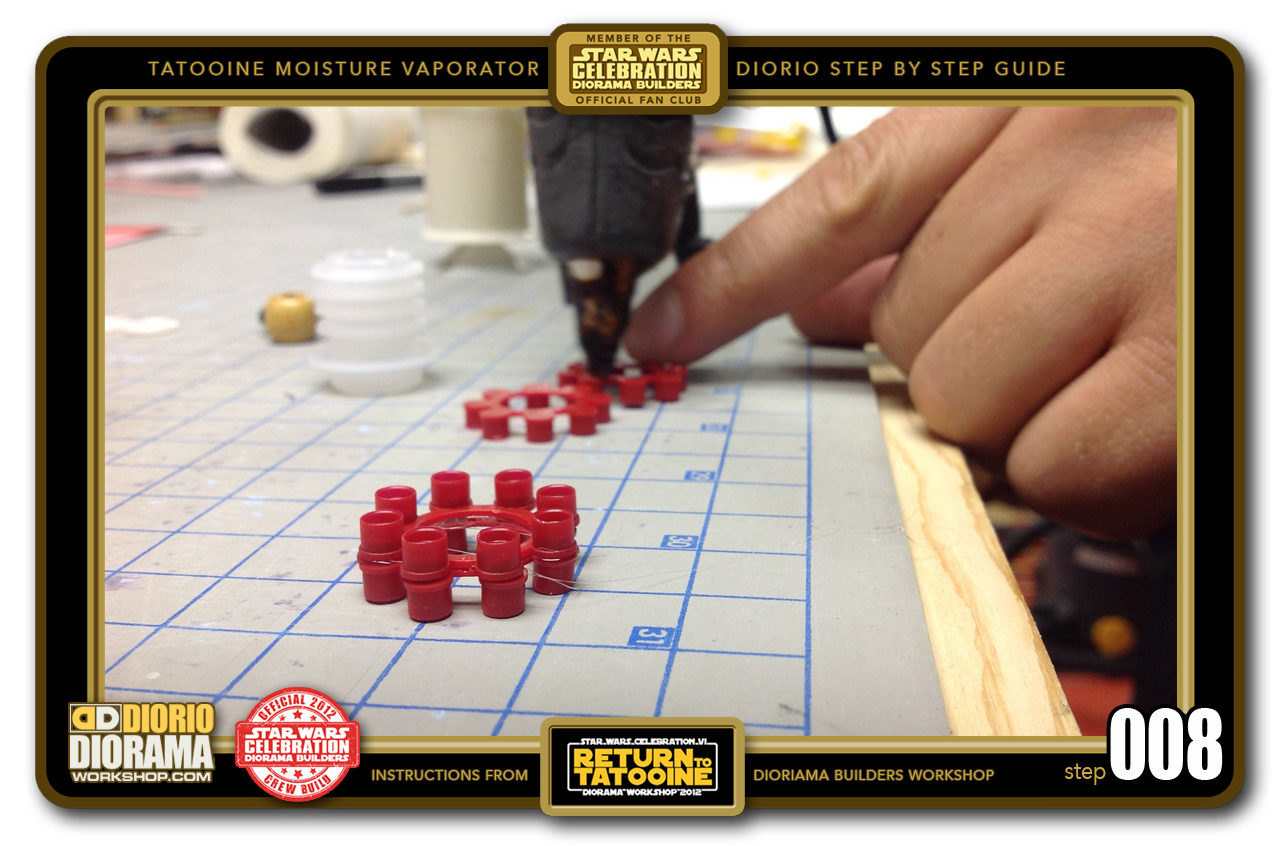
- STEP 008 > Repeat the same procedure for the remaining 2 toy cap wheels.
-
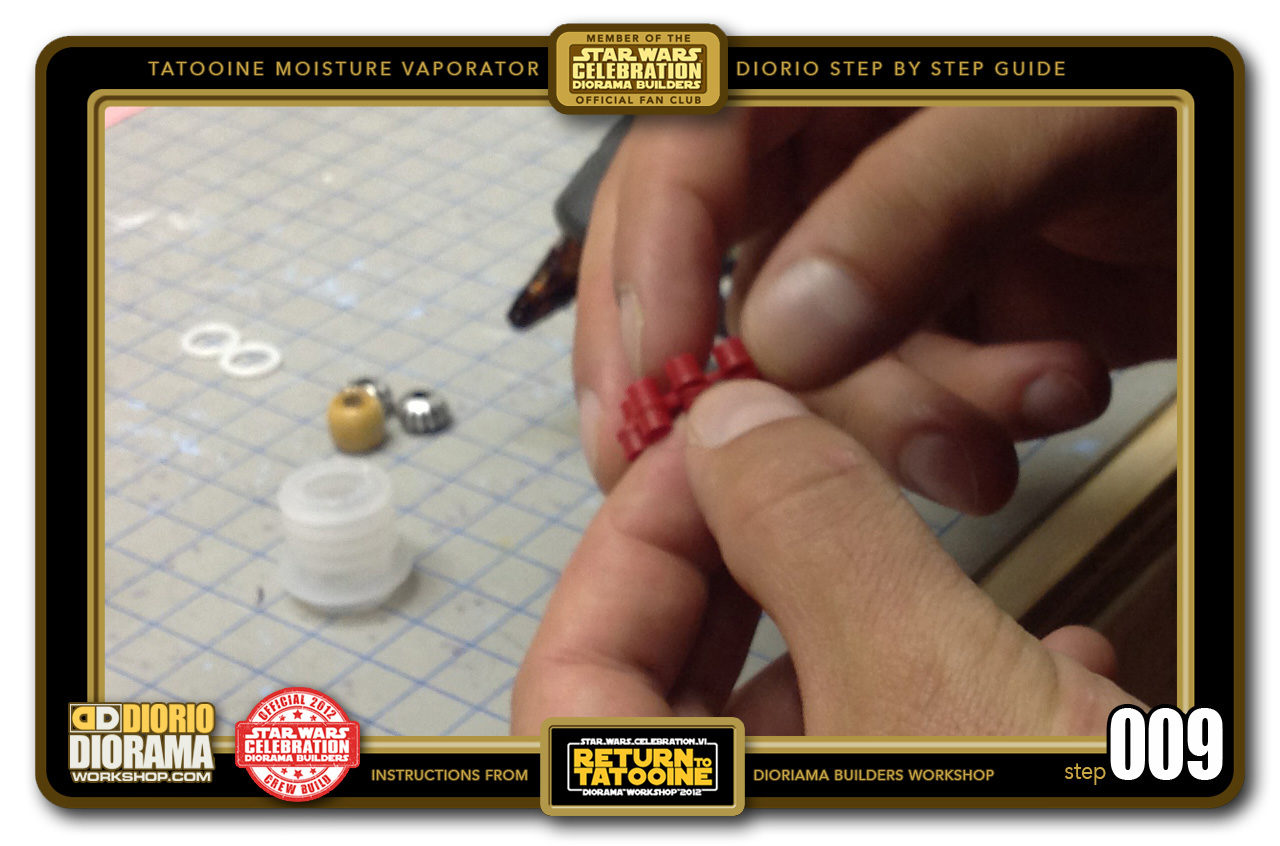
- STEP 009 > Make sure when you attach the 2 flat ends that the circles align as well and hold until the glue hardens.
-
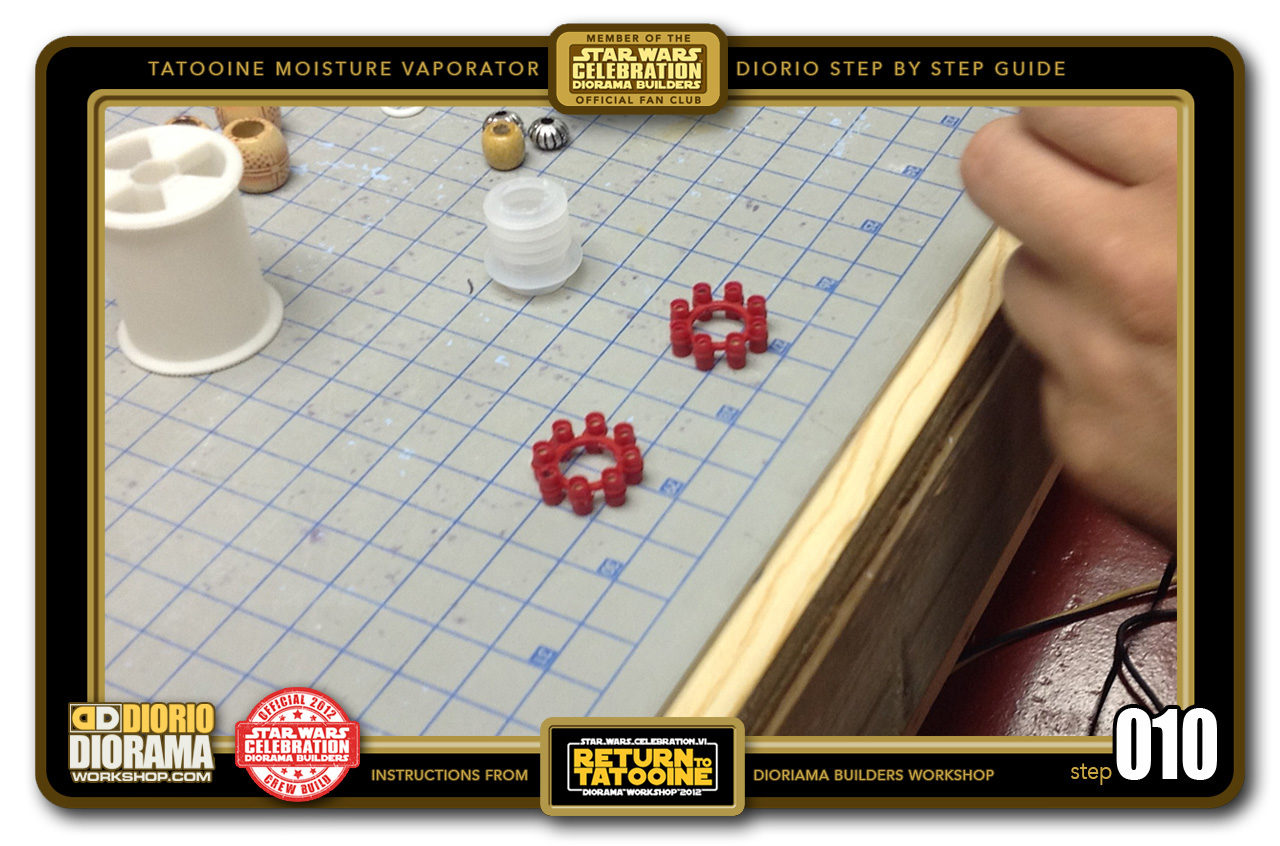
- STEP 010 > You should now have 2 double deck toy cap wheels.
-
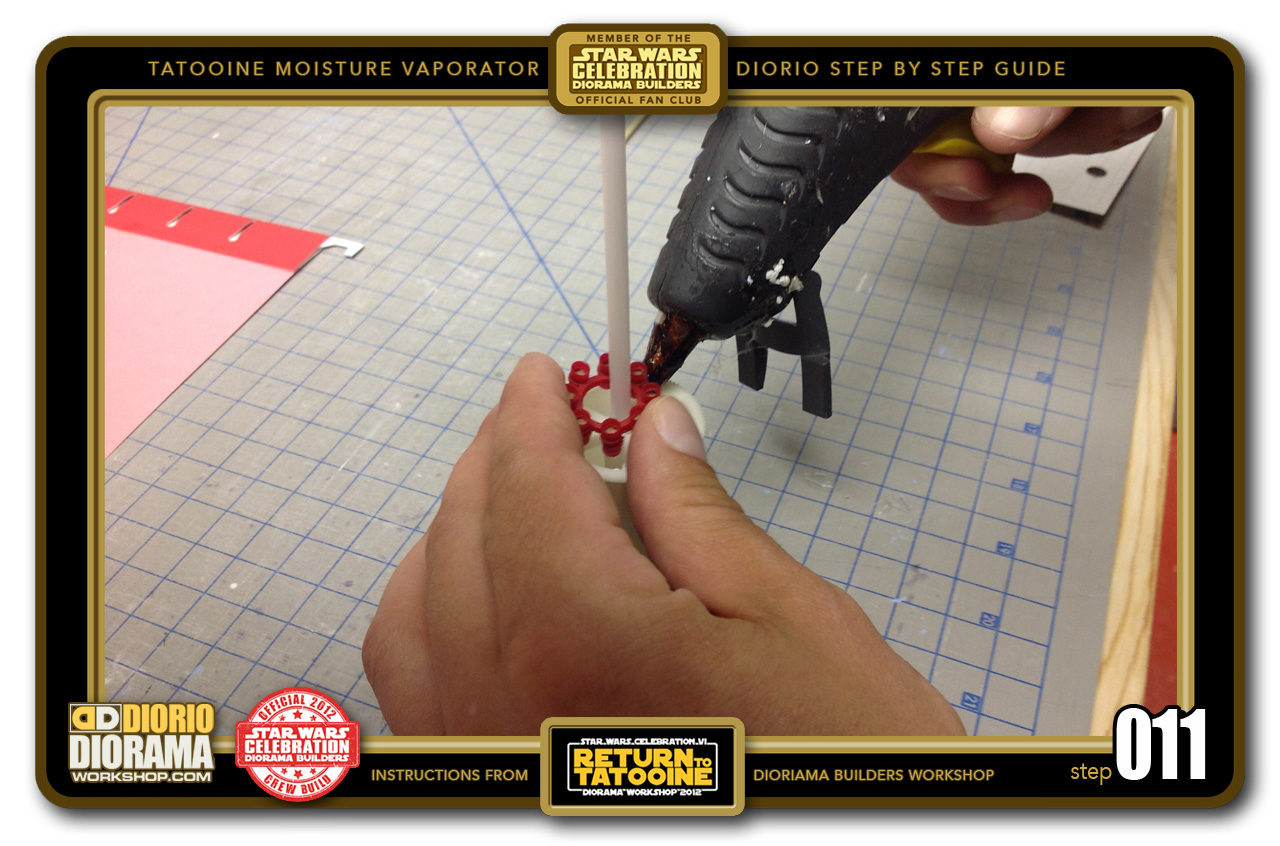
- STEP 011 > Slide one of your double stack toy cap wheels onto the straw and hot glue it to the top of the spool.
-

- STEP 012 > Make sure the caps are centered evenly around the straw.
-

- STEP 013 > Put a little bit of hot glue on your second spool.
-
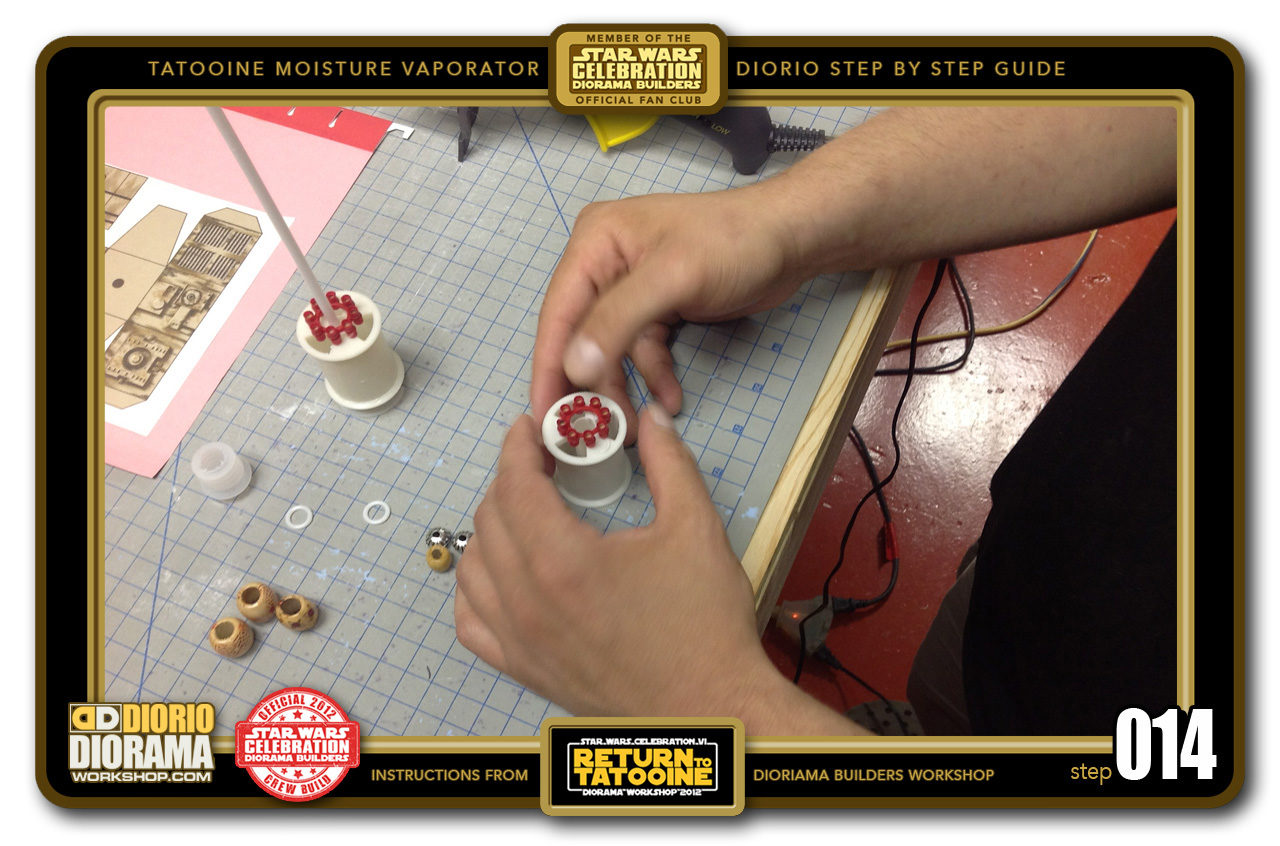
- STEP 014 > Place your 2nd double stacked toy cap wheel onto the top of the spool. Make sure it is centered evenly.
-
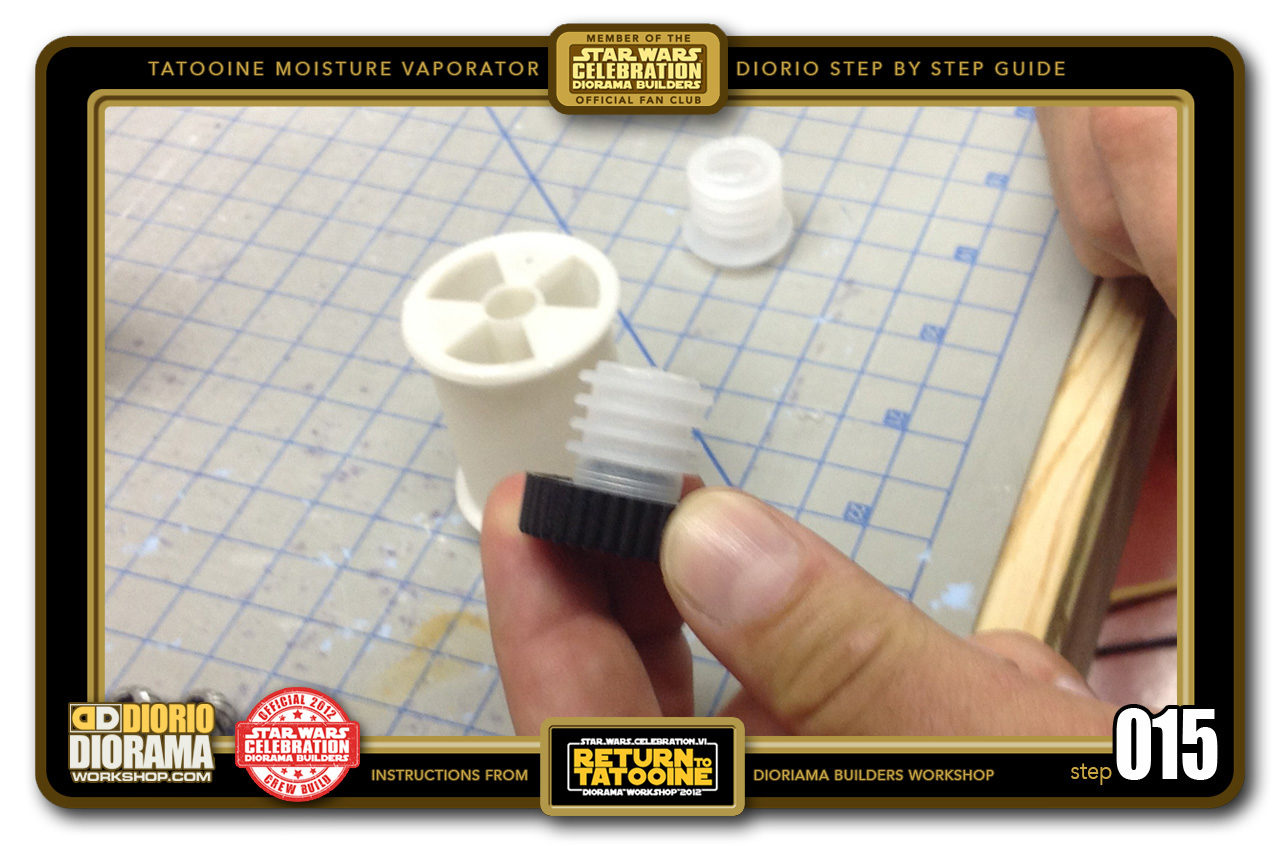
- STEP 015 > I found these plastic wine bottle corks at the dollar store. I thought they had a cool ring texture. If you can't find these try to get something that is similar, with multiple rings like this.
-
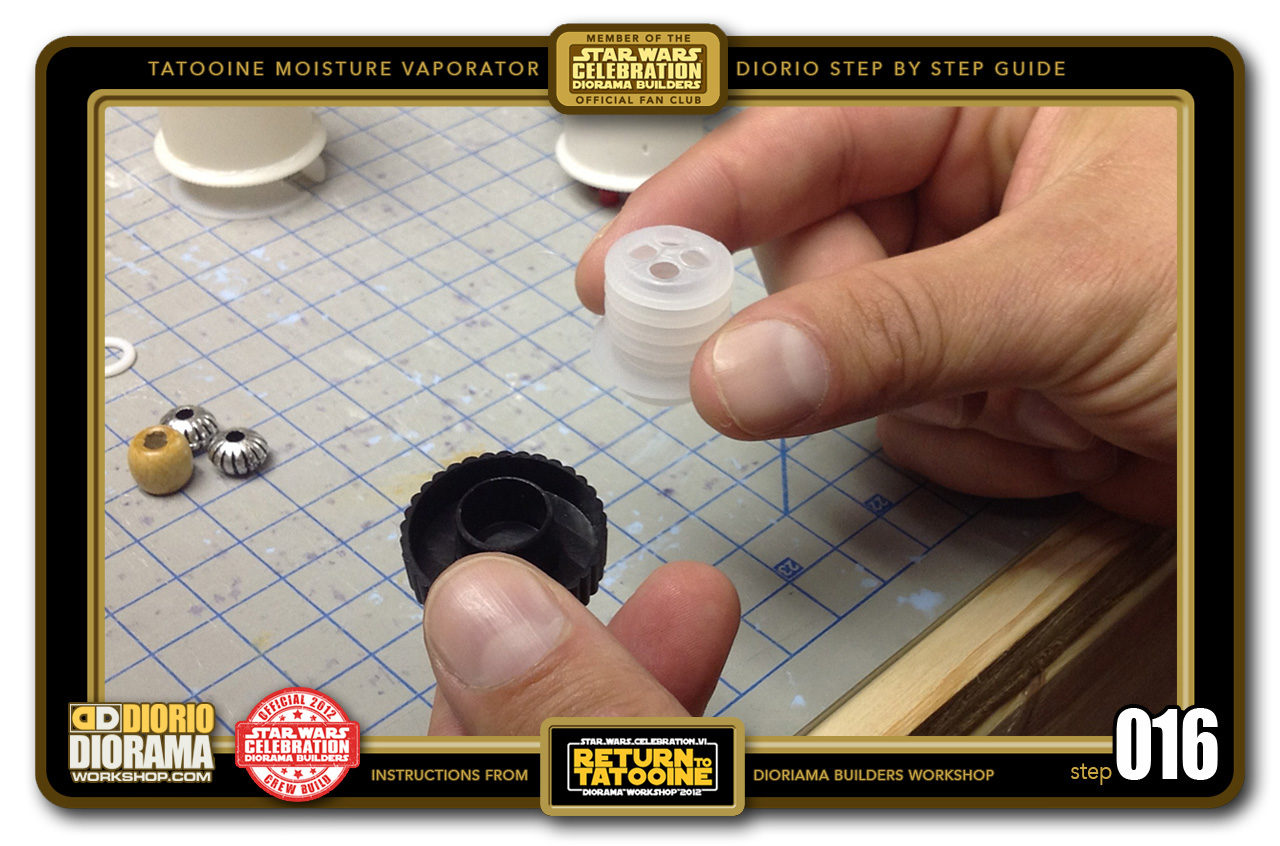
- STEP 016 > The cap pops off the ringed plastic part. Put the cap away since you don't need it.
-
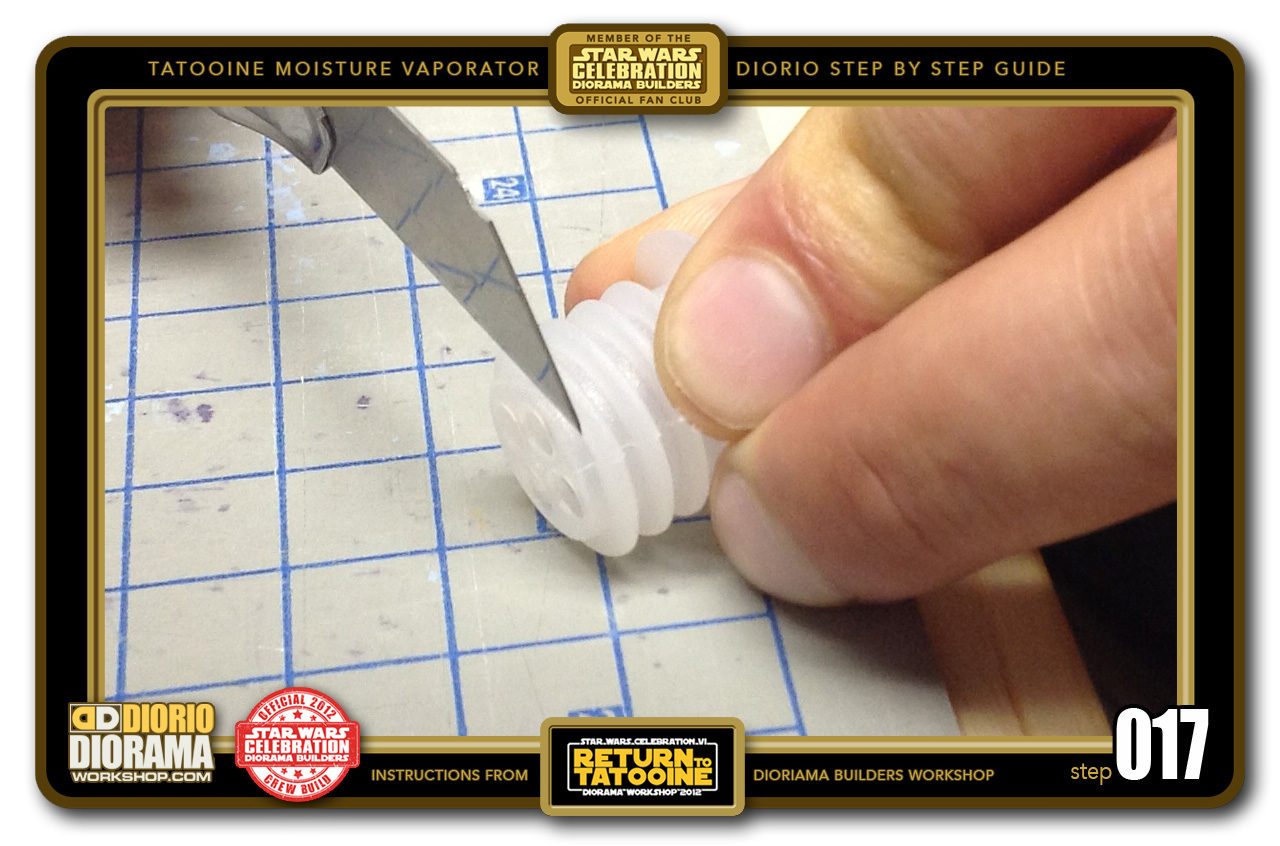
- STEP 017 > We need the straw to go through the rings so we need to slice off the end with your Xacto knife. Watch your fingers !!!
-
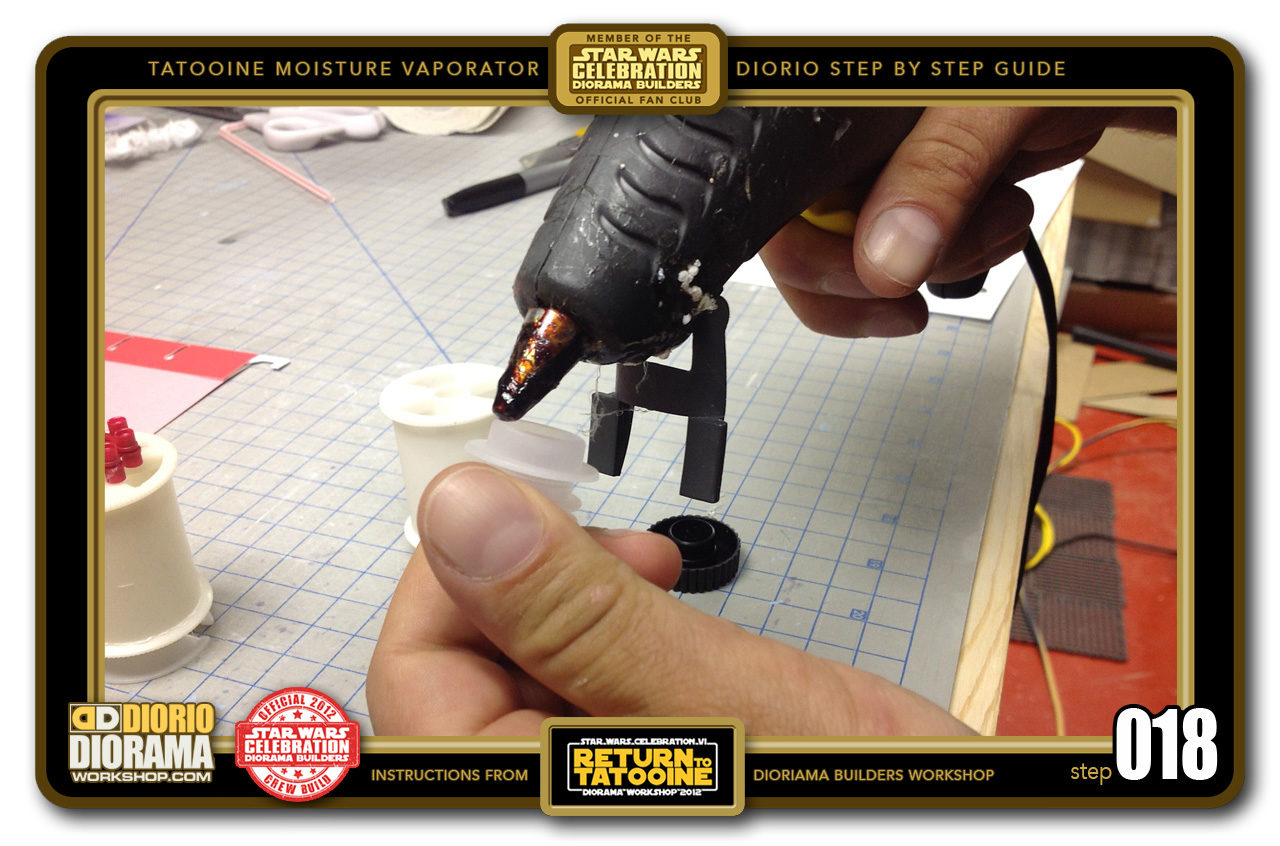
- STEP 018 > Put some hot glue around the rim.
-
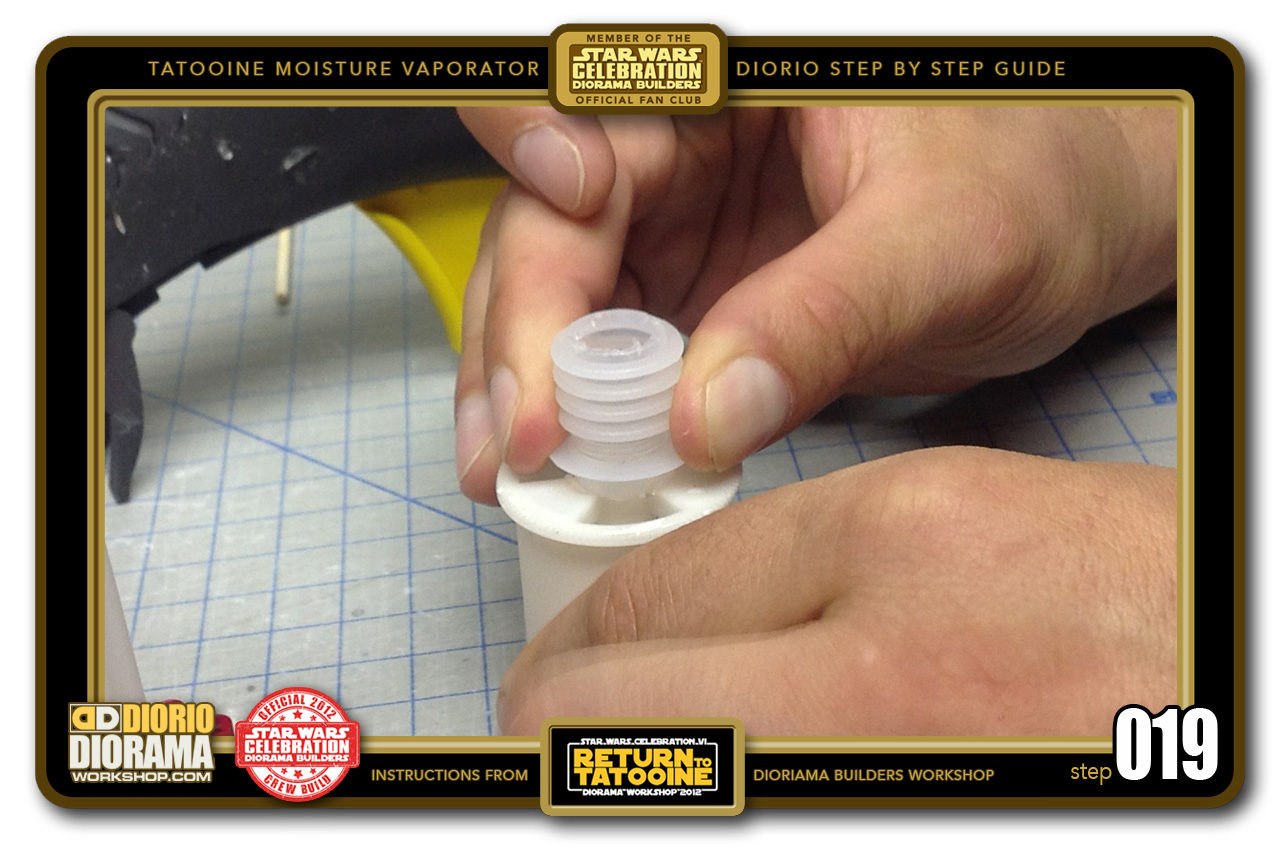
- STEP 019 > Carefully align and press the rings onto the top of the 2nd spool on the opposite side from where you glued the toy cap wheels. IMPORTANT: Make sure you are very centered aligned so the straw will go trough later.
-
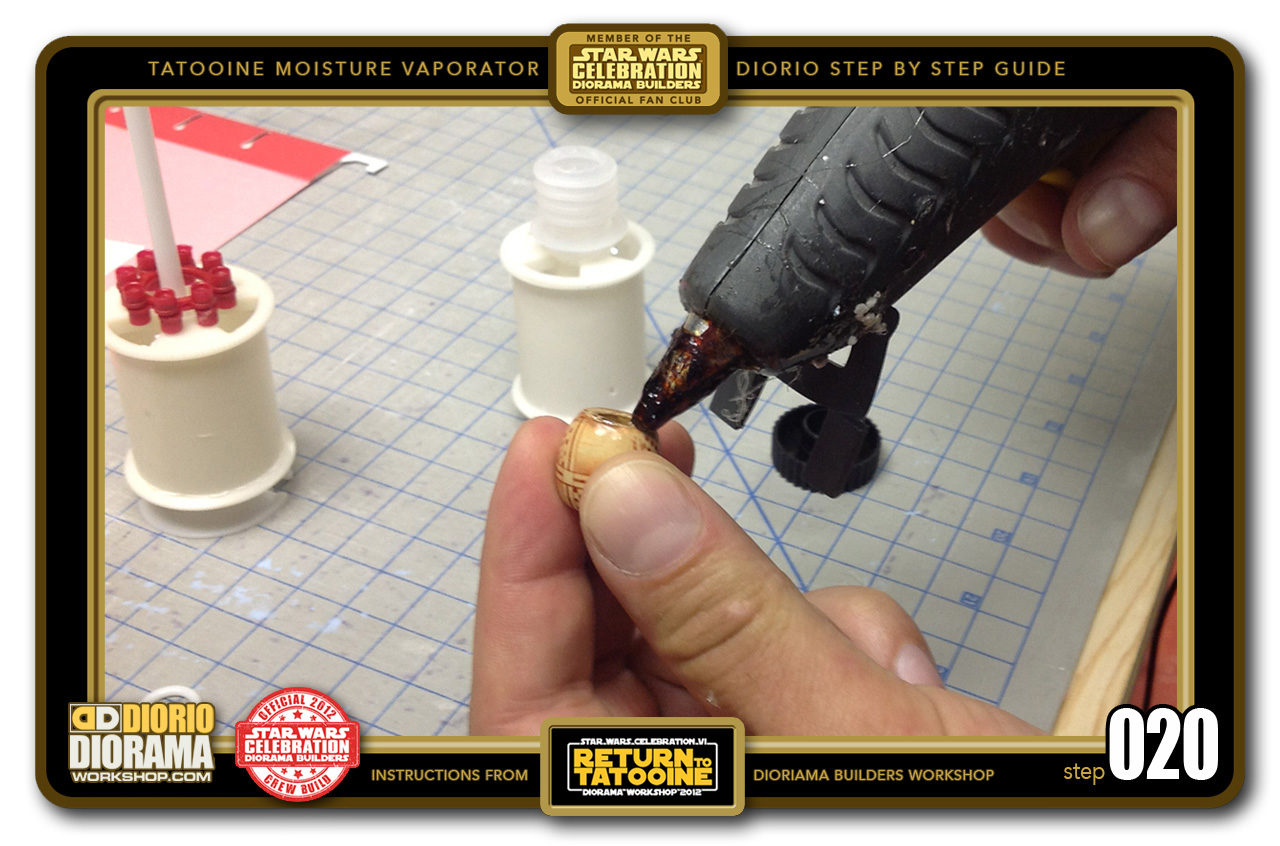
- STEP 020 > Grab a big bead and put some hot glue along the inner edges.

.
Did you already build this Diorama ? At home or at our Star Wars Celebration Diorama Builders workshop ? Would you like to show it in the site’s GALLERY VISITORS DIORAMAS section, YES ? That is Awesome !!! You can find out all the details on how to email me your photos on the VISITORS SUBMISSIONS INFO page … When I get your photos, I will create your very own page just like this one. You may not realize it but work does inspire others to join in the fun of making Action Figure Dioramas.
.
NOT FOR RESALE ALL Decals, tutorials and artwork are ©FrankDiorio (dioramaworkshop.com) and offered FOR FREE to the fans – that would be you ? so you can build and display my diorama designs in your very own home. I realize I cannot control what one does with my graphics once I place them on the web, I can only ask you as one fan to another, please respect the artist and do not be that jerk who uses my designs and tutorials to build a copy of my work only to sell it on EBAY or trade/sale groups and forums. Thank You. Frank.
![]() Catch up with fellow visitors and exchange stories, read cool interviews with the crew, exchange photos, fun surprises and grab some FAN ONLY merchandise next year at actual future conventions ?
Catch up with fellow visitors and exchange stories, read cool interviews with the crew, exchange photos, fun surprises and grab some FAN ONLY merchandise next year at actual future conventions ?
.
©2018 Frank Diorio DioramaWorkshop.Com
.
IF YOU LIKE WHAT YOU SEE, PLEASE SHARE WITH YOUR FRIENDS
USING THE SOCIAL MEDIA BUTTONS BELOW