


-
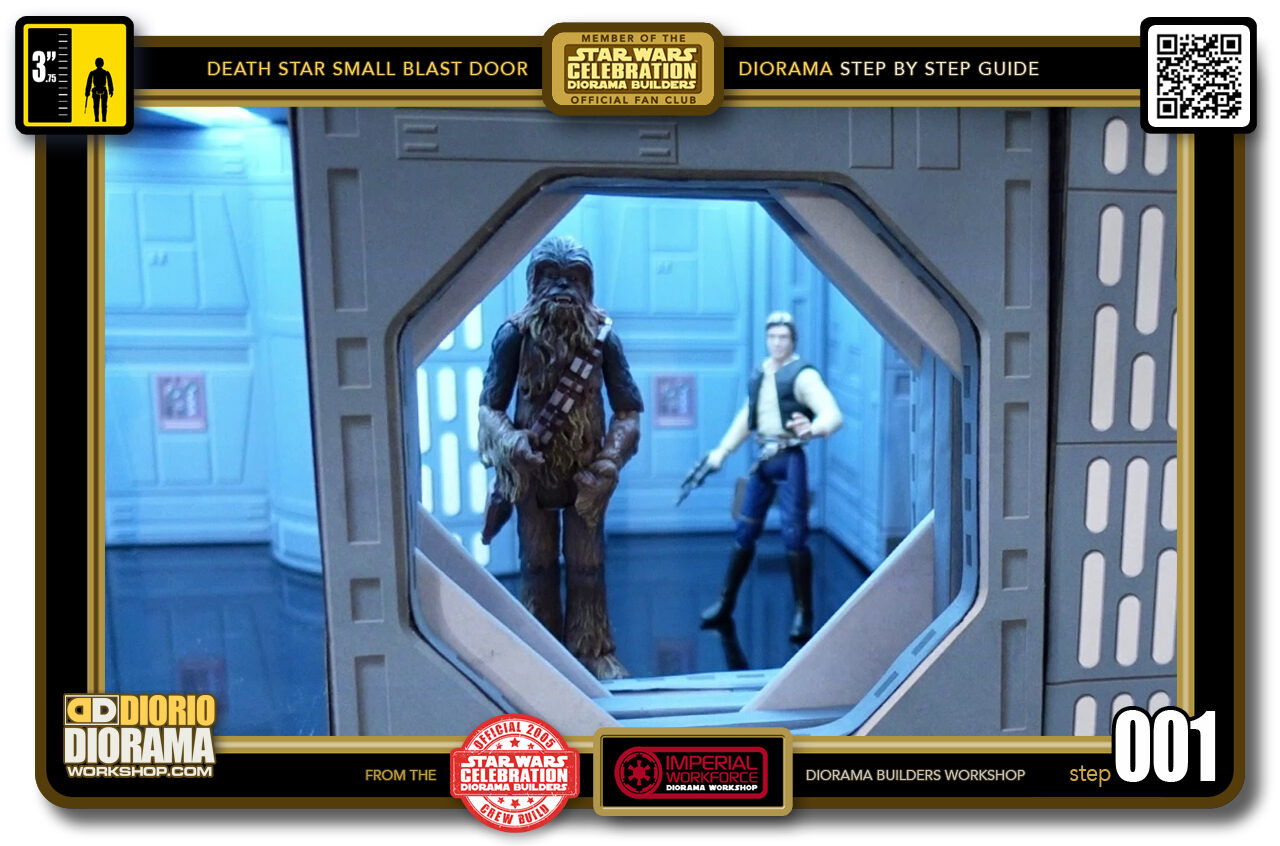
- STEP 001 > Even though the Small Blast Door is located in the Millennium Falcon Docking Bay you can place this optional accessory build in any of your hallway builds. It's all up to your creativity and imagination.
-
-
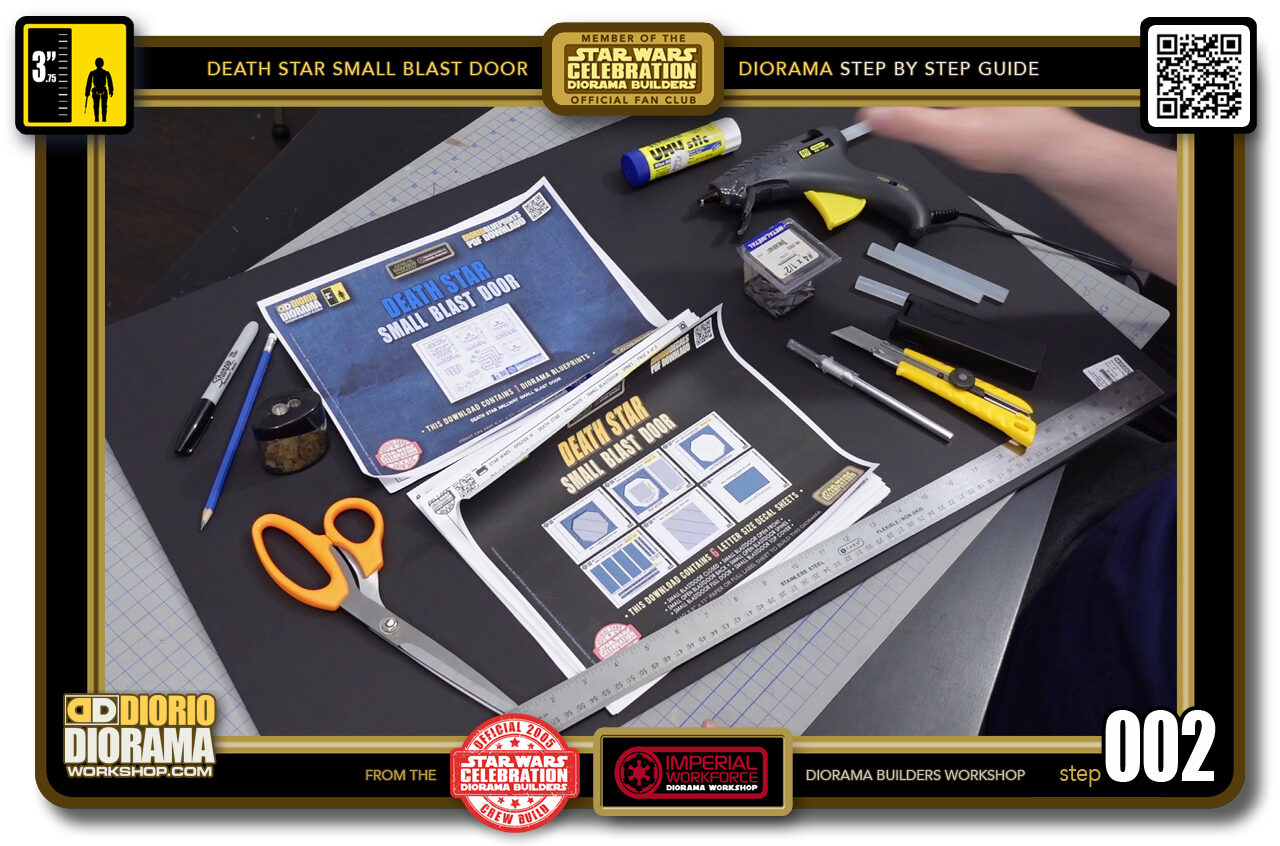
STEP 002 > Here are the materials you will need to build your Small Blast Door Death Star accessory. You can find Amazon links and a PDF Printout in the Tutorials Speed Index page under the Materials link... https://dioramaworkshop.com/tutorial-materials-list-death-star-small-blast-door/
Your free blueprints and decals can be found here... https://dioramaworkshop.com/tutorials-decals-death-star-small-blast-door/ and here... https://dioramaworkshop.com/tutorials-blueprints-death-star-small-blast-door/
-
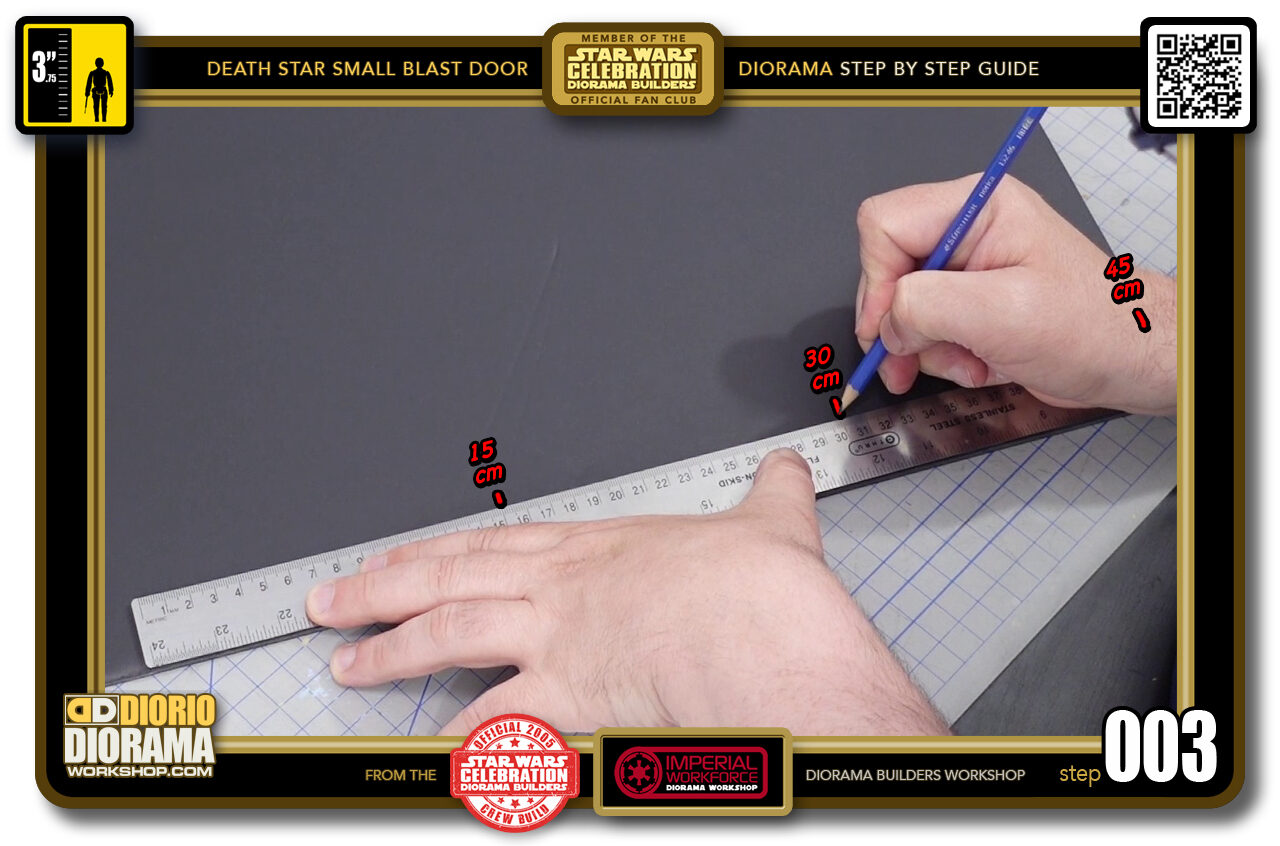
- STEP 003 > We need to first create 8 identical 15cm X 15.5cm aquare shapes. Start by measuring your 15cm markings at the bottom of your foamcore sheet.
-
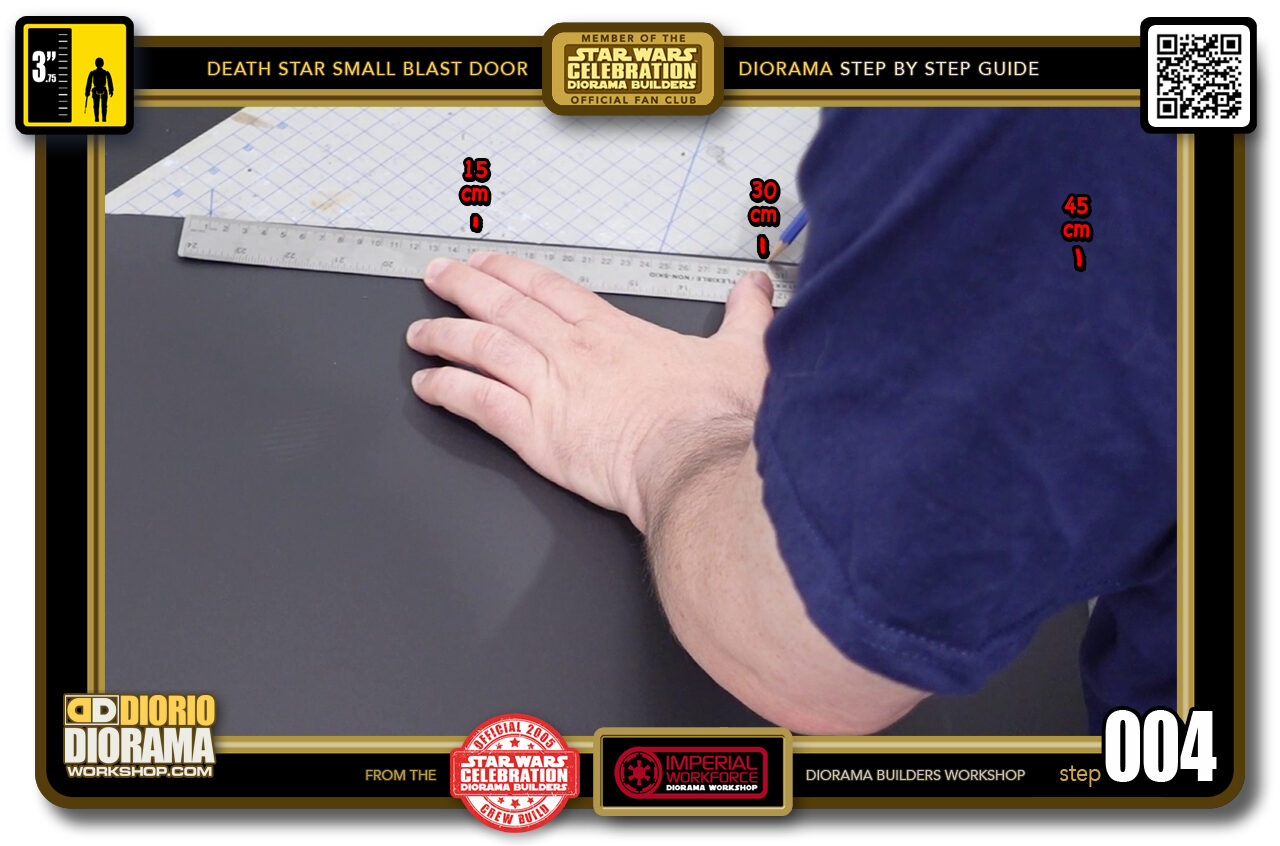
- STEP 004 > Do the same 15cm measurement marks at the top of your foamcore.
-
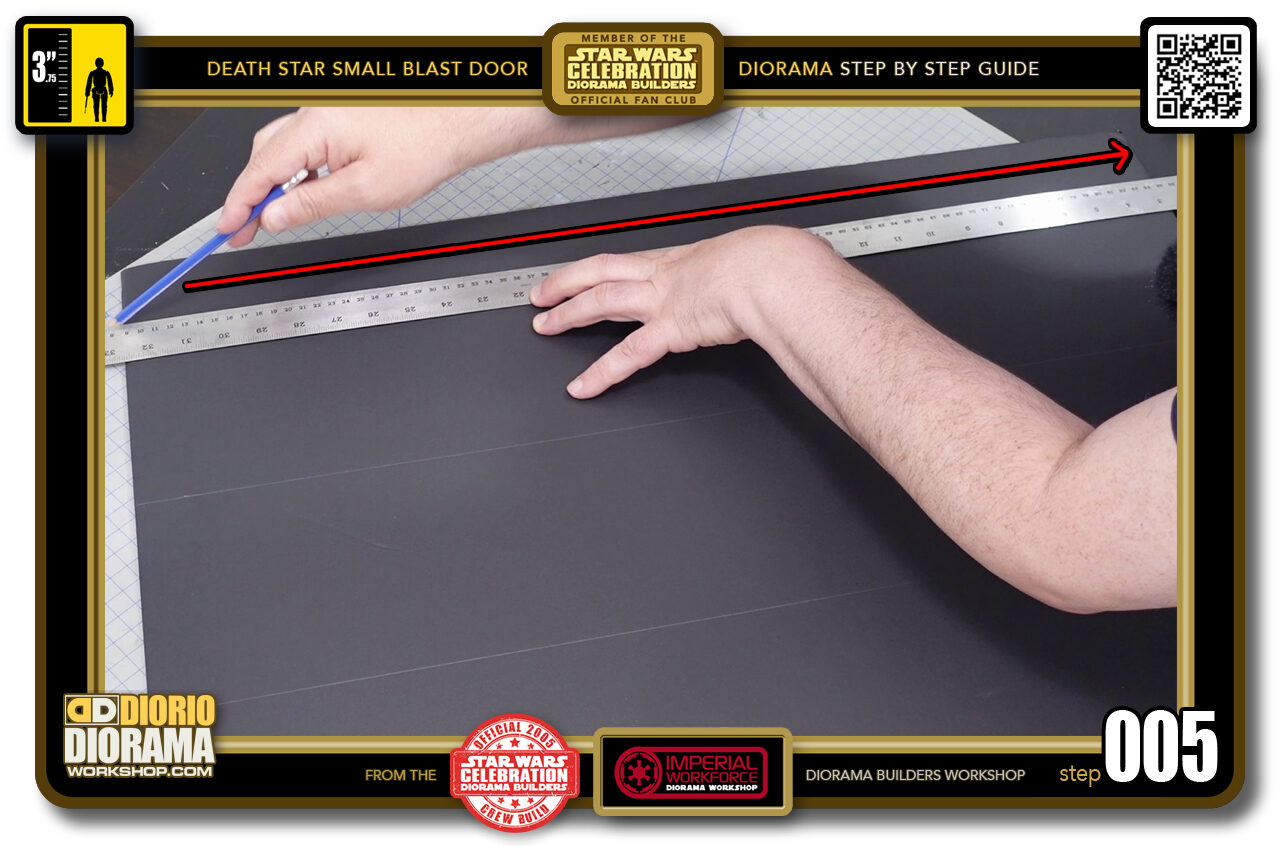
- STEP 005 > Connect your markings using a pencil and ruler. Cork bottom is the best as it doesn't slip and slide everywhere as you draw and cut.
-
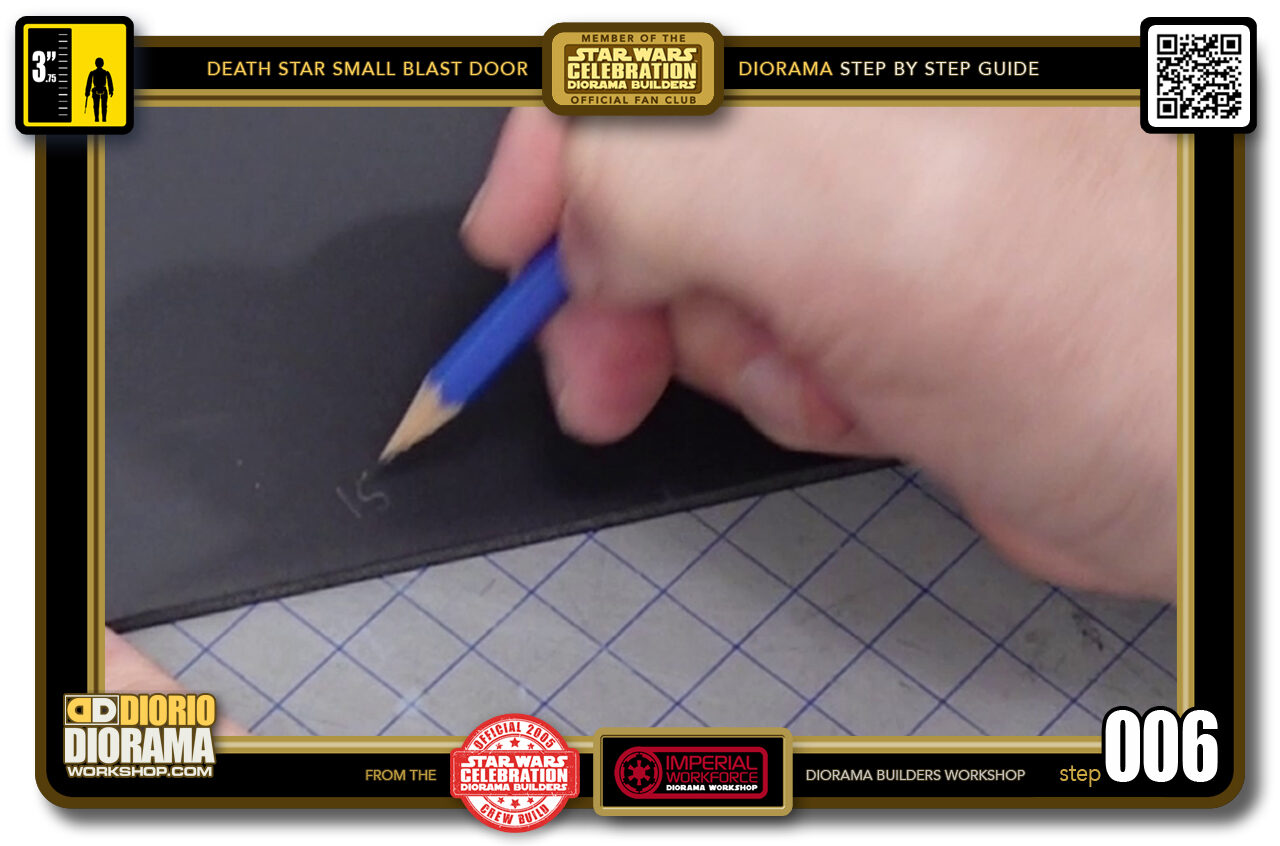
- STEP 006 > Identify your witdh as being 15cm.
-
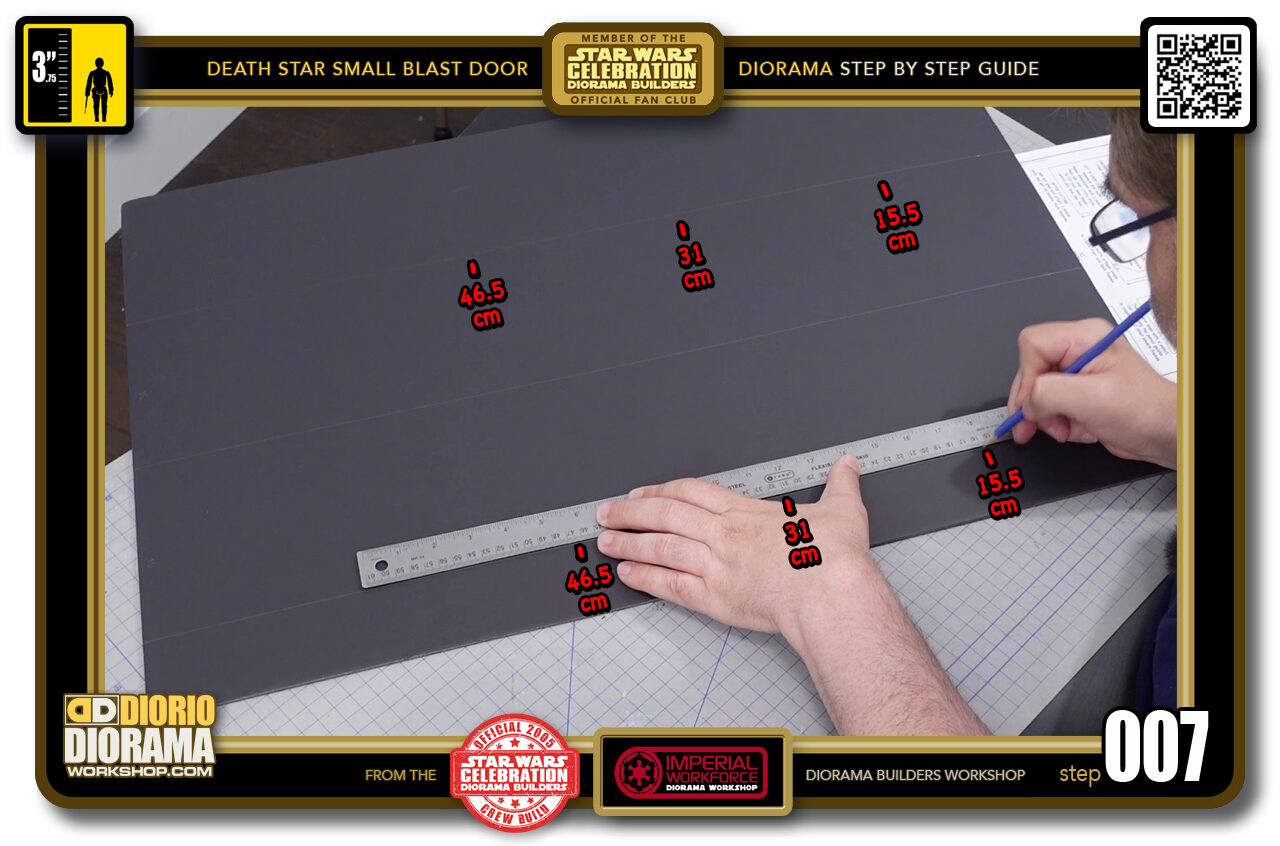
- STEP 007 > Now along the connecting lines you just drew, measure 15.5cm spacings with your pencil at the top and bottom of your foamcore.
-
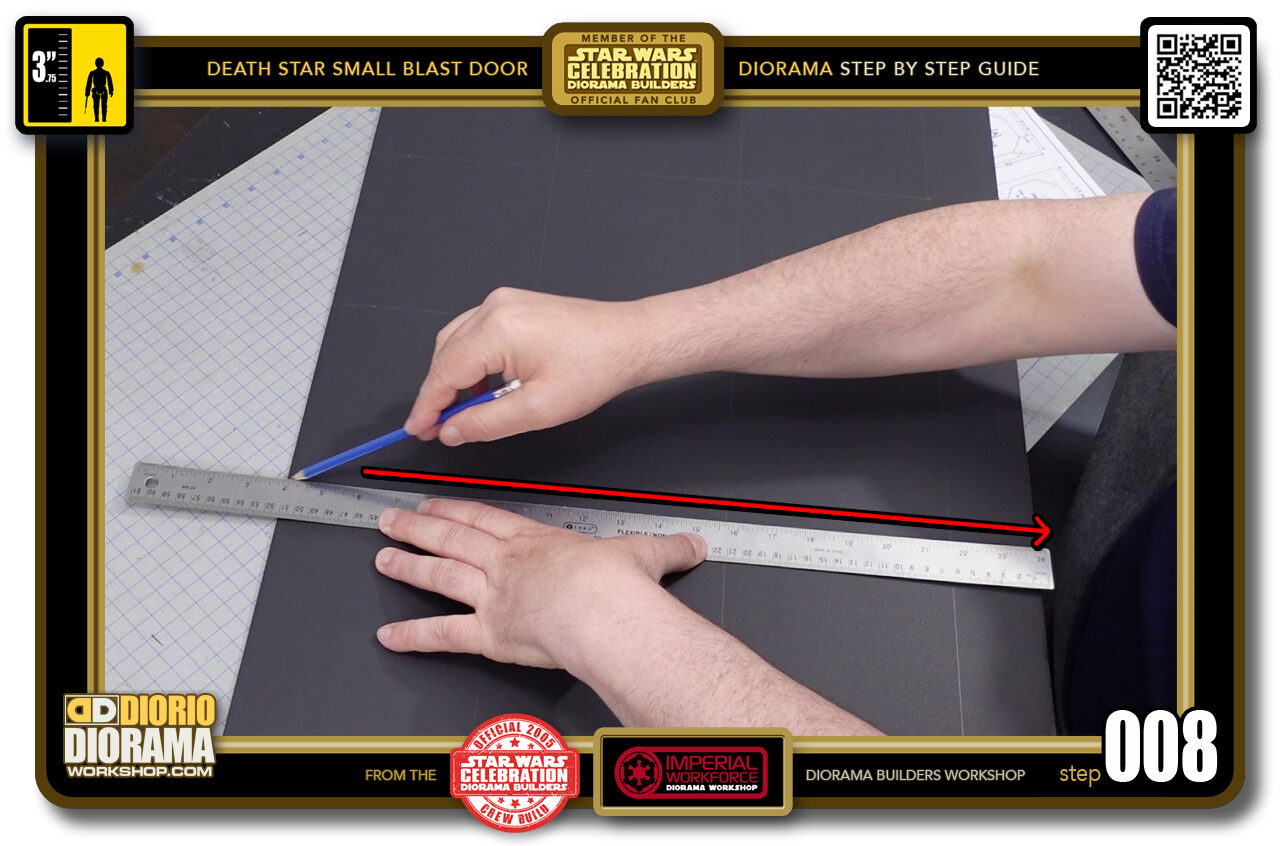
- STEP 008 > Align and trace with your pencil to create your 15.5cm guide lines.
-
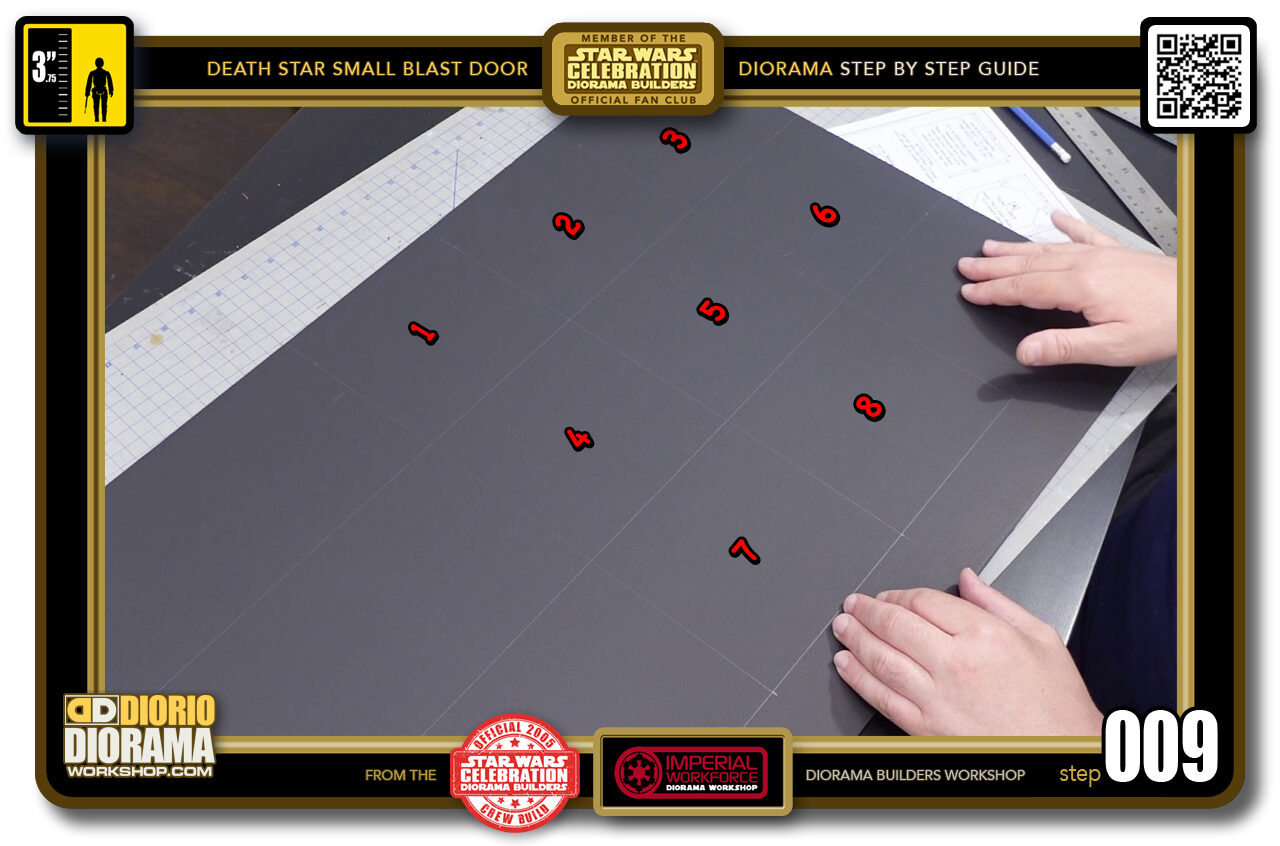
- STEP 009 > You now have your 8 shapes needed for your build. Time to cut.
-
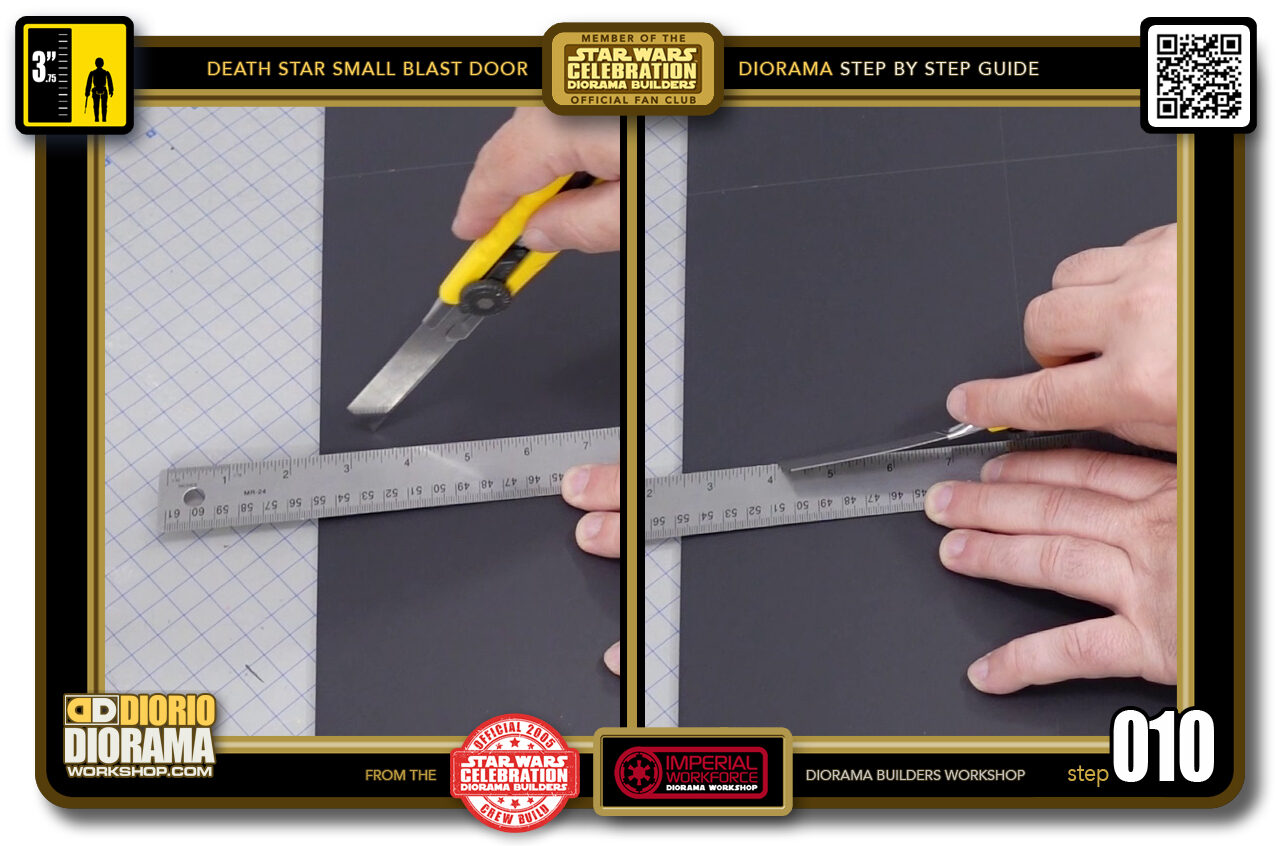
- STEP 010 > When cutting foamcore, if you want to avoid unsightly tears and bubbles along the spine, NEVER cut with just the tip of the blade touching the surface as you see on the left. Try also to NOT ANGLE your blade from side to side as you see on the right. You want to try and keep it as close to 90 degrees as possible.
-
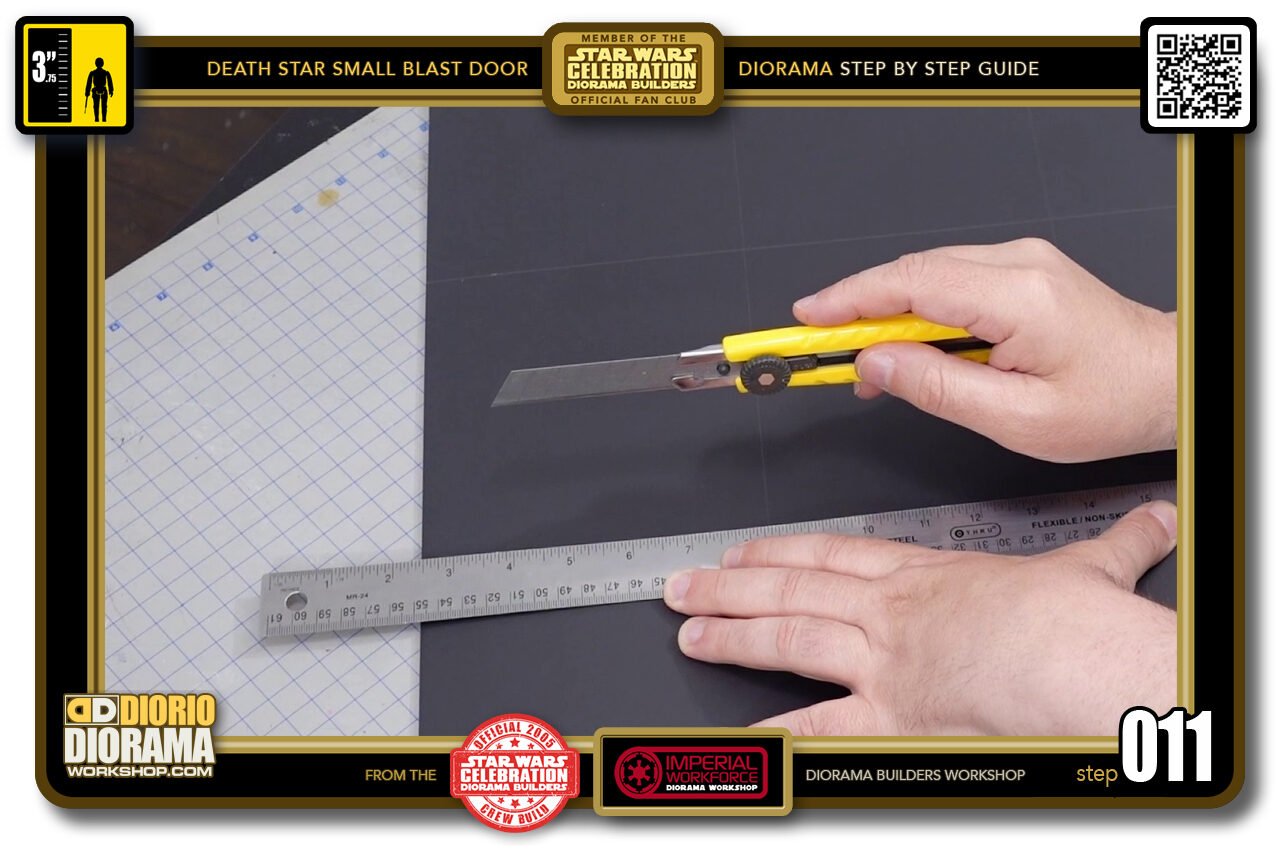
- STEP 011 > Align your ruler along one of the guide lines and ALWAYS START a new project with a NEW BLADE. Foamcore is the KILLER of blades, it dulls them so quickly, you can sometimes go through 15-20 blades for one project. Oh and also EXTEND your blade to the MAX and try keep it low to the ground. Almost sliding parallel along the foamcore sheet.
-
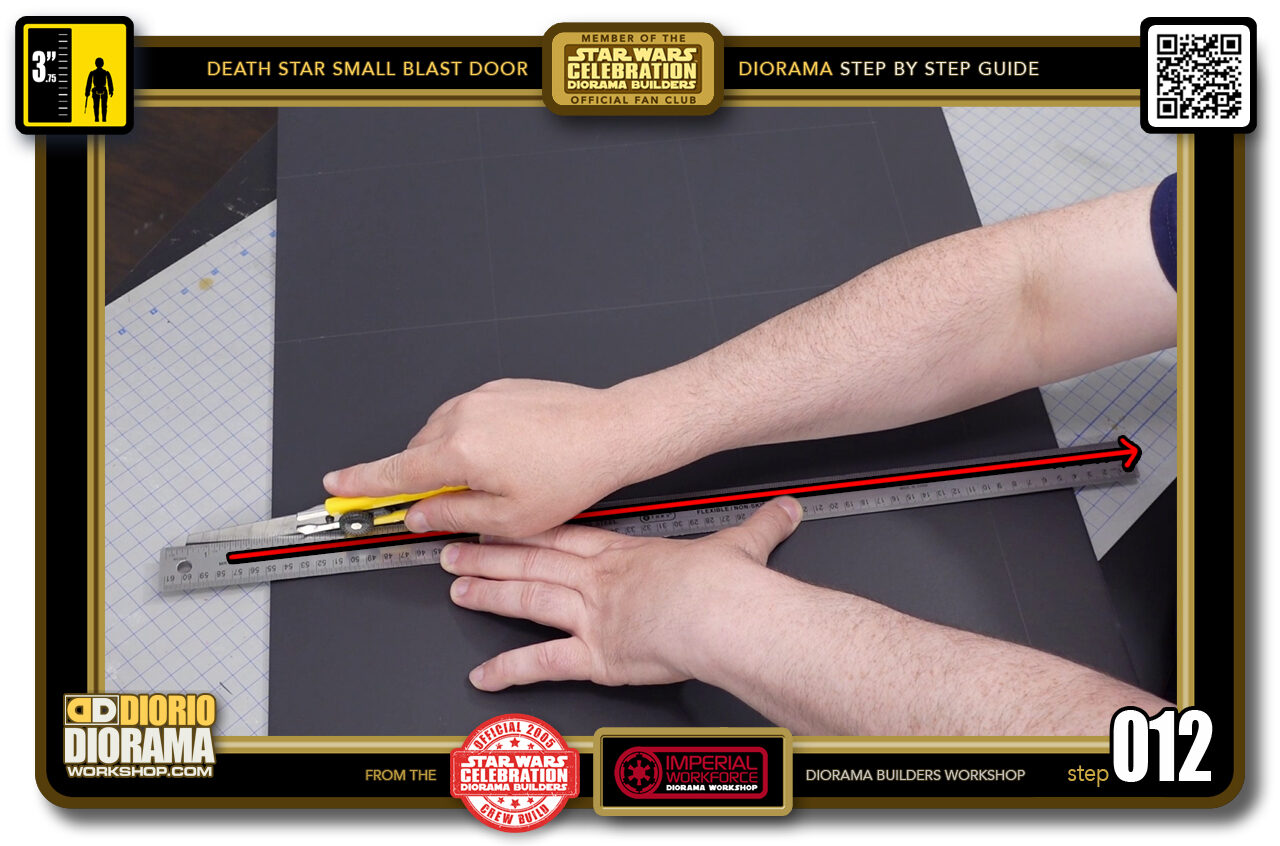
- STEP 012 > Start just before the edge and slide your X-Acto knife blade all the way accross. With a new blade this should cut like butter. I sometimes like to do a second pass just to make sure to get the cleanest cut.
-
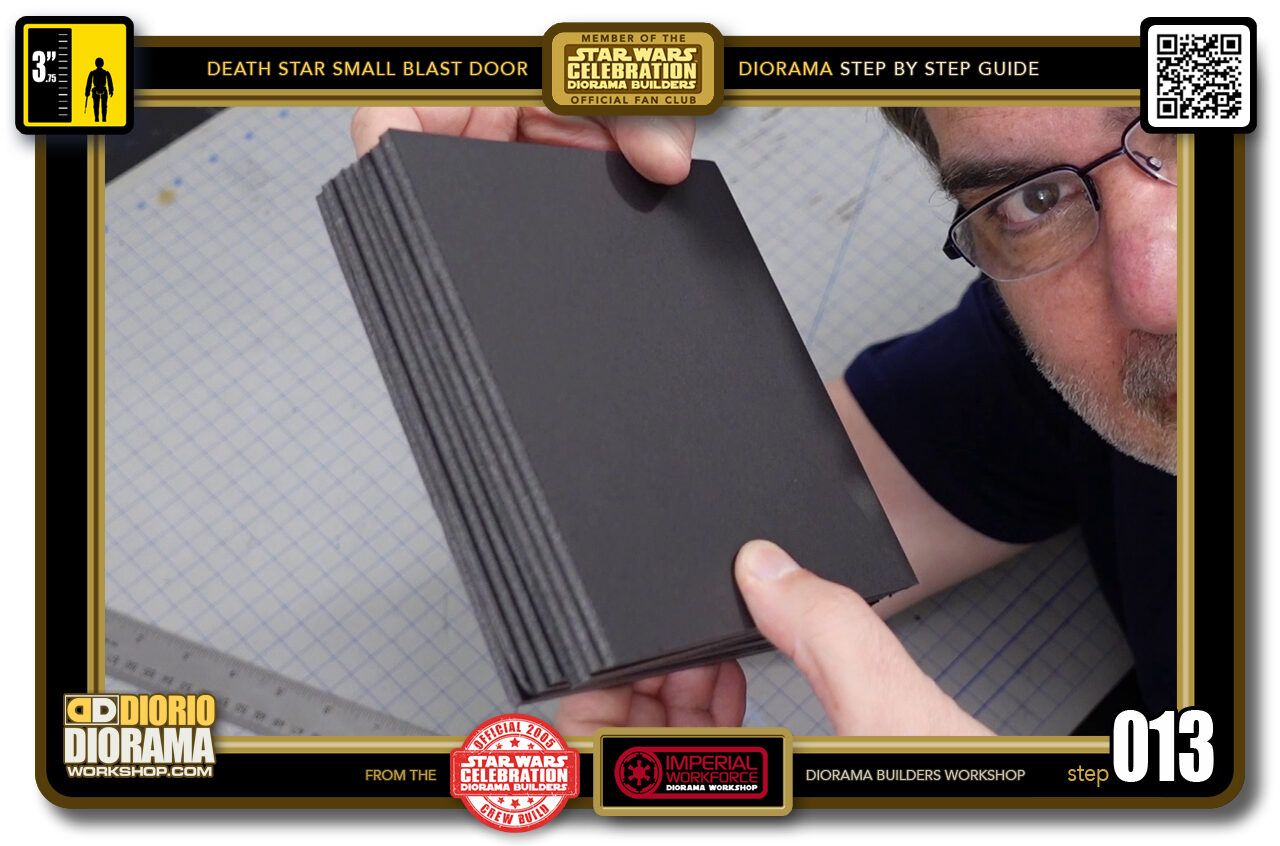
- STEP 013 > In less than 2 minutes you should have your 8 identical cuts ready to go.
-
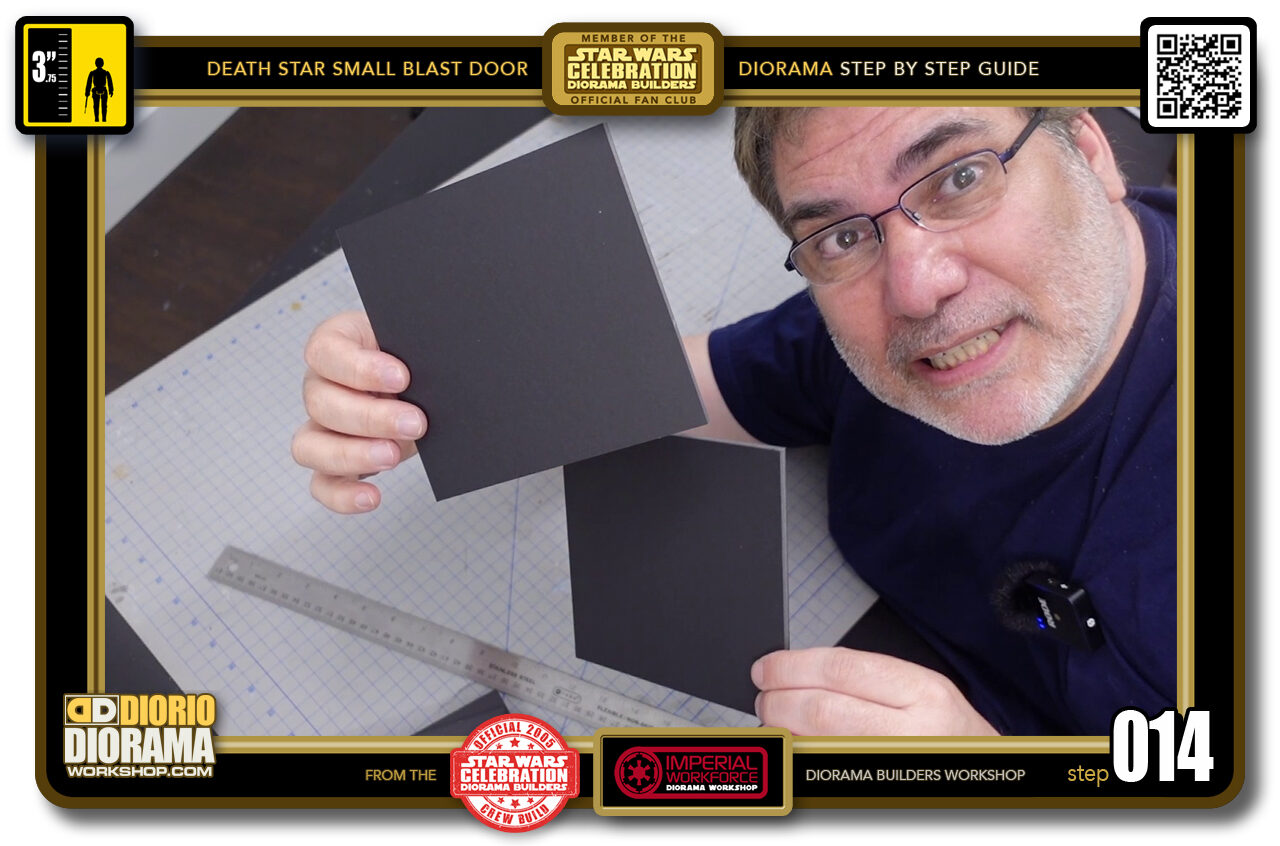
- STEP 014 > To start off we just need to keep 2 squares. Put the rest aside for now.
-

-
STEP 015 > If you want an easy way out you can take the closed door decal and cut along the outside edges and then simply peel and stick (if printed on full size label sheets) or apply with a glue stick to one of your square shapes. There you go, instant Small Blast Door 🙂 NEVER EVER USE HOT GLUE to apply decals.
You can download the decals for free in the tutorials menu under decals or by clicking here ... https://dioramaworkshop.com/tutorials-decals-death-star-small-blast-door/
-
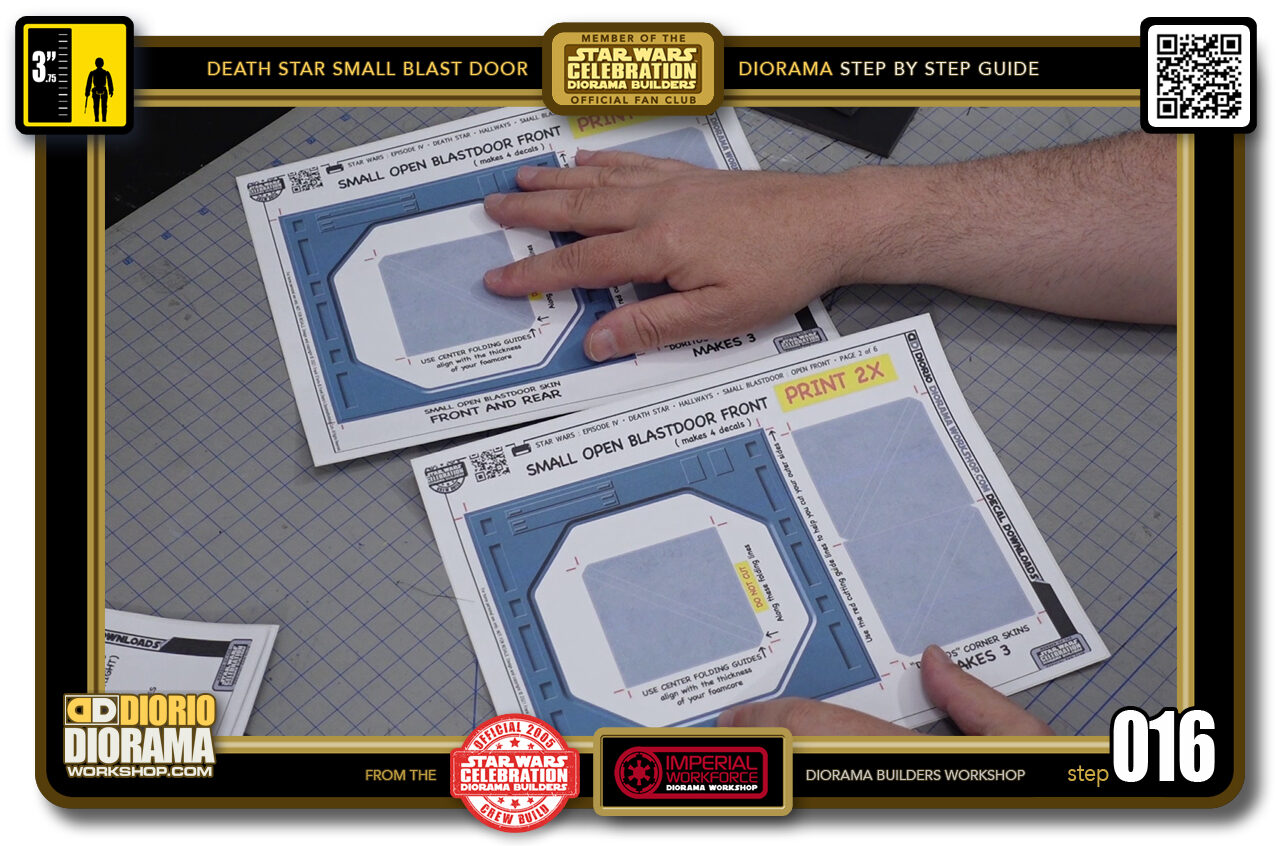
- STEP 016 > Let's continue making the OPEN Small Blast Door. You will need these 2 decal sheets to begin.
-
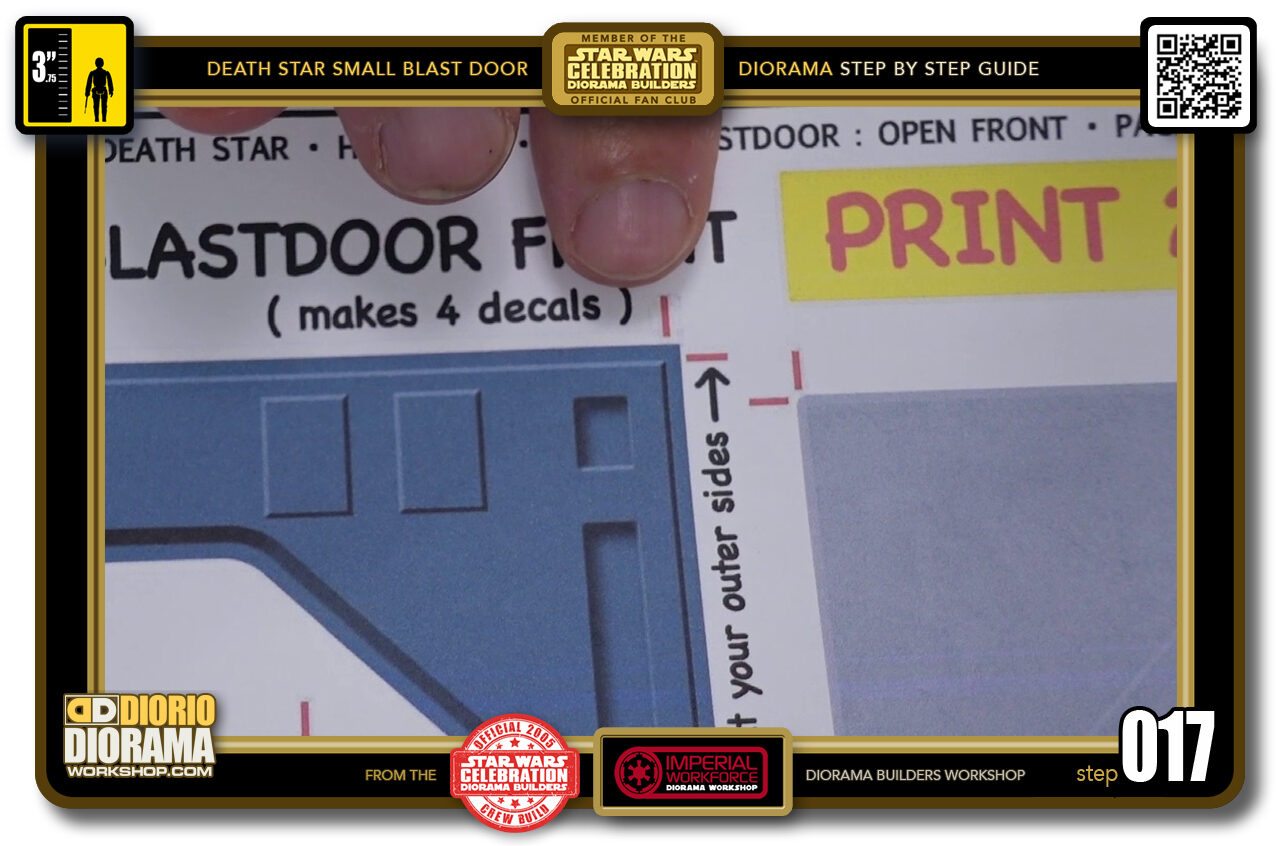
- STEP 017 > You will often see on the decal sheets these markings that surround some shapes. These are the RED CUTTING GUIDES that will help you make perfect cuts just like I do. The guides also allow your blade to slice right in the centre of your bleed colour (the space between the outside white paper and actual decal pattern.
-
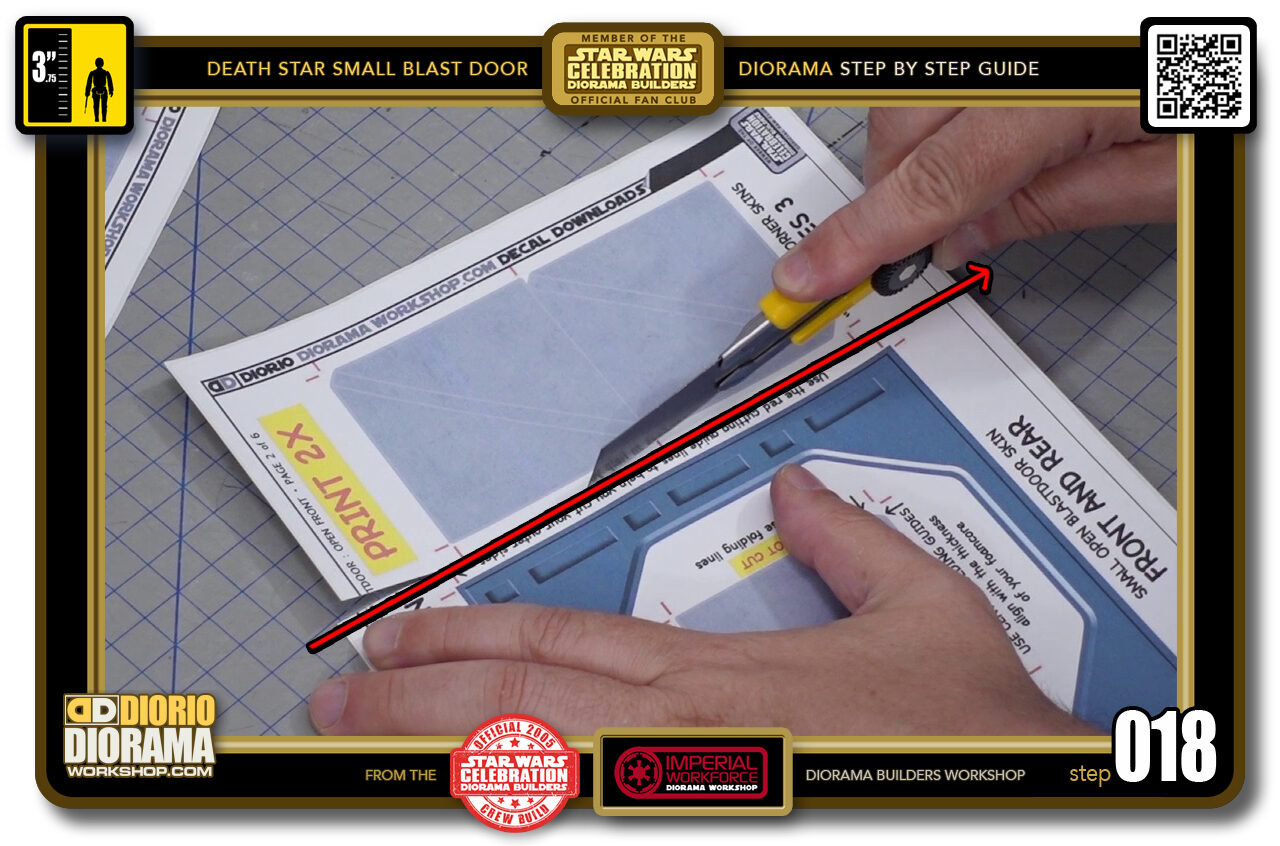
- STEP 018 > First thing is to just cut between your door and the grey dorito skins. Separating your decal sheet this way will make it easier to cut out the main door shape and prevent any accidents of cutting into the dorito door corners.
-
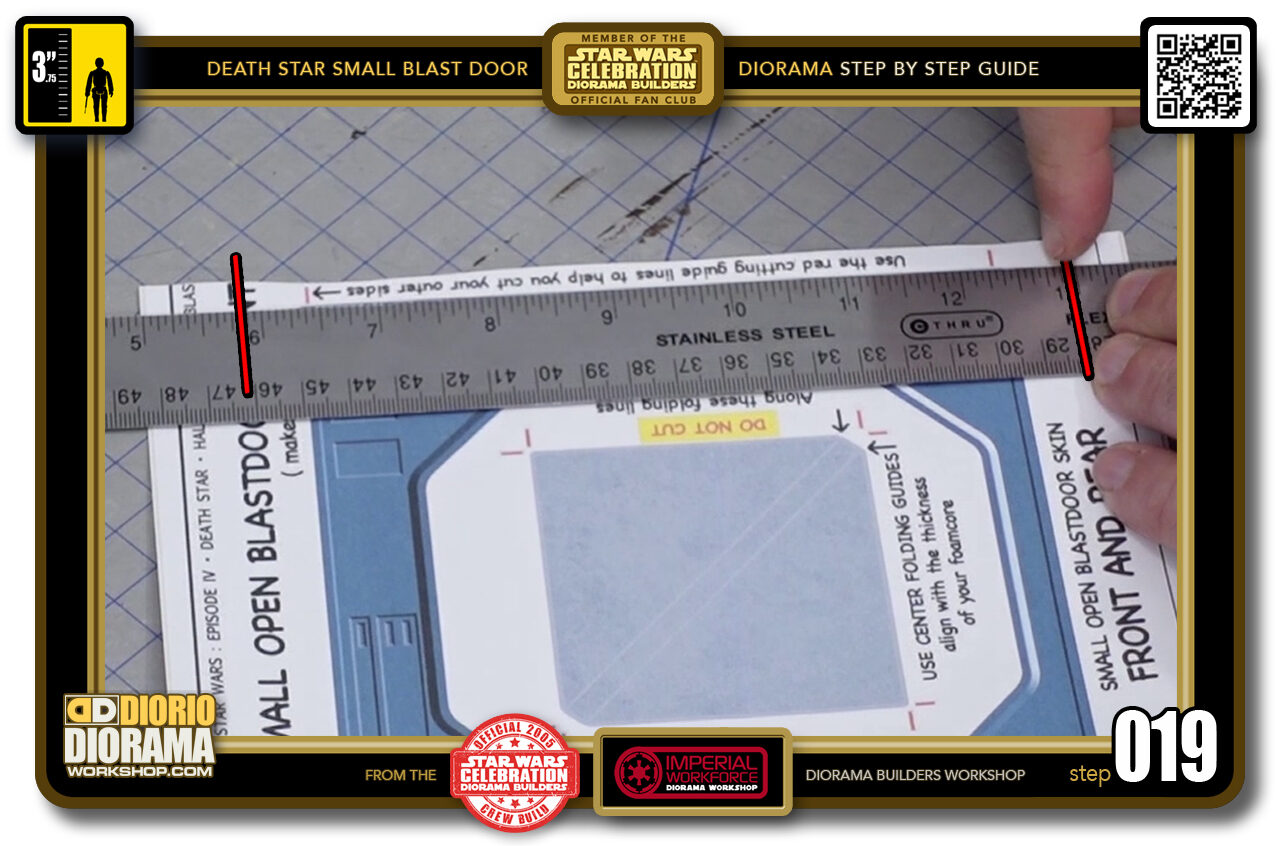
- STEP 019 > For the OCTAGONAL FRONT door frame, first cut at the right side of the decal. Align the Red Guides with your ruler and you will start and stop your cutting at the RED LINES. You DO NOT want to cut ALL THE WAY THROUGH. Doing so will remove the guides for the top and bottom cuts later on. You need to keep your Red Cutting Guides intact for now.
-
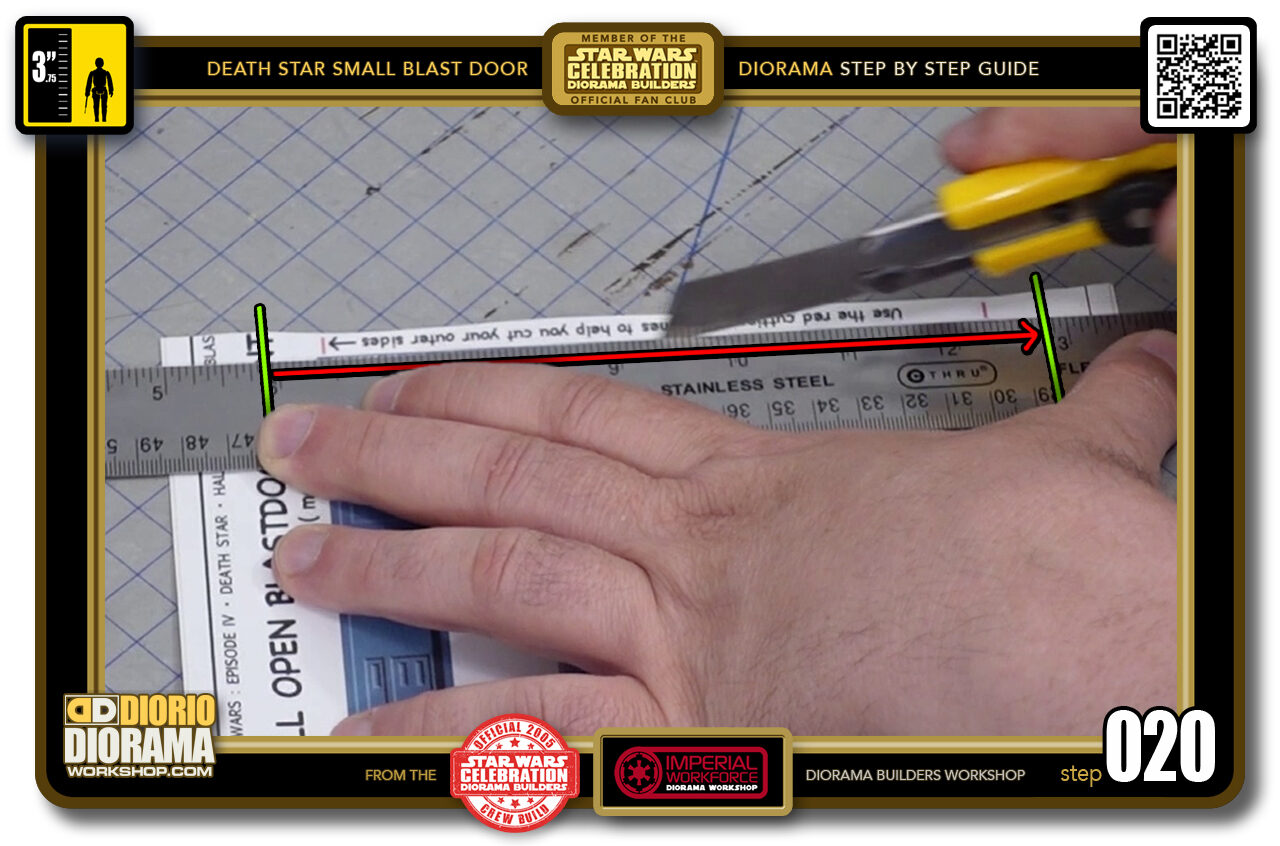
- STEP 020 > Take your X-Acto knife, extend the blade fully and slice along the decal sheet. Remember to START and STOP where the GREEN LINES are as you see here in the picture.

.
Did you already build this Diorama ? At home or at our Star Wars Celebration Diorama Builders workshop ? Would you like to show it in the site’s GALLERY VISITORS DIORAMAS section, YES ? That is Awesome !!! You can find out all the details on how to email me your photos on the VISITORS SUBMISSIONS INFO page … When I get your photos, I will create your very own page just like this one. You may not realize it but work does inspire others to join in the fun of making Action Figure Dioramas.
.
NOT FOR RESALE ALL Decals, tutorials and artwork are ©FrankDiorio (dioramaworkshop.com) and offered FOR FREE to the fans – that would be you ? so you can build and display my diorama designs in your very own home. I realize I cannot control what one does with my graphics once I place them on the web, I can only ask you as one fan to another, please respect the artist and do not be that jerk who uses my designs and tutorials to build a copy of my work only to sell it on EBAY or trade/sale groups and forums. Thank You. Frank.
.

.
.
If you have a facebook account, why not join the Official Diorama Builders Fan Club today, simply click the logo link below.
 .
.
Catch up with fellow visitors and exchange stories, read cool interviews with the crew, exchange photos, fun surprises and grab some FAN ONLY merchandise next year at actual future conventions ?
.
©2021 Frank Diorio DioramaWorkshop.Com
.
IF YOU LIKE WHAT YOU SEE, PLEASE SHARE WITH YOUR FRIENDS
USING THE SOCIAL MEDIA BUTTONS BELOW