


-
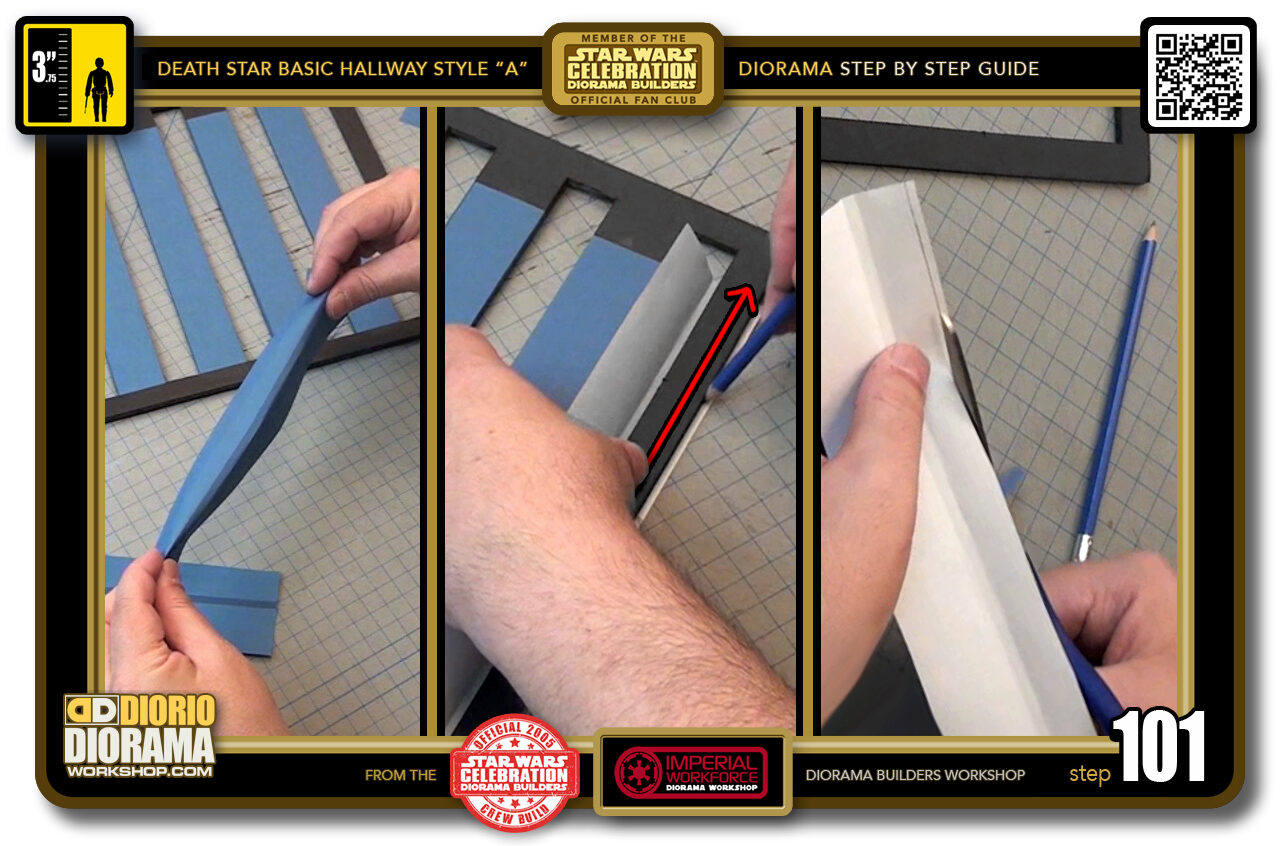
- STEP 101 > The folding process is the same as in the regular "C3" full size skins, you just have 1 side to fold when starting this time (left box). When the folding is done and in decals memory, place it against the inside edge of your outer strip with the regular 3.5 cm blue colour at the top. You will see that even with the Step 098 trim, there is still excess that needs to be cut. To get your cutting guide, simply grab your pencil and slide it against the outer edge as seen in the centre box. Once your line is traced, just grab your scissors, or X-acto knife, and cut along the pencil guide line.
-
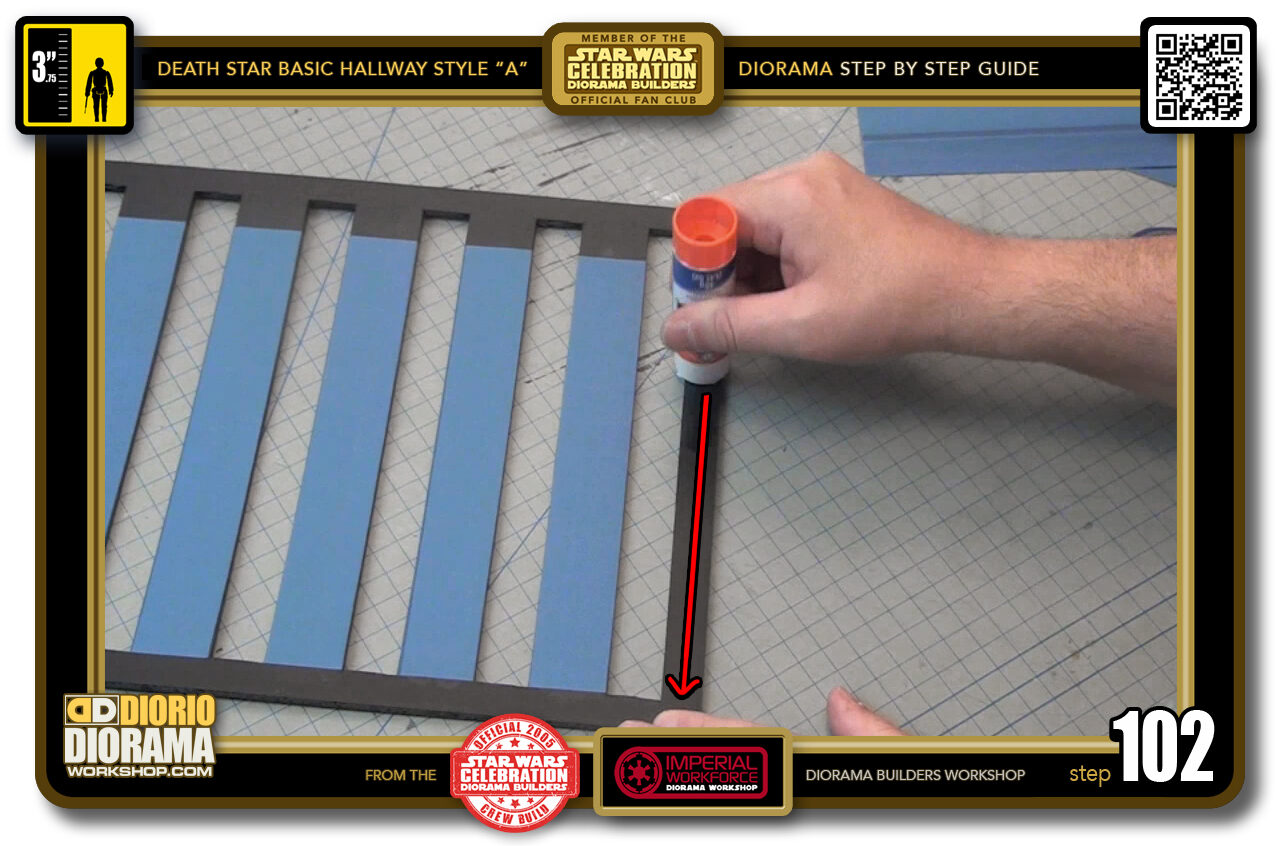
- STEP 102 > The rest of the steps are pretty much the same as the regular "C3" strip skins. Begin with glue stick on the top of your foamcore...
-
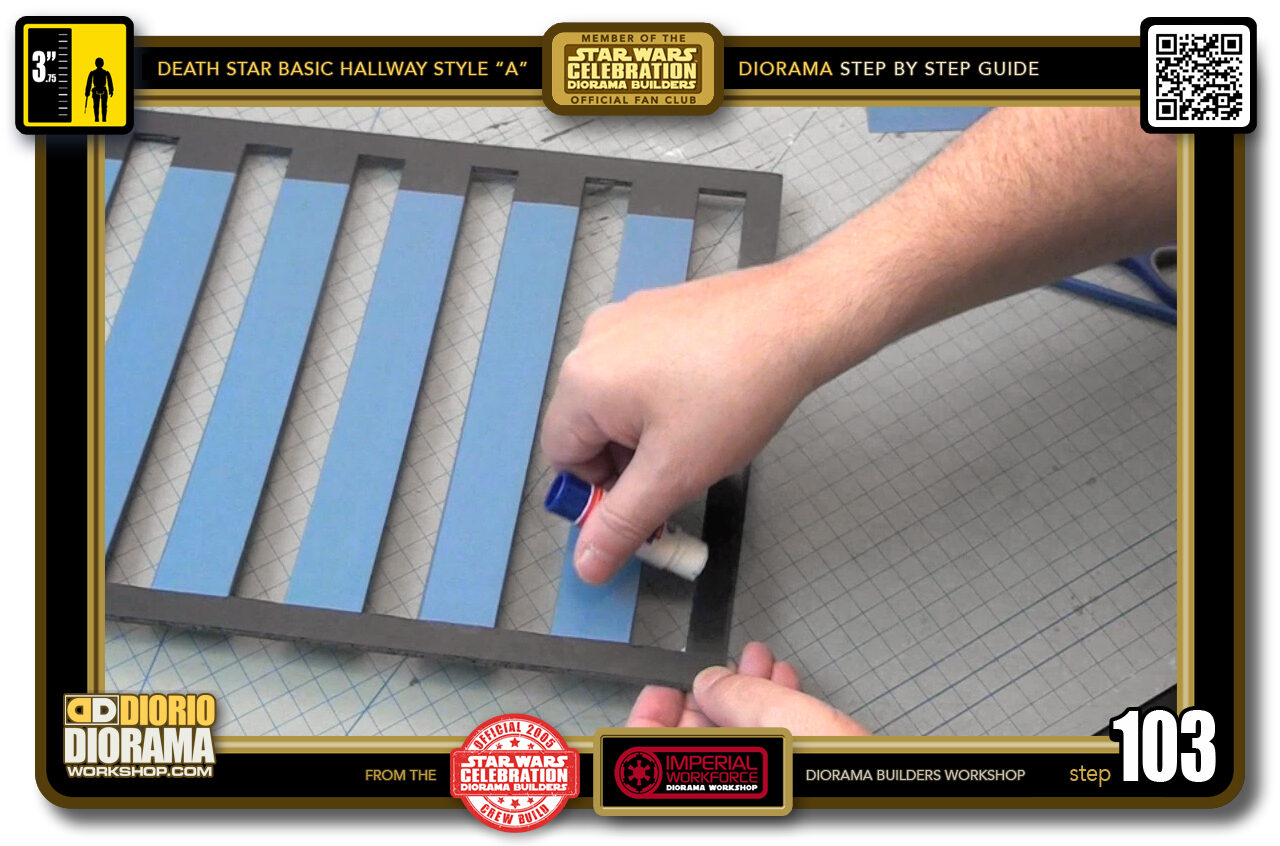
- STEP 103 > And some on the INNER SIDE ONLY.
-

- STEP 104 > The smaller width is where you want to apply the glue to. Flip it over and put a good amount of glue stick on the small width area only.
-

- STEP 105 > Align your dark blue rectangle with the inner edge of your "C1" outer strip.
-

- STEP 106 > Repeat your folding techniques... Press your nail against the table, press it against the edge as seen in the left box. Then use your index finger to put pressure against both edges to start giving you that sharp straight fold line (centre box). Pinch the tops and edges one side at a time like you see in box 3. Best to start at centre and move to the ends.
-
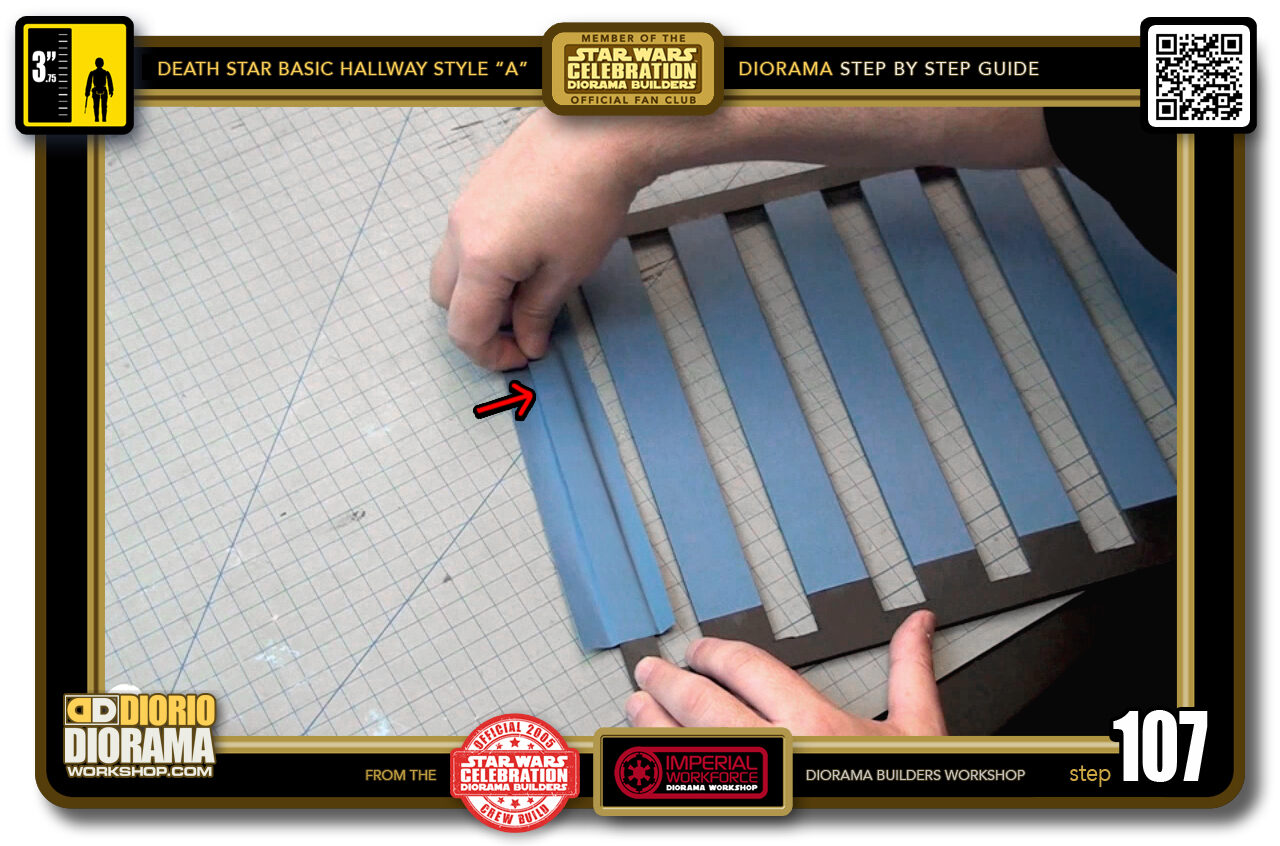
- STEP 107 > Spin the ceiling 180 degrees and press against the edge from one end to the other. You should now have a good sharp memory in your decal ready for glueing.
-
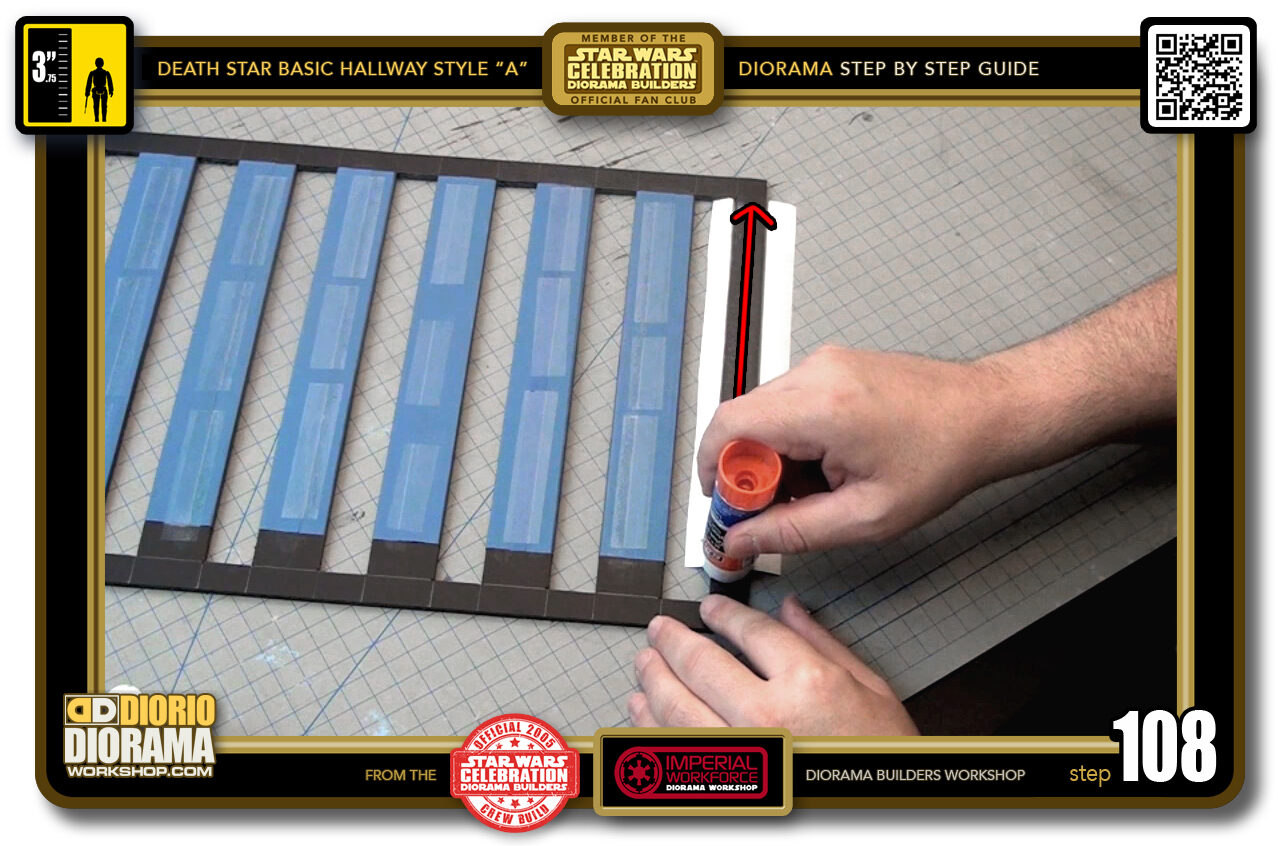
- STEP 108 > Put a good amount of glue stick on the top of your "C1" strip.
-
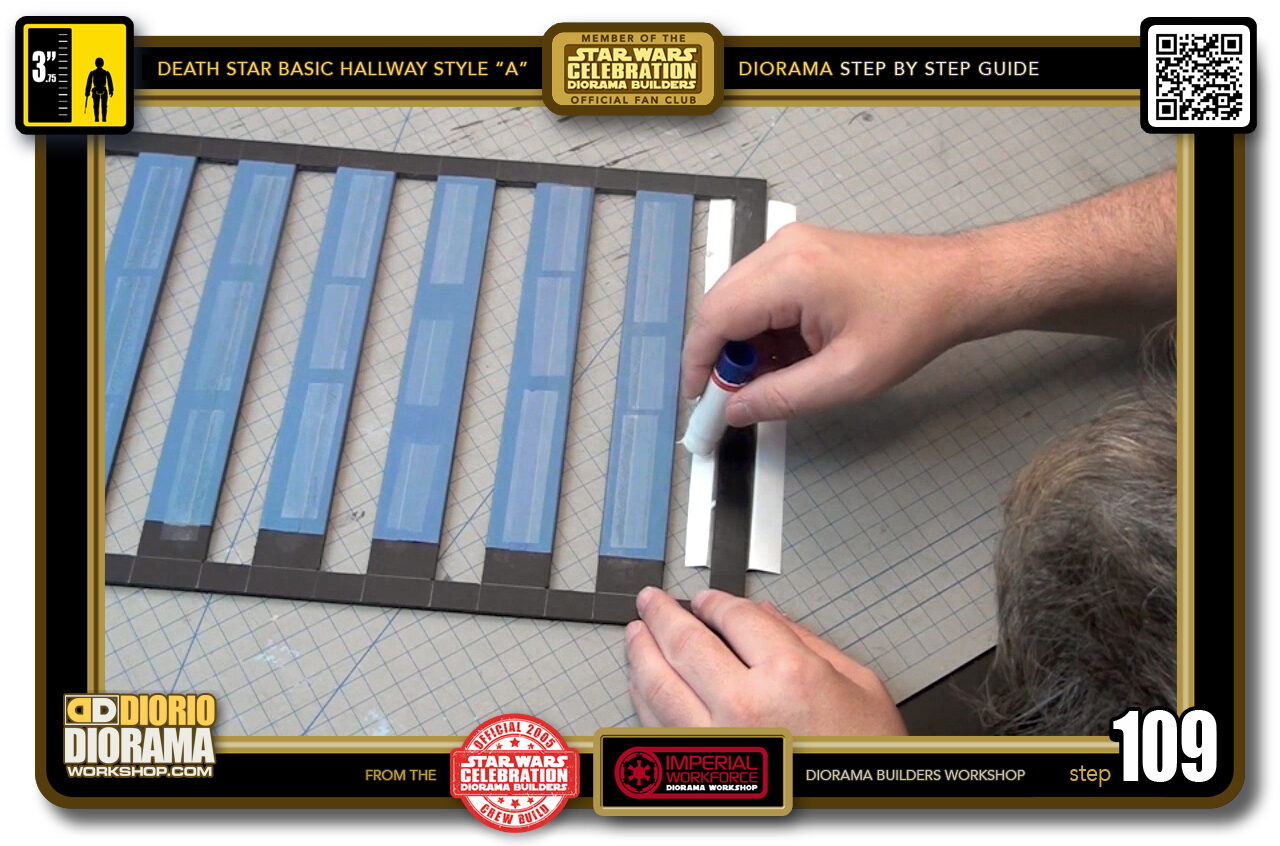
- STEP 109 > Now put some glue stick ONLY on the INSIDE DECAL.
-
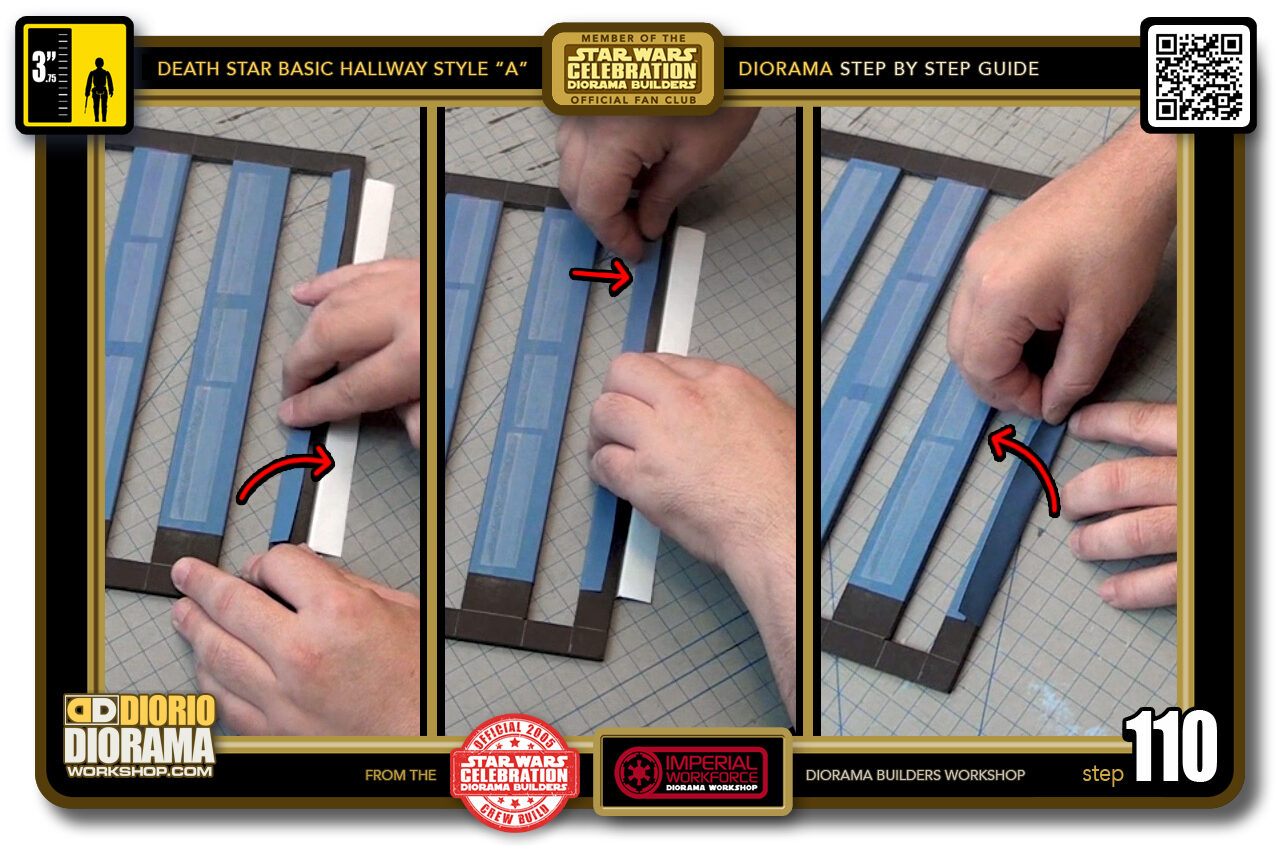
- STEP 110 > Start by lifting and pulling the decal towards you to start a folding memory. After a few times, you should have a sharp enough line that allows you to pull and press down onto the foamcore surface (left box) Do the fingernail technique against the table and pressing along the edge. remove any air bubbles on the sides. (centre box). Begin to fold over the outside portion of the decal. light folds to harder, tighter pushing and pinching (right box).
-
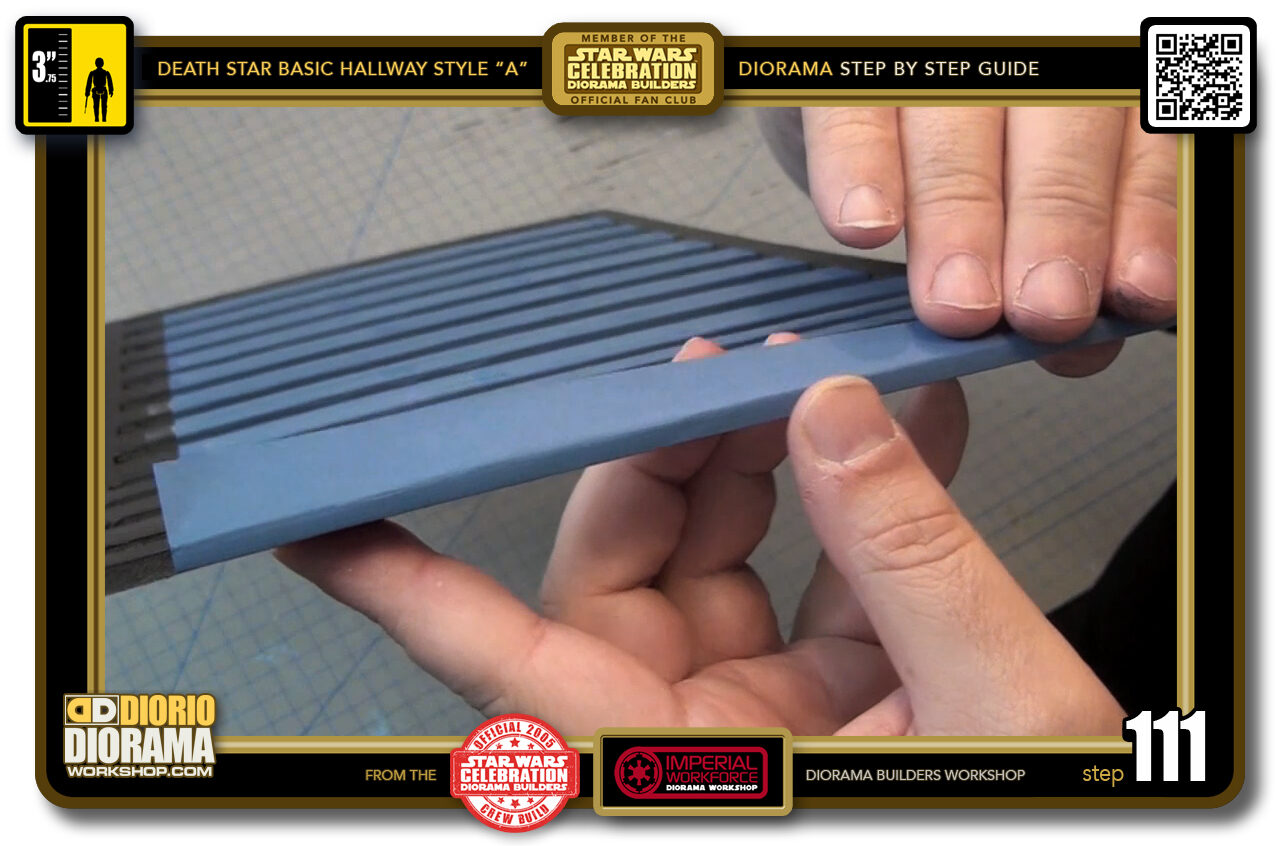
- STEP 111 > What you want to get is a nice tight smooth wrap around the outside edge.
-
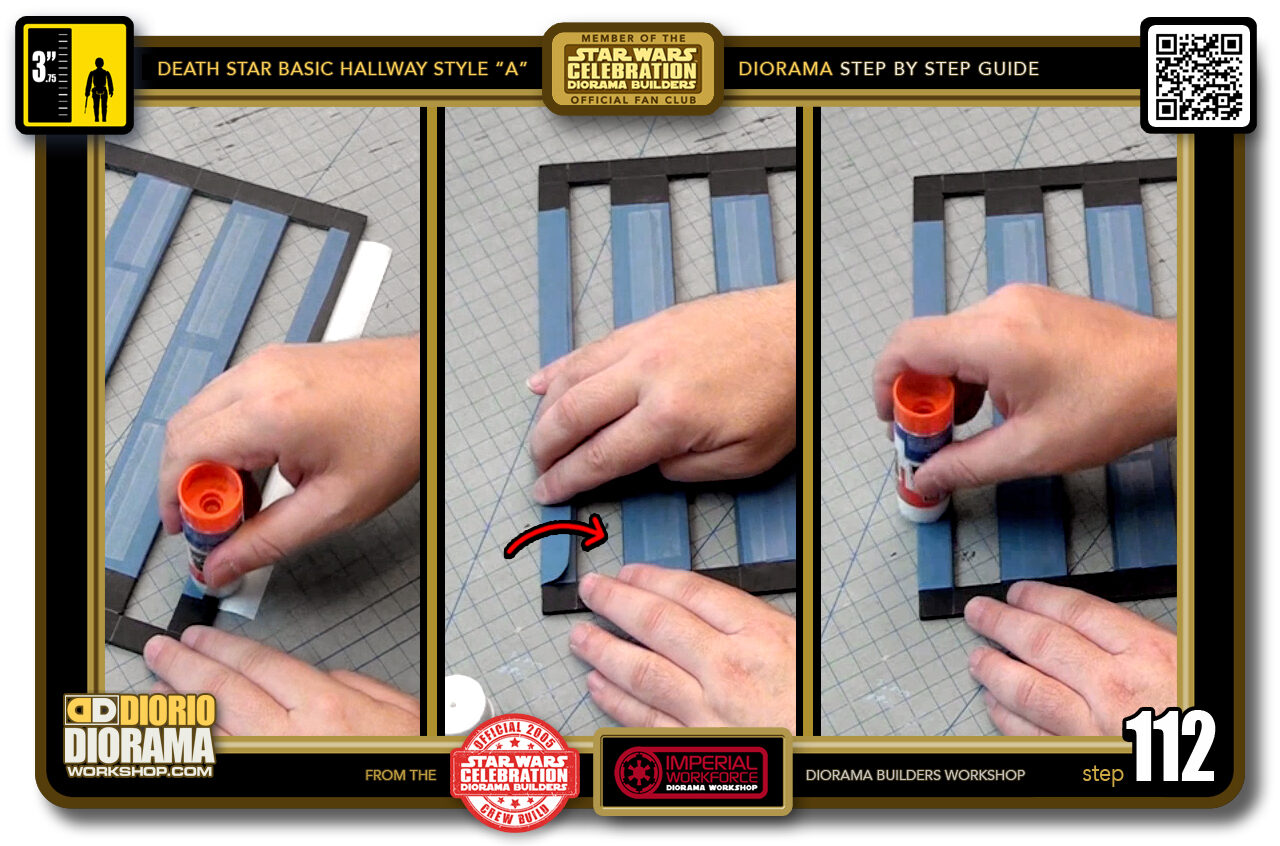
- STEP 112 > Time to glue. Put a generous amount of glue stick on top of your first folded decal side (left box). With your decal memory now clean and tight 90 degree angle, fold over until you make contact with the strip surface (centre box) Start at the centre and move your way to the ends will give you better chances to avoid bubbles and creases. Seal the seam with glue stick as seen in the right box.
-

- STEP 113 > Now let's repeat the same steps for the other end. Place your folded decal against the inside edge, 3.5 cm blue on top. Trace cutting guide with your pencil.
-
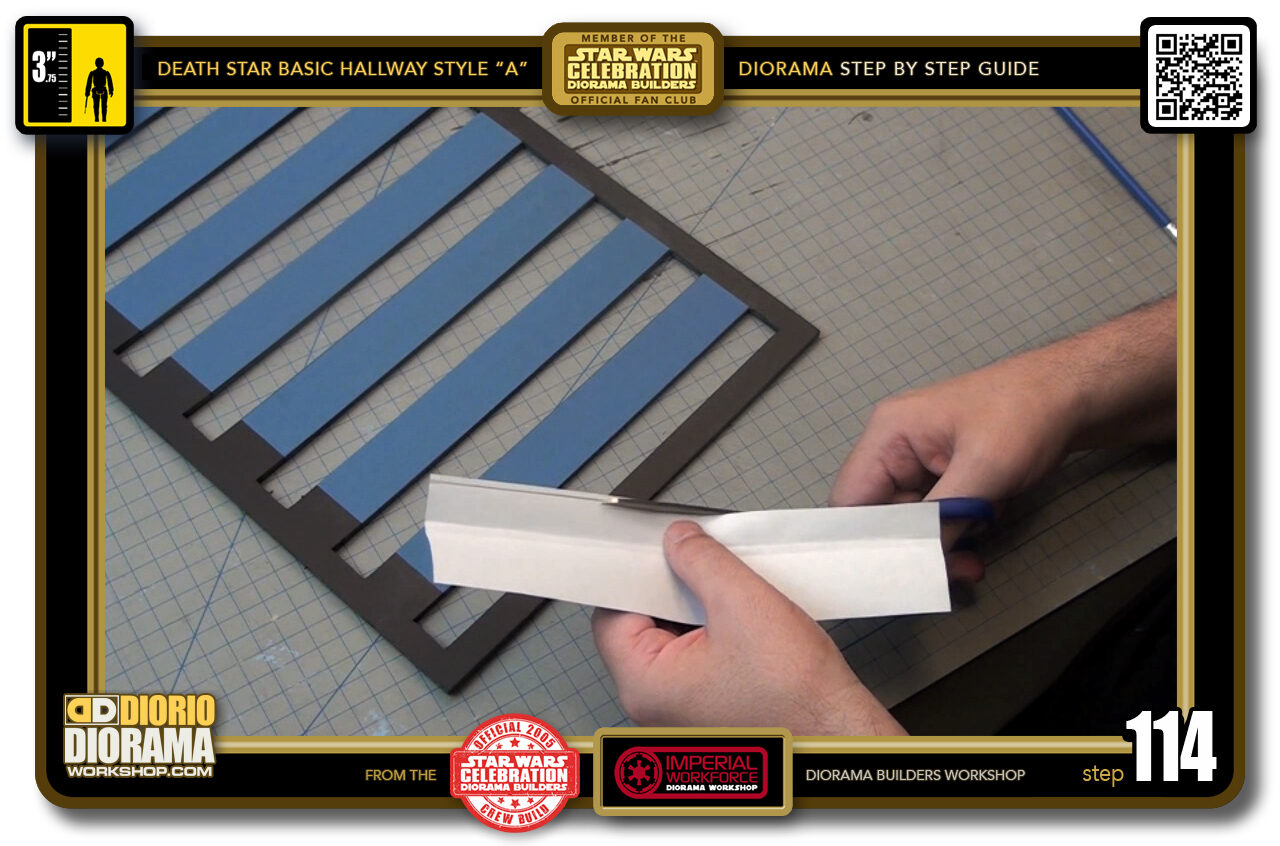
- STEP 114 > Cut off the excess on the inside of your line.
-
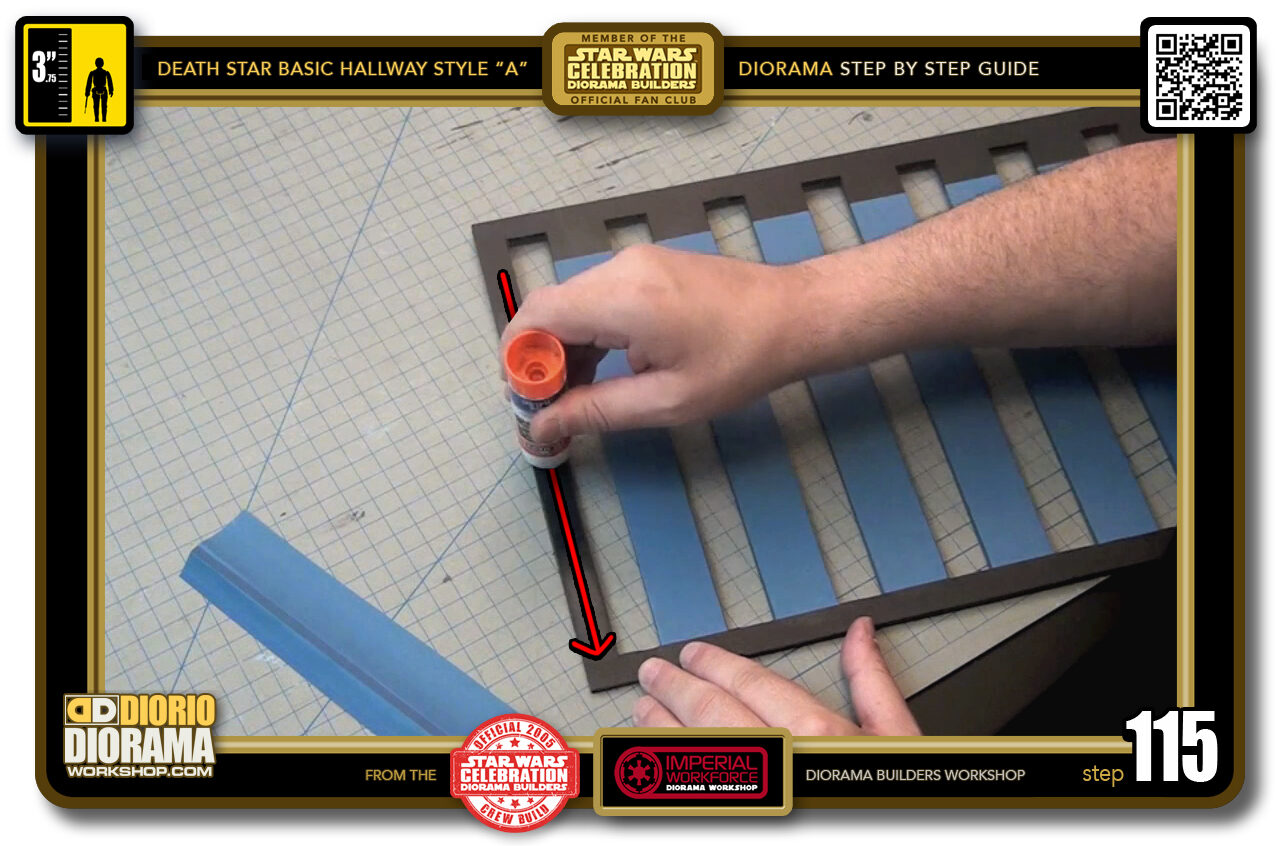
- STEP 115 > Apply so glue stick to the foamcore surface. REMEMBER - NEVER EVER HOT GLUE !!!
-
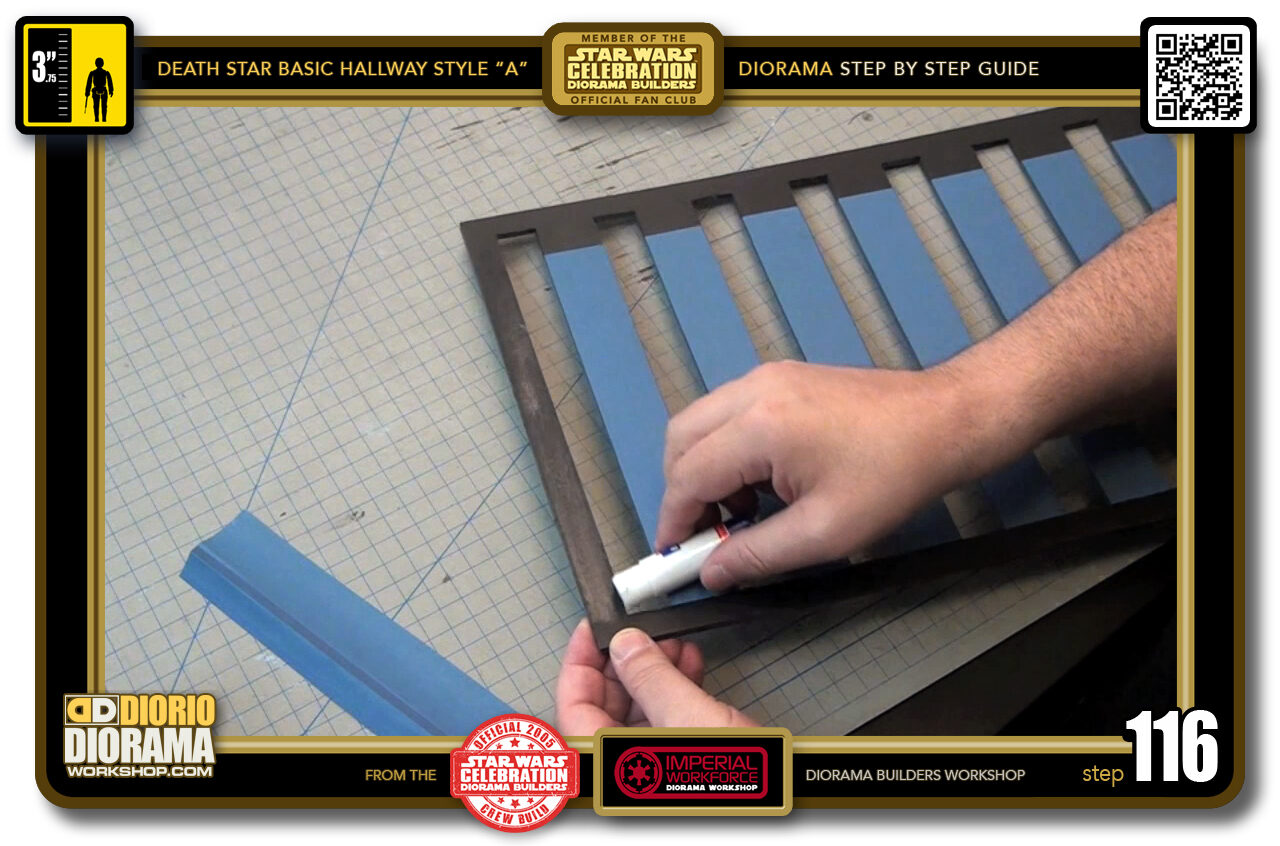
- STEP 116 > Some glue stick on the INSIDE ONLY.
-
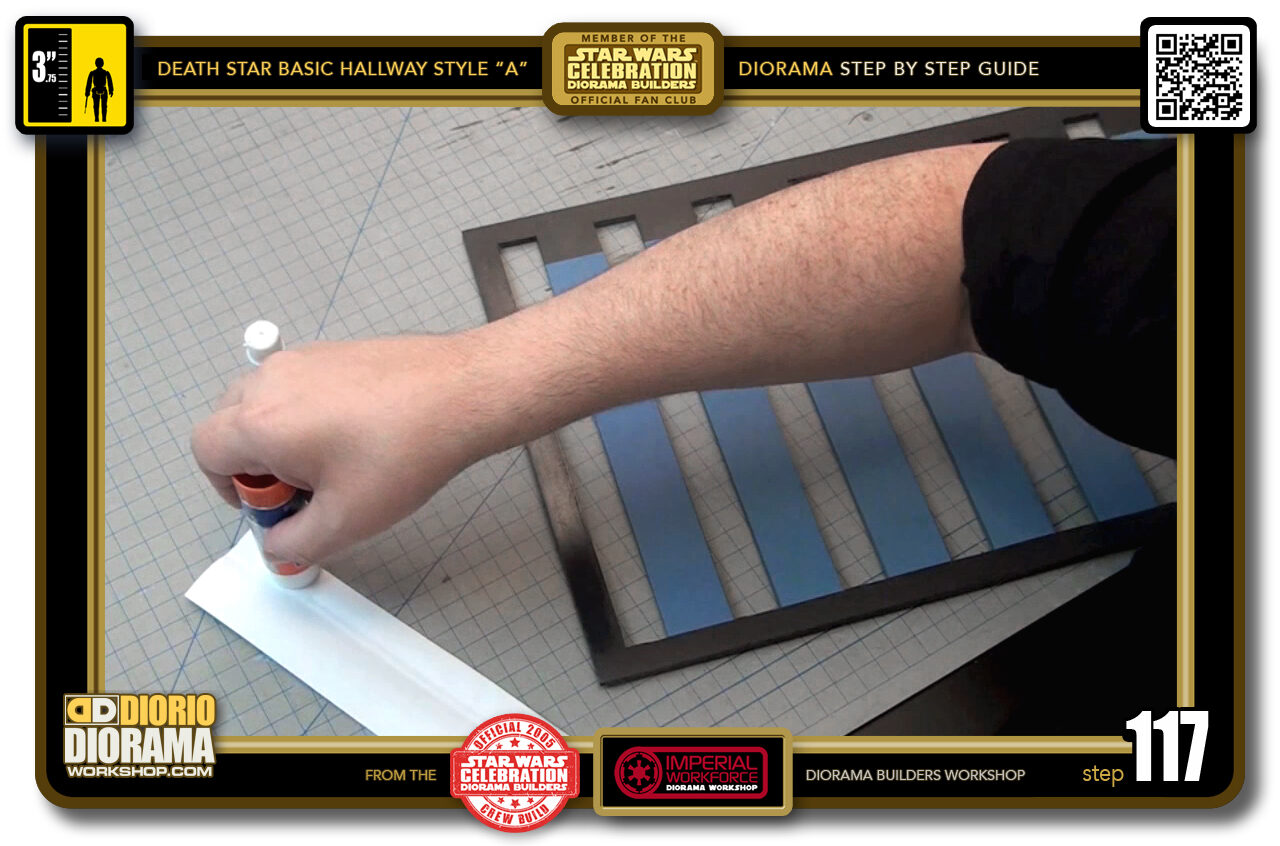
- STEP 117 > And some glue stick ONLY on the smaller blue area first.
-
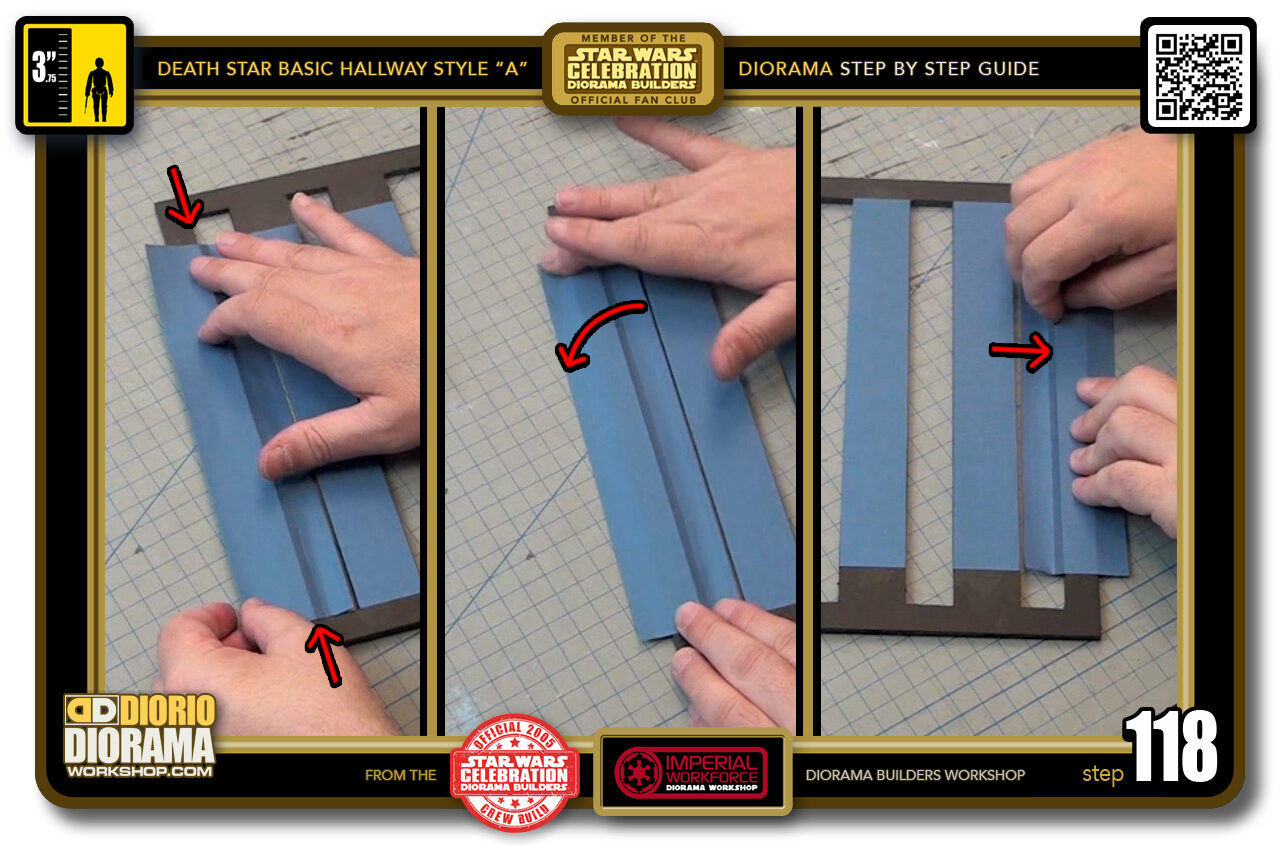
- STEP 118 > Align the dark blue folded side lines with the inner edge (left box). Use your index finger back and forth to get started a straight folding line (centre box). Finger nail against the table and press firm against the inner edges to harden the fold to a clean 90 degree corner (right box).
-

- STEP 119 > Tuck the decal around the edge to the other side and flip your frame to it's back side.
-
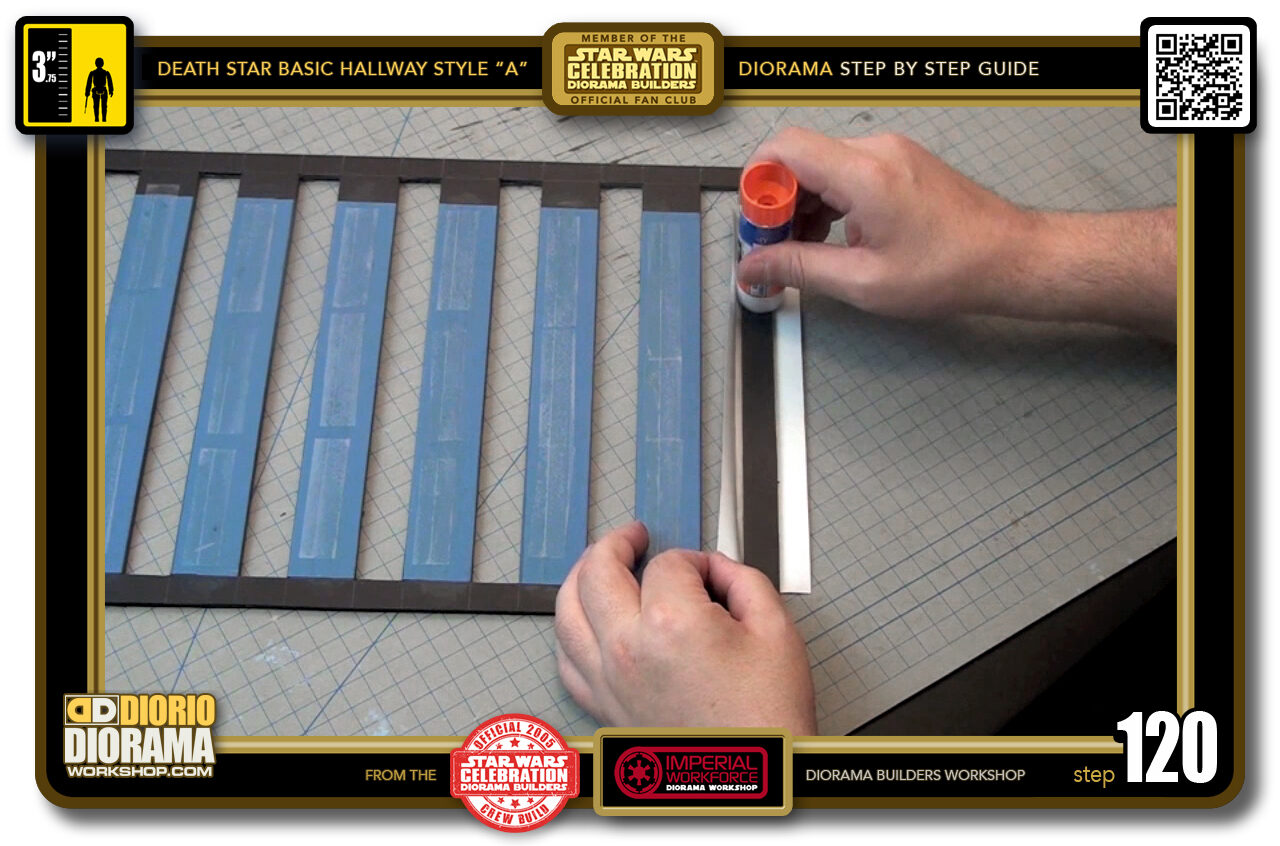
- STEP 120 > Apply glue stick to the foamcore strip.

.
Did you already build this Diorama ? At home or at our Star Wars Celebration Diorama Builders workshop ? Would you like to show it in the site’s GALLERY VISITORS DIORAMAS section, YES ? That is Awesome !!! You can find out all the details on how to email me your photos on the VISITORS SUBMISSIONS INFO page … When I get your photos, I will create your very own page just like this one. You may not realize it but work does inspire others to join in the fun of making Action Figure Dioramas.
.
NOT FOR RESALE ALL Decals, tutorials and artwork are ©FrankDiorio (dioramaworkshop.com) and offered FOR FREE to the fans – that would be you ? so you can build and display my diorama designs in your very own home. I realize I cannot control what one does with my graphics once I place them on the web, I can only ask you as one fan to another, please respect the artist and do not be that jerk who uses my designs and tutorials to build a copy of my work only to sell it on EBAY or trade/sale groups and forums. Thank You. Frank.
.
.
If you have a facebook account, why not join the Official Diorama Builders Fan Club today, simply click the logo link below.
 .
.
Catch up with fellow visitors and exchange stories, read cool interviews with the crew, exchange photos, fun surprises and grab some FAN ONLY merchandise next year at actual future conventions ?
.
©2018 Frank Diorio DioramaWorkshop.Com
.
IF YOU LIKE WHAT YOU SEE, PLEASE SHARE WITH YOUR FRIENDS
USING THE SOCIAL MEDIA BUTTONS BELOW