


-
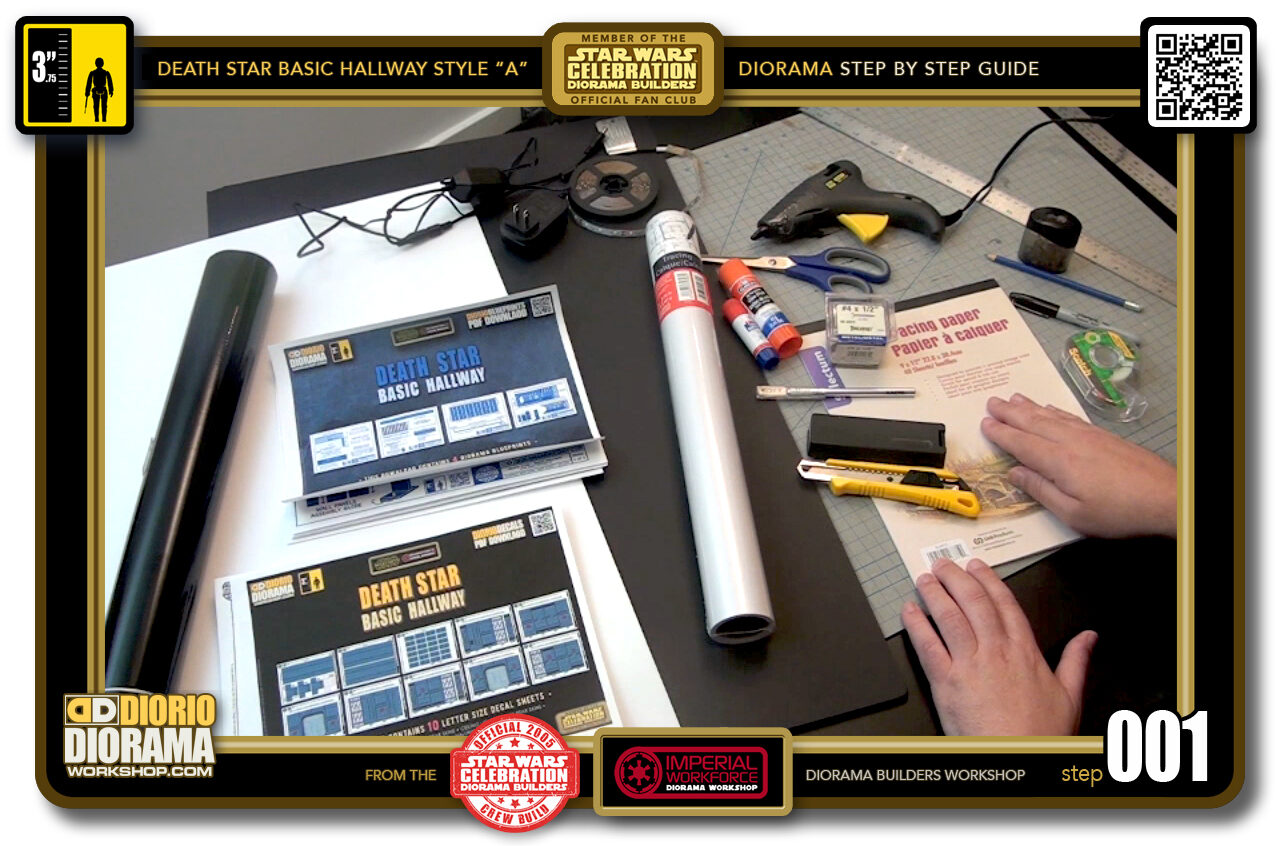
- STEP 001 > Here are all the materials you will need to build your Death Star Basic Hallway STYLE "A" diorama. You can go it's materials link to see help support the site and order direct from Amazon.
-
-
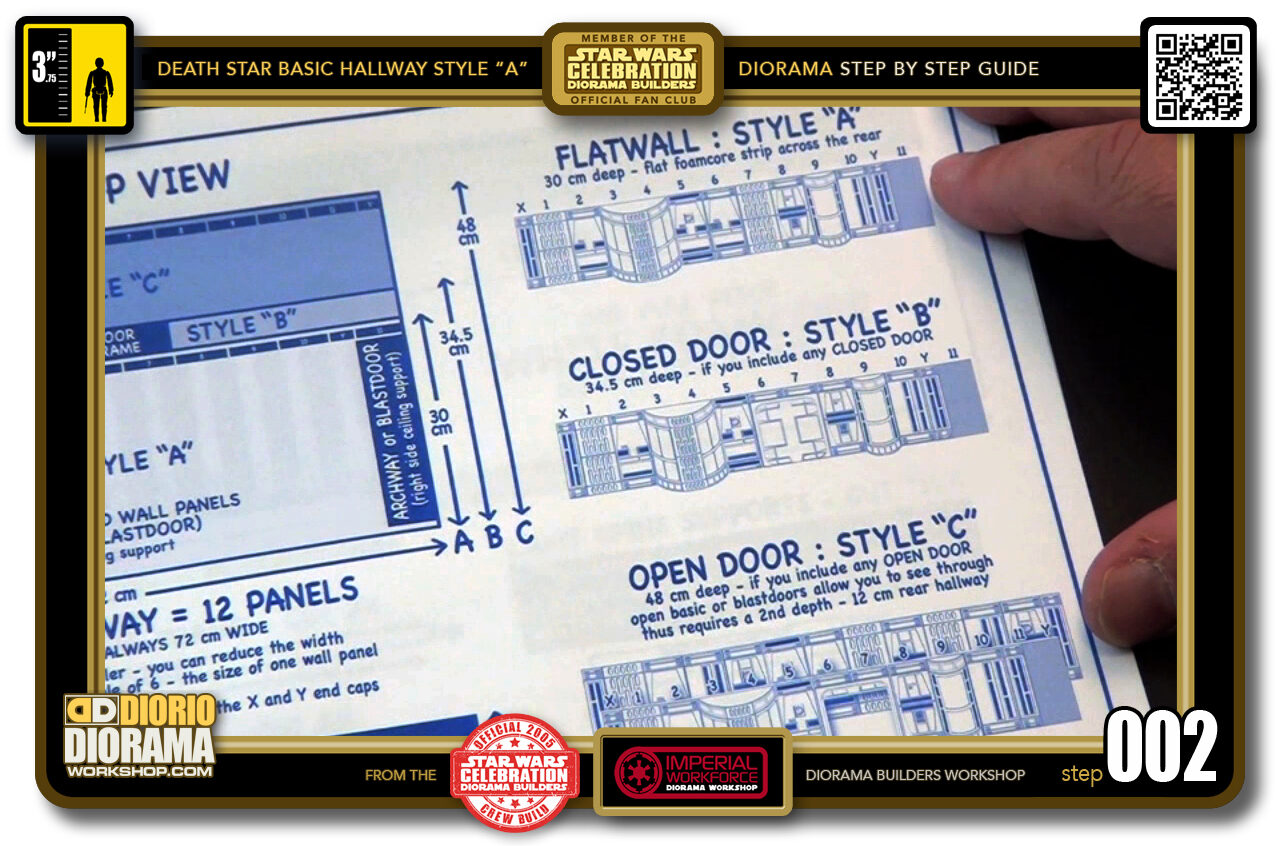
STEP 002 > There are 3 variations of the Basic Hallway. All 3 are shelf displays, meaning no curves, just a long hall that sits on your shelf but one that you can, like lego bricks, attach side by side and over each other to increase the size of your display.
In this tutorial we will stick to STYLE "A" which is the simplest of the 3, just one box if you will.
-
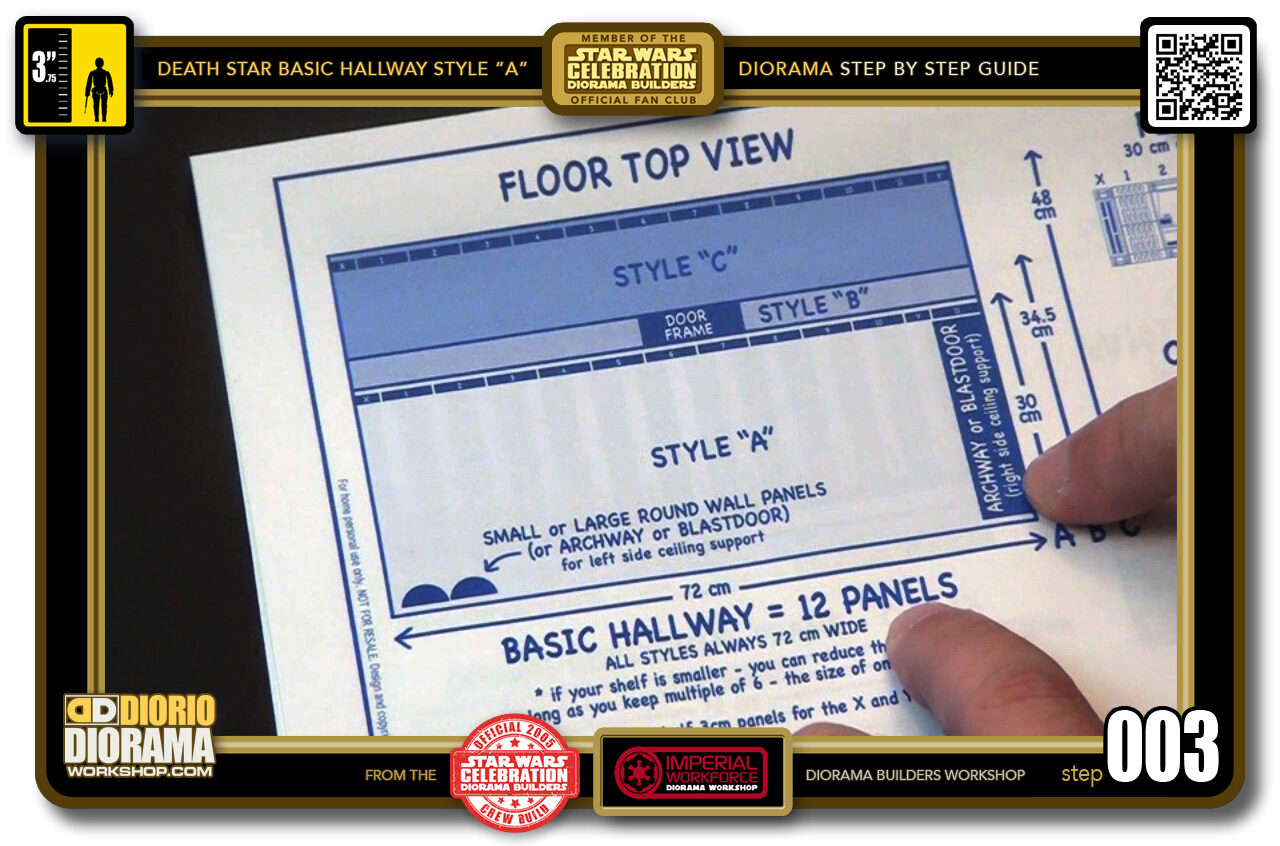
- STEP 003 > All 3 styles are 72cm in my design. If your shelf is smaller, you can reduce the width but make sure it is in 6cm increments, the width of one wall panel. For the depth, Style "A" design is 30cm.
-
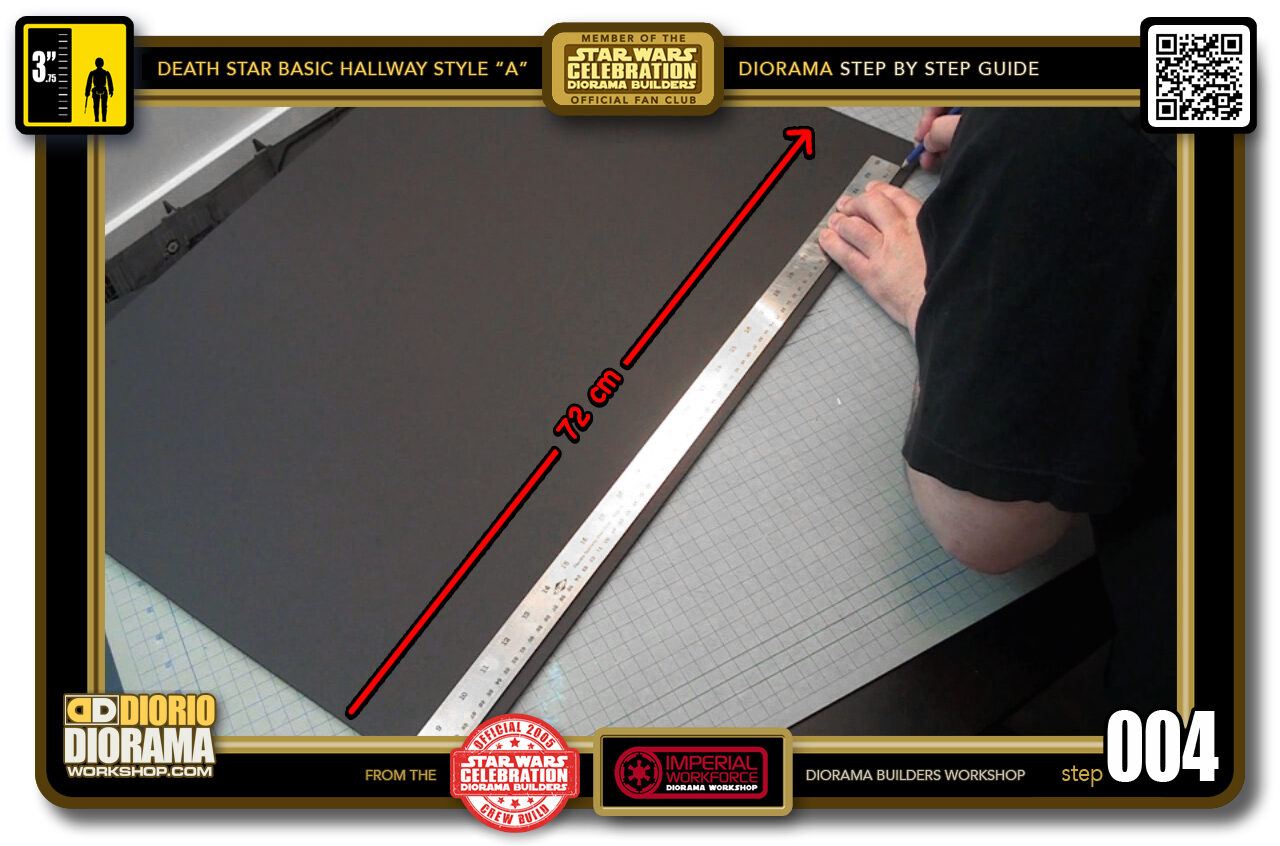
- STEP 004 > Grab a BLACK foamcore and measure 72cm at the top and bottom of your sheet.
-
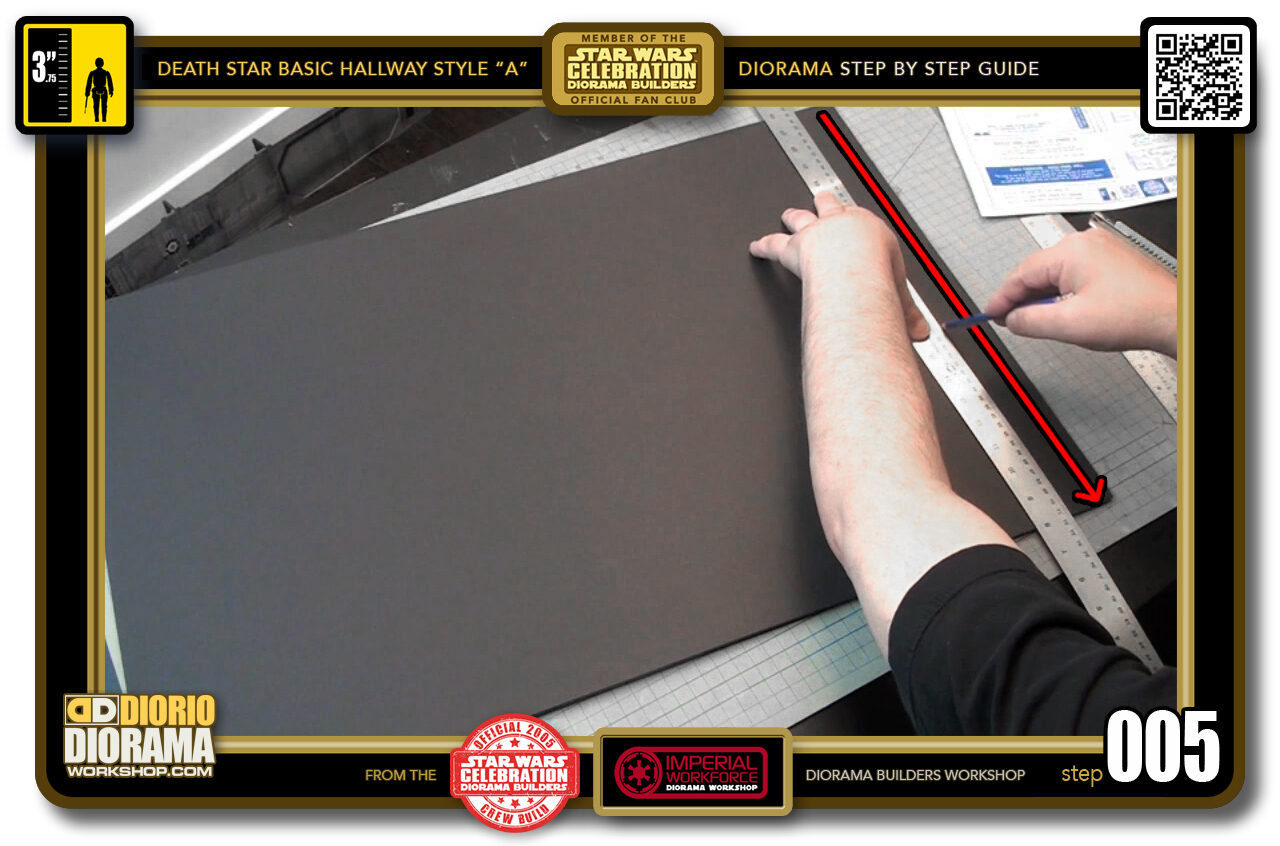
- STEP 005 > Align your marks with your ruler and use a pencil to connect the dots.
-

- STEP 006 > Now it's time to measure the sides - or depth of your ceiling piece - for Style "A" this is 30 cm on each side. Grab your pencil and make your 2 identification marks.
-

-
STEP 007 > Place your ruler against the 2 markings and using your X-acto knife, slice all the way through.
FRANK TIP: It is always best to use a NEW BLADE at the start of each project.
-
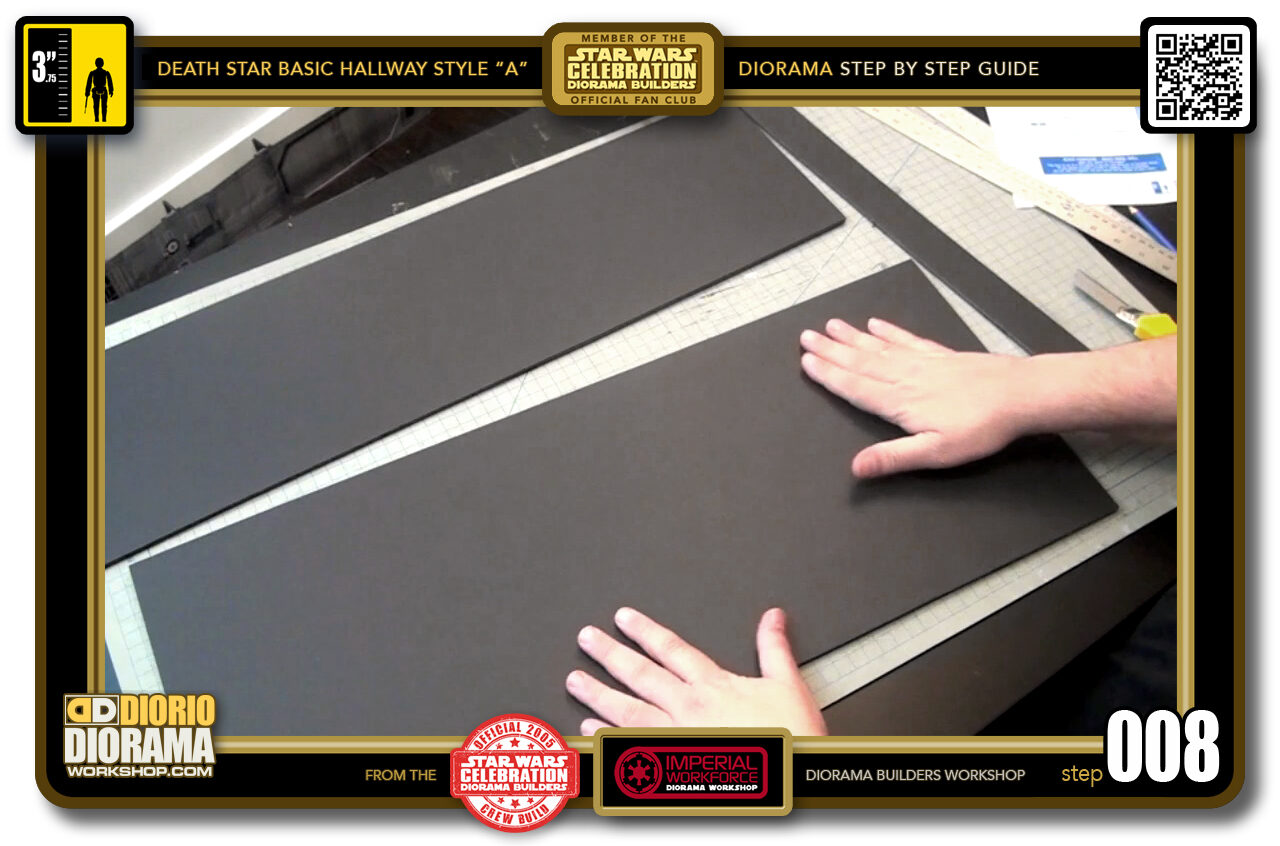
- STEP 008 > You now have your CEILING LIGHT GRID piece. Put this aside for now.
-
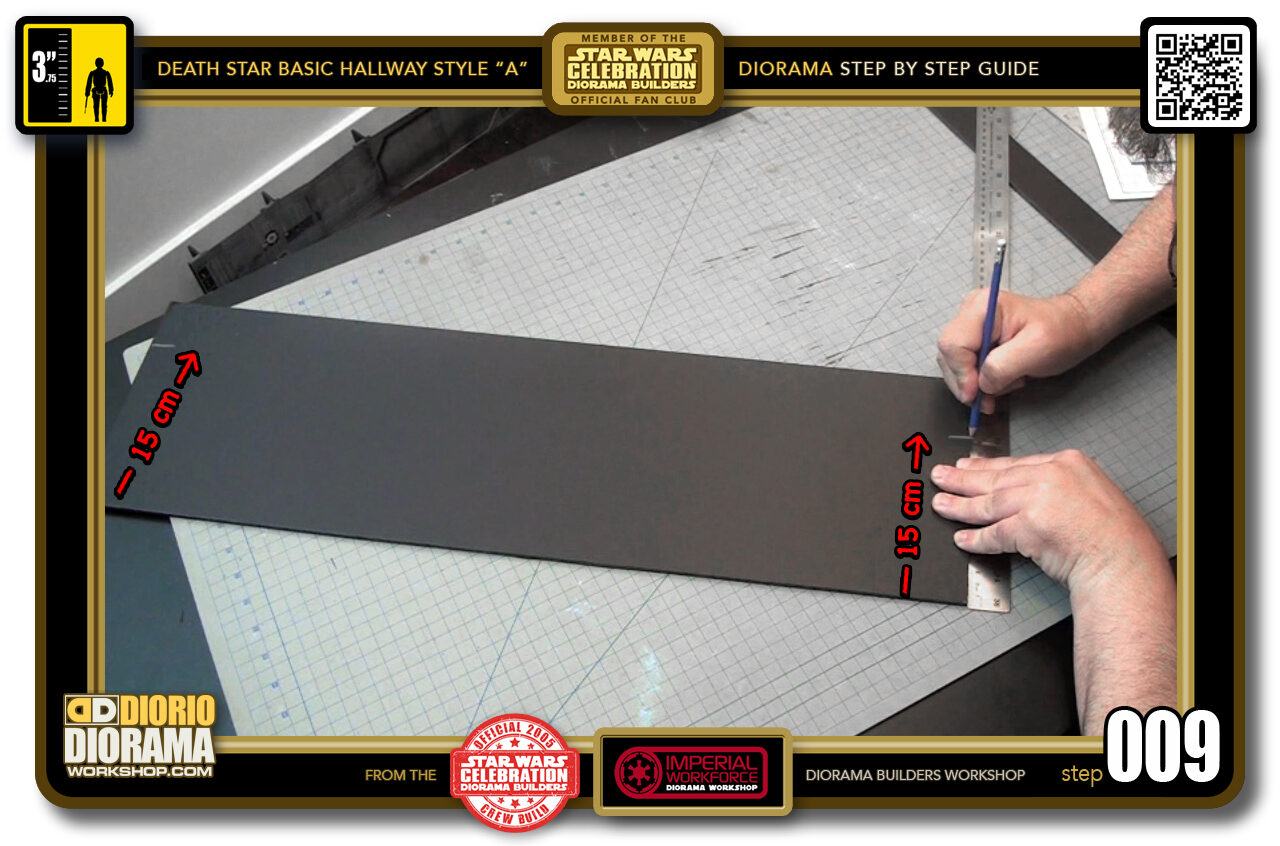
- STEP 009 > If your board was a new one, you likely have enough left over to cut your wall shape. We already have the 72cm cut from before, so all we need to do now is measure 15 cm on each end.
-
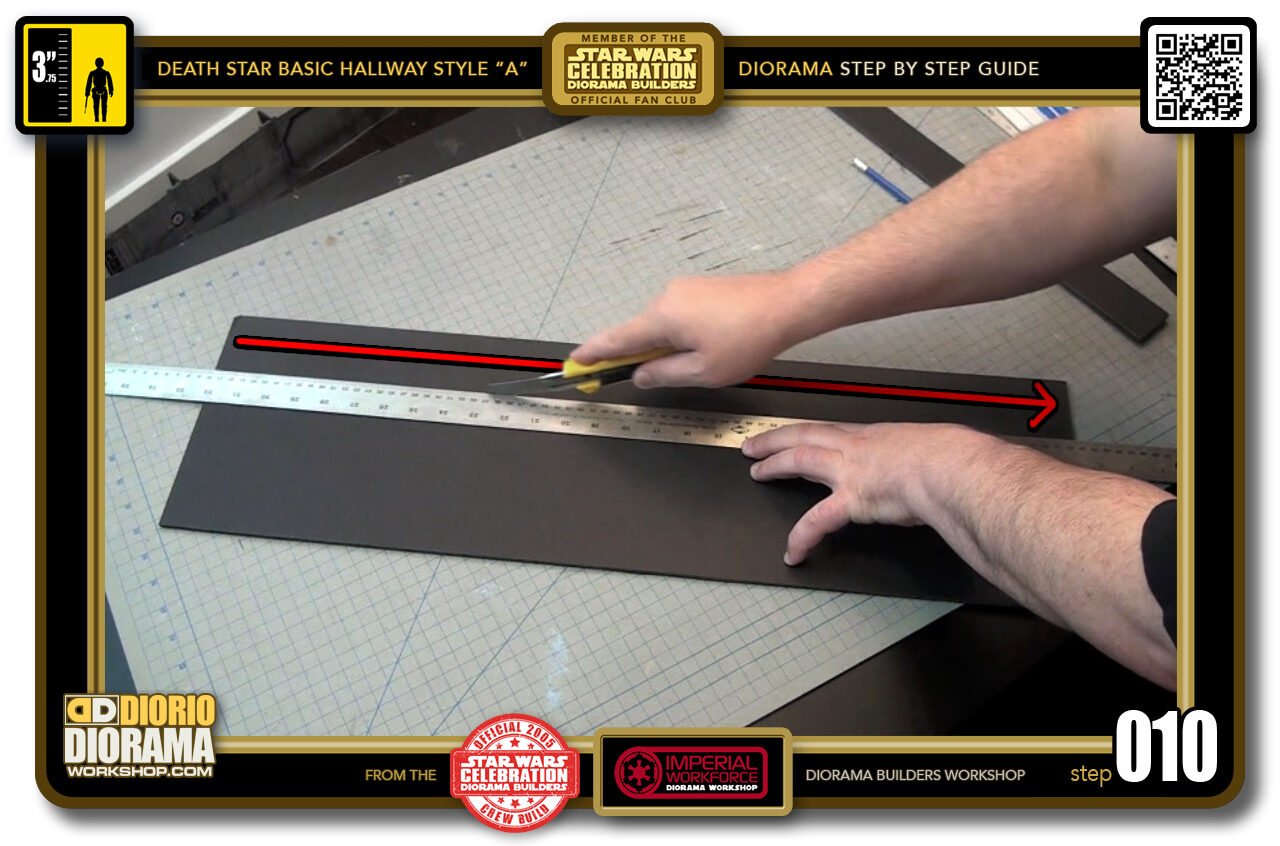
- STEP 010 > Grab your ruler and as you did earlier, align with your pencil marks and cut all the way through with your X-Acto knife. Make sure to keep it straight and not angled sideways. you want to try and keep as close as you can to a 90 degree slice.
-
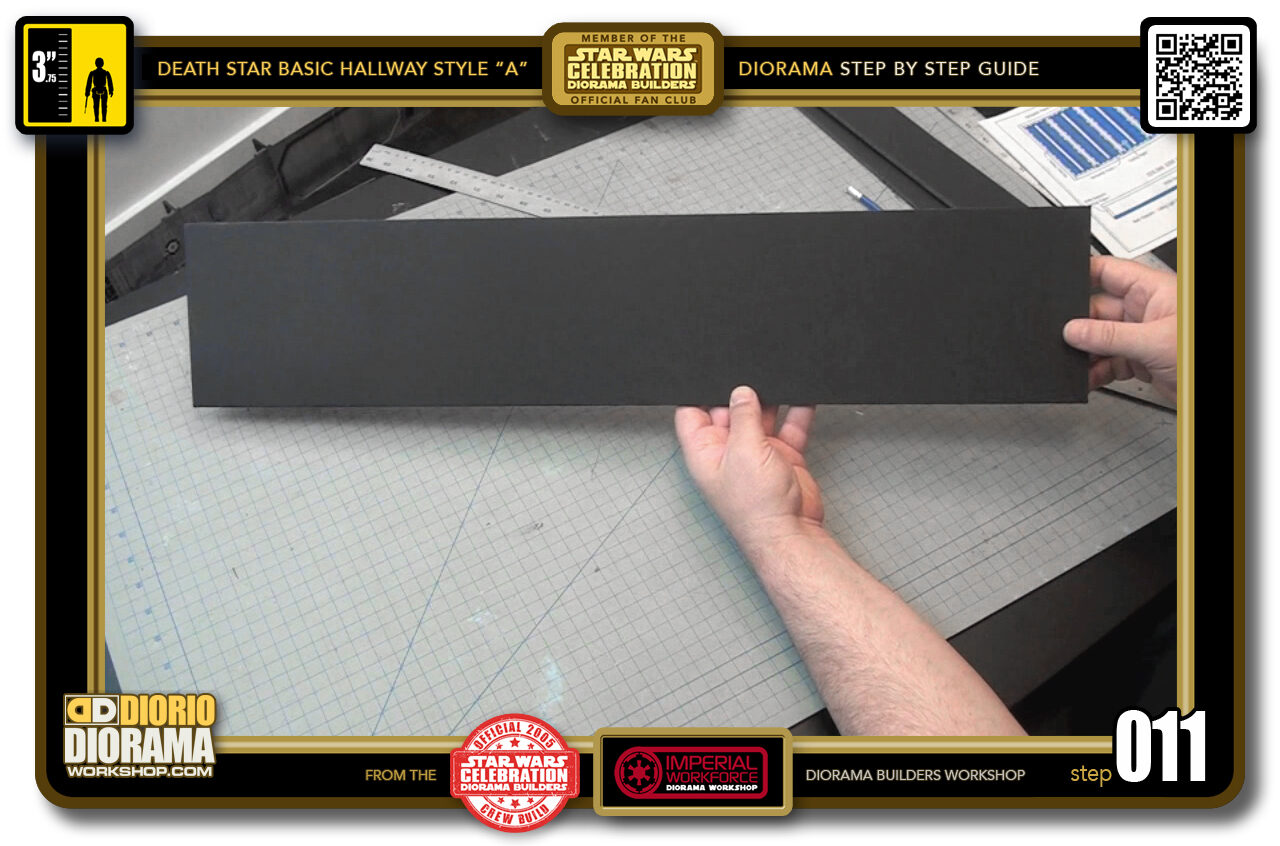
- STEP 011 > You now have your rear wall rectangle piece. Put this aside for now.
-
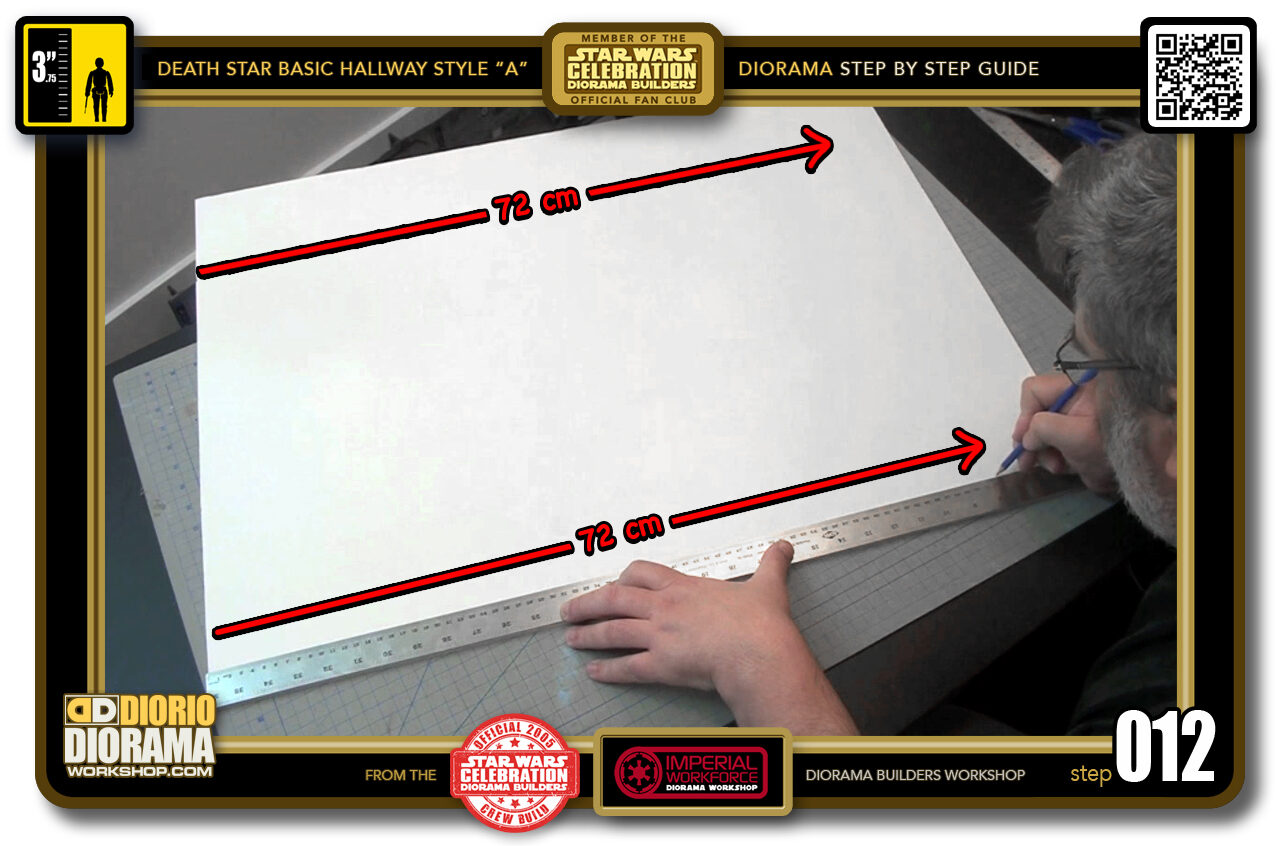
- STEP 012 > Next up is the WHITE CEILING TOP - you need to cut the same size shape as your black ceiling grid of Step 004. So again, begin by measuring 72 cm at the top and bottom of your WHITE sheet. You can use black if that is all you have but you want the MOST REFLECTIVE SURFACE for the top which would be white.
-
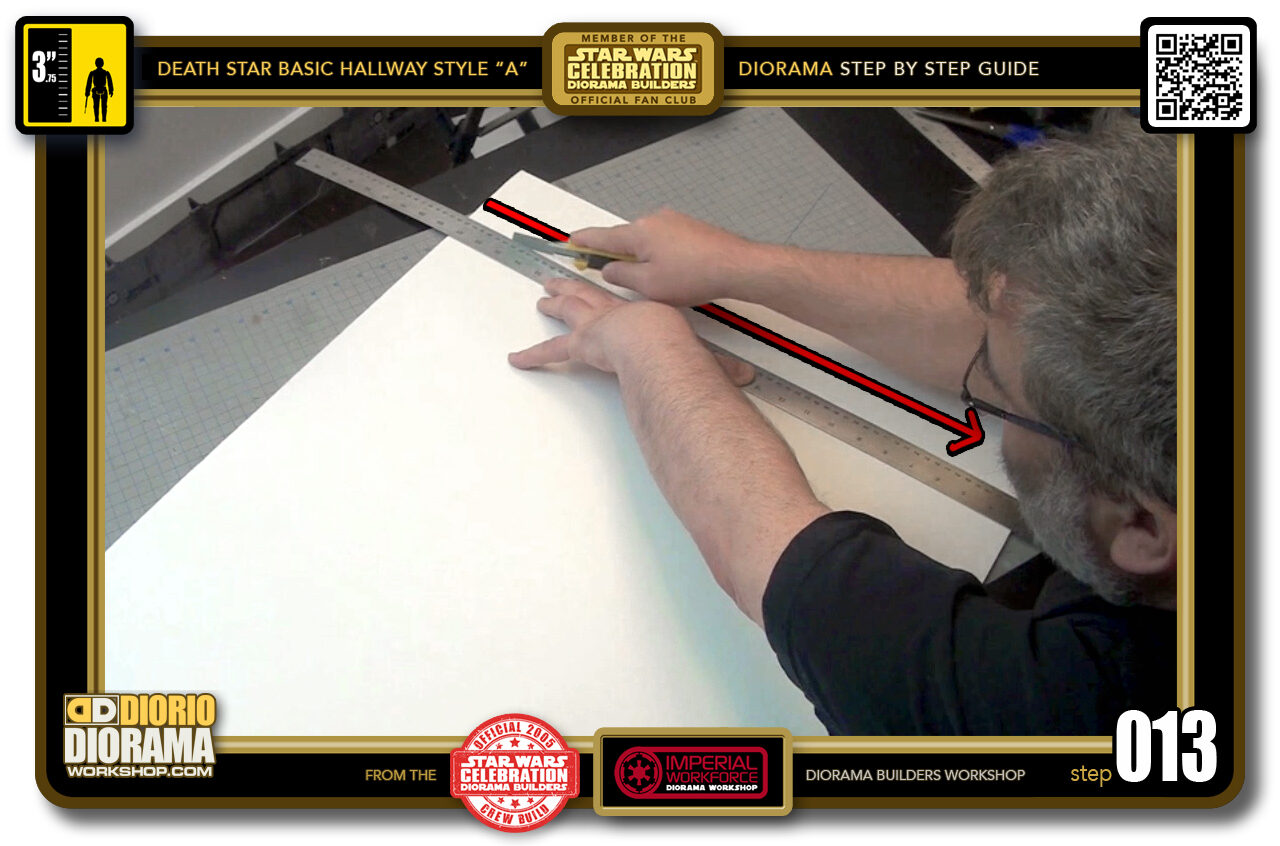
- STEP 013 > Connect your pencil marks with your ruler and press down hard as you slice all the way down with your X-Acto knife.
-
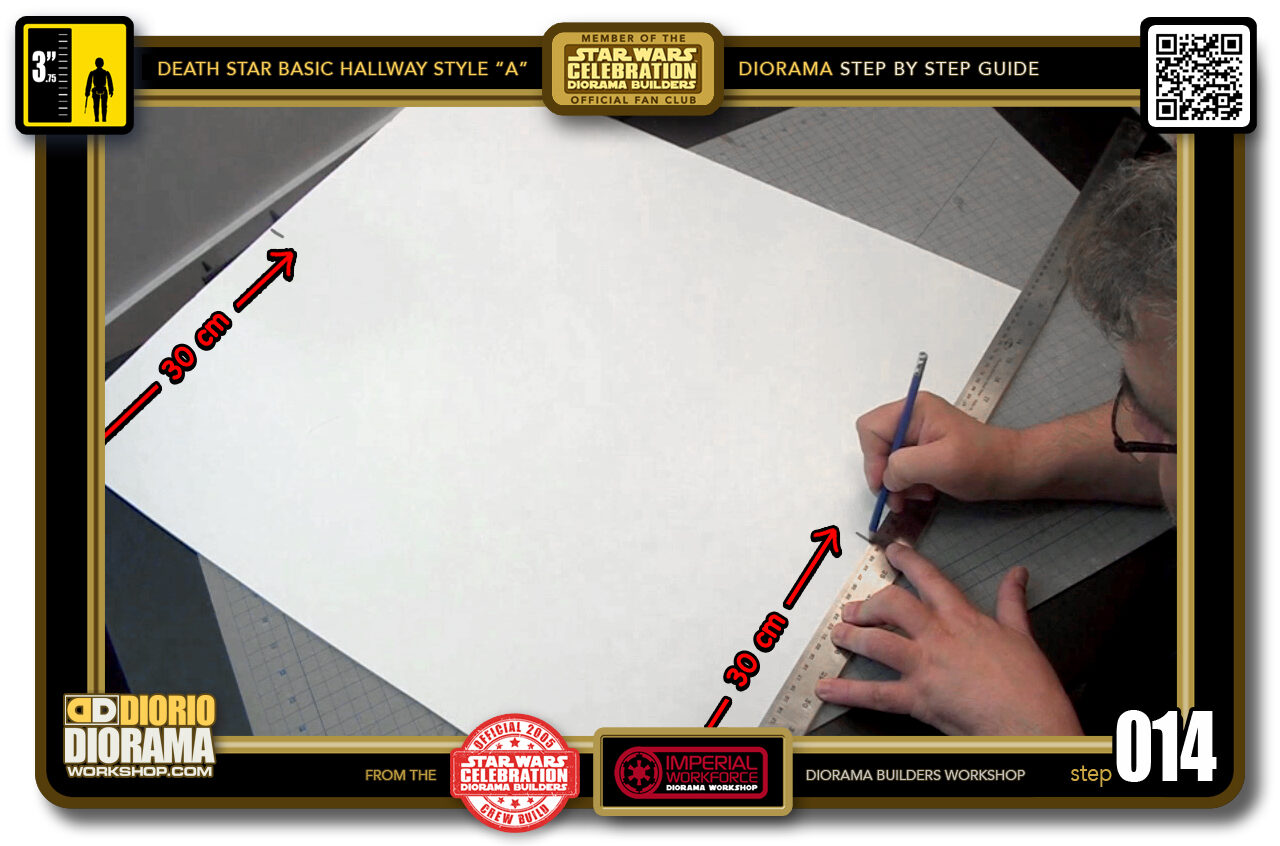
- STEP 014 > Now measure 30 cm at the top and bottom. Remember we are doing STYLE"A" so if you are doing the "B" and "C" Styles, these measurements would be longer as shown in the blueprints.
-
-
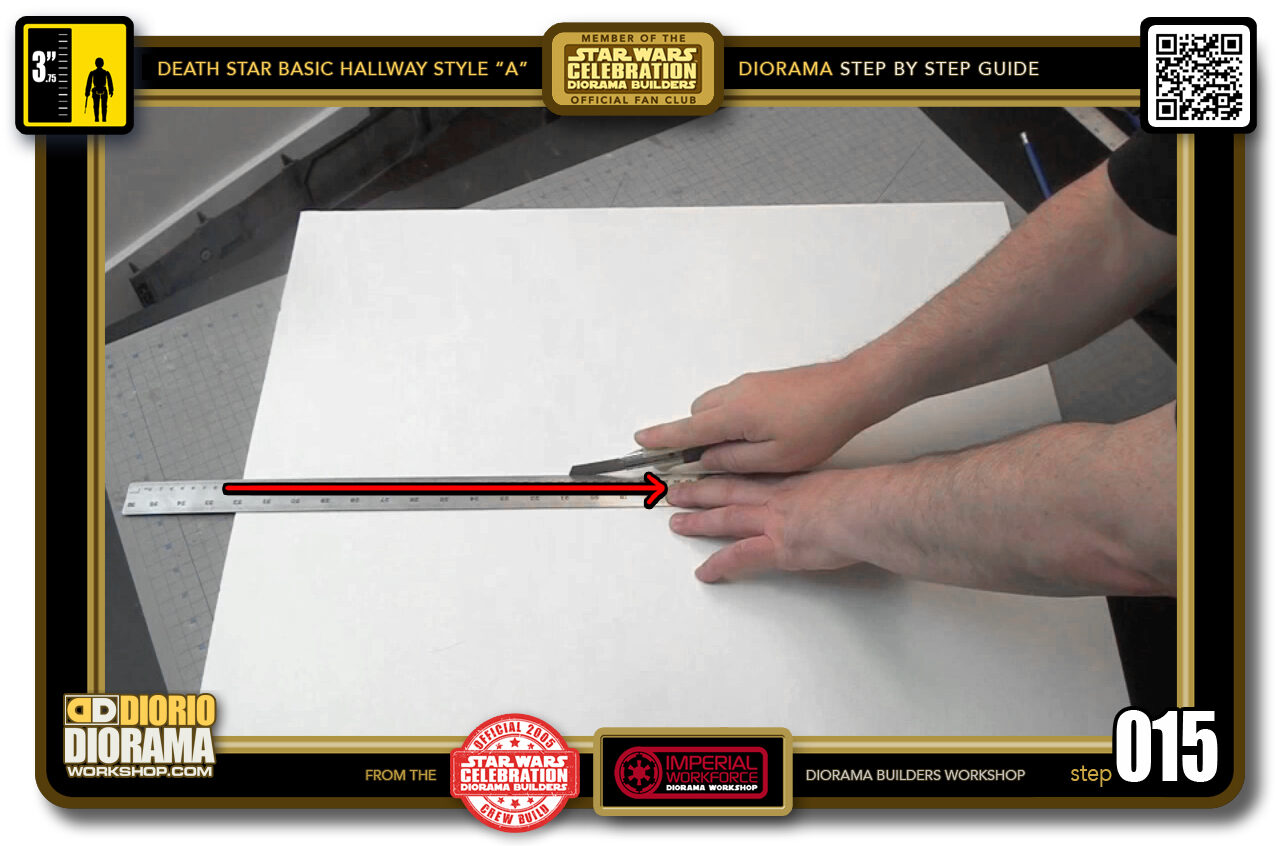
STEP 015 > Connect the pencil marks with your ruler and again, press firmly down on the ruler as your hand glides the X-Acto knife across the sheet.
When cutting a long piece like 72cm, you best do it in parts of 25-30 until your cutting hand passes your pressing on the ruler hand. Press down on ruler, slice - move hand down WITHOUT SHIFTING THE RULER, press down, slice again, continue till you reach the end.
-
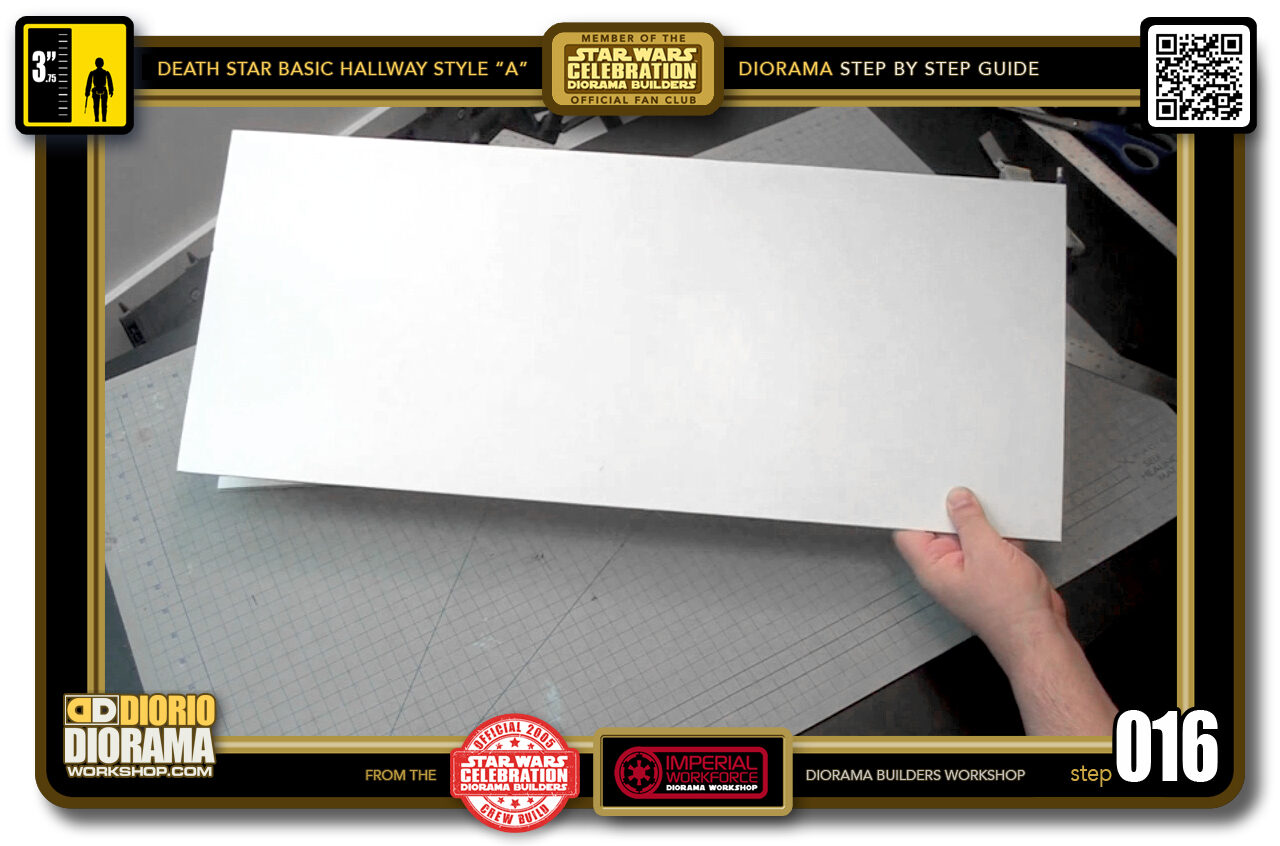
- STEP 016 > You now have your 72cm x 30cm CEILING TOP.
-
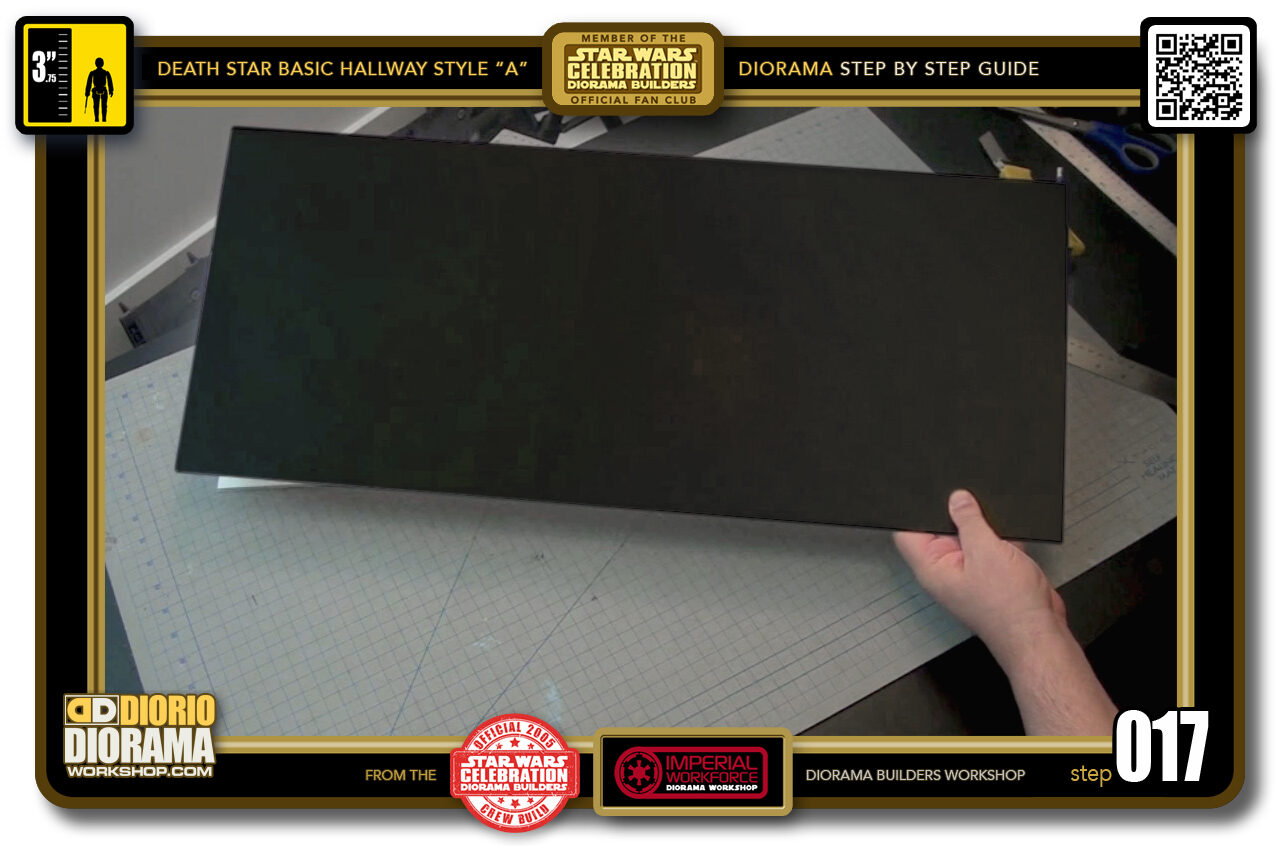
- STEP 017 > You now have to repeat steps 012 to 016 to cut your FLOOR. When making my prototypes, I made both a white and black floor, and found that the BLACK works BETTER if you have it.
-
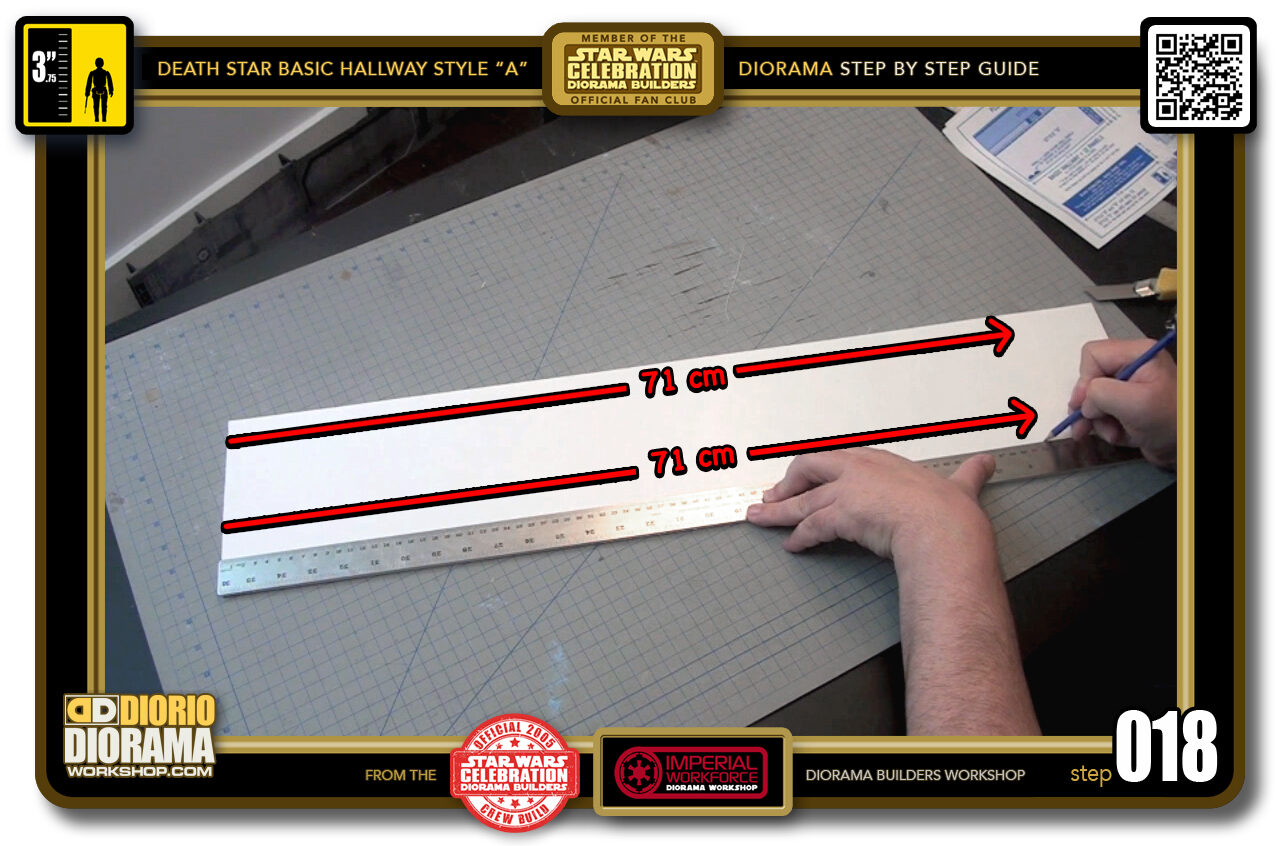
- STEP 018 > We now have to make the side supports that go between your WHITE Roof Top and the BLACK Ceiling Light Grid. For this measure 71 cm at the top and bottom of your rectangle piece. You want to use a WHITE FOAMCORE for this step to get the brightest reflection from the LED light strips. More on that later...
-
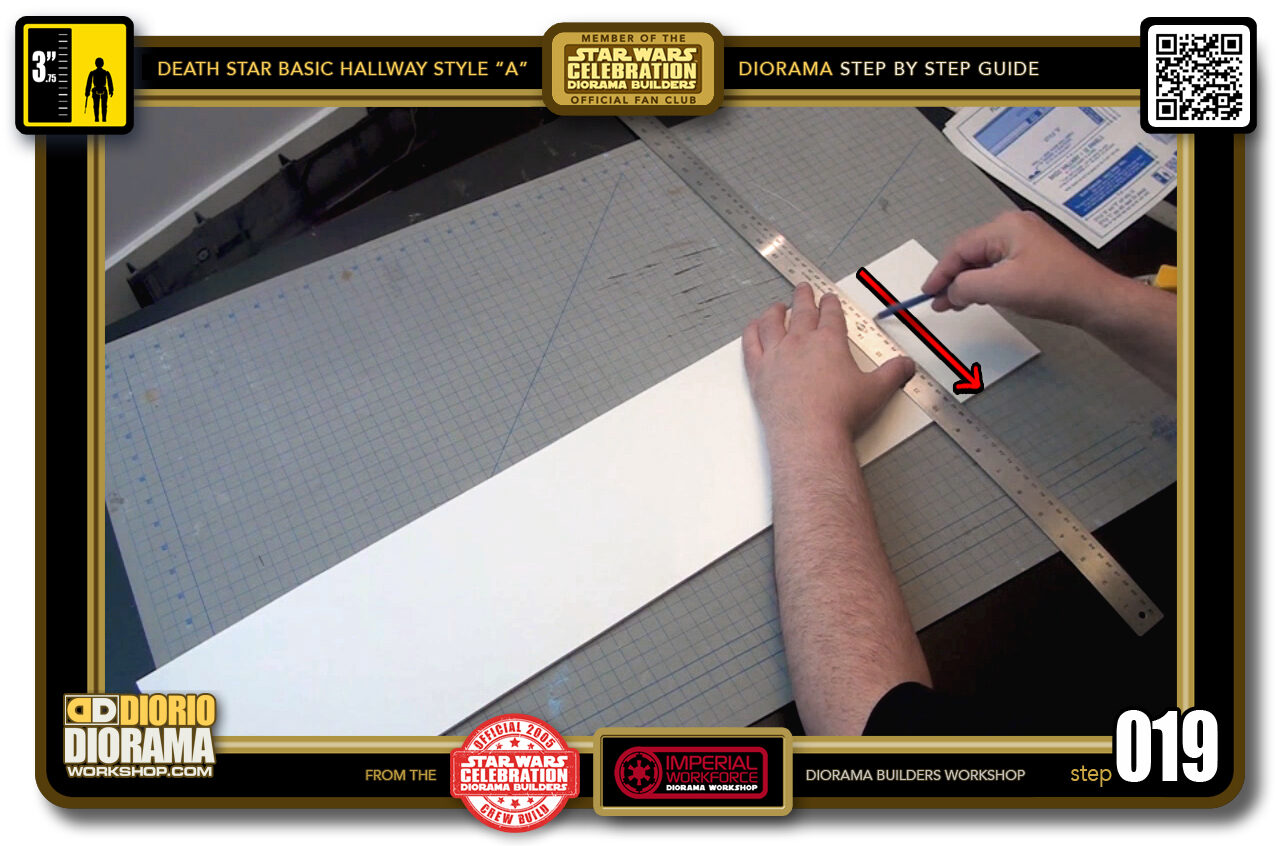
- STEP 019 > Grab you ruler, align your pencil marks and draw a connecting line with your pencil.
-

- STEP 020 > Now all pieces are 2 cm in height. So just place a pencil mark at 2 cm, 4 cm and 6 cm on each side of your rectangle.

.
Did you already build this Diorama ? At home or at our Star Wars Celebration Diorama Builders workshop ? Would you like to show it in the site’s GALLERY VISITORS DIORAMAS section, YES ? That is Awesome !!! You can find out all the details on how to email me your photos on the VISITORS SUBMISSIONS INFO page … When I get your photos, I will create your very own page just like this one. You may not realize it but work does inspire others to join in the fun of making Action Figure Dioramas.
.
NOT FOR RESALE ALL Decals, tutorials and artwork are ©FrankDiorio (dioramaworkshop.com) and offered FOR FREE to the fans – that would be you ? so you can build and display my diorama designs in your very own home. I realize I cannot control what one does with my graphics once I place them on the web, I can only ask you as one fan to another, please respect the artist and do not be that jerk who uses my designs and tutorials to build a copy of my work only to sell it on EBAY or trade/sale groups and forums. Thank You. Frank.
.
.
If you have a facebook account, why not join the Official Diorama Builders Fan Club today, simply click the logo link below.
 .
.
Catch up with fellow visitors and exchange stories, read cool interviews with the crew, exchange photos, fun surprises and grab some FAN ONLY merchandise next year at actual future conventions ?
.
©2018 Frank Diorio DioramaWorkshop.Com
.
IF YOU LIKE WHAT YOU SEE, PLEASE SHARE WITH YOUR FRIENDS
USING THE SOCIAL MEDIA BUTTONS BELOW