


-

- STEP 001 > Well I scraped my initial idea and created this new sketch for the Ultimate Sarlacc Pit 🙂 I decided to make a stand alone instead of placing it on the shelf next to Jabba's Palace. I just did not really have the height I needed to place the skiffs at a proper distance. Here you can see that the 2 skiffs will be on each side of the Sarlacc Pit and behind will be a custom Sail Barge where I will be able to place Slave Leia at her cannon, R2 Lightsaber and some more guards.
-

- STEP 002 > So here you can see the basic box I created using 5 sheets of foam core. They were bonded using a hot glue gun - the best invention I discovered last year 🙂 The measurements are 26" high X 40" wide X 20" deep
-
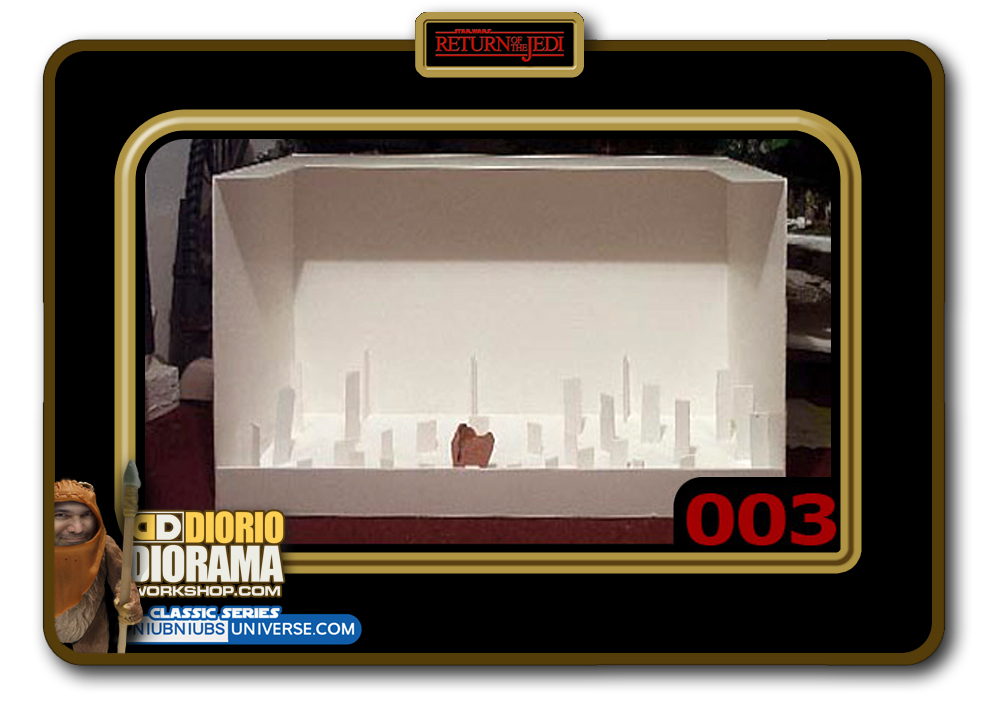
- STEP 003 > Next step I glued foam core rectangles at various heights that will act as a support for the wire mesh.
-
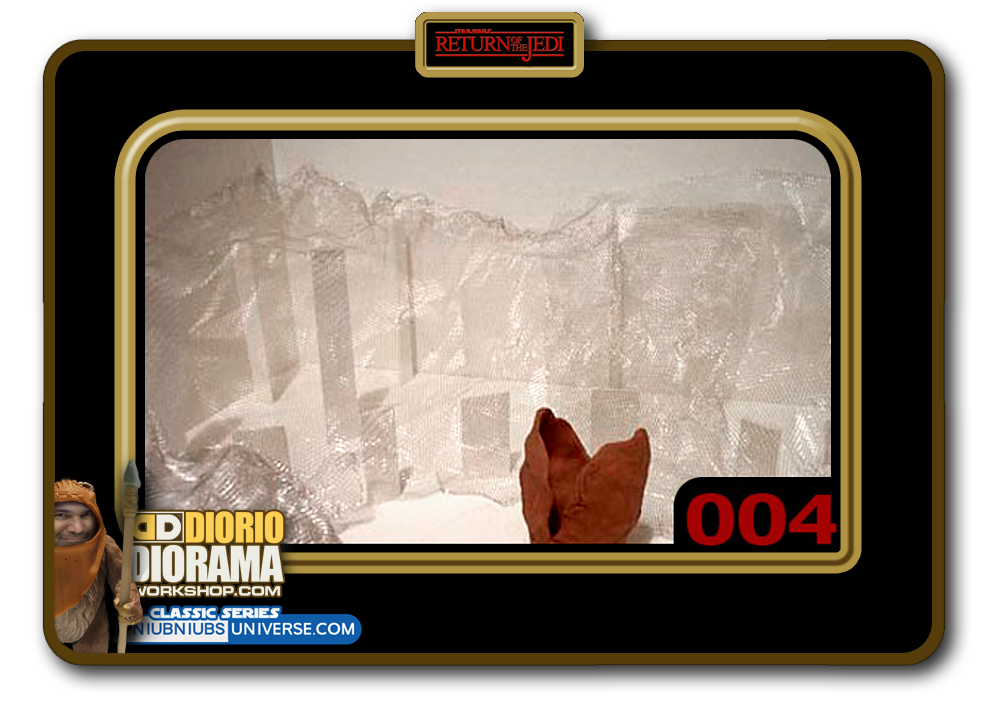
- STEP 004 > It's hard to see but the entire surface is now covered with wire mesh. Found at any art supply store, you can squeeze and wrinkle it to give it a rocky looking surface. The Sarlacc Beak is just a mockup for scale - not the finished version.
-

- STEP 005 > Next step is to cover the entire screen mesh with plaster bandages. This creates a base seal for when it comes time to paint a layer of plaster of paris. Without it, the plaster would just drip and fall through the cracks like a spaghetti strainer.
-

- STEP 006 > Here is a close up of the Sarlacc Pit area. I examined and took notes from my jedi laserdisc. The base is like a trampoline shape, this is where the beak will sit and give the illusion it's popping out from the pit. Above and around this will be the 3 rings of spiked tongues you see in the movie Special Edition.
-
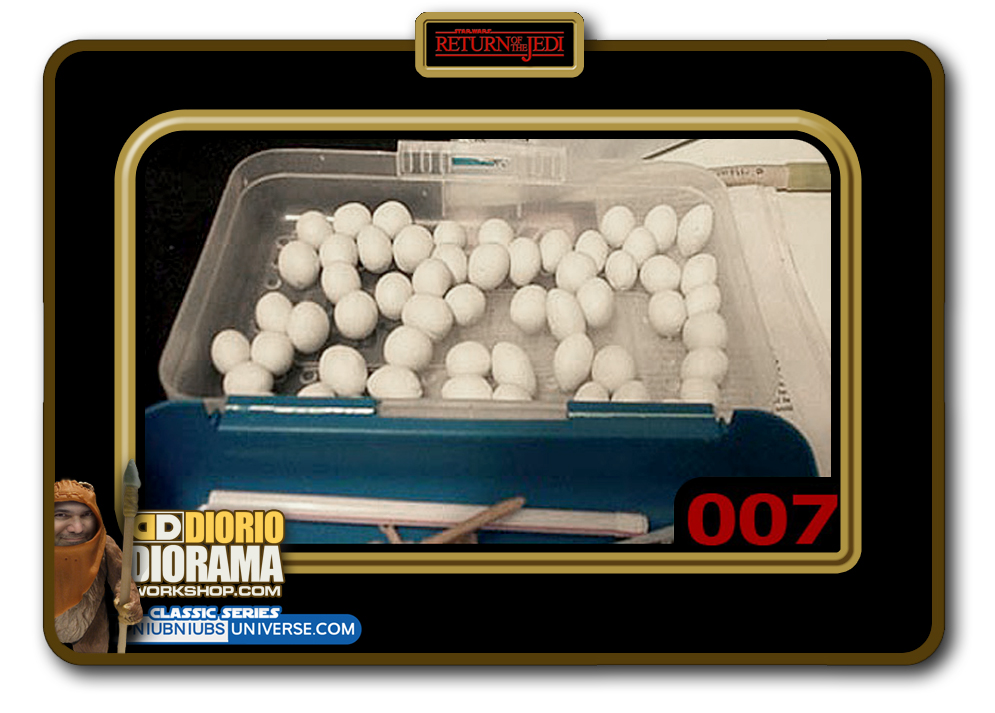
- STEP 007 > Now this is the boring repetitive part 🙁 Using sculpy - or your favorite clay like material - make about 100 little marble sized balls. These when squished will become the little "tongues" that surround the Sarlacc Beak. If you pause the video during a close up of the pit you will understand what I'm talking about 🙂
-
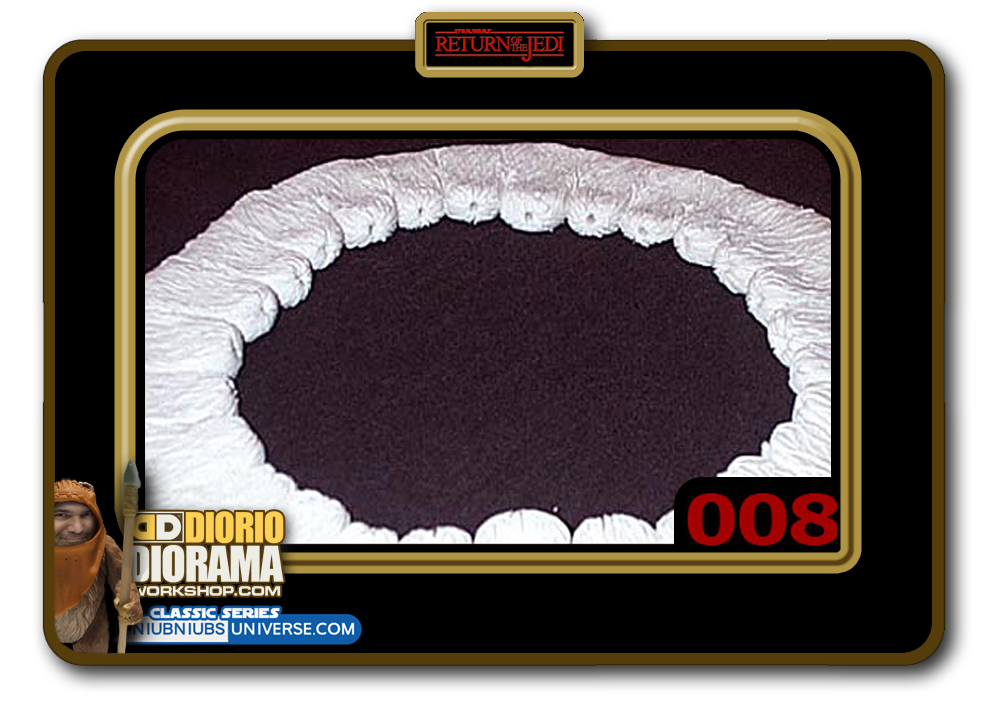
- STEP 008 > After you squish and extend your balls into a tongue shape, place them in a circle and join them together. This is what the first ring of tongues will look like once hardened. I added textured details before cooking the Super Sculpy in the oven. This is what will be placed on top of the "Trampoline" base of Step 006.
-

- STEP 009 > Boy am I sick and tired of making those tongues - LOL - all 96 of them. This is what the 3 levels look like - a lot of tedious work but I think it makes it worth it no? All that's missing now are the 96 little thorns - oh noooo ! LOL.
-
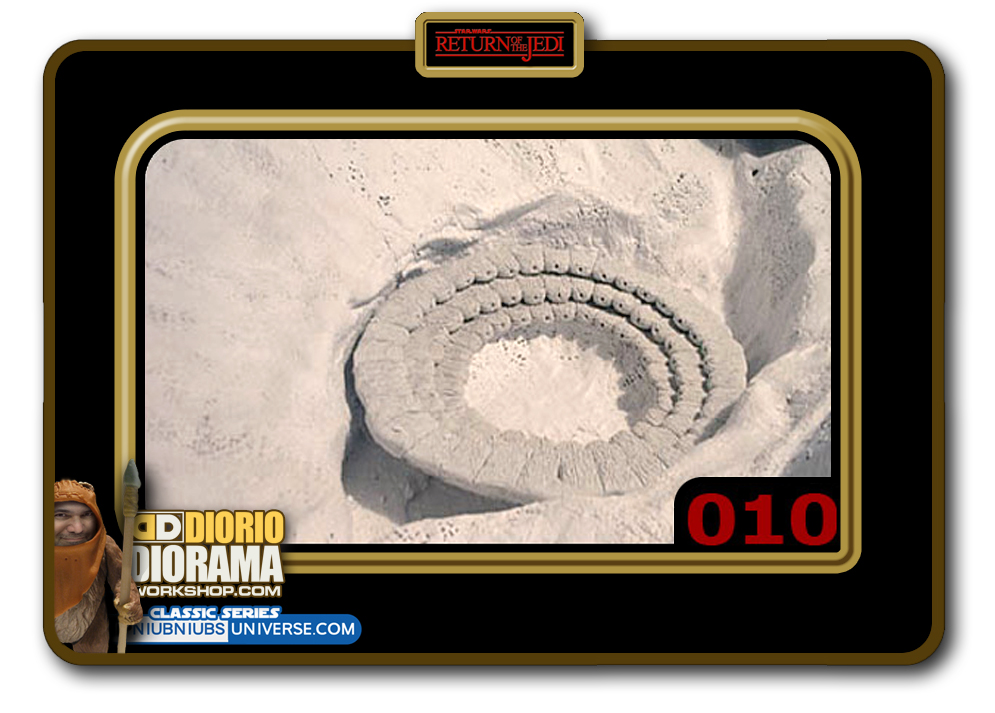
- STEP 010 > This is what the tongue circle looks like when put in it's appropriate place.
-
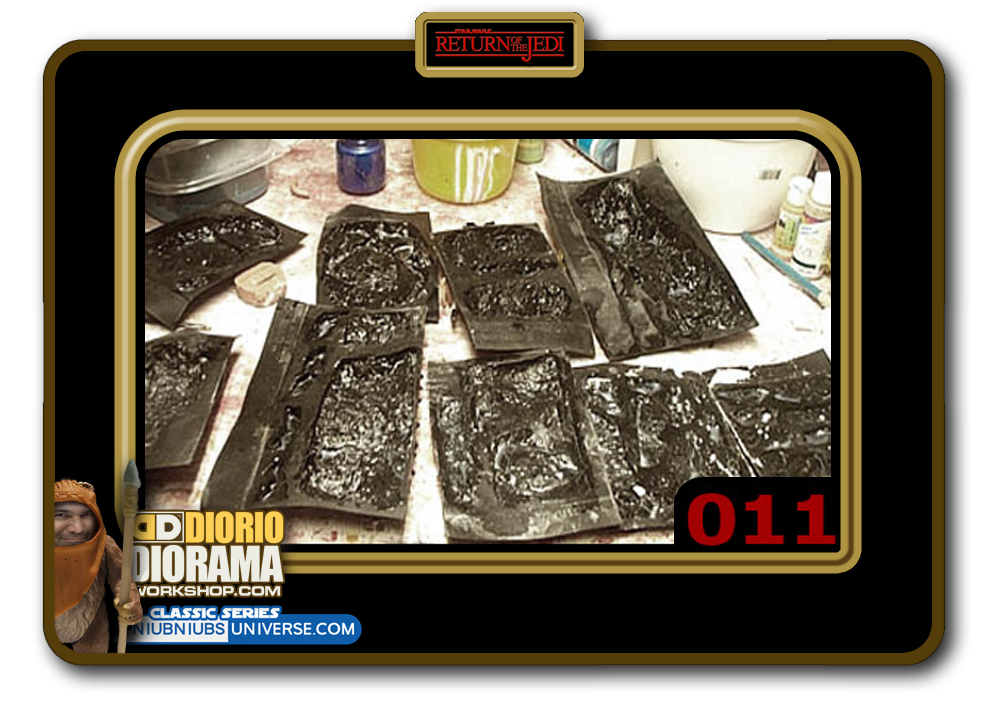
- STEP 011 > Now it's time to make the "rock" crater that the Sarlacc calls his nesting place. These rubber rock molds can be bought in any hobby store and easier than sculpting, chipping away plaster to look like rock. They are scaled for miniature train sets but work wonders in the Star Wars universe as well 🙂 First brush soapy water into the molds so the plaster will not stick inside them when dried.
-

- STEP 012 > This is the easy part. Pour plaster of paris into the molds and wait till the plaster hardens. Maybe 15-30 minutes depending how much water you mixed in with the plaster.
-
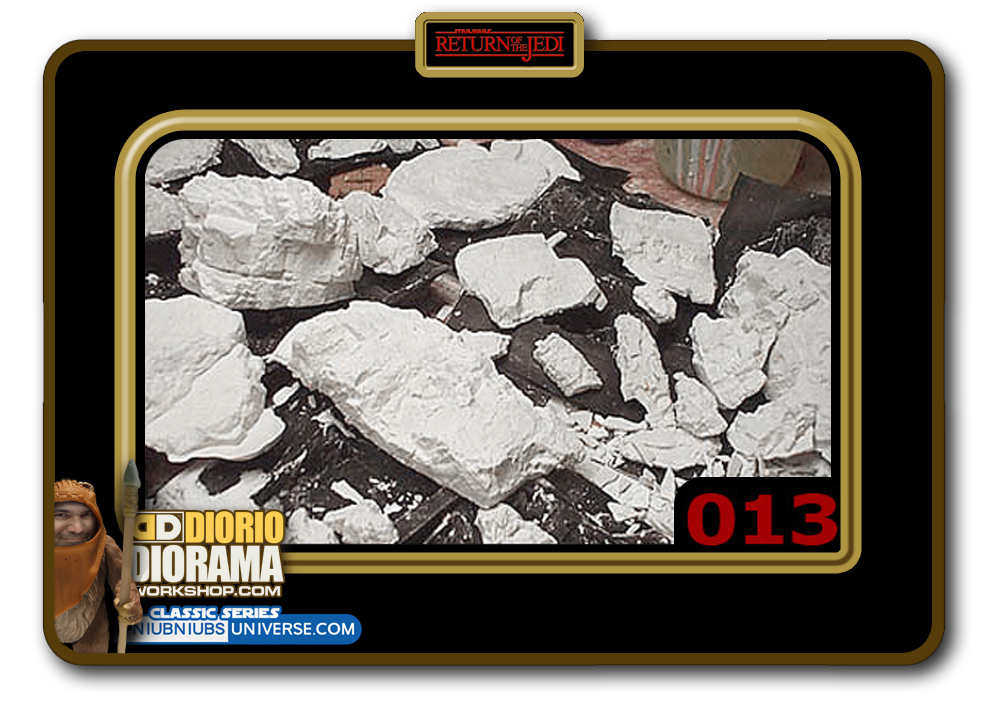
- STEP 013 > Tada ... Like magic we have rocky cliff chunks everywhere after we remove the plaster from the molds.
-
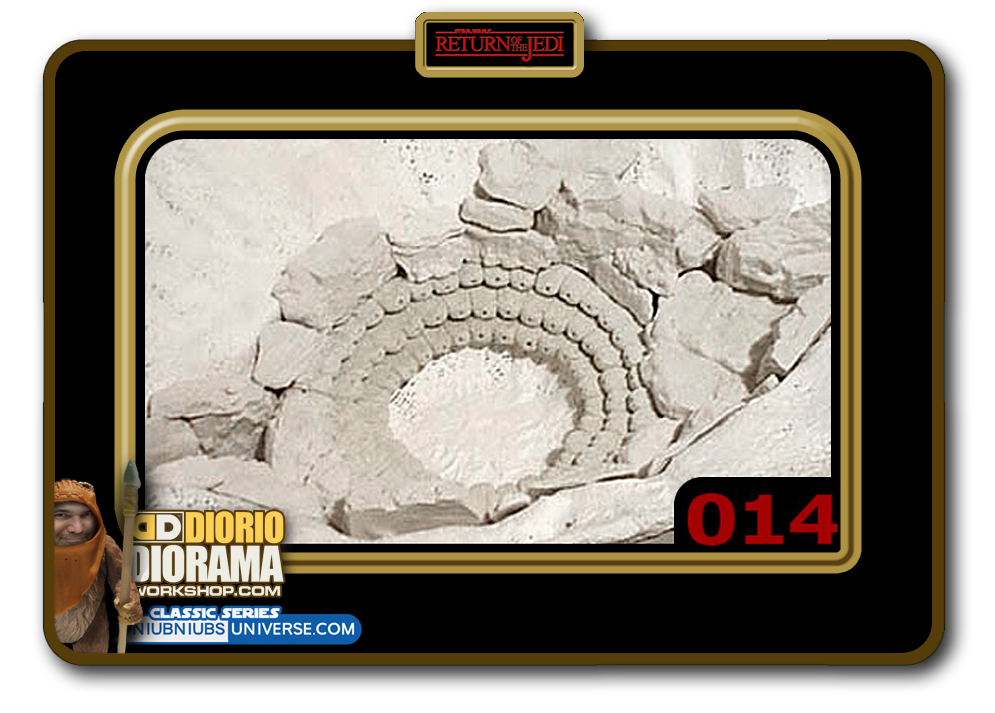
- STEP 014 > Now it's time to place all our rock pieces into an interesting shape. Kinda like a puzzle, what piece looks good here, what works better there etc... The pattern possibilities are endless, no 2 builders would likely make the exact same shapes.
-
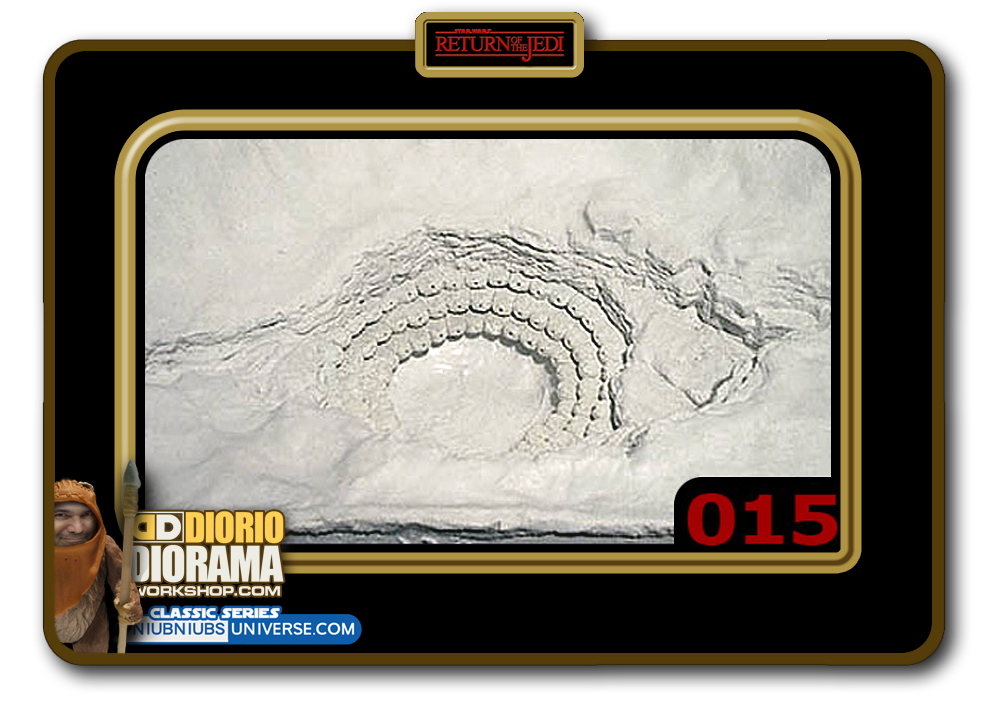
- STEP 015 > After you decided where all the pieces go, mix some plater of paris and pour it gently into the cracks filling the seams and bonding everything together. IMPORTANT: DO NOT go TOO FAST as you don't want to cover your rock textures and lose the rocky look. Also I painted a coat of plaster of paris onto the exposed plaster bandages to make a smooth landscape. Now we are getting close to a finished pit - what do you think?
-
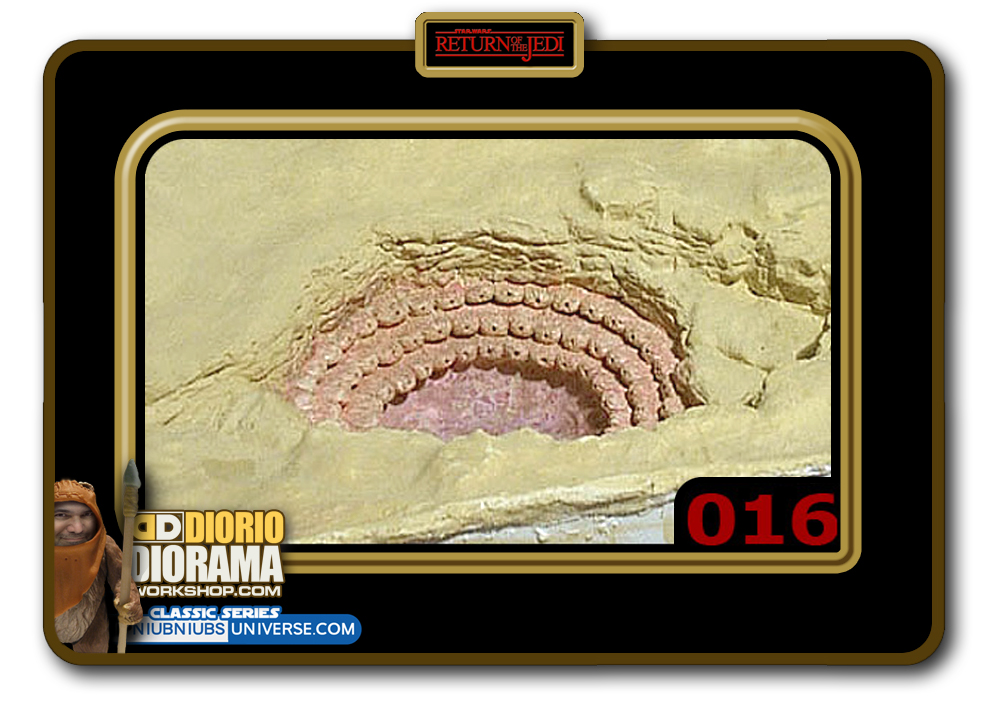
- STEP 016 > Now it's time to paint the plaster and Super Sculpy using watered down latex paint. I used a yellowish color for everything desert since I will be covering all of this with sawdust later on. I looked at still images on Laserdisc and in books to get the fleshy color of the Sarlacc's insides.
-
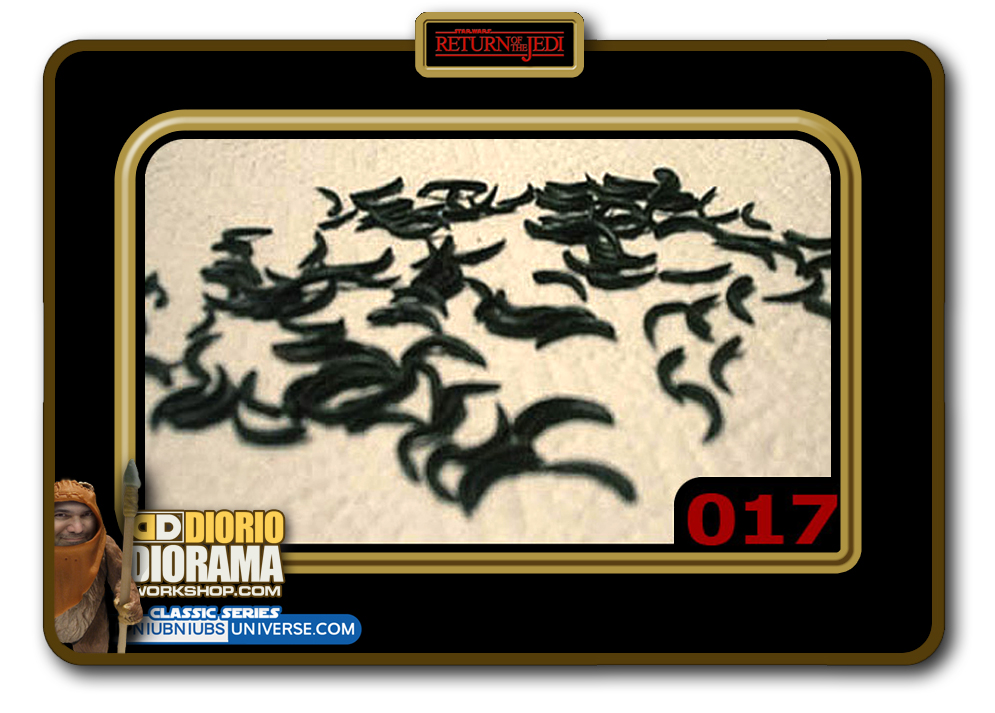
- STEP 017 > I thought making tongues was boring - Try saving your cat's toe nail clippings - it may go faster LOL. I actually ended up making 95 of these thorns out of super sculpy. This is what happens when you leave them too long in the oven. They stink and turn black - PEEYOU.
-
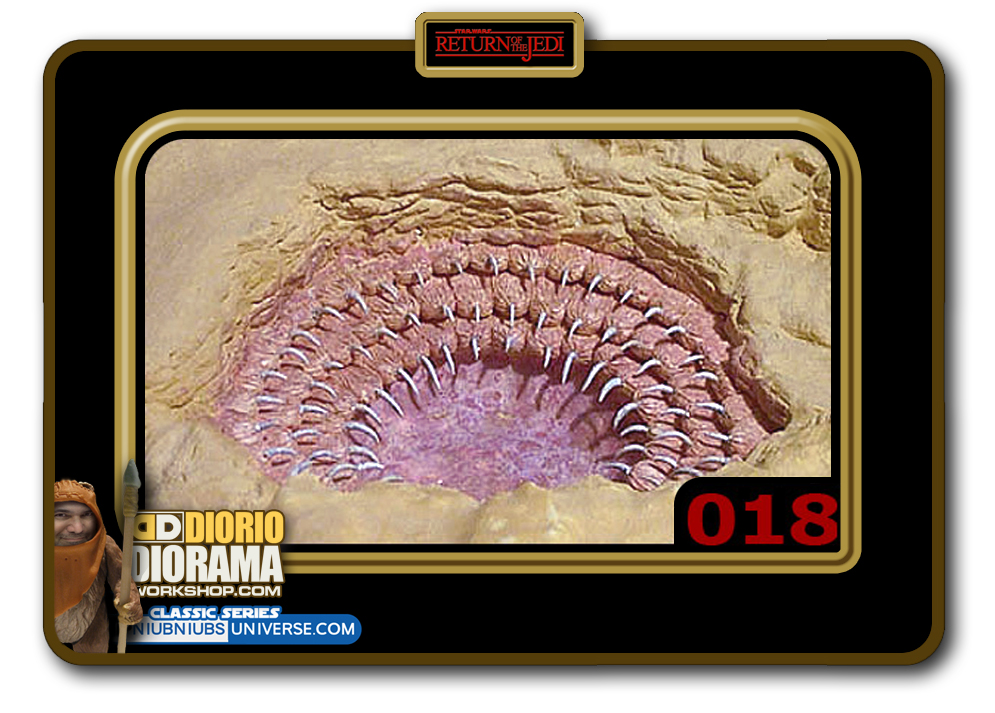
- STEP 018 > Now we're cooking, this is what the thorns look like glued into the tongues holes and painted with latex white/beige paint.
-
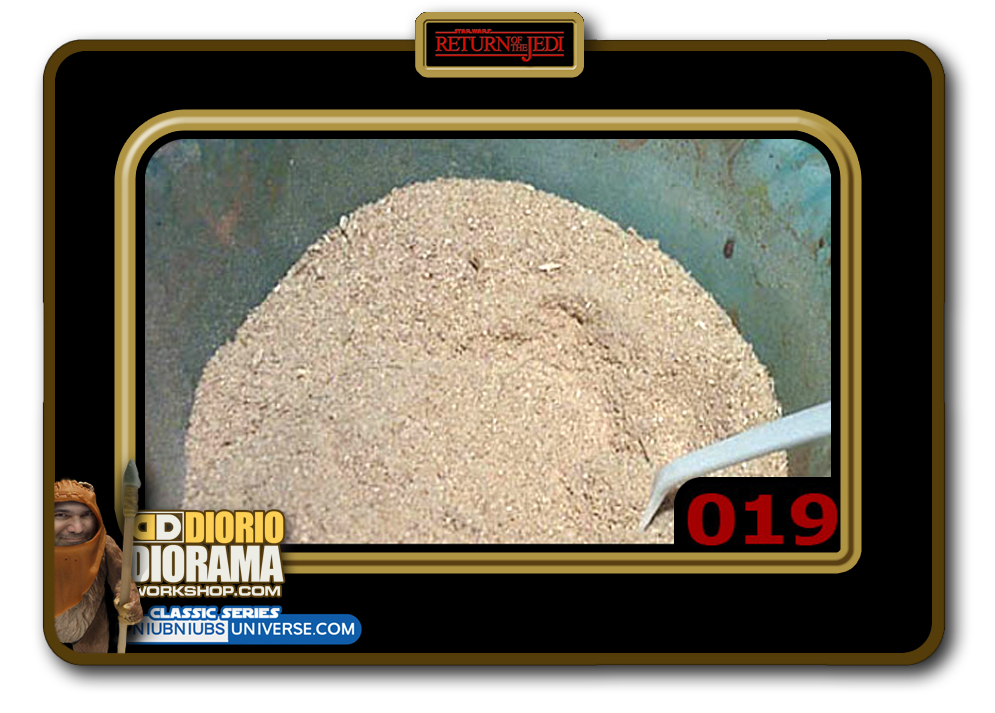
- STEP 019 > Next step is to find some sawdust. I used my circular saw and sliced up presswood. I find that it looks a lot like sand when used in a diorama and a lot less messy. Sand gets in everywhere, sawdust lighter and easier to vacuum the leftover mess..
-
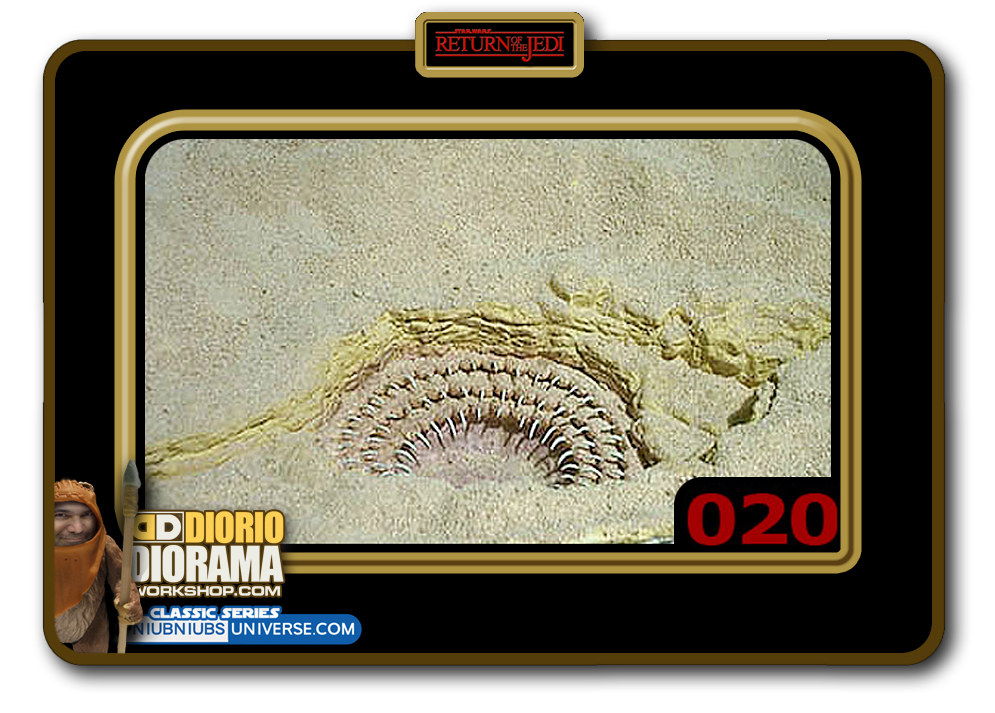
- STEP 020 > To keep the sawdust from blowing away, paint the plaster first with a mixture of 50% water + 50% white glue. Sprinkling the sawdust over the glue before it dries and we get this cool sandy looking texture. Let it dry for a couple hours.

.
Did you already build this Diorama ? At home or at our Star Wars Celebration Diorama Builders workshop ? Would you like to show it in the site’s GALLERY VISITORS DIORAMAS section, YES ? That is Awesome !!! You can find out all the details on how to email me your photos on the VISITORS SUBMISSIONS INFO page … When I get your photos, I will create your very own page just like this one. You may not realize it but work does inspire others to join in the fun of making Action Figure Dioramas.
.
NOT FOR RESALE ALL Decals, tutorials and artwork are ©FrankDiorio (dioramaworkshop.com) and offered FOR FREE to the fans – that would be you ? so you can build and display my diorama designs in your very own home. I realize I cannot control what one does with my graphics once I place them on the web, I can only ask you as one fan to another, please respect the artist and do not be that jerk who uses my designs and tutorials to build a copy of my work only to sell it on EBAY or trade/sale groups and forums. Thank You. Frank.
![]() Catch up with fellow visitors and exchange stories, read cool interviews with the crew, exchange photos, fun surprises and grab some FAN ONLY merchandise next year at actual future conventions ?
Catch up with fellow visitors and exchange stories, read cool interviews with the crew, exchange photos, fun surprises and grab some FAN ONLY merchandise next year at actual future conventions ?
.
©2018 Frank Diorio DioramaWorkshop.Com
.
IF YOU LIKE WHAT YOU SEE, PLEASE SHARE WITH YOUR FRIENDS
USING THE SOCIAL MEDIA BUTTONS BELOW