


-
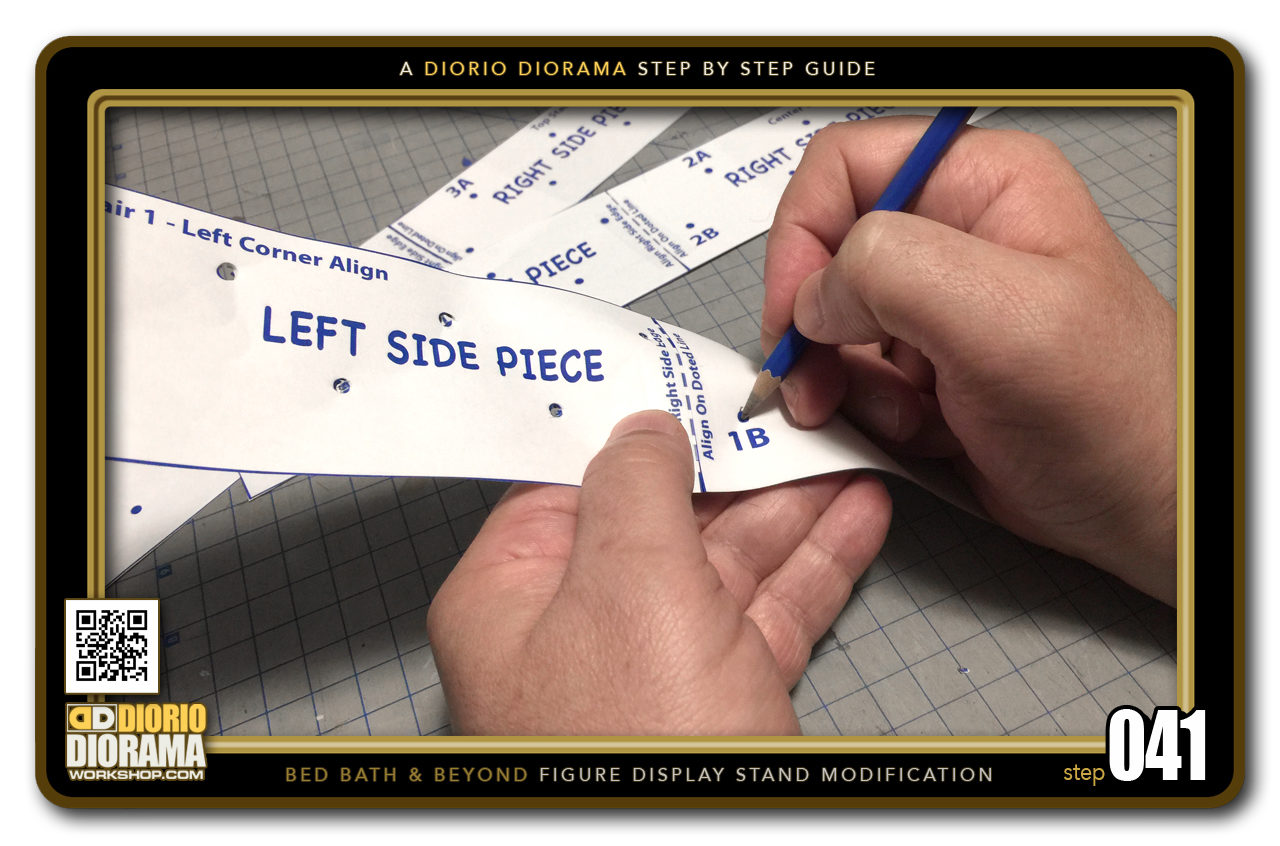
- STEP 041 > Now the technique is a little different for the first 2 dots on the RIGHT SIDE of your stair template.
-
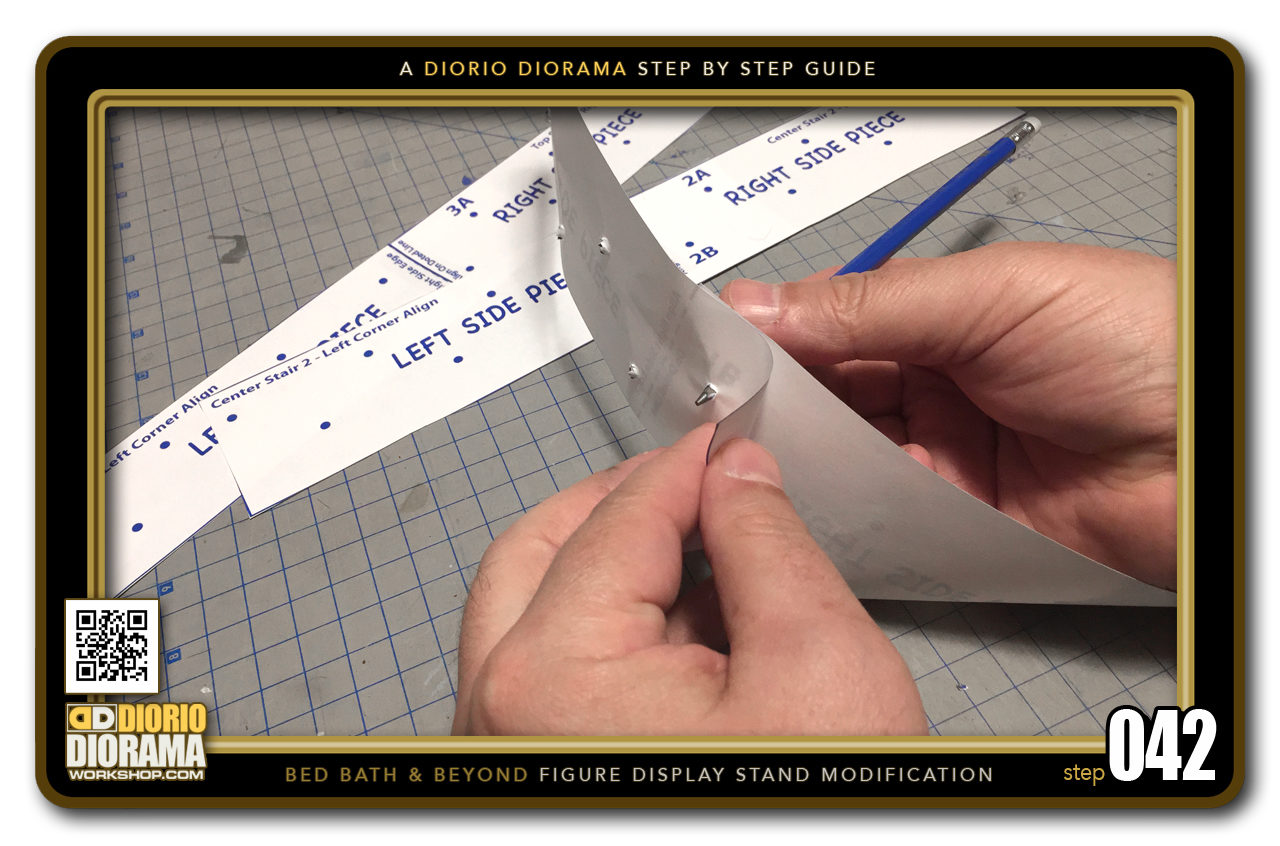
- STEP 042 > Because you placed 2 sheets of paper on top of each other, you will have to push a little harder to get your pencil all the way through. I say this because you have to MAKE SURE to NOT stick the pencil into your finger when pushing harder 😛
-
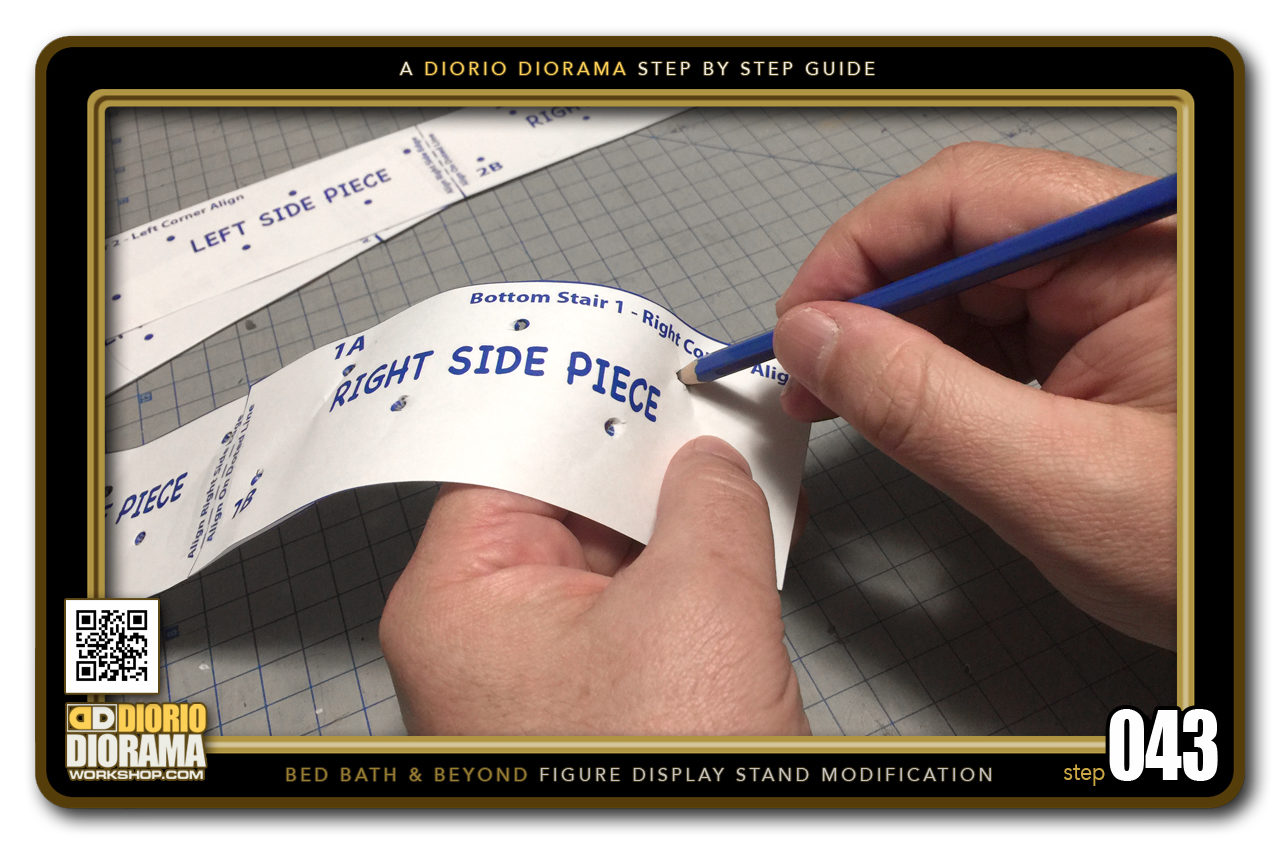
- STEP 043 > For the rest of the dots, it's just like you did on the LEFT SIDE of your BOTTOM STAIR 1 sheet.
-
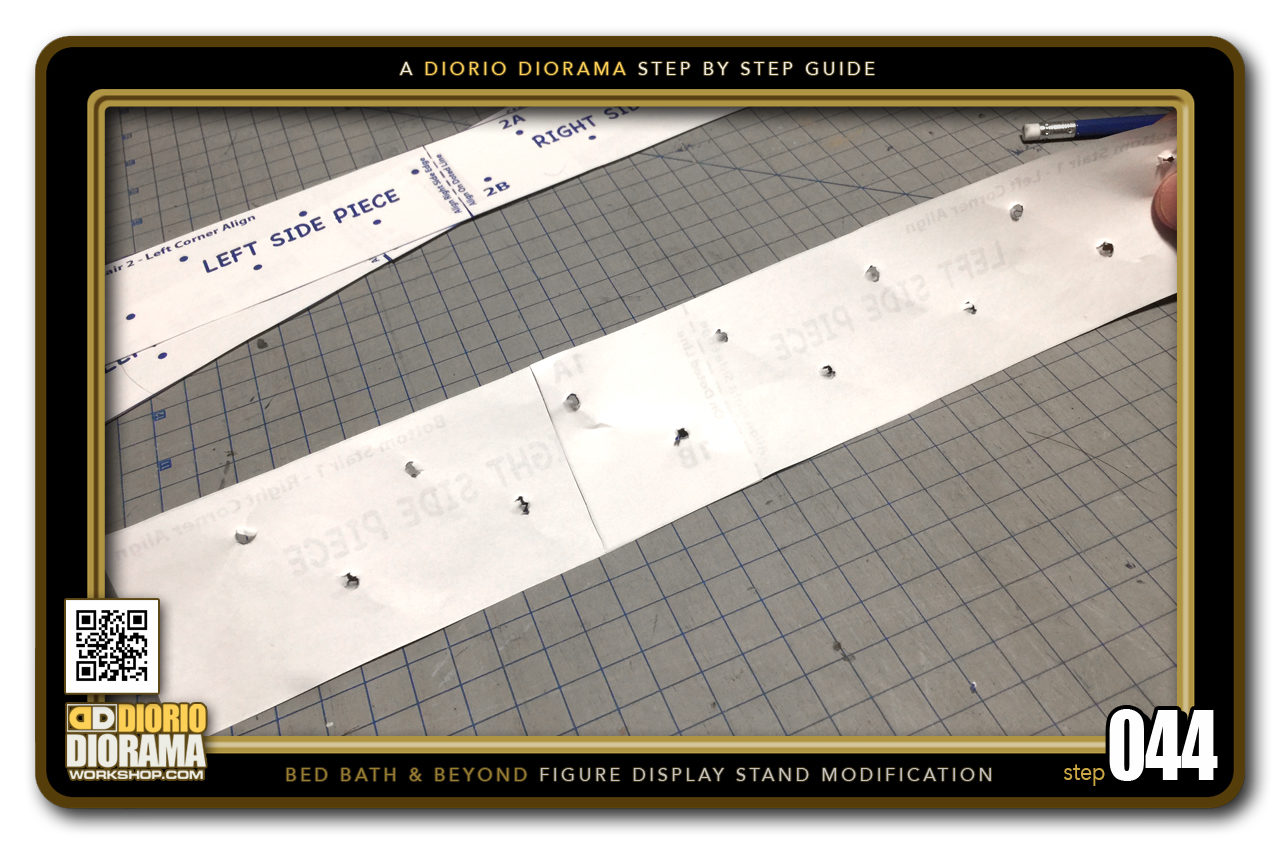
- STEP 044 > An easy way to check and see if you got all the dots done is to flip the paper which let's you see right away where the pencil came through the paper.
-
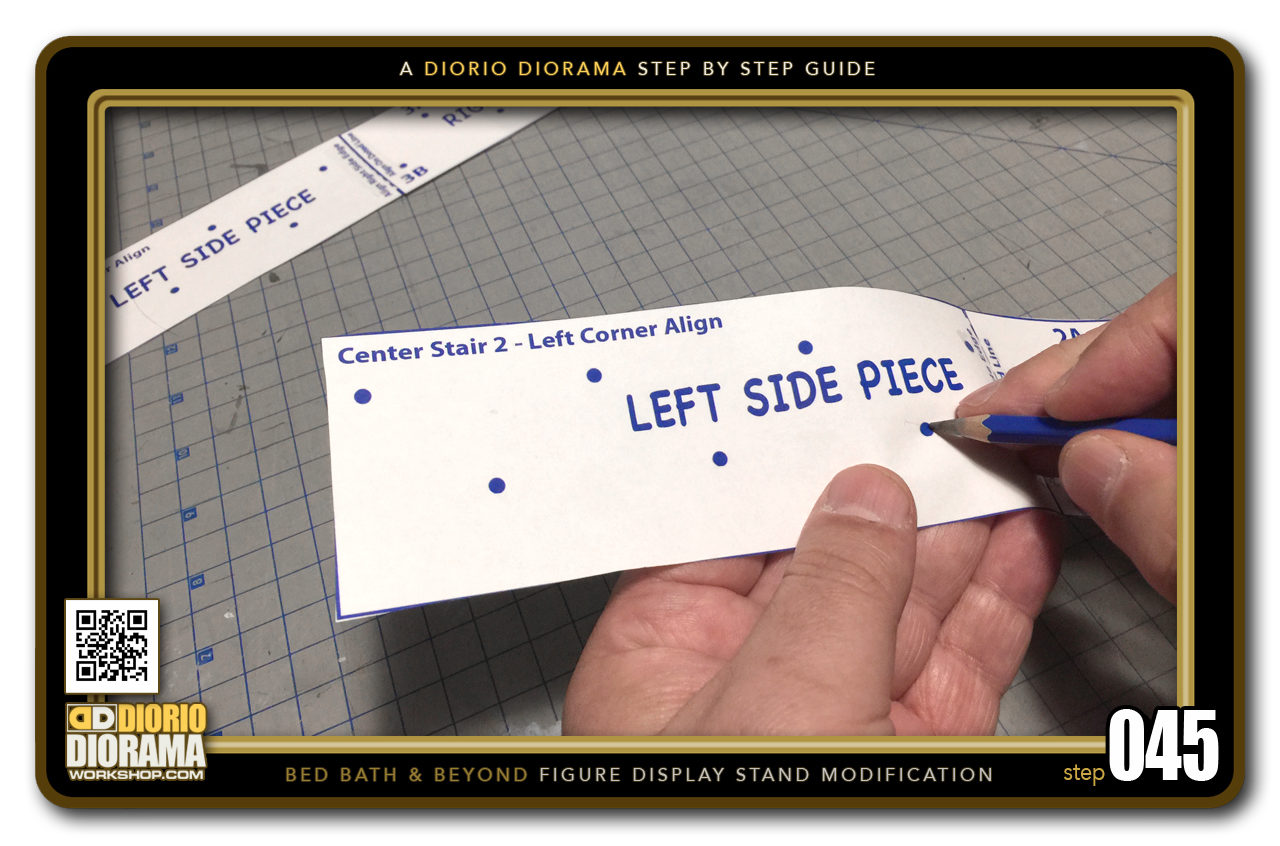
- STEP 045 > Time to repeat on CENTER STAIR 2 Template. Pick a dot and continue your way through all of them.
-
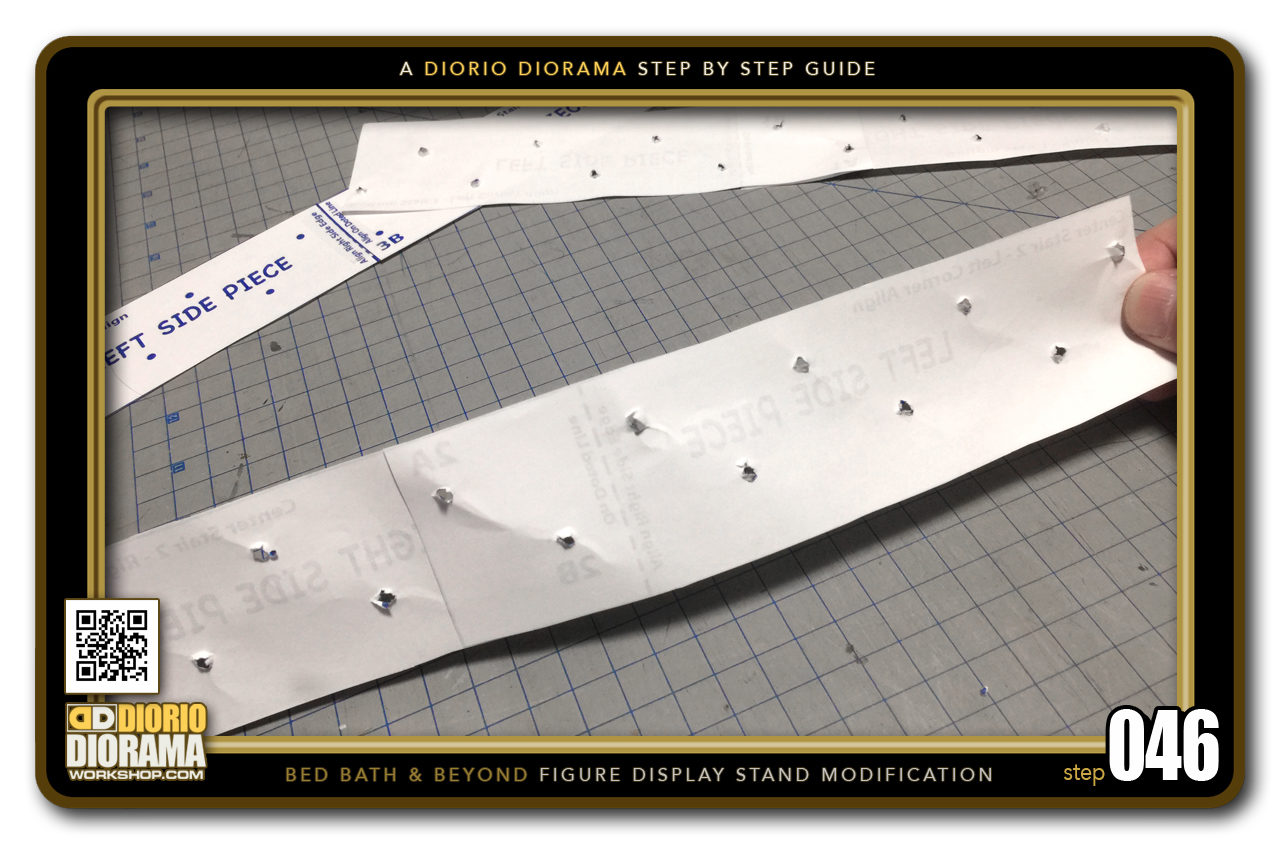
- STEP 046 > Flip your Template over to verify you didn't miss a dot.
-

- STEP 047 > Grab your TOP STAIR 3 Template and poke away for one last time.
-
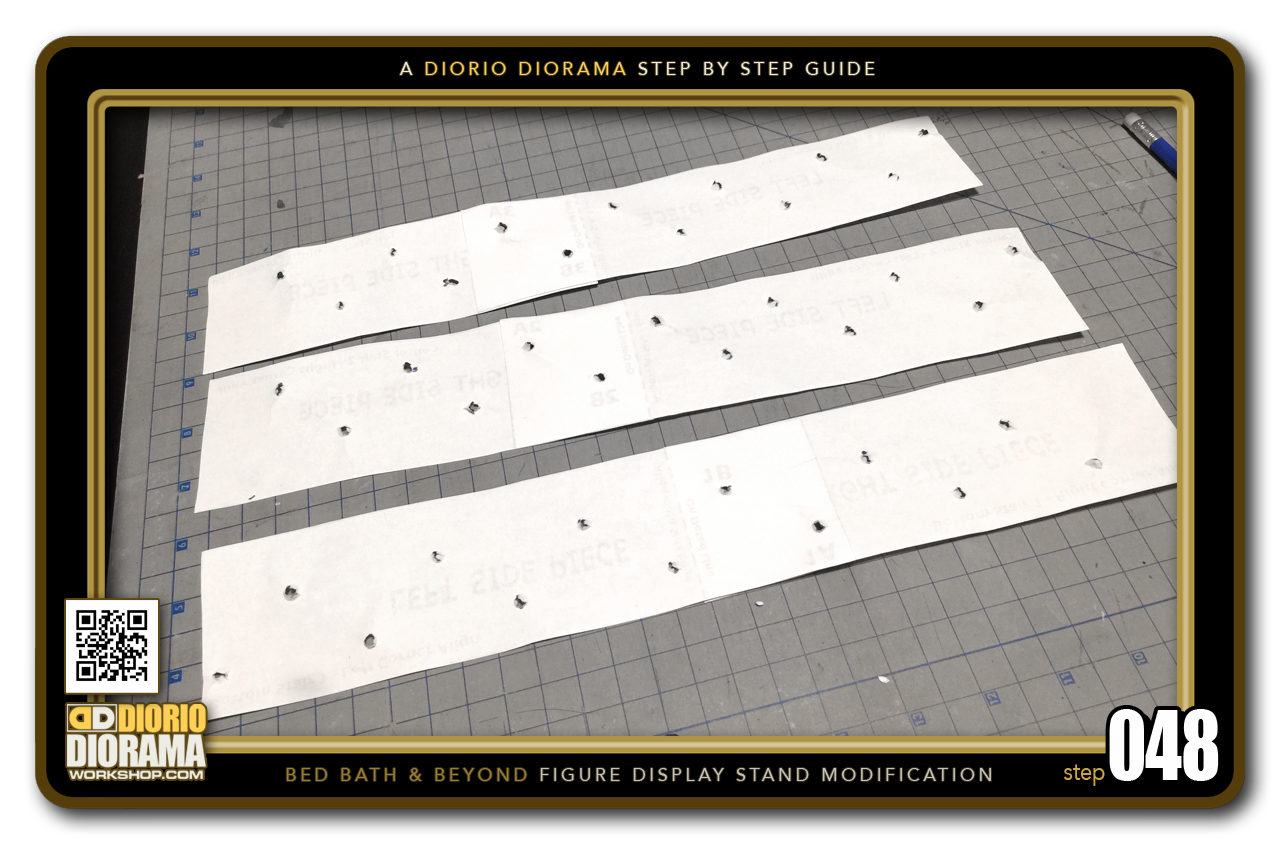
- STEP 048 > Your 3 Templates should now look like this.
-
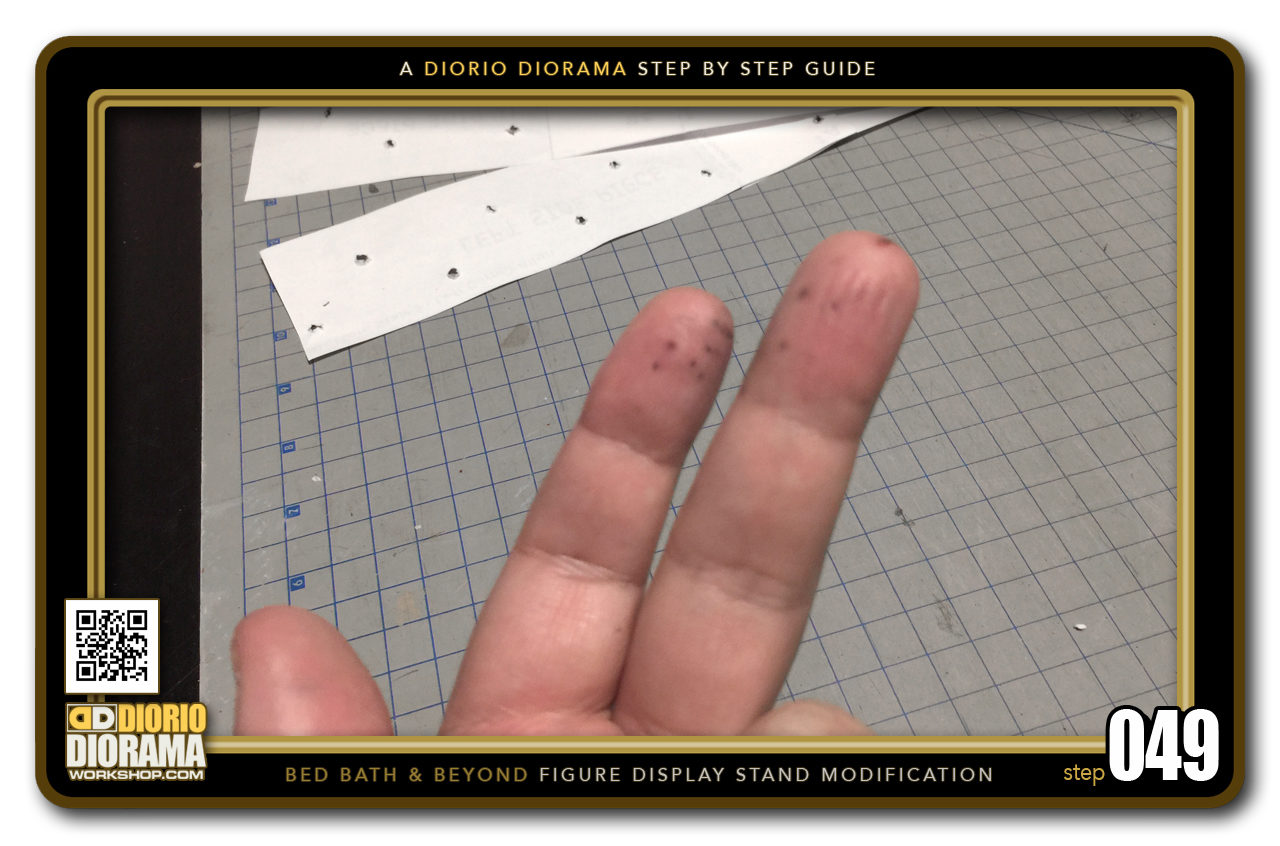
- STEP 049 > Your fingers may look like this at this point too 🙂 At least there is no blood 🙂
-
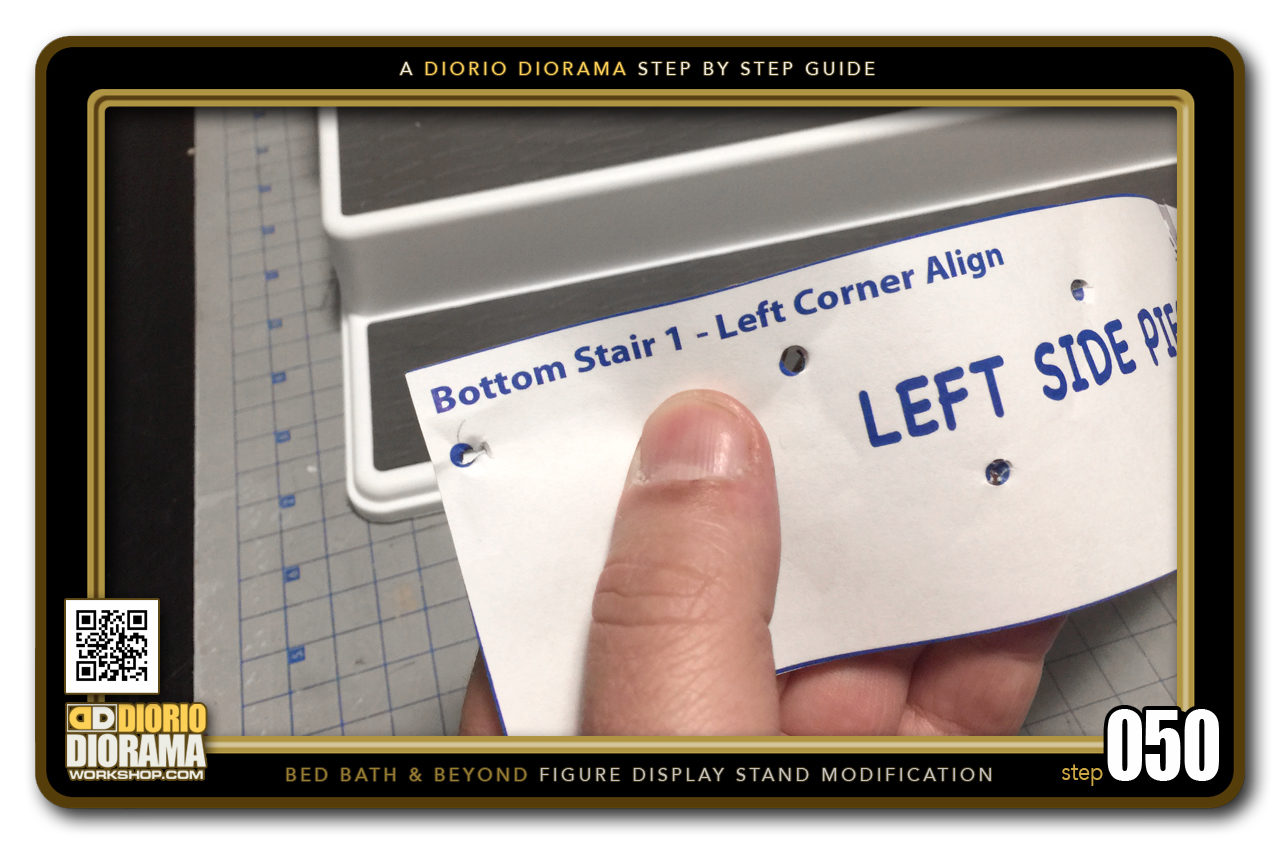
- STEP 050 > Now grab your BOTTOM STAIR 1 TEMPLATE. You want to take the UPPER LEFT CORNER...
-
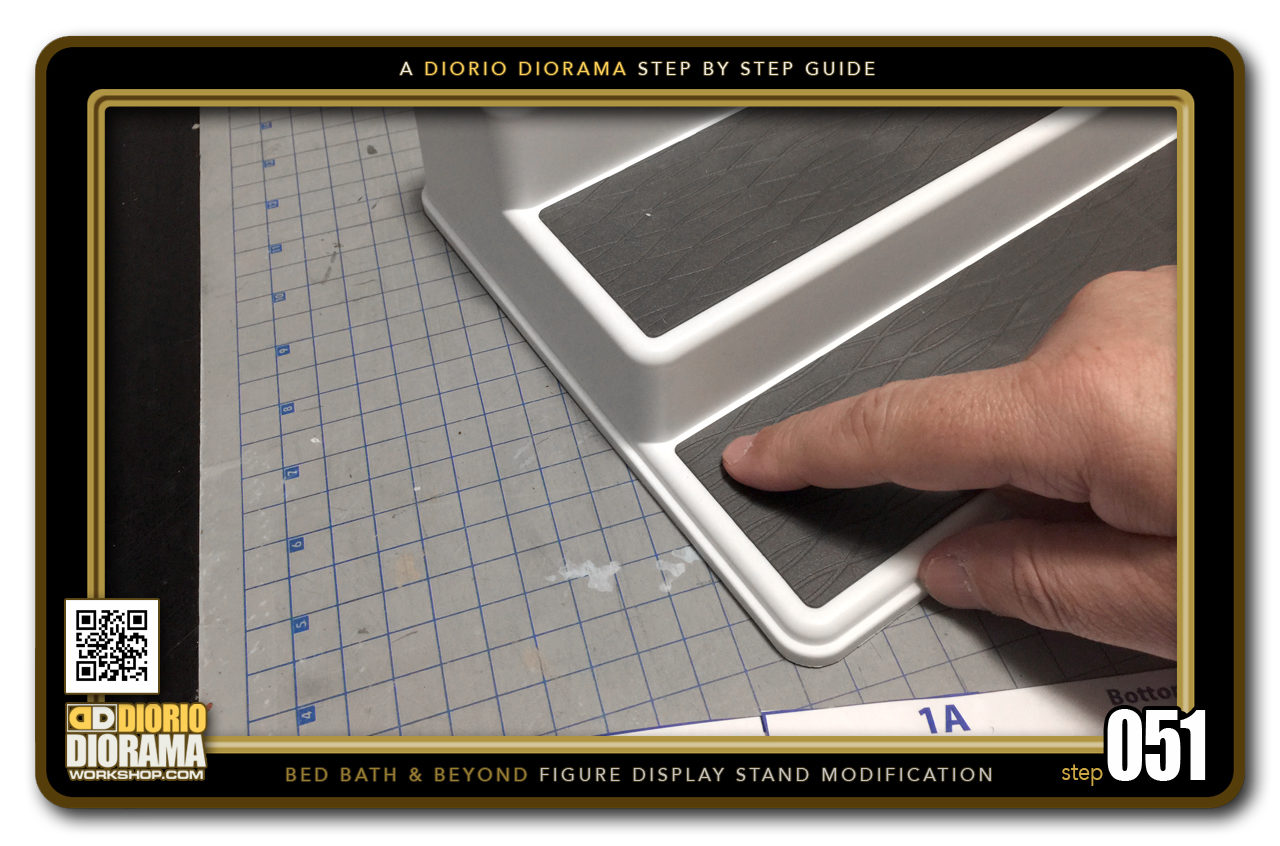
- STEP 051 > It will be aligned the the TOP LEFT CORNER of the rubber pad.
-
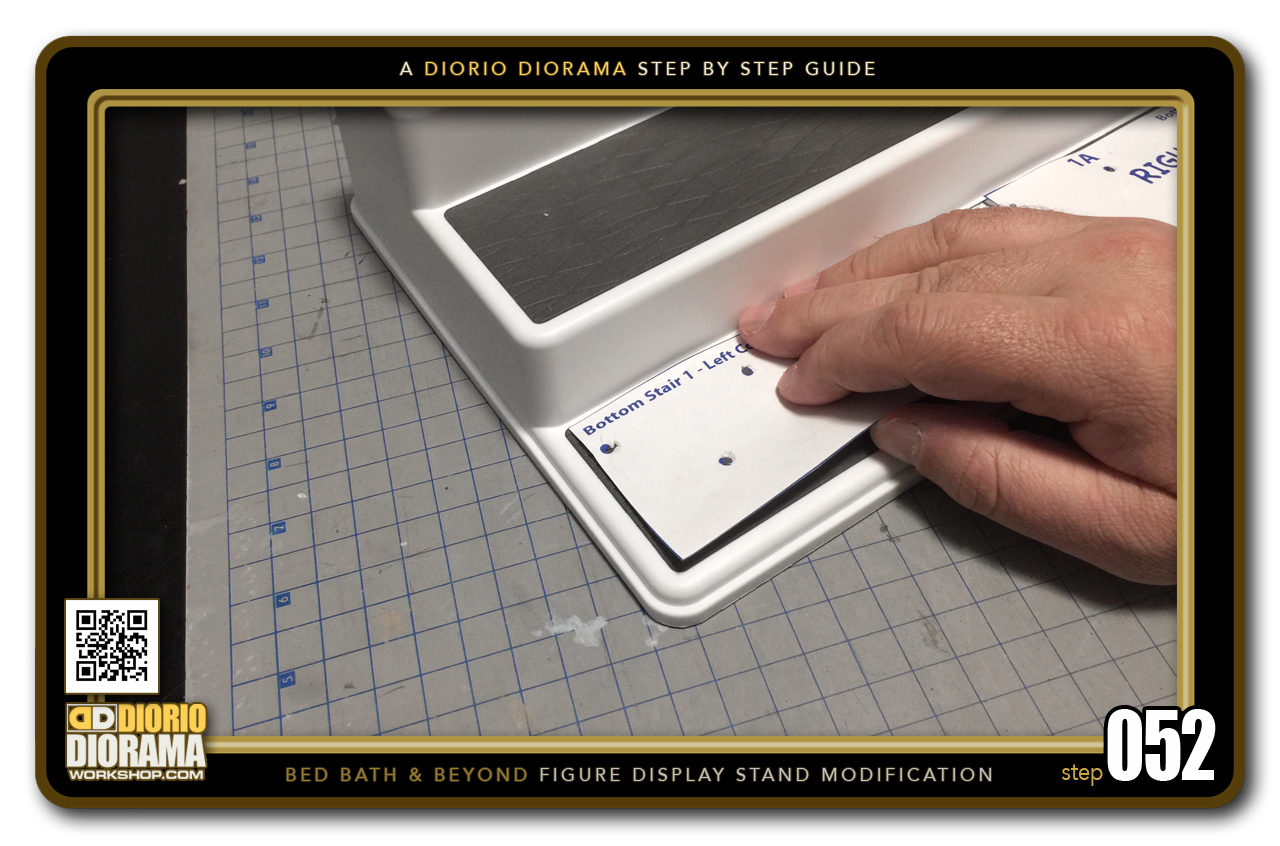
- STEP 052 > Simply place it like this, it should fit and hide the rubber pad surface.
-
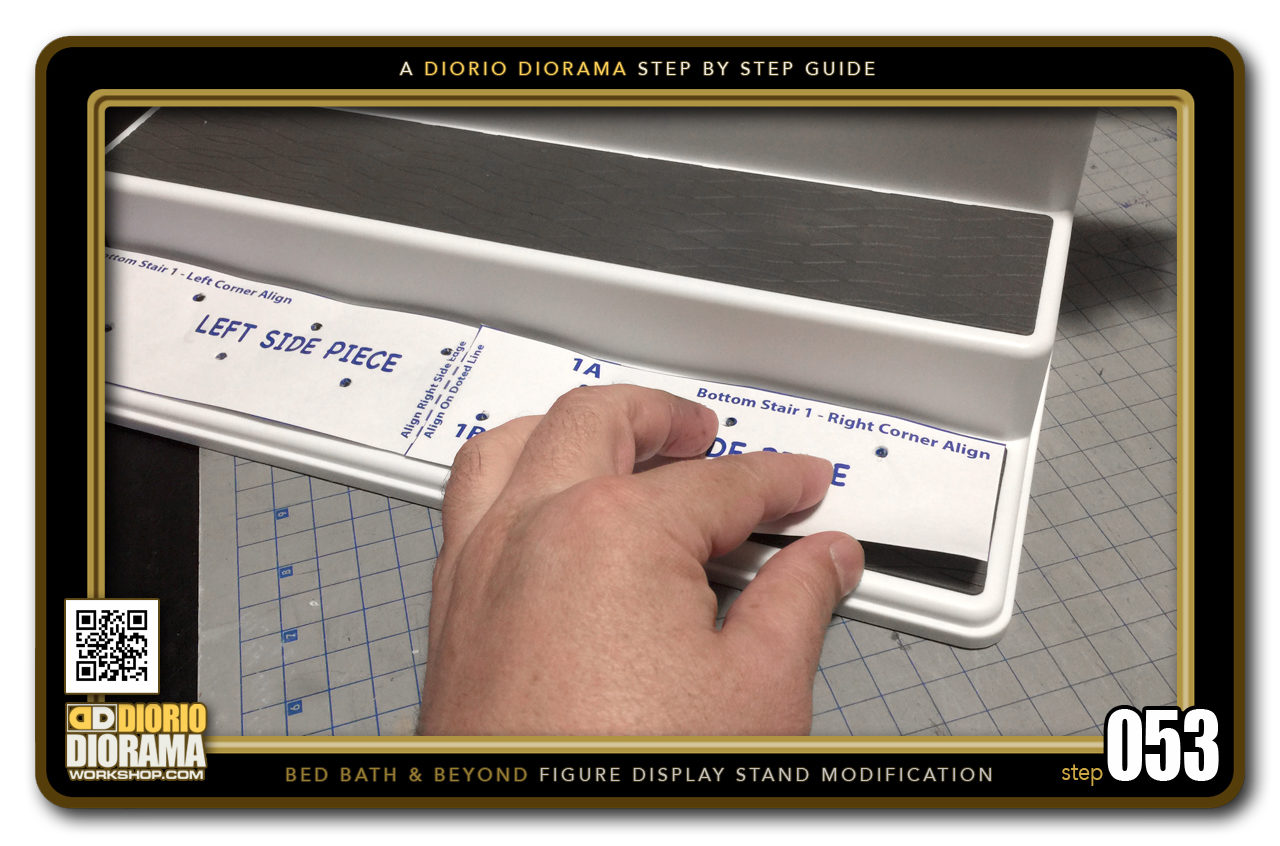
- STEP 053 > Move to the right side and make sure it all aligns and fits on top of the entire rubber pad surface.
-
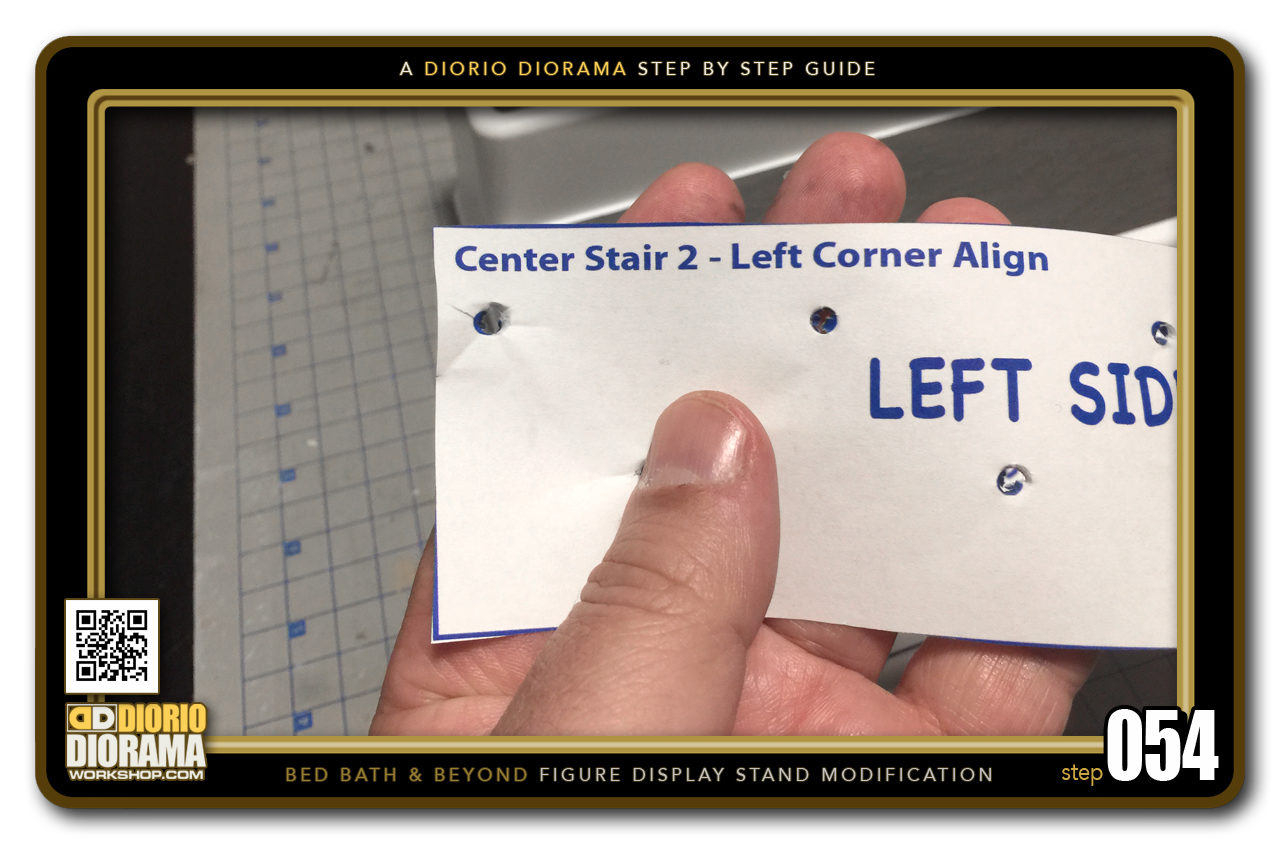
- STEP 054 > Time to grab your CENTER STAIR 2 Template.
-
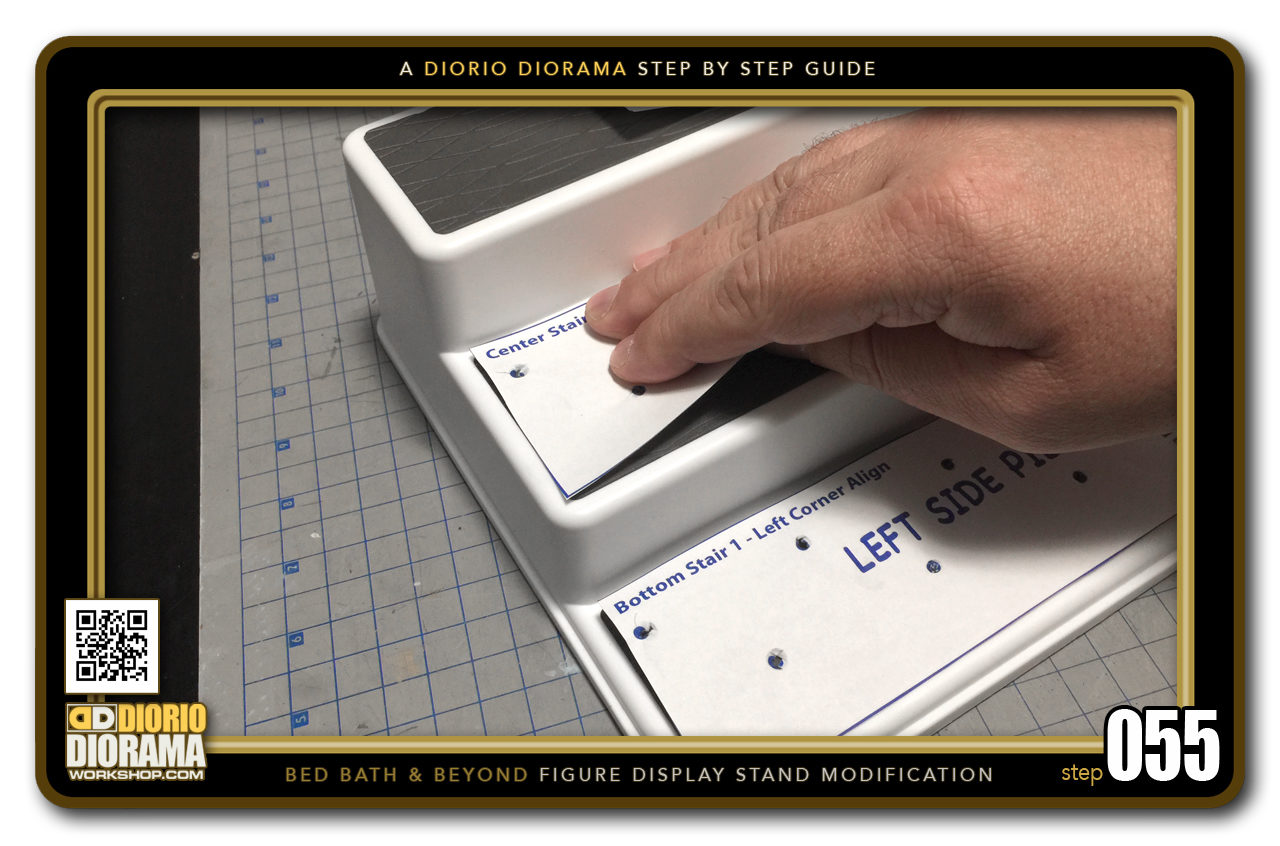
- STEP 055 > Again as you did below, place and align the TOP LEFT CORNER with the rubber Surface. It should fit pretty well and cover it all.
-

- STEP 056 > Move to the right side of the CENTER STAIR 2 and align it so that it covers the Rubber Surface completely.
-
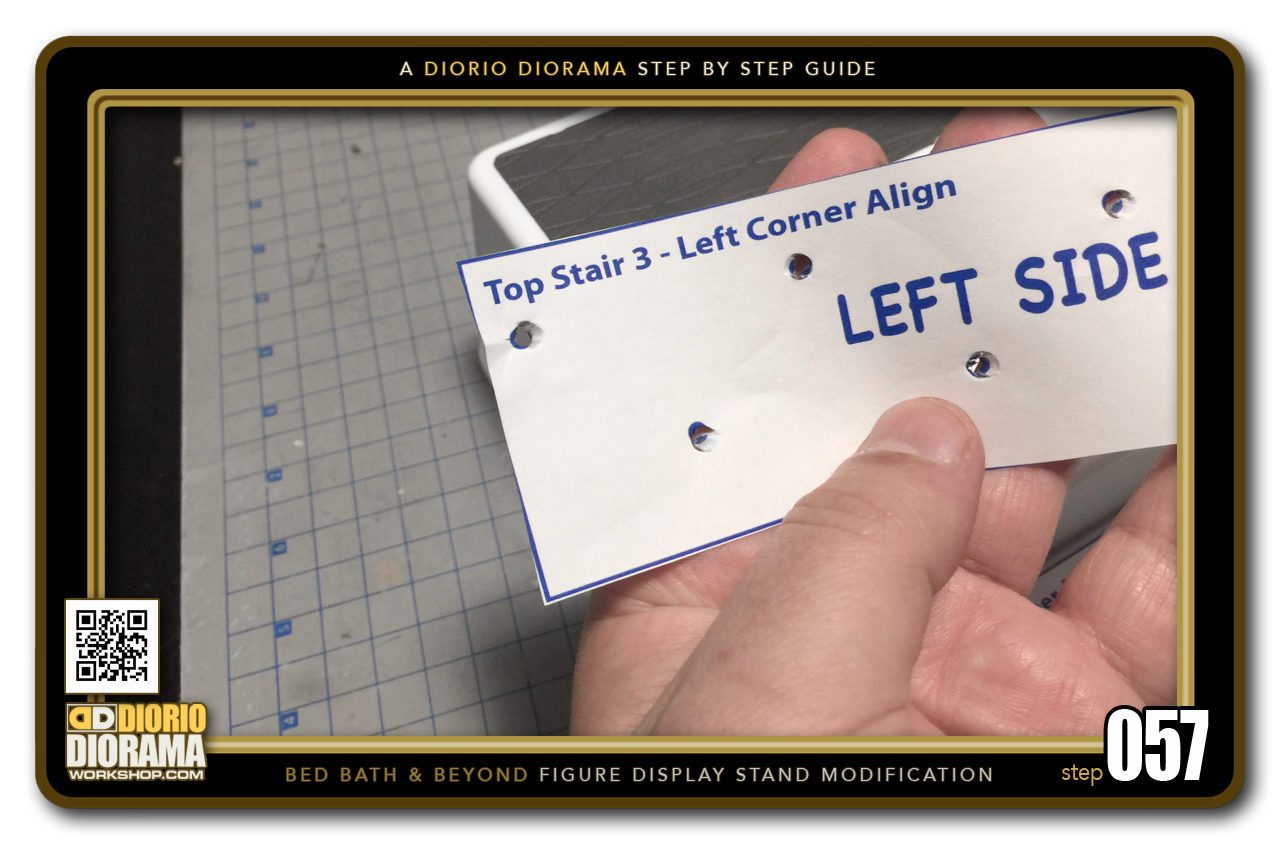
- STEP 057 > Now grab the TOP STAIR 3 piece and as you can guess...
-
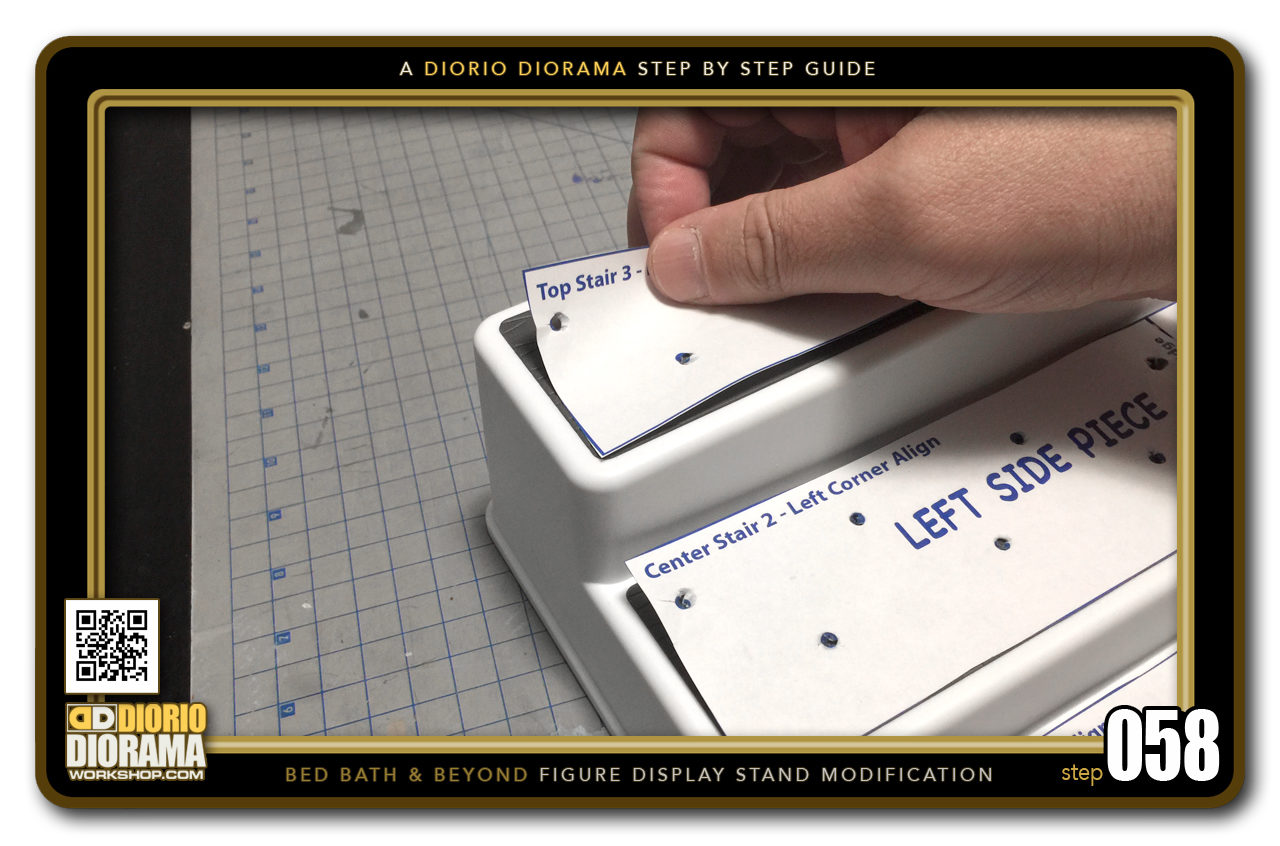
- STEP 058 > Place it onto the TOP STAIR 3 aligned with the Rubber Surface.
-
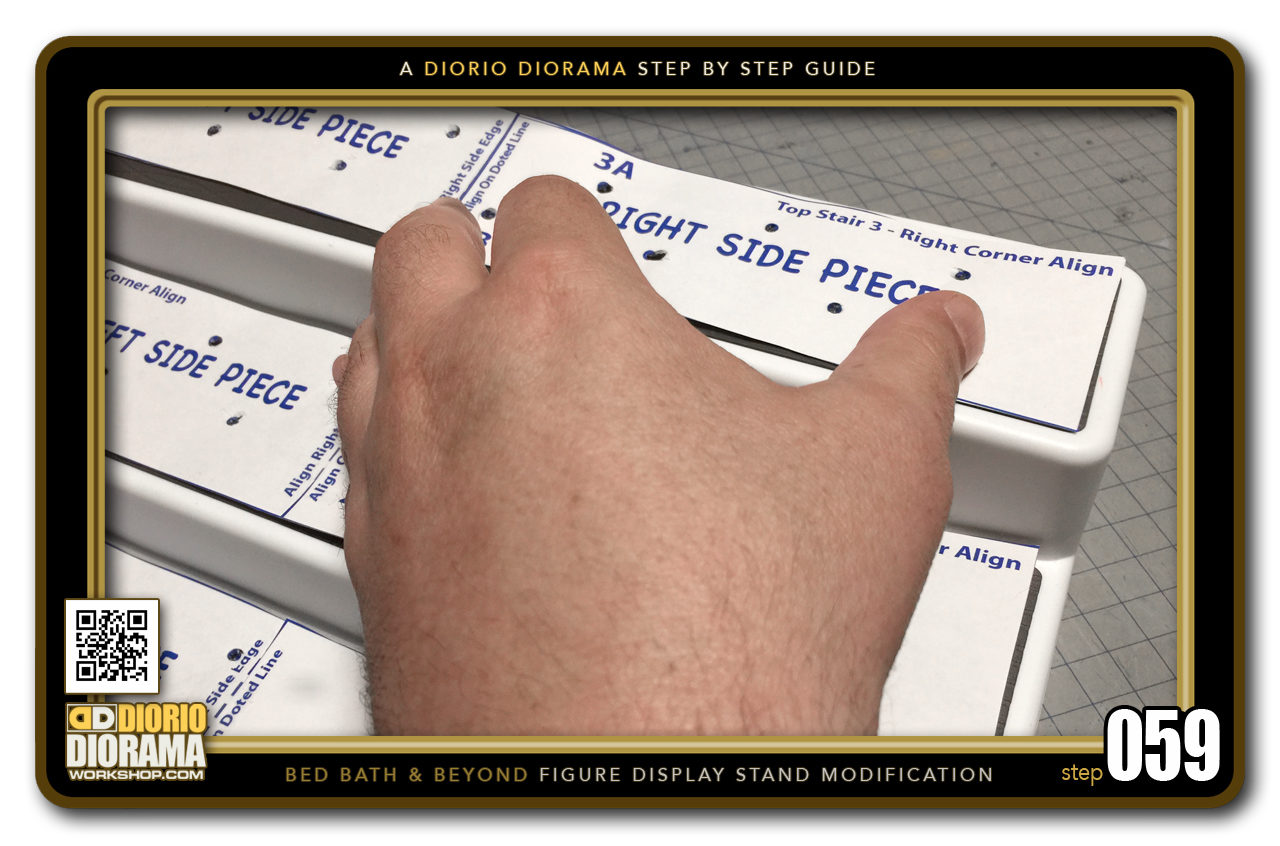
- STEP 059 > Keep aligning the template till you reach the right side.
-
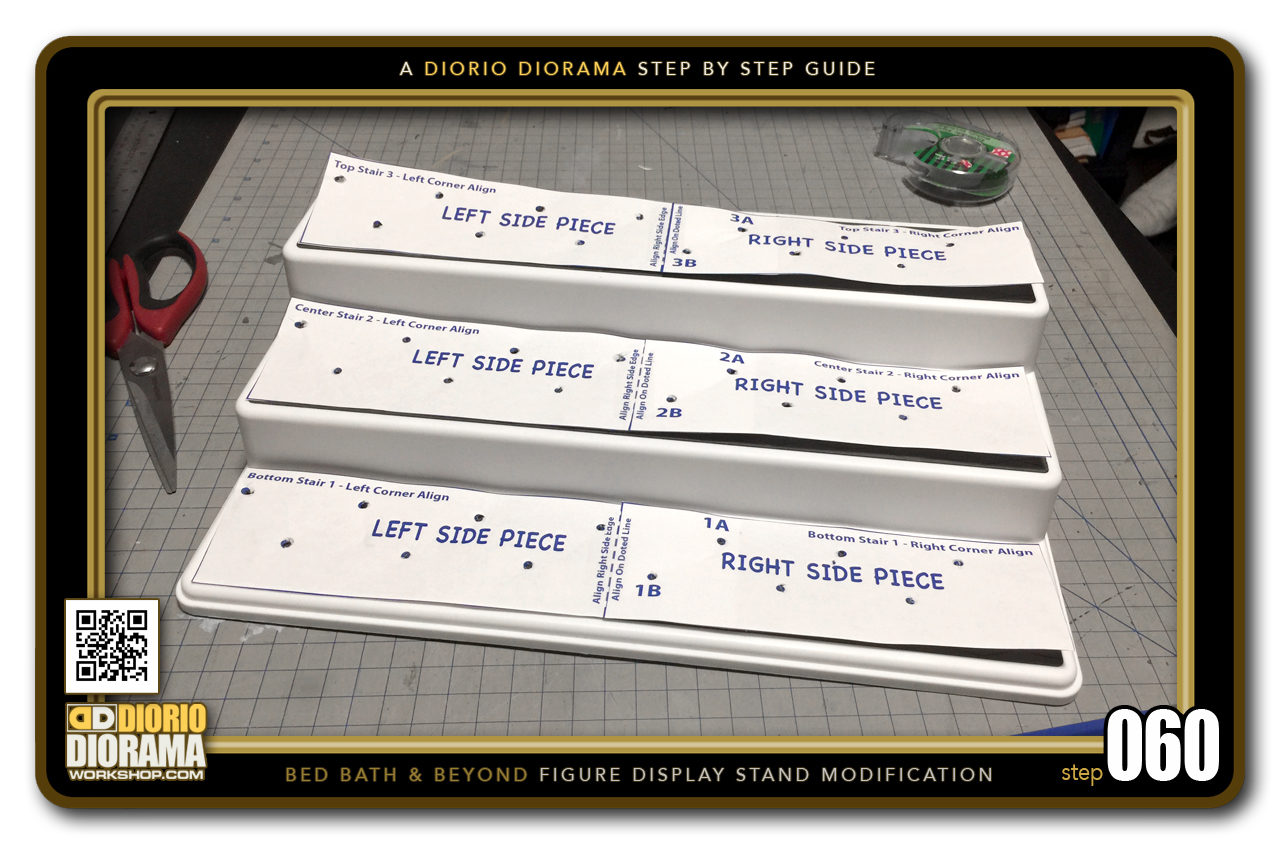
- STEP 060 > Your 3 Stair Templates are now in position for the final step... Inking the Peg Holes.

.
Did you already build this Diorama ? At home or at our Star Wars Celebration Diorama Builders workshop ? Would you like to show it in the site’s GALLERY VISITORS DIORAMAS section, YES ? That is Awesome !!! You can find out all the details on how to email me your photos on the VISITORS SUBMISSIONS INFO page … When I get your photos, I will create your very own page just like this one. You may not realize it but work does inspire others to join in the fun of making Action Figure Dioramas.
.
NOT FOR RESALE ALL Decals, tutorials and artwork are ©FrankDiorio (dioramaworkshop.com) and offered FOR FREE to the fans – that would be you ? so you can build and display my diorama designs in your very own home. I realize I cannot control what one does with my graphics once I place them on the web, I can only ask you as one fan to another, please respect the artist and do not be that jerk who uses my designs and tutorials to build a copy of my work only to sell it on EBAY or trade/sale groups and forums. Thank You. Frank.
.
.
If you have a facebook account, why not join the Official Diorama Builders Fan Club today, simply click the logo link below.
 .
.
Catch up with fellow visitors and exchange stories, read cool interviews with the crew, exchange photos, fun surprises and grab some FAN ONLY merchandise next year at actual future conventions ?
.
©2018 Frank Diorio DioramaWorkshop.Com
.
IF YOU LIKE WHAT YOU SEE, PLEASE SHARE WITH YOUR FRIENDS
USING THE SOCIAL MEDIA BUTTONS BELOW