


-

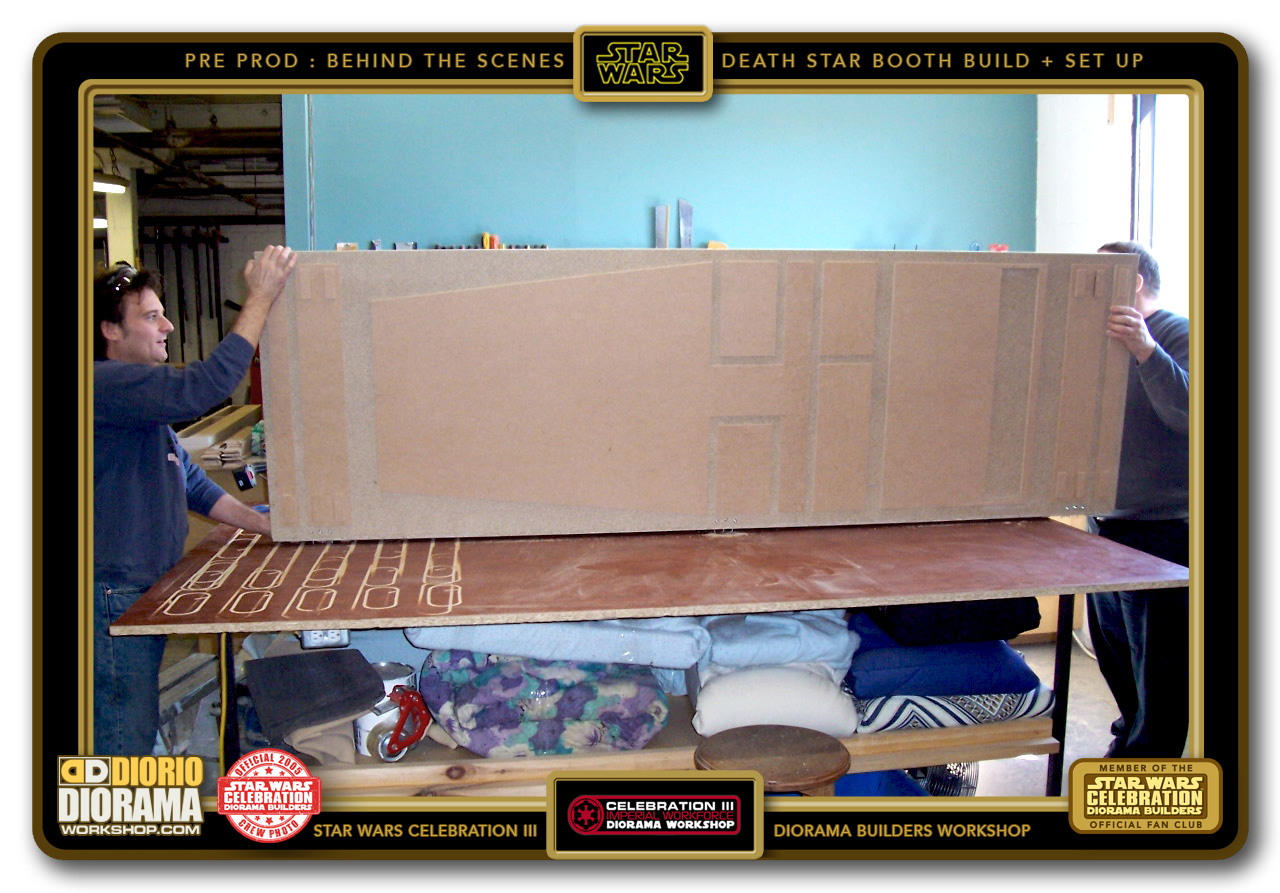
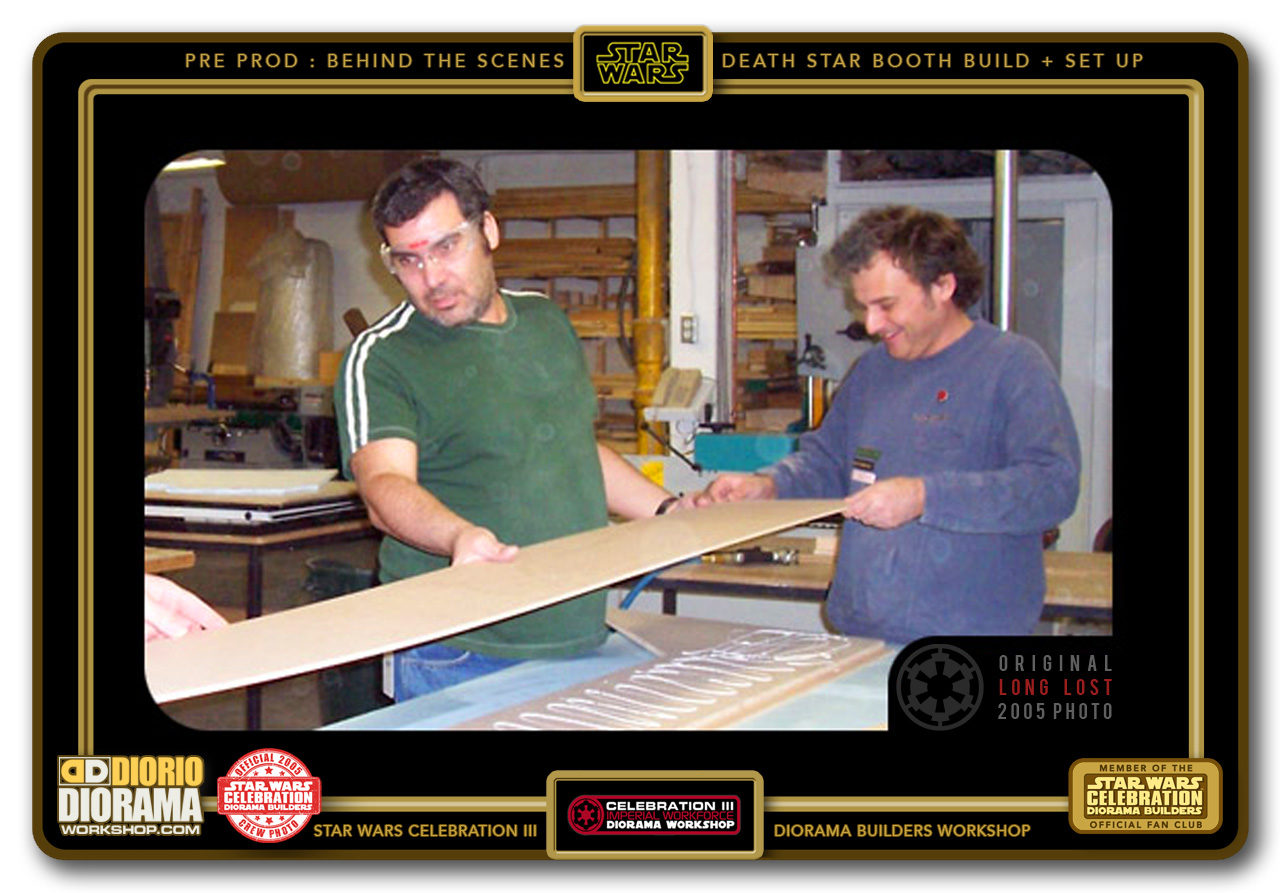
- Elie and Marc gently test the hinges strength.
-
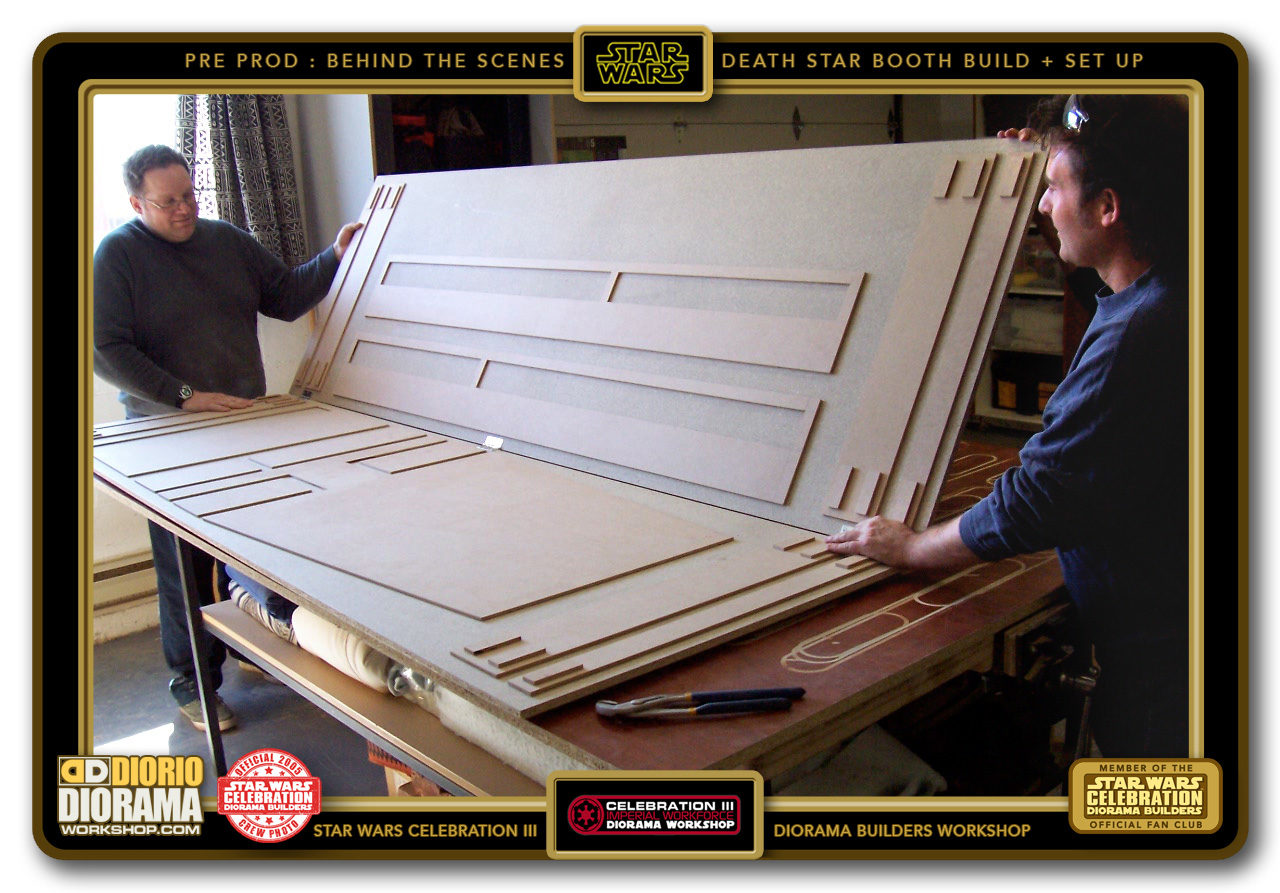
- Excellent work !!! The panels aren't ripping apart at the seams 😀

-

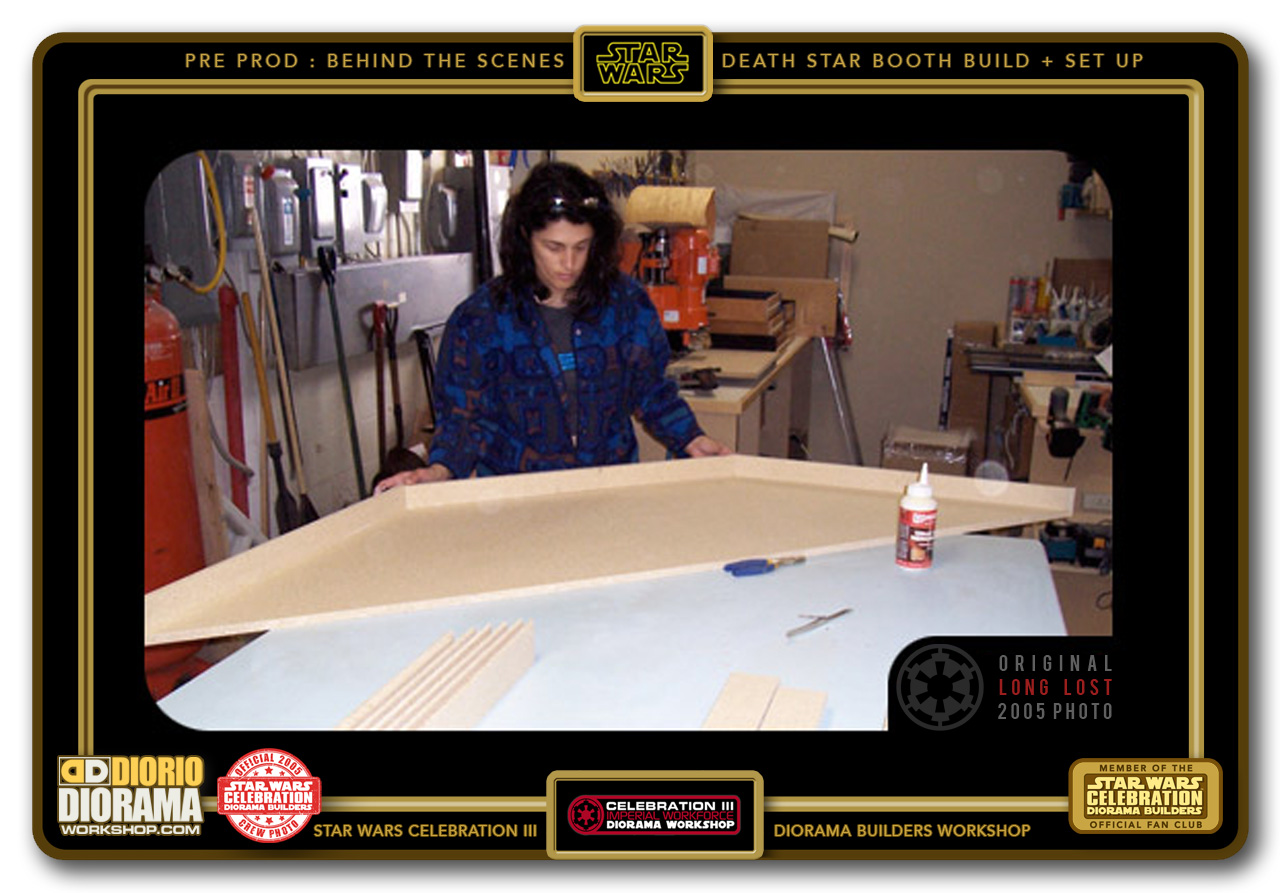
- With only 4 days left until the show, I am starting to freak out just a LITTLE bit. I convinced my dear friend Lucie, remember her from Celebration II ? to come help make some shelves.
-
- I used the nail gun to secure the shelf sides into place. the sides not only act as support, but also will help make sure the wall units don't collapse onto fans at the show 😛

-

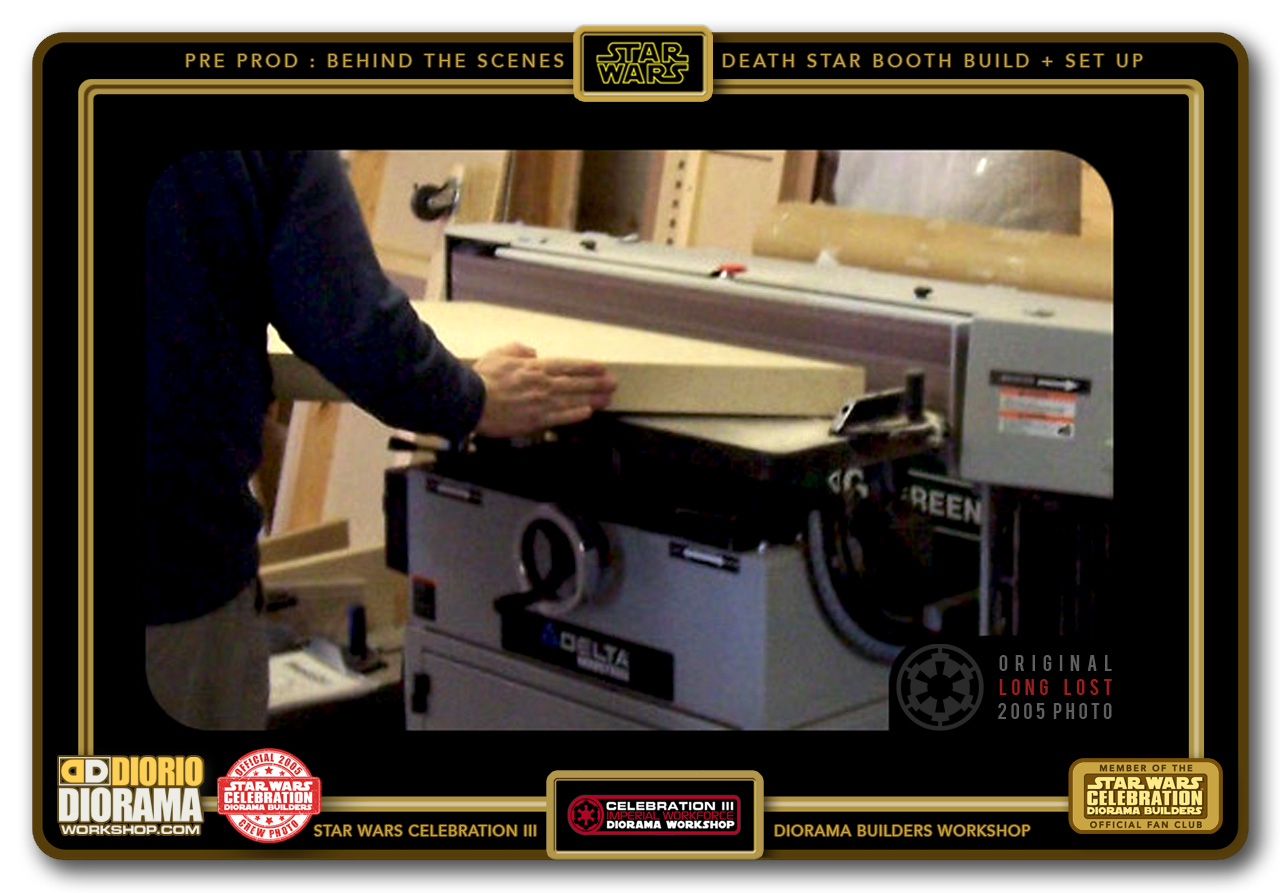
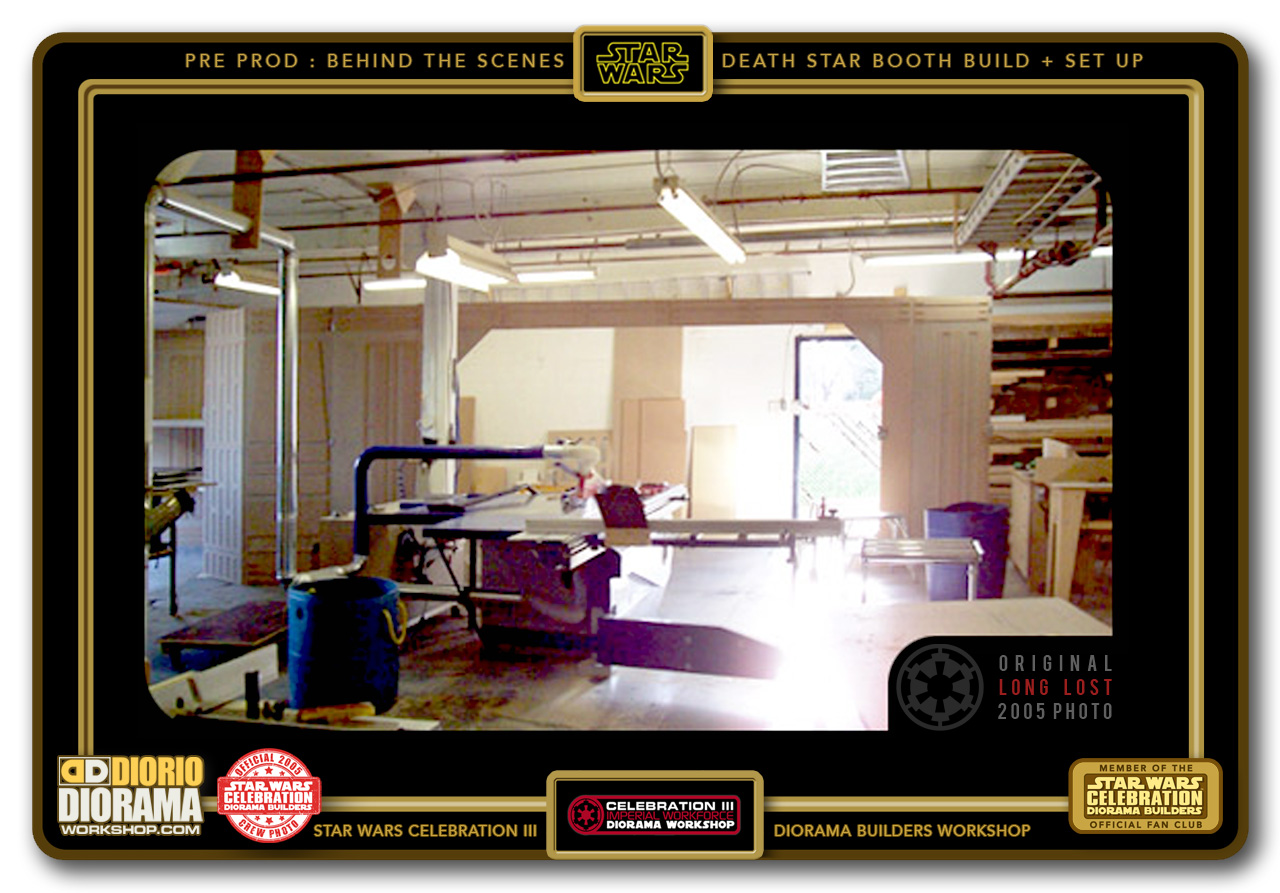
- Marc the ever so perfectionist is seen here sanding the shelves. Of course it helps when you have the proper equipment 🙂 Bob Vila would be proud.
-

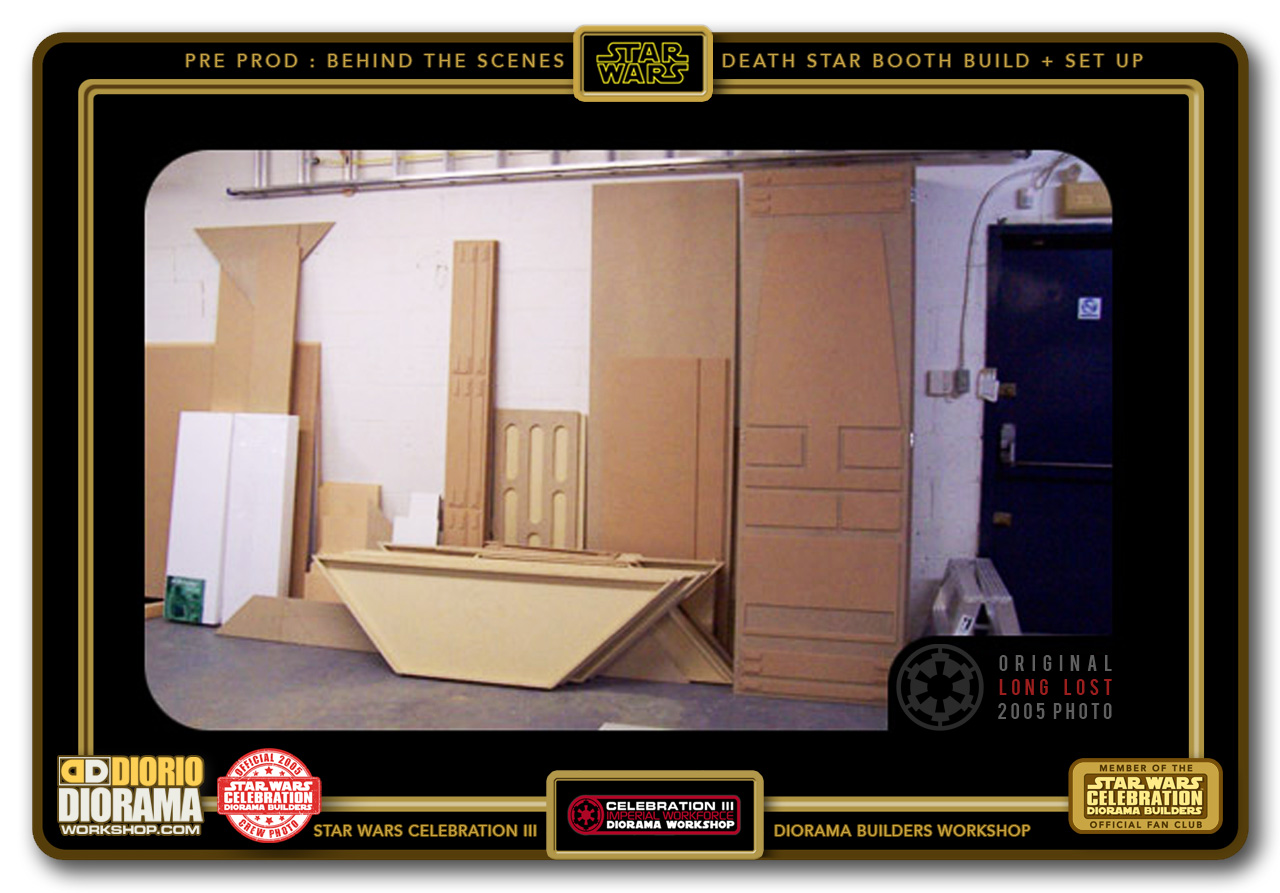
- All the pieces in place stacked against the garage wall waiting to be tested.
-
- Finally all the shelves are done. Would you believe it took us 5 hours just to do this?

-

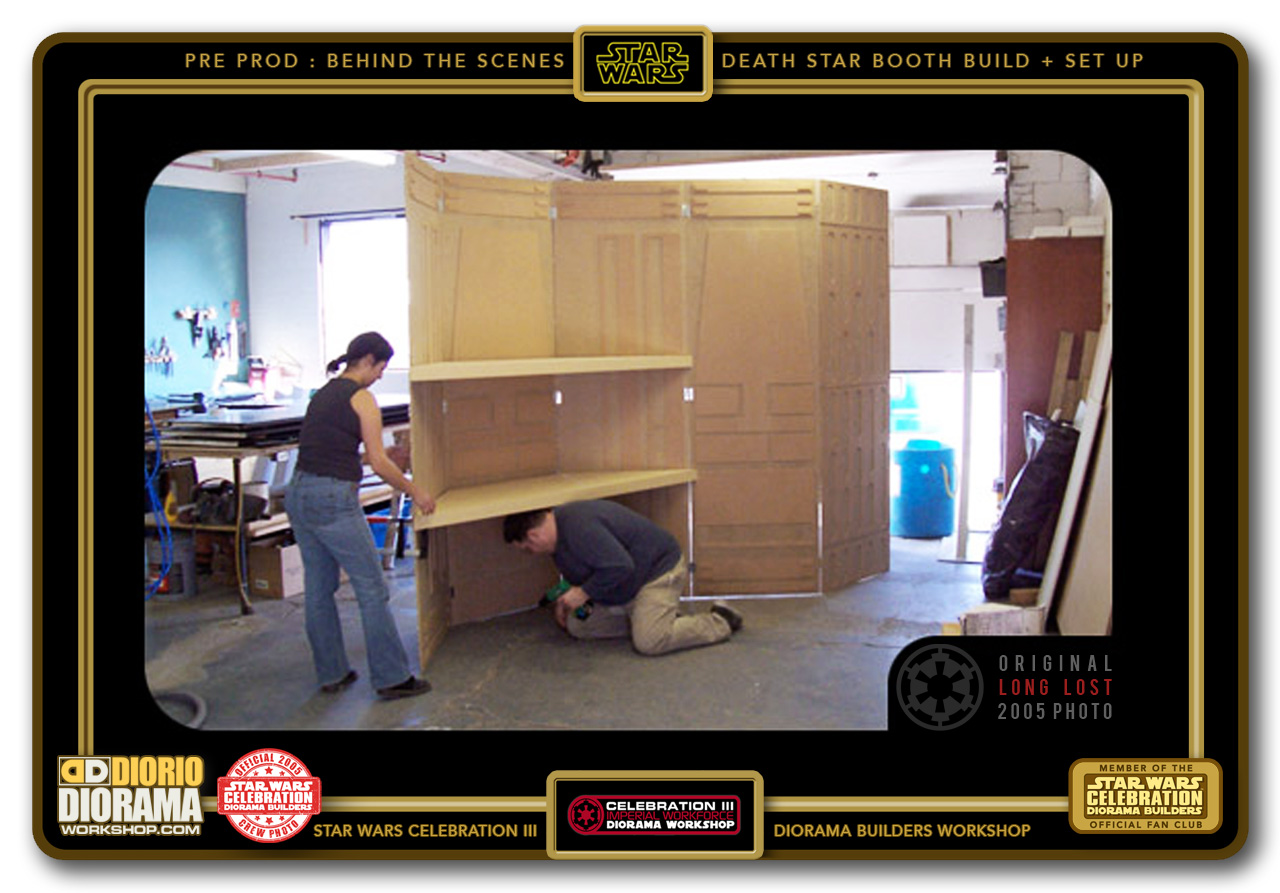
- Now for the dress rehearsal. We didn't just want to arrive in Indianapolis to find out nothing fit together. So we started attaching one side of the wall unit. Here Lucie and holds the shelf while Marc secures them to the units with screws. I am the one with the camera drinking a Pepsi Cola 🙂
-
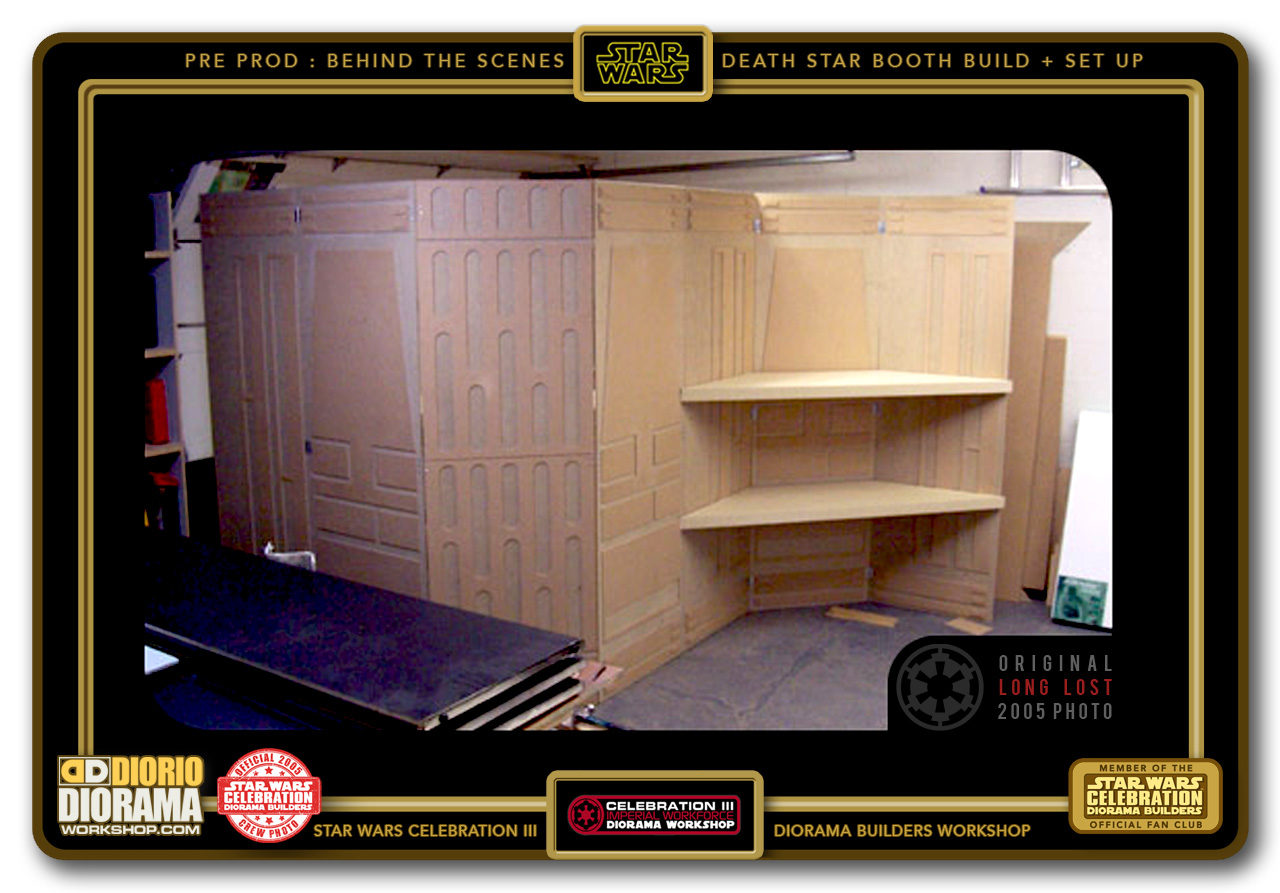
- It works !!! Looks great and sturdy. I love it but was NO WAY prepared for the amount of hours it took to make this. Next time, if there is one, I am going the low profile route 🙂

-
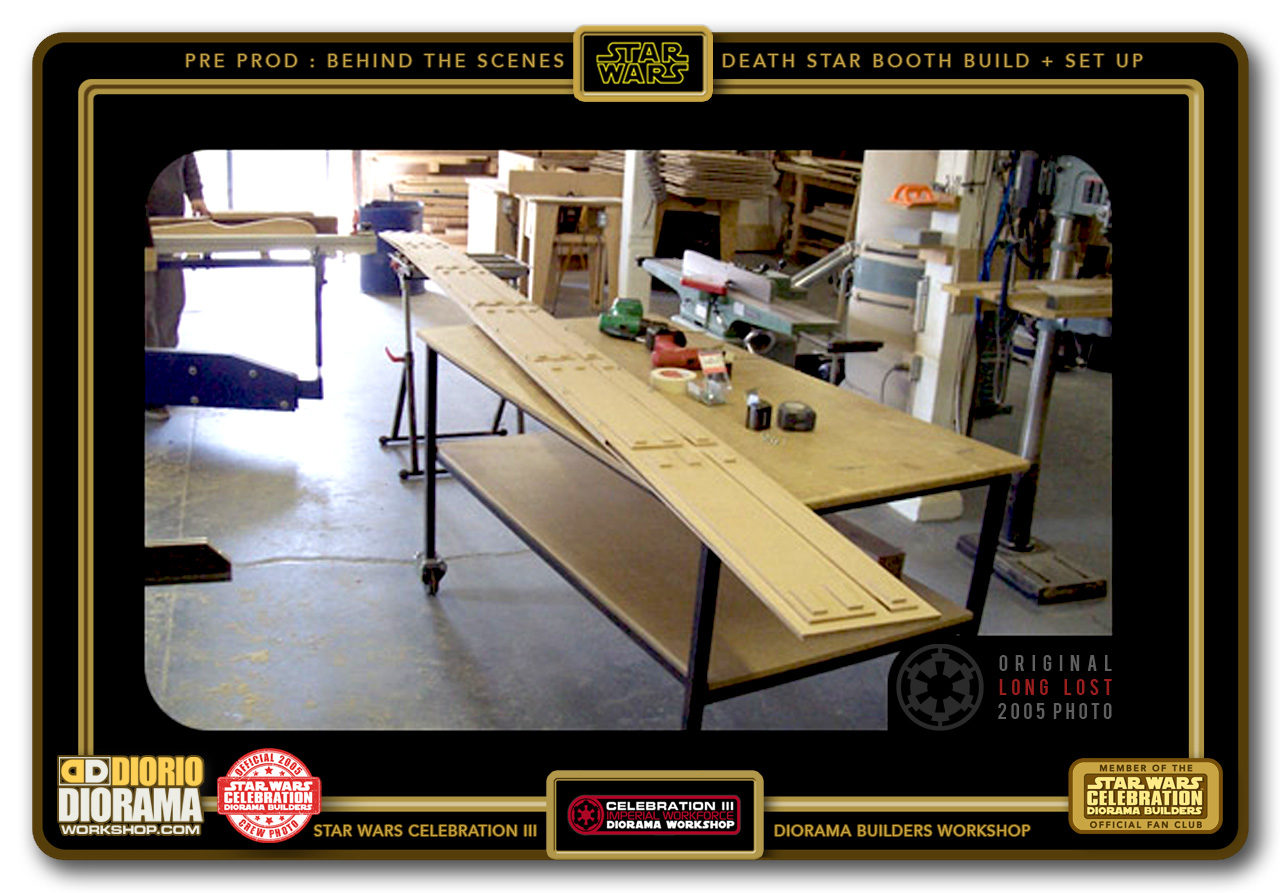
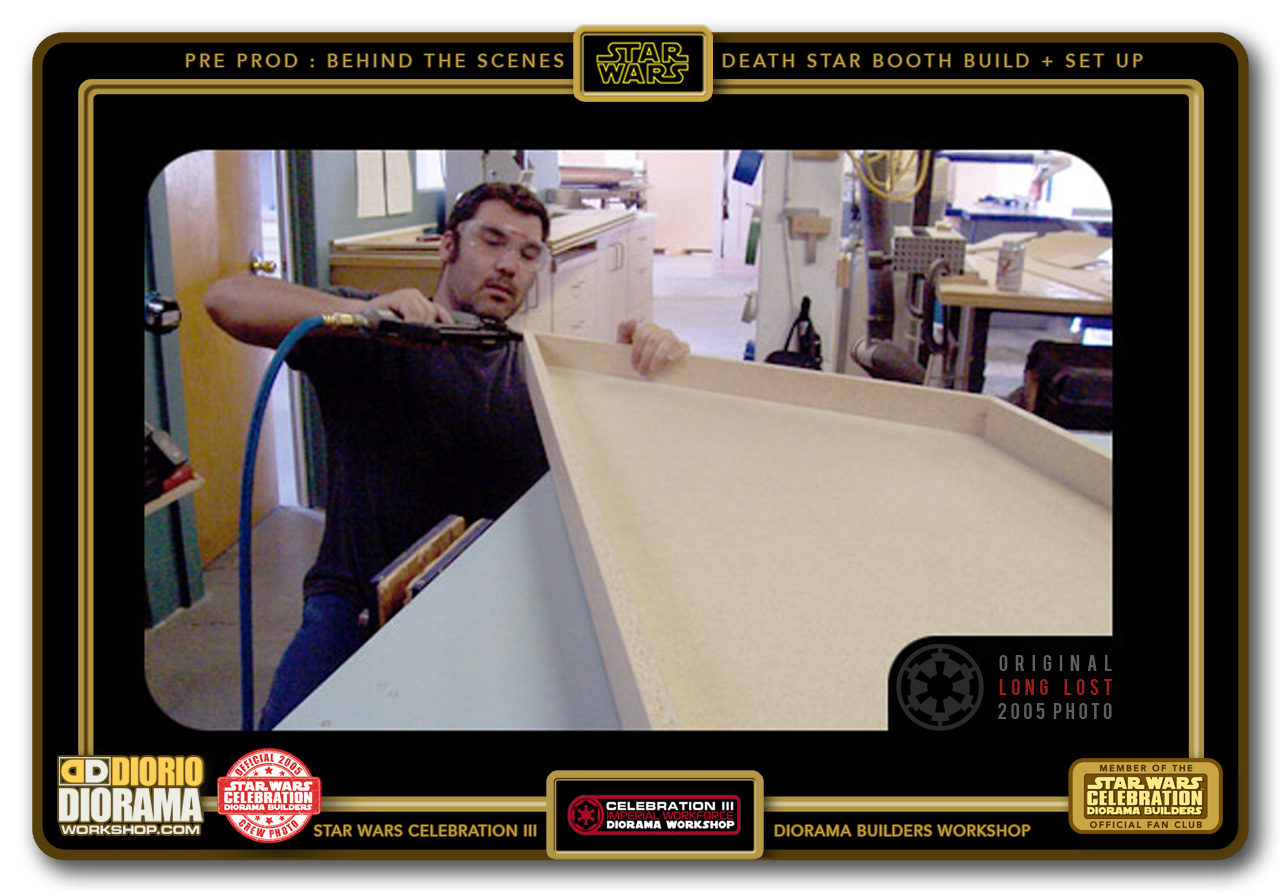
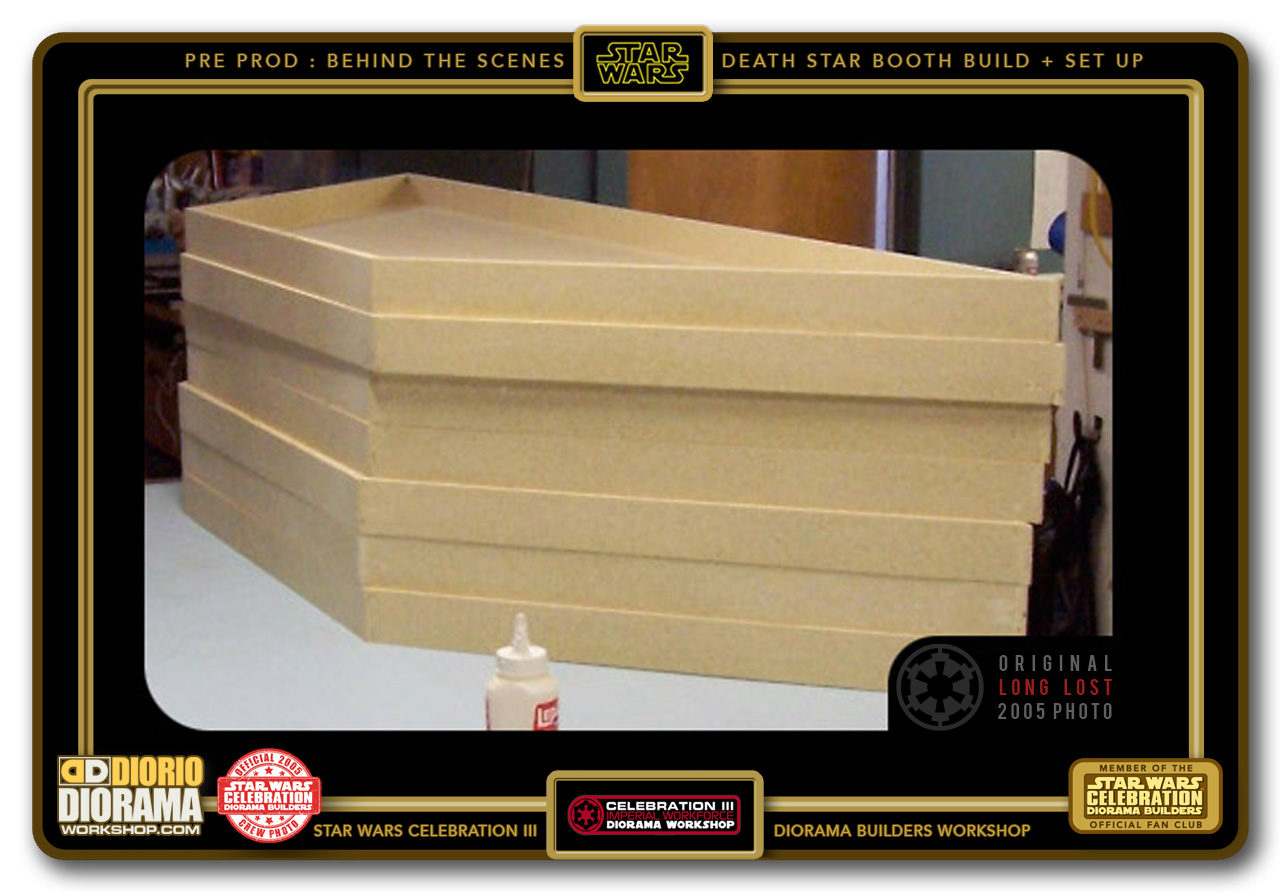
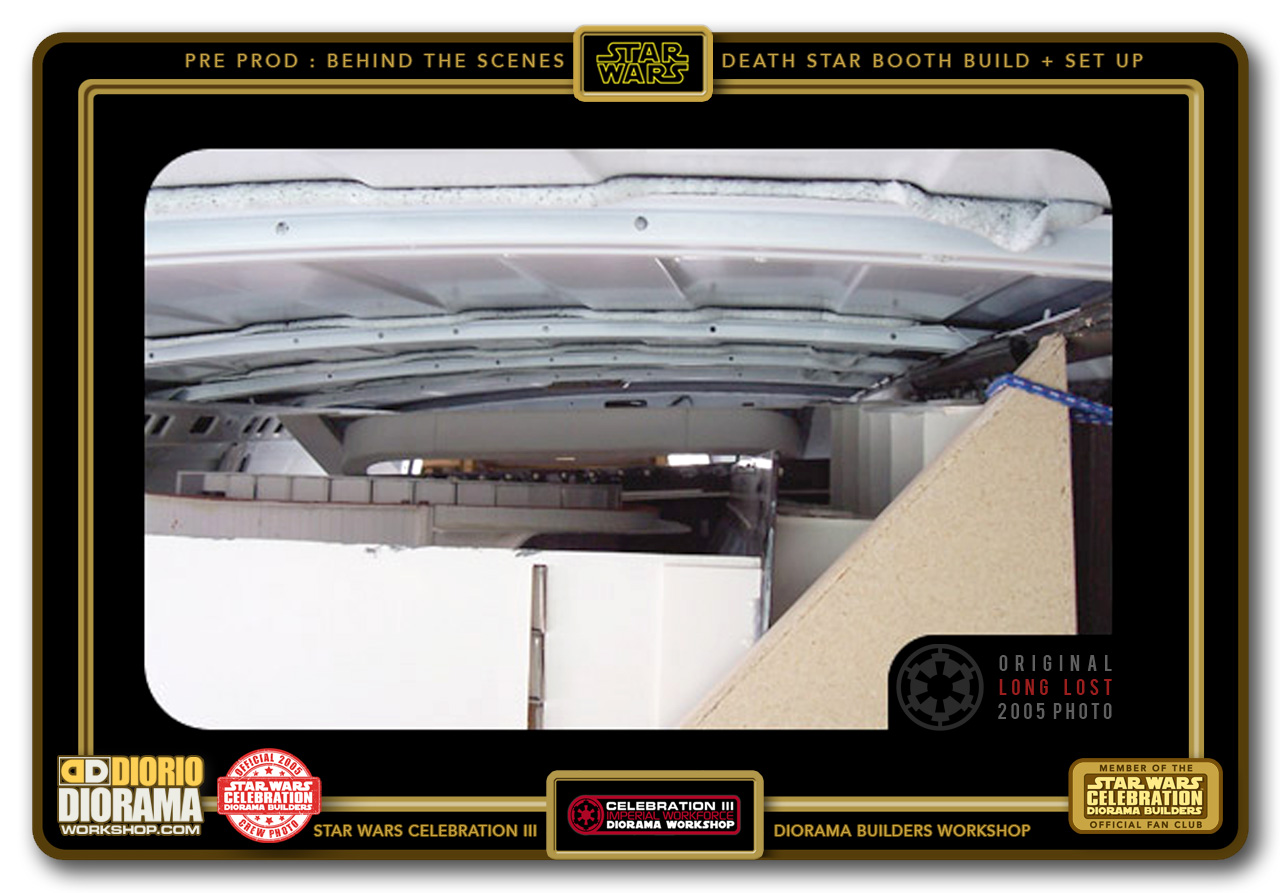
- My God it's Sunday and we are leaving Tuesday, I am FREAKING OUT right now. We still have to build the blast door. Here is the ceiling top piece of the blastdoor.

-
- Now Marc's hand, Me and Elie are sandwiching the end pieces that will form the blastdoor entrance. notice the white glue that will bond all in place. I have to thank Marc A LOT for thinking up the idea on how to connect these pieces to the wall units.

-

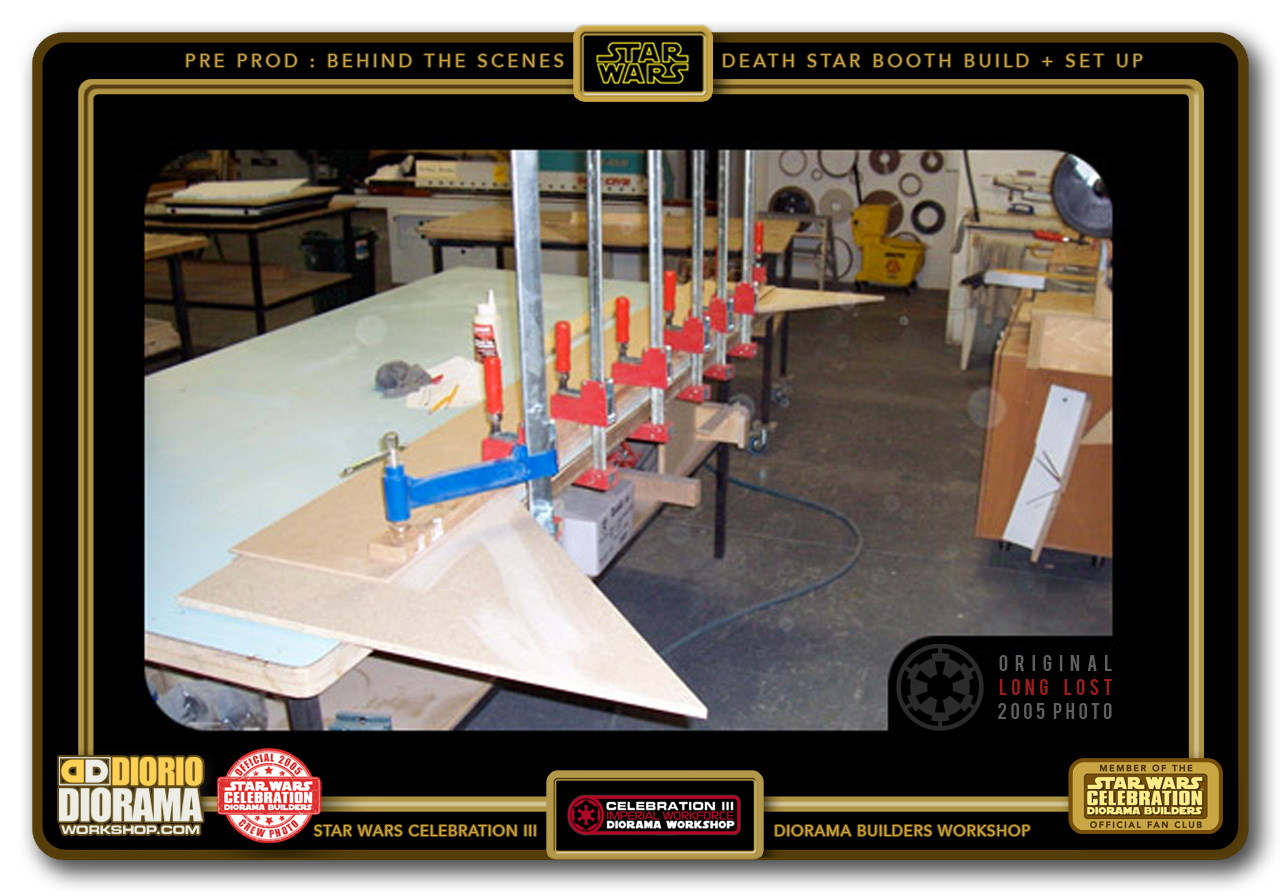
- Clamping tight for a couple of hours will guarantee nothing will split apart at the seems.
-

- Final dress rehearsal at 7 pm. the door works and looks Fantastic. Now if only I could rest a little before the show. HA HA HA, nice try Frank 😛
-
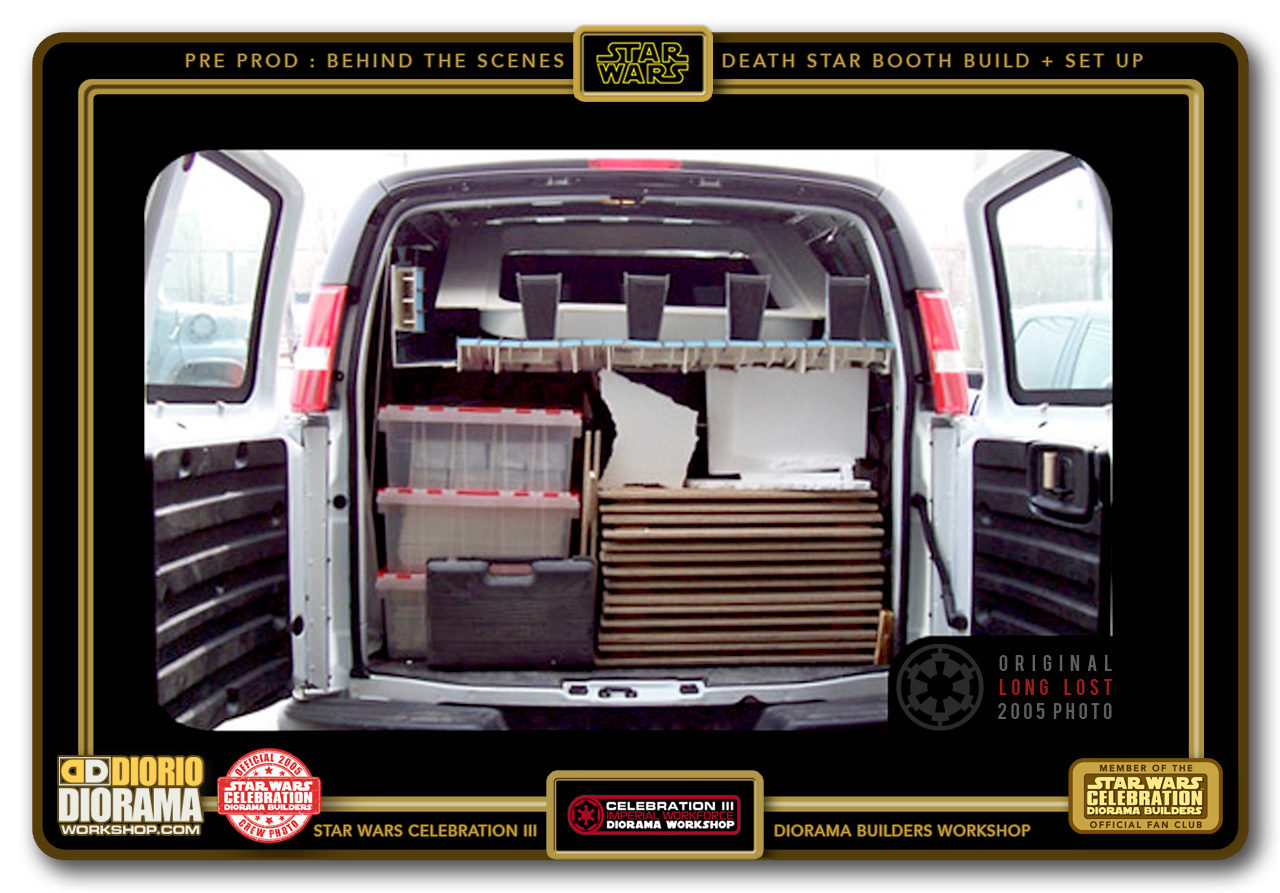
- OK, after picking up the Decals at the Printers, going to Legends to get the Dioramas and stopping at Marc's wood shop to get the life size Death Star Panels, we had I swear, ZERO space for anything else. It took 3 hours to pack, unpack, pack and unpack the van until we figured out how to get it all in.

-

- Here is a close up view of the inside of the van. There is about 4 inches to spare to reach the ceiling. I still don't know how we managed to pull it off LOL. Thank god US customs didn't ask me to unload everything because i am sure I would not have remembered how to put it all back. 🙂
-
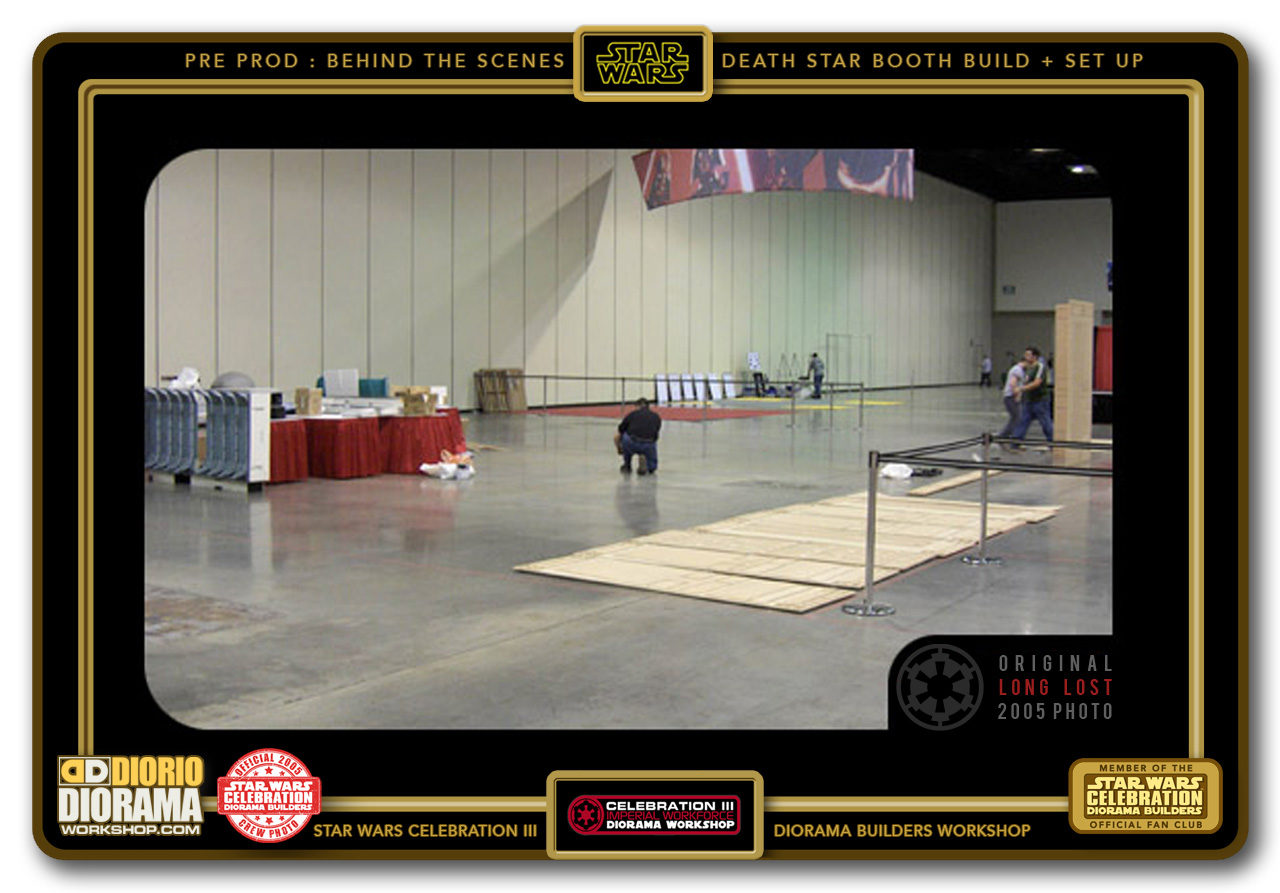
- Unloading the Van was long. Arrived at 12:30. I have to thank David and his Dad for finding me a trolly. That is the worst part about setting up and taking down. The docking bay is like rats on a sinking boat LOL. It's every ewok for himself 🙂 So the panels are layed down in their correct order.

-
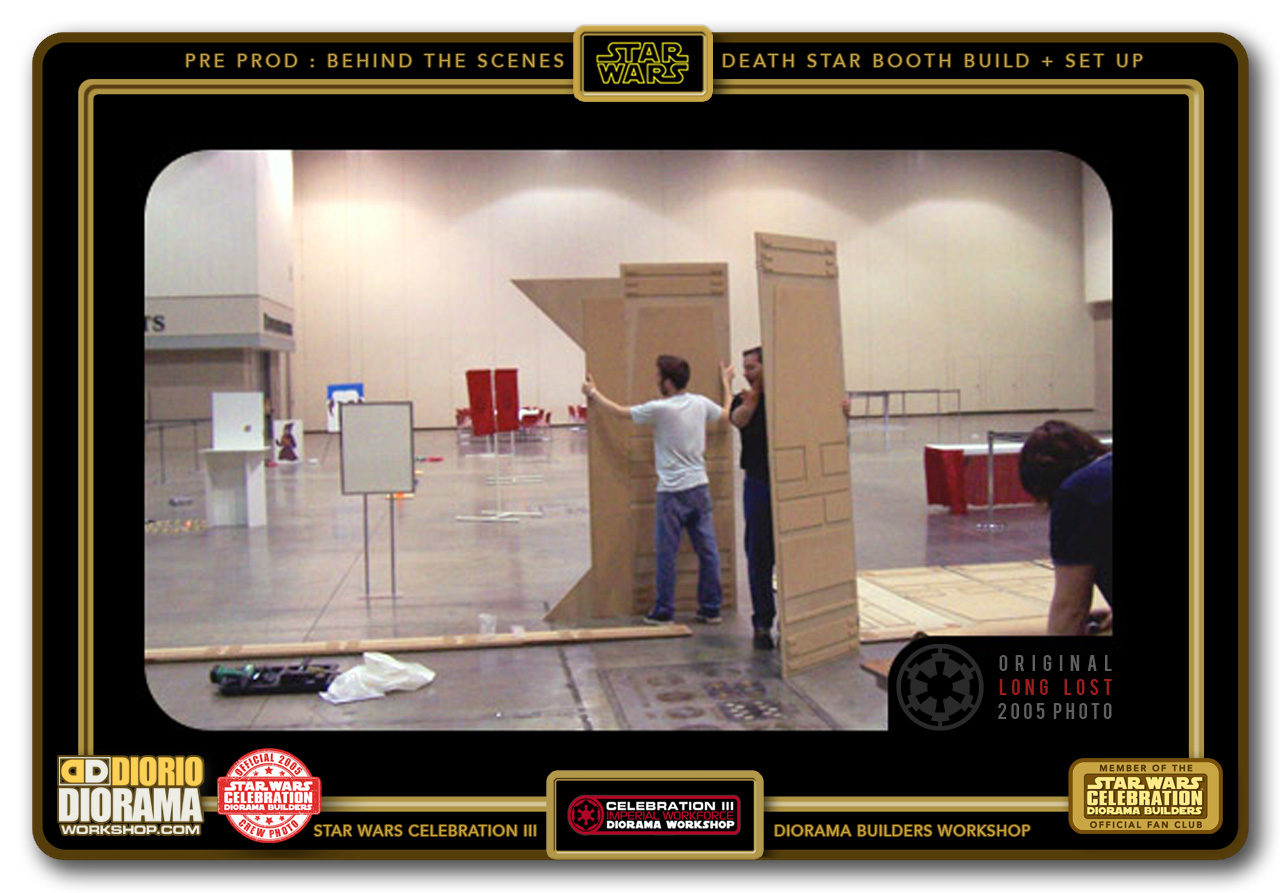
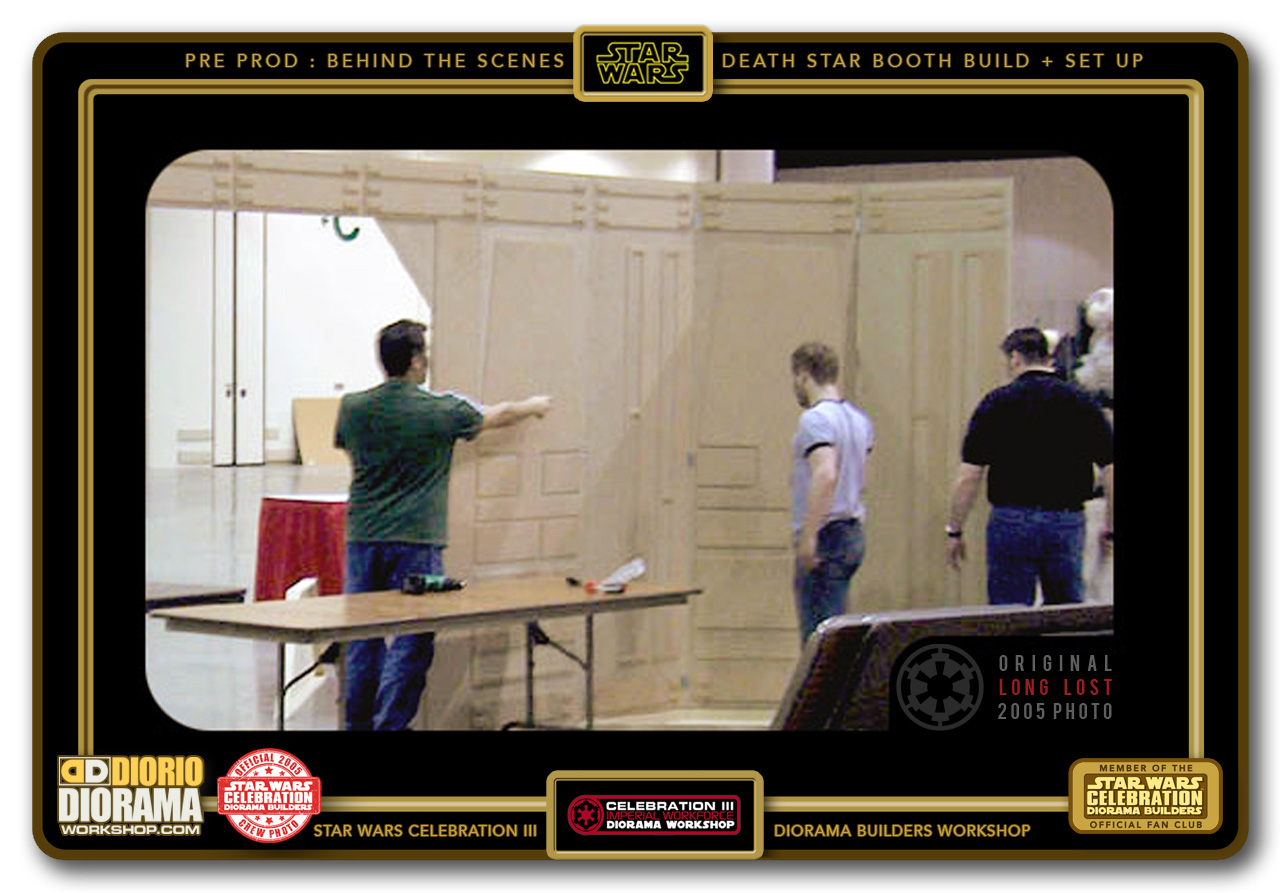
- 1pm... we start to assemble the life size Death Star. André and José are holding 2 of the Right Wall pieces. Door hinges got it all connected together rather easily.

-
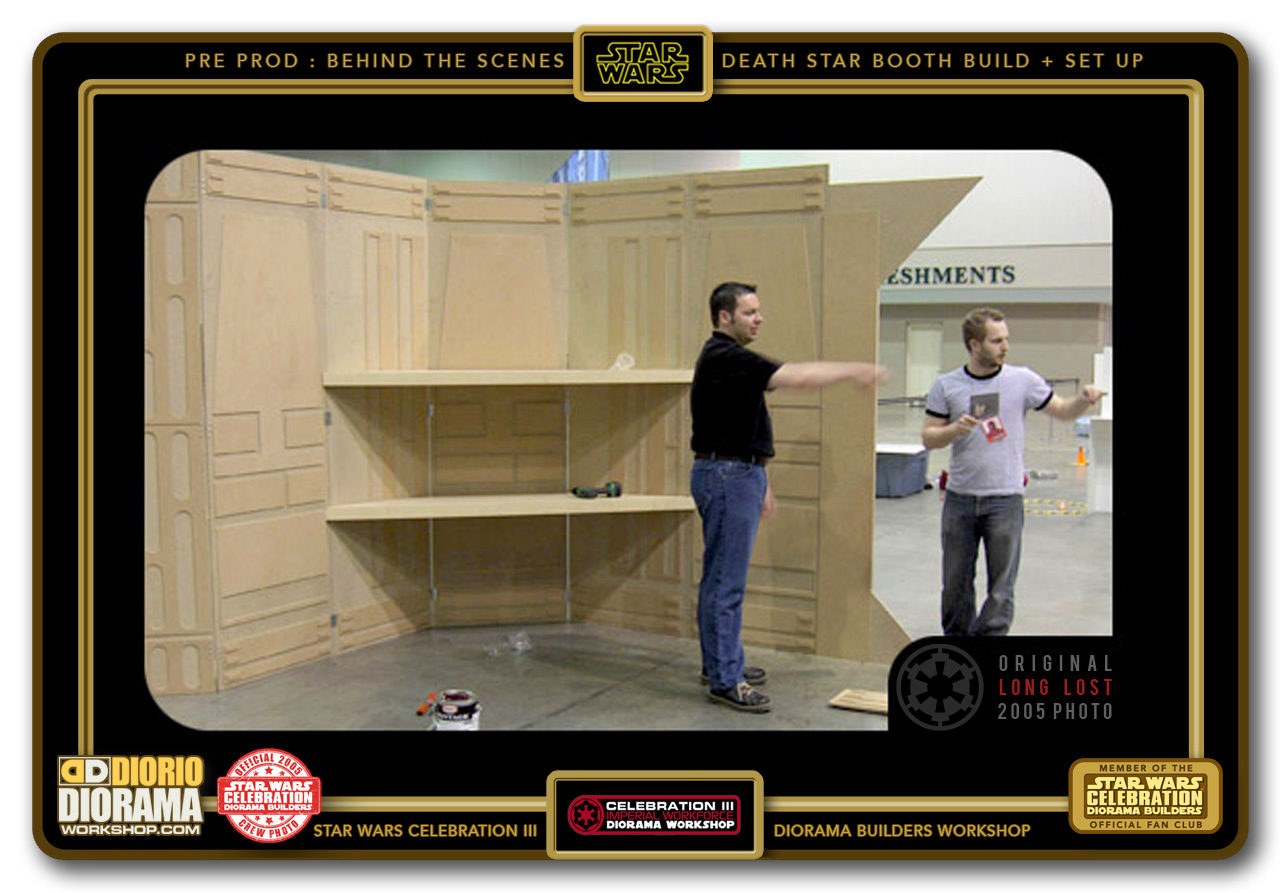
- By 2.30pm, we had the completed Left wall unit. The shelves were screwed in to help prevent toppling over and act as a display base for the Diorama Exhibit.

-
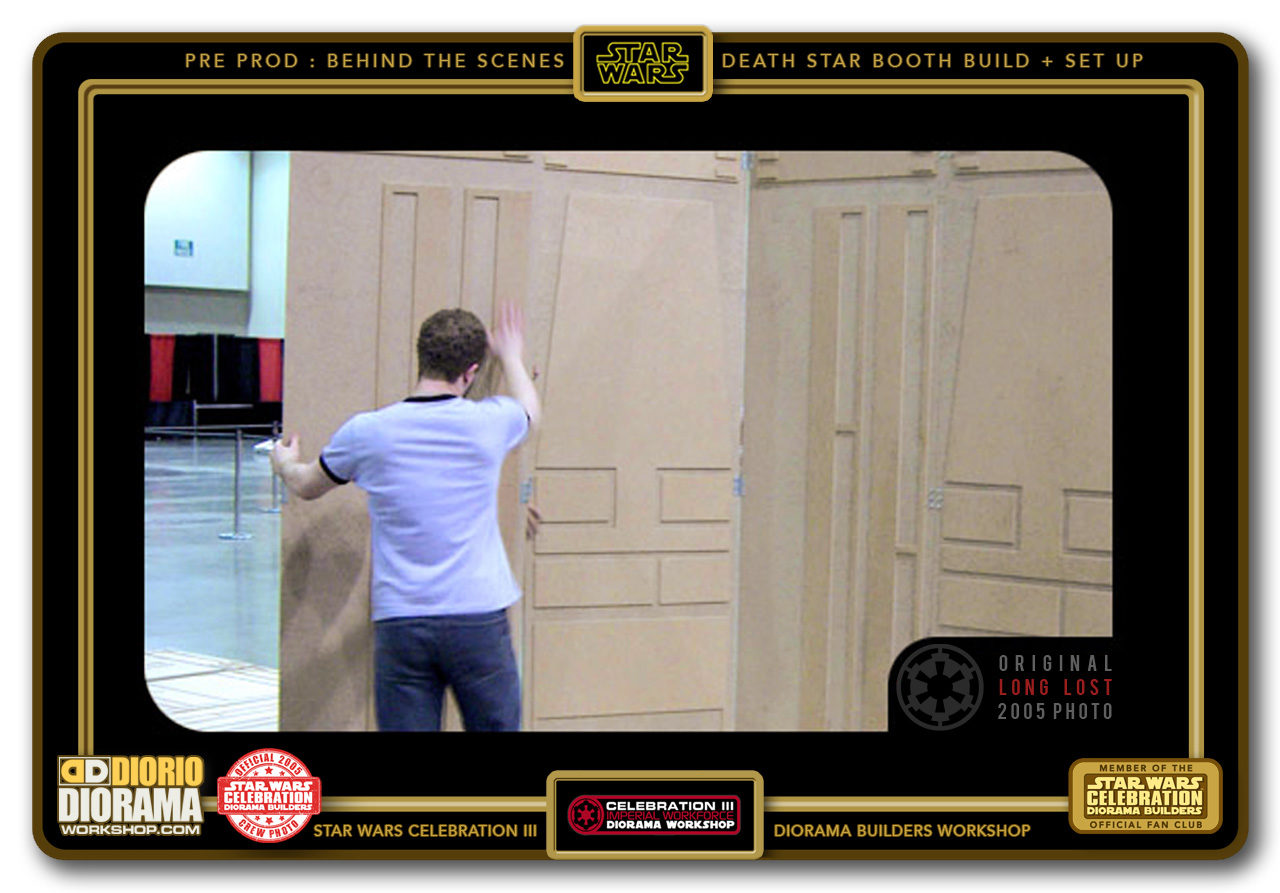
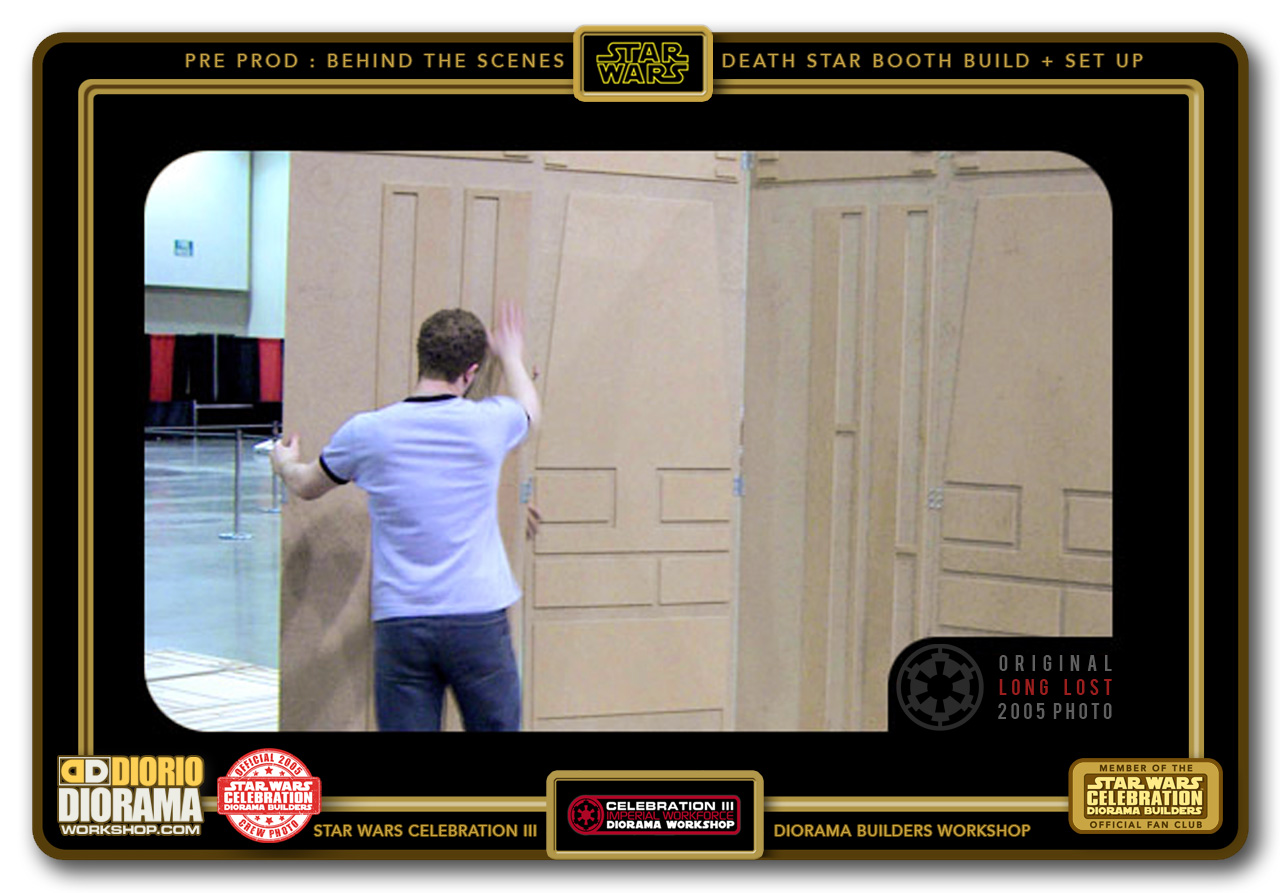
- 3pm, Eric and the Team start to put together the right wall panels.
-
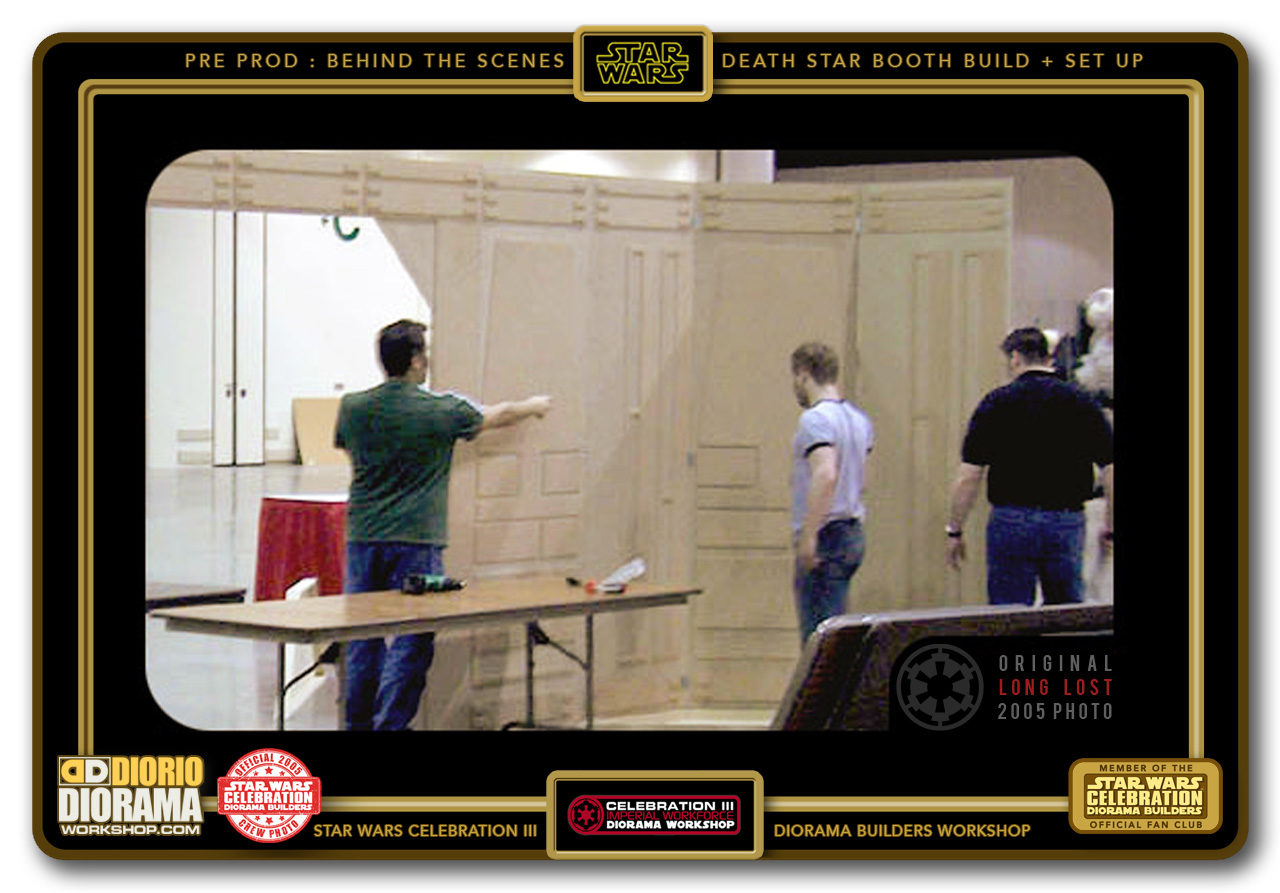
- In this photo ^ Eric and I screwing together the right life size Death Star panels.

.
Did you attend this Star Wars Celebration ? If you took photos and would like to have them included in this gallery, please email me DIORAMAWORKSHOP.COM@GMAIL.COM … If you have a facebook account, why not join the Official Diorama Builders Fan Club today, simply click the logo link below.
 .
.
Catch up with fellow visitors and exchange stories, read cool interviews with the crew, exchange photos, fun surprises and grab some FAN ONLY merchandise next year at actual future conventions ?
.
©2018 Frank Diorio DioramaWorkshop.Com
.
IF YOU LIKE WHAT YOU SEE, PLEASE SHARE WITH YOUR FRIENDS
USING THE SOCIAL MEDIA BUTTONS BELOW