


-
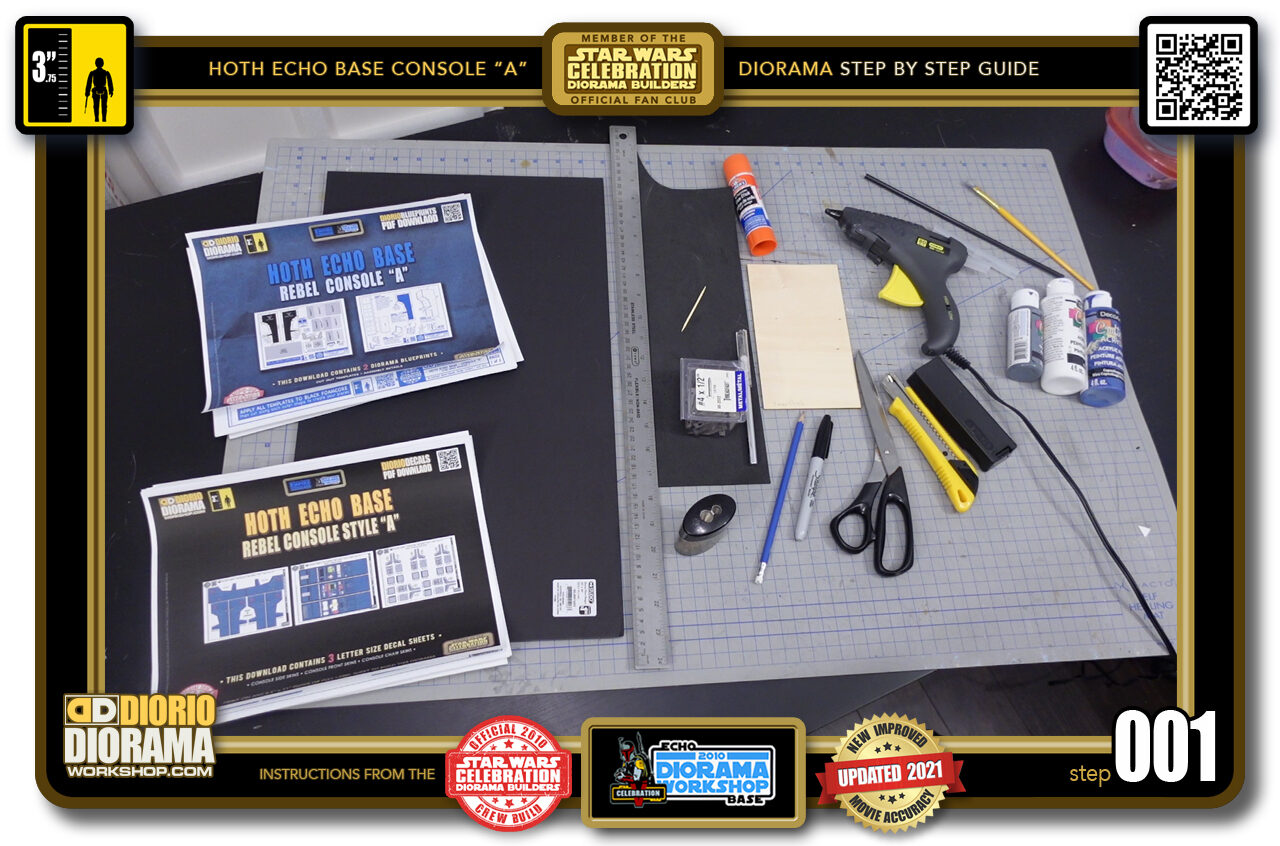
- STEP 001 > These are the materials you will need to build your Hoth ECHO BASE CONSOLE "A" you can click here to find Amazon links and print a pdf printable list to bring to your local store... https://dioramaworkshop.com/tutorial-materials-list-hoth-echo-base-console-a/
-
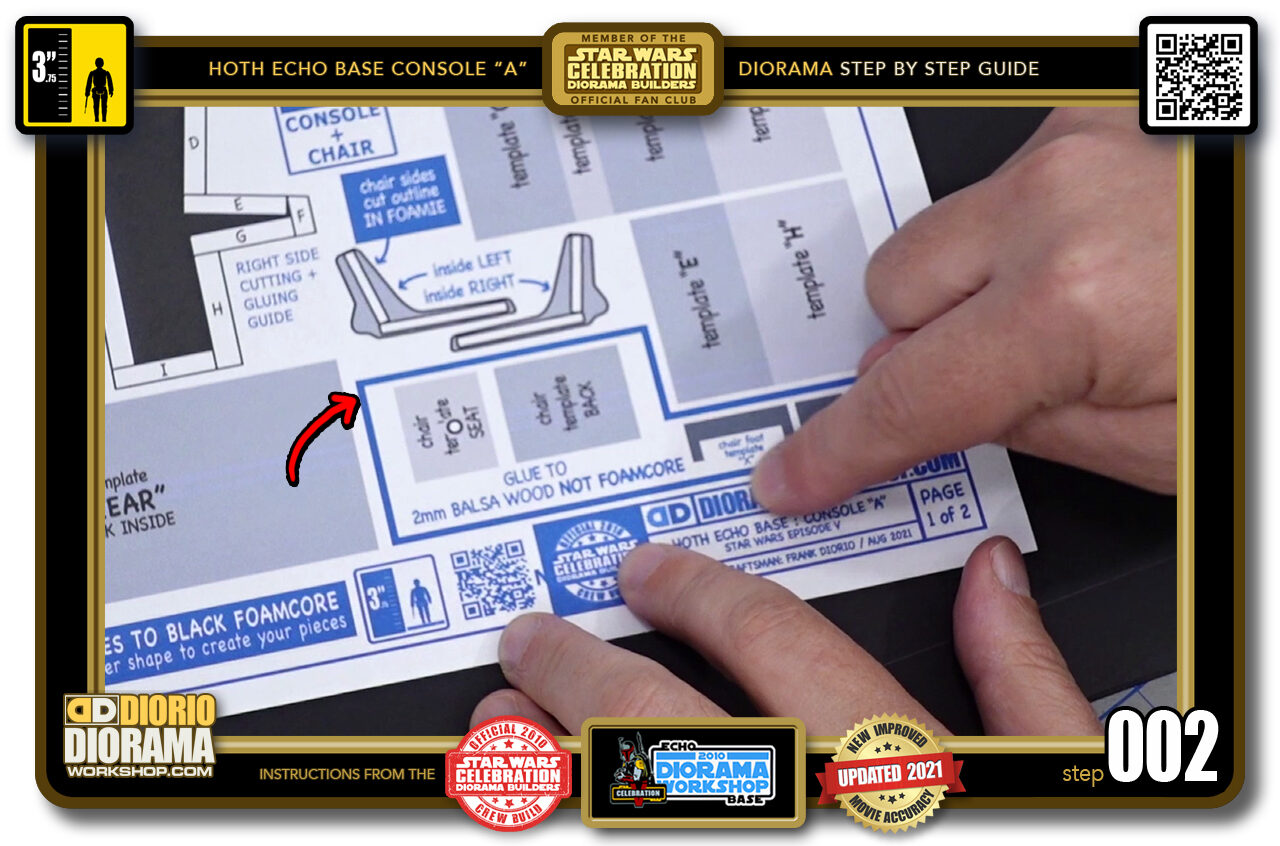
- STEP 002 > Now all of these shapes are your template cut out guides. You will mount them on your foamcore EXCEPT for what is INSIDE this BLUE ZONE and the 2 Chair sides above it.
-
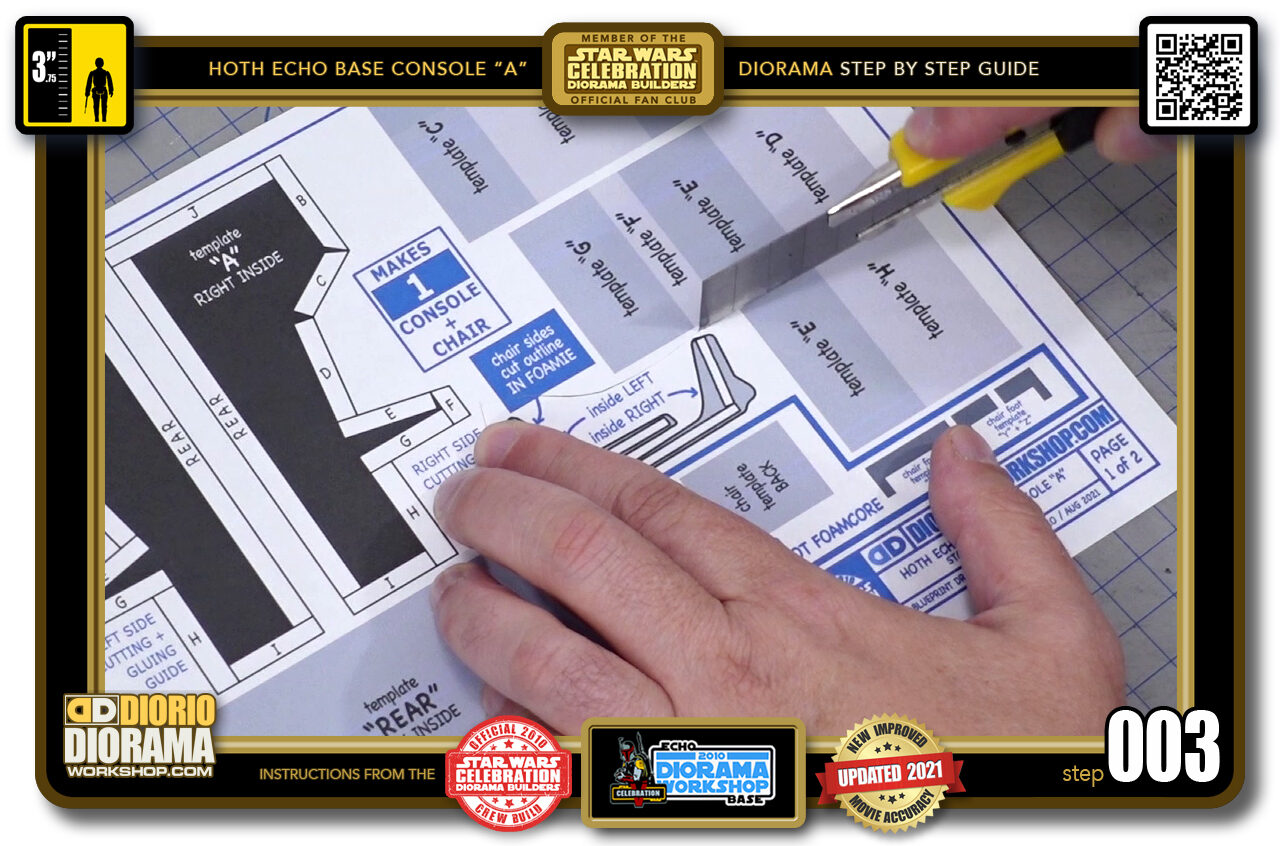
- STEP 003 > To avoid confusion, just cut out the side chair shapes and then follow the blue box outlines.
-
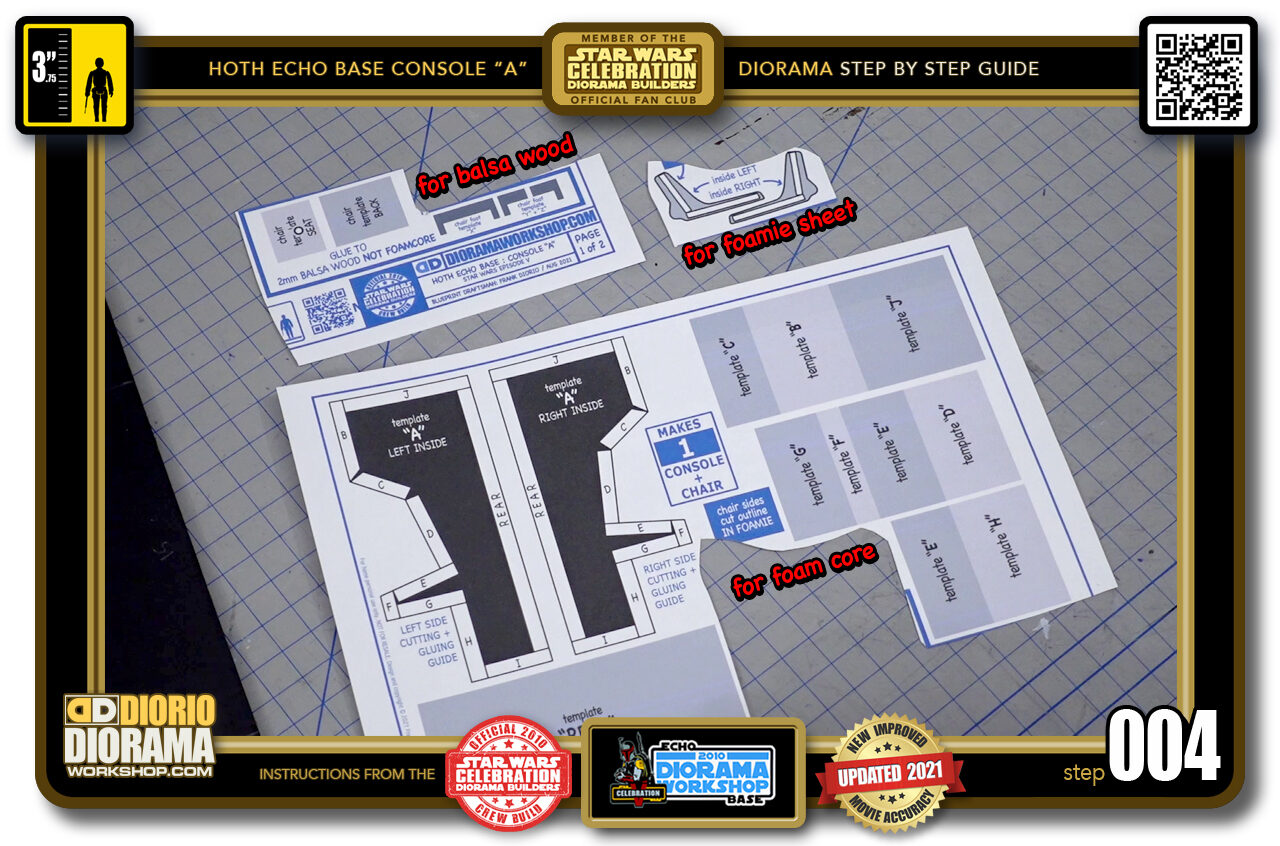
- STEP 004 > You will now have your 3 templates. Top Left you will gluestick (or peel if printed on full size label sheets) on a piece of Balsa Wood. The Top Right chair sides will be gluesticked to your foamie piece and the Bottom will be applied to your foamcore.
-
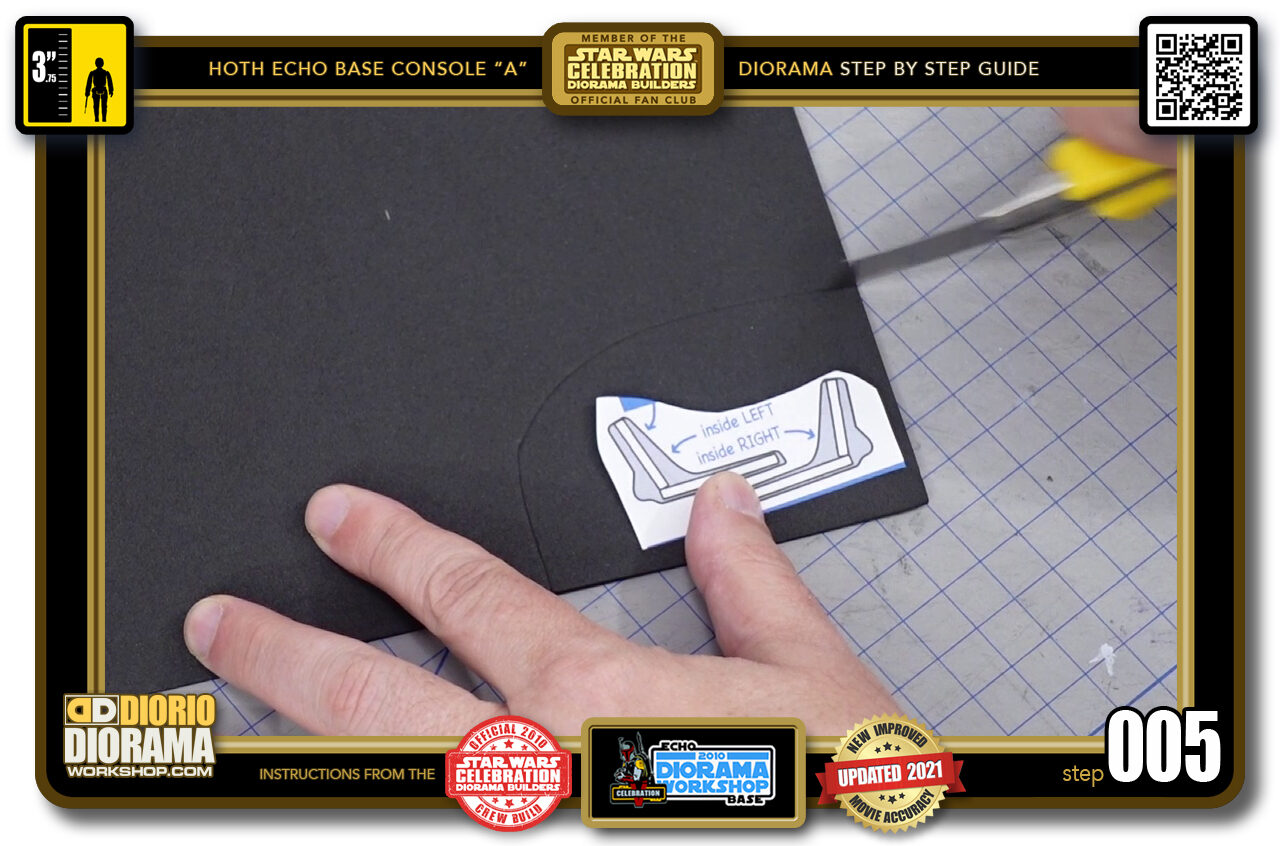
- STEP 005 > For the side chairs you only need a small piece of foamie. So I just placed my template and cut around it. You don't really need precision here, just make sure you have enough foamie to place your template decal onto it once it is cut.
-
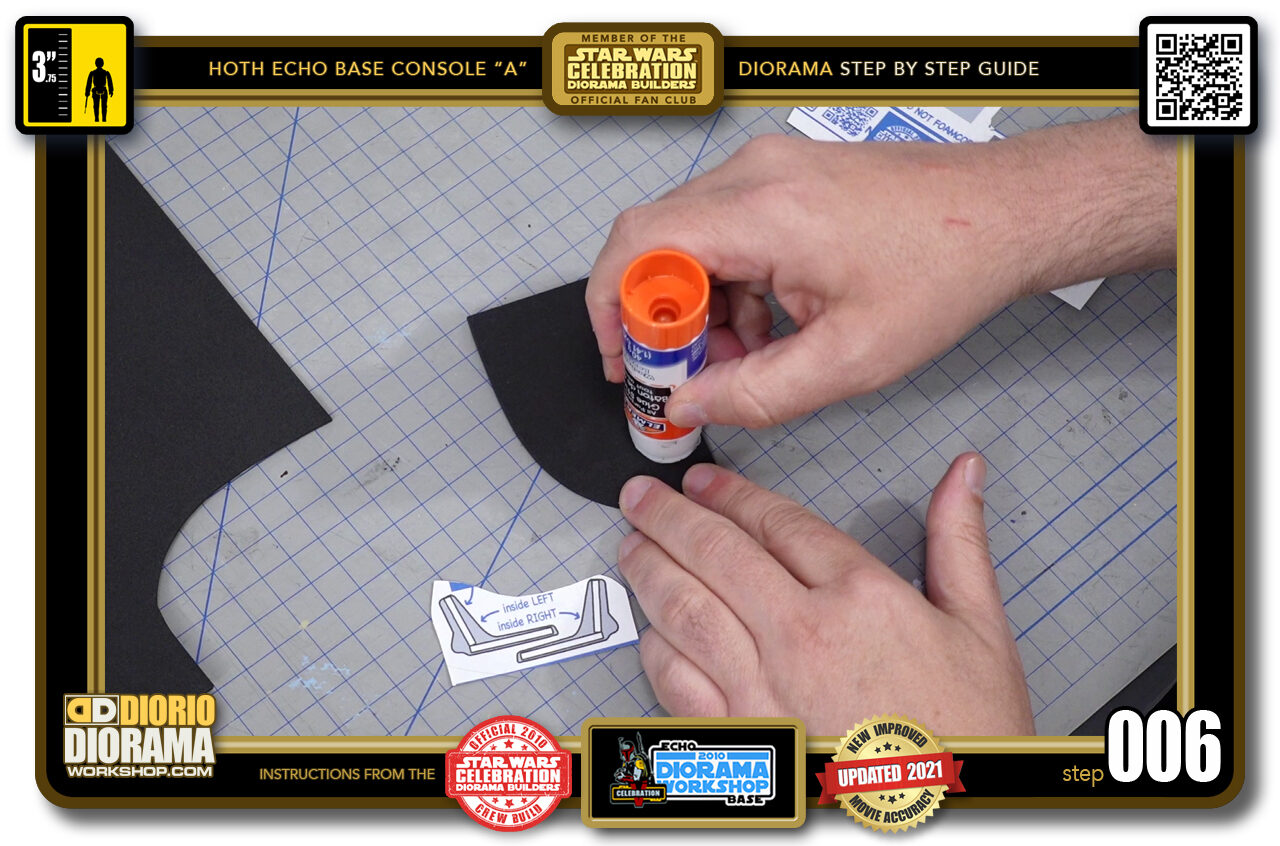
- STEP 006 > A little gluestick helps the decal sheet stick better.
-
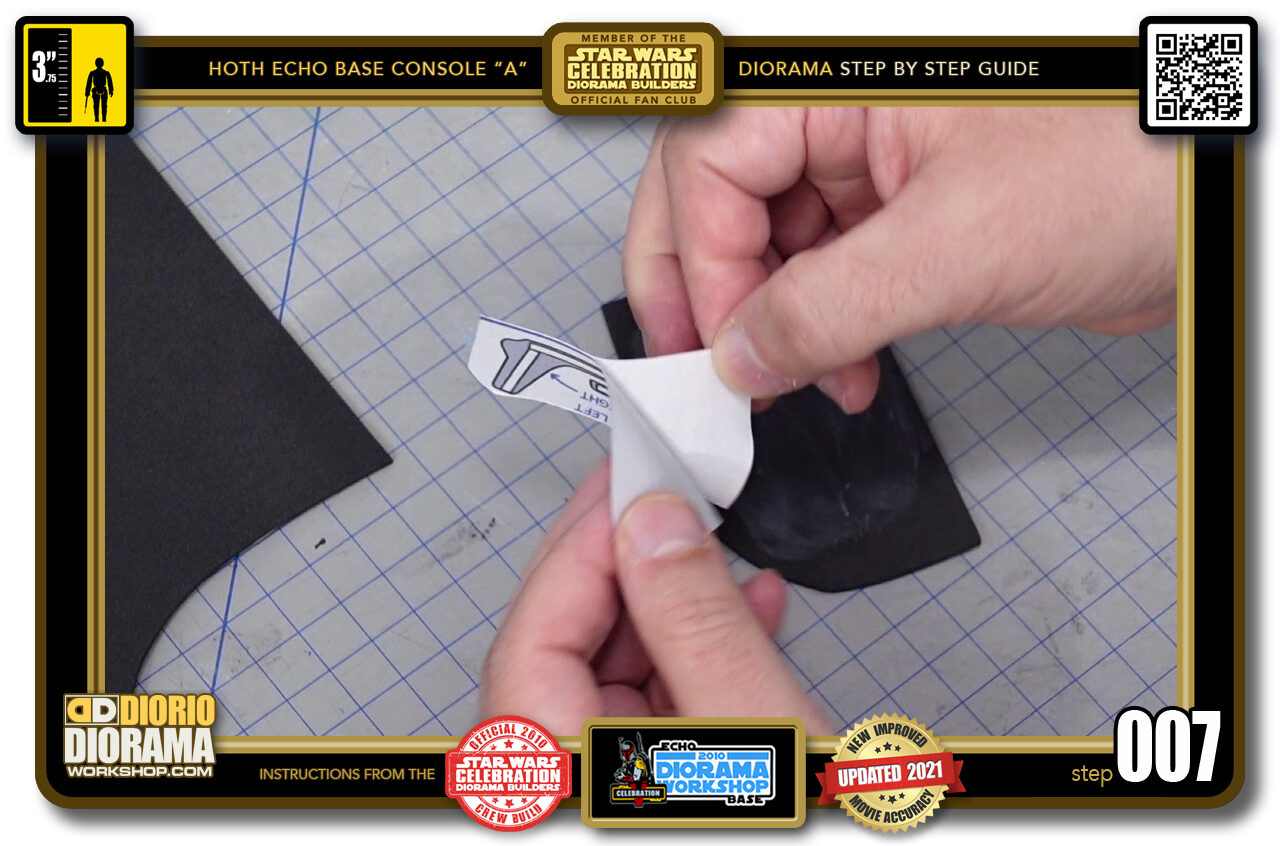
- STEP 007 > Peel your decal template if you used full size label sheets like I like to do.
-
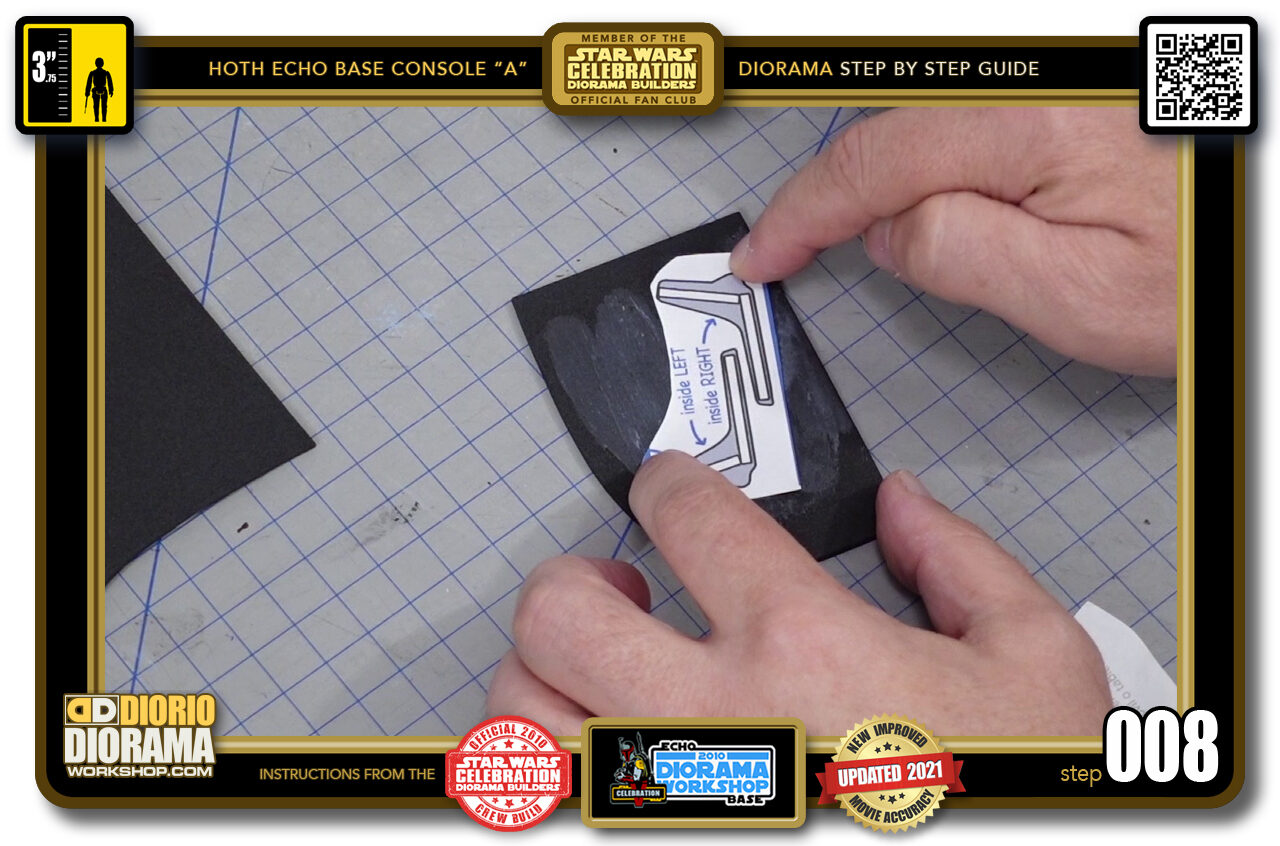
- STEP 008 > Press it down firmly onto your foamie sheet. Make sure there are no blubbles or folds. Put aside and let this dry while we apply the other decal templates.
-
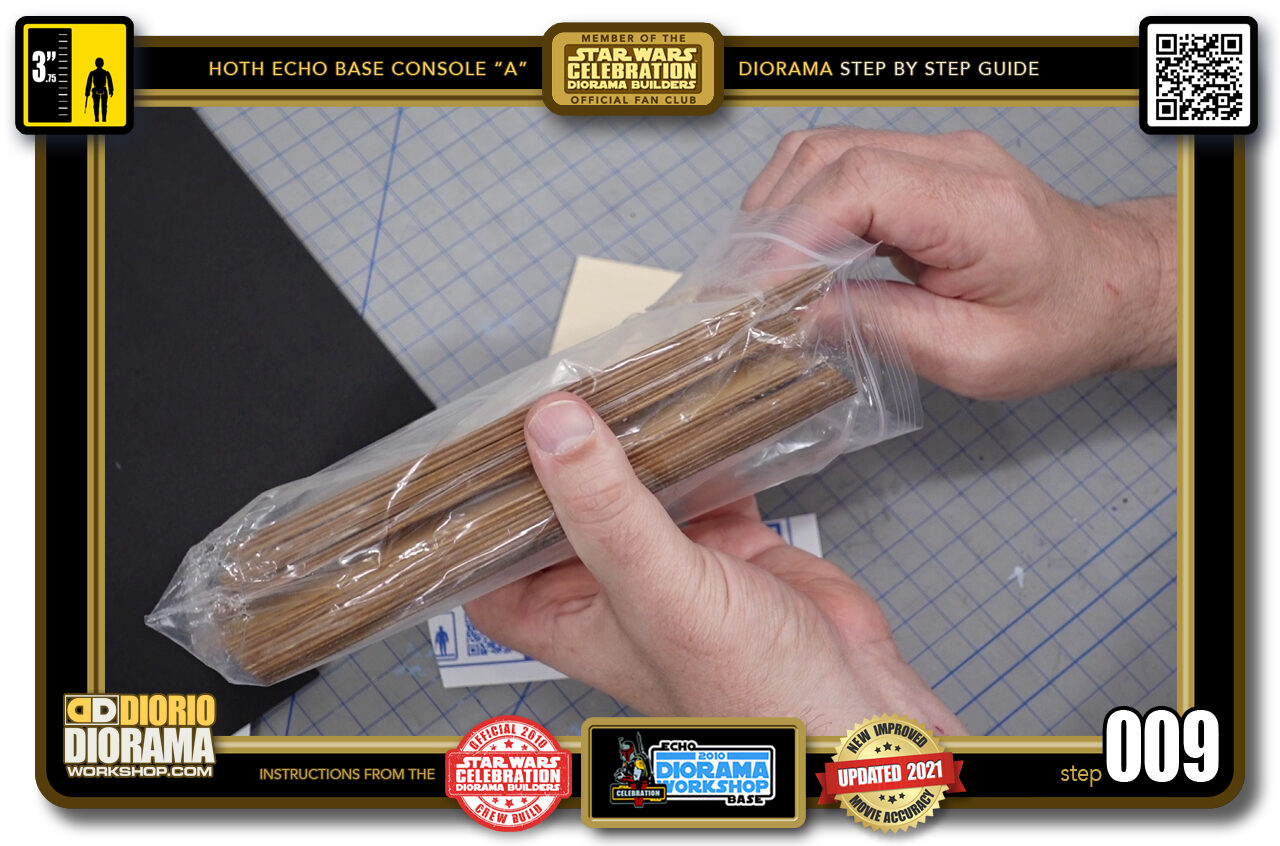
- STEP 009 > I found this afordable bag of Balsa Wood sheets on Amazon. The link is in the Materials Page. All you need is a little piece big enough to fit your chair feet , seat and back support.
-
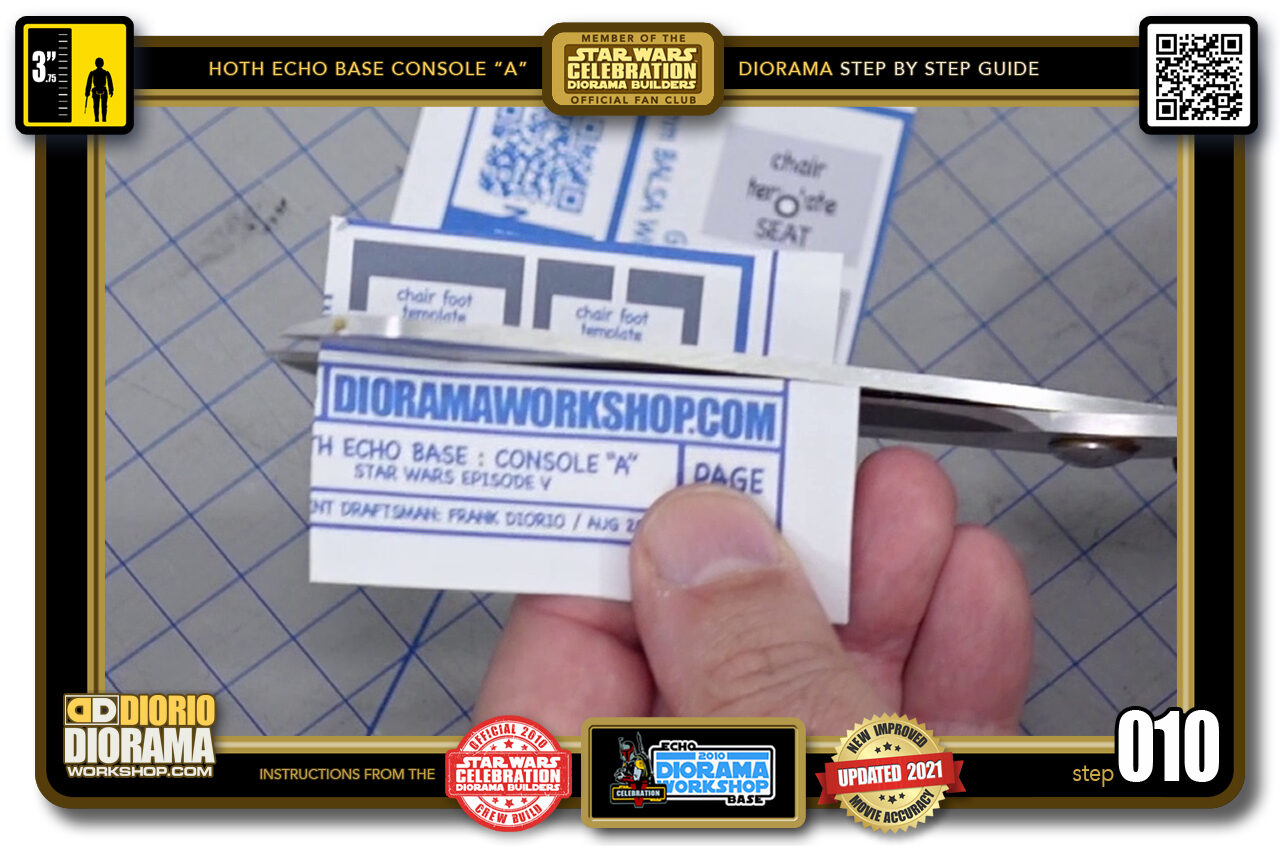
- STEP 010 > Use scissors or an Xacto to trim off the excess print we don't really need for the build.
-
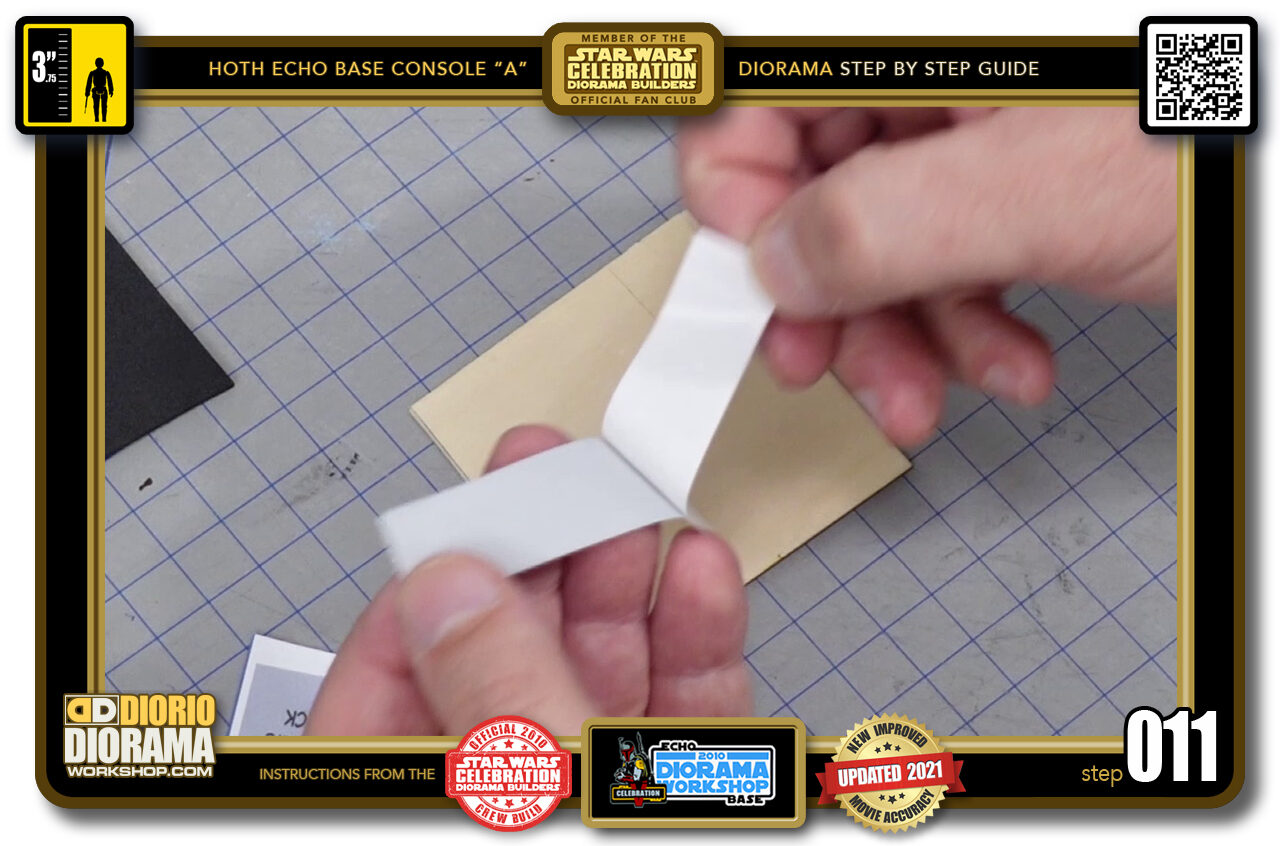
- STEP 011 > Peel the backing. We don't need to put gluestick first for the Balsa Wood pieces, as they don't absorb as much as the foamie.
-
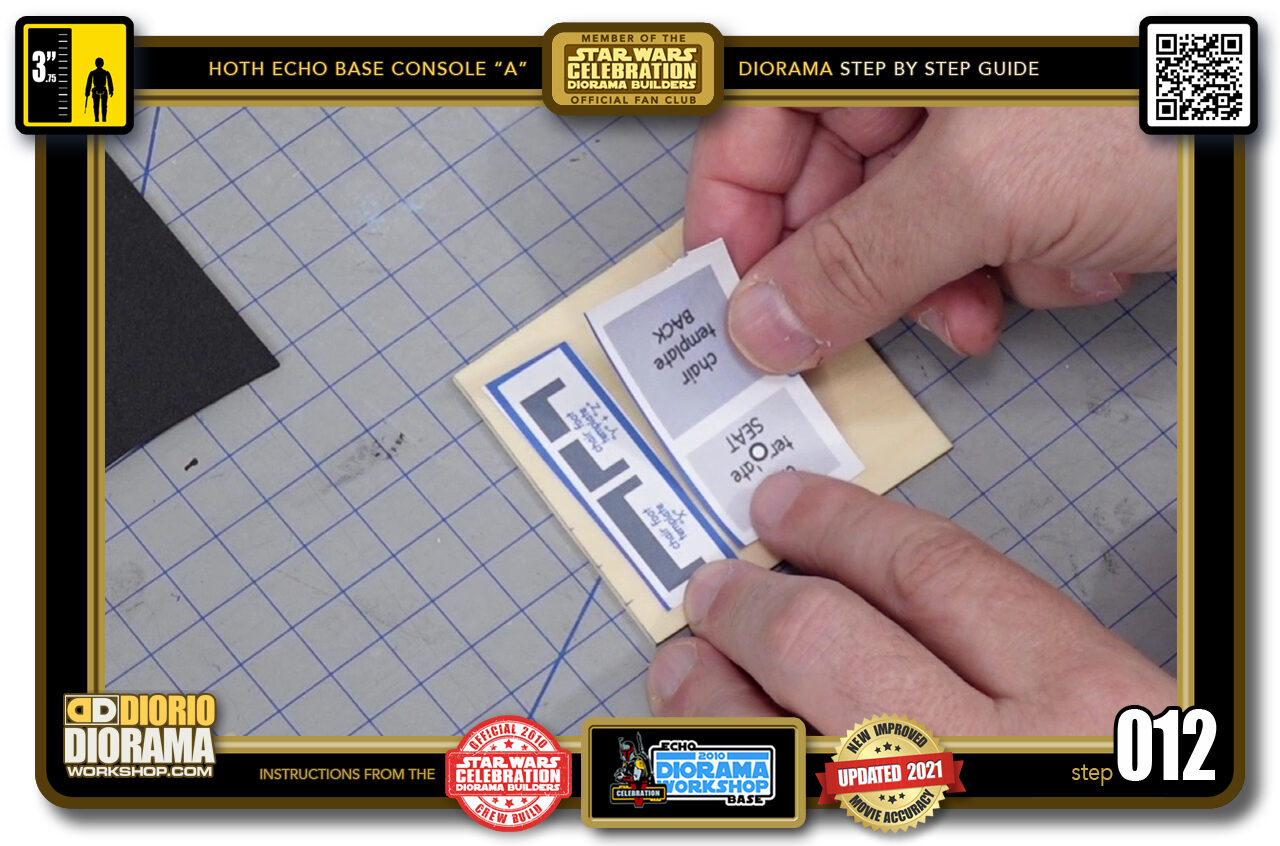
- STEP 012 > Place your 2 decal templates onto the Balsa Wood. Rub smooth making sure there are no folds or bubbles underneath. Put aside for now until we start cutting the pieces.
-
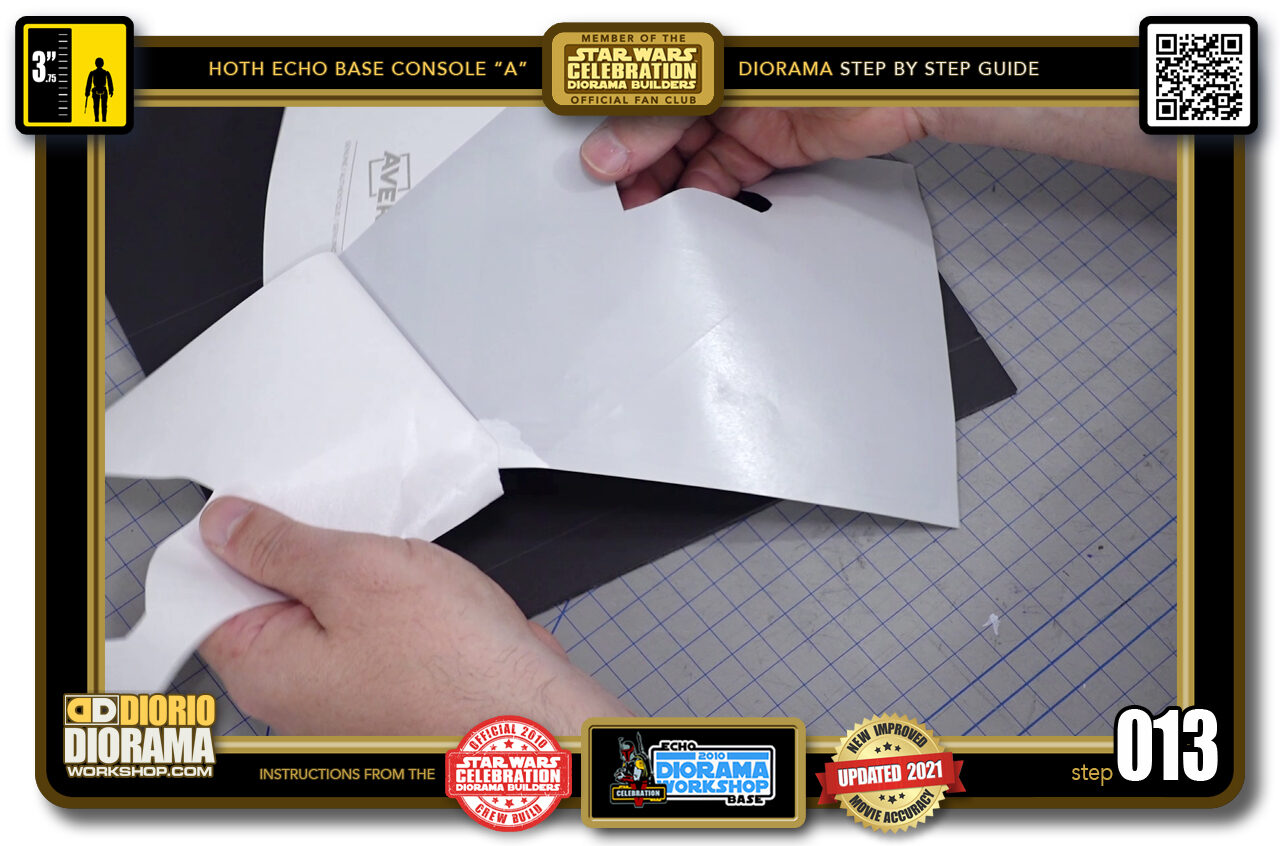
- STEP 013 > Time for the foamcore. Peel the backing of your sticker sheet.
-

- STEP 014 > When applying large surfaces, to avoid folds and bubbles, you want to start by laying down ONLY the bottom edge first. Then move UP the CENTRE of your decal with you hand, keeping the rest of the decal UP and NOT TOUCHING the foamcore.
-
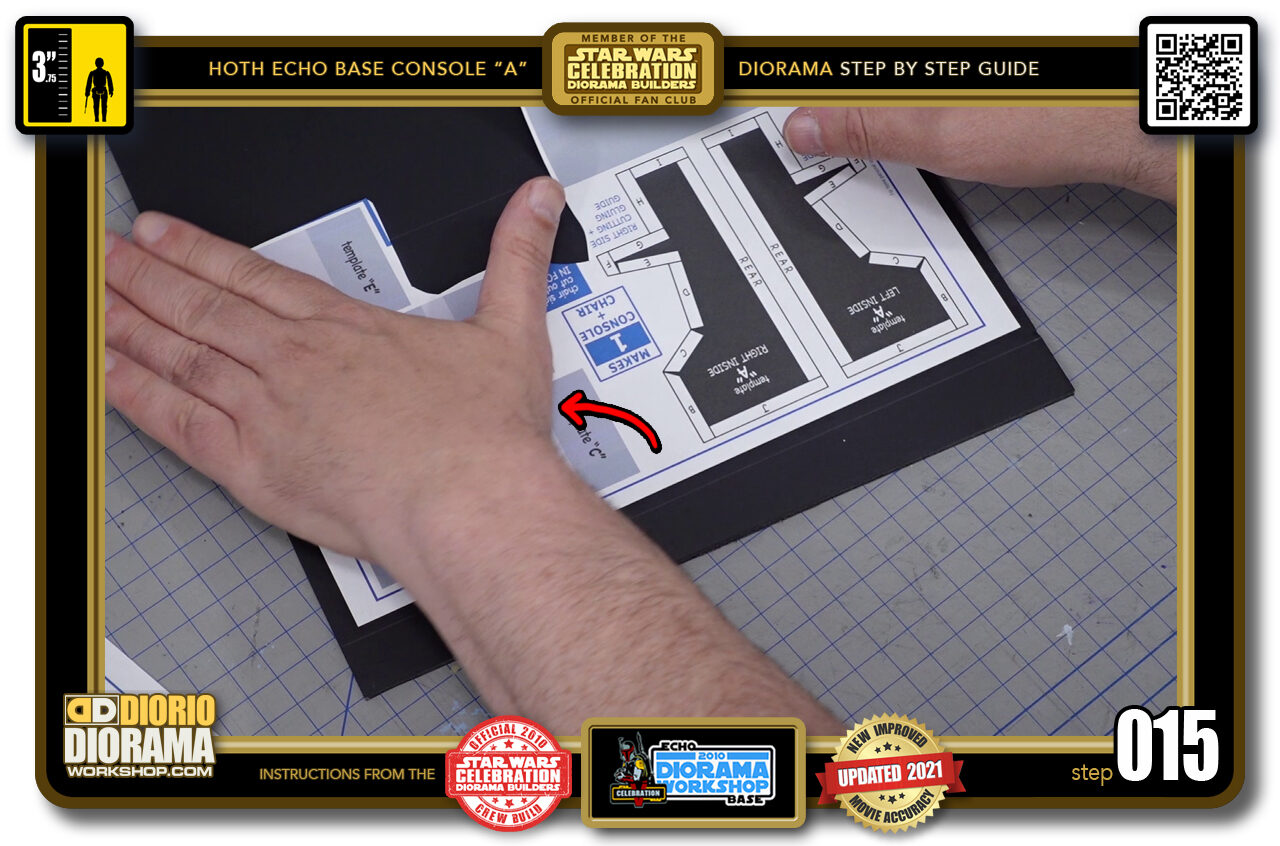
- STEP 015 > Then start lowering the LEFT UPPER CORNER as your hand presses along the foamcore slowly. KEPP THE RIGHT SIDE LIFTED.
-
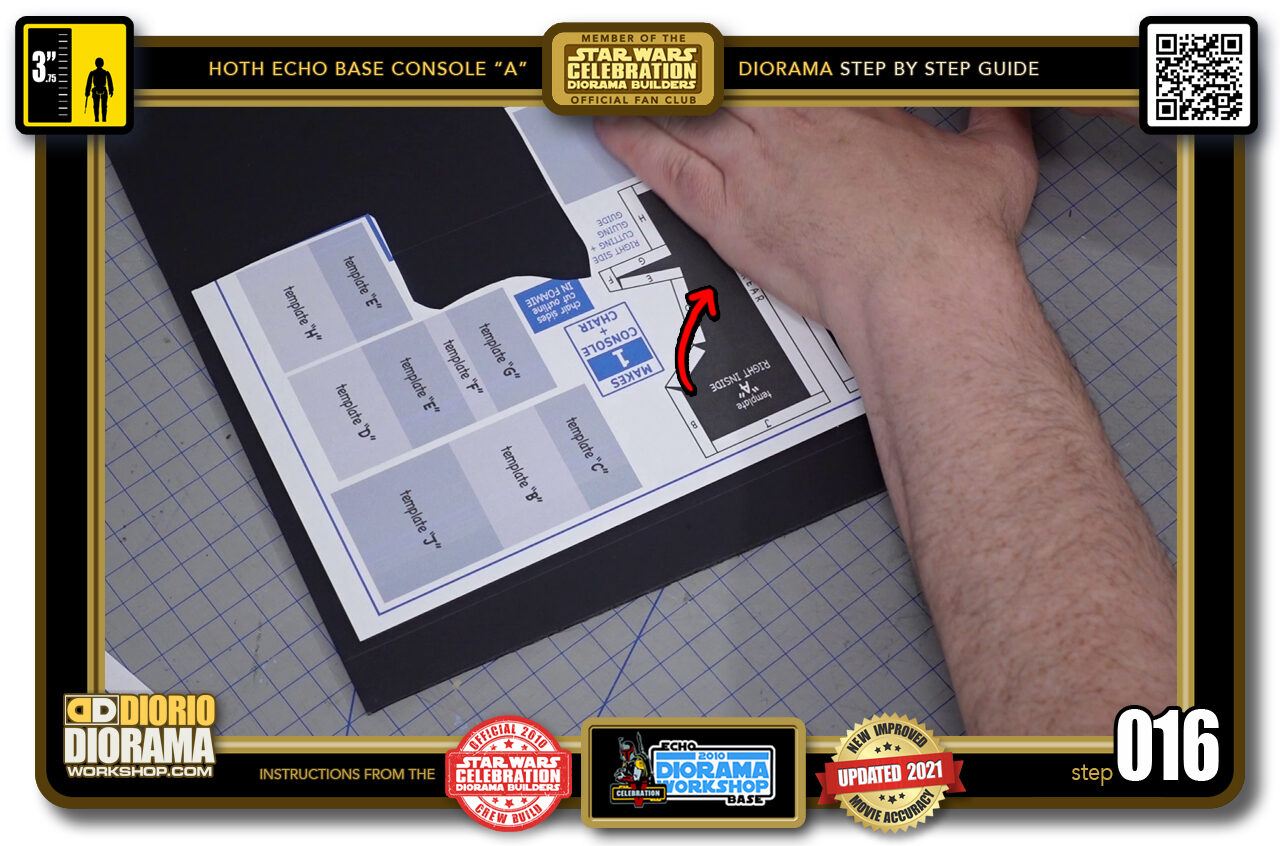
- STEP 016 > Then return to the bottom centre and now PRESS UPWARDS RIGHT with your hand. When the full decal surface has made contact with the foamcore, you can start pressing, rubbing with more pressure to make sure all the folds and bubbles do not exist.
-
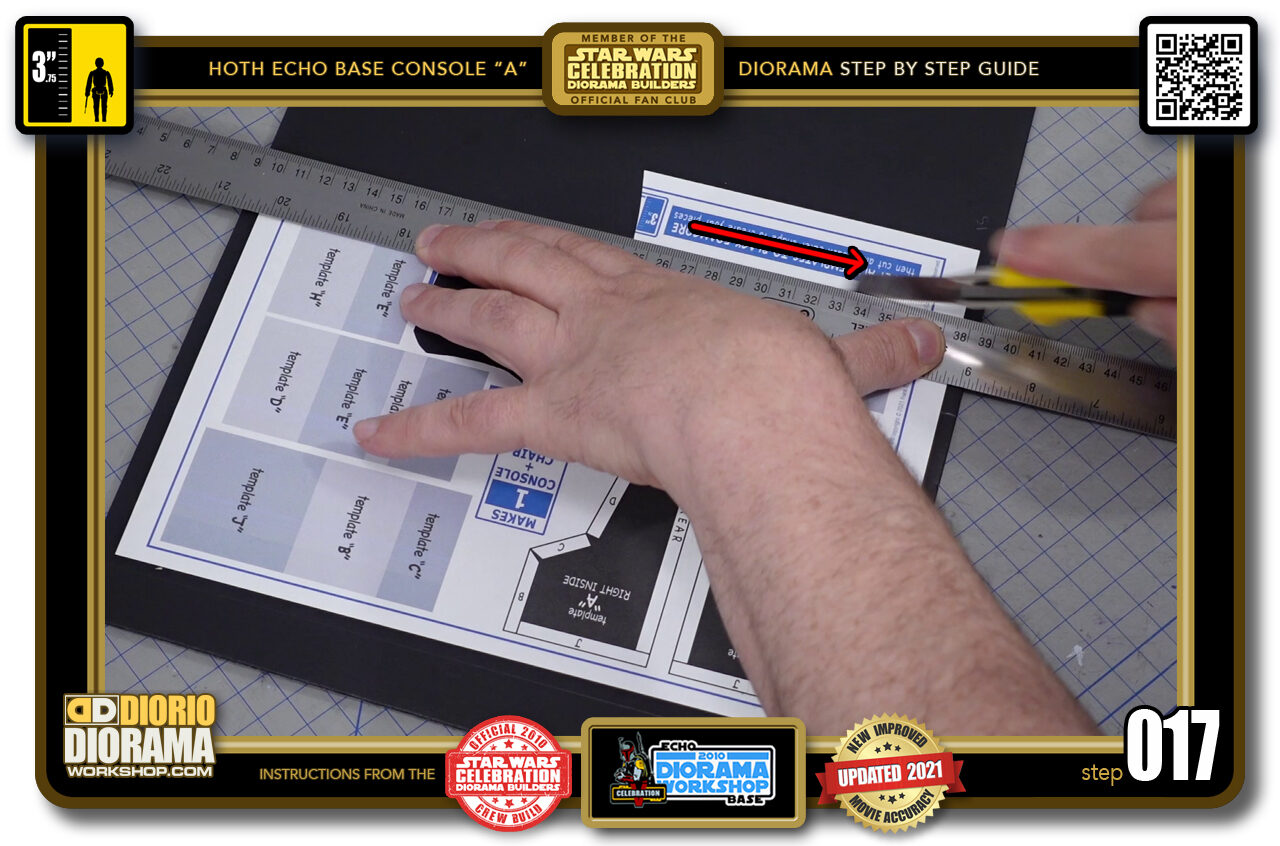
- STEP 017 > Time to loosely trim the decal templates so that you have a more manageable foamcore piece to cut and spin around.
-
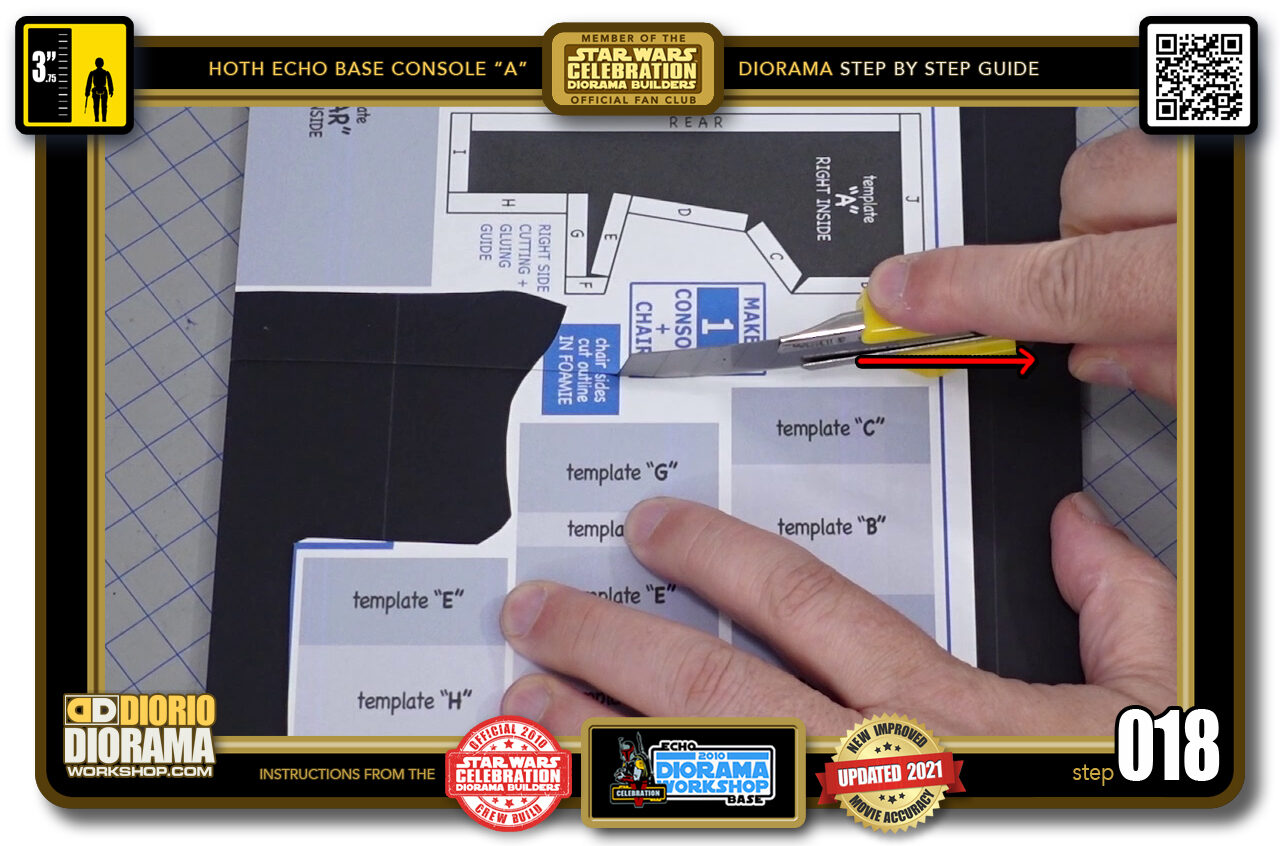
- STEP 018 > I am cutting along the centre as this is not shapes we need for the build.
-
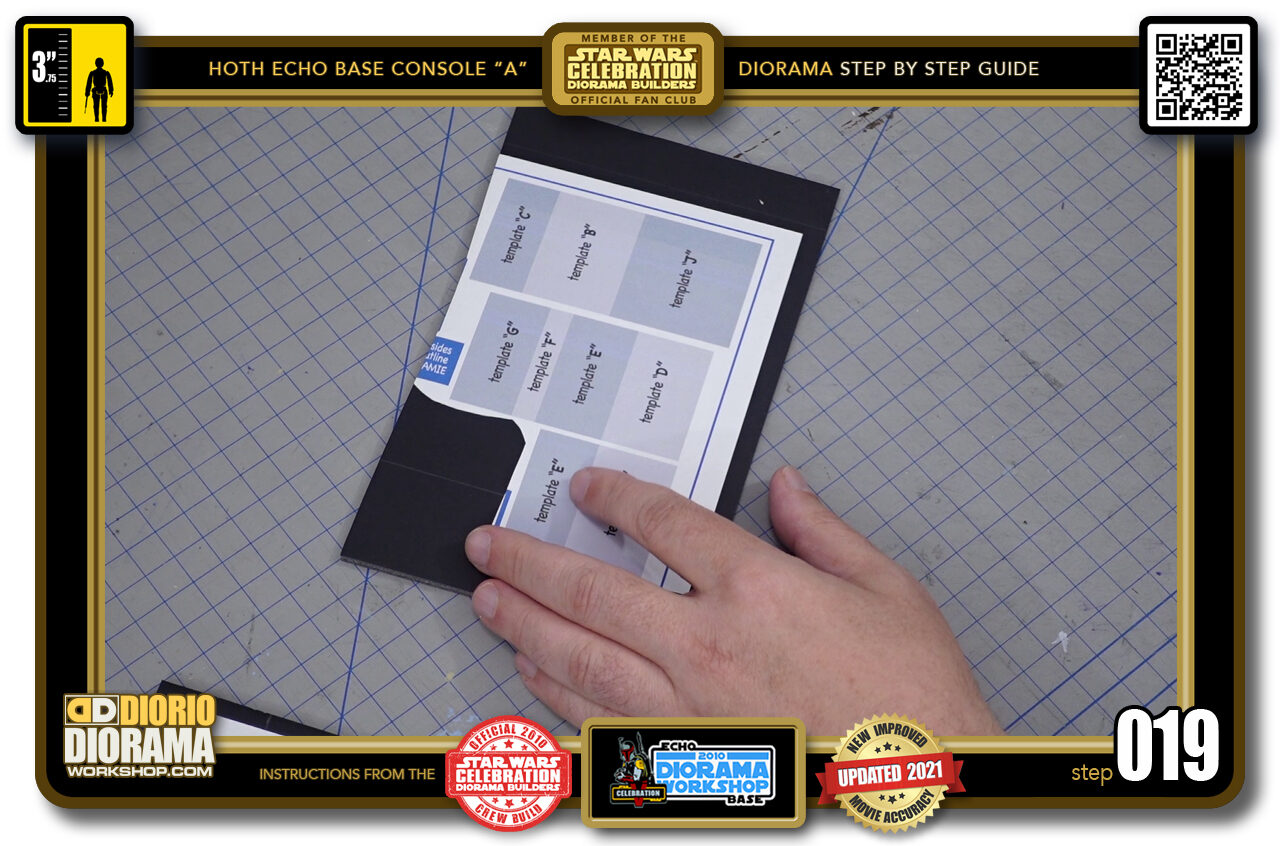
- STEP 019 > With smaller foamcore shapes, it is now easier for me to do the real cuts.
-
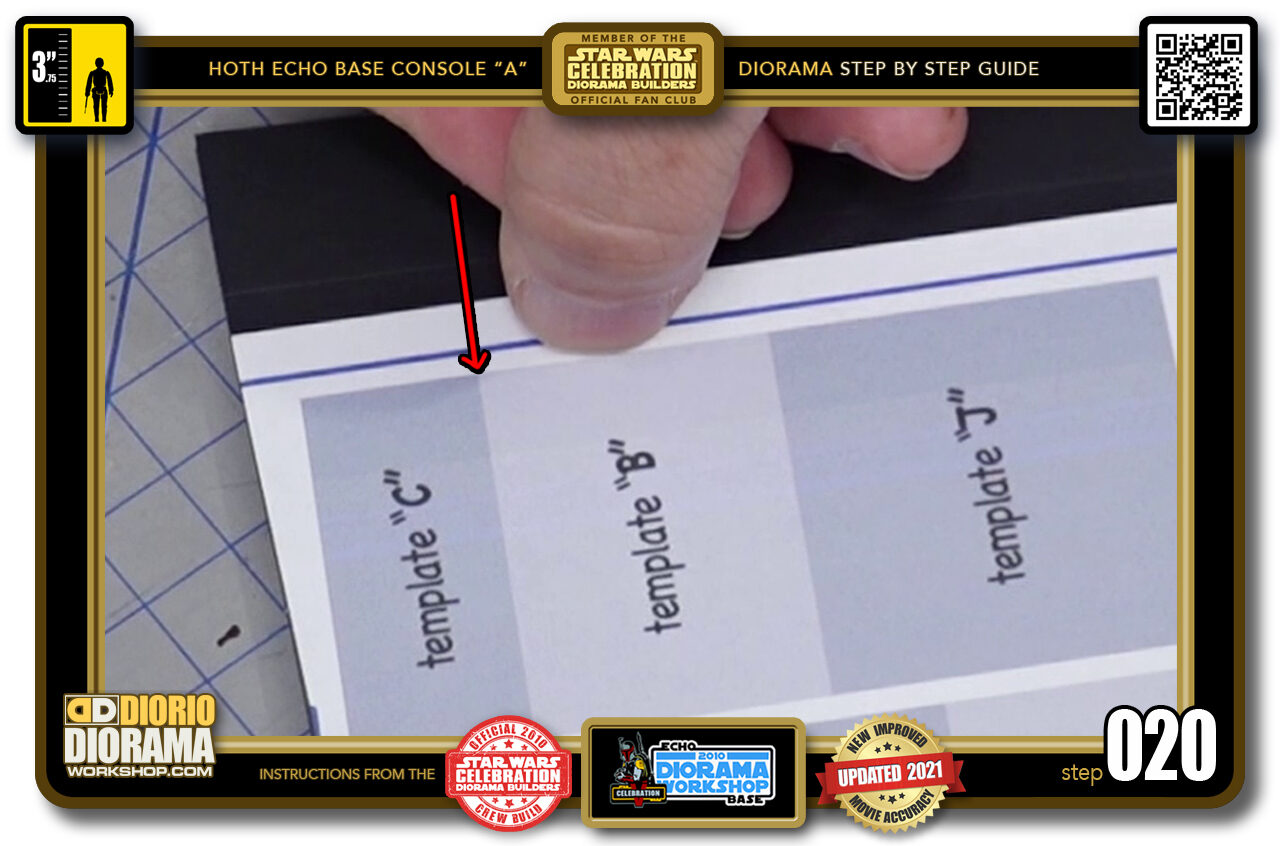
- STEP 020 > You want to cut as close as you can to the colours edge for the template shapes. Try to avoid seeing any of the white paper around your shapes.

.
Did you already build this Diorama ? At home or at our Star Wars Celebration Diorama Builders workshop ? Would you like to show it in the site’s GALLERY VISITORS DIORAMAS section, YES ? That is Awesome !!! You can find out all the details on how to email me your photos on the VISITORS SUBMISSIONS INFO page … When I get your photos, I will create your very own page just like this one. You may not realize it but work does inspire others to join in the fun of making Action Figure Dioramas.
.
NOT FOR RESALE ALL Decals, tutorials and artwork are ©FrankDiorio (dioramaworkshop.com) and offered FOR FREE to the fans – that would be you ? so you can build and display my diorama designs in your very own home. I realize I cannot control what one does with my graphics once I place them on the web, I can only ask you as one fan to another, please respect the artist and do not be that jerk who uses my designs and tutorials to build a copy of my work only to sell it on EBAY or trade/sale groups and forums. Thank You. Frank.
.

.
.
If you have a facebook account, why not join the Official Diorama Builders Fan Club today, simply click the logo link below.
 .
.
Catch up with fellow visitors and exchange stories, read cool interviews with the crew, exchange photos, fun surprises and grab some FAN ONLY merchandise next year at actual future conventions ?
.
©2021 Frank Diorio DioramaWorkshop.Com
.
IF YOU LIKE WHAT YOU SEE, PLEASE SHARE WITH YOUR FRIENDS
USING THE SOCIAL MEDIA BUTTONS BELOW