


-
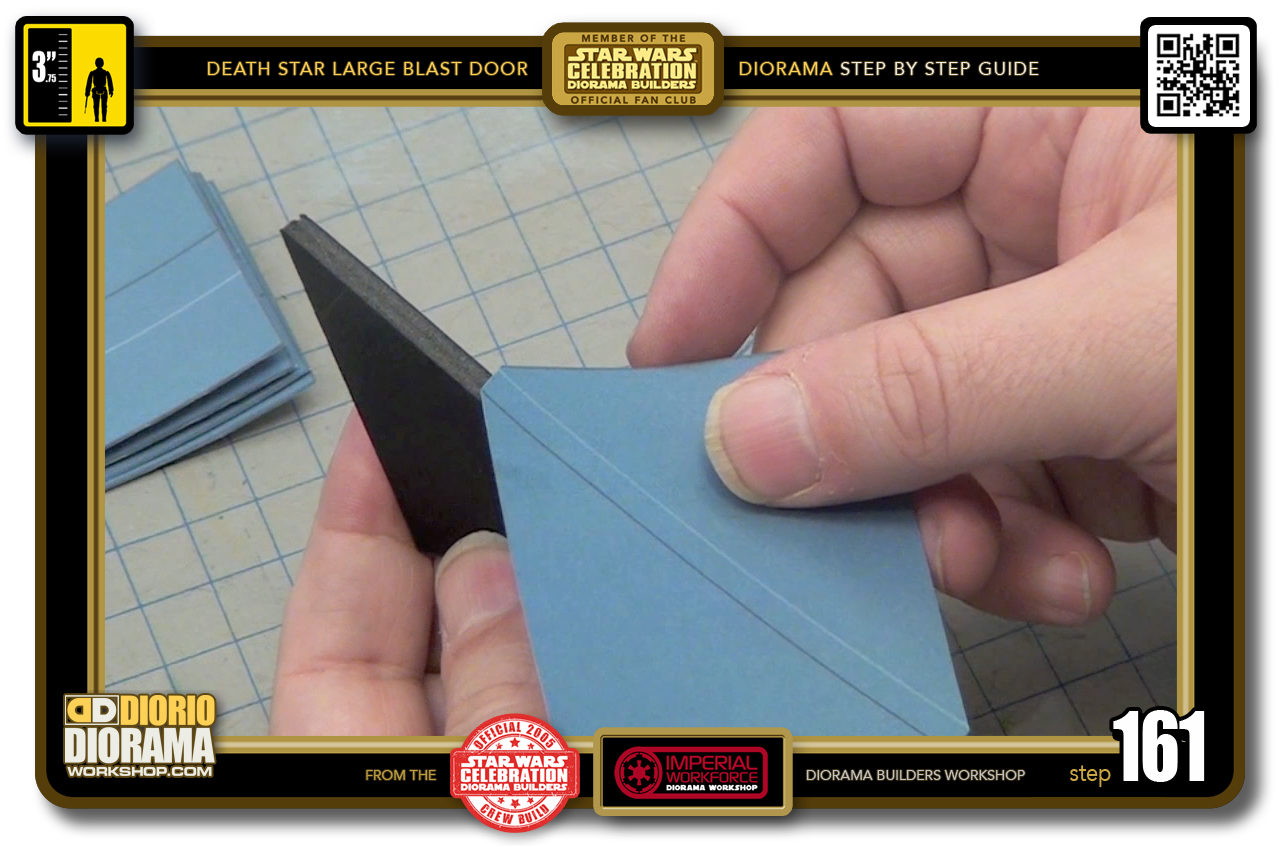
- STEP 161 > Your decal folding lines represent the thickness of the foamcore.
-
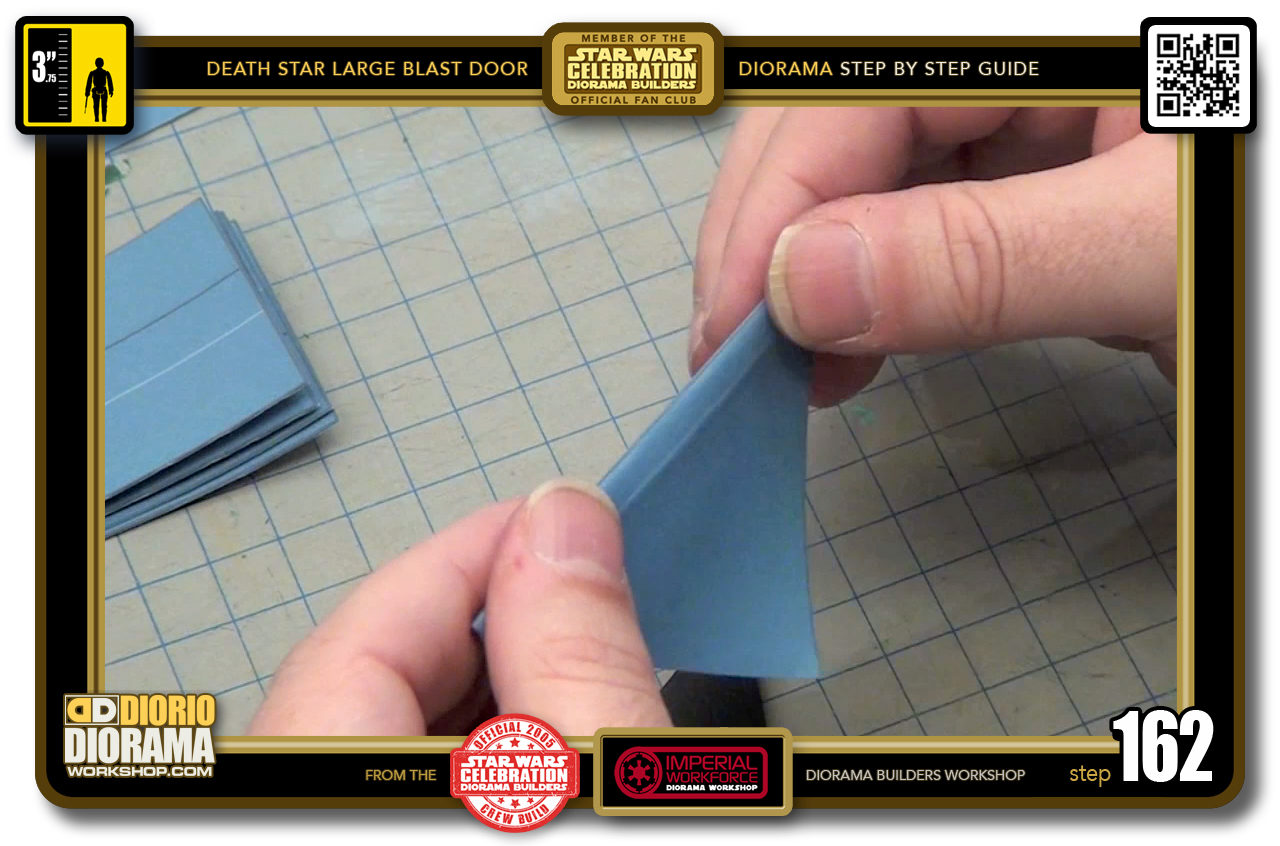
- STEP 162 > Start by folding over each of the folding guide lines. If you are using full size label sheets, the extra thickness of the back wax paper makes it a little longer to fold. Start fold gently, when it starts to follow the line press, squeeze harder with your fingers 2 or 3 times until the fold is real tight.
-
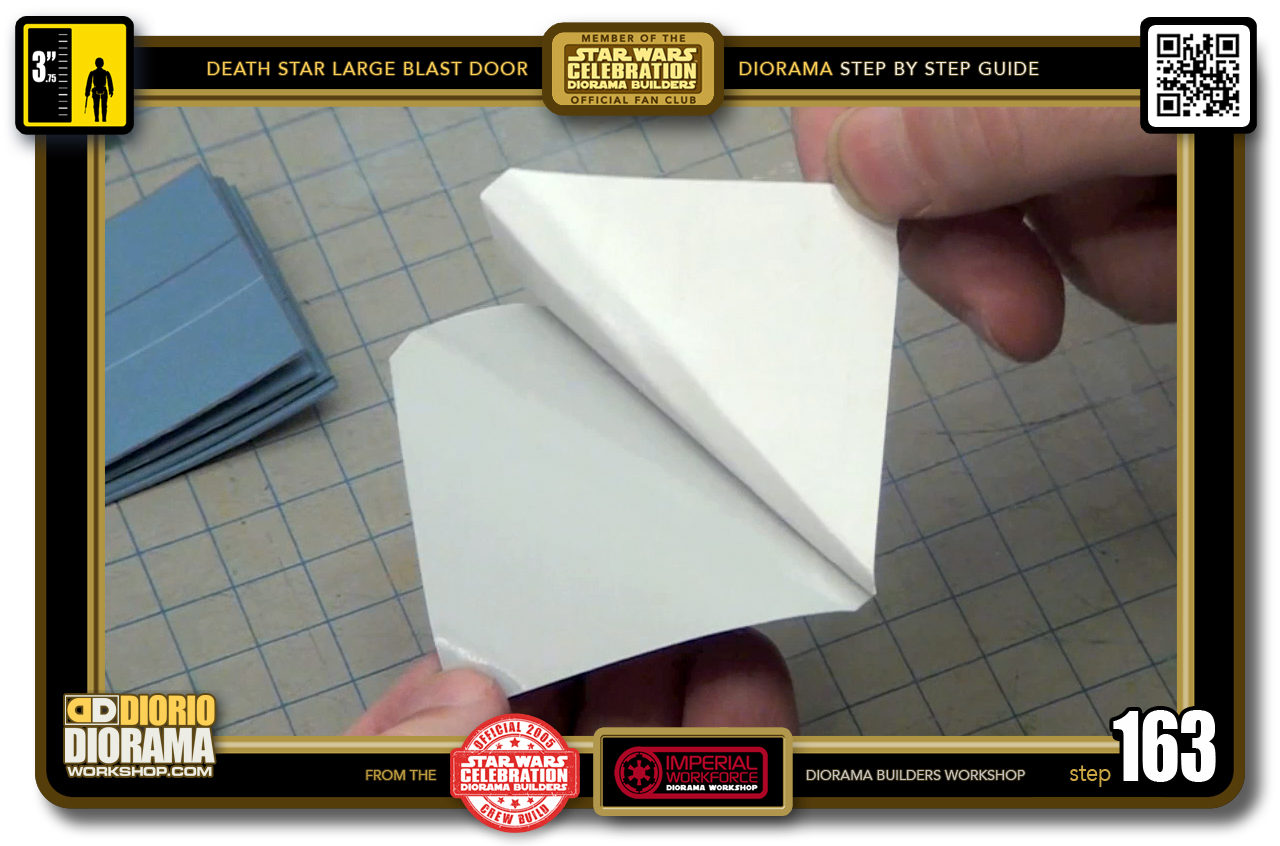
- STEP 163 > Peel you decal or use gluestick if you printed on regular paper. Again NEVER EVER USE HOT GLUE to apply decals.
-
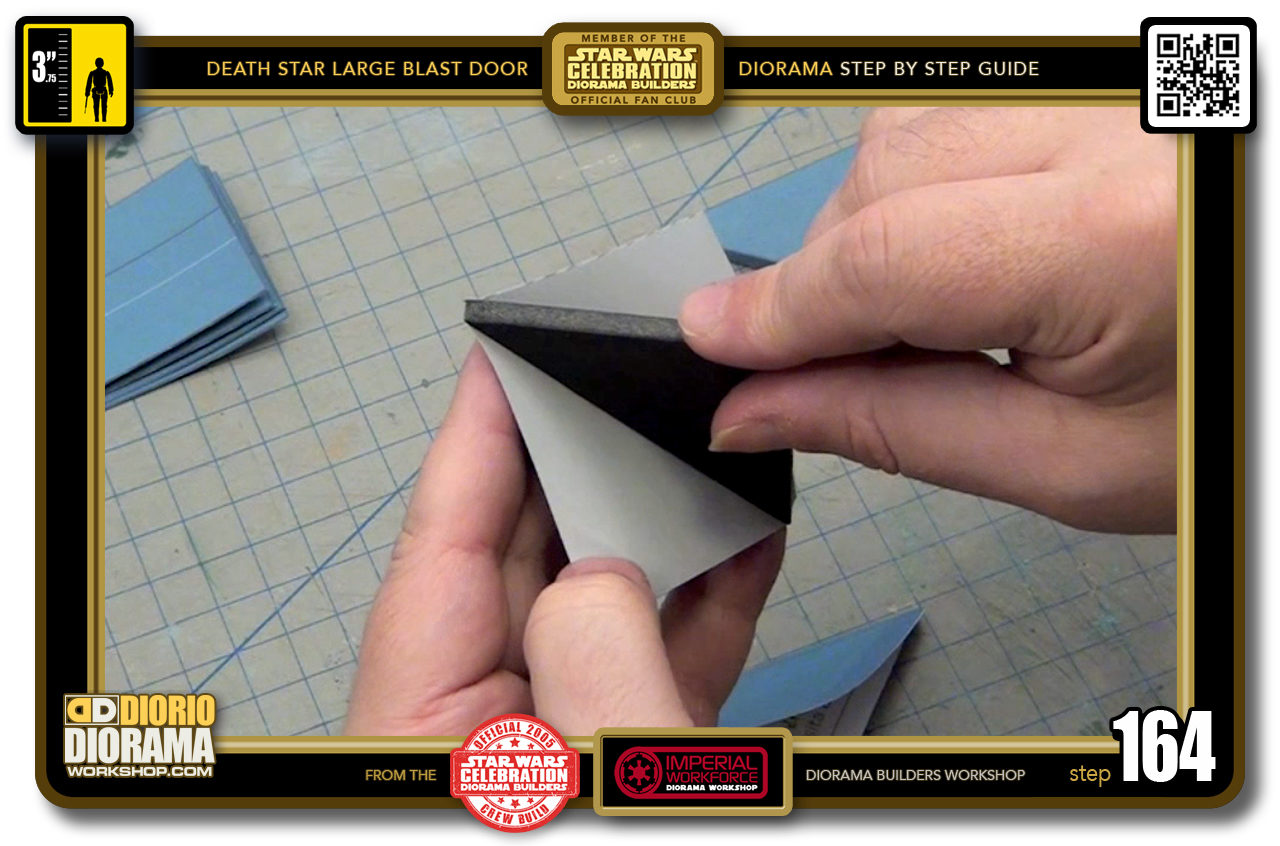
- STEP 164 > Carefully align and place the spine of your doritos triangle shape against the folds. You will see the thickness fits perfectly between the 2 lines.
-
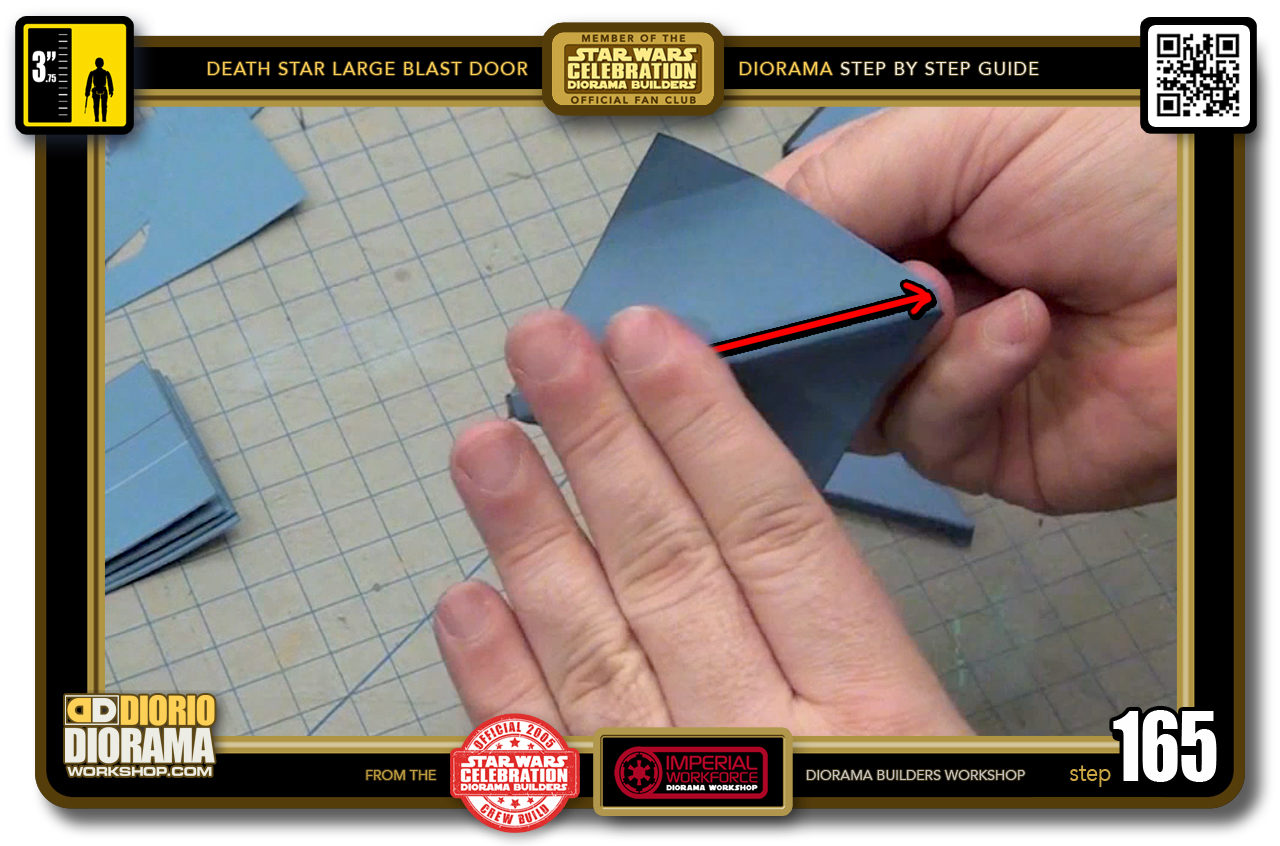
- STEP 165 > When it is placed correctly, simply use your finger to press from one side to the other of the spine only.
-
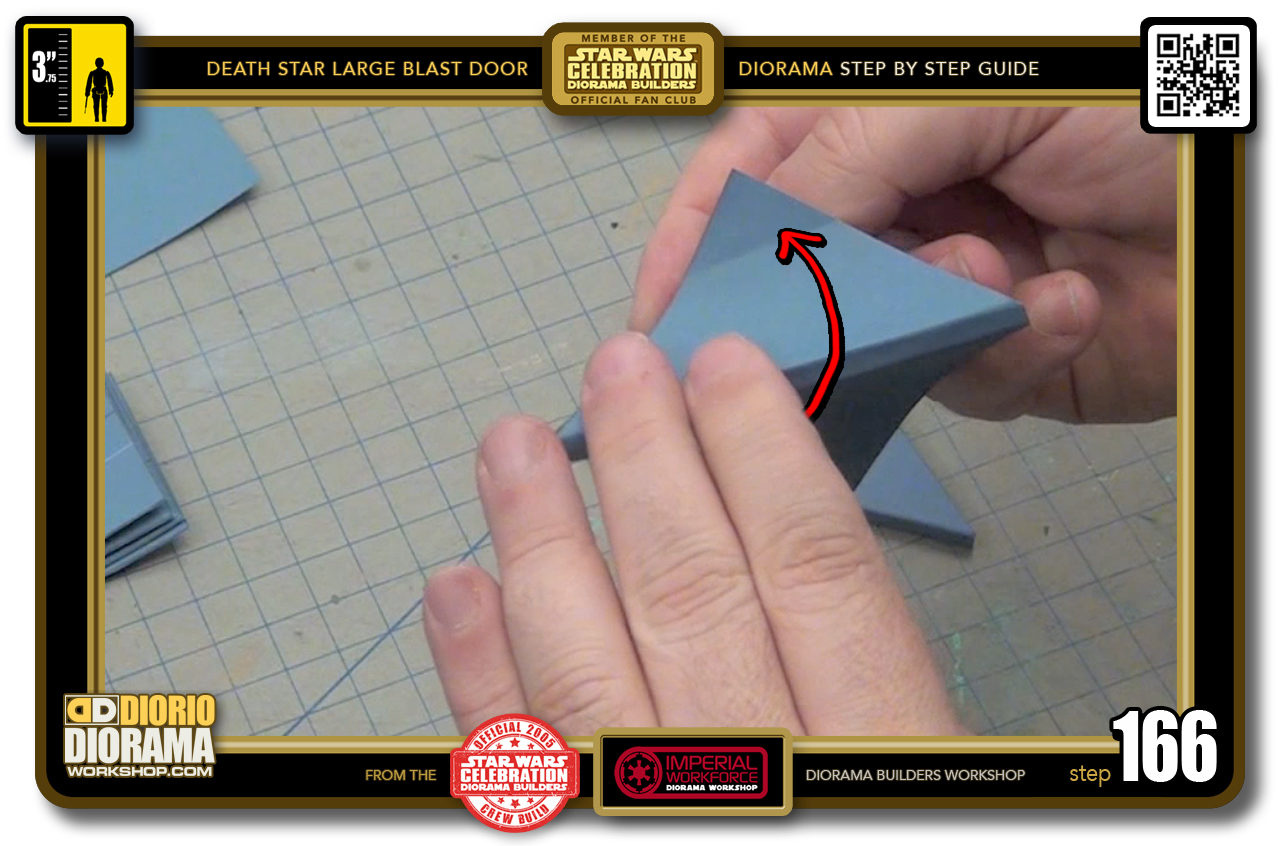
- STEP 166 > One side at a time, start from the spine and press the decal down onto the foamcore as you move your hand up towards the point.
-
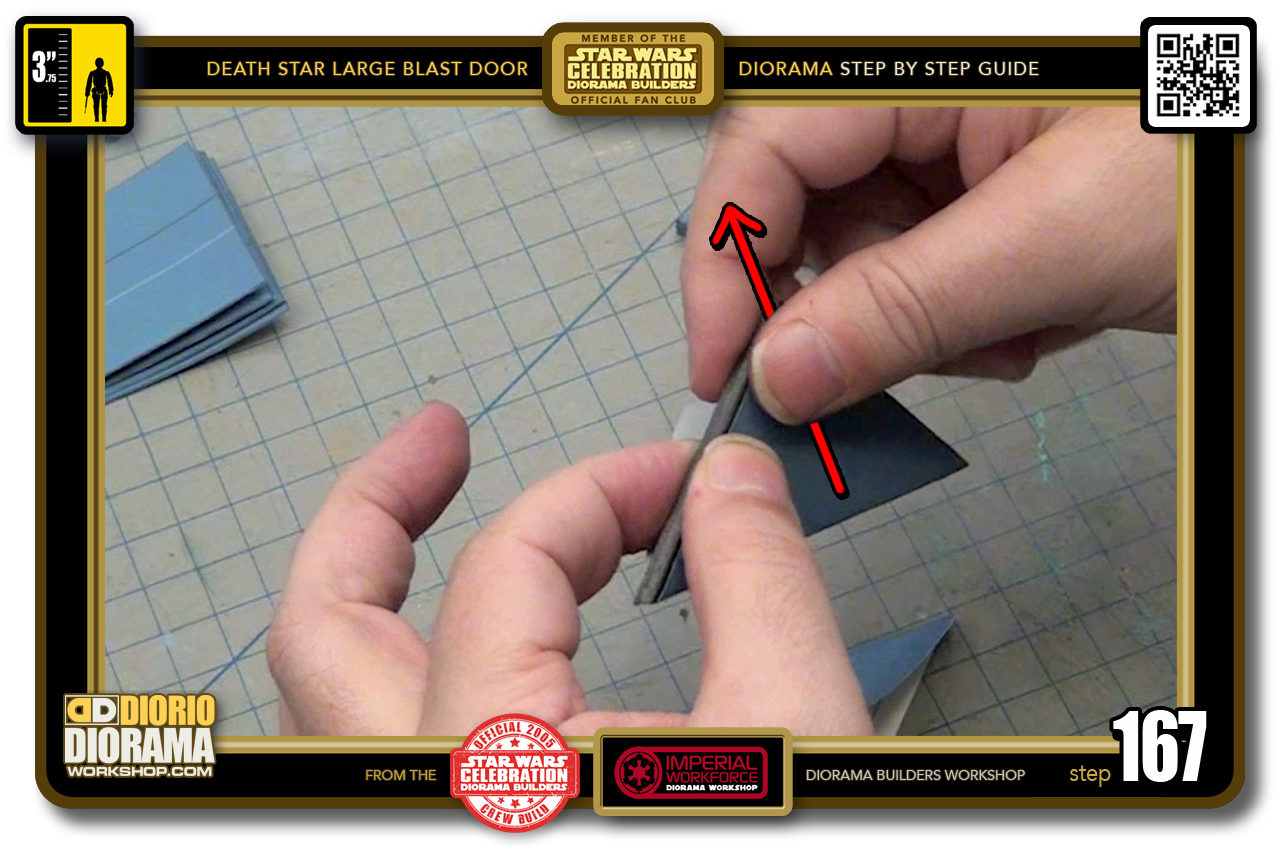
- STEP 167 > When the decal is completely flat on the doritos, then start pressing firmly with your thumb to make sure it is well attached and remove any air bubbles or folds. Repeat on the other side and then same steps for the other 5 doritos.
-
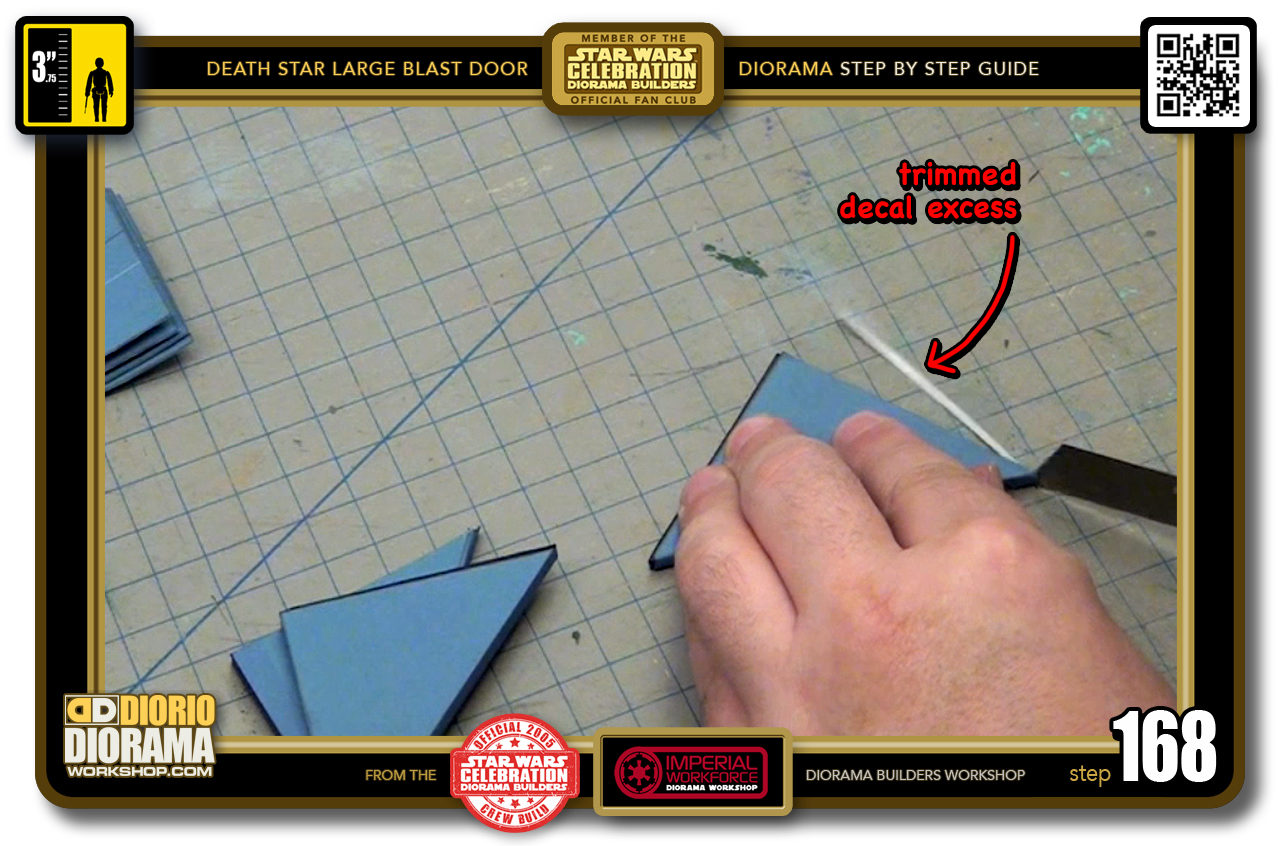
- STEP 168 > It can happen that some of the decal sticks out past the outside edges of your doritos shape. Simply use your long blade to trim off the excess paper.
-
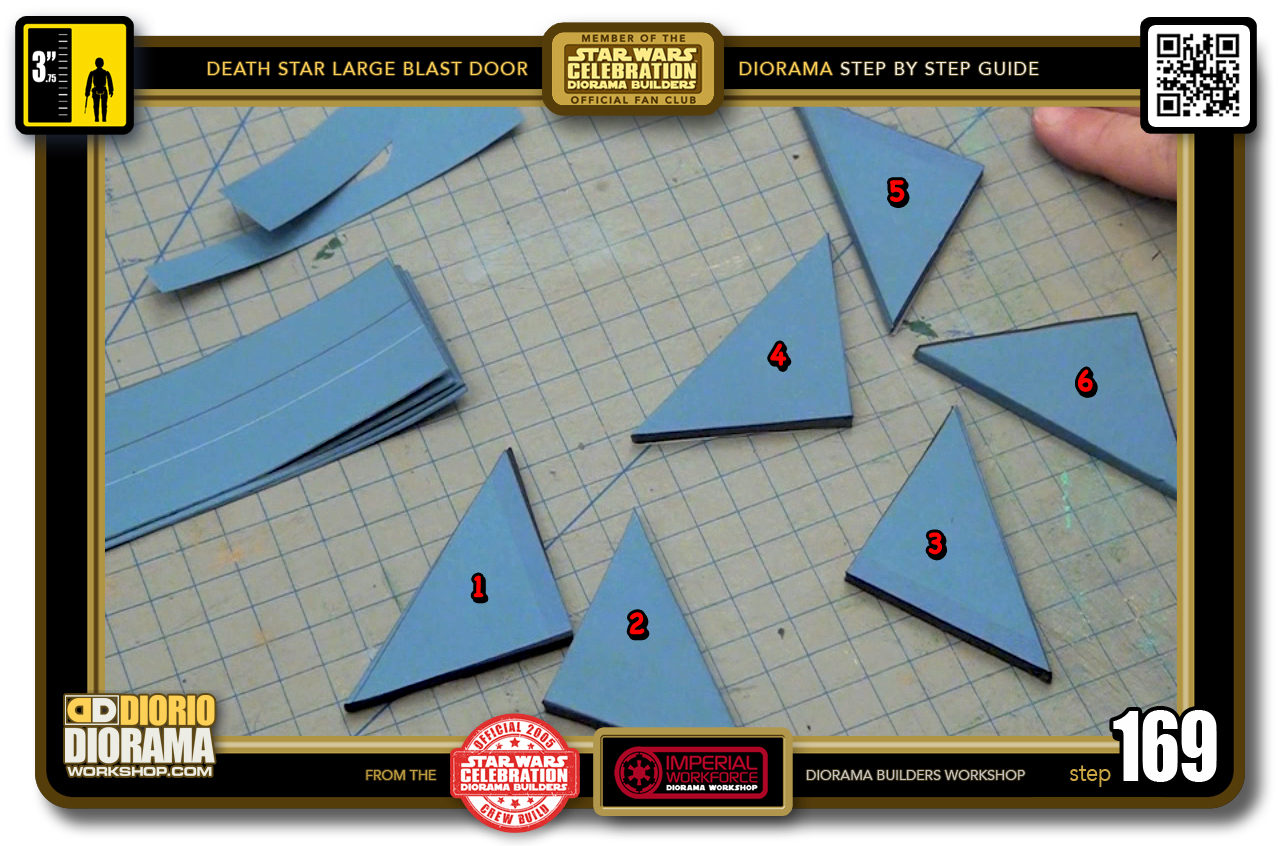
- STEP 169 > You should now have 6 completed doritos shape triangles.
-

- STEP 170 > These will be placed in the corners of your frames and simulate the blast door has been open.
-
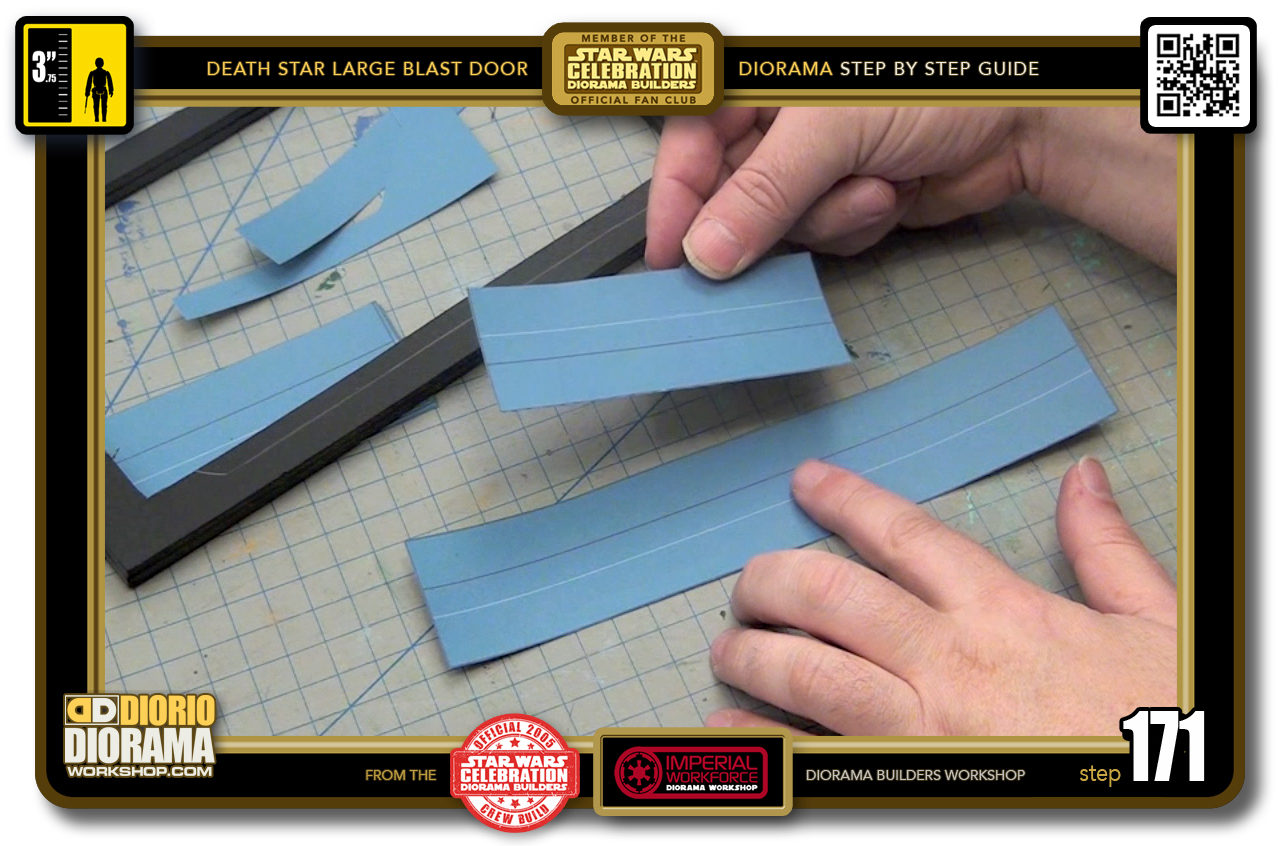
- STEP 171 > Before attaching the corners we need to apply the skins to the frames. When you do layer 2 and 3 frames you will use the side skins (short decal) and the top and bottom skins (long decals)
-
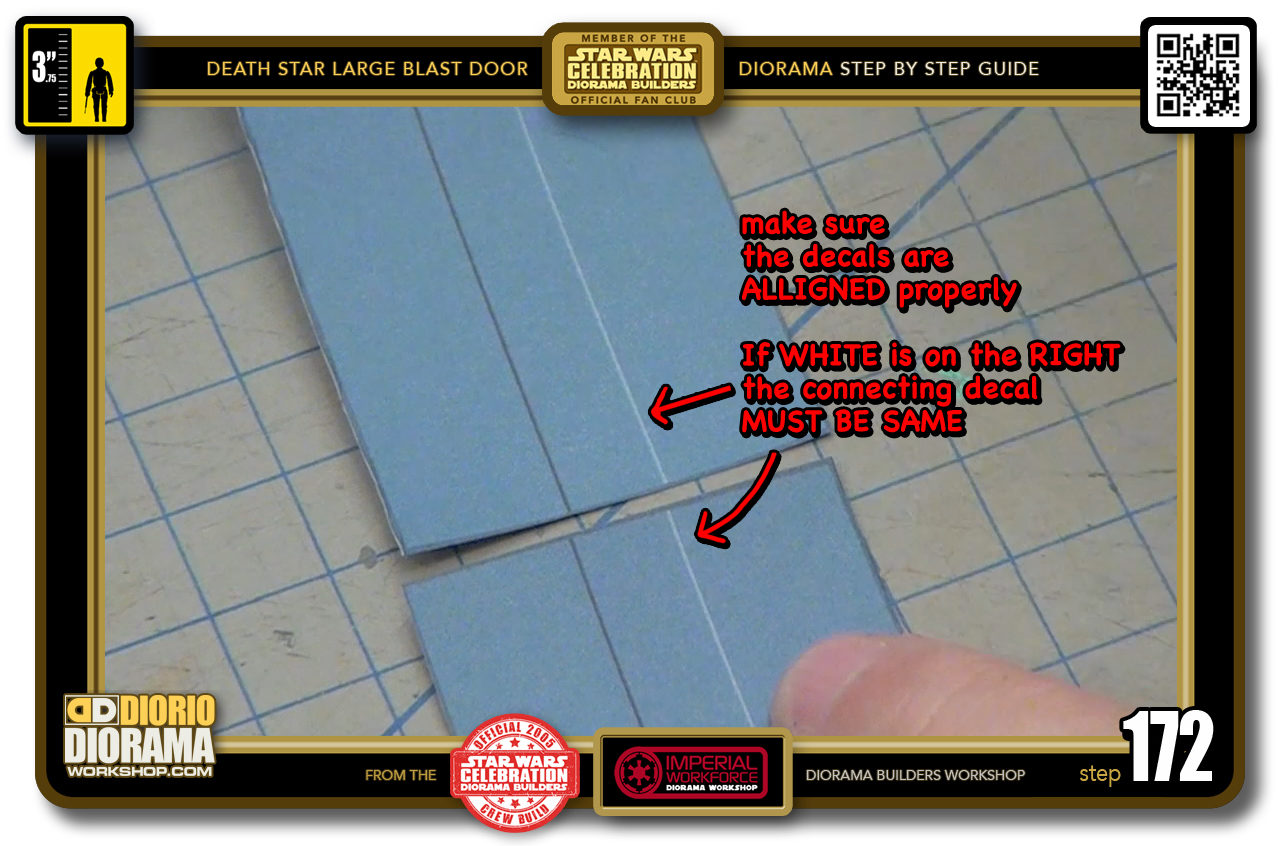
- STEP 172 > The MOST IMPORTANT thing to notice is that there are 2 folding lines, one black and one white. you MUST place the decals side by side with the proper corresponding colour.
-
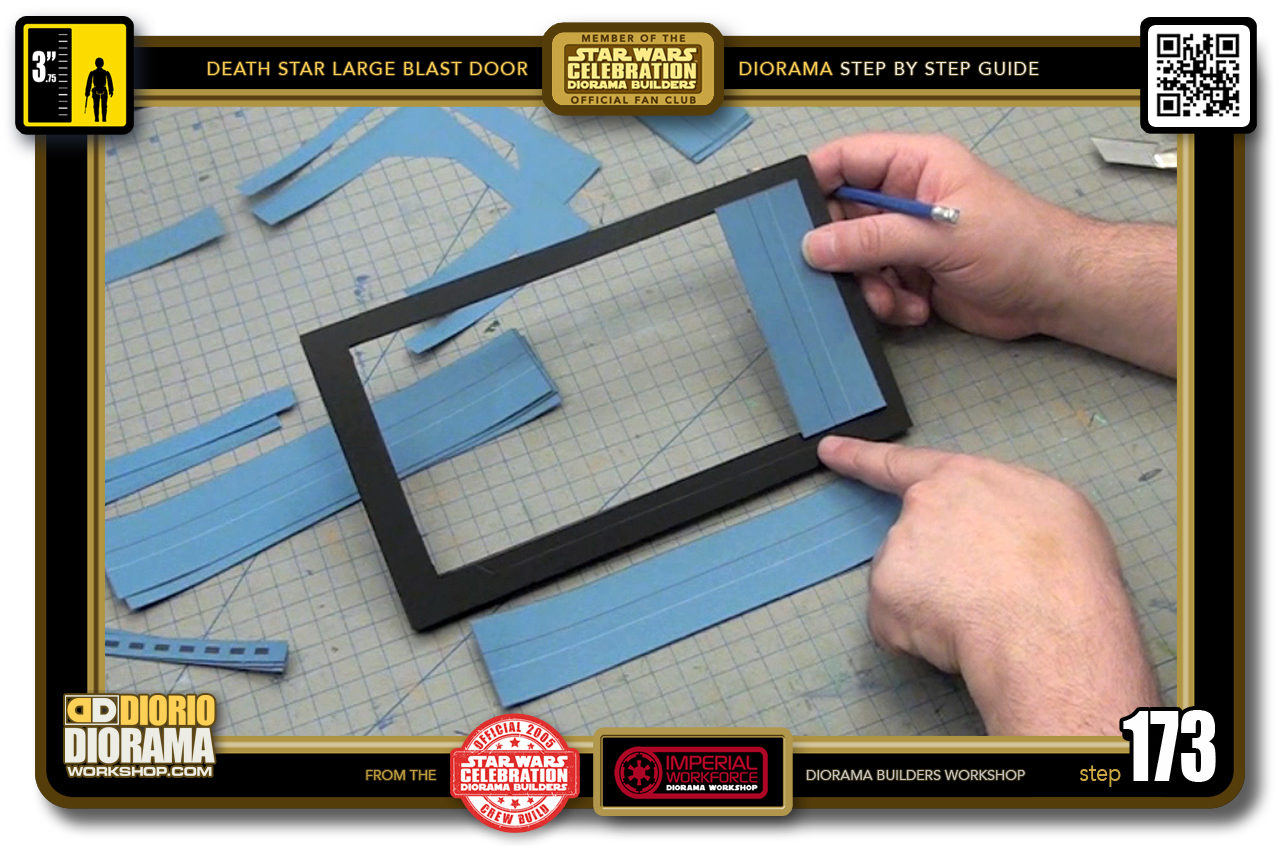
- STEP 173 > Start with a side skin. You will notice it can stick out a little past the inner frame. This was done so you can trim it to the exact cut you did.
-
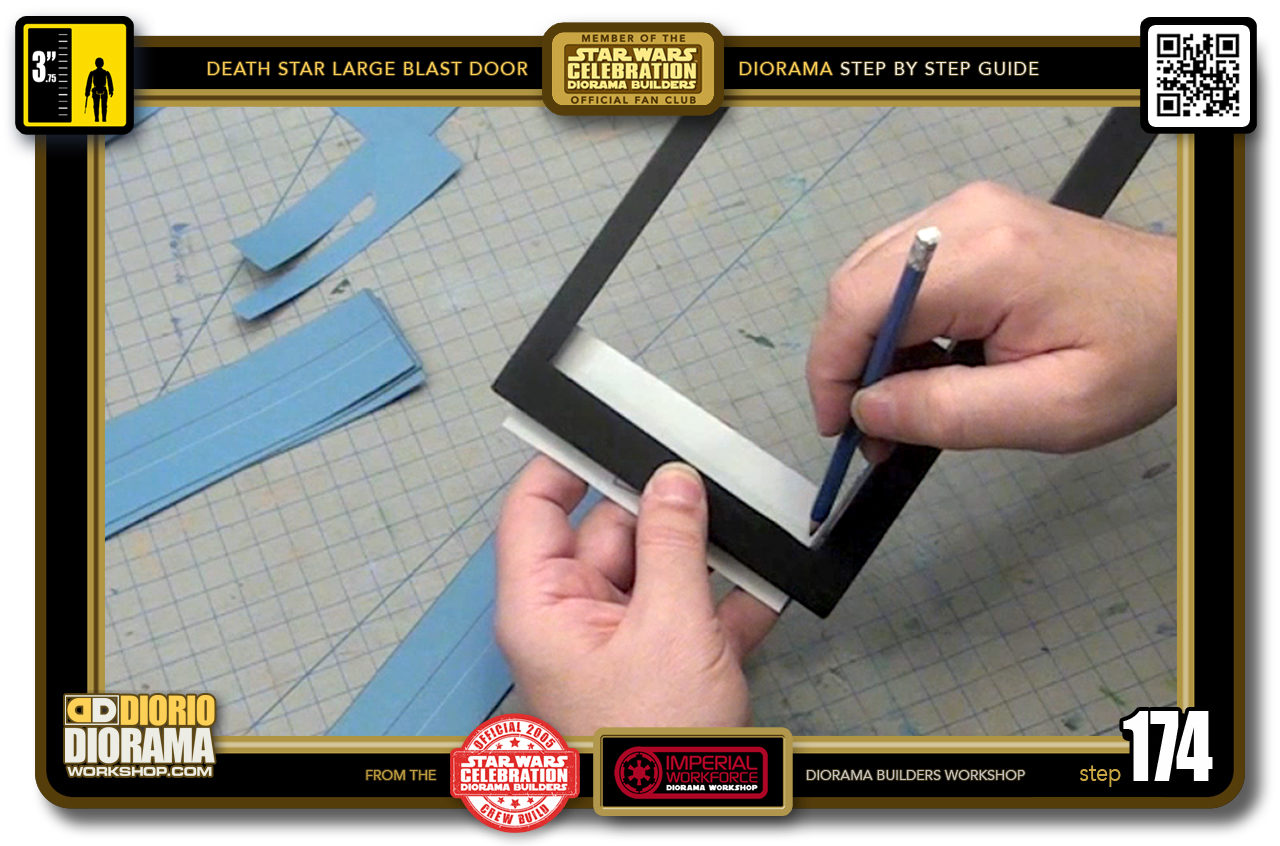
- STEP 174 > Place the decal along the side edge aligning it flush, touching the top inner cut. Now grab your pencil and mark where the bottom corner is.
-
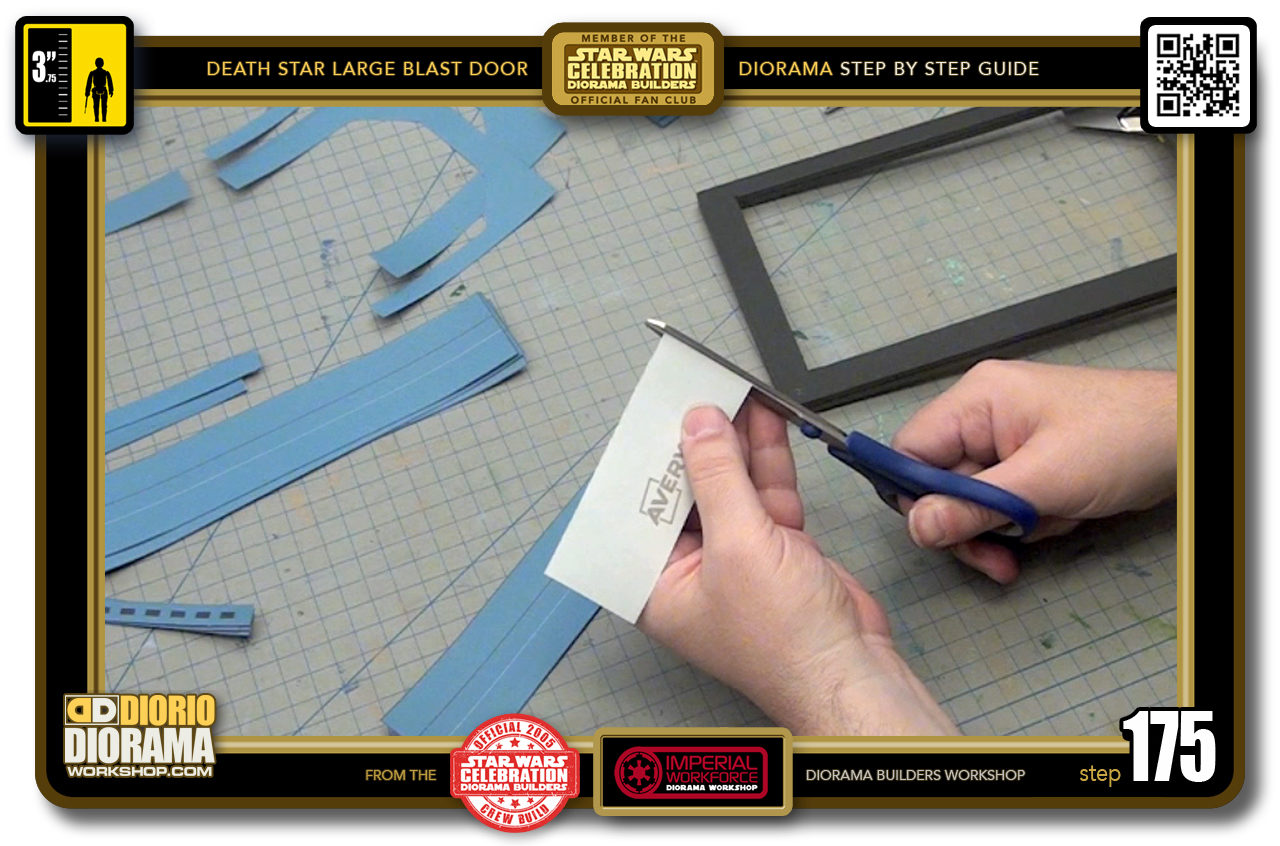
- STEP 175 > Trim off the excess with your scissors.
-
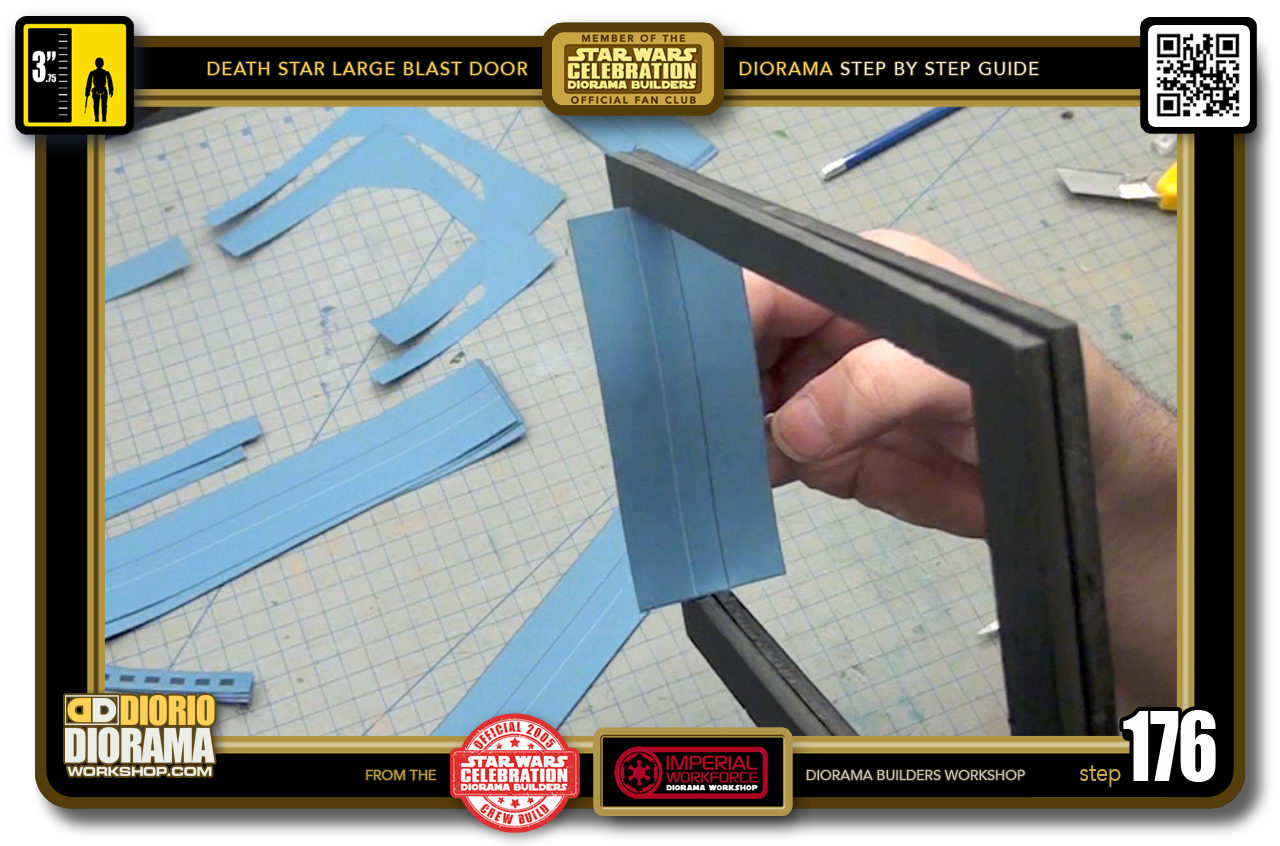
- STEP 176 > Your decal skin should fit perfectly snug in between the top and bottom pieces of your frame.
-
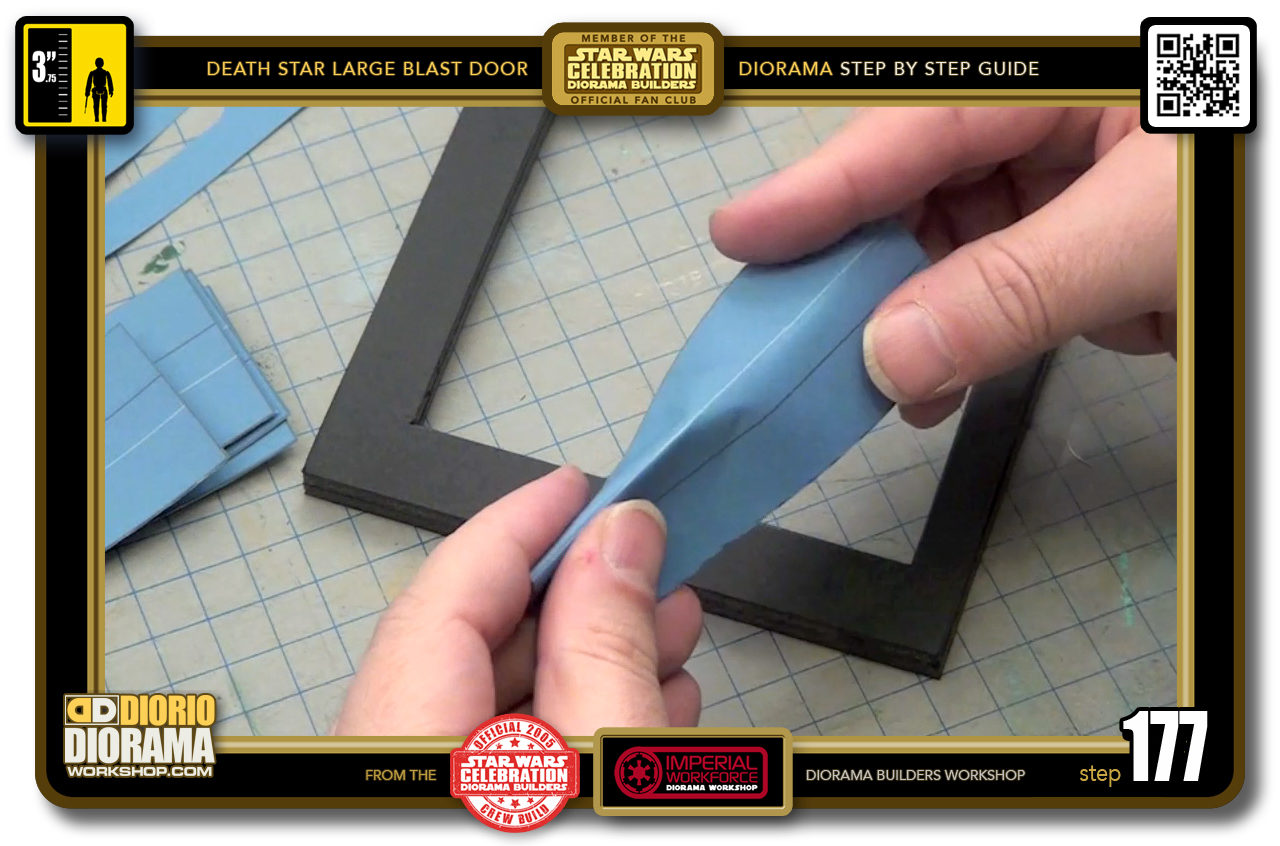
- STEP 177 > Start by folding along the guides like you did the doritos skins. Start loosely and then press harder as the fold takes shape.
-
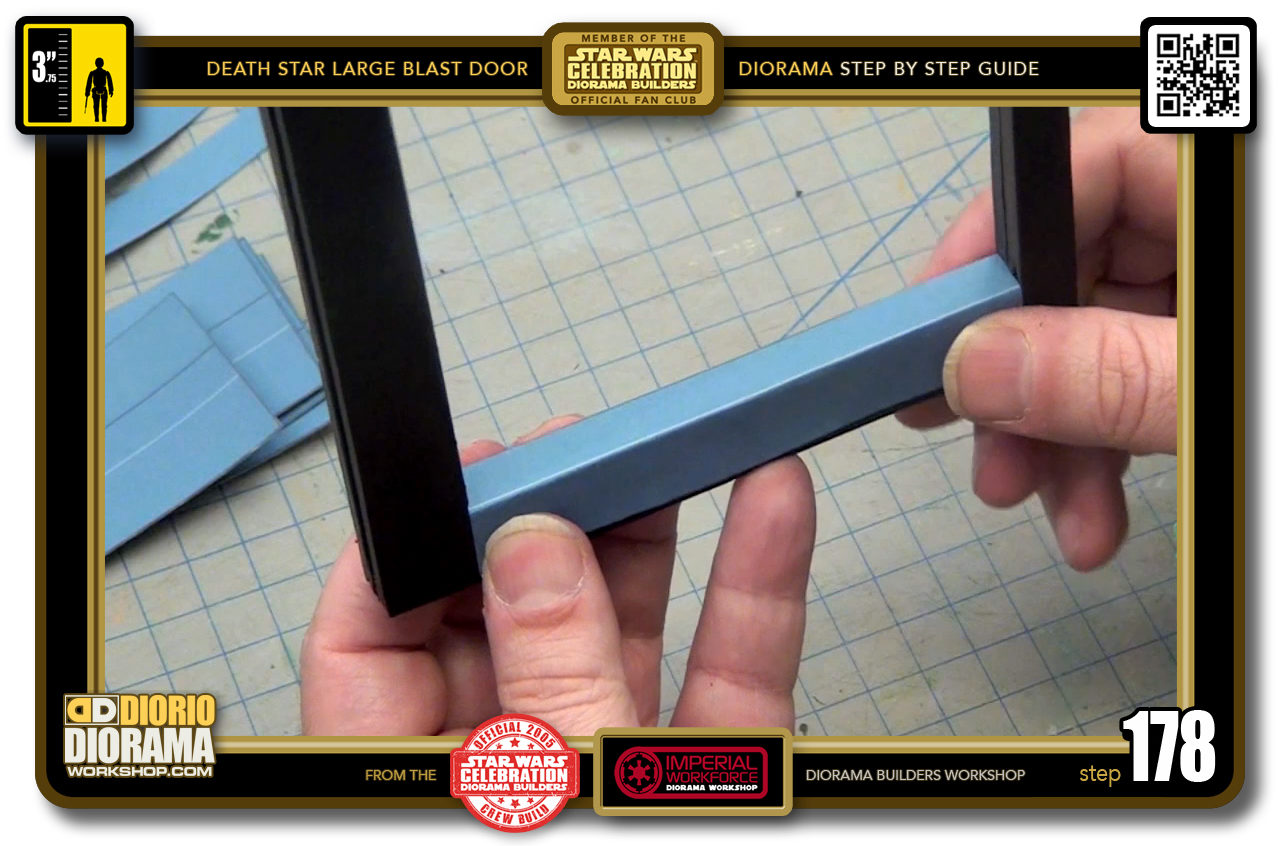
- STEP 178 > Do a DRY RUN, placing the decal onto the frame to make sure everything fits perfectly.
-
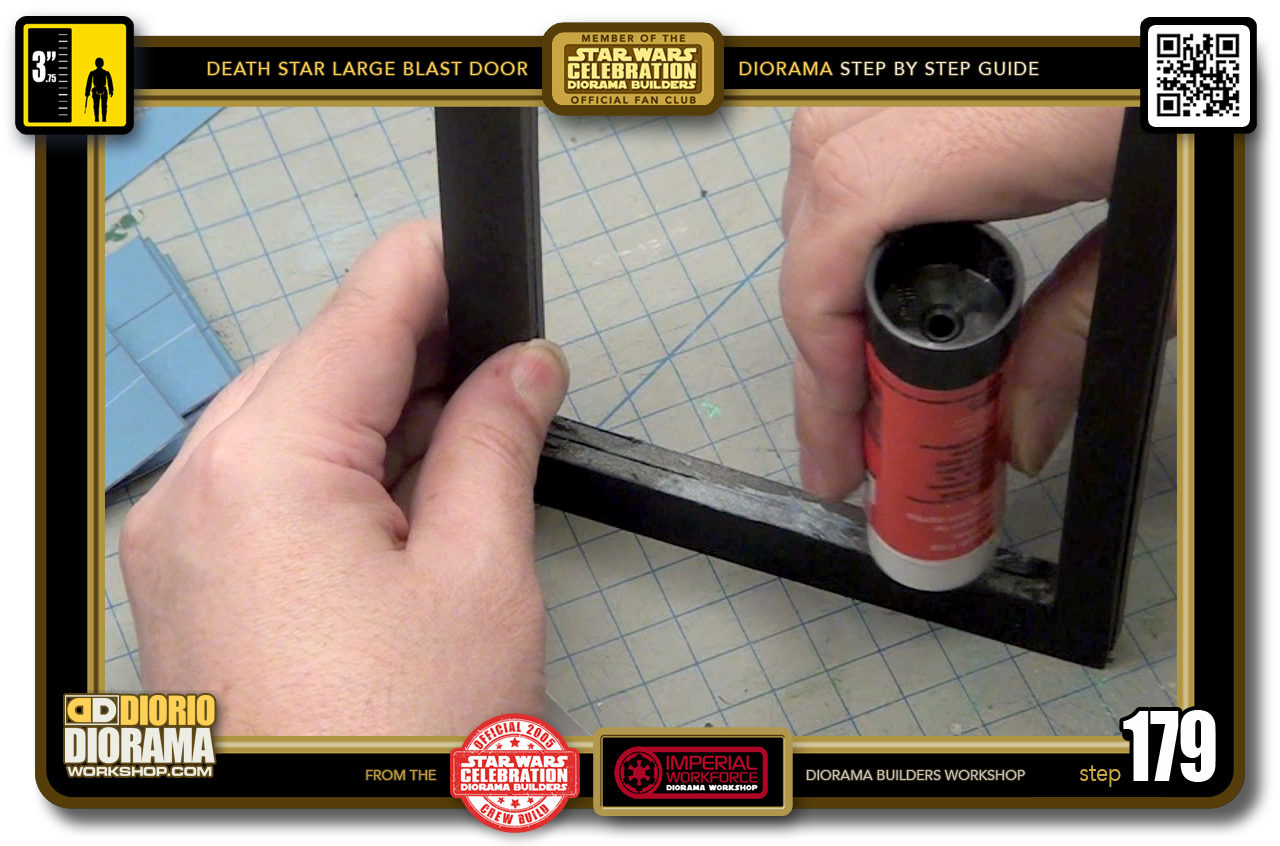
- STEP 179 > For the frames, even if you used full size label sheets, I find it very useful to ALSO apply a layer of gluestick (NEVER HOT GLUE) onto the frame top and sides.
-
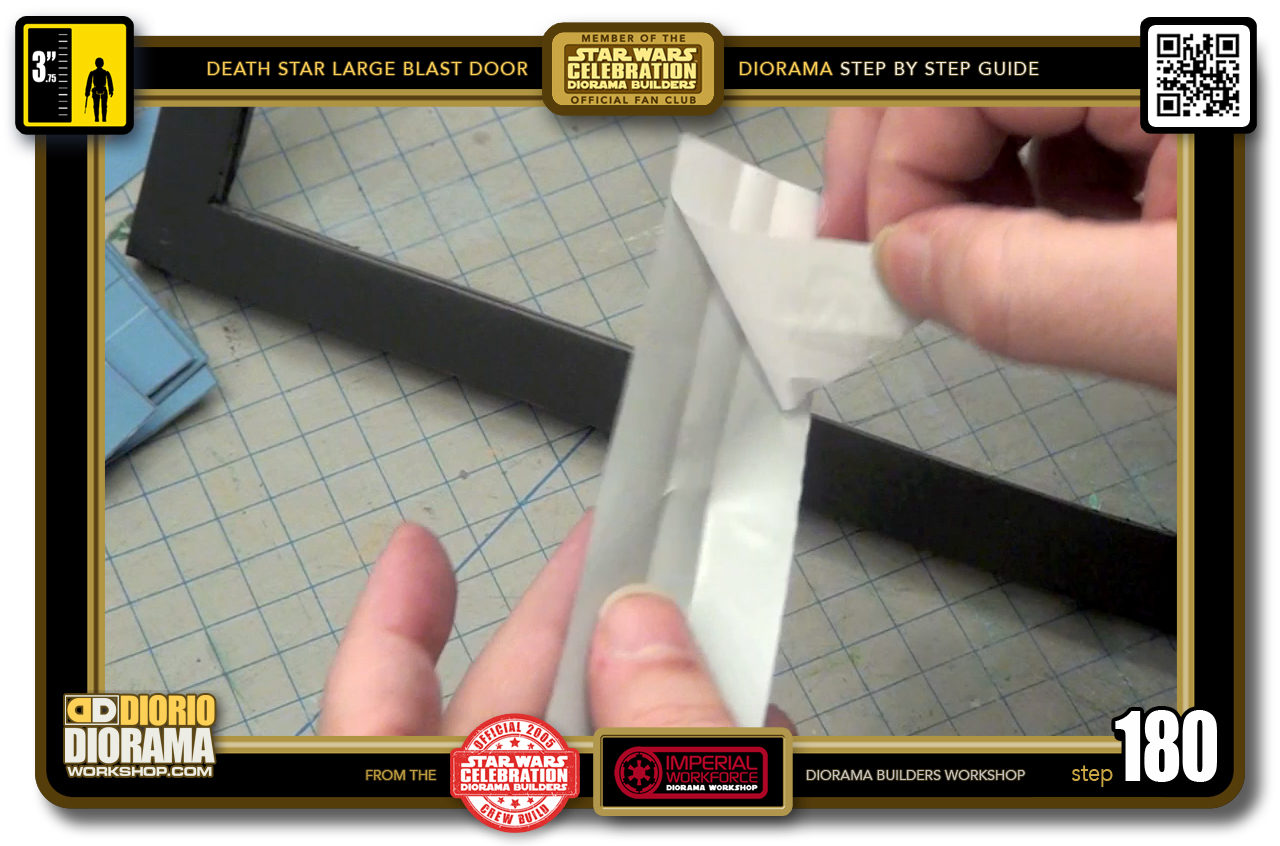
- STEP 180 > Peel your decal, or apply extra gluestick if you printed on regular paper.

.
Did you already build this Diorama ? At home or at our Star Wars Celebration Diorama Builders workshop ? Would you like to show it in the site’s GALLERY VISITORS DIORAMAS section, YES ? That is Awesome !!! You can find out all the details on how to email me your photos on the VISITORS SUBMISSIONS INFO page … When I get your photos, I will create your very own page just like this one. You may not realize it but work does inspire others to join in the fun of making Action Figure Dioramas.
.
NOT FOR RESALE ALL Decals, tutorials and artwork are ©FrankDiorio (dioramaworkshop.com) and offered FOR FREE to the fans – that would be you ? so you can build and display my diorama designs in your very own home. I realize I cannot control what one does with my graphics once I place them on the web, I can only ask you as one fan to another, please respect the artist and do not be that jerk who uses my designs and tutorials to build a copy of my work only to sell it on EBAY or trade/sale groups and forums. Thank You. Frank.
.
.
If you have a facebook account, why not join the Official Diorama Builders Fan Club today, simply click the logo link below.
 .
.
Catch up with fellow visitors and exchange stories, read cool interviews with the crew, exchange photos, fun surprises and grab some FAN ONLY merchandise next year at actual future conventions ?
.
©2018 Frank Diorio DioramaWorkshop.Com
.
IF YOU LIKE WHAT YOU SEE, PLEASE SHARE WITH YOUR FRIENDS
USING THE SOCIAL MEDIA BUTTONS BELOW