


-
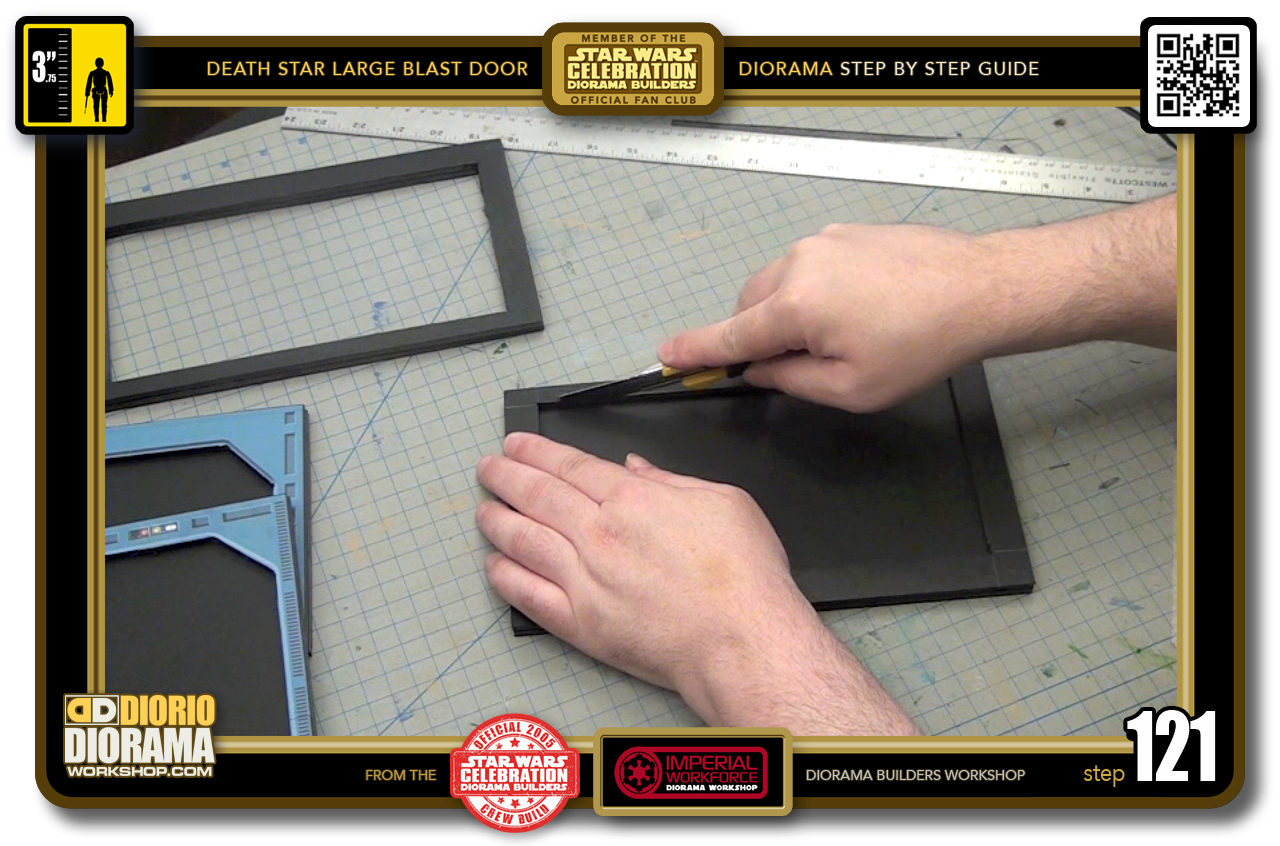
- STEP 121 > Repeat the same steps to cut out the double thickness from your layer 3 frame
-
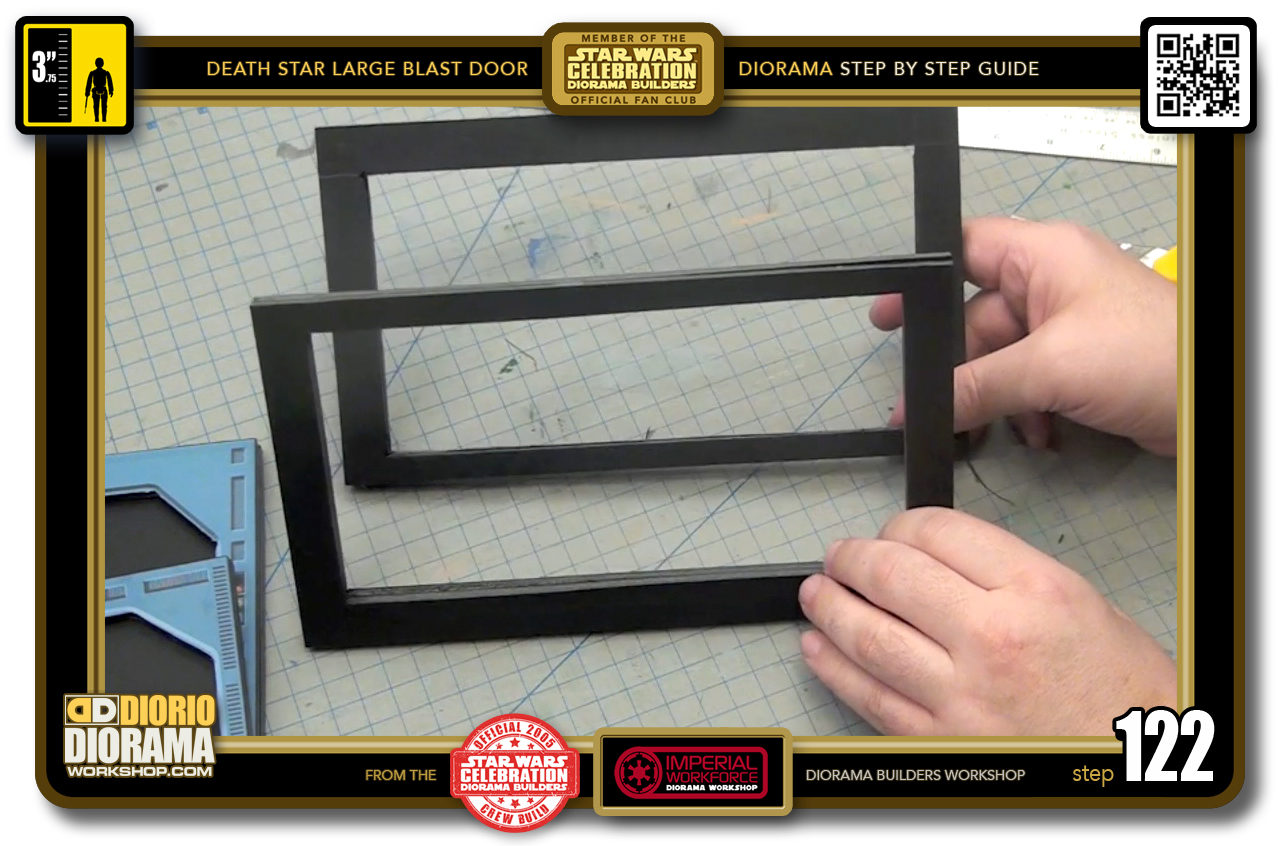
- STEP 122 > You should now have double thicknesses for your layer 2 and layer 3 frames.
-
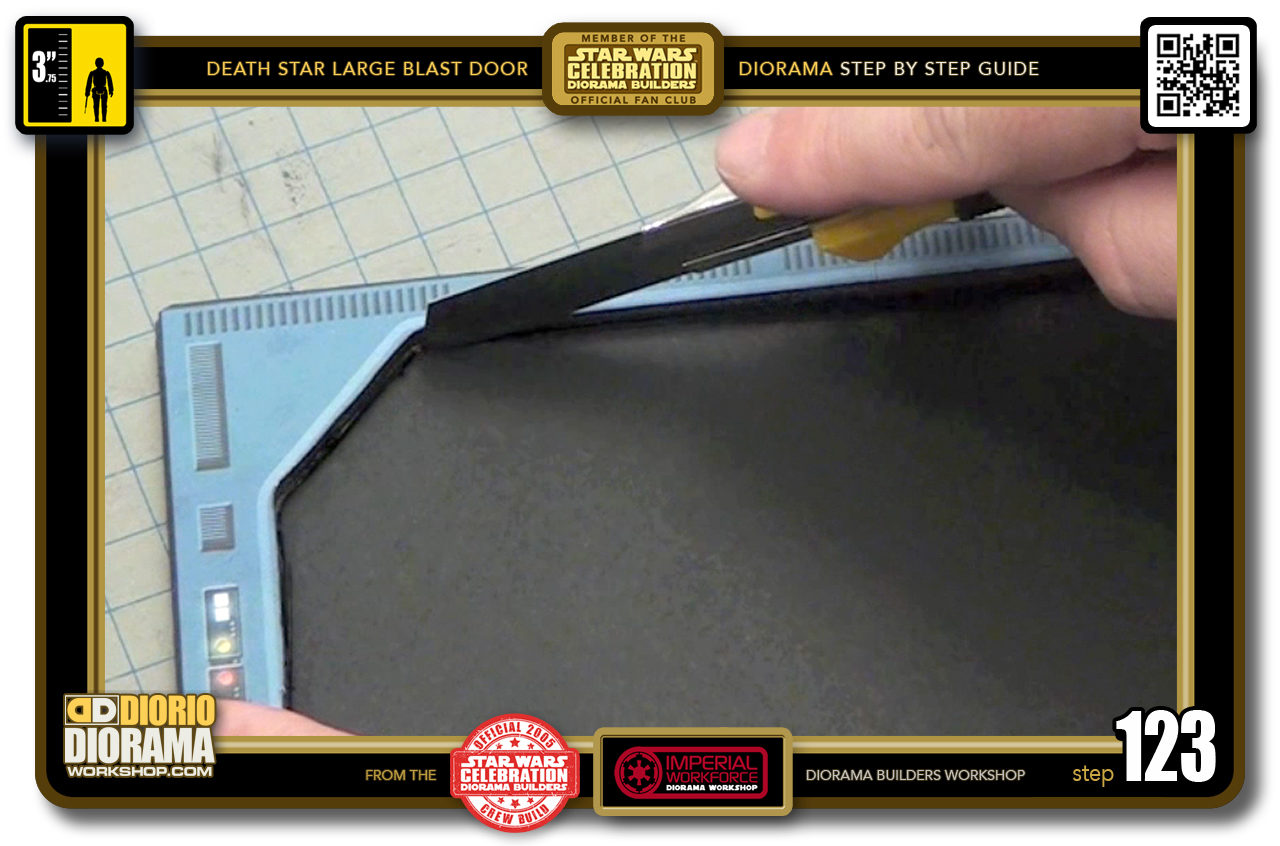
- STEP 123 > It is basically the same principle for the layer 1 and 4 octagonal frames though a little trickier because of the extra angles. But the technique is the same as step 117, just start at a corner go all around then switch direction, start at corner and meet up with where you stopped at first cuts.
-
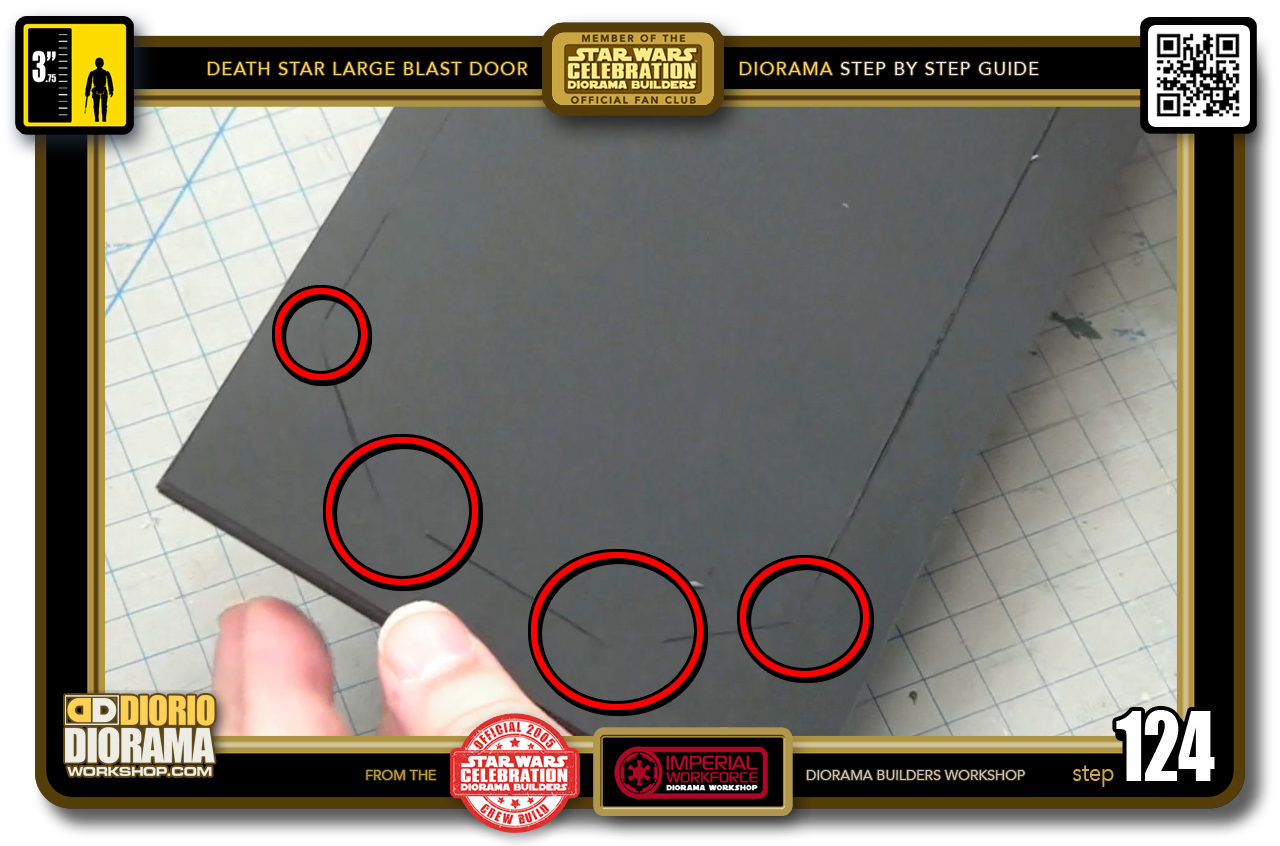
- STEP 124 > Flip your foamcore and examine the connection points (red circles) to see if you missed any areas.
-
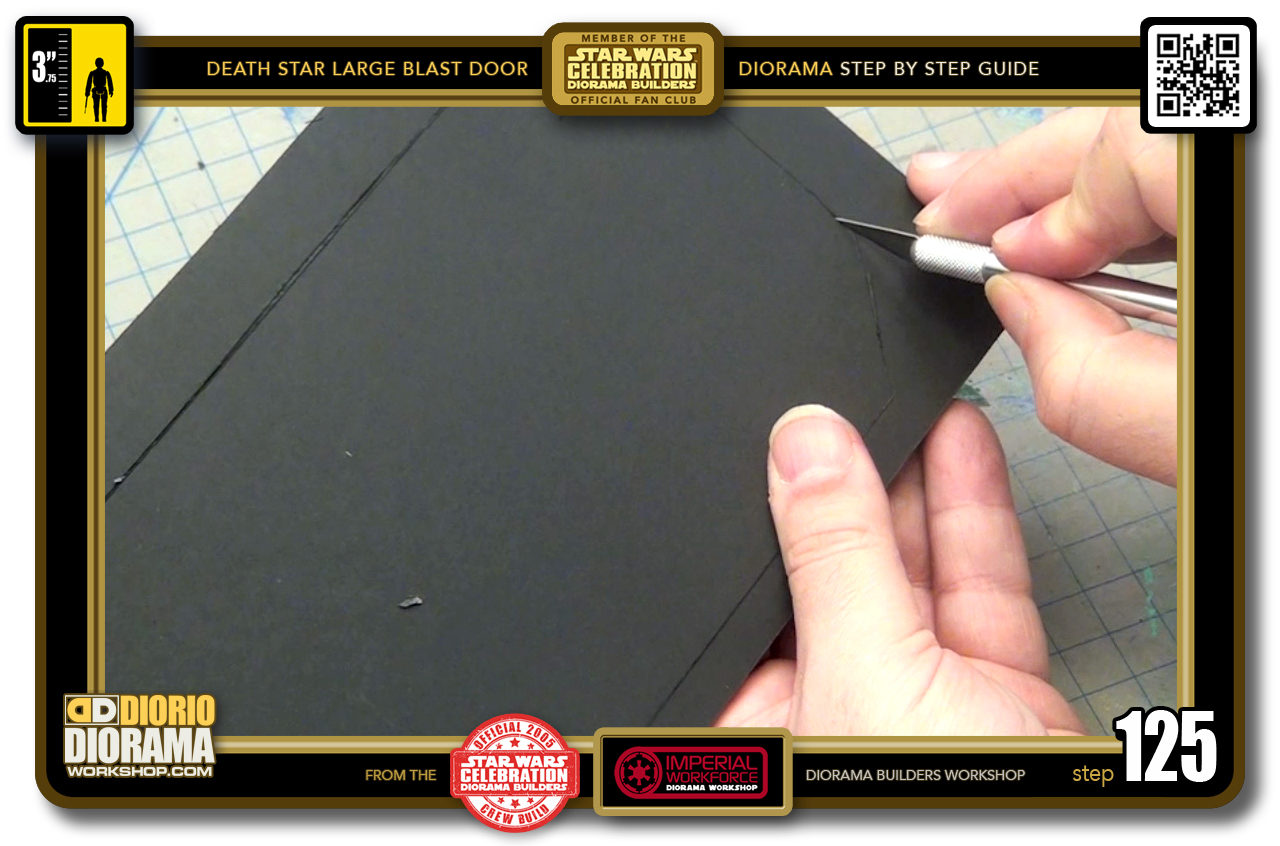
- STEP 125 > Take your pointy Xacto Pen and go around connecting the broken lines (cuts)
-
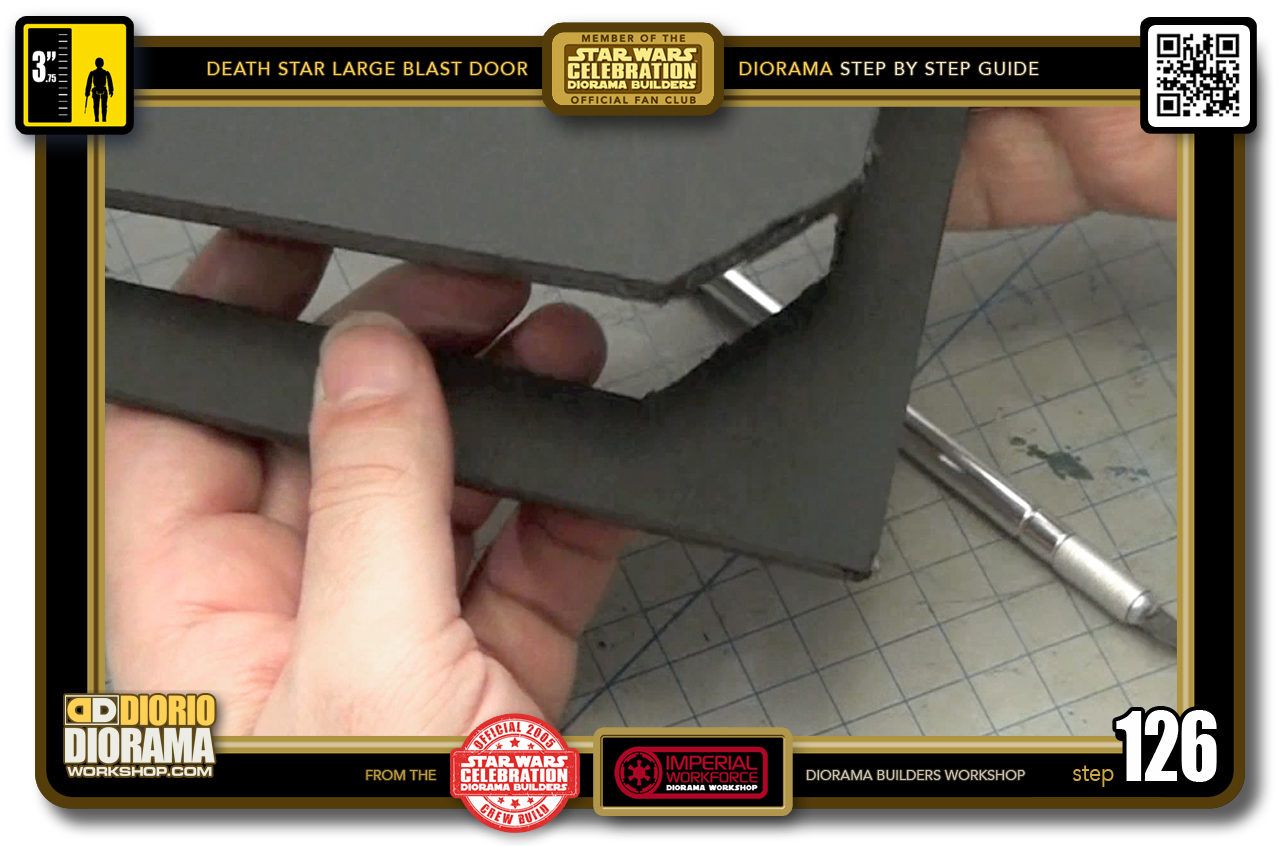
- STEP 126 > when you don't see any broken lines your center portion should simply pop out without a hitch.
-
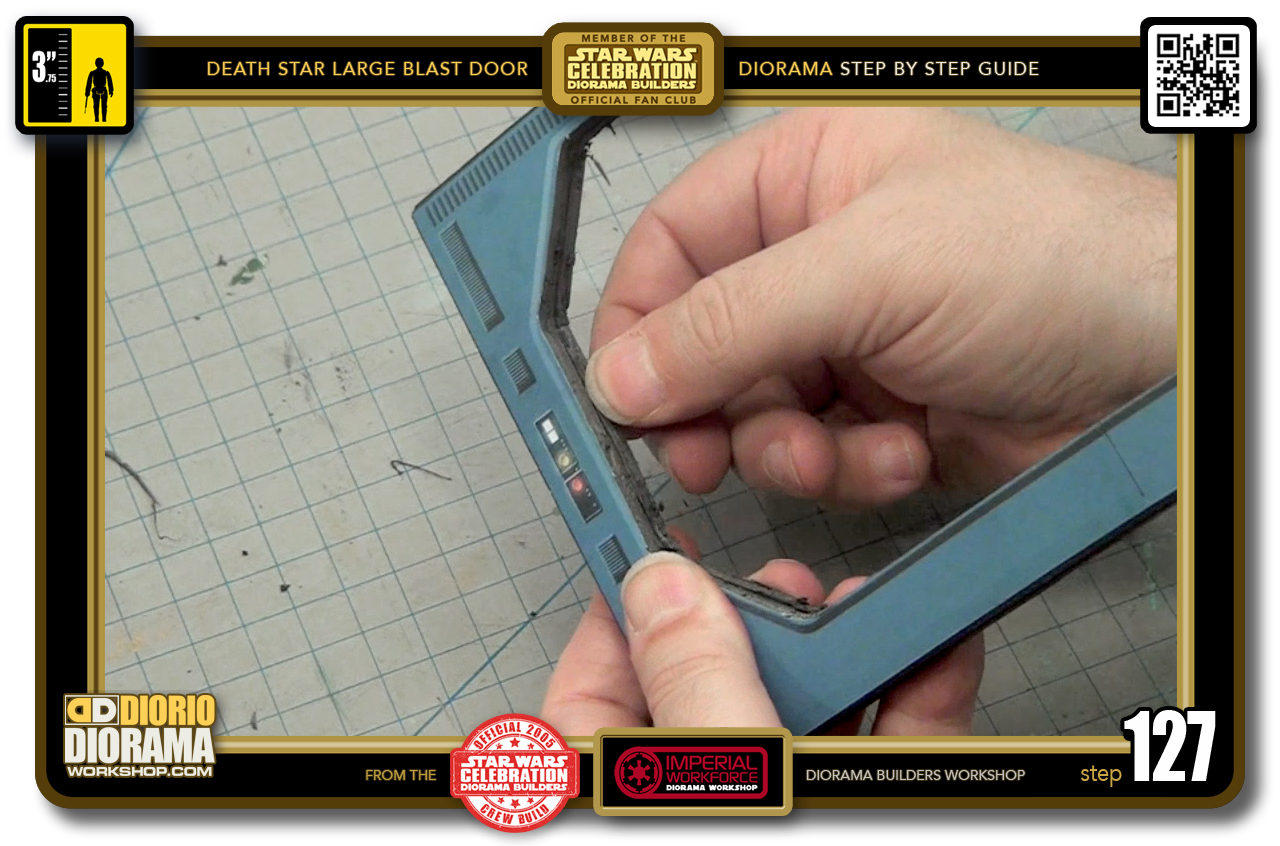
- STEP 127 > If you want you can clean out some of the little broken excess slivers to give you a nicer clean cut. if there is too much pulling because they are too thick, you can use your Xacto blade to trim these away.
-
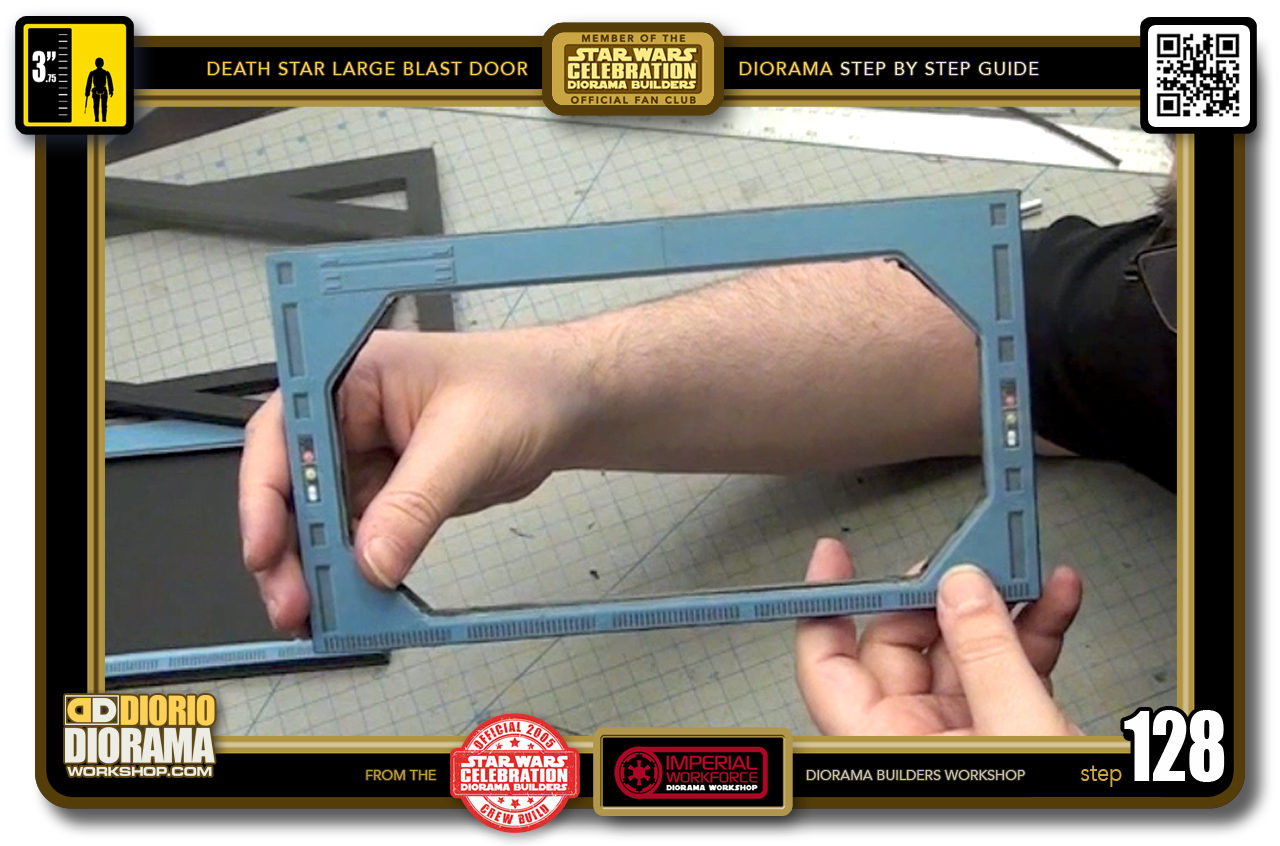
- STEP 128 > You will now have a perfect double thickness layer 1 frame.
-
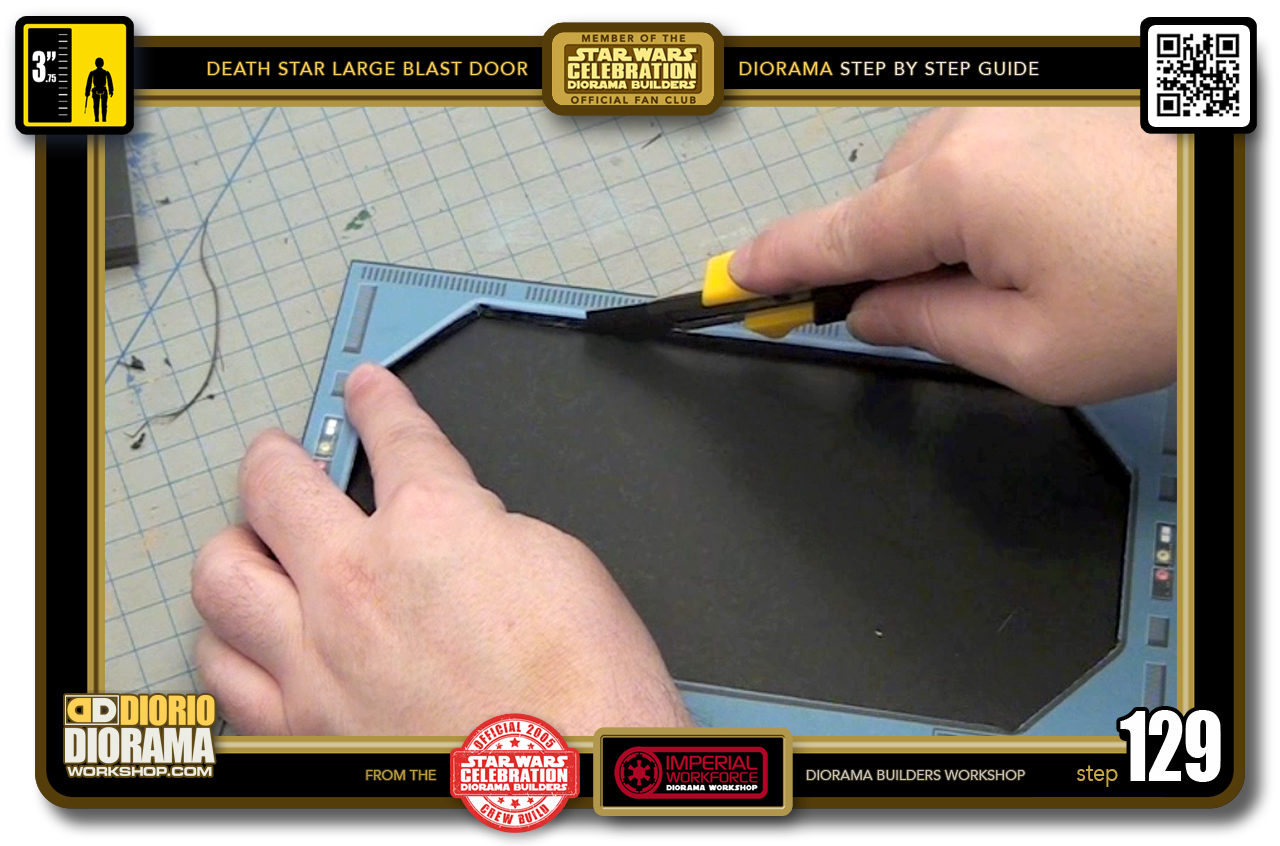
- STEP 129 > Repeat the same process for your layer 4 frame.
-
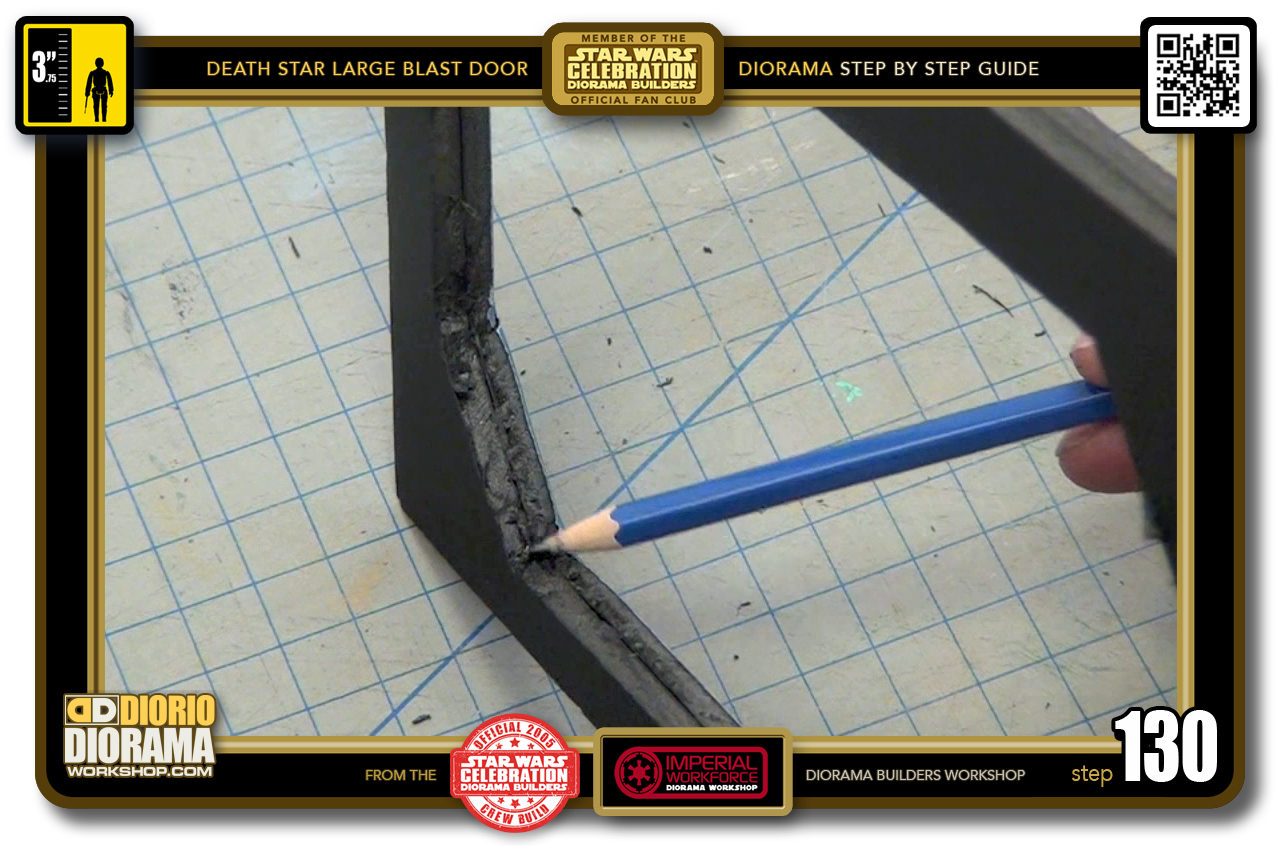
- STEP 130 > If you happen to have air bubble jaggies, tears in your sides don't worry too much, you will be hiding this with decal skins later on.
-
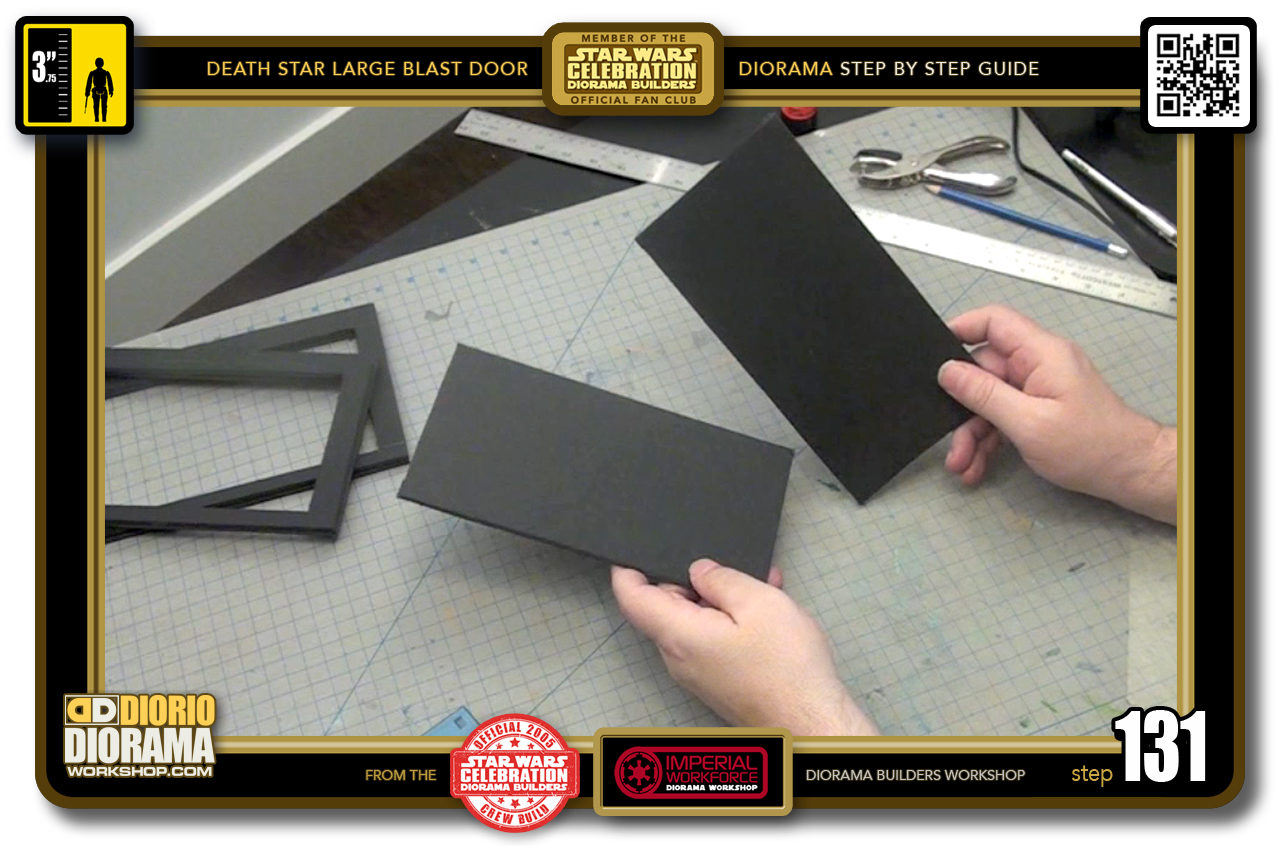
- STEP 131 > Remember those centre scrap pieces you popped out earlier ? Grab one of them for the next step.
-
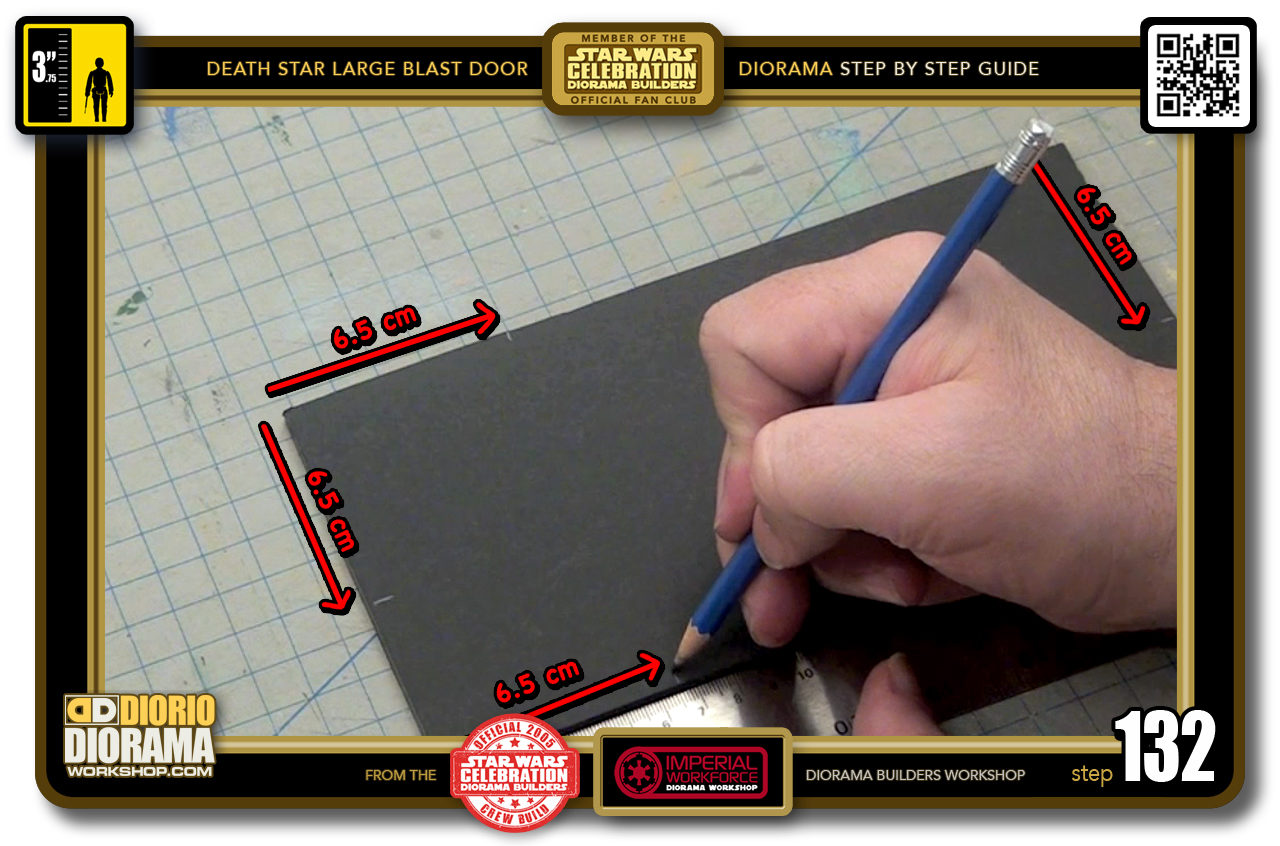
- STEP 132 > You want to measure 6.5cm on the top and bottom and on the sides too.
-

- STEP 133 > Grab your ruler and pencil and join up your marks and draw a line across the surface.
-
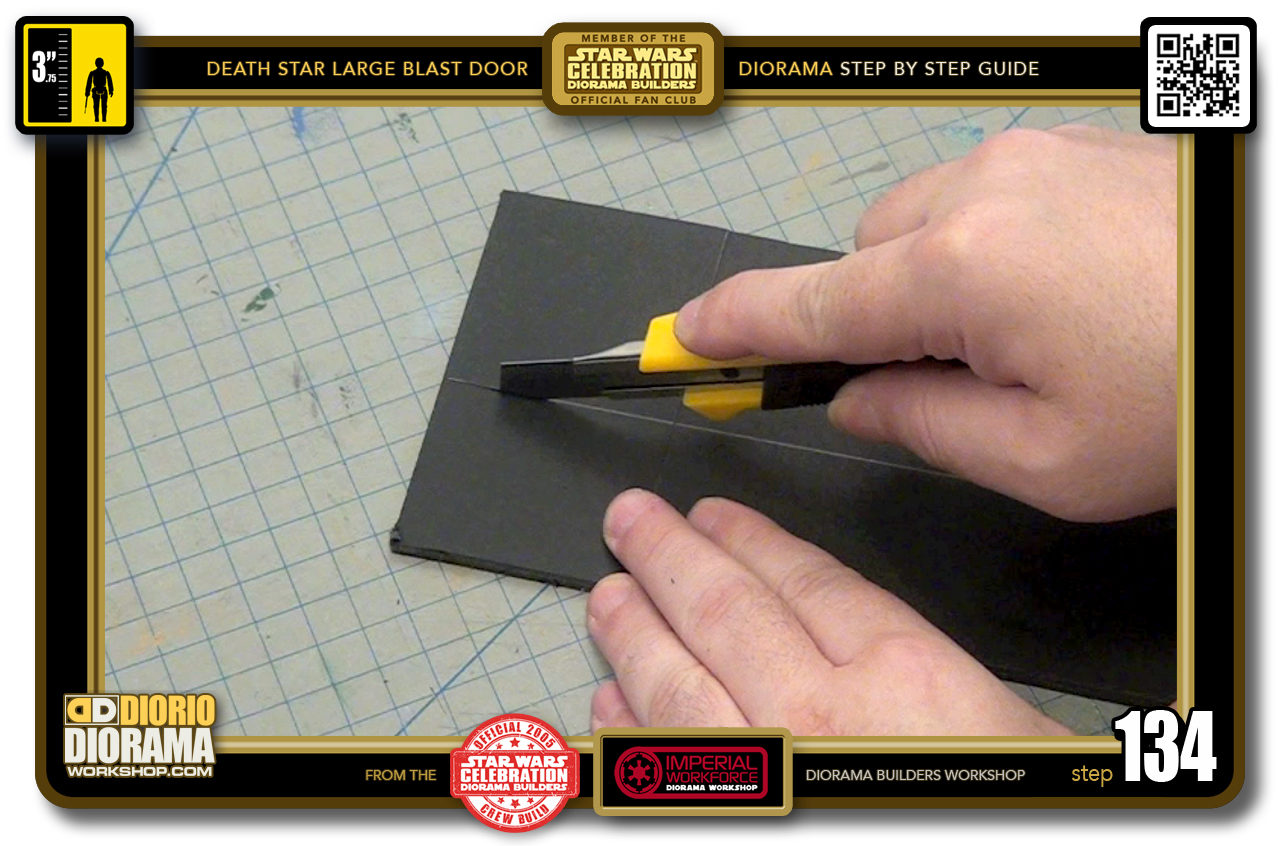
- STEP 134 > Now cut along your guides using a NEW blade to get the cleanest slices.
-
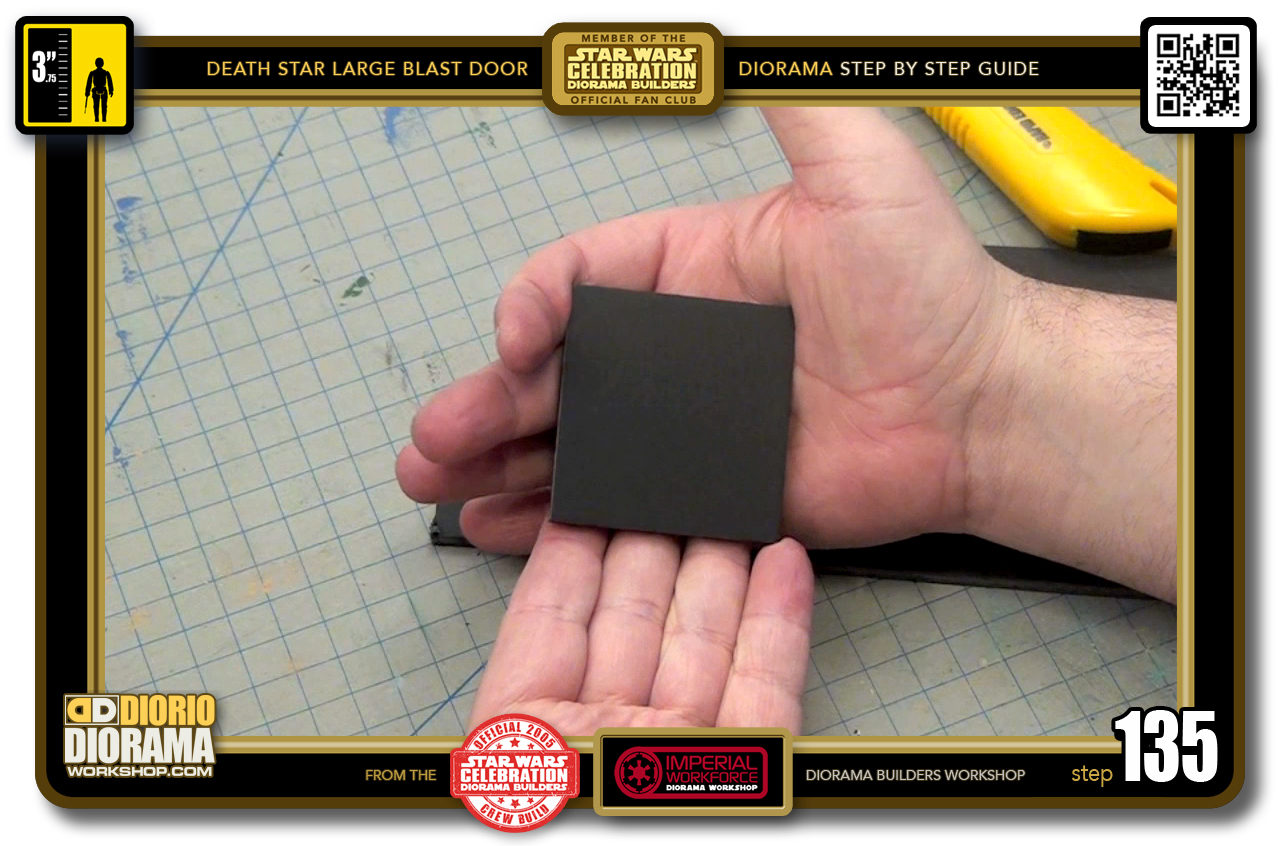
- STEP 135 > You will need 3 of these squares.
-
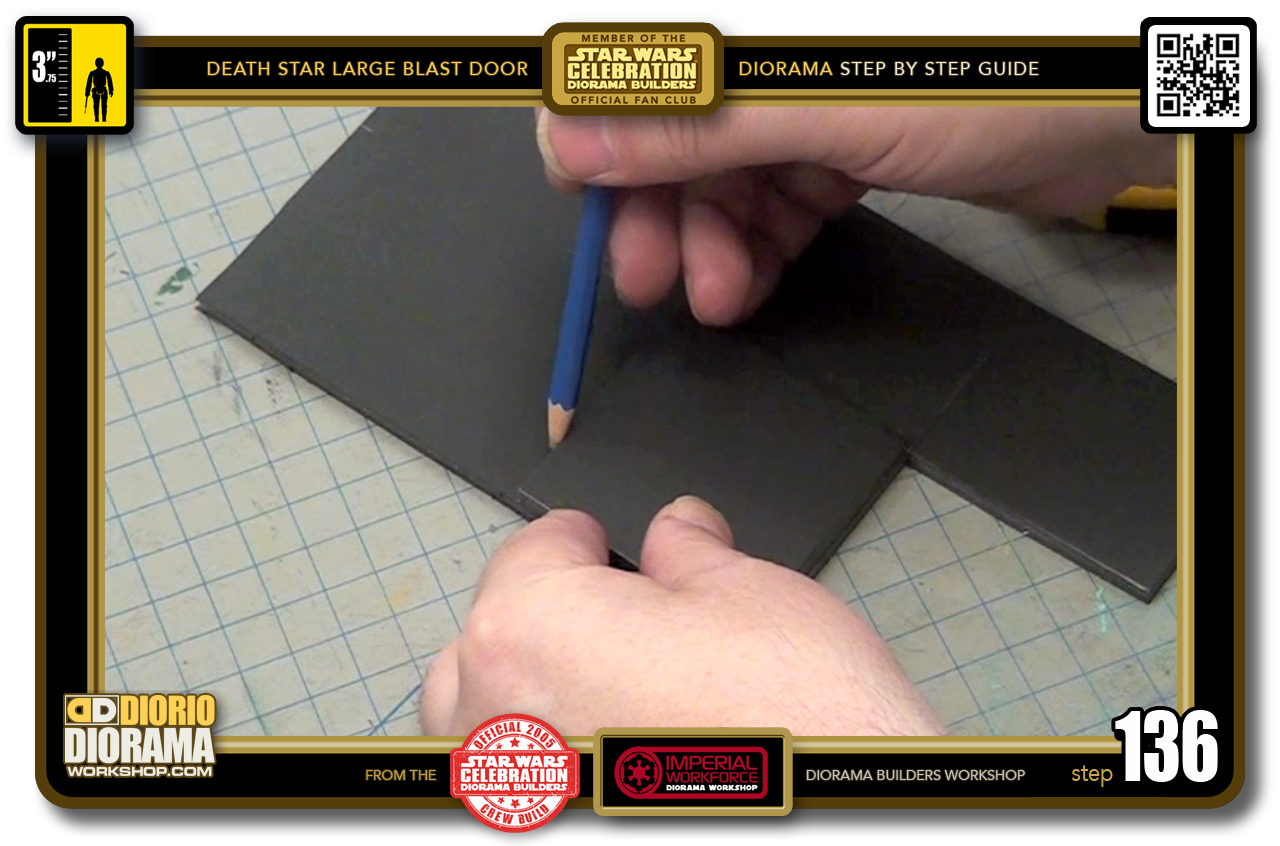
- STEP 136 > So place the one you just cut onto a piece of foamcore and trace all around. Do this 2x.
-
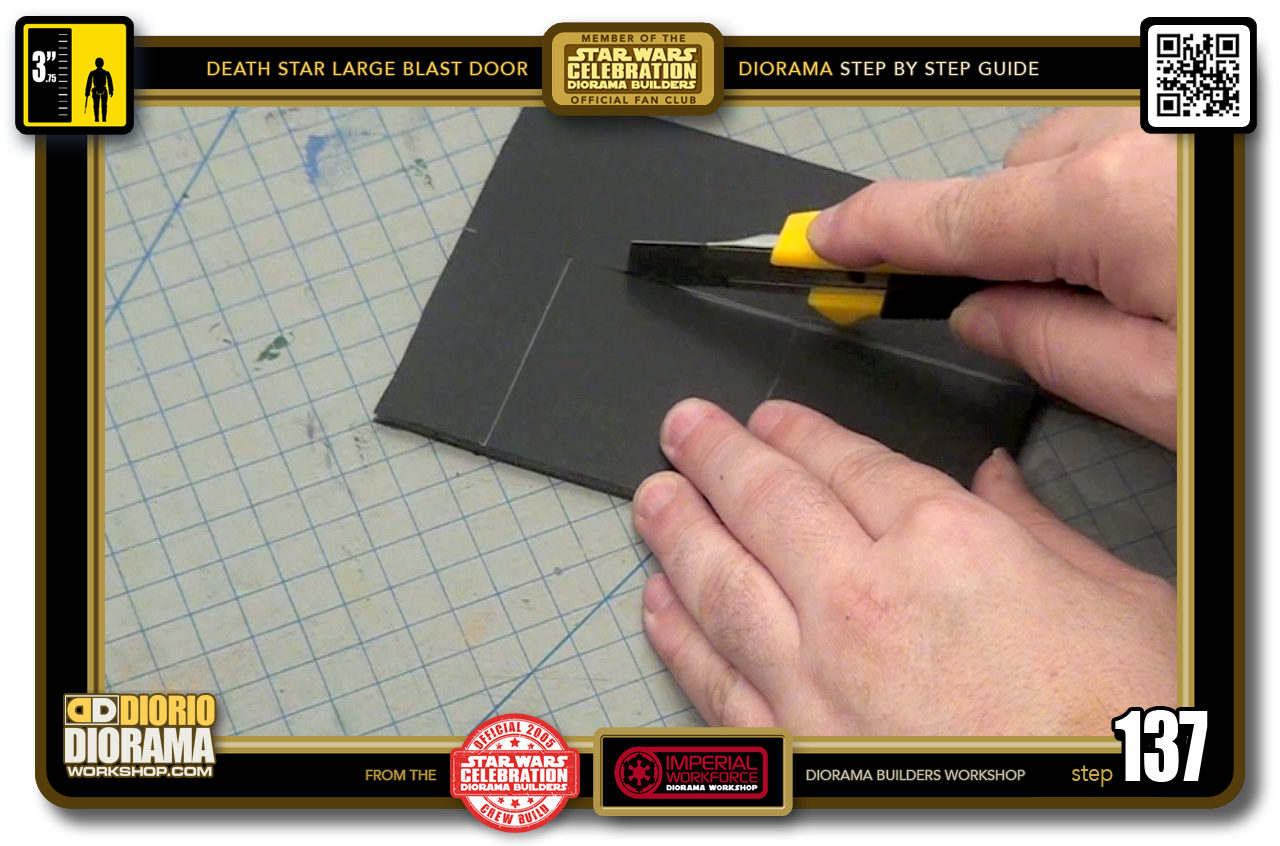
- STEP 137 > Now cut out your 2 square pieces.
-
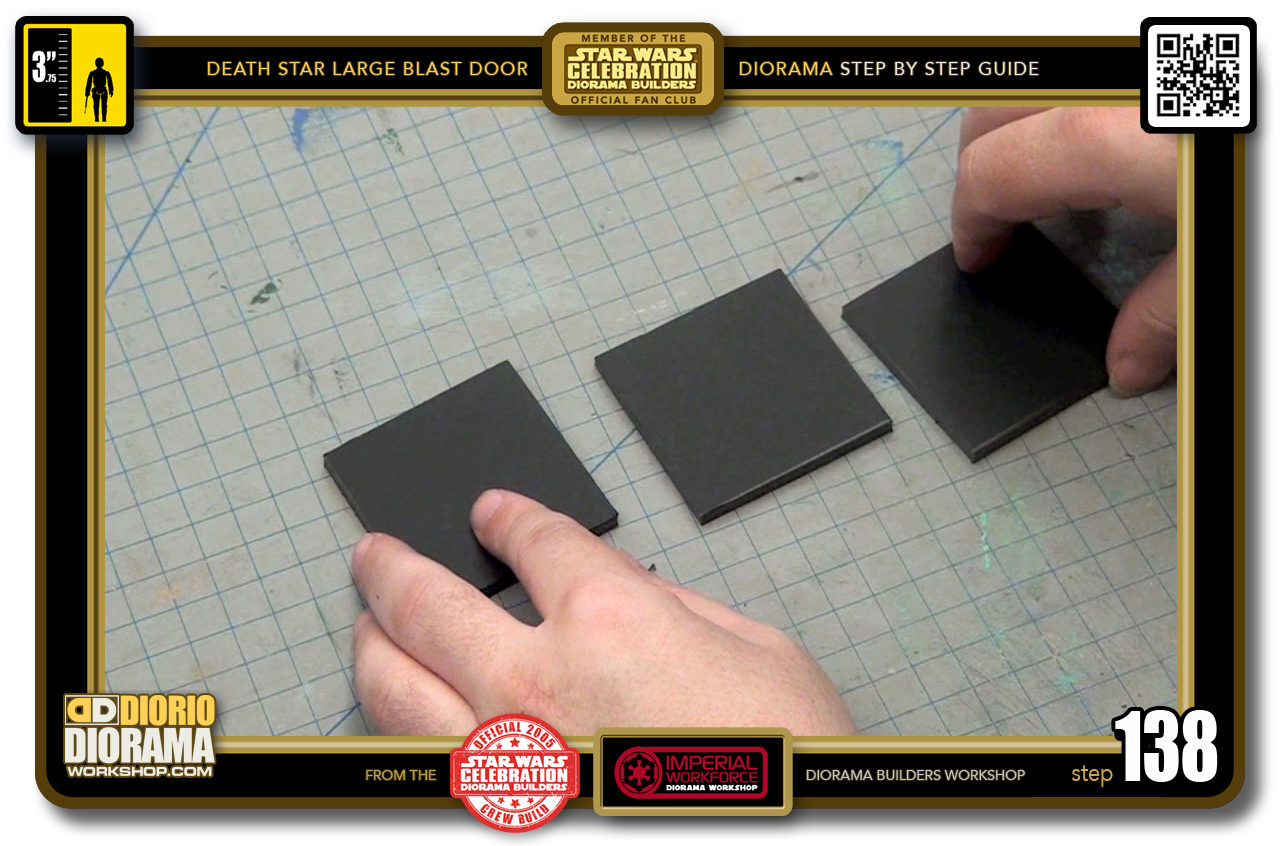
- STEP 138 > You now have 3 perfect squares that you need to cut into 6 triangles.
-
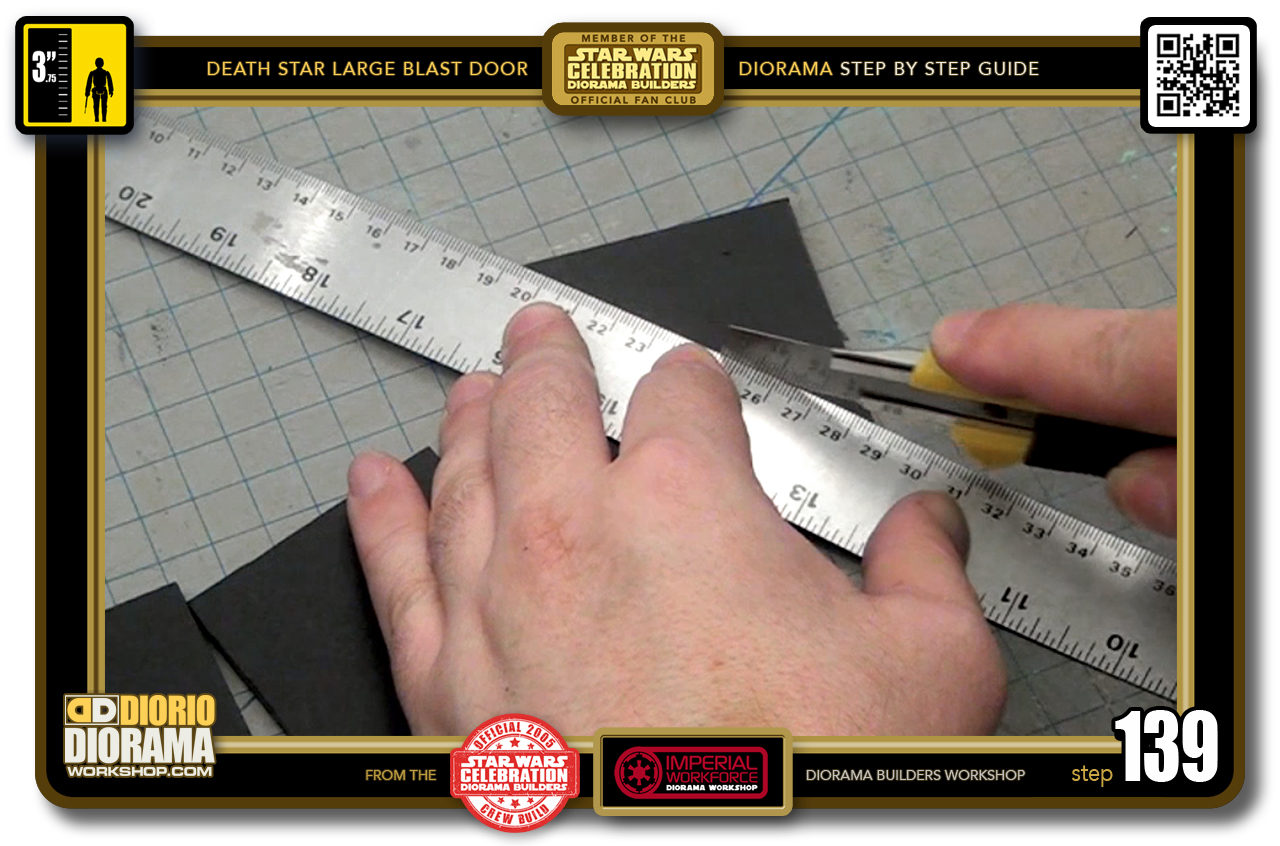
- STEP 139 > Start by aligning your ruler on opposite corners, press hard so your ruler doesn't wiggle during the cut, and slice right down the center.
-
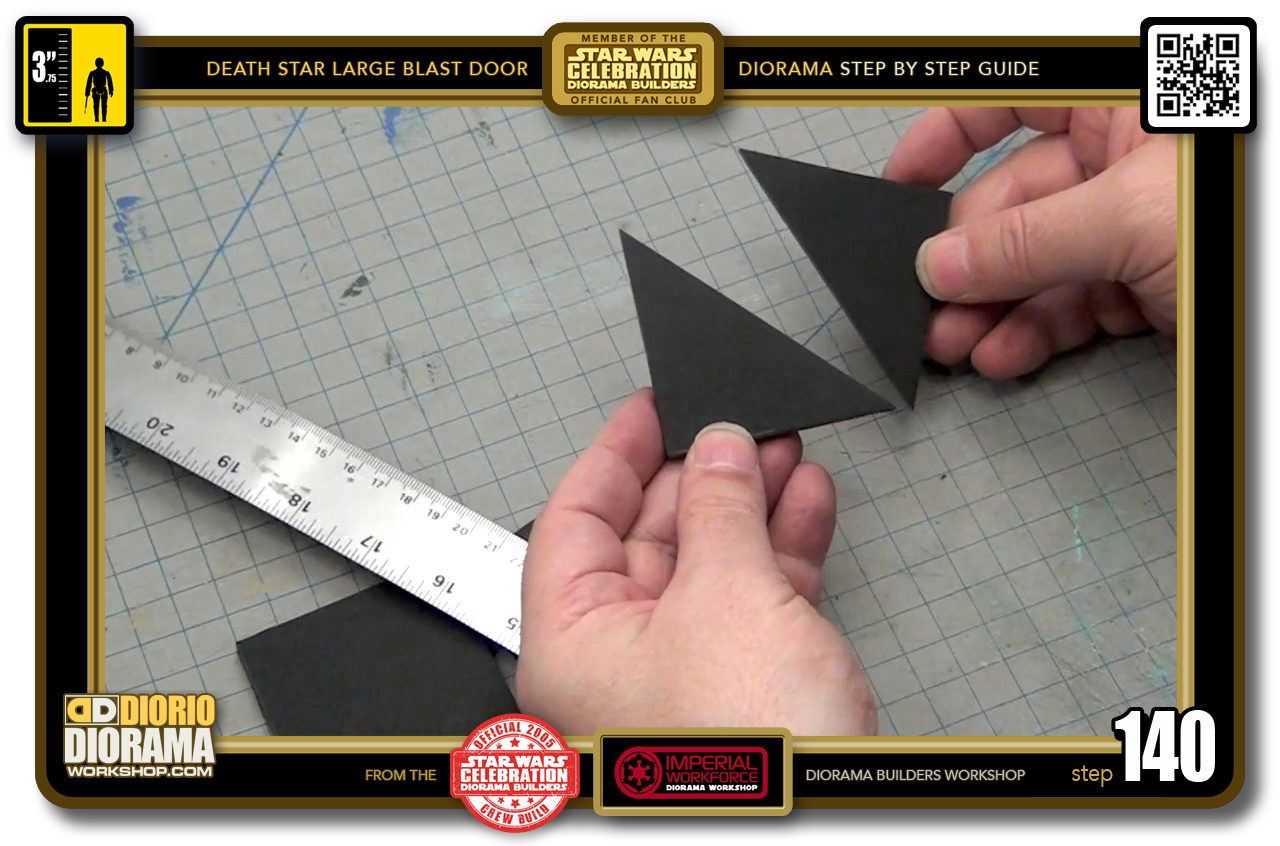
- STEP 140 > You now have 2 perfect DORITO triangles 🙂 Repeat the same cuts on your other 2 squares.

.
Did you already build this Diorama ? At home or at our Star Wars Celebration Diorama Builders workshop ? Would you like to show it in the site’s GALLERY VISITORS DIORAMAS section, YES ? That is Awesome !!! You can find out all the details on how to email me your photos on the VISITORS SUBMISSIONS INFO page … When I get your photos, I will create your very own page just like this one. You may not realize it but work does inspire others to join in the fun of making Action Figure Dioramas.
.
NOT FOR RESALE ALL Decals, tutorials and artwork are ©FrankDiorio (dioramaworkshop.com) and offered FOR FREE to the fans – that would be you ? so you can build and display my diorama designs in your very own home. I realize I cannot control what one does with my graphics once I place them on the web, I can only ask you as one fan to another, please respect the artist and do not be that jerk who uses my designs and tutorials to build a copy of my work only to sell it on EBAY or trade/sale groups and forums. Thank You. Frank.
.
.
If you have a facebook account, why not join the Official Diorama Builders Fan Club today, simply click the logo link below.
 .
.
Catch up with fellow visitors and exchange stories, read cool interviews with the crew, exchange photos, fun surprises and grab some FAN ONLY merchandise next year at actual future conventions ?
.
©2018 Frank Diorio DioramaWorkshop.Com
.
IF YOU LIKE WHAT YOU SEE, PLEASE SHARE WITH YOUR FRIENDS
USING THE SOCIAL MEDIA BUTTONS BELOW