


-

- STEP 101 > Take out your Hot Glue Gun and squirt a line all around the first layer 2 top frame.
-
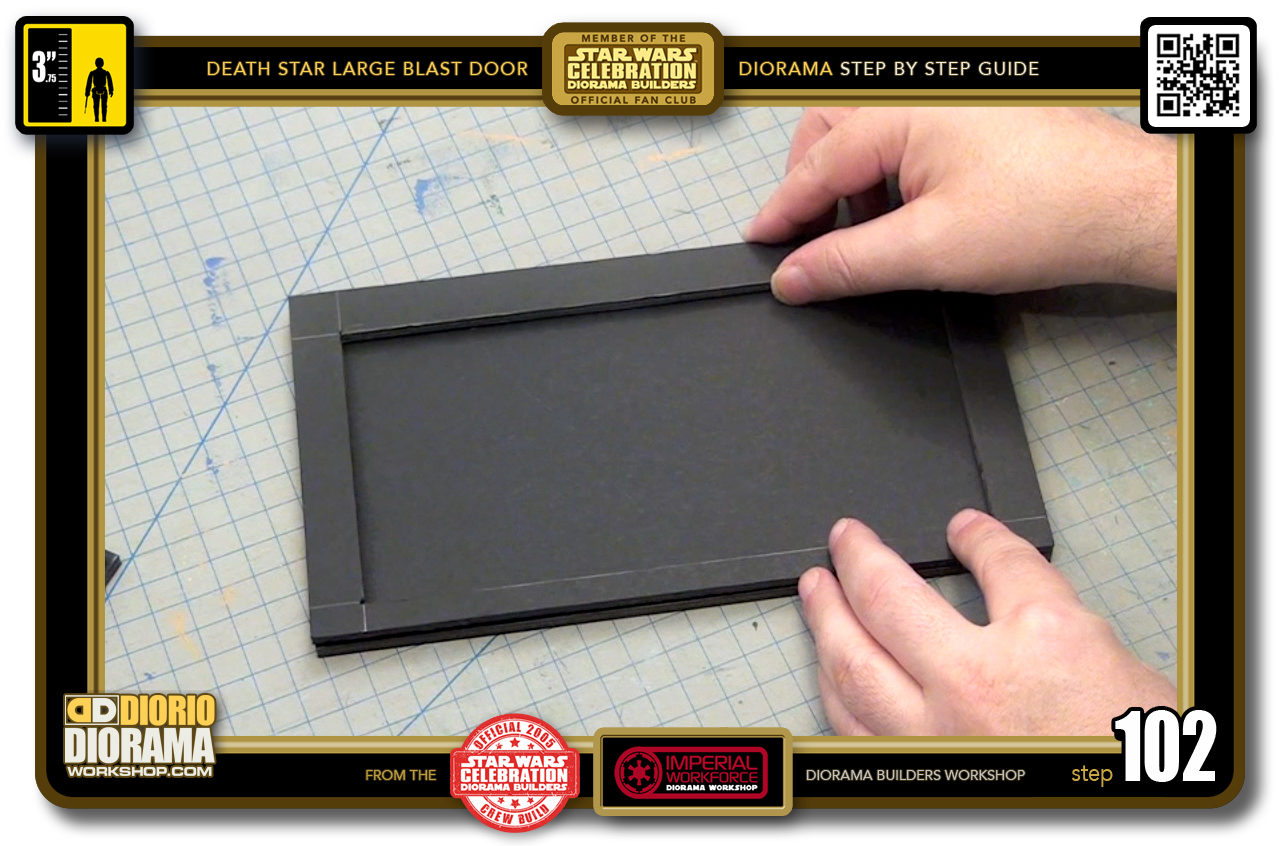
- STEP 102 > Carefully place it on top of one of the 4 remaining full rectangles.
-
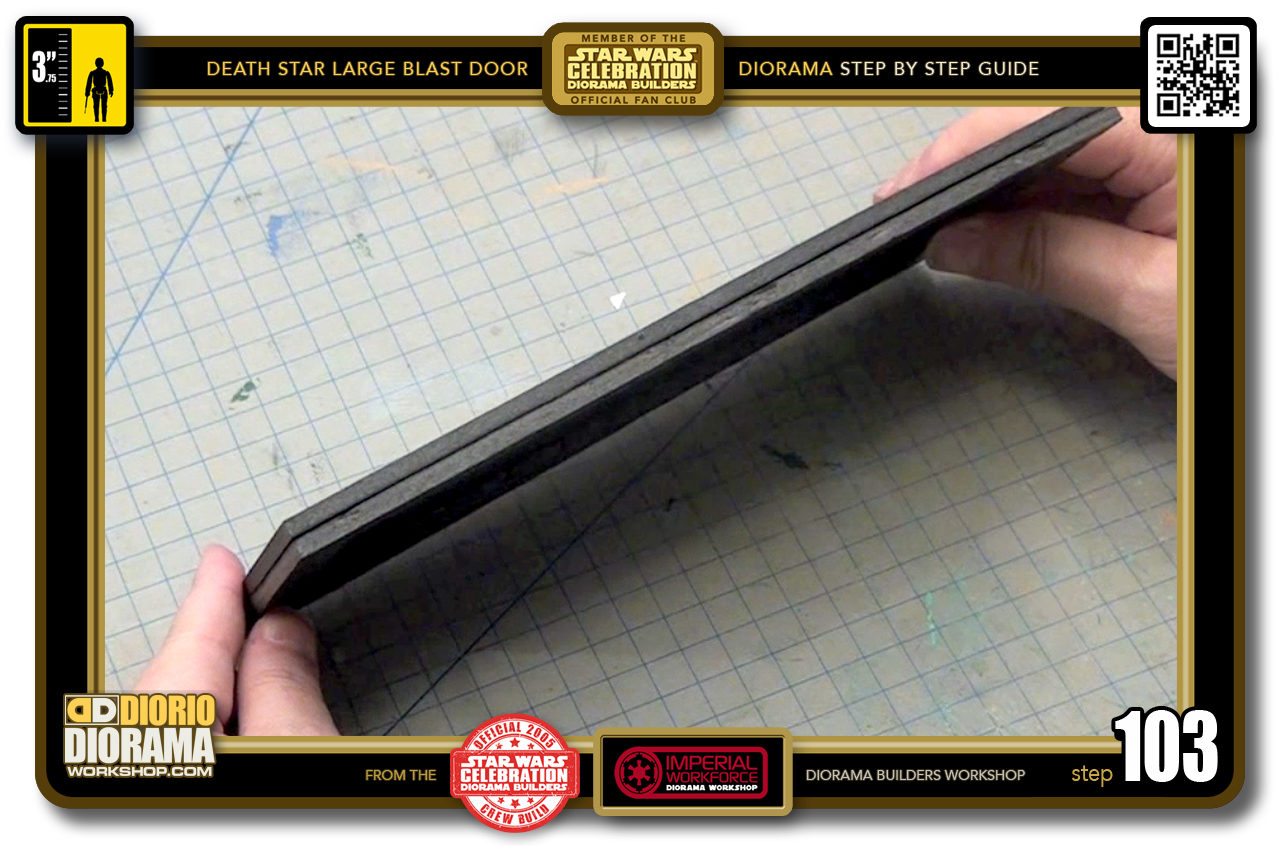
- STEP 103 > Make sure it all aligns well on all sides, especially the bottom (1cm thickness)
-
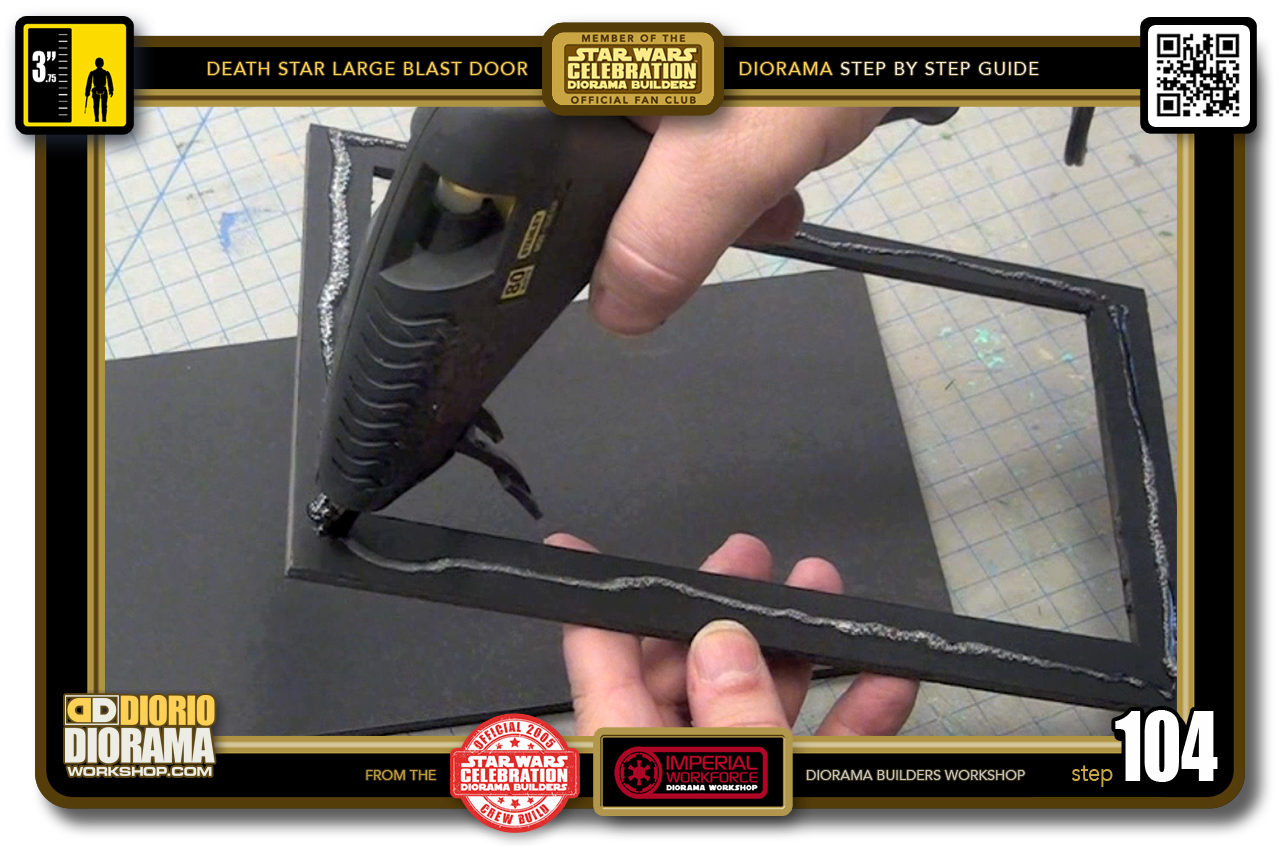
- STEP 104 > Grab your layer 3 top frame and squirt a line of hot glue all around it.
-

- STEP 105 > Just like step 102, carefully align and press your top frame 3 against one of the remaining full size rectangles.
-

- STEP 106 > Now for the octogonal frames, grab your top frame 1 and squirt hot glue all around and into the corner angles.
-
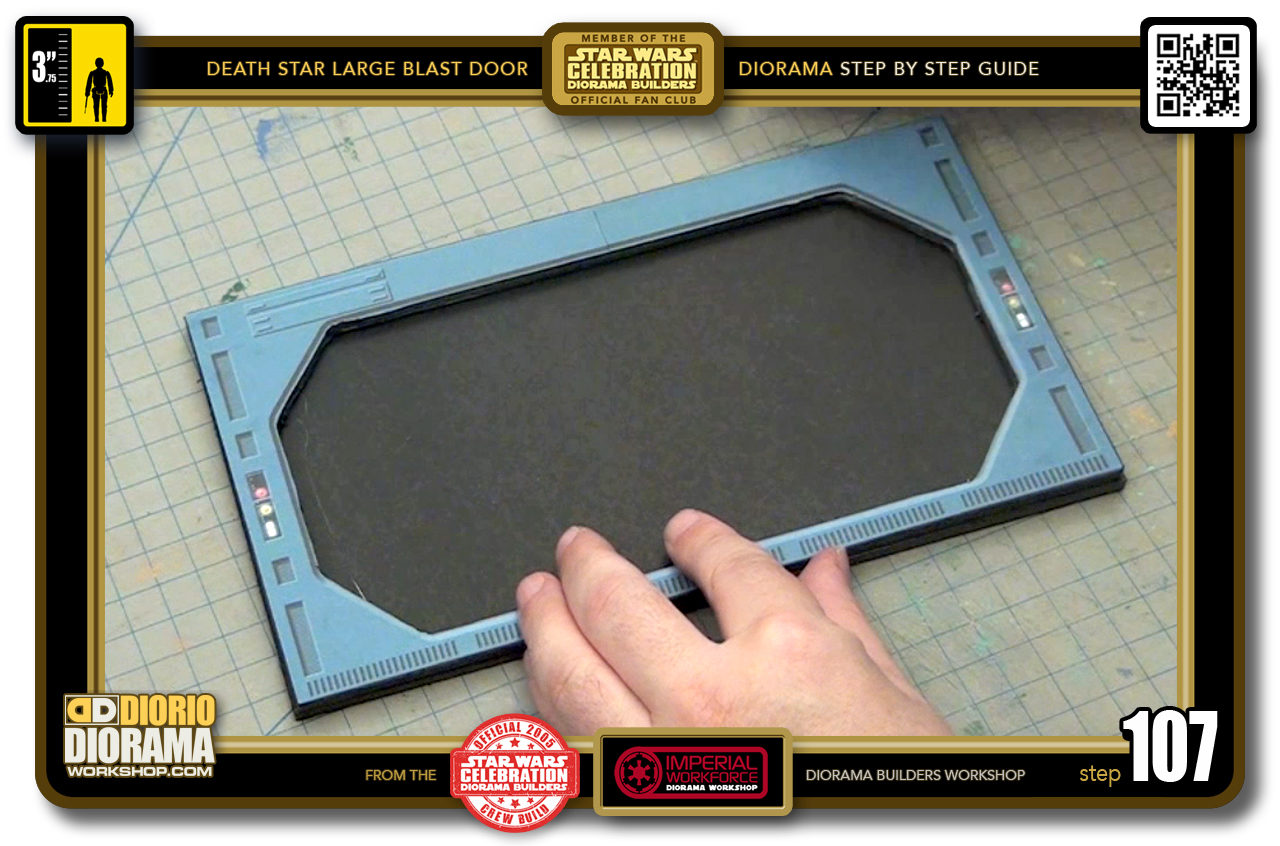
- STEP 107 > Carefully align and place the top frame over the full size rectangle.
-

- STEP 108 > When you are happy with the placement, press down for a couple of seconds until the hot glue cools off.
-
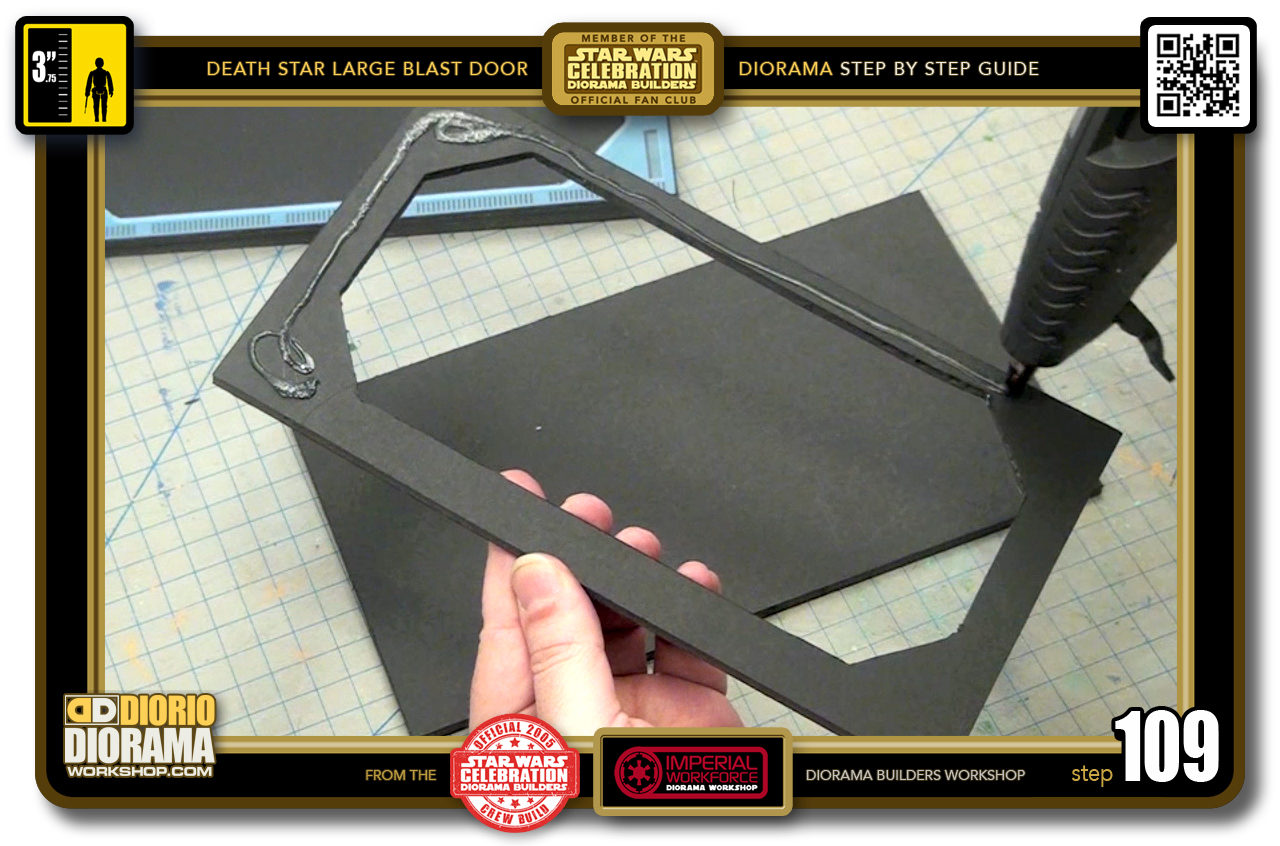
- STEP 109 > Time to repeat step 106. Grab your last octogonal frame - layer 4 top and squirt a row of hot glue all the way around and in the corners.
-

- STEP 110 > Align the 2 layers and press down until the hot glue cools down - about 20-30 seconds.
-

- STEP 111 > You now have your 4 double thicknesses but you aren't done yet, one last step for each frame.
-
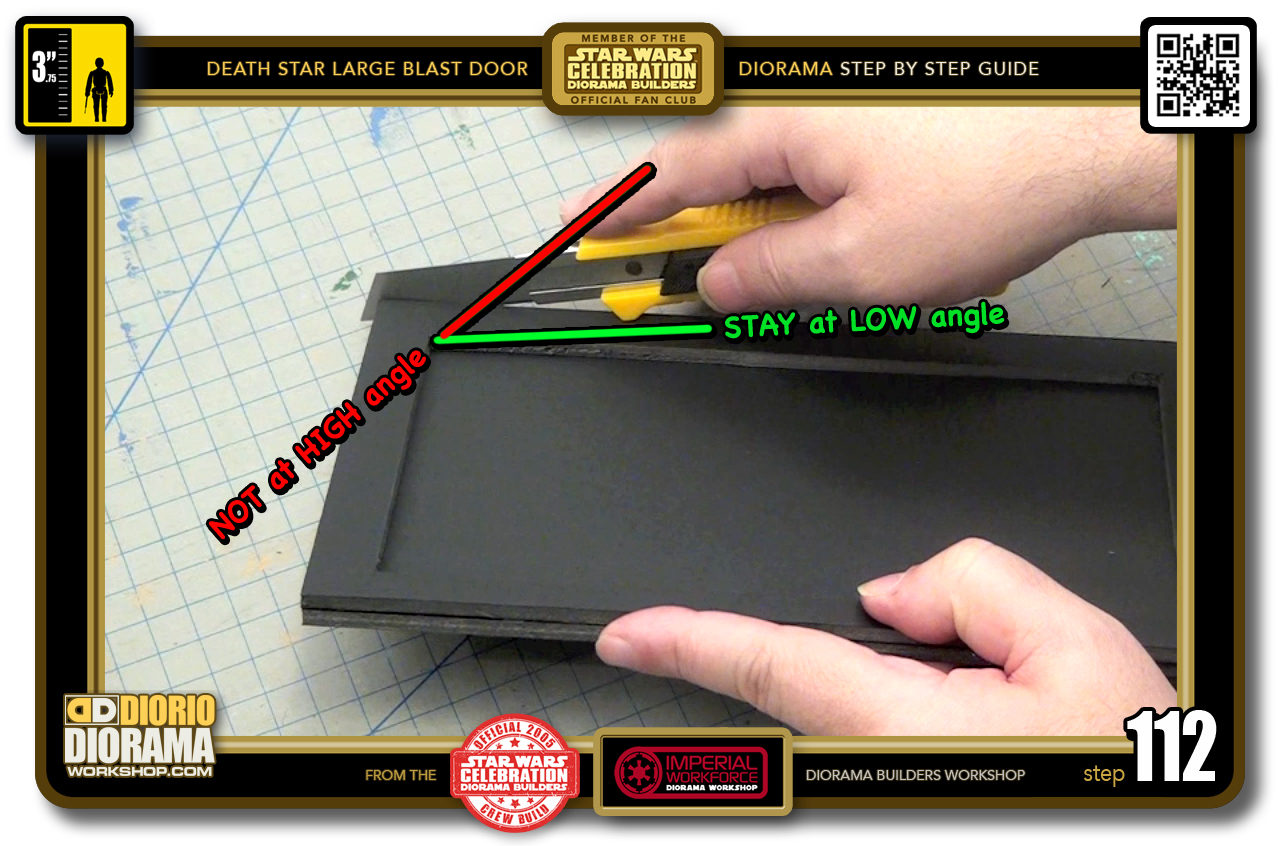
- STEP 112 > Start by trimming the outside edges if needed. You want to make sure they are perfect and that one does not stick out or stick in more than the other. When doing this, it works best when you 1) place a NEW BLADE - 2) Angle your hand so that the X-acto Utility Knife is at a low angle, close to the table. You DON'T want a HIGH angle. The lower angle makes the blade slice more like going through butter and chances of air pocket tears in the cut are greatly reduced.
-

- STEP 113 > If you don't feel confident yet freehand, use a ruler pressed against one of the edges of the frame, and slice down trimming the smallest amount sometimes, but giving you that perfect double thick one cut look.
-

- STEP 114 > Now it's time to cut out the INSIDES to create your perfect double thickness frame. This is how it works best... Go to a corner and press down, the pointed angle of the blade will pierce the foamcore first and then as you press down, the rest of the blade cuts in making a clean incision.
-

- STEP 115 > Now keeping your Xacto Utility Knife at the same low angle as you did for the outside of the frame, you will start sliding the blade towards the centre. Use the top layer as your guide. The .5cm thickness should be more than enough to guide you real close. take your time you don't need to go super fast and with a NEW blade, you don't have to press hard. JUST BE CAREFUL TO NOT CUT YOUR FINGERS !!!
-
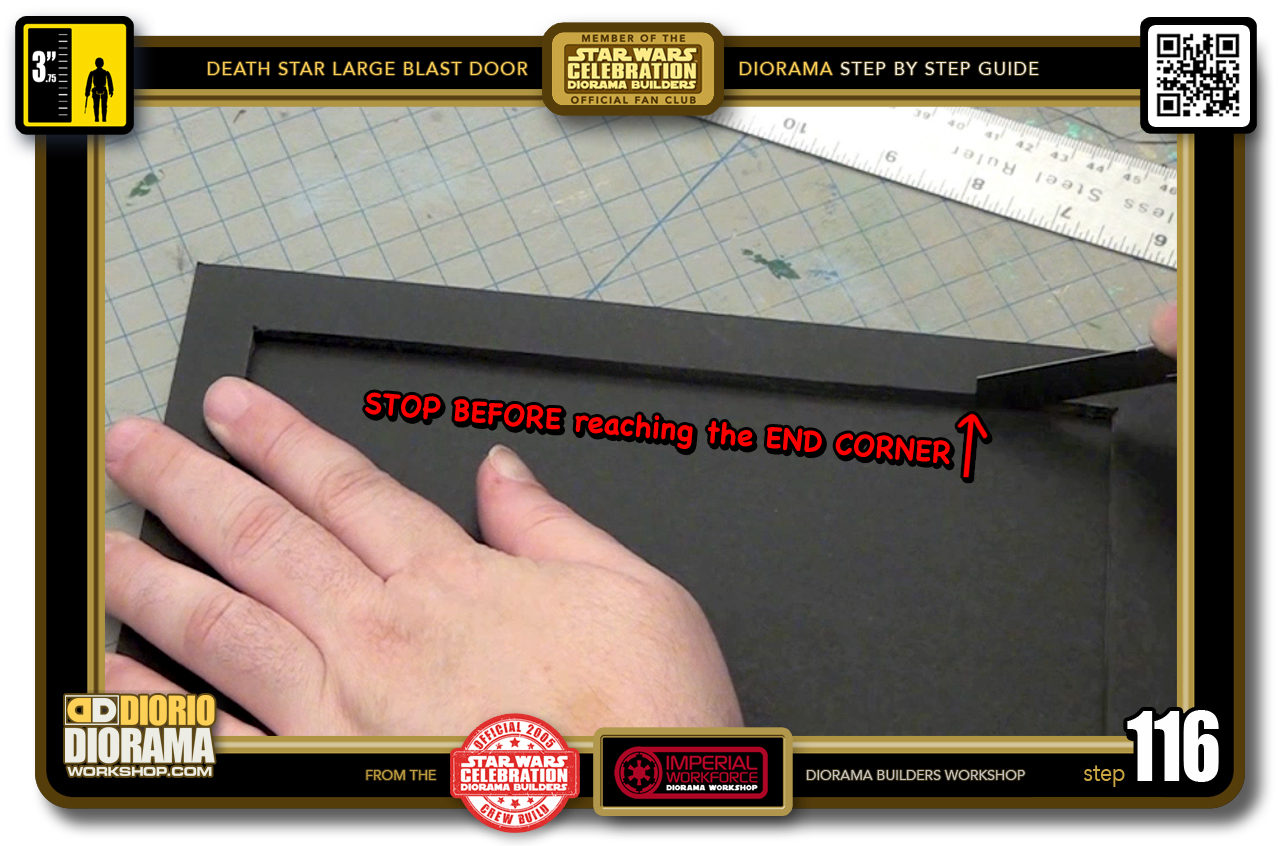
- STEP 116 > Before you reach the end corner - STOP !!! You don't want to go and cut into the frame ends. Once you do all corners one direction you will flip the foamcore and start from the other direction.
-
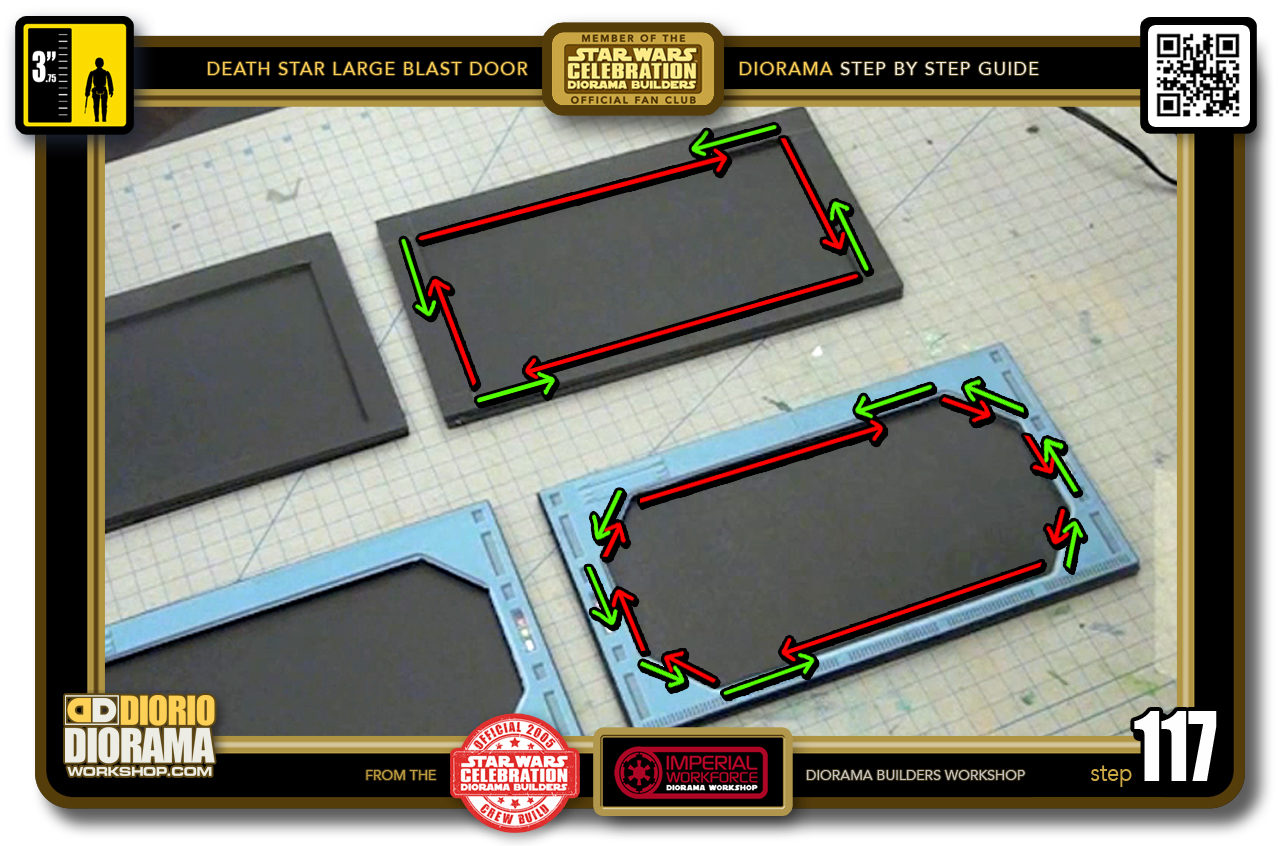
- STEP 117 > I think this might help you understand a little better what I was trying to explain in step 116, Start by cutting along in the direction of the red arrows and STOP at their ends, before you reach the opposite corner. Then do the same process in reverse following the green arrows directions. From the green corners to where you connect with the slices of where you stopped with the red arrow cuts. Make sense ?
-

- STEP 118 > When you are done, flip over to the rear of the frame like you did for the top layers, and examine to see if your slices all connect, if they do, your centre shapes should all easily pop out. You can keep these pieces for other projects.
-
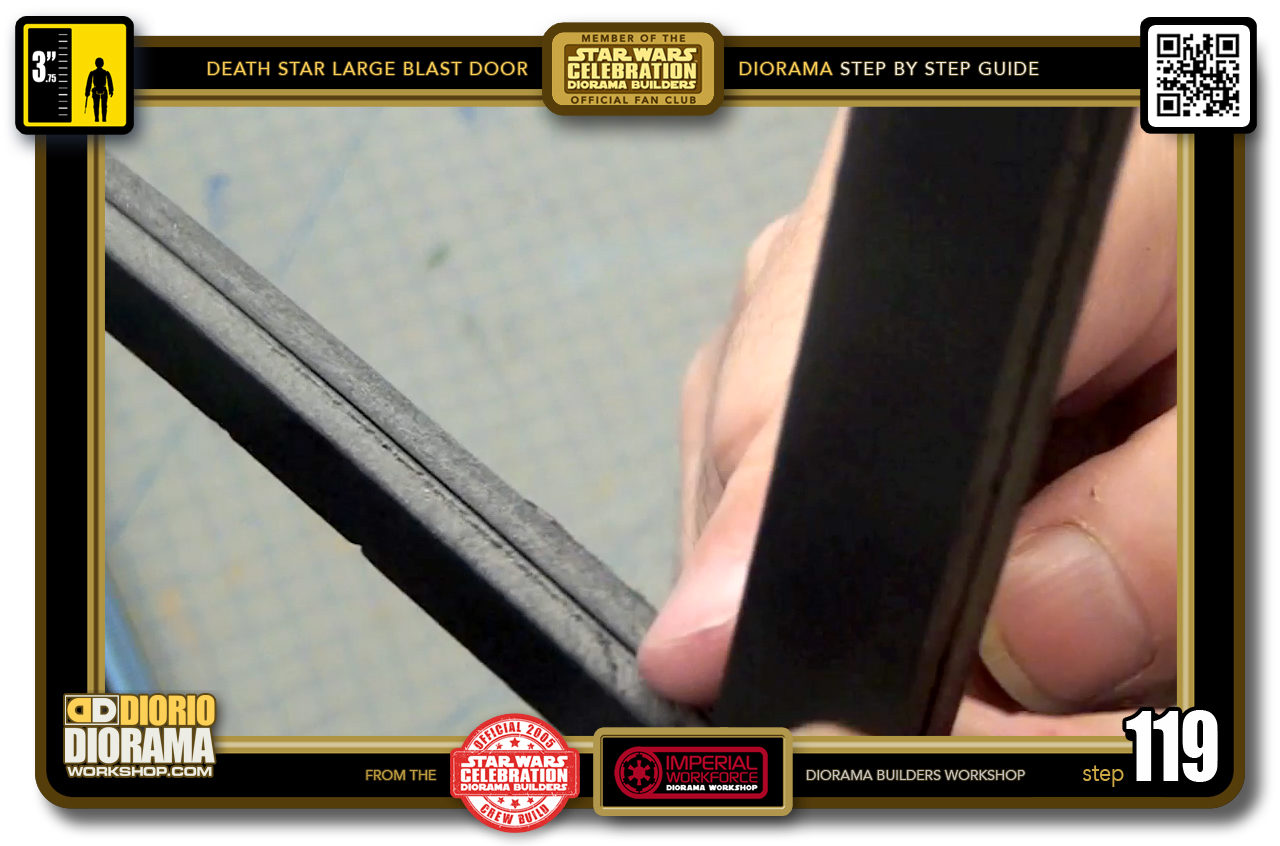
- STEP 119 > This is what you get when using a NEW blade, fresh super clean cut that matches both layers, when you apply your decal skin, it will not only not have any waving and bumping but will perfectly hide the seam in the center from the 2 layers.
-
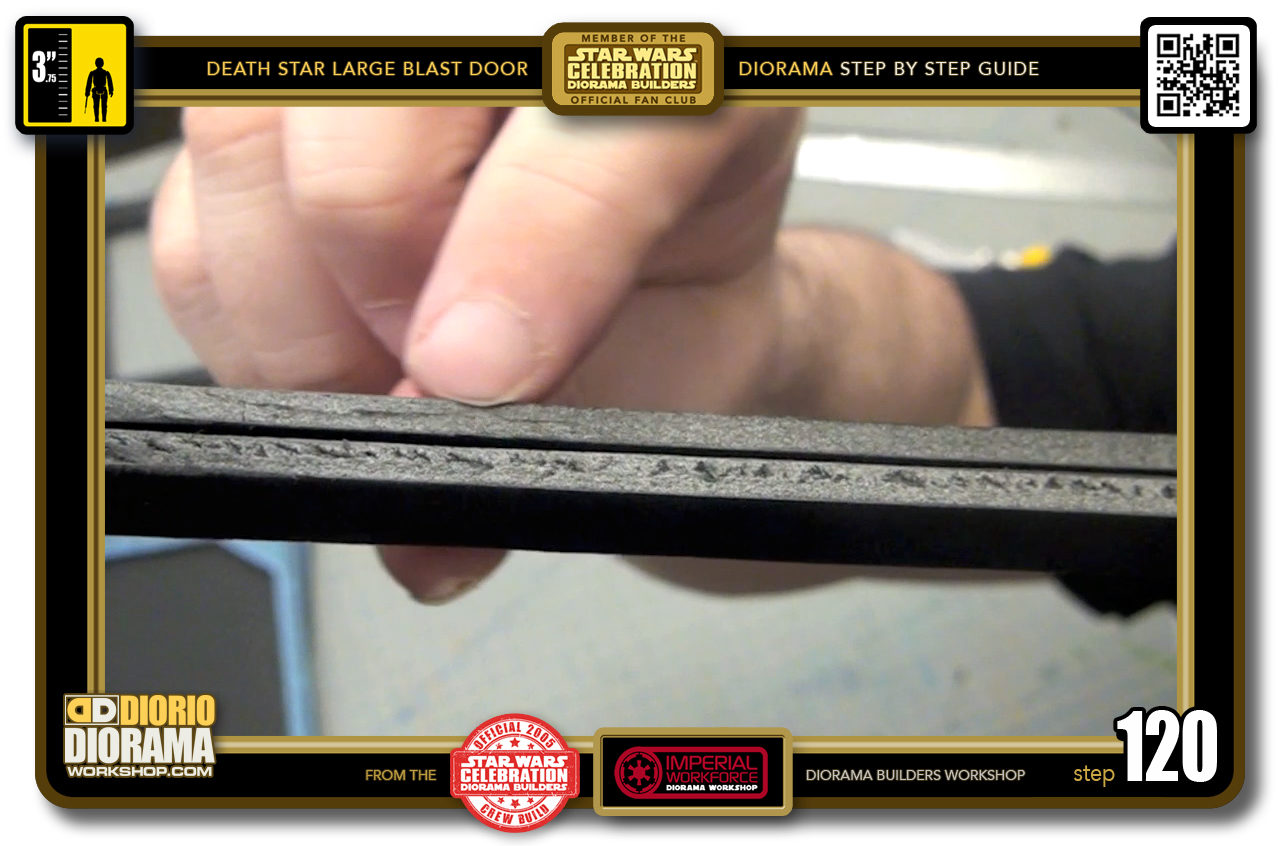
- STEP 120 > Here again is a comparison of using a NEW clean blade - top layer and a used blade - bottom frame. It is not as dangerous, or I should say important when covering with a decal, but if your cuts are exposed, you want to try stay with clean slices every time.

.
Did you already build this Diorama ? At home or at our Star Wars Celebration Diorama Builders workshop ? Would you like to show it in the site’s GALLERY VISITORS DIORAMAS section, YES ? That is Awesome !!! You can find out all the details on how to email me your photos on the VISITORS SUBMISSIONS INFO page … When I get your photos, I will create your very own page just like this one. You may not realize it but work does inspire others to join in the fun of making Action Figure Dioramas.
.
NOT FOR RESALE ALL Decals, tutorials and artwork are ©FrankDiorio (dioramaworkshop.com) and offered FOR FREE to the fans – that would be you ? so you can build and display my diorama designs in your very own home. I realize I cannot control what one does with my graphics once I place them on the web, I can only ask you as one fan to another, please respect the artist and do not be that jerk who uses my designs and tutorials to build a copy of my work only to sell it on EBAY or trade/sale groups and forums. Thank You. Frank.
.
.
If you have a facebook account, why not join the Official Diorama Builders Fan Club today, simply click the logo link below.
 .
.
Catch up with fellow visitors and exchange stories, read cool interviews with the crew, exchange photos, fun surprises and grab some FAN ONLY merchandise next year at actual future conventions ?
.
©2018 Frank Diorio DioramaWorkshop.Com
.
IF YOU LIKE WHAT YOU SEE, PLEASE SHARE WITH YOUR FRIENDS
USING THE SOCIAL MEDIA BUTTONS BELOW